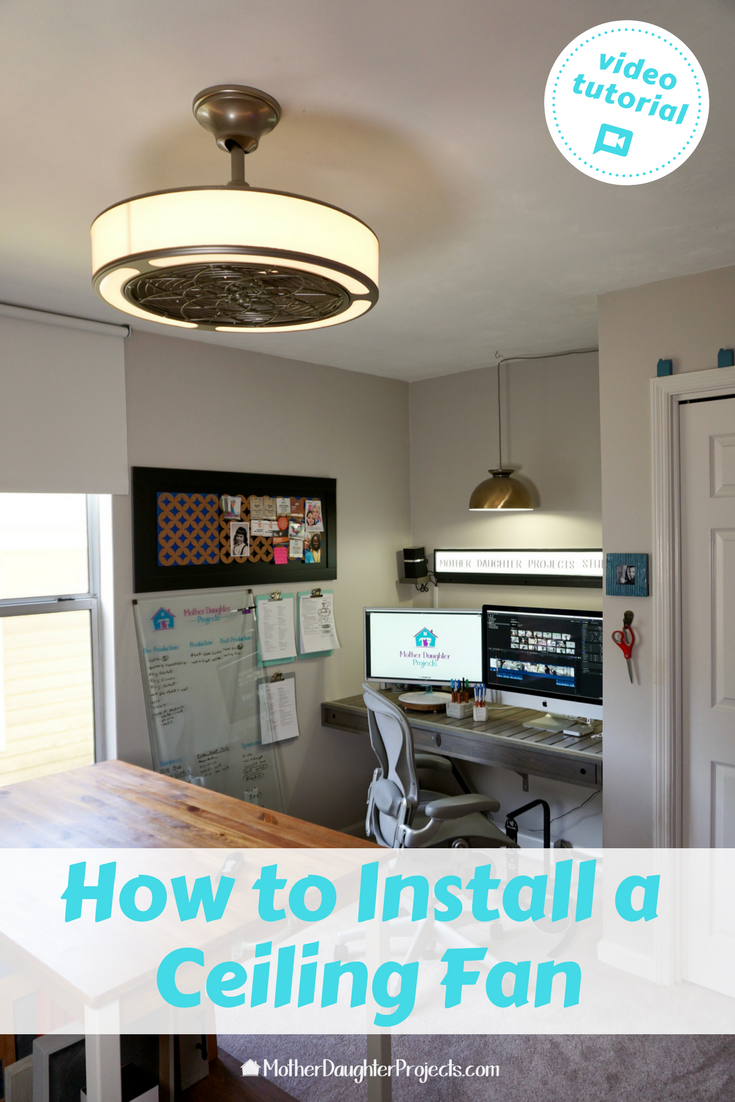
text by Vicki Sign up to get Mother Daughter Projects updates in your email! This past summer we were introduced to a new type of fan by Stile. We thought it would be a perfect fit for the studio at Steph's house. The space is small and the existing fan overwhelms the space. Also, it doesn't provide much overall light at all. Over the Easter weekend, Steph decided on a whim to go buy the fan and install it with a little help from Andrew, Steph's nephew, my grandson! Materials:
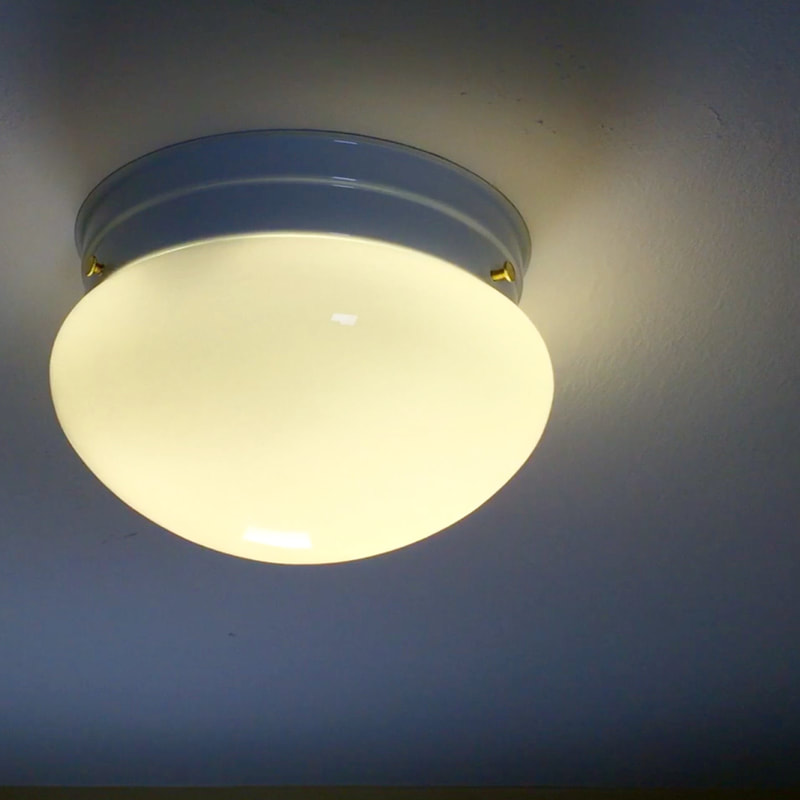
 The 'before' is not that bad but the look is clunky and not very bright, and as everyone knows, those blades collect so much dust! 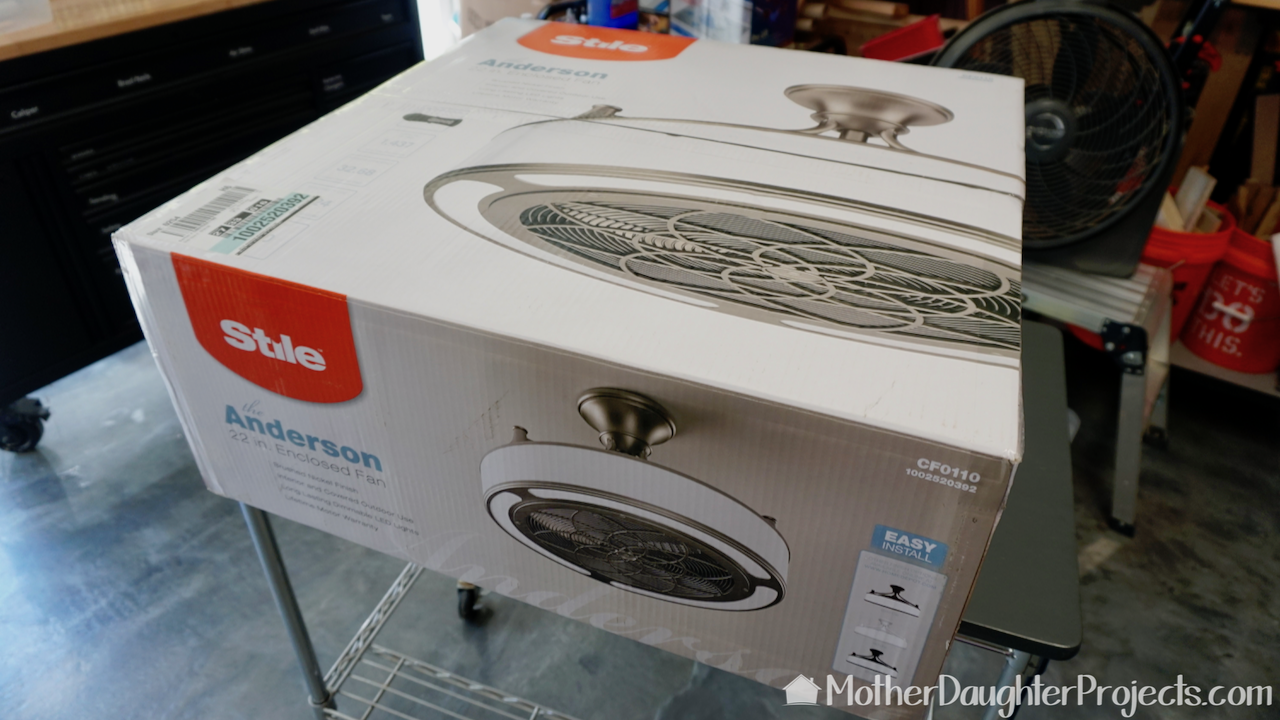 The Stile fan comes in a couple of finishes. It can be used with or without the decorative arms. 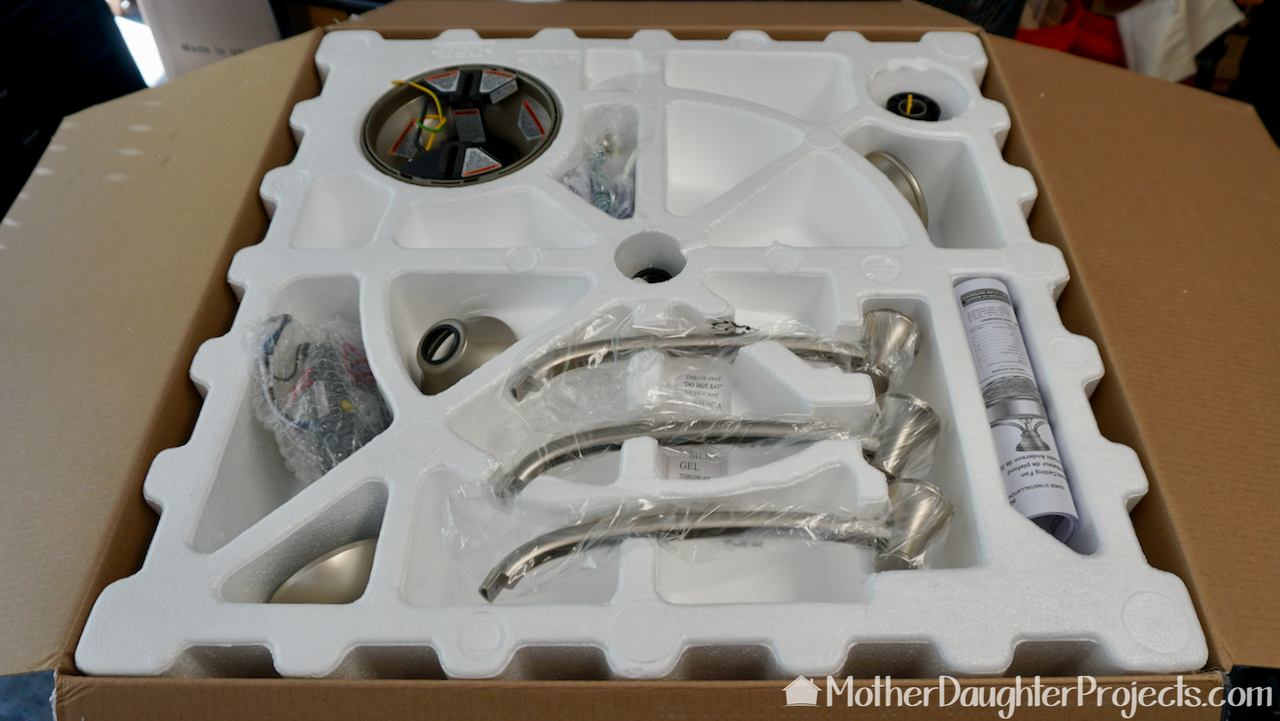 Everything is packed well to insure nothing is damaged during transit. The instructions are front and center so you don't have to look for them. 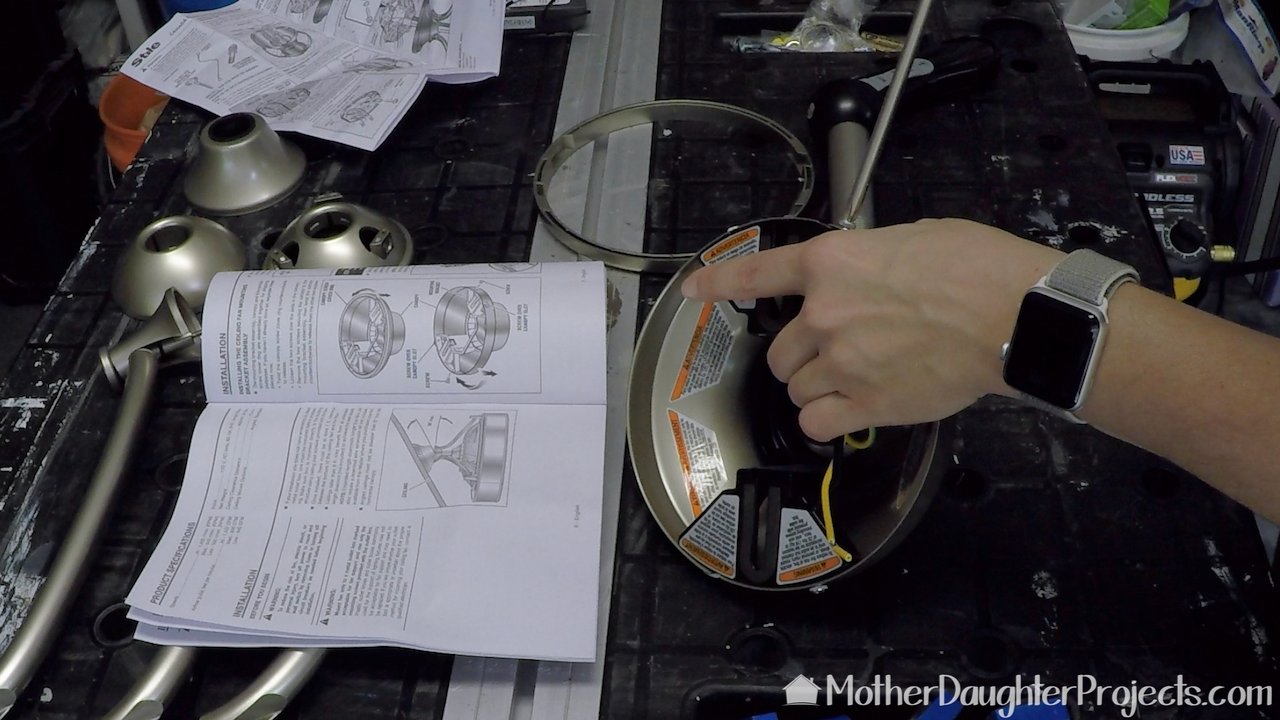 The step by step instructions are easy to follow. Steph unpacked and assembled the fan in the garage before taking it inside. 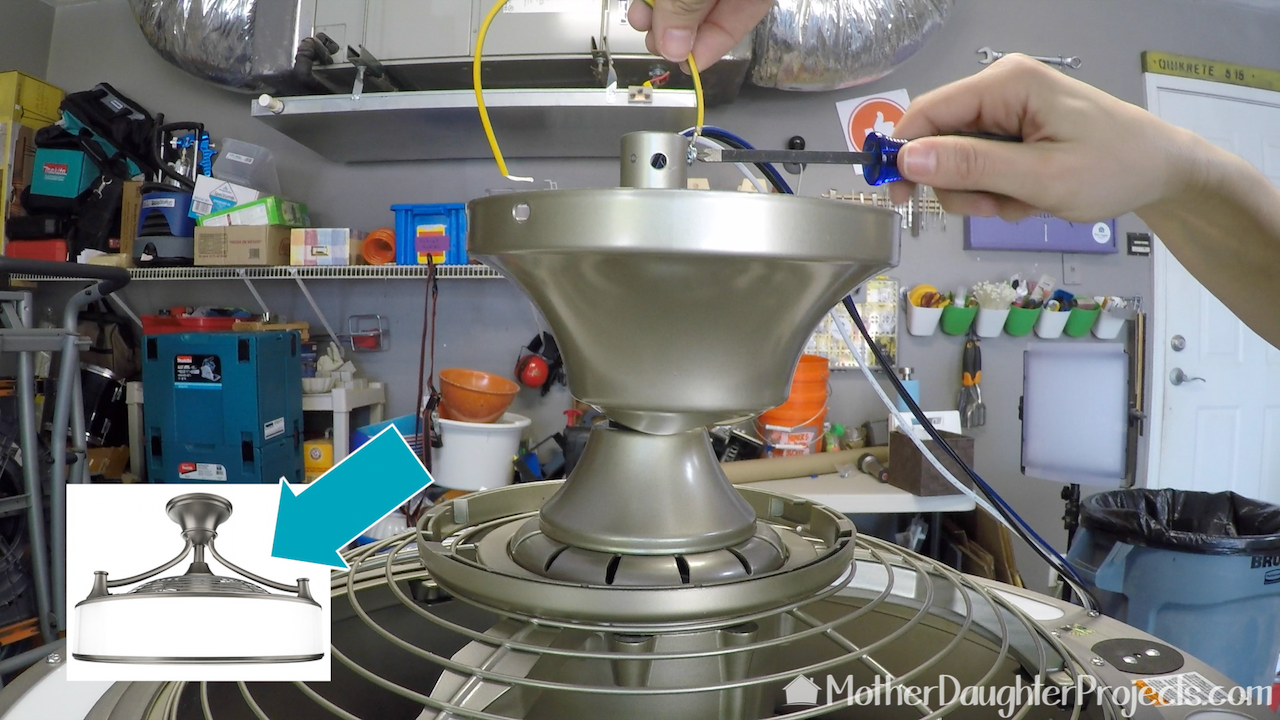 This is the step where you'd add the decorative arms if you're using them. They are NOT structural so it's okay to leave them off. 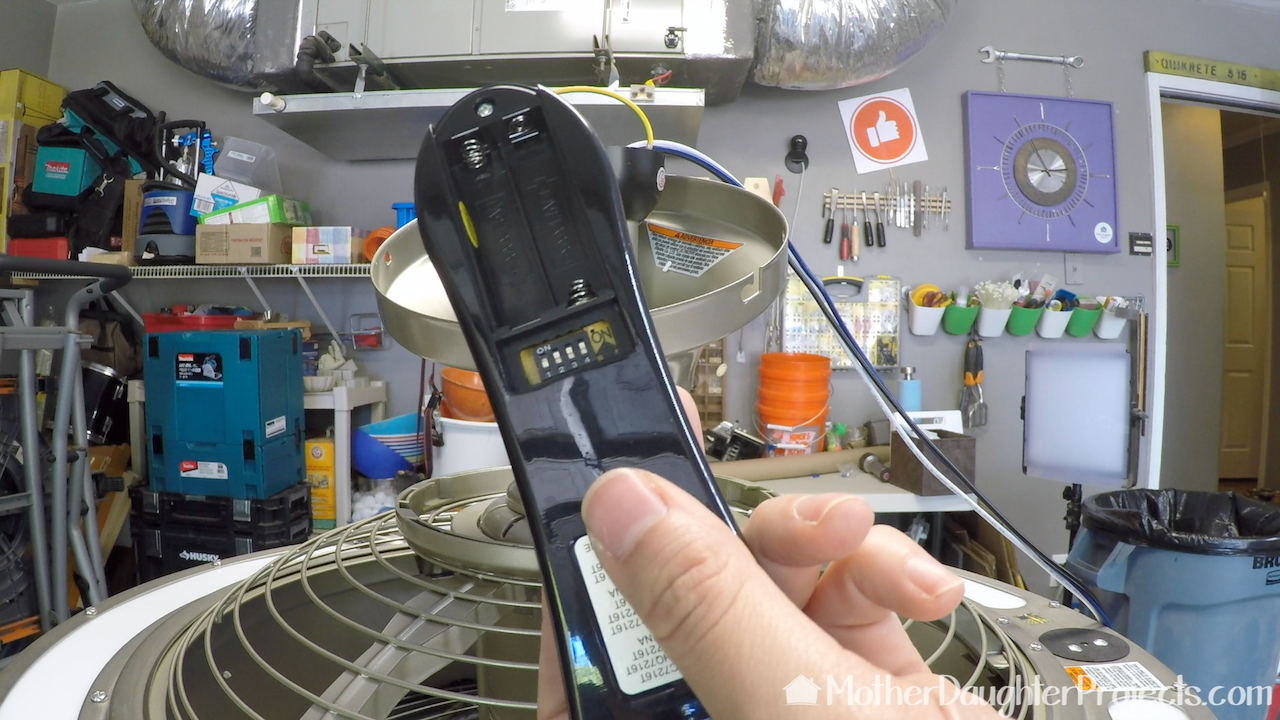 The included remote must be set up to work with the receiver box that is installed in the canopy of the fan. The instructions walk you through this. 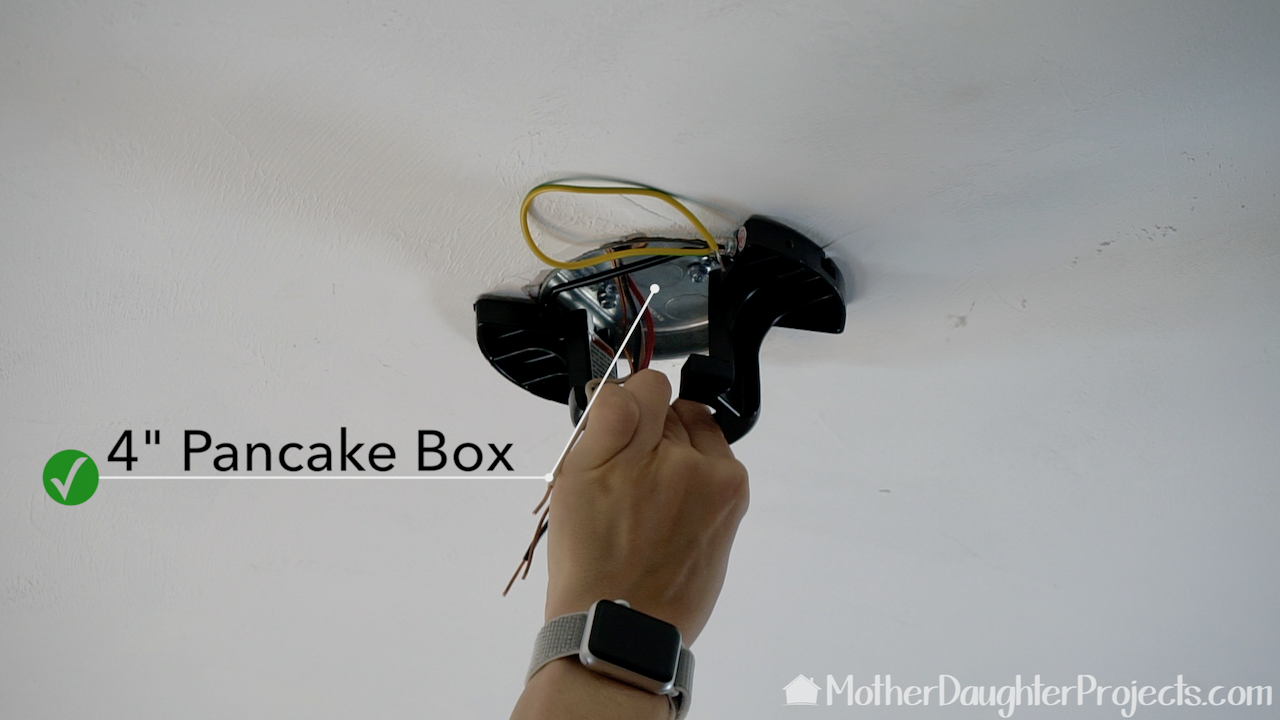 BEFORE you take down the old fan to install the new one, TURN OFF the power to the fan. Head to your circuit/fuse box to do this. The only hiccup in the install was the ceiling box. The existing one was 3" but we needed a 4". We easily found what we needed at The Home Depot. 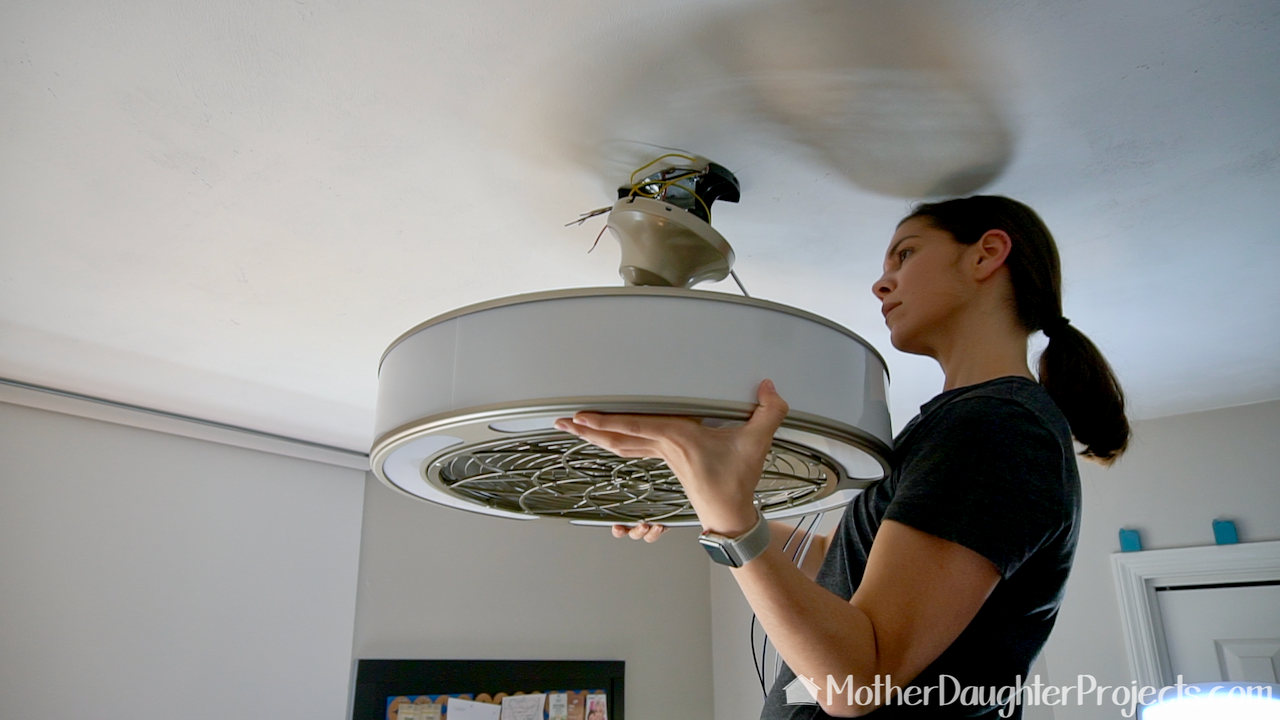 It's helpful when you're up on the ladder, wiring up the fan, to have someone read out the instructions. That was my role in this install! The hardest part was getting all the wires tucked into the canopy! 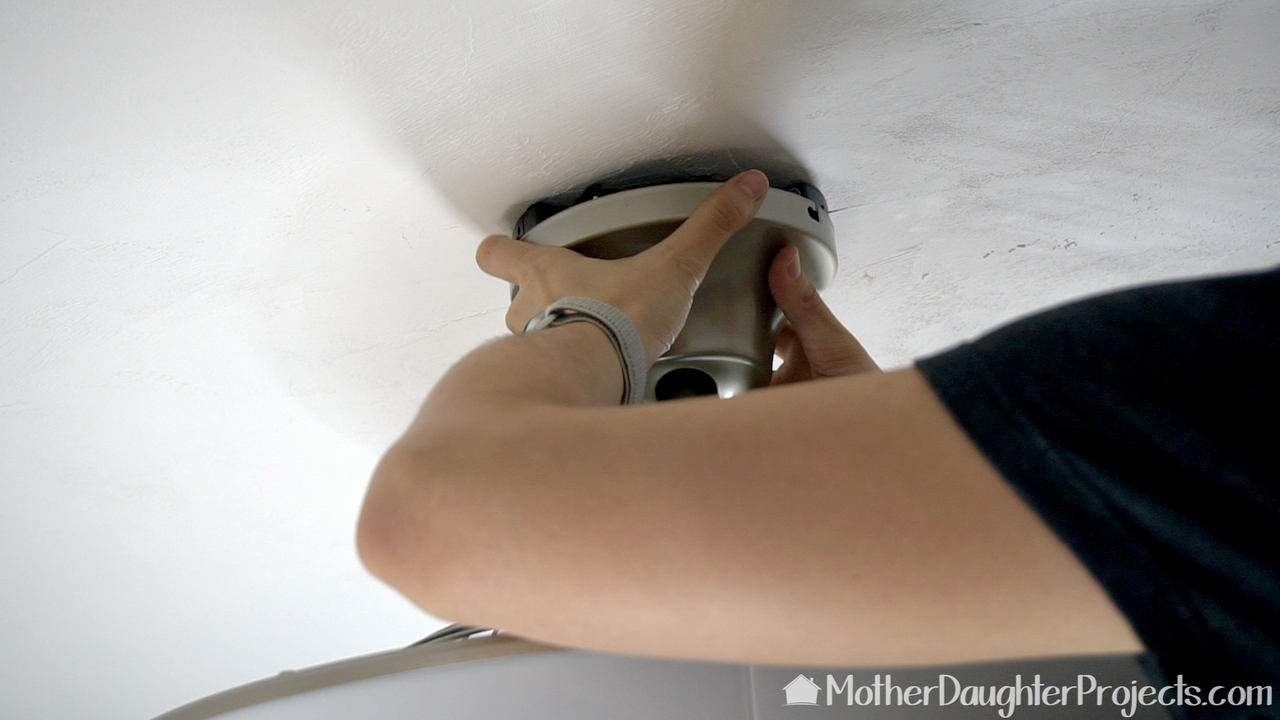 The last step is to tuck in all the wires and screw down the canopy. 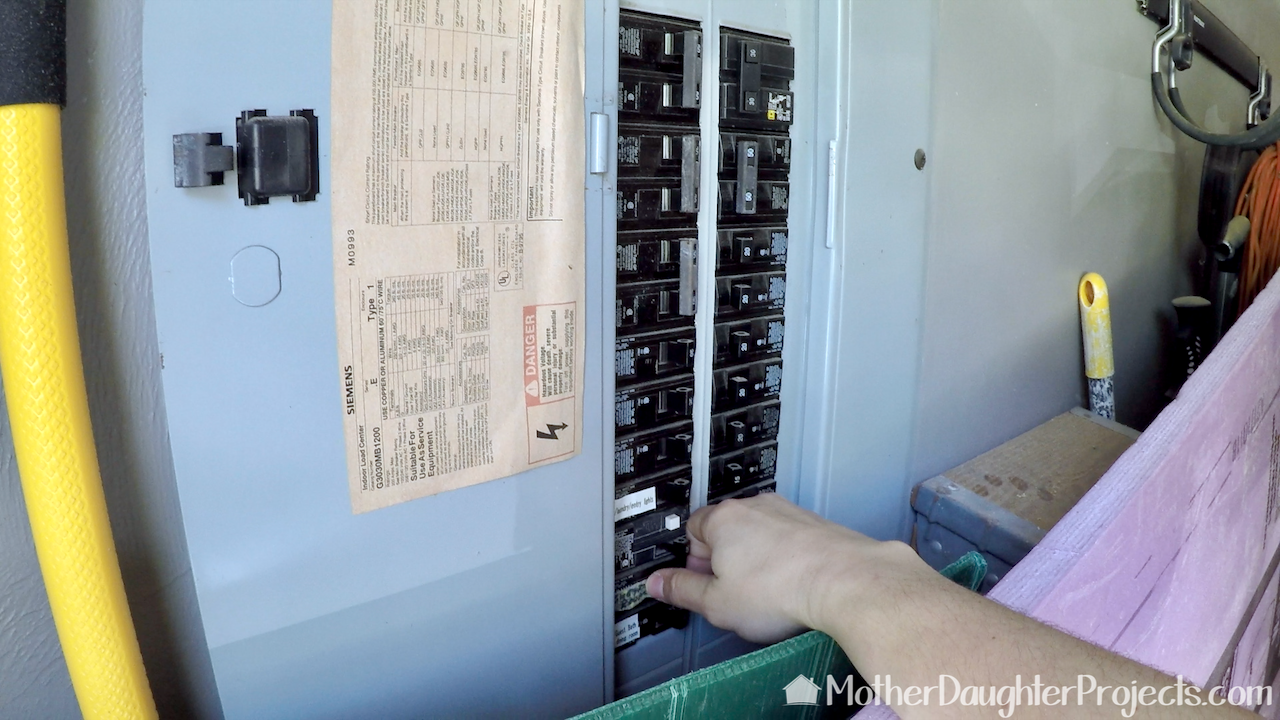 Lastly, turn the power back on at the circuit box. 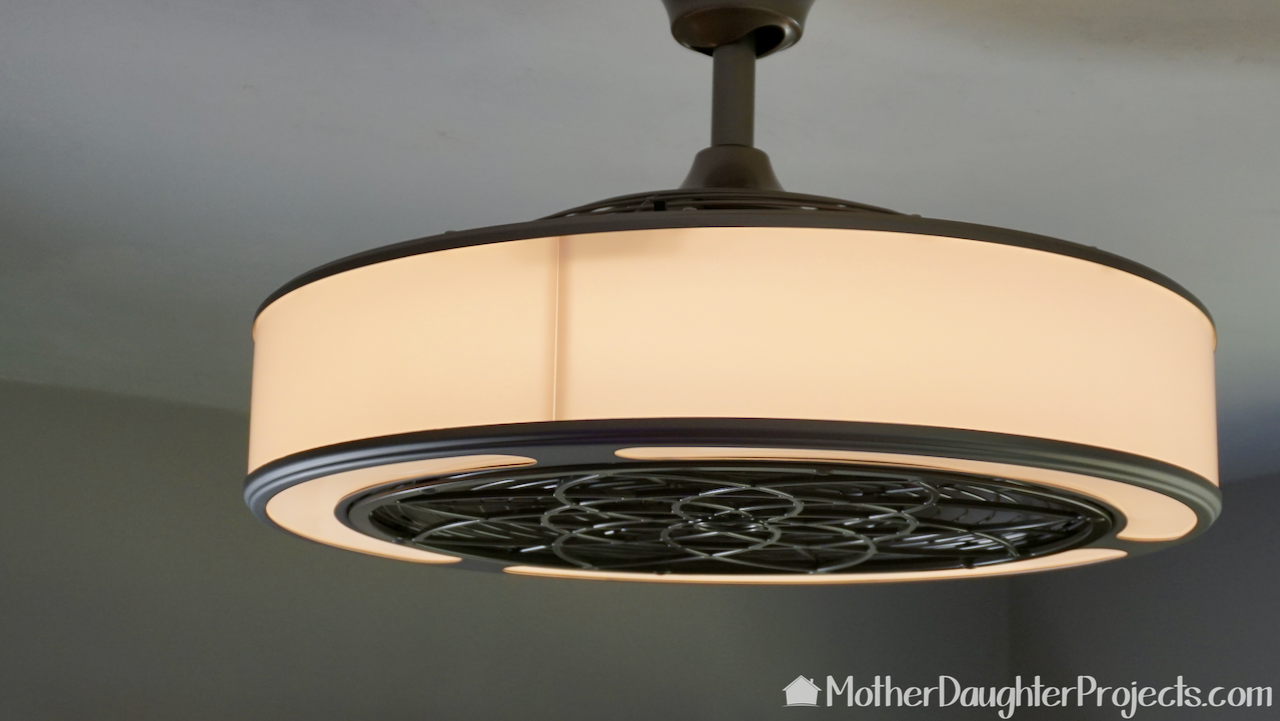 With the power back on, it worked perfectly. The light is soft and fills the room!
The install was very straight forward. It was really made easy as we didn't have to deal with blades! We only had the one little hiccup with the size of the ceiling box. It's interesting that at one time there must have been a 4" box there as the hole was cut to 4". The larger hole made it super easy to install the new one. Our little helper, Andrew, was great at picking up all the dropped screws and gathering things to return to the garage. It's always fun when we can include the grands/nephews/niece in our projects. If you watch the video to the end, you'll see Andrew "testing" our three battery powered fans when he wasn't needed. He gave high marks to the Makita fan! Please note: We are not sponsored by any of the companies/products that we used. These products were picked and bought by us. FYI: We are not professionals, and we don’t claim to be. This is what we found worked for our project. Yours may need a little different approach. Safety first! FYI: Affiliate links are being used on this page. Purchasing via these links help support MDP! Related Projects
5 Comments
Tammara
4/19/2018 06:02:01 pm
Nice review and good job! I was looking at that fan but since I have old cloth covered wiring didn't want to tackle that on my own especially when you had to get a different size.
Steph
4/20/2018 12:33:16 pm
Thanks! Smart move not tackling the project on your own. I'm luck that my house is fairly new and the wiring is straight forward.
hosam
5/28/2019 06:21:59 am
How much the price
Diego
6/3/2021 03:40:27 pm
hi Leave a Reply. |

Mother Daughter Projects
|