|
text by Vicki Sign up here to join our weekly email newsletter!
Whenever we shop at Costco, we always take a look at the products for sale in the lighting/electrical aisle. It seems on every trip they have brand new and exciting LED lighting options! We are sold on LED for lighting in our homes and workspace!
Earlier, this year, we purchased a skylight fixture for Steph's garage to replace a fluorescent fixture that had seen better days. Once installed, the difference was remarkable! Clean, even looking light that actually does look like a skylight! Well, I was sold and told Steph I wanted one for my very dark closet. The one where I choose my clothes and then realize later on when I'm in the sun, I'm actually wearing, what I thought were black pants, but they are actually blue! I loved that lighting solution so much in the closet that I talked Steph into installing one in my laundry room. My sad, dark mess of a laundry room. So here is that install! And like most DIY projects, there was a hiccup or two to figure out... Materials/ Tools:
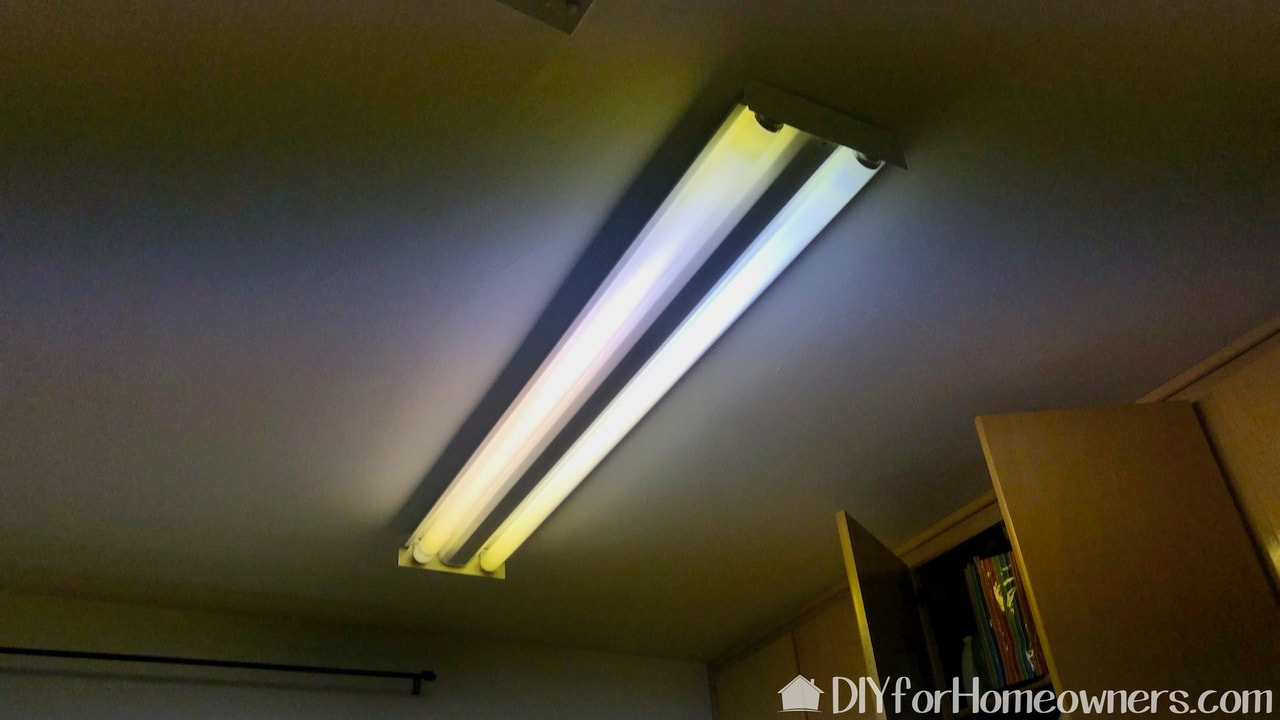
This fixture had long ago lost its cover and stayed naked for a long time! There was a "not so nice surprise" hiding under that light!
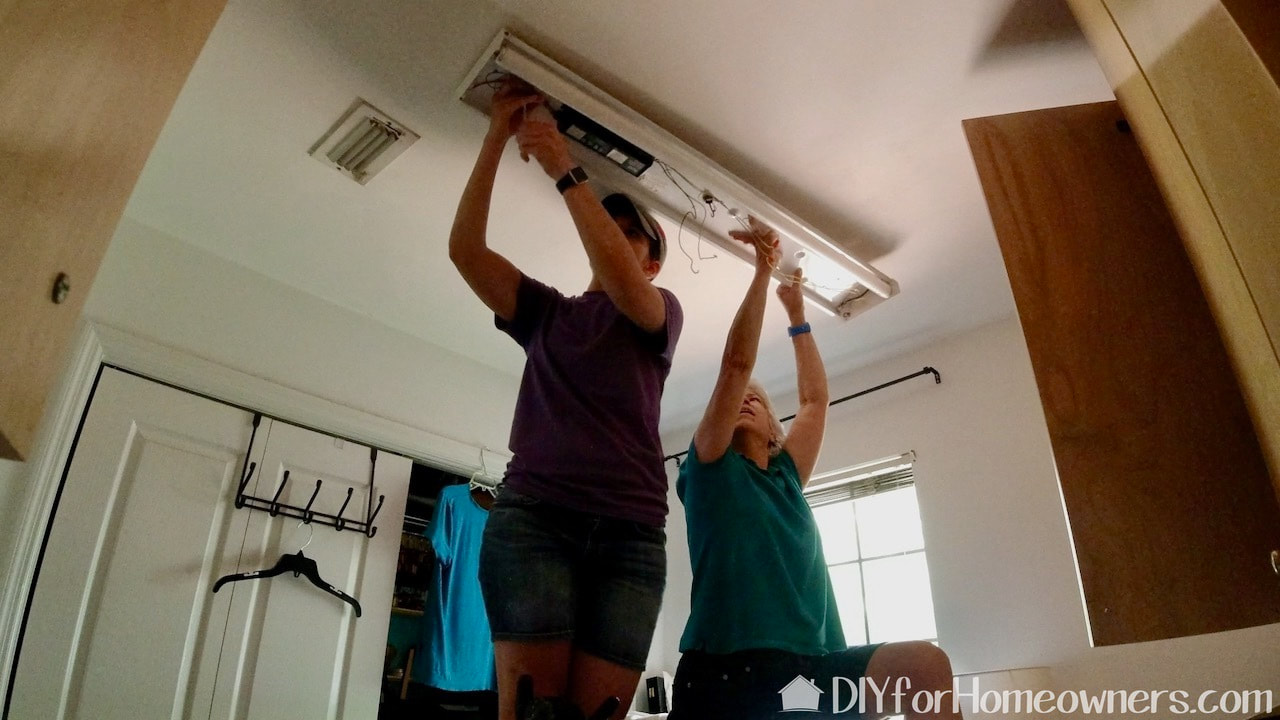
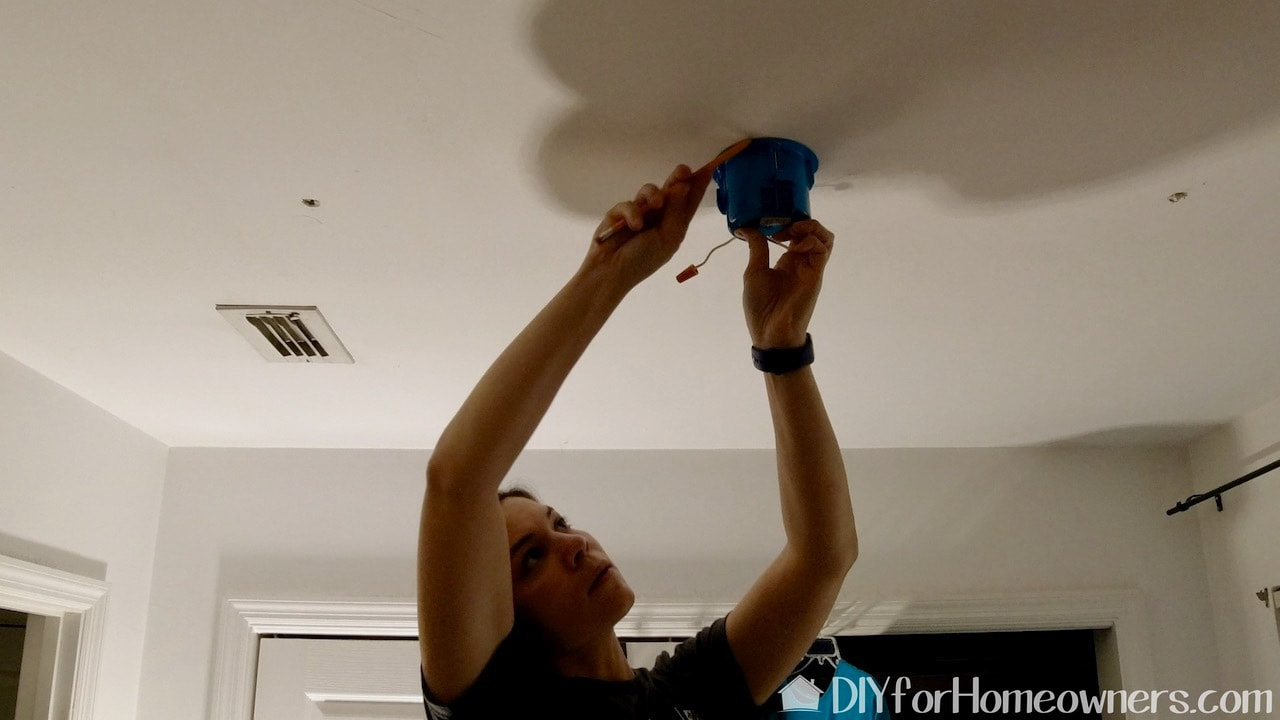
After turning off the power, we took down the old fixture. It was pretty straight forward but the screws holding it to the ceiling were surprisingly long. We soon found out why!
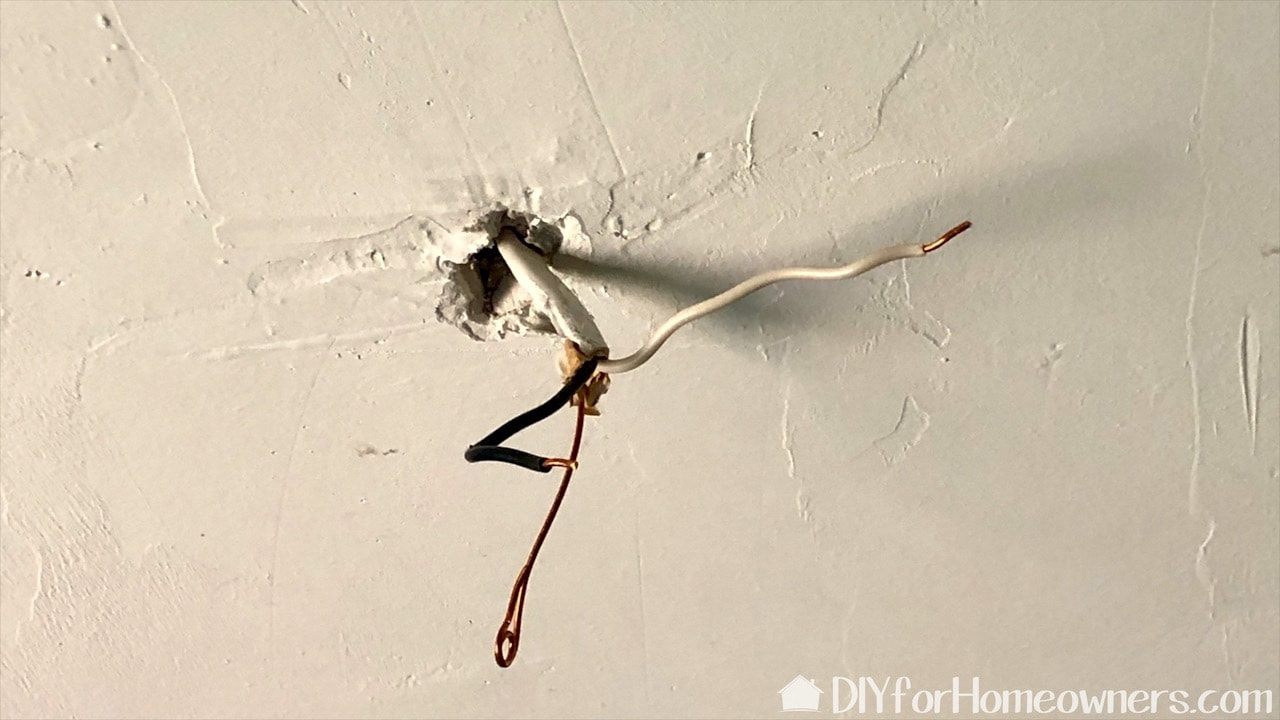
This is what we found when the fixture was removed. And, no, that wiring situation is not to code! Those overly long screws in the ceiling drywall was what was keeping the fixture attached to the ceiling. So, now to figure out what to do! After some internet research, we determined we needed to install a proper electrical ceiling box to support the fixture.
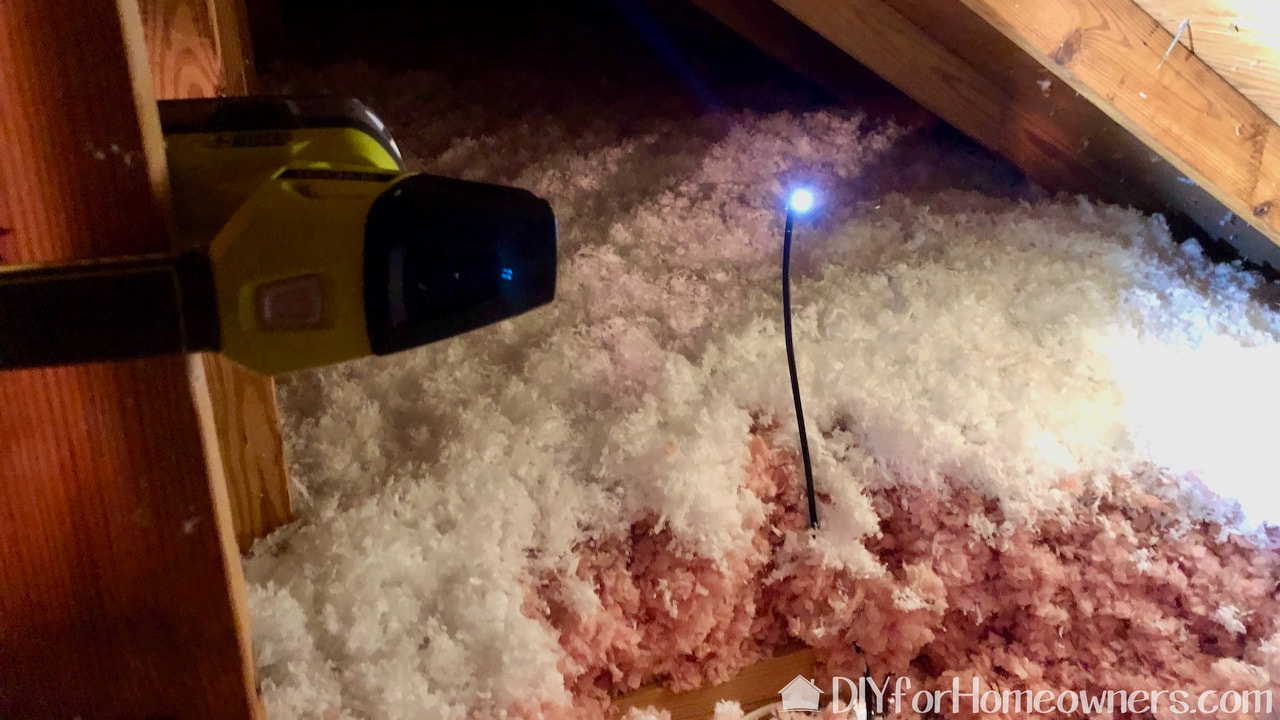
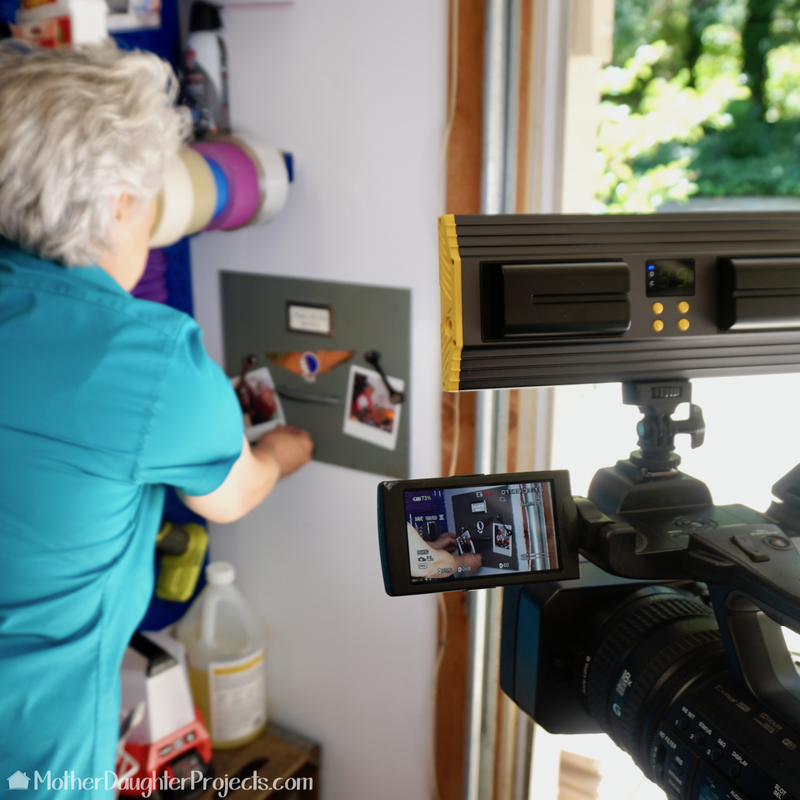
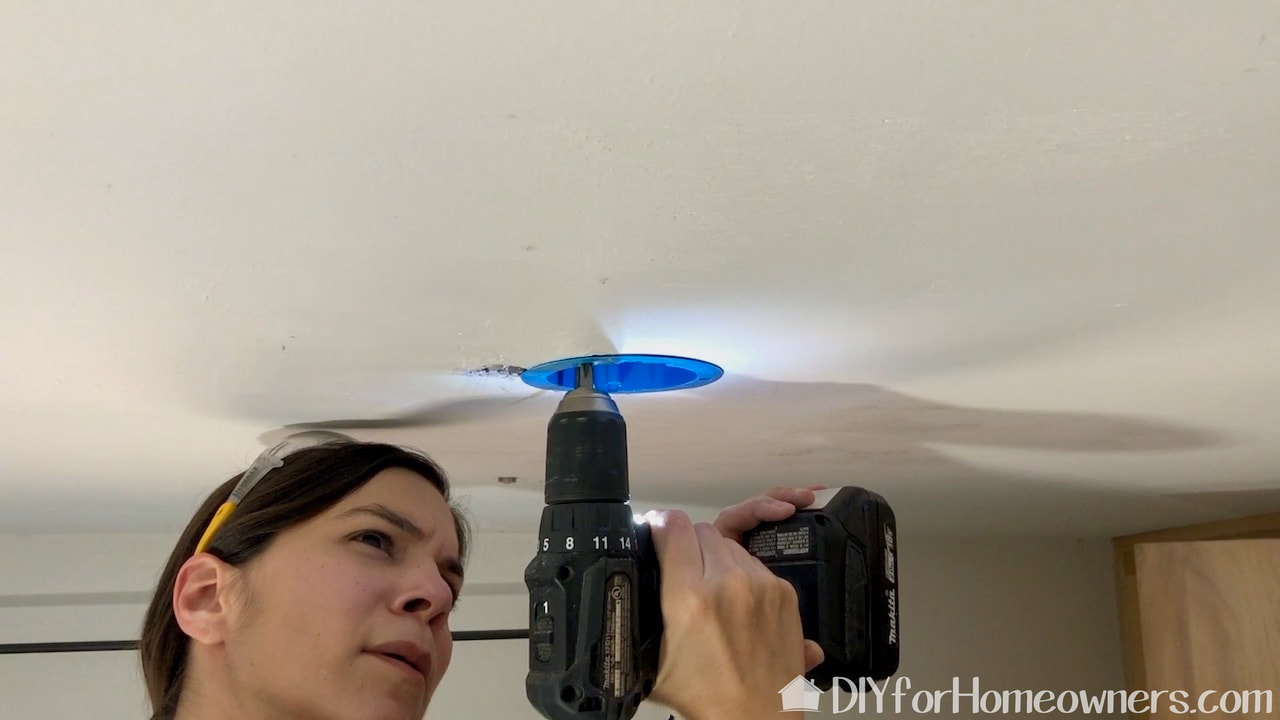
Steph went up into the attic to see if she could find the location of the wiring. It proved to be really difficult so I had the idea to put the lighted end of a video scope up through the hole as a beacon for her to follow. It worked really well and she was able to identify the wiring location. By the way, that Ryobi light on the left is designed specifically to fit onto a 2x4 stud. It proved to be very handy while in the attic.
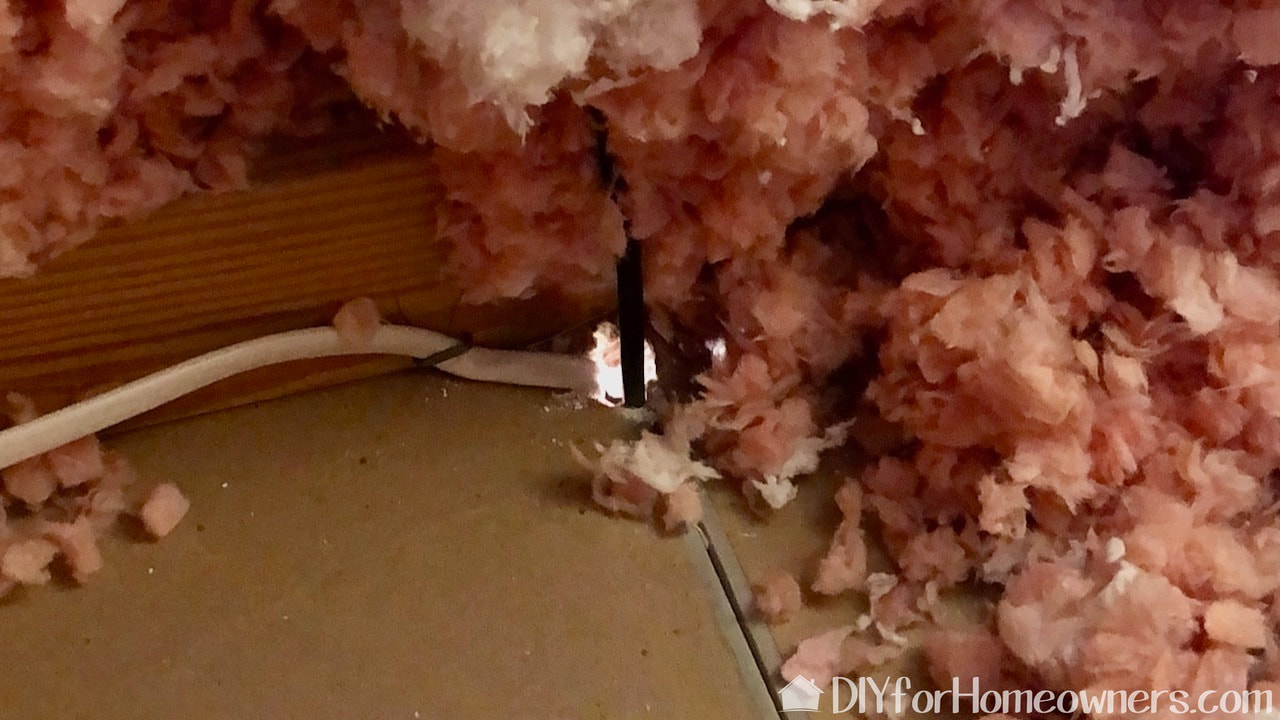
This was what we didn't want to find--a ceiling joist blocking where we needed to add the box!
Obviously, we had to place the box outside the joist. Steph drew around the outside of the ceiling box to mark the cut line.
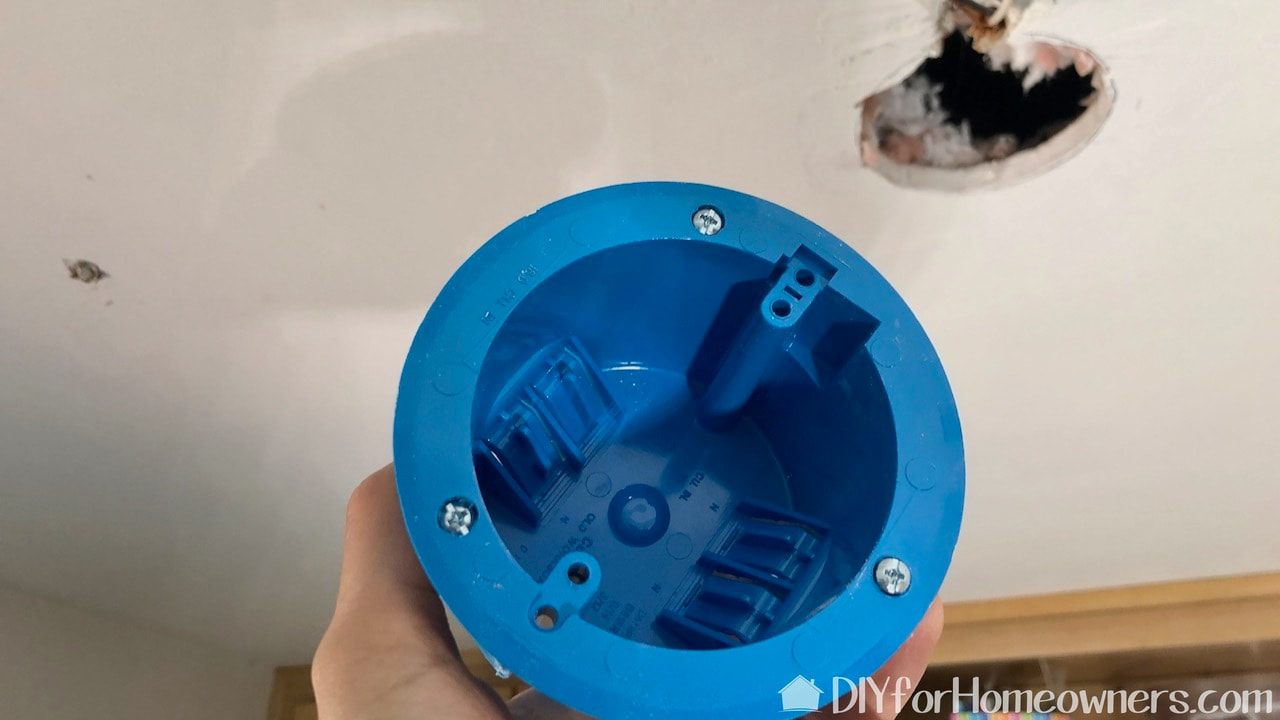
The is the old work ceiling box that is going in that hole. It's for use in existing construction.
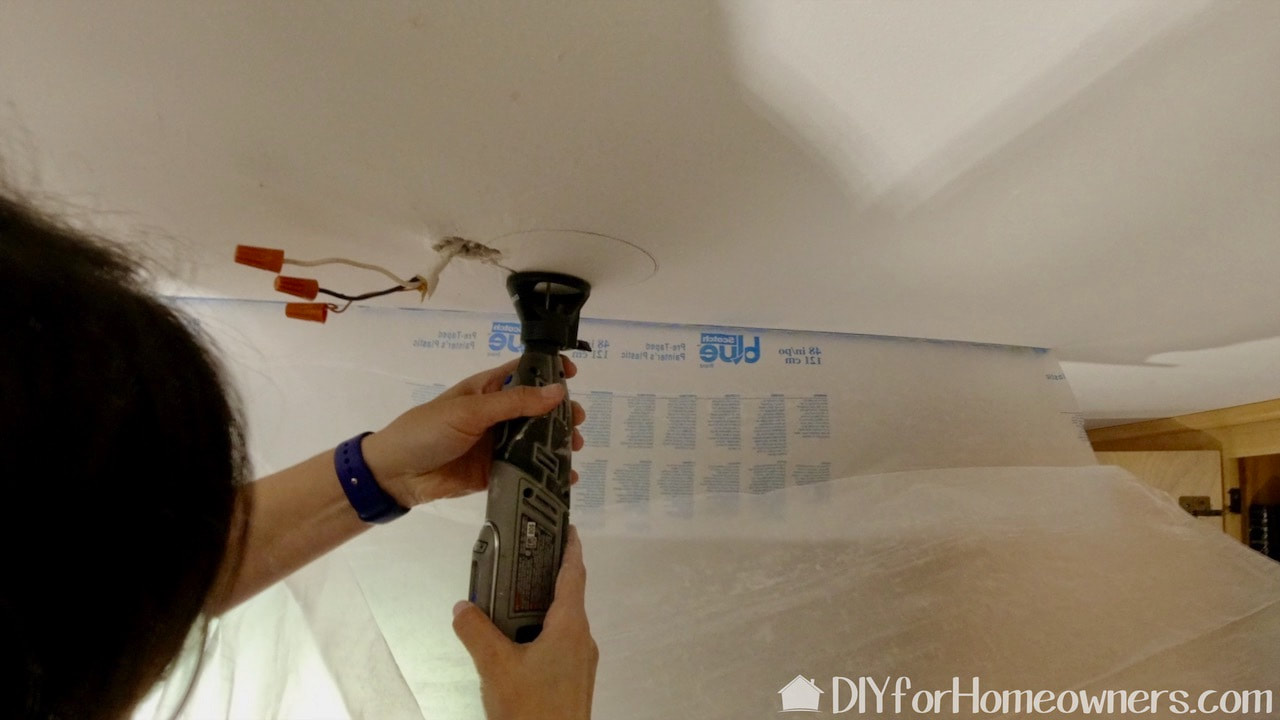
This battery powered Dremel fitted with the Dremel cutting kit proved to be the perfect tool to cut the hole.
The hole is not perfect but the fixture will cover it. We attached some plastic sheeting to the ceiling to help contain the drywall mess.
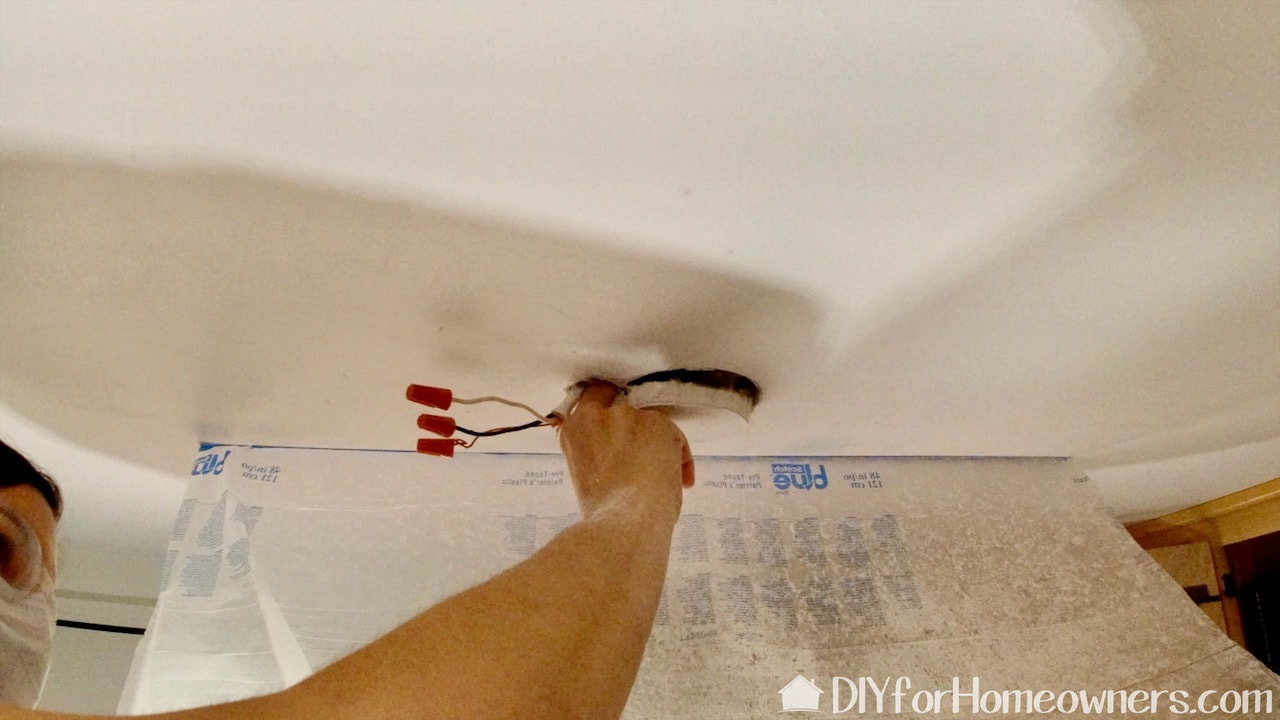
Steph initially tried to hand screw the spring clips into place but they actually needed the torque of a drill to open and secure the box to the ceiling. Our Makita made short work of the install!
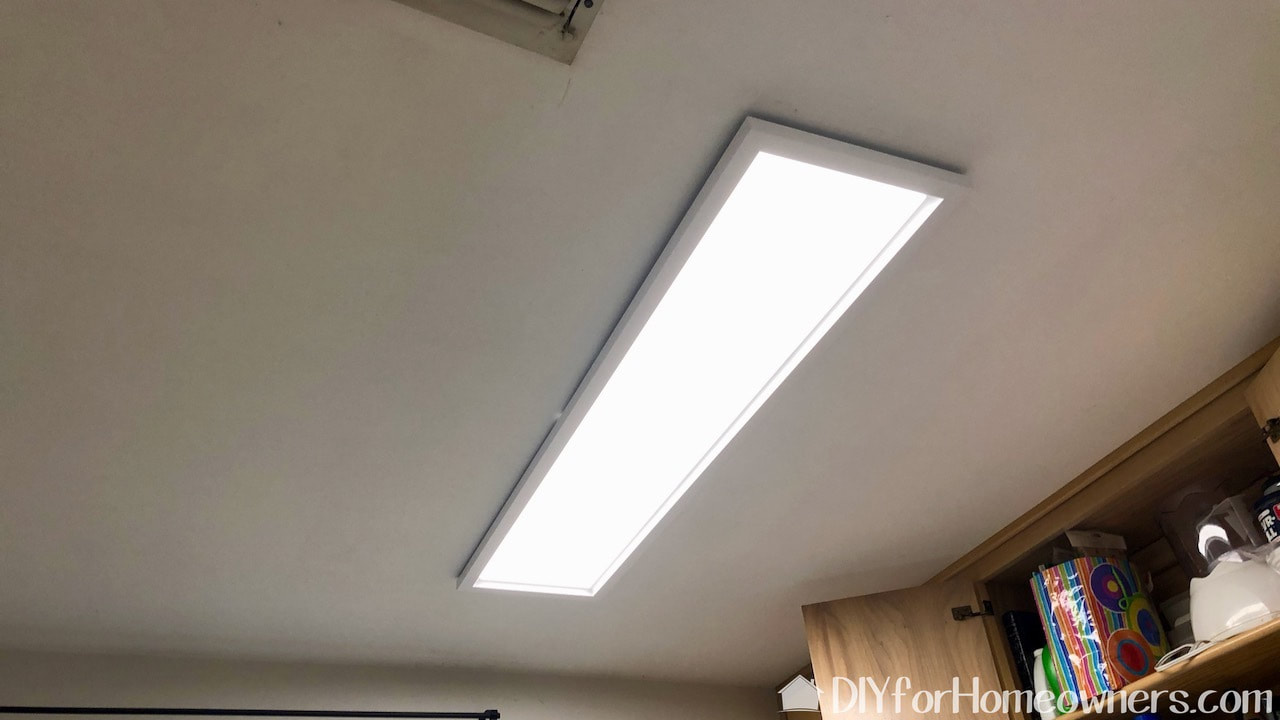
Done! Nice and bright, but it does shed light on how much more work the laundry needs! Our next project?
Please note: This is not a sponsored post. FYI: We are not professionals, and we don't claim to be. This is what we found worked for our project. Yours may need a little different approach. Safety first! FYI: Affiliate links are being used on this page. Purchasing via these links help support MDP! Related Projects
0 Comments
Leave a Reply. |

Mother Daughter Projects
|