|
text by Vicki Sign up to get Mother Daughter Projects updates in your email!
This post is sponsored by The Home Depot.
Smart home technology has been a part of Steph's home pretty much since she became a homeowner in 2013. For example, Phillips Hue light bulbs went in almost as soon as she closed on the house! So, partnering with The Home Depot on their Smart Home campaign is a natural fit. Over the next year, we will be reviewing and installing a variety of smart home devices.
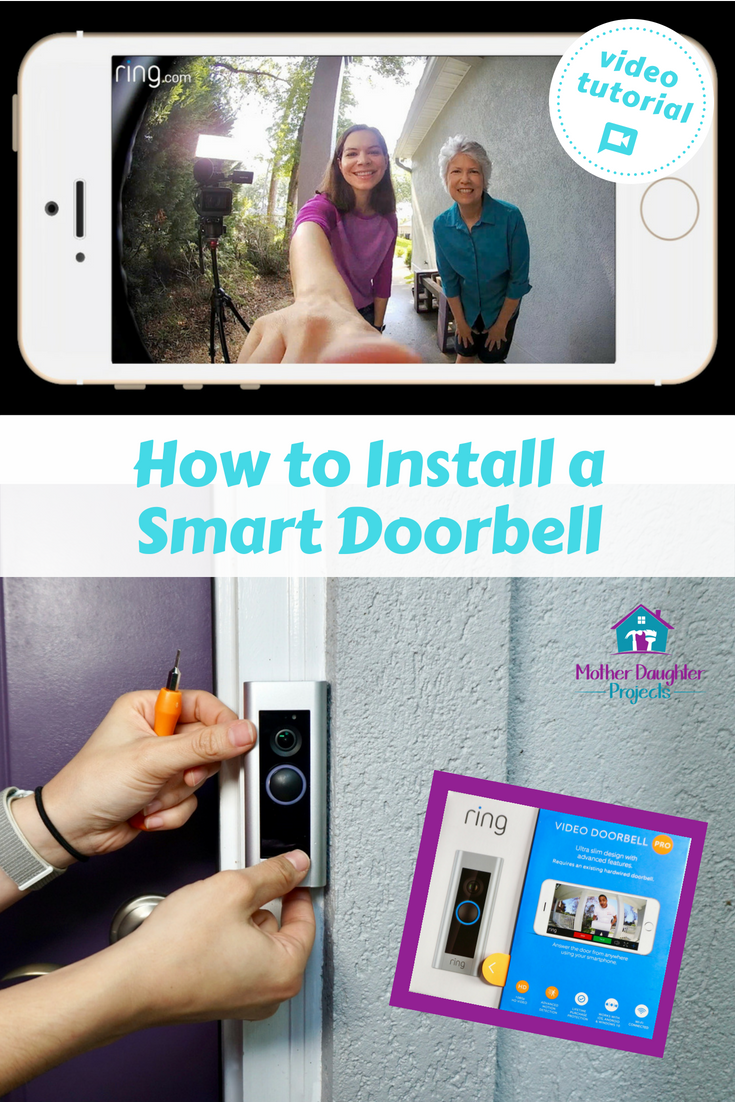
Up first is the Ring Video Doorbell Pro. The Ring comes with almost everything you need for installation. We only needed to provide a drill and a small bit. It comes with a screwdriver as well as a drill bit for drilling anchor holes if needed. 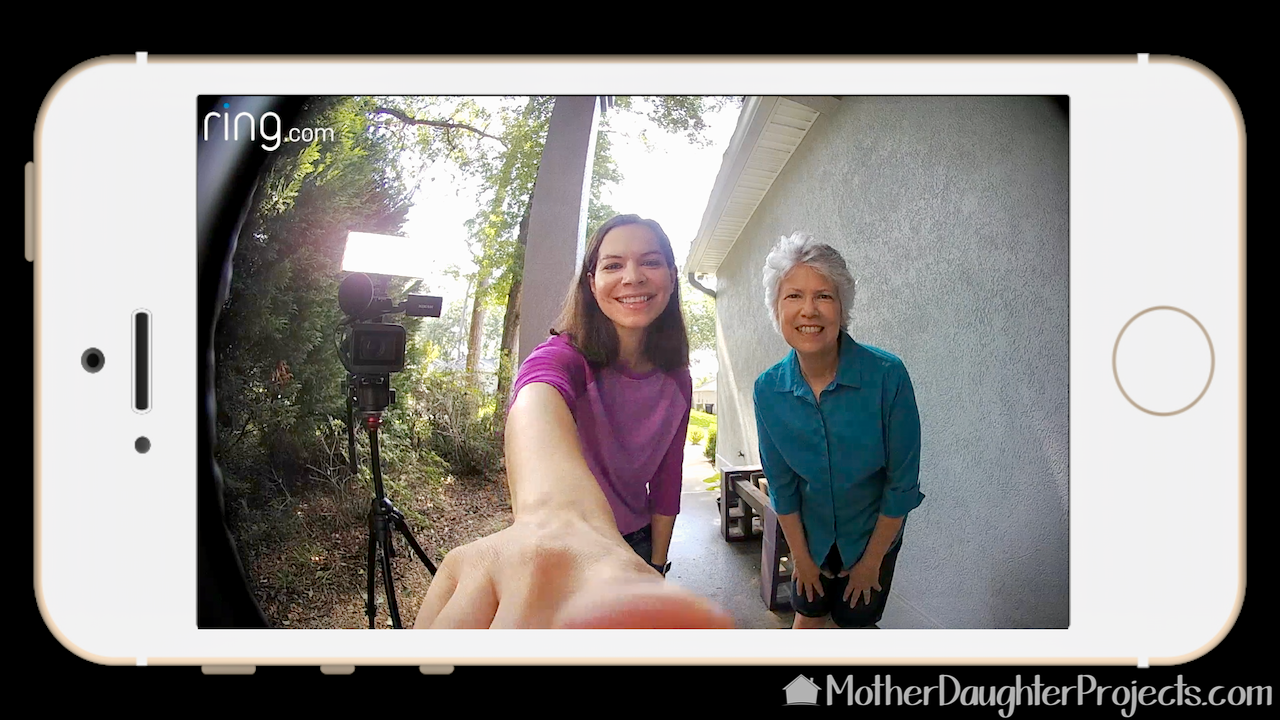
This is a view from the app. Once the Ring detects motion the camera record feature is activated. The app will send you a notification so you can watch live or watch the recording later on. We've seen our UPS driver on many occasions since install!
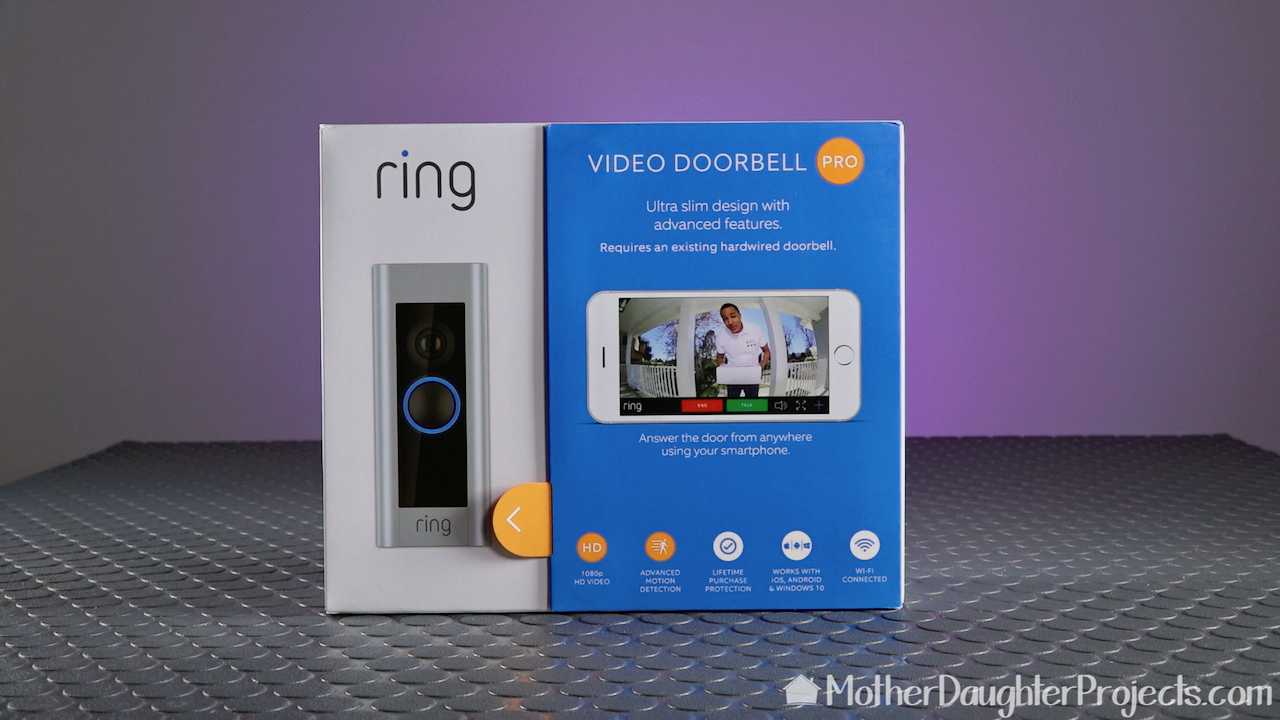
The product is packed beautifully with lots of great information on the box. You can open the tab to access even more information before purchase.
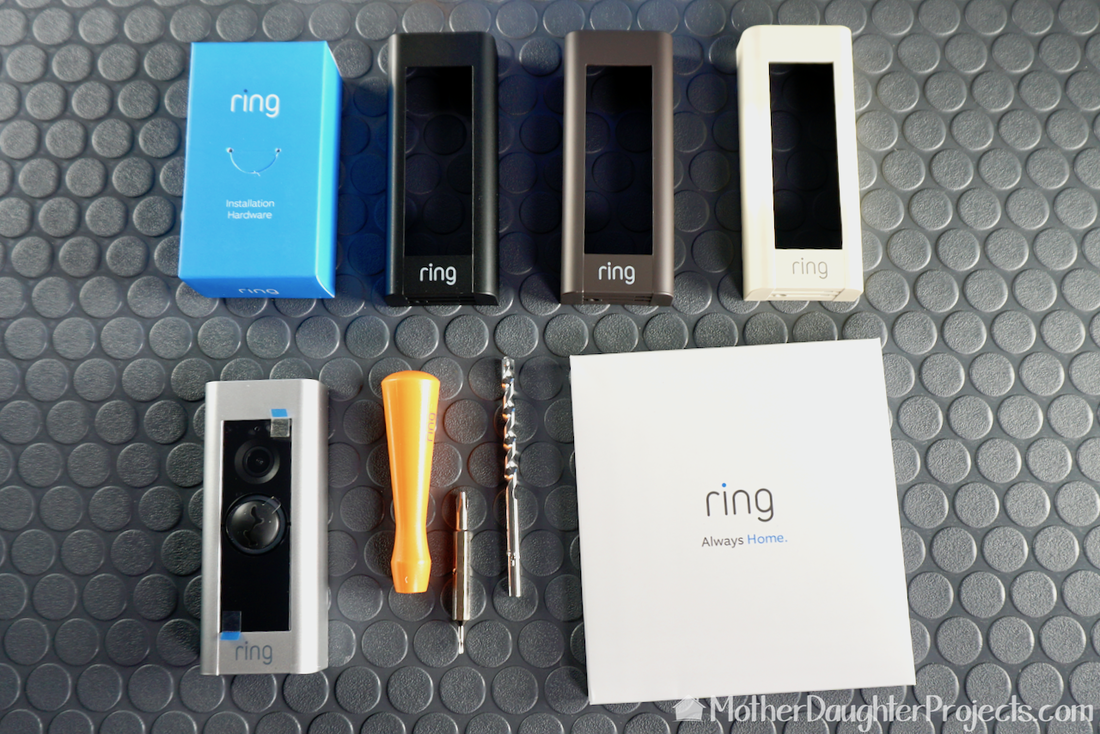
Here's everything that comes in the box. From left to right, top row: installation hardware, three faceplates. Second row: Ring doorbell with silver faceplate attached, screwdriver handle, double sided bit, drill bit, and instructions and other paperwork.
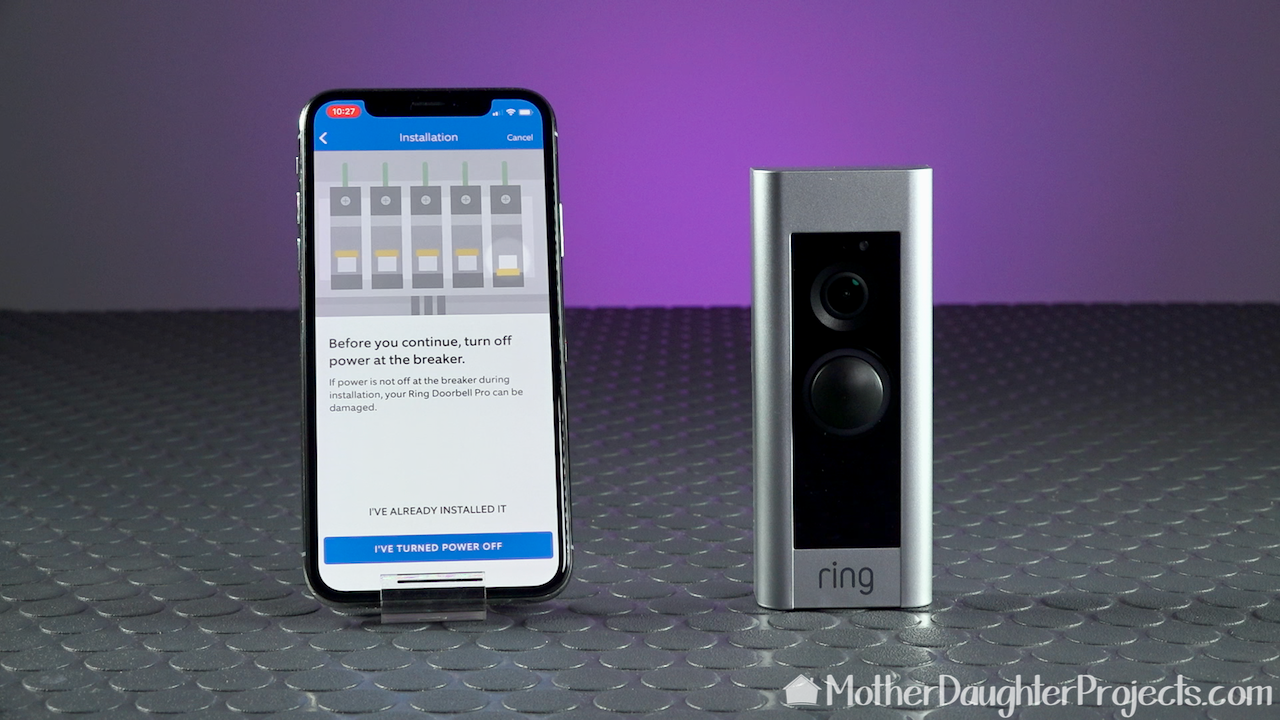
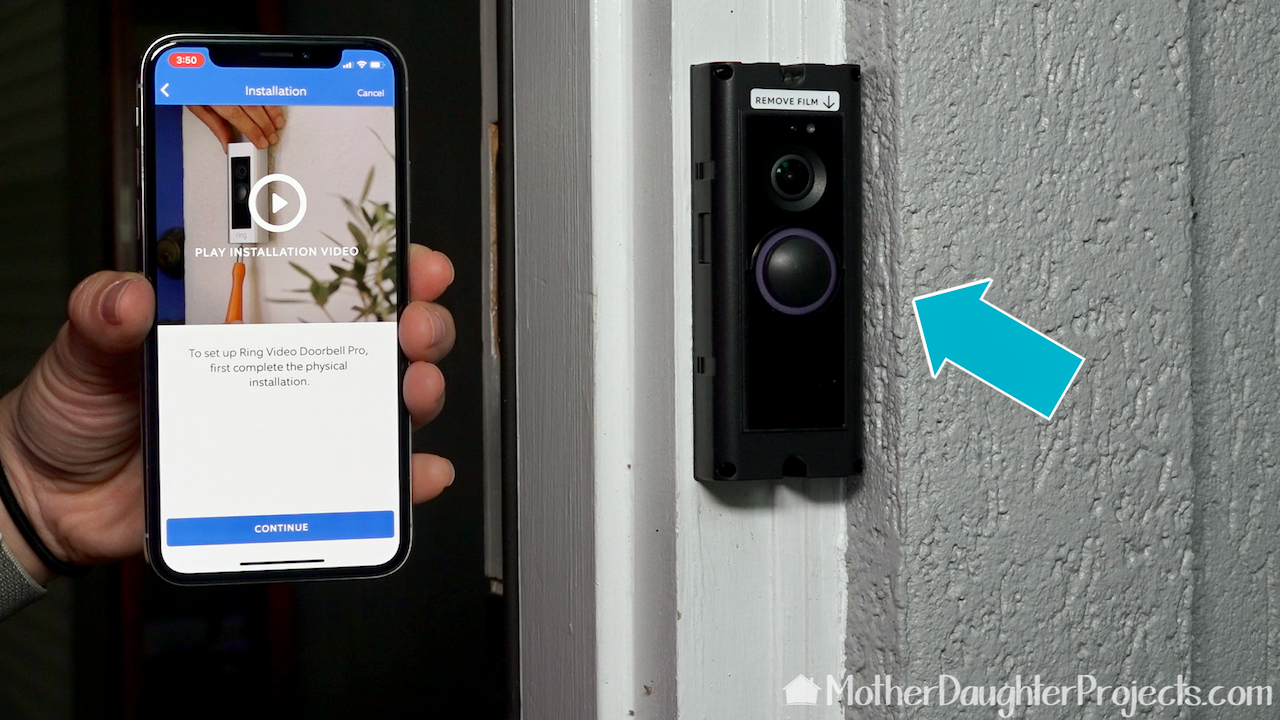
Although you can use the included written instructions for installation, we decided to access the app where we found a step by step video. The first thing is turn off the power!

The first step is to install the Ring Power Pack to your existing internal doorbell. Note: See that little piece of paper hanging on the wire near Steph's hand? Those are important. The wires are identified with little tags, but they fall off very easily. Both of ours fell off and we had to go back and refer to the product pictures we took to determine which wire was which. Save yourself some trouble and add a bit of tape to each so that they don't fall off or take a picture you can refer to in case they do fall off. Just a little tip.
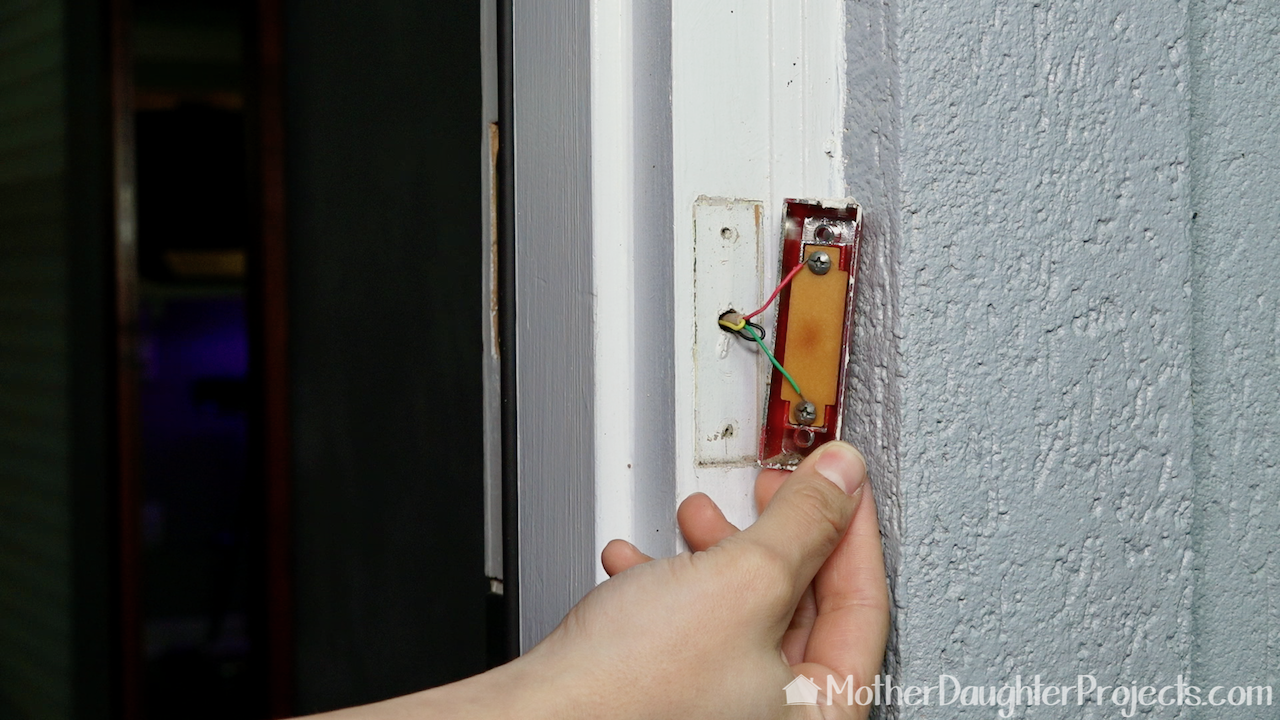
After the power pack is installed, you can head outside and install the new doorbell which starts with the removal of the old one.
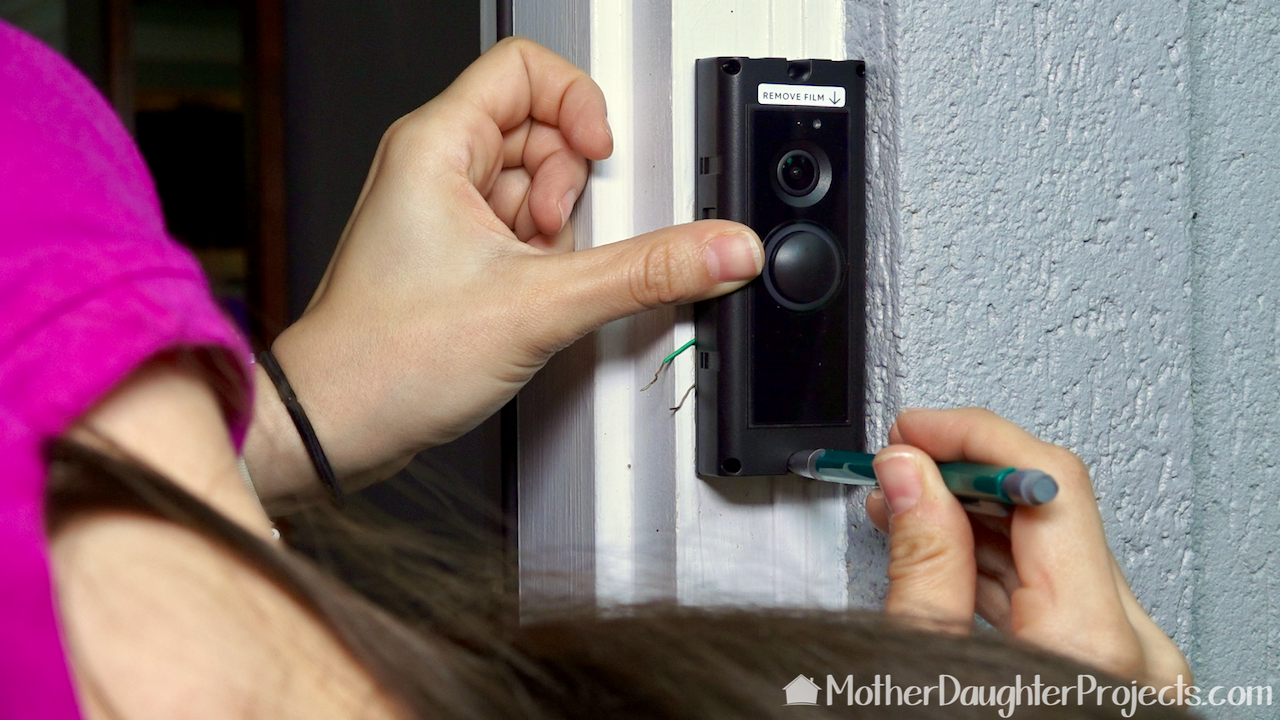
Hold the doorbell up and mark the placement of the screw holes. If we had used the written instructions we would have seen the paper template which would have made this step a little easier. The video does not mention the use of the paper template. Note: We initially installed the doorbell too close to that edge on the right. We had to go back and move it a little to the left so that the faceplate would fit.
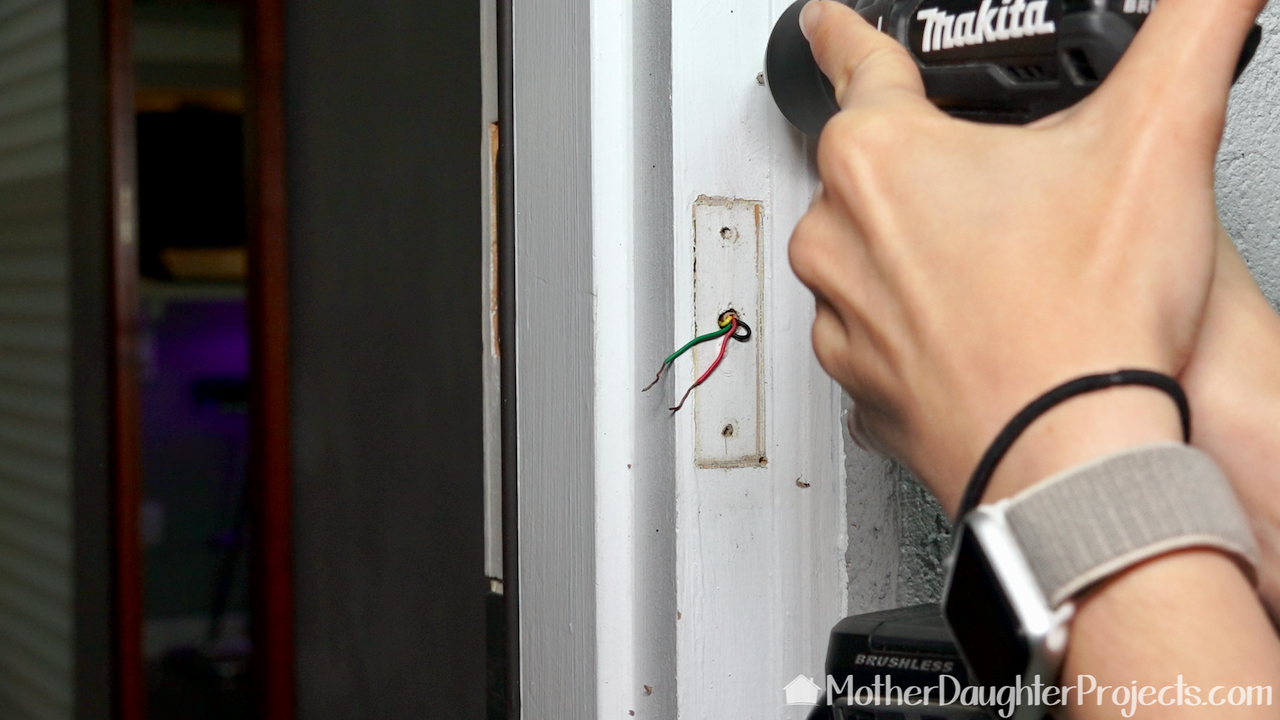
Steph drilled pilot holes for the screws.
Using the provided screwdriver, attach the existing doorbell wiring to the screws on the back of the new doorbell. Put the wires on either screw as it doesn't matter which goes on which screw.
Install is complete. Turn the power back on and go through the app set-up.
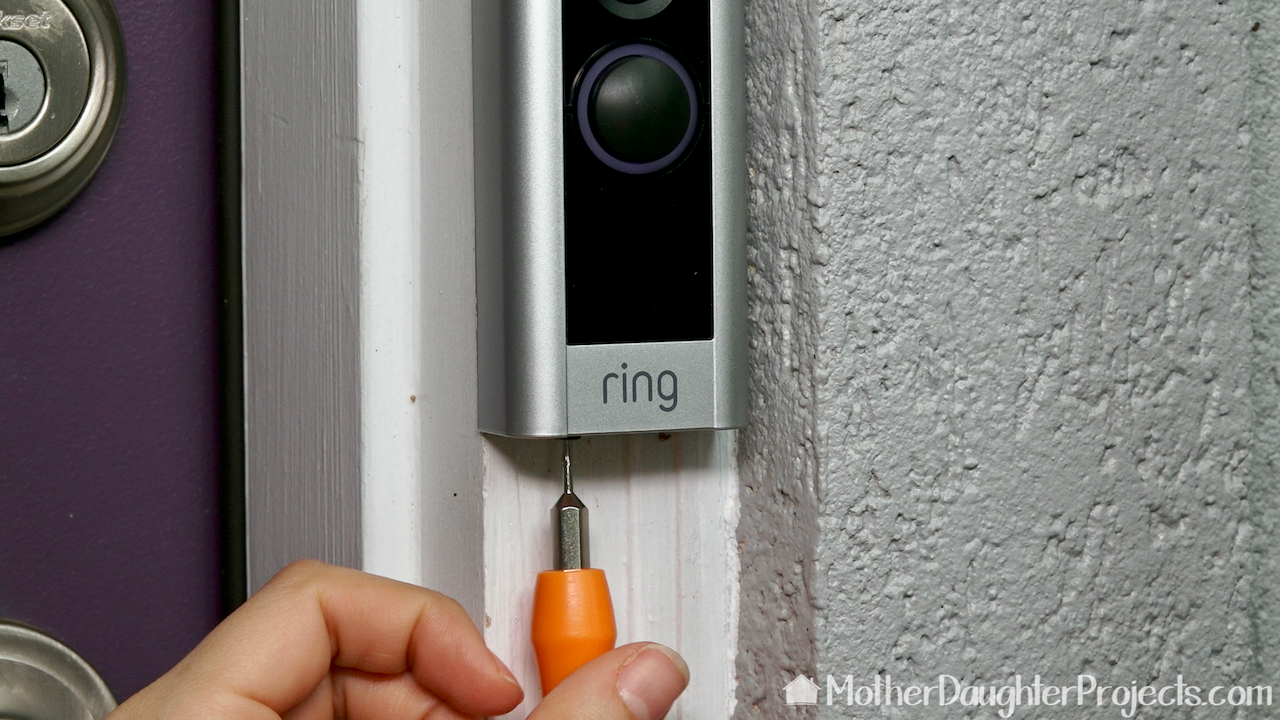
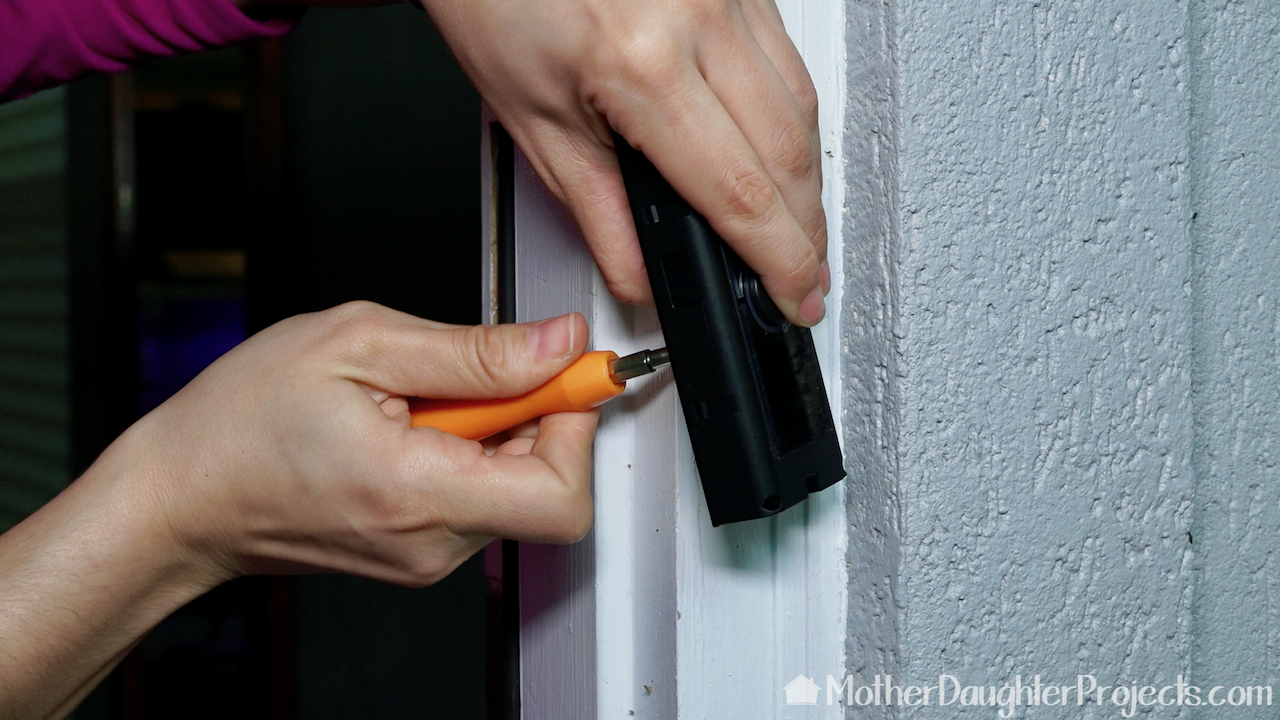
The very last step is to snap on the desired color faceplate and install the security screw on the bottom.
The installation of the Ring doorbell was surprisingly easy. With the exception of the one hiccup we had installing the doorbell too close to the wall, everything was without difficulty.
It seems like Ring tried to anticipate any potential problem a homeowner may have with the installation and was ready with handy tips and solutions via the installation app we followed. The app has a share feature. Steph shared it with me so I can also monitor her front door. It's really been handy to see the front door especially to know when packages have been delivered. We acknowledge that The Home Depot is partnering with us to participate in the Smart Home Campaign 2018. As a part of the Program, we are receiving compensation in the form of products and services, for the purpose of promoting The Home Depot. All expressed opinions and experiences are our own words. Our post complies with the Word Of Mouth Marketing Association (WOMMA) Ethics Code and applicable Federal Trade Commission guidelines. FYI: We are not professionals, and we don’t claim to be. This is what we found worked for our project. Yours may need a little different approach. Safety first! FYI: Affiliate links are being used on this page. Purchasing via these links help support MDP! Related Projects
2 Comments
William Bielecki
6/7/2018 10:18:09 am
I love all the different smart home products. I would love to use some. My problem is I do not have a smart phone (cost) so a lot of products are useless to me. I am interested in products that work with a computer.laptop or HD TV.
Steph
6/8/2018 08:31:56 am
Hi William! Great point- thanks for sharing. This product can actually be setup on a computer and does not have to be done through a phone. We mention it in the video briefly but will try to make this more clear in the written post in future projects. Thanks! Leave a Reply. |

Mother Daughter Projects
|