text by Vicki Sign up to get Mother Daughter Projects updates in your email!
This post is sponsored by The Home Depot as a part of The Home Depot’s ProSpective Campaign. THD provided the DeWalt Compressor used in this post.
One of our new tools is the DeWalt Cordless Compressor. Rather than just review the tool, we wanted to show you a real life project on how you can use it. Our favorite use for a compressor is for upholstering with a pneumatic stapler. Using this type of stapler takes all the effort out of upholstering. I find it very difficult to use a standard manual upholstery stapler. The electric ones I've used have not been able to drive the staples in completely.
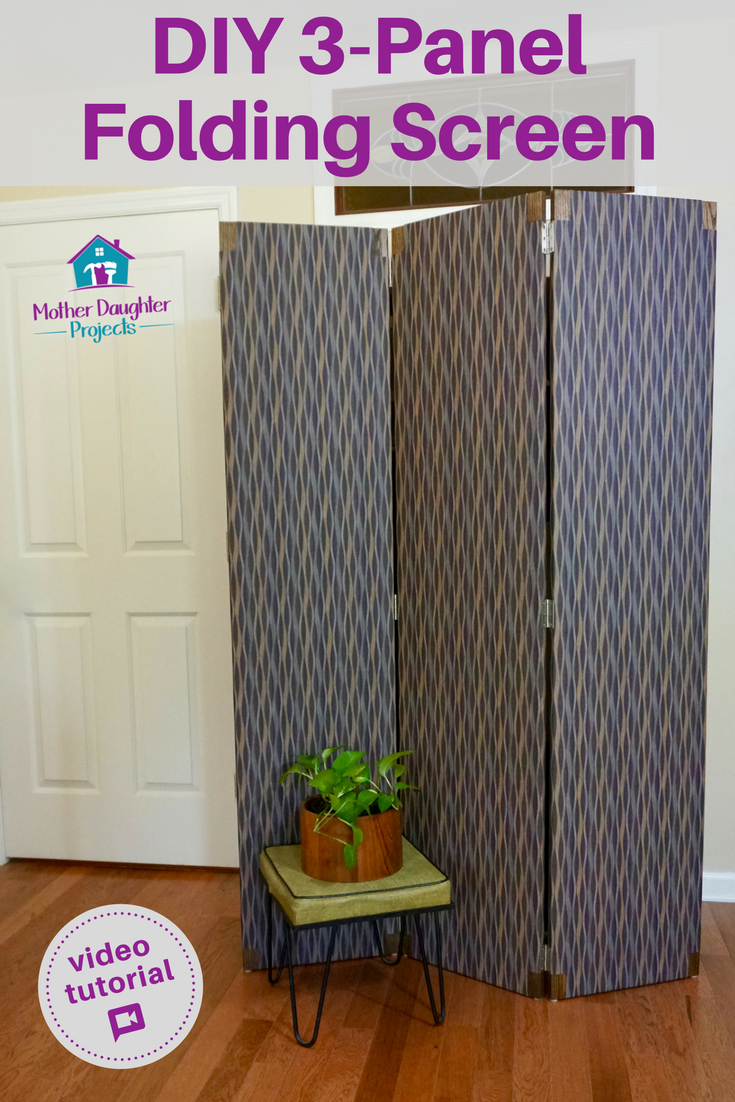
A pneumatic stapler with a compressor saves your hands and efficiently drives the staples into the fabric down into the wood. This is the only method I'd use to upholster now and in the future! We were very impressed with the new DeWalt Cordless Compressor. It filled quickly with air, it was as easy as turning a knob to set the output force, and refilled quickly. It is loud, but not any louder than others we've used. Hearing protection is a must as far as we are concerned. The project we decided to make is a folding screen. I decided on this after I observed my yoga ball and mat are always in plain sight when not in use. I thought with a screen, I could place these in a corner with the screen in front and not have to look at them during the week! Bonus, I found a piece of mid-century looking vinyl for the screen that has jumpstarted the redecorating of my bedroom. 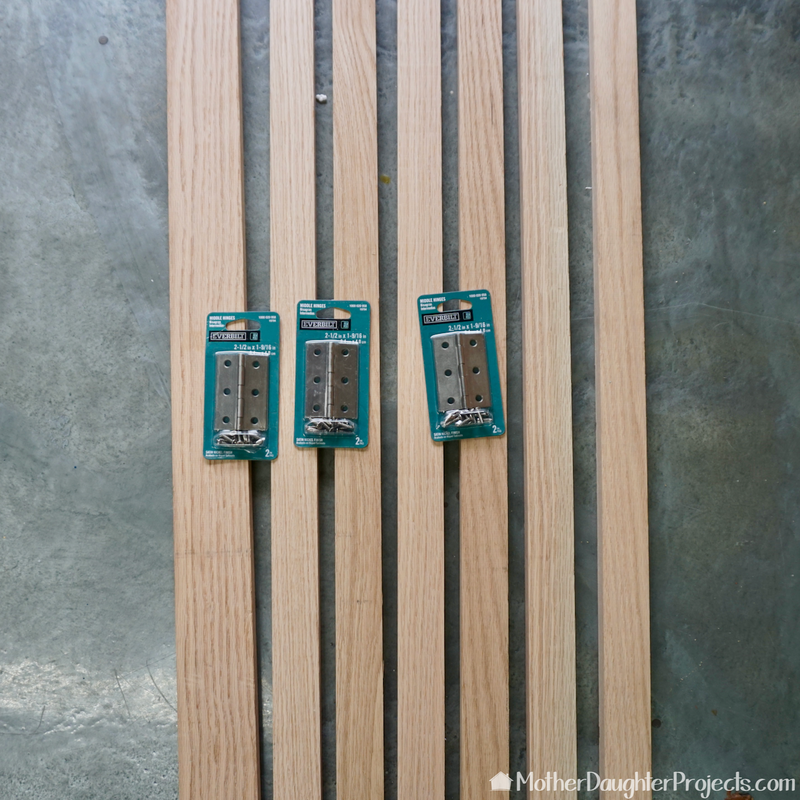
We used oak boards and hinges from The Home Depot. I found the vinyl fabric at a yard sale put on by a designer. I didn't think I'd find anything there, but I ended up getting my perfect living room rug, two lamps, and a $5.00 roll of vinyl! It was a good yard sale day!
Materials:
Tools:
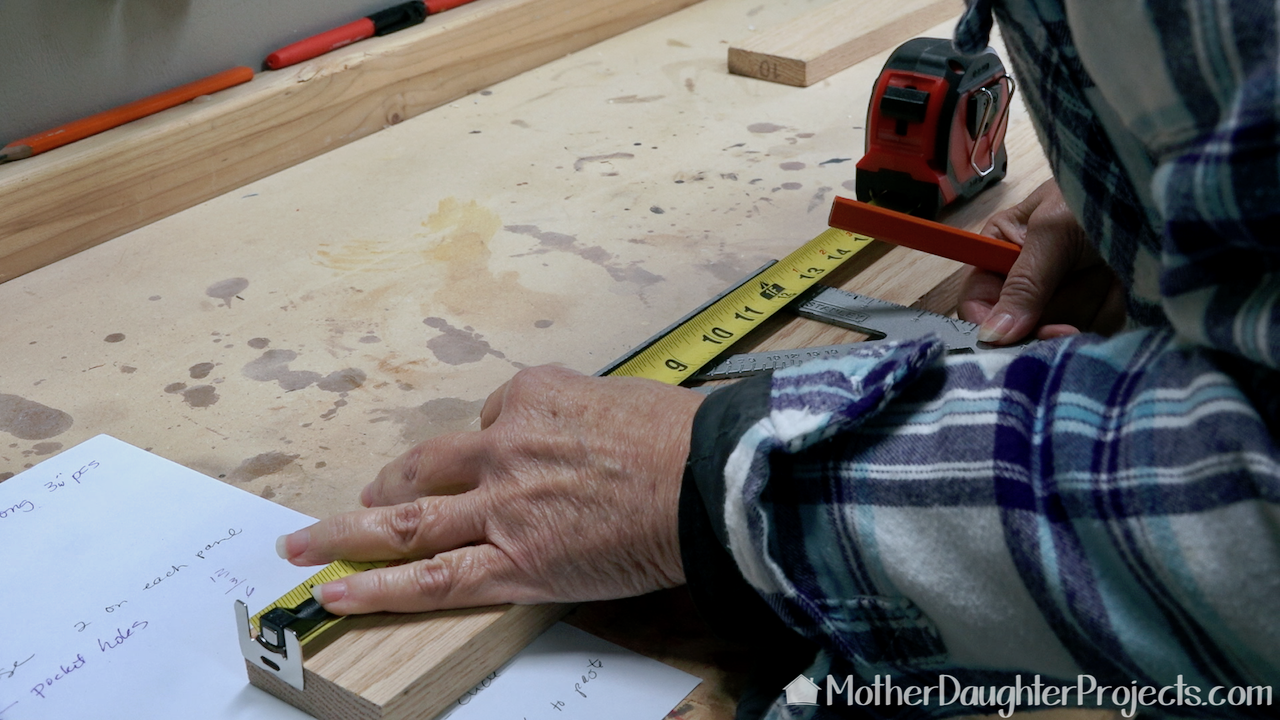
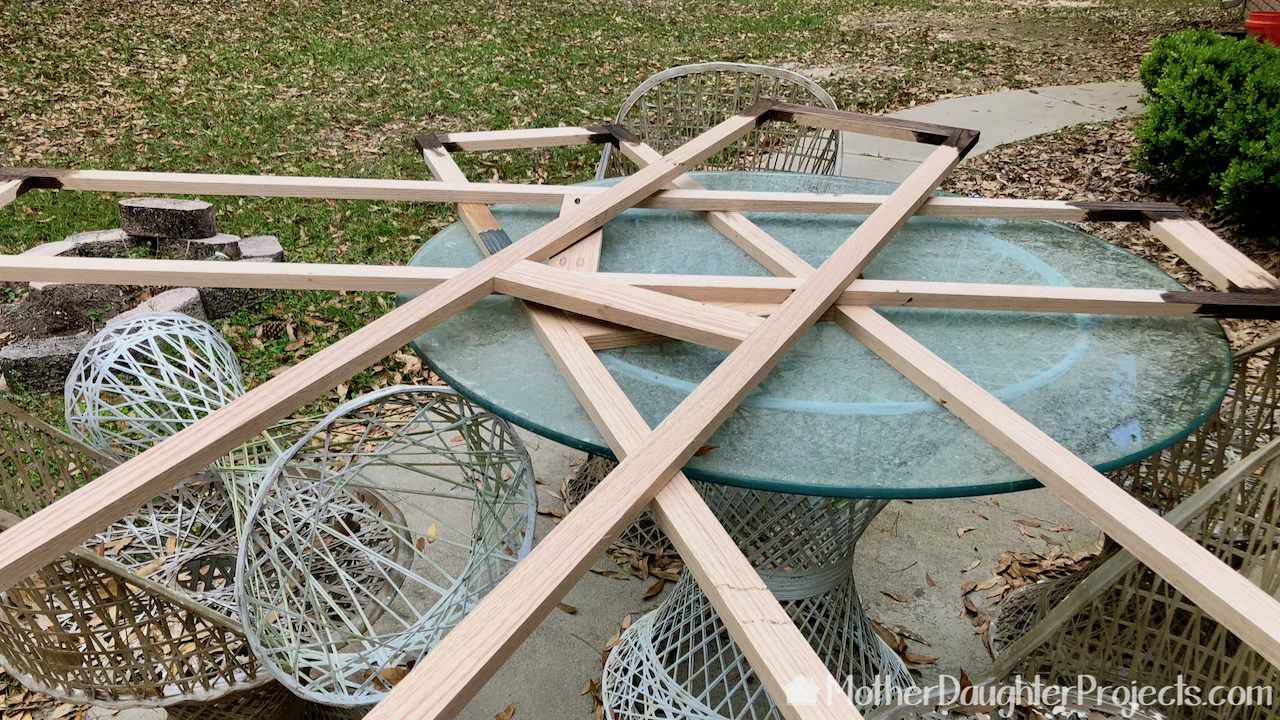
The frames are made from 1x2's (6 at 6' each for the sides) and 9 pieces of 1x3's cut to 12 7/8" which are the horizontal pieces. We marked all the horizontal pieces and cut them on the miter saw.
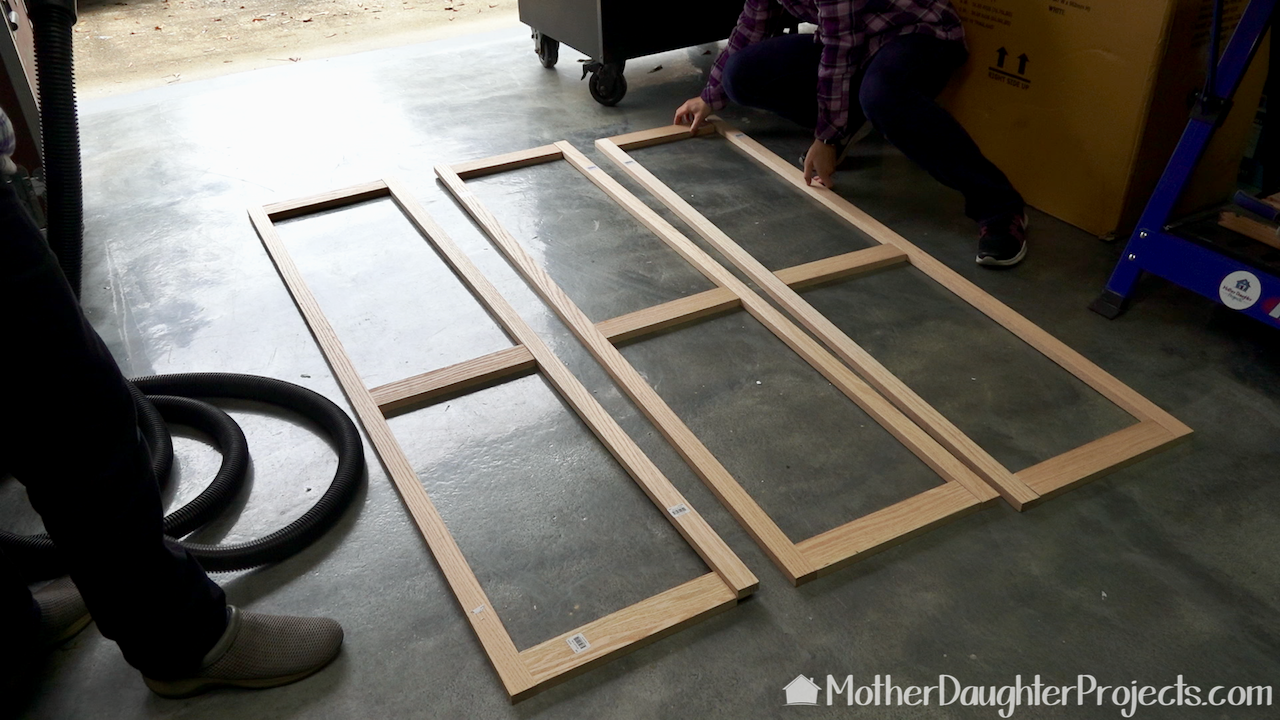
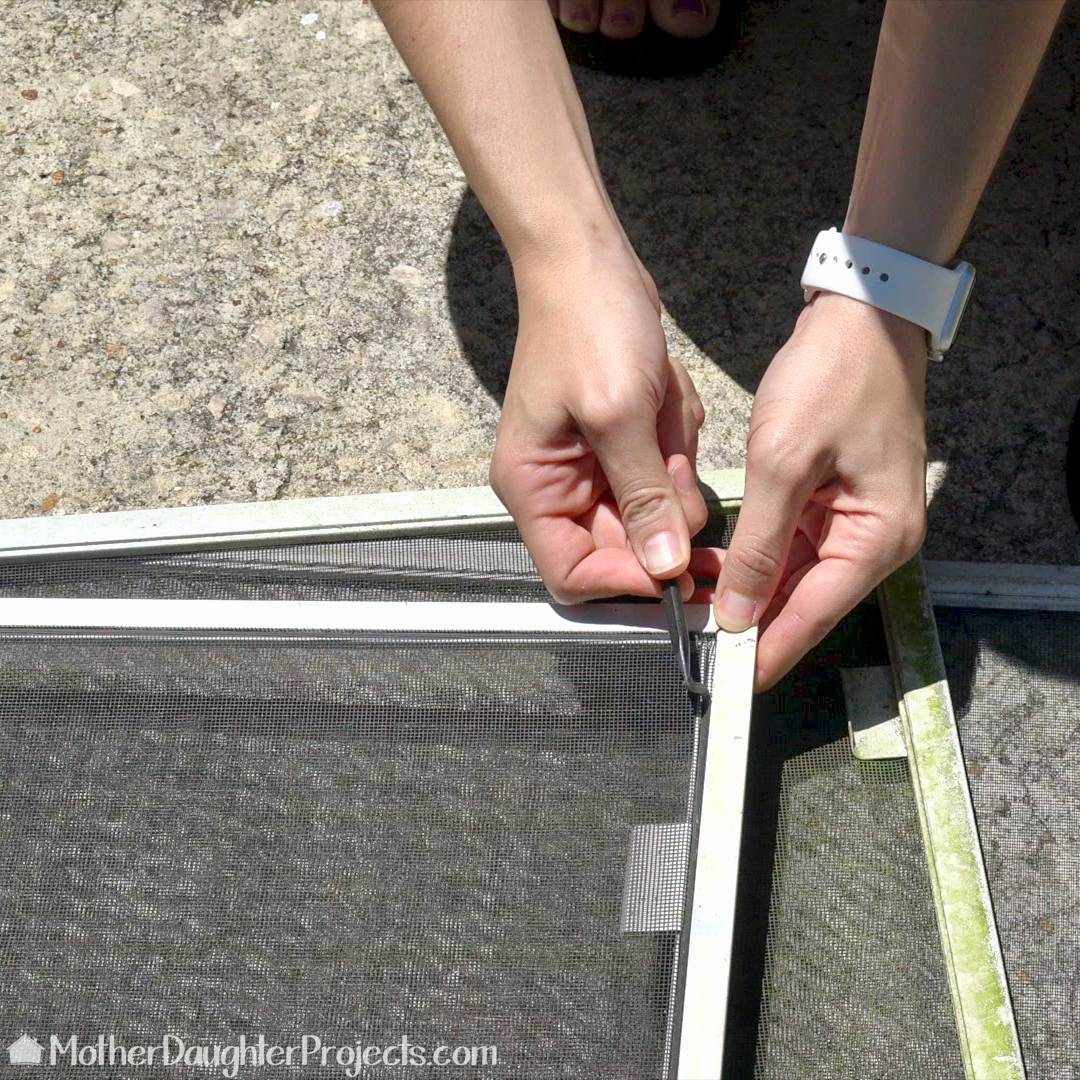
Once cut, we laid everything out to check the placement. Note: we sanded those stickers off.
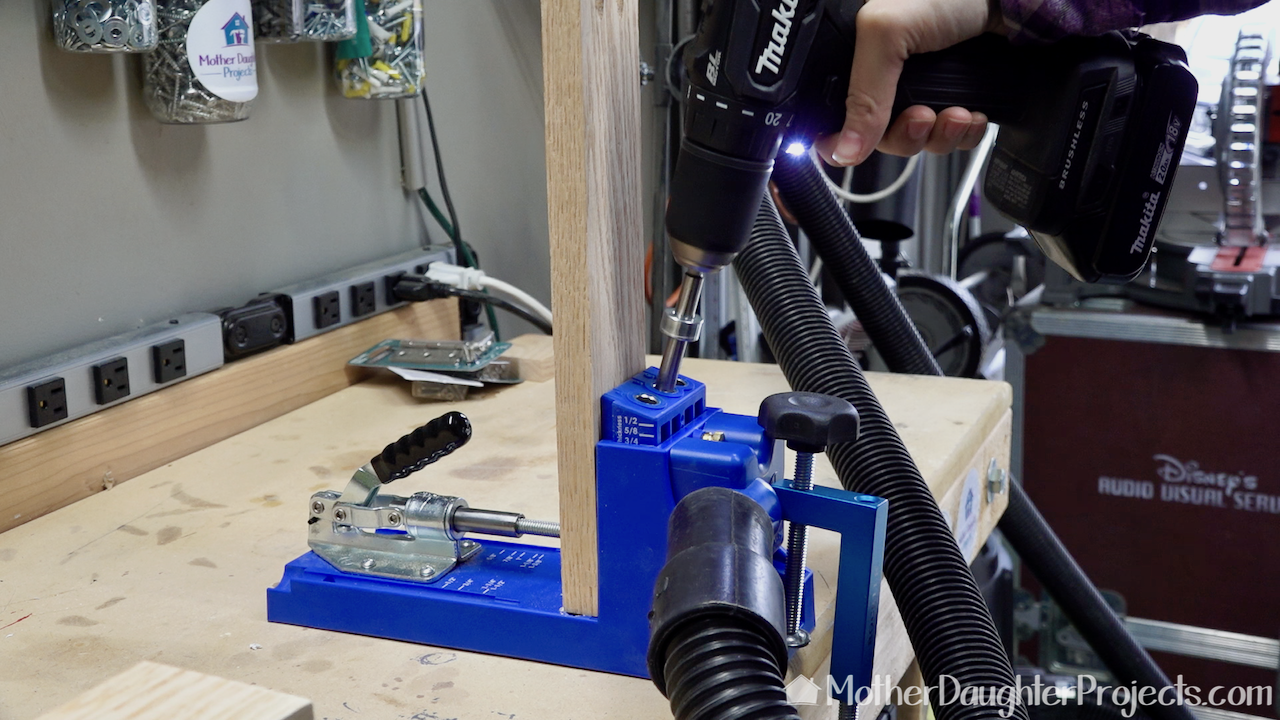
Using the Kreg Pocket Hole Jig, we made pocket holes in each of the 9 horizontal pieces. Each piece got four holes.
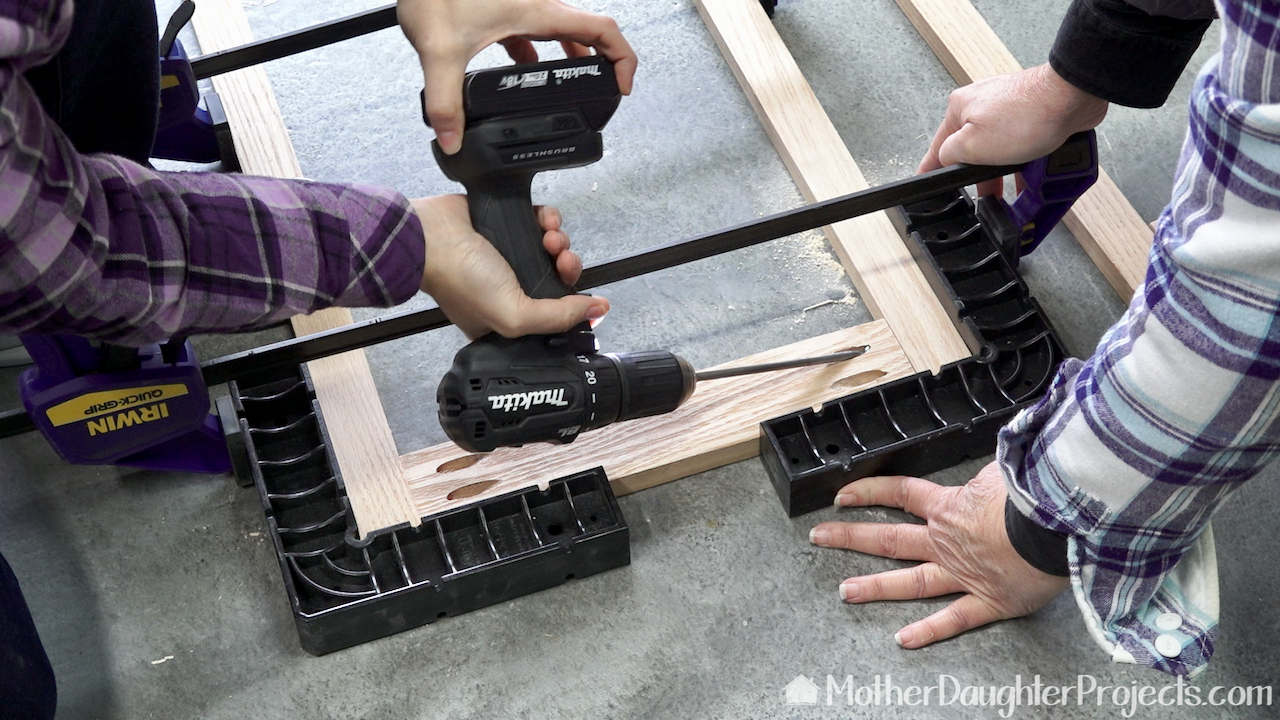
We squared everything up and secured the boards with pocket hole screws.

Those long clamps helped to keep everything square while we put in the screws.
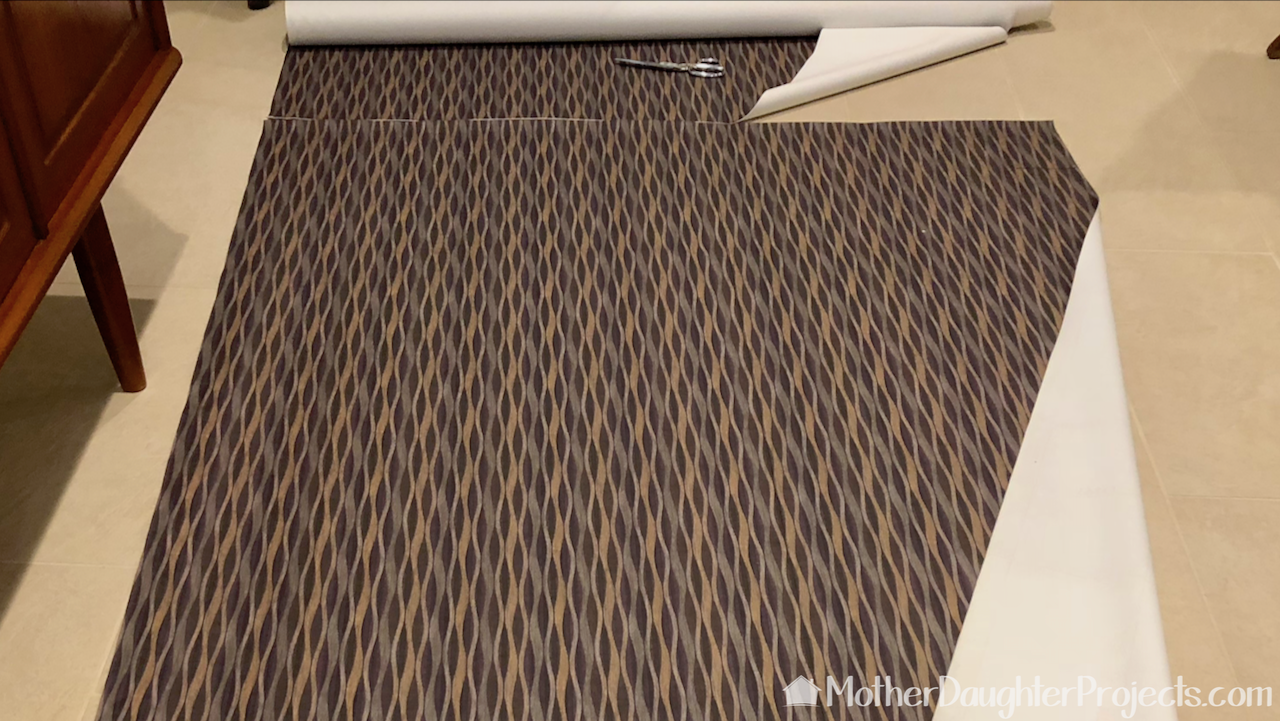
Back at my house, I put the vinyl on the floor and cut the three pieces needed to upholster the screen frames.
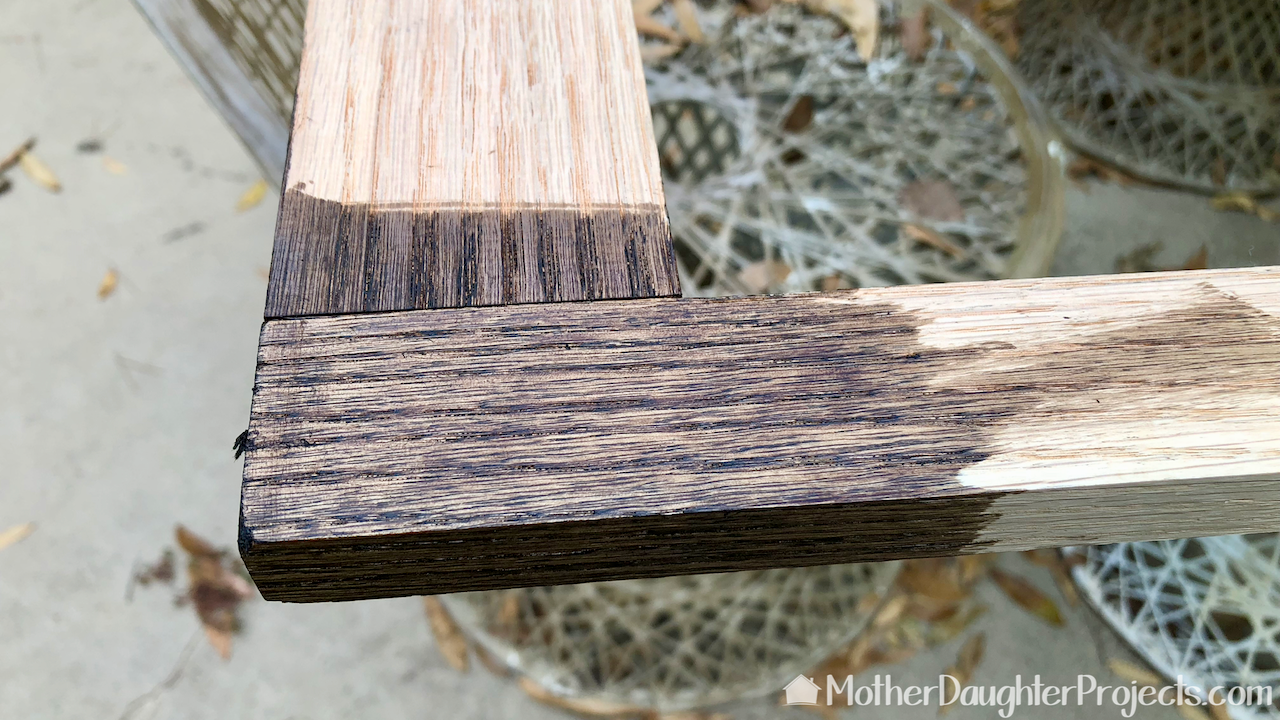
Since vinyl can be cut without fraying, I decided to cut out the vinyl in a way that the corners of the frames would show. I stained the area that would show.
All the corners are done and drying.

Back at Steph's I did some final cutting of the vinyl before upholstering. Vinyl is so easy to cut!
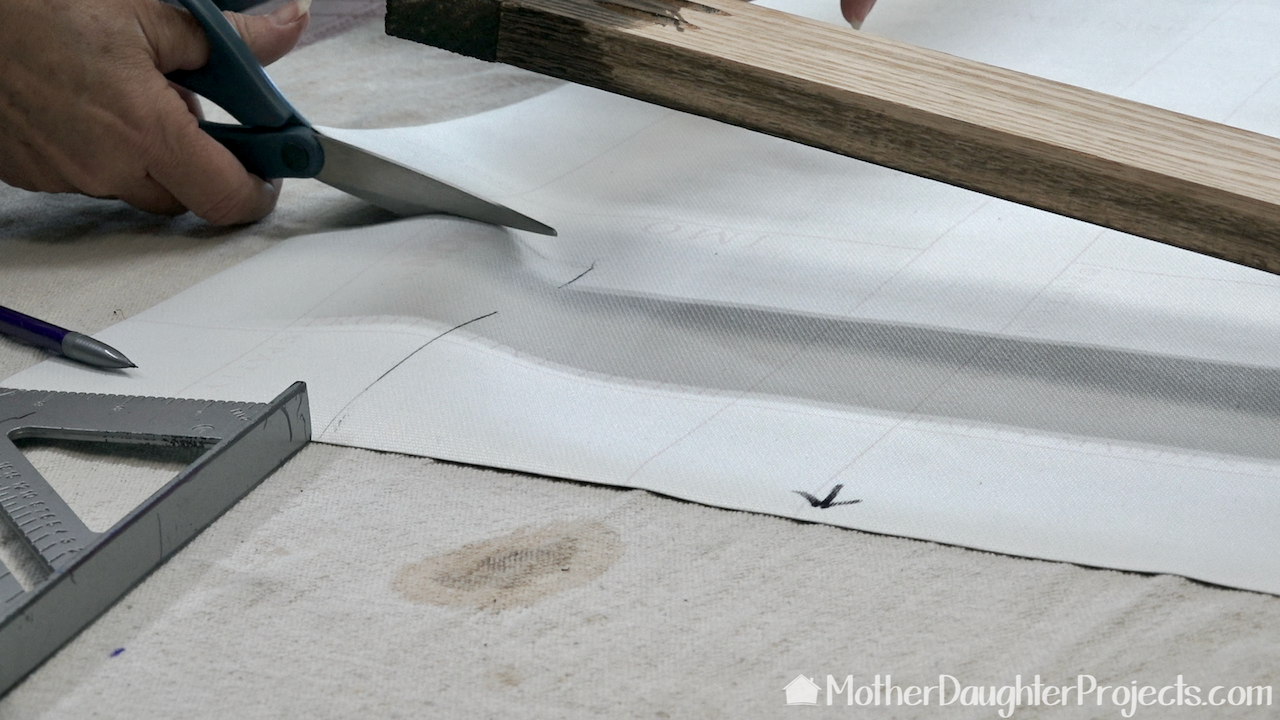
I cut out the corners so the wood corners would show. The arrow is so I was able to keep the vinyl all going in the same direction on all three pieces.
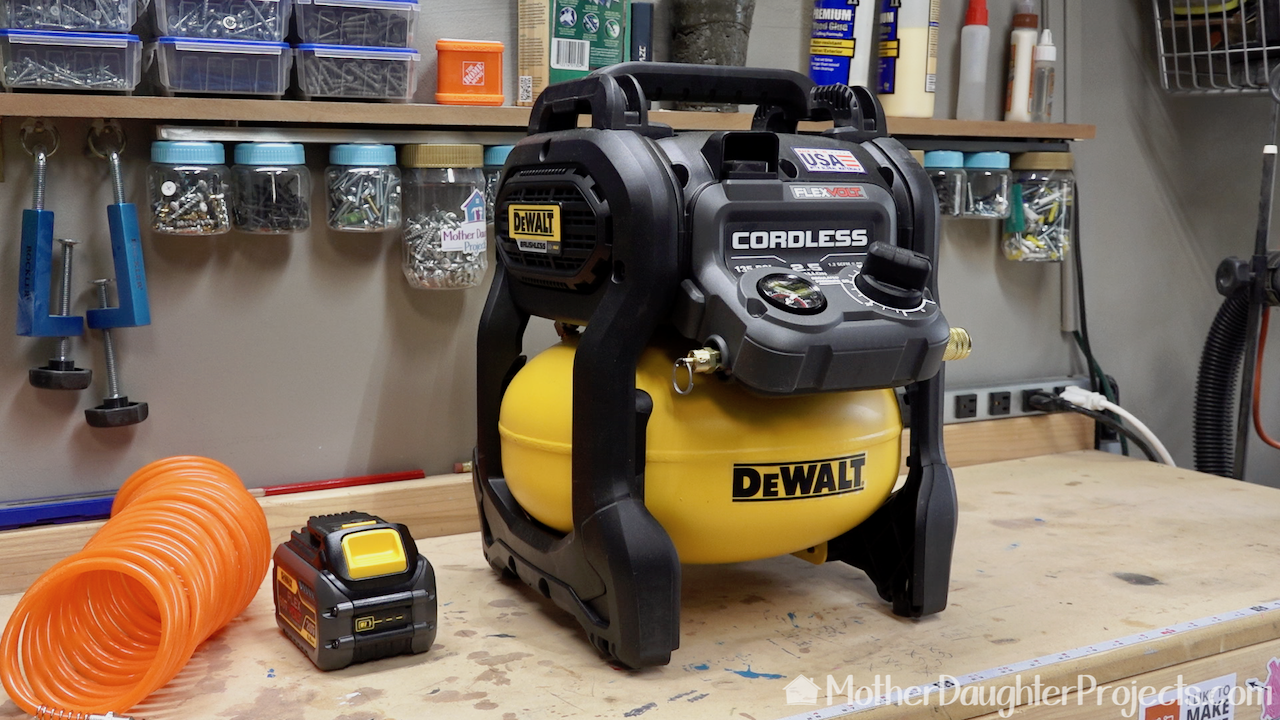
The DeWalt Cordless Compressor made the upholstery job so easy! It's a small but powerful machine.
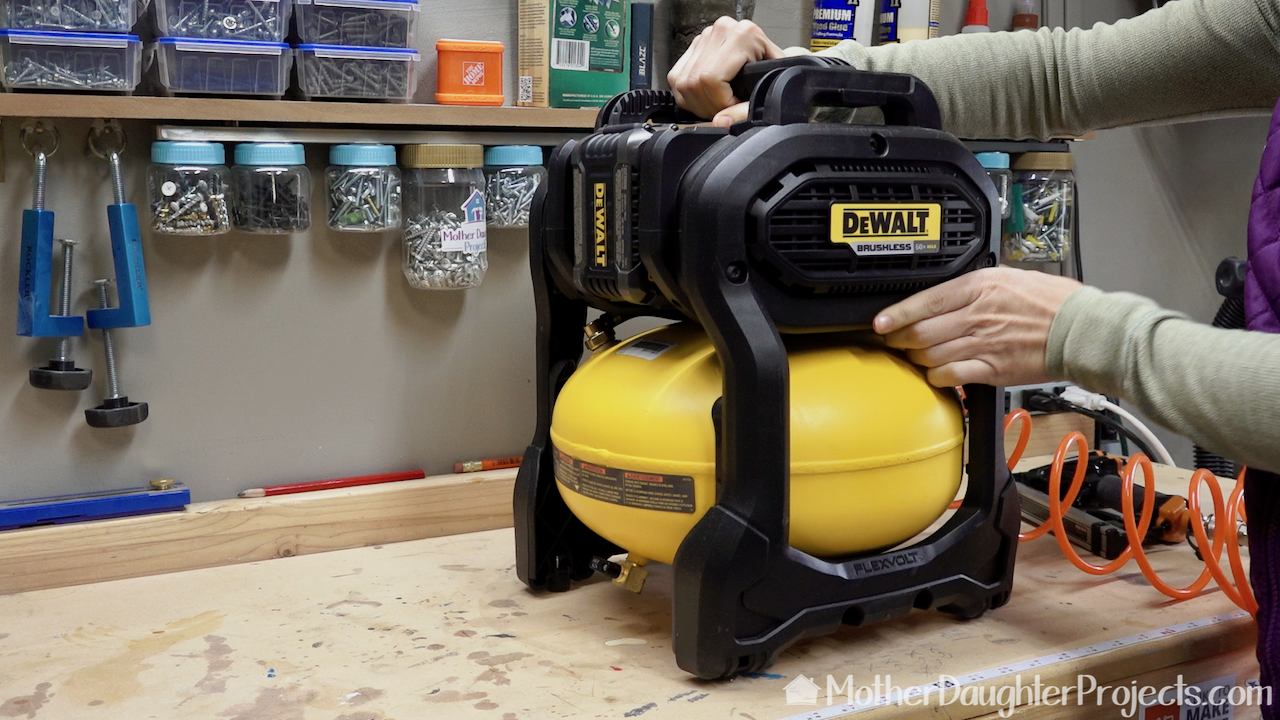
The battery goes in the back. That knob on the back is to release any build up of condensation.
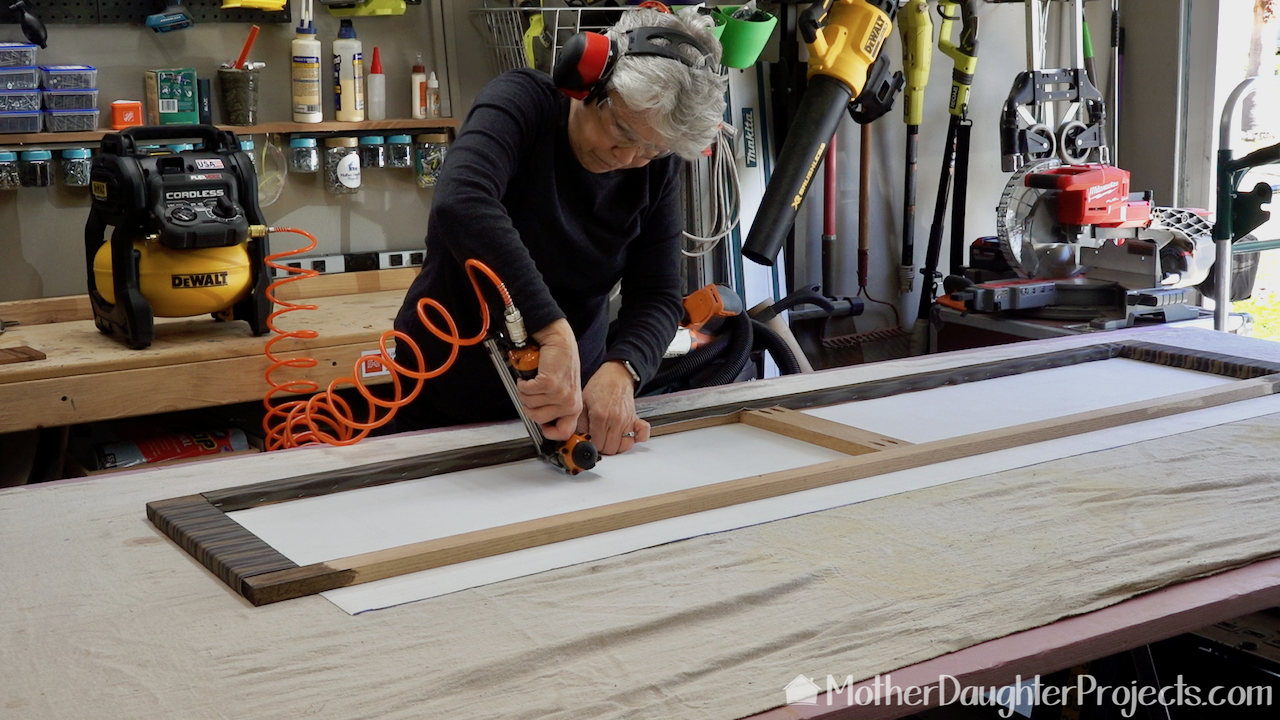
The upholstery stapler goes on a standard compressor hose. The DeWalt filled quickly and refilled in about 30 seconds. Hearing and eye protection is a must!
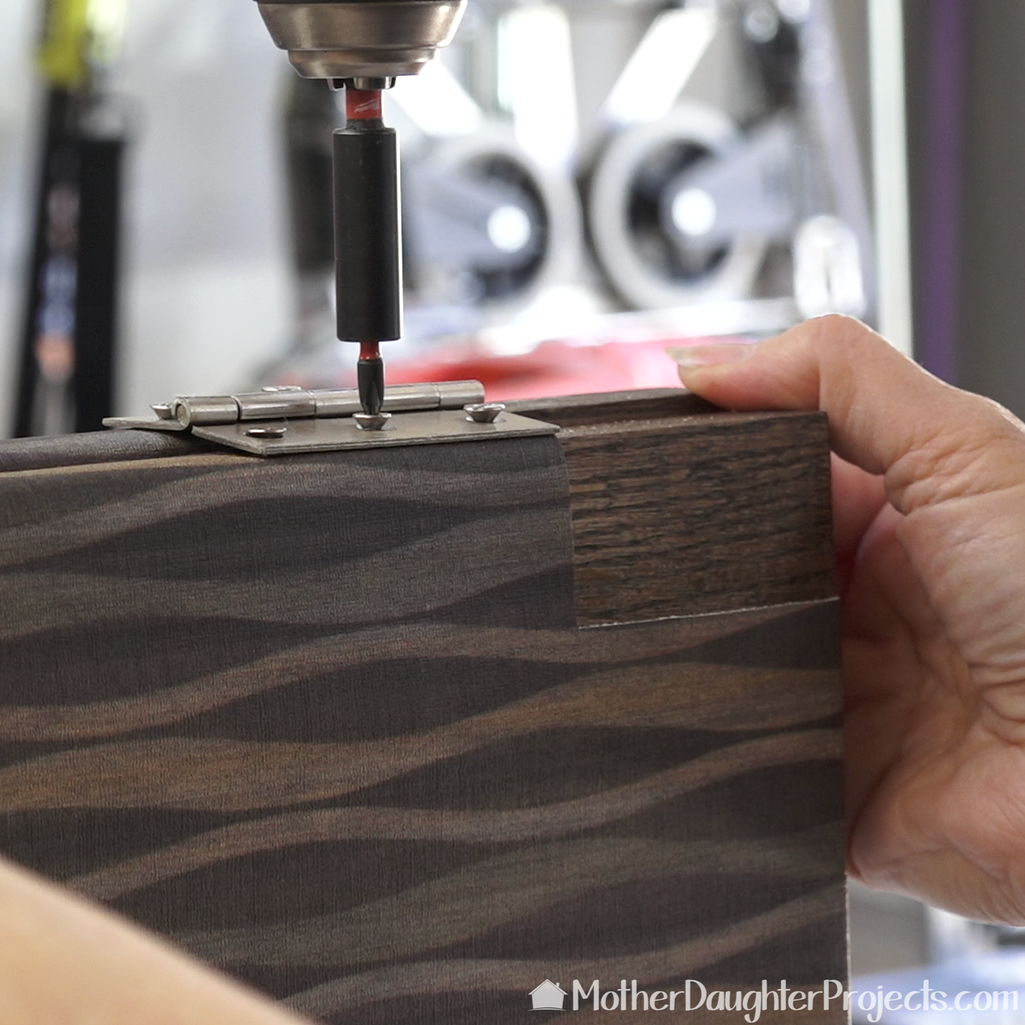
We added hinges to connect the screen panels. Two panels are placed back to back for hinge placement and the other two are placed front to front for the second set of hinge placement.
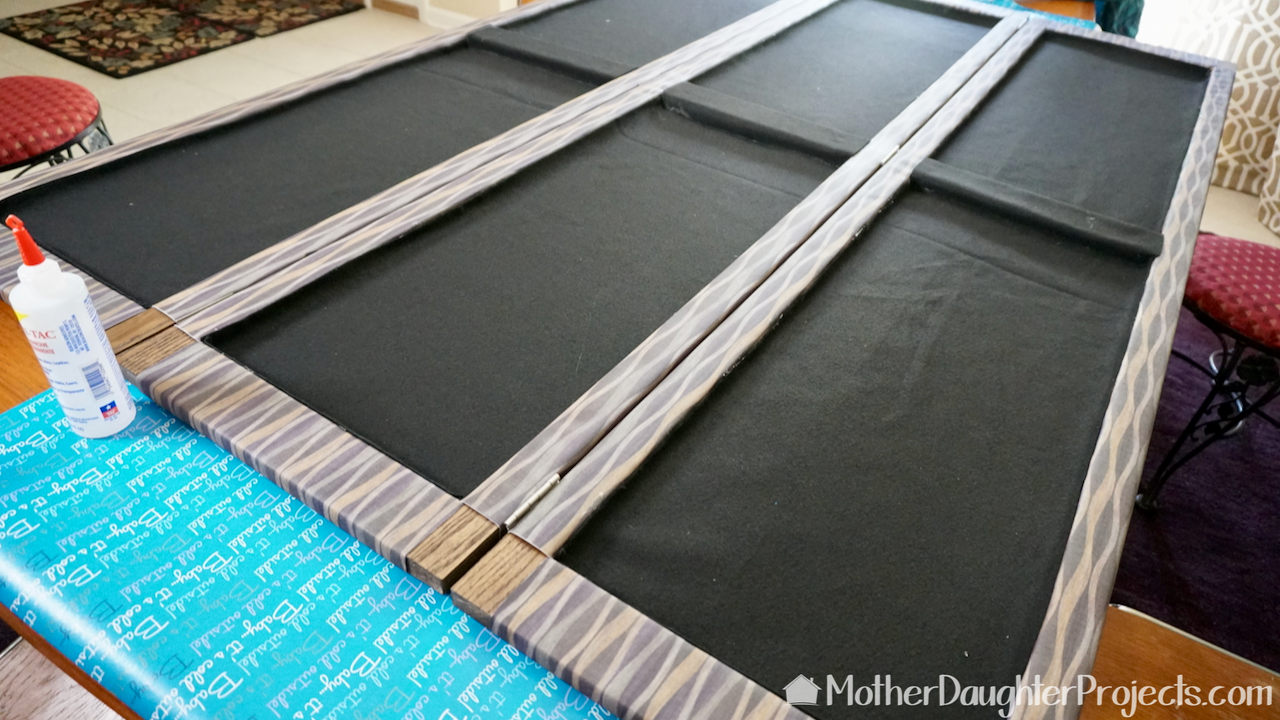
The back of the screen was finished with felt that was glued into place with fabric glue.
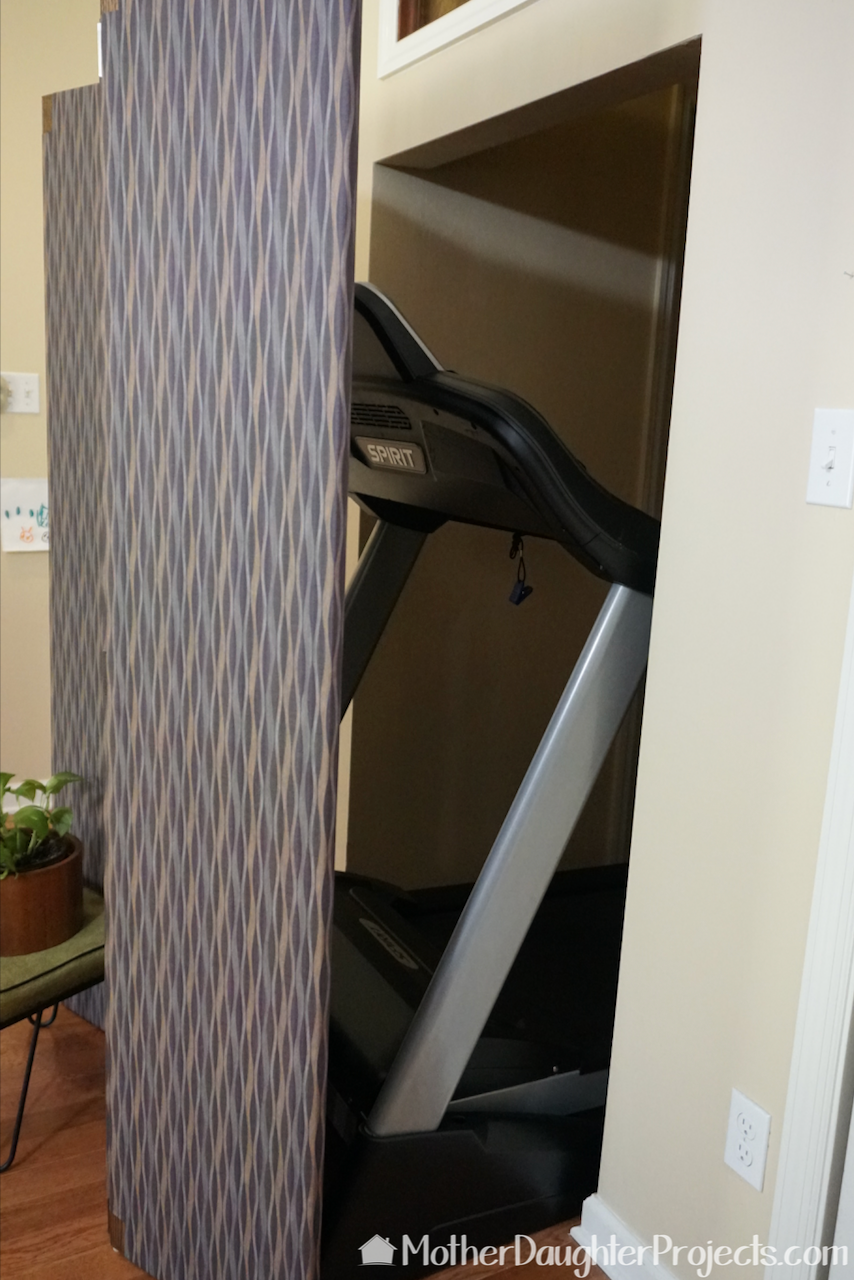
The screen does a good job of hiding ugly exercise equipment!
I love the way this turned out and want to make more! The most challenging part of this project was figuring out how to position the hinges so the screen would fold correctly. Thankfully Steph has a screen at her house and we were able to use that one as a visual aid in helping with the hinge situation. Getting the placement of the hinges and screwing them in is definitely a two-person operation. Draft a buddy to help with this.
Where do you need a screen in your house? Let us know in the comments below! We acknowledge that The Home Depot is partnering with us to participate in the The Home Depot ProSpective Campaign. As a part of the Program, we are receiving compensation in the form of products and services, for the purpose of promoting The Home Depot. All expressed opinions and experiences are our own words. Our post complies with the Word Of Mouth Marketing Association (WOMMA) Ethics Code and applicable Federal Trade Commission guidelines. FYI: We are not professionals, and we don’t claim to be. This is what we found worked for our project. Yours may need a little different approach. Safety first! FYI: Affiliate links are being used on this page. Purchasing via these links help support MDP! Related Projects
1 Comment
4/10/2018 09:27:28 am
Manual staple guns can be tough to use unless you find one that fits your grip well. Otherwise, they may be difficult to squeeze and keep flush to the surface while firing, which is really important to get the staples all the way into the surface. A pneumatic stapler can absolutely speed up the process. Great job on this project! Leave a Reply. |

Mother Daughter Projects
|