|
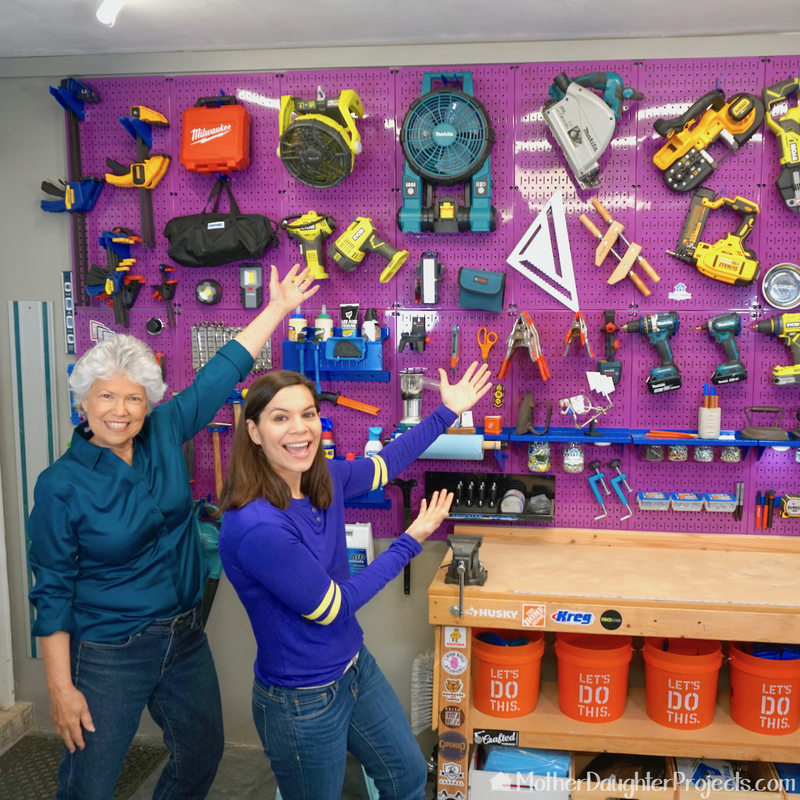
text by Vicki Sign up here to join our weekly email newsletter! While scrolling through Wall Control's website, Steph noticed they had vinyl used to make tool cutouts to create a "shadow board." The idea is to add the cutouts to the wall so you can easily return a tool to its proper place. Steph was intrigued, but she knew she did not want to trace around the tools and then cut them out. So, she designed a way to make the process a little more seamless using the Cricut Maker and the vinyl from Wall Control. I would suggest watching the video as it lays out the entire process step by step. Tools/ Materials:
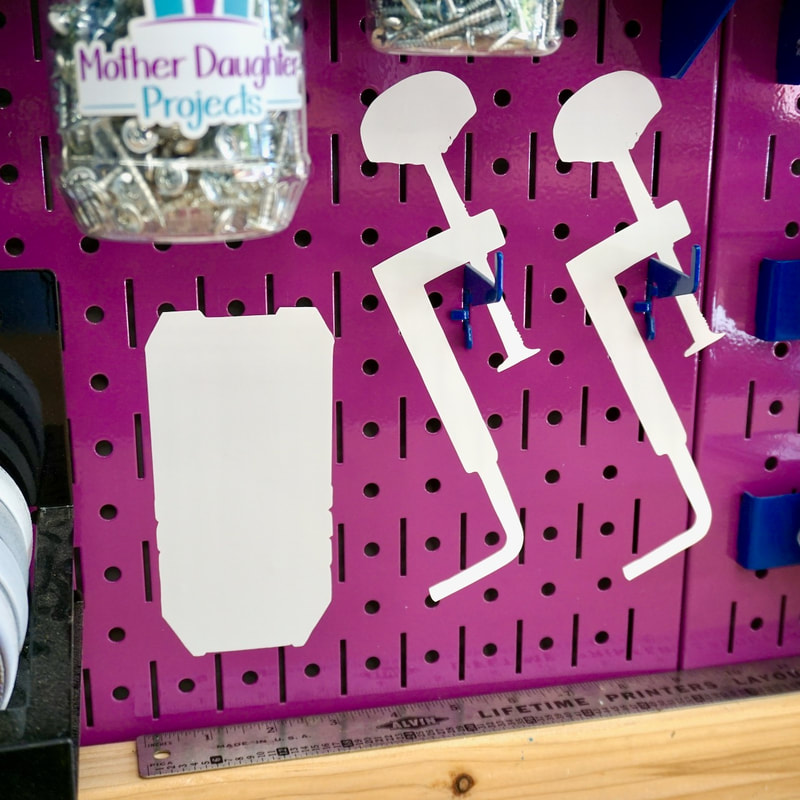
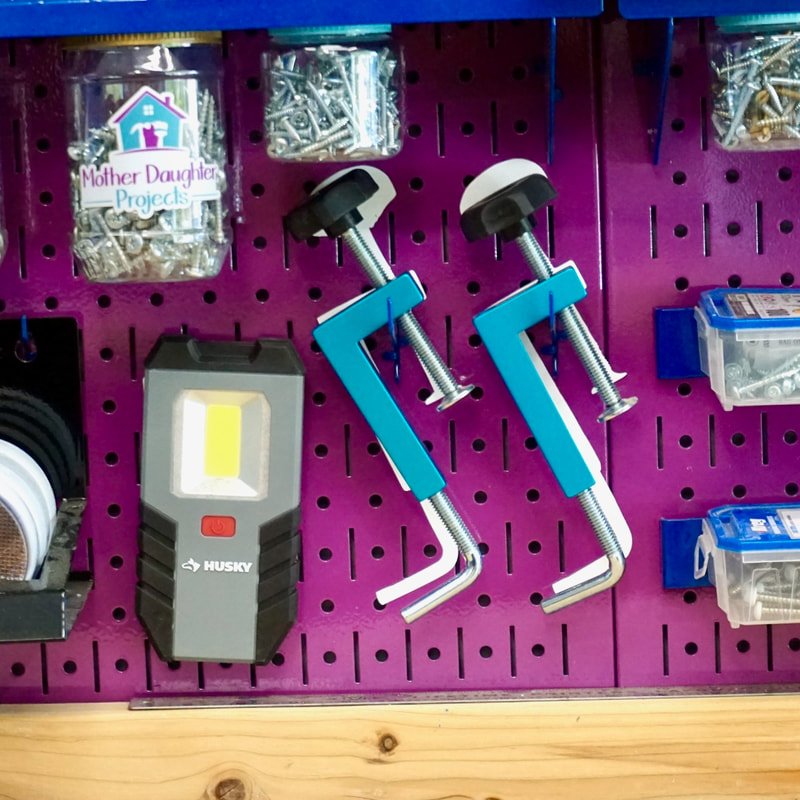
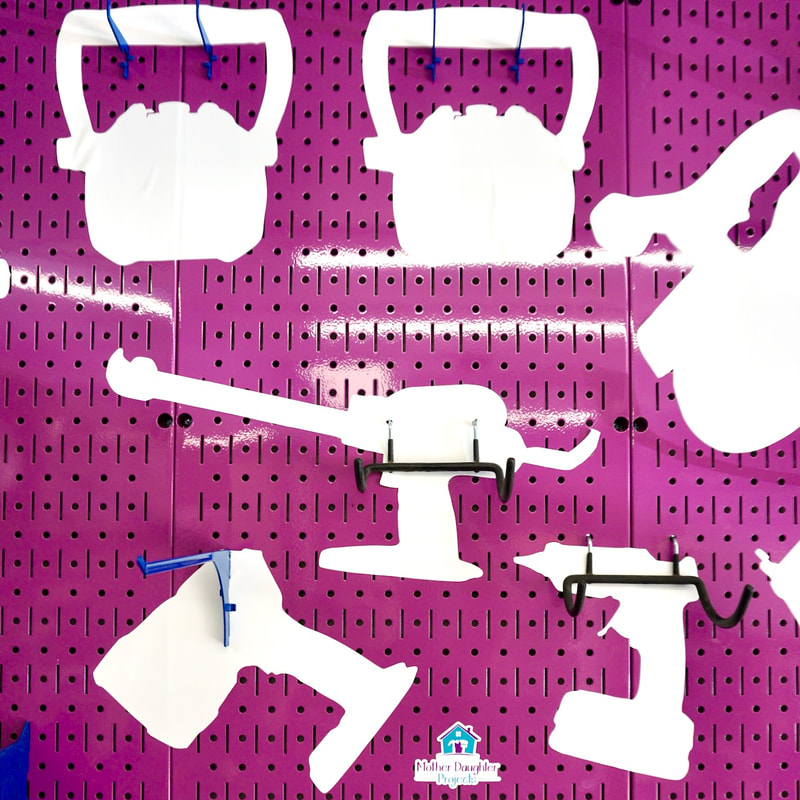
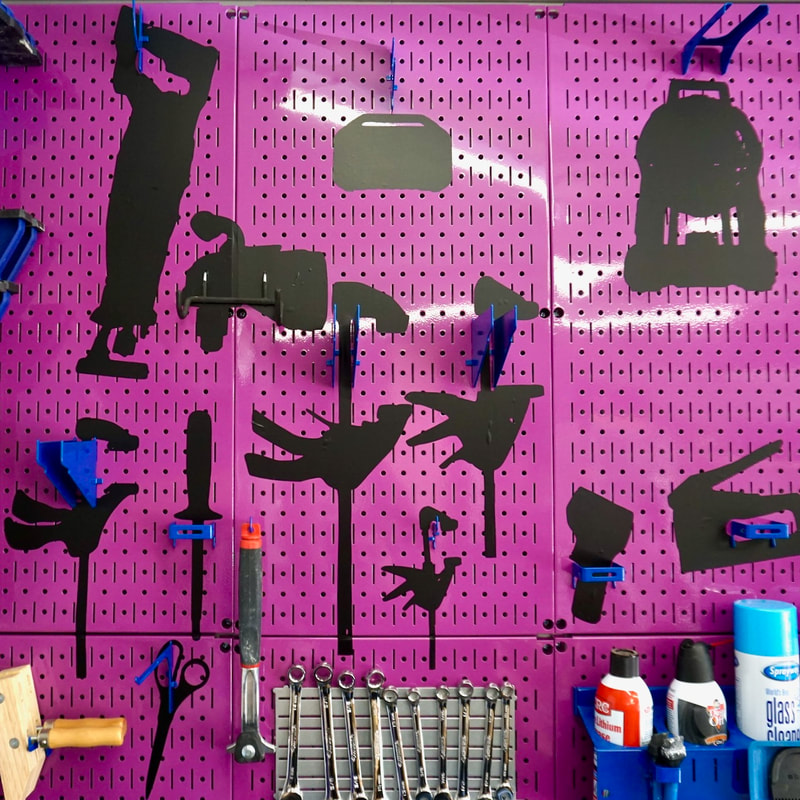
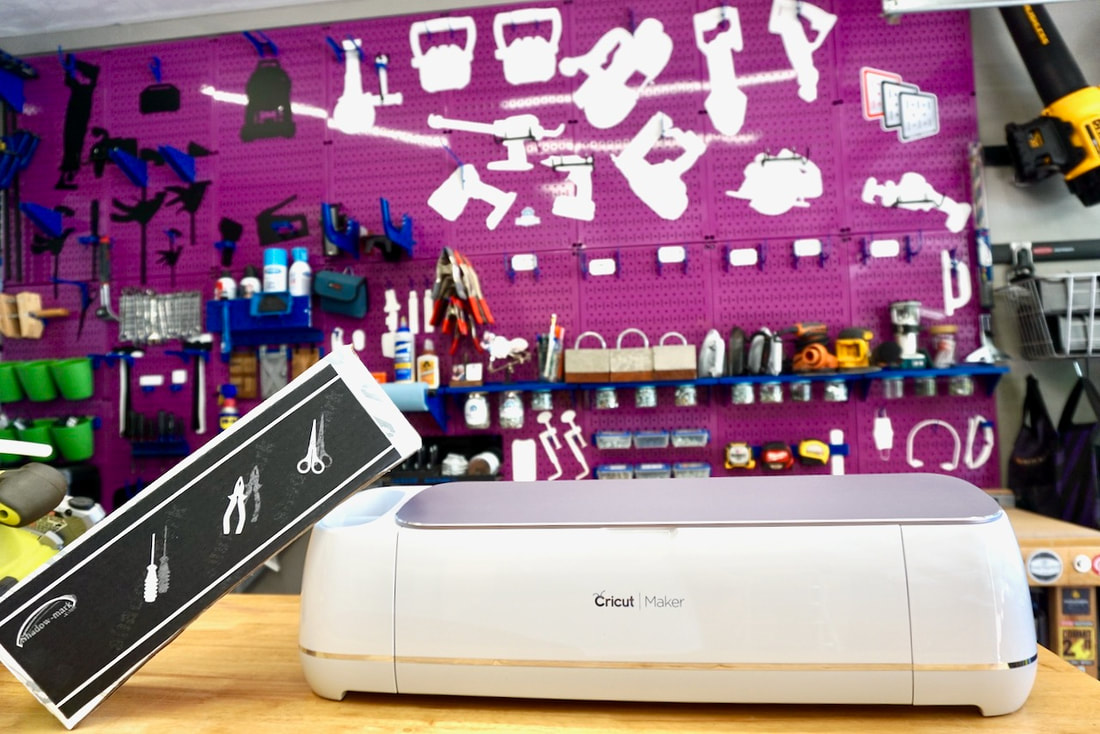 Steph tried out both the white and black versions of the Wall Control vinyl using the Cricut Maker. 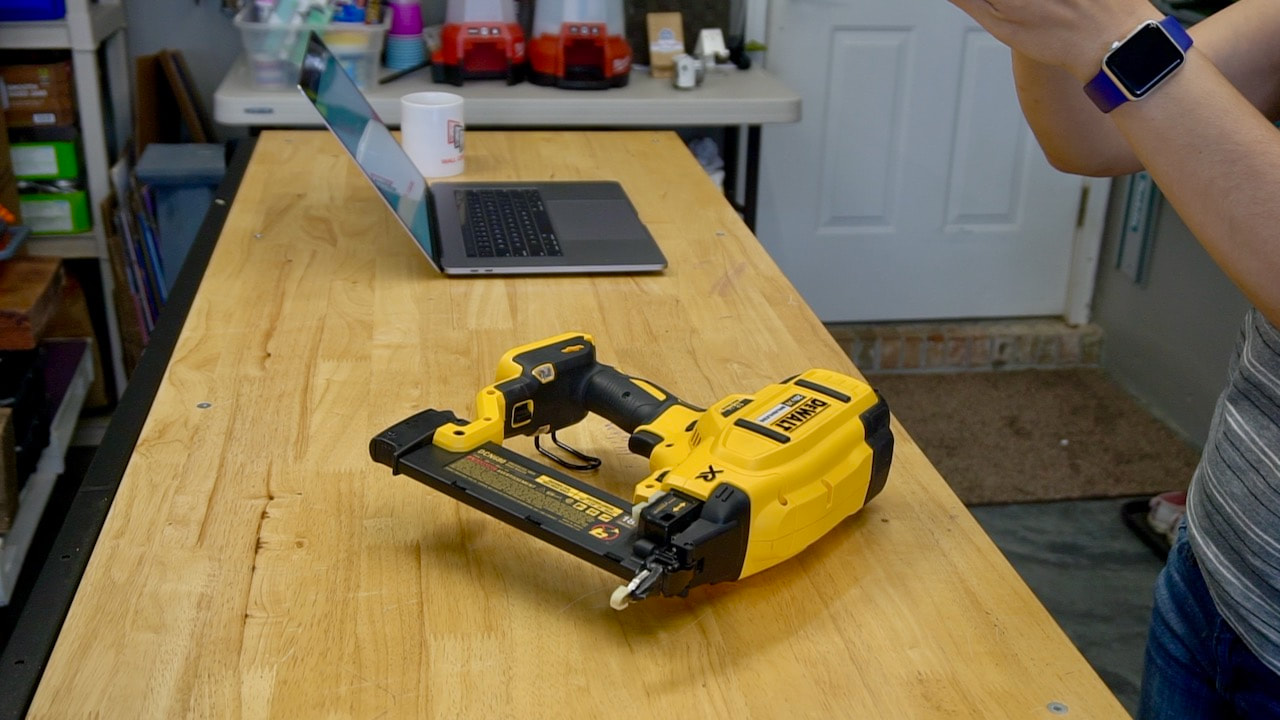 Her process started by taking a picture of a tool that had been placed on an uncluttered, plain background. The picture is then AirDropped to her computer for further manipulation.  The image can be manipulated in many different photo editing programs, but Steph thinks Canva.com is really superior when it comes to removing the background from an image. 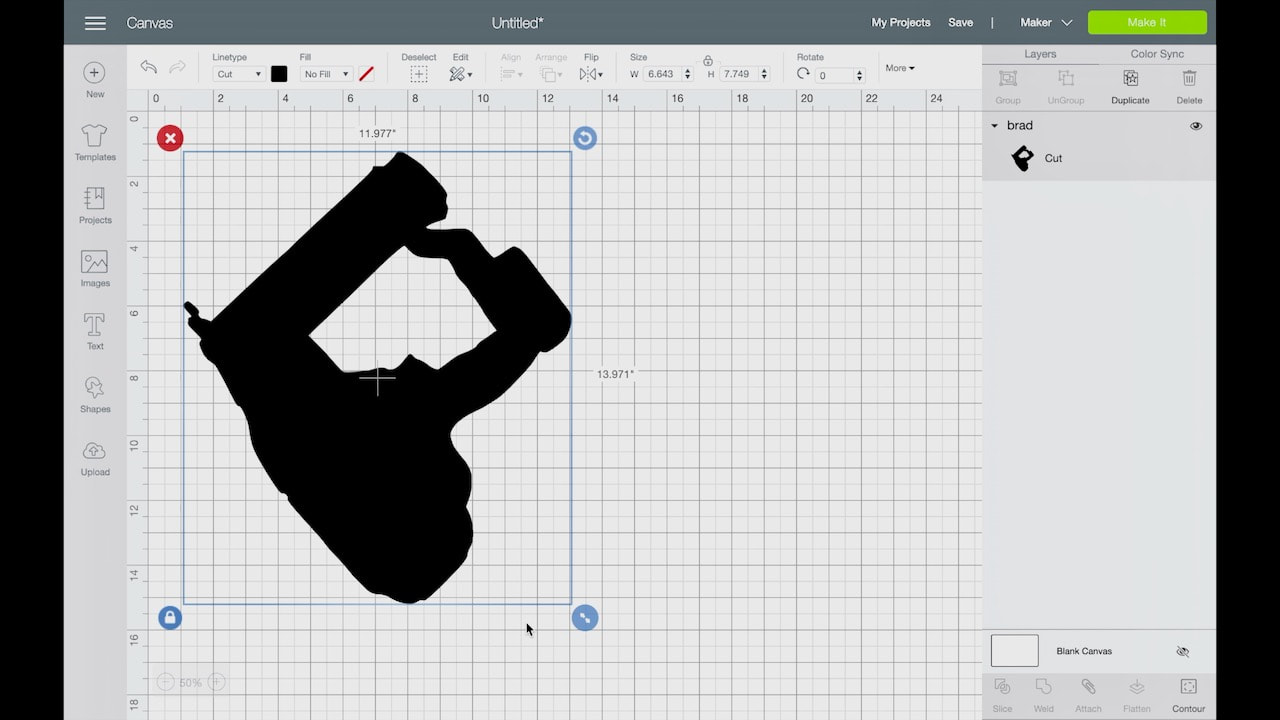 Once the background from the image has been removed, the image is dropped into the Cricut design space software to set up for cutting.  This is the white vinyl from Wall Control. It comes with handy cut lines on the back. Steph is using the 24 inch sticky mat from Cricut. The mat keeps the vinyl from shifting while the machine cuts. 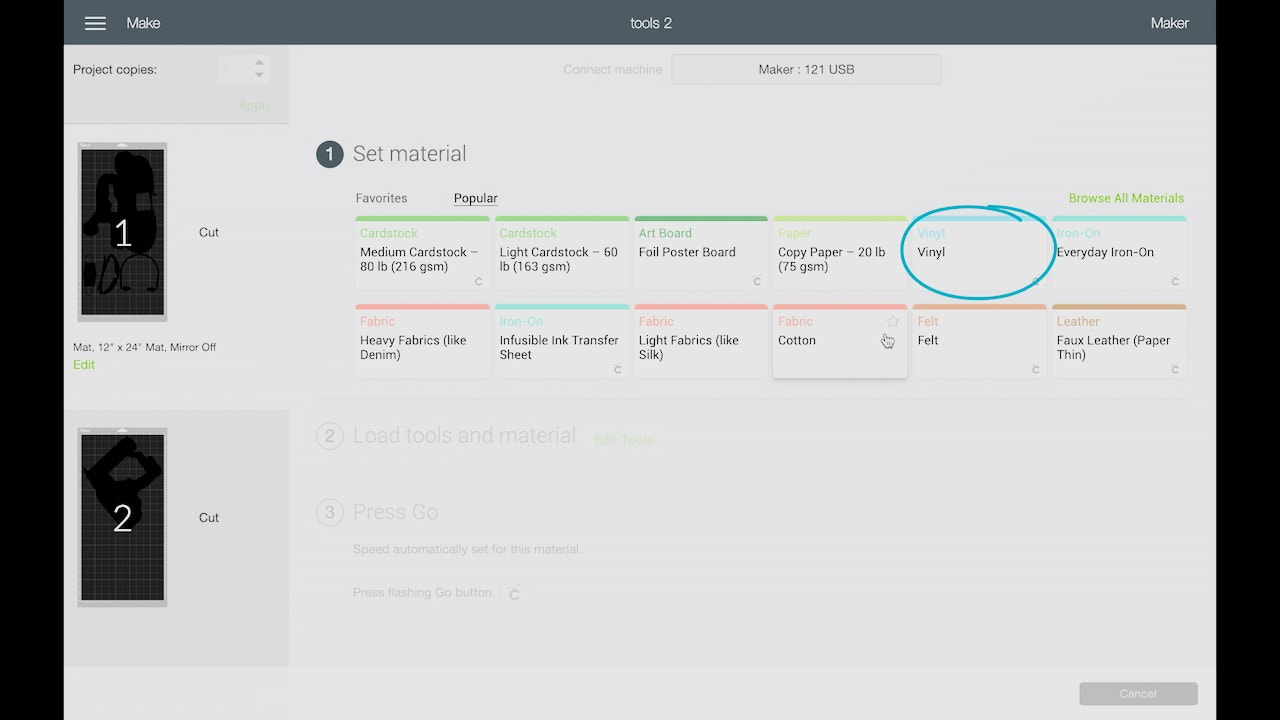 In the Cricut software, Steph set up the specifics needed to cut the vinyl. The standard "vinyl" setting worked to cut the Wall Control vinyl. 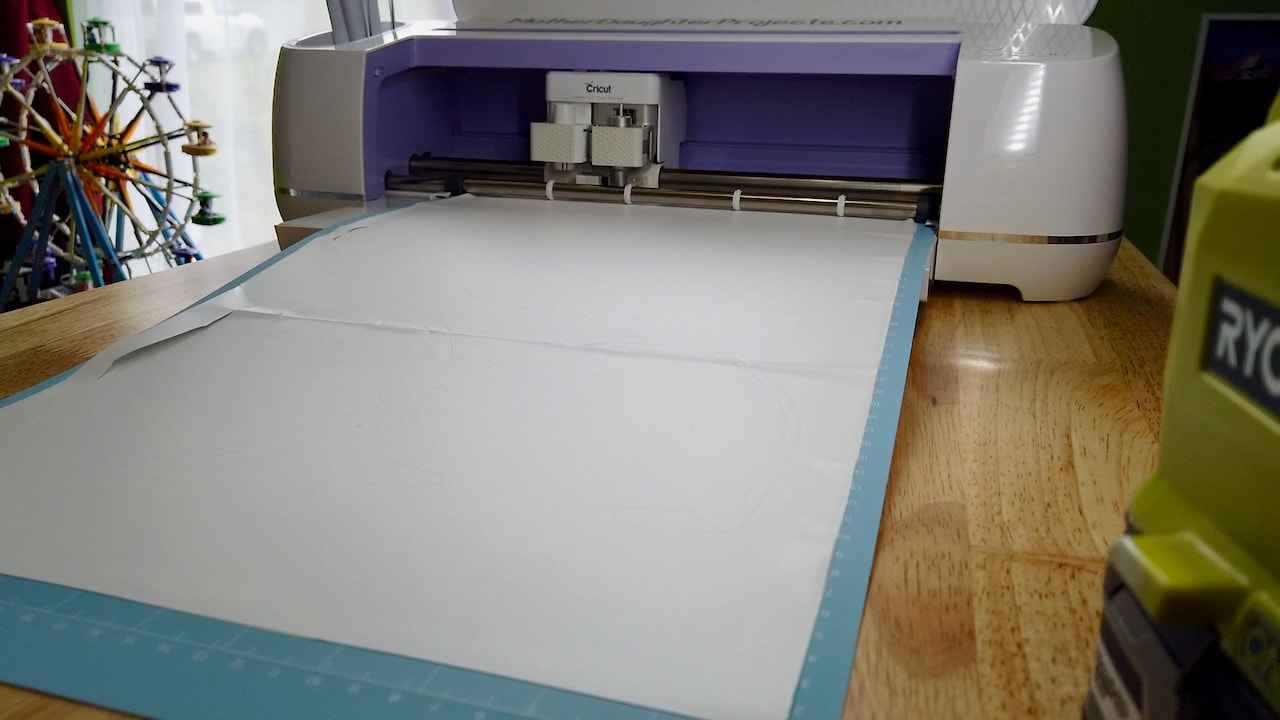 Once everything is set up, push a button and the Cricut does all the work! 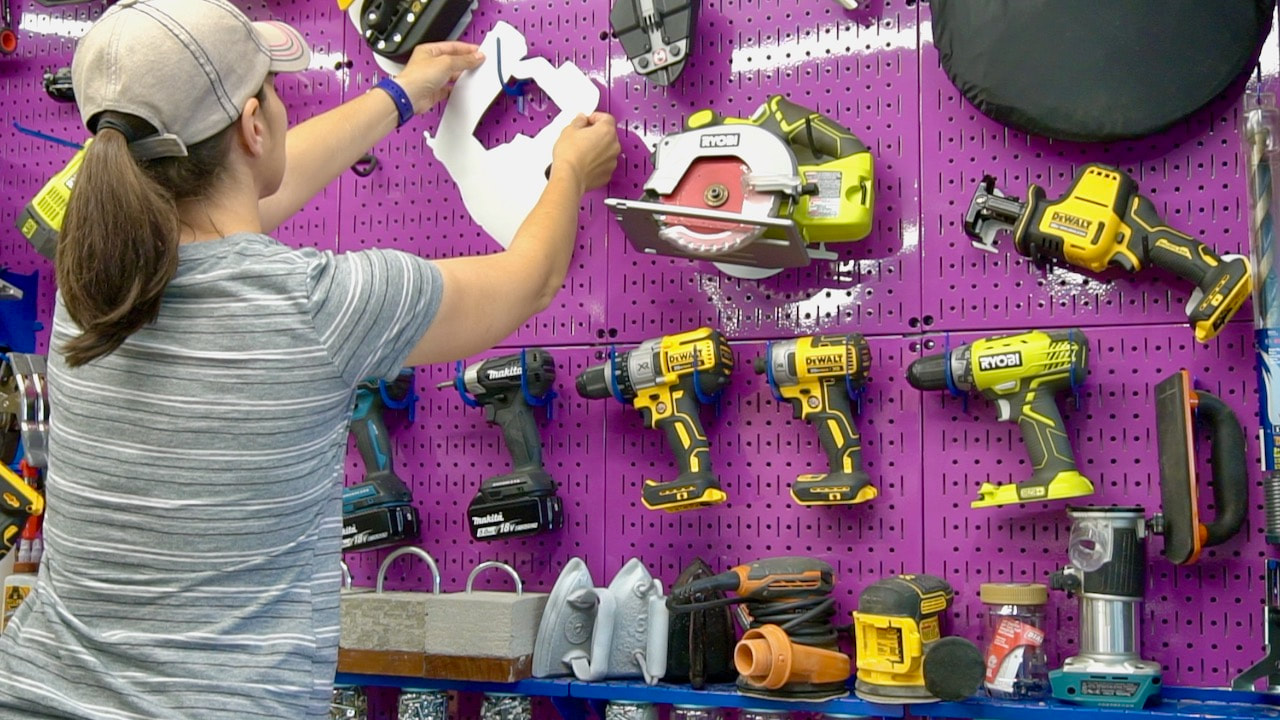 Time to add the shadow stickers to the wall. For most of the stickers, Steph needed to move the Wall Control hooks. Once the sticker was in place, she simply added back the hooks and tools.
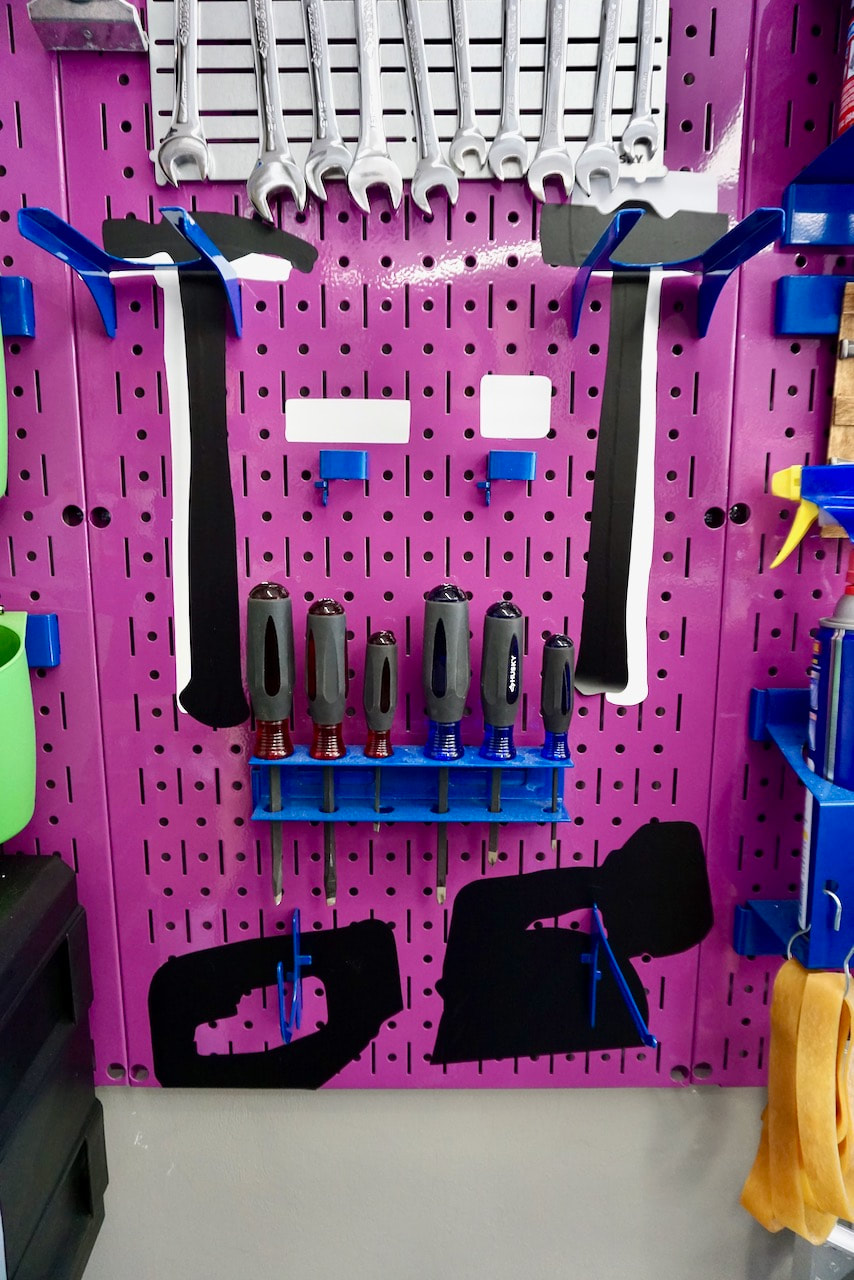
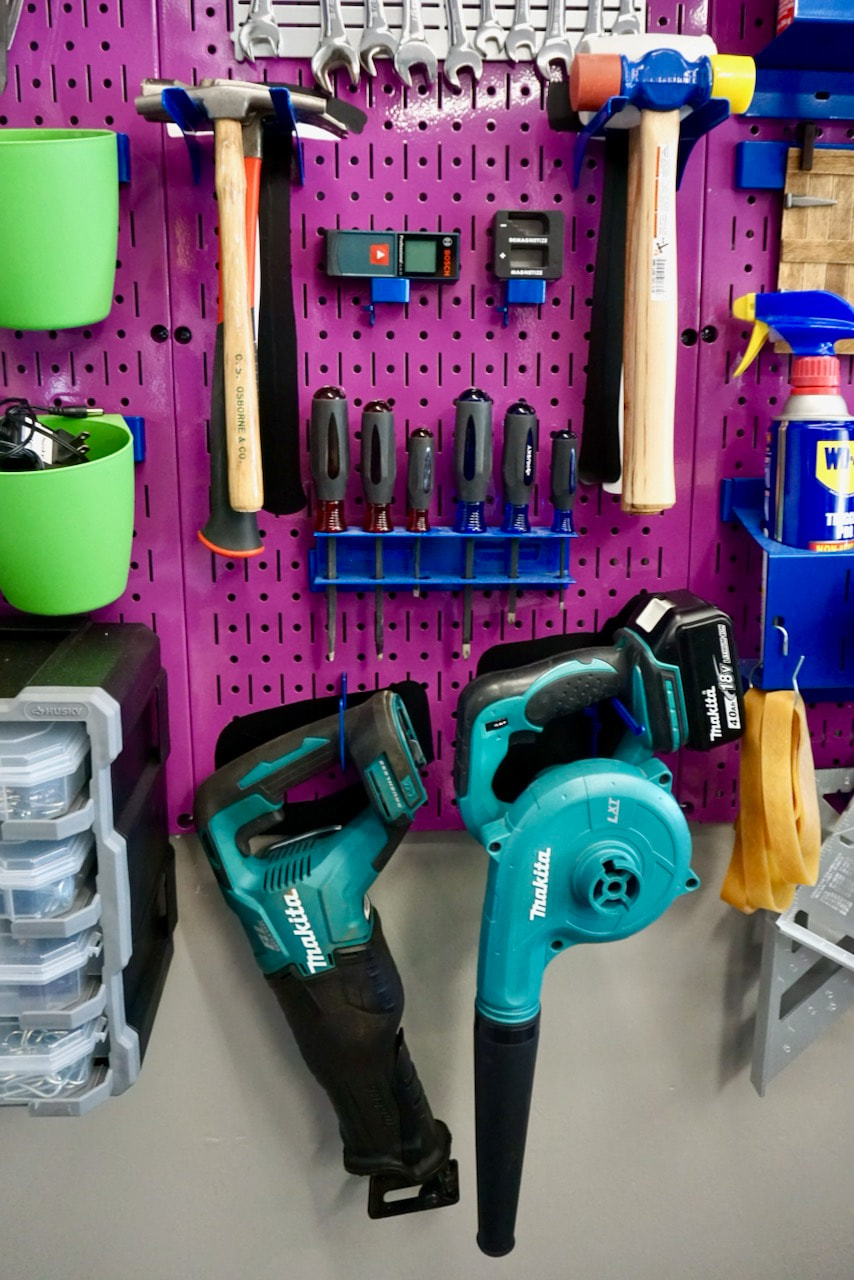
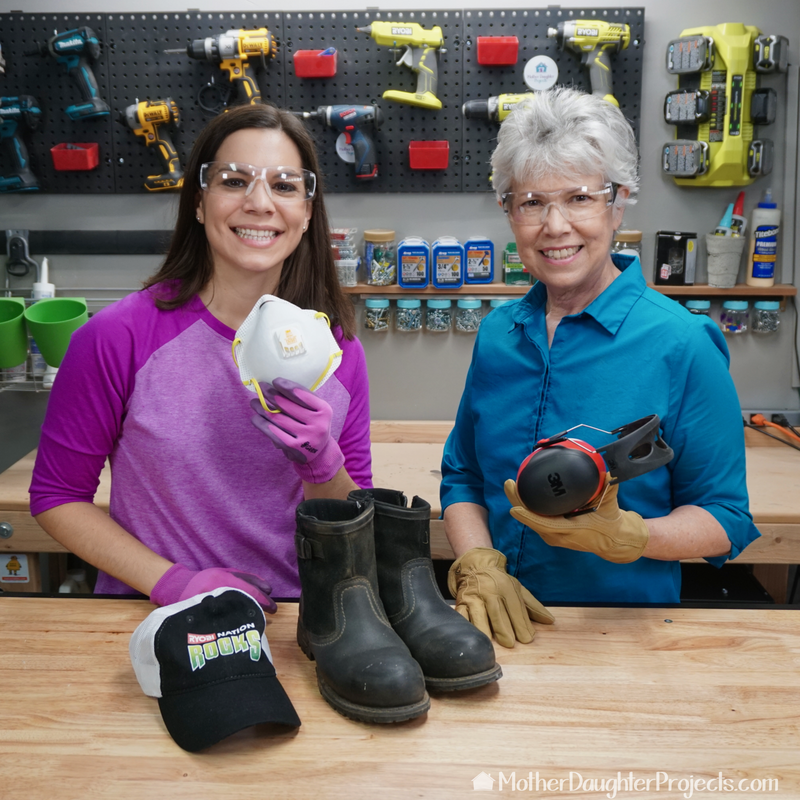
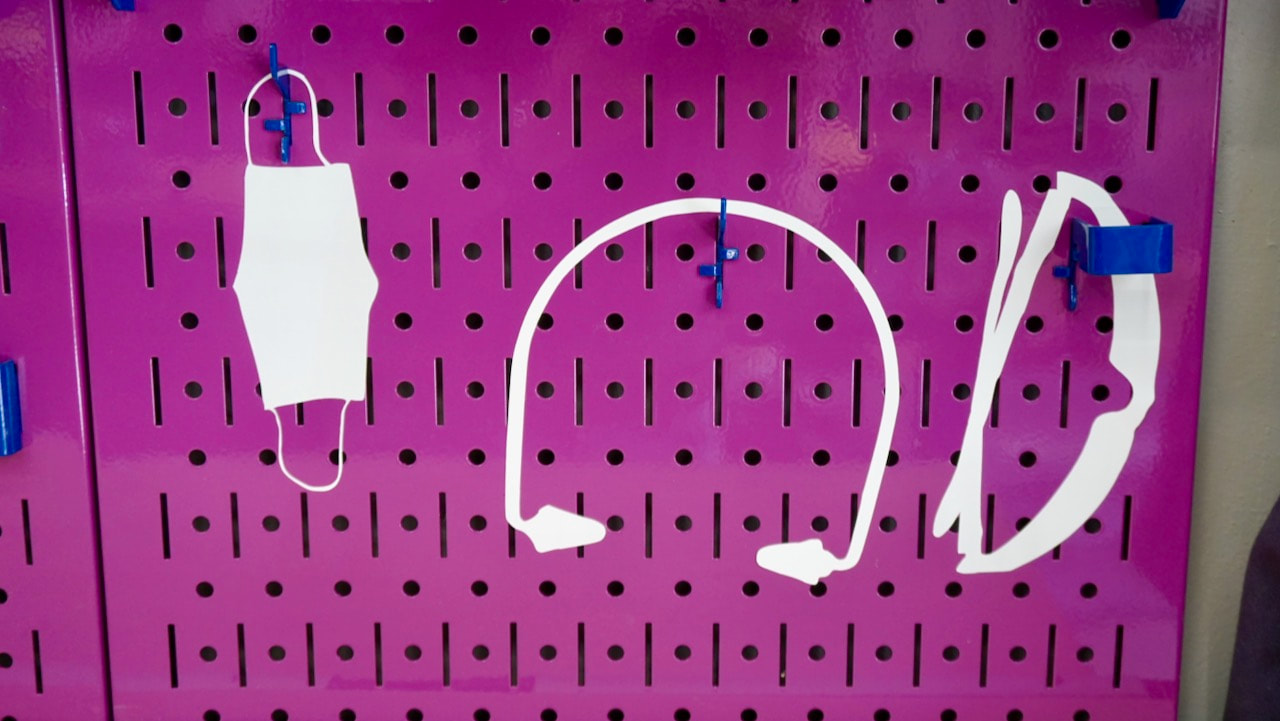 These are probably our favorite cutouts! A place for all our PPE! 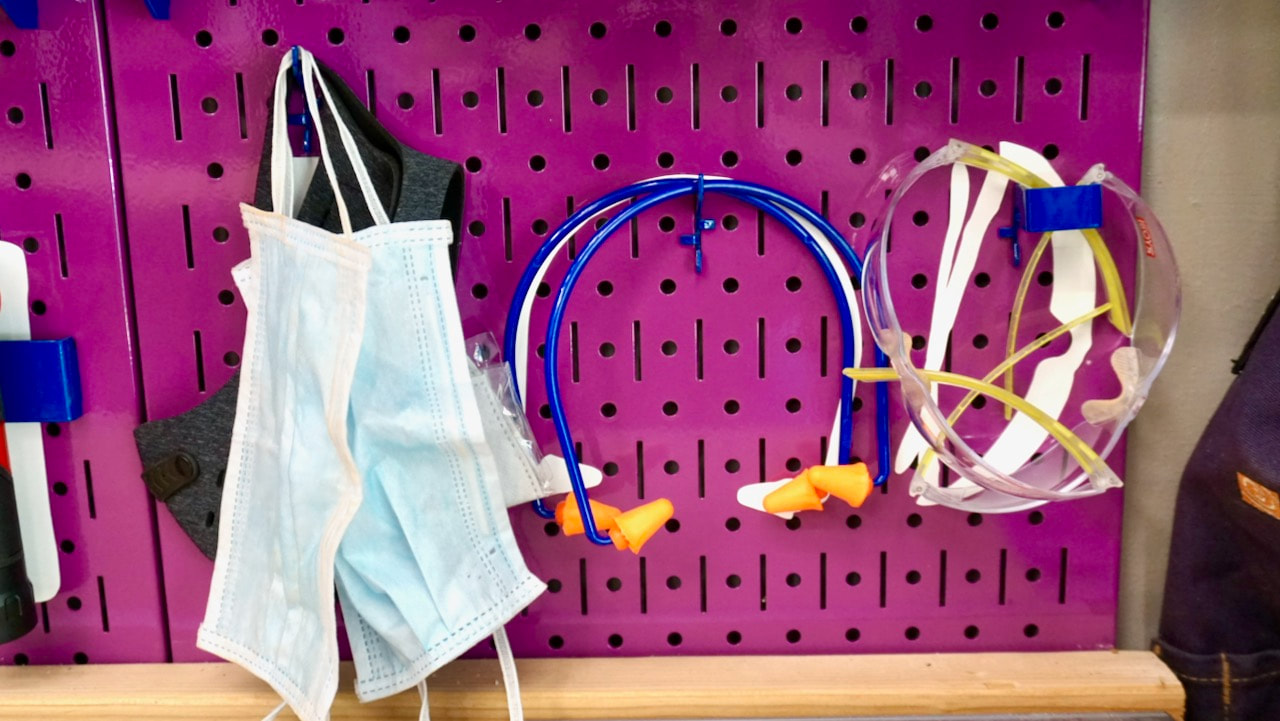 This is the busy section of our Wall Control wall. It's nice to know exactly where to find all our safety gear. 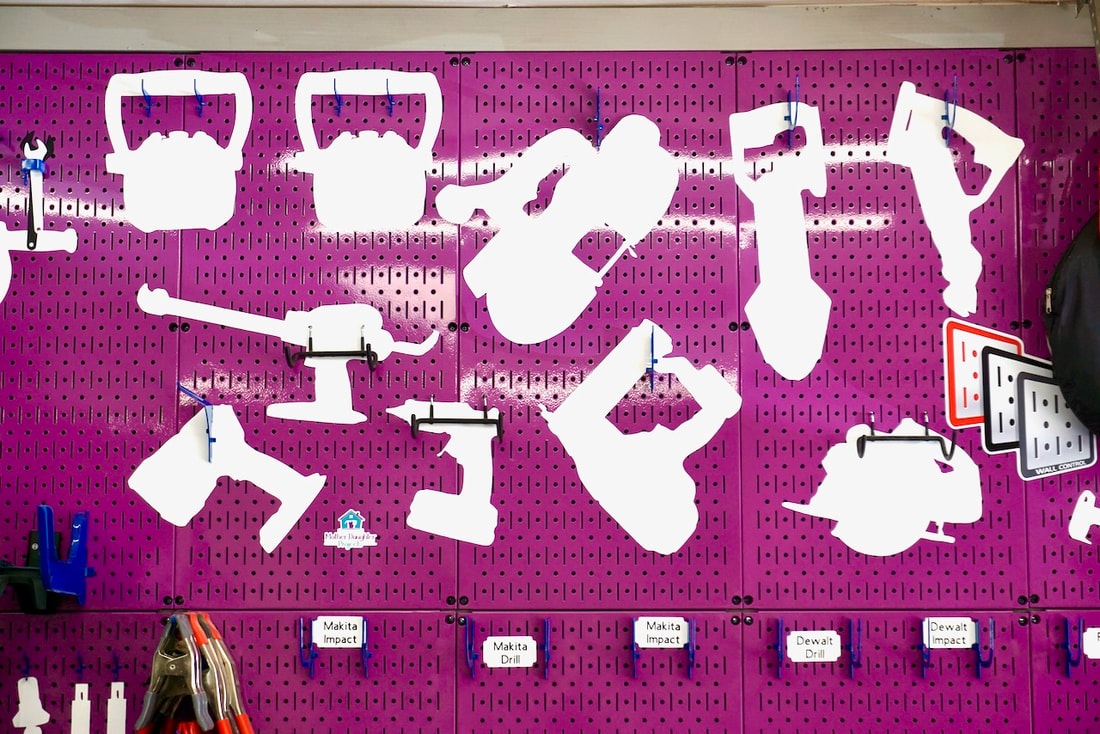 BEFORE. Notice the drills got labels rather than cutouts. 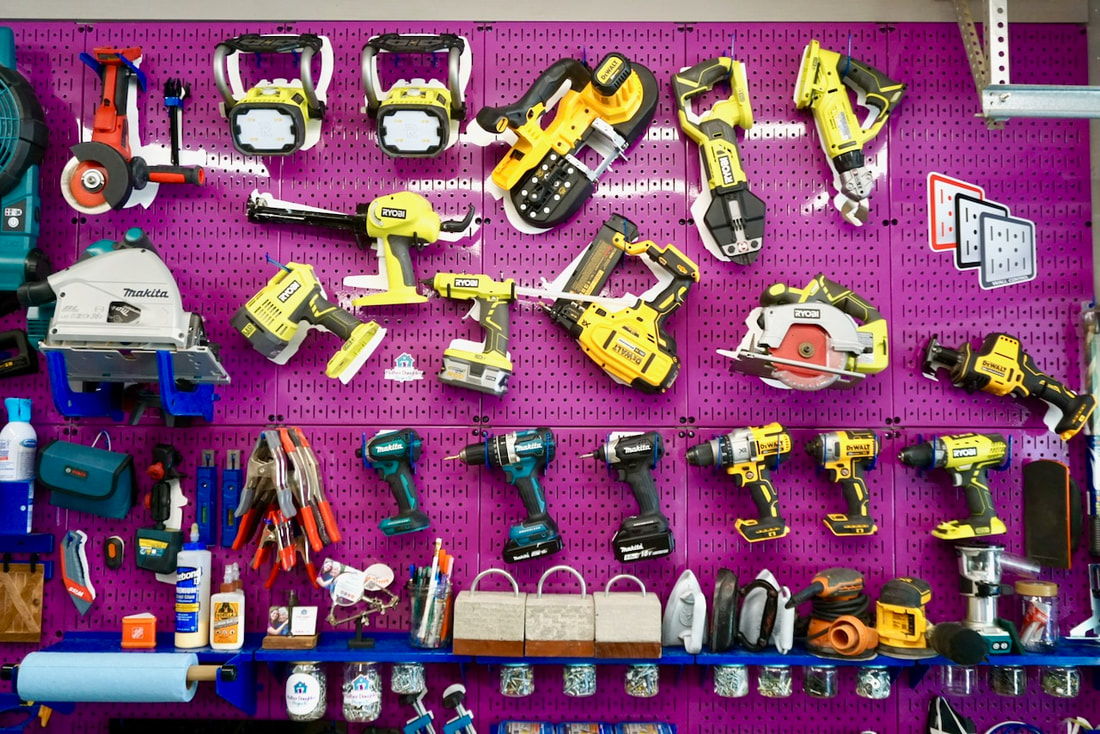 AFTER.
Please note: This is not a sponsored post. Wall Control did provide the vinyl we used in this project. FYI: We are not professionals, and we don't claim to be. This is what we found worked for our project. Yours may need a little different approach. Safety first! FYI: Affiliate links are being used on this page. Purchasing via these links help support MDP! Related Projects
1 Comment
Tricia Hermsen
11/5/2020 01:39:19 pm
First of all GREAT step by step from instructions to links! Well put together. Apparently Canva has now made the background remover a "PRO" feature and required Leave a Reply. |

Mother Daughter Projects
|