|
text by Vicki Sign up to get Mother Daughter Projects updates in your email!
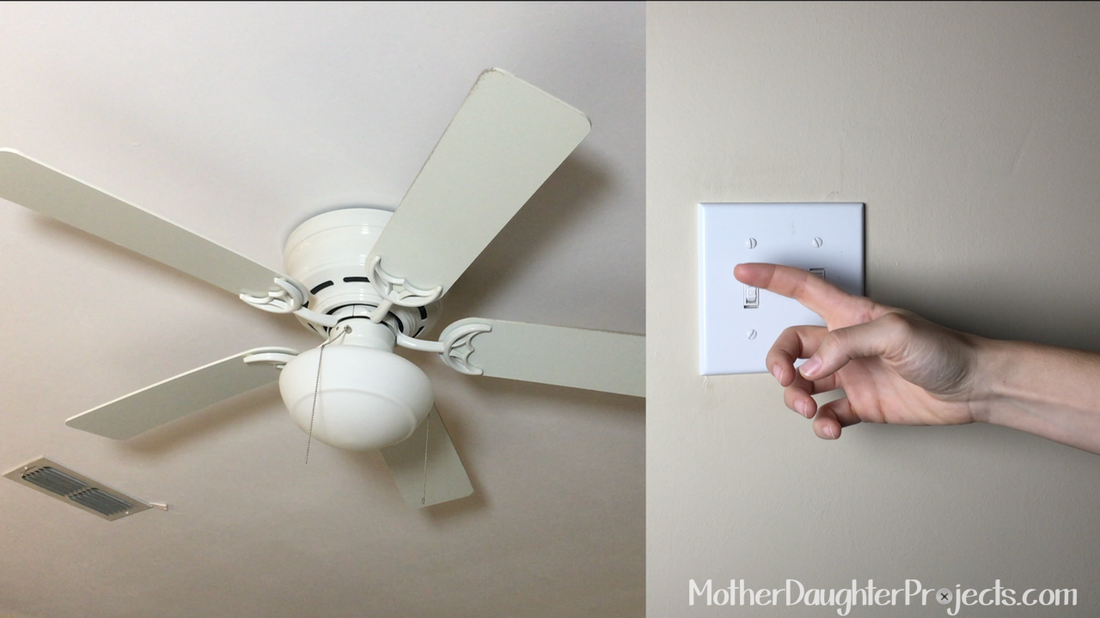
One of the switches in my master bedroom quit working so we removed the old one and put in a new one. It seemed like a pretty straight forward repair, but there was a bit of learning curve to it.
After purchasing a replacement switch, we realized that switches are not "one size fits all!" Once we took off the switch cover and got a look at the switch, that's when we saw that our replacment switch was not going to work. We searched Home Depot online, but they only offered the type of switch that we got at our local store. We then searched the Leviton (switch manufacture) site for an exact replacement, which we could not find under the parts number on the old switch. Leviton has "live" chat support which we utilized to get a match. We provided the old numbers and description along with pictures of the old product. With that information the tech was able to give us the part number we needed. We ordered from Amazon, because, you know, free shipping! A search of the book, "The Complete Photo Guide to Home Repair" by Black & Decker provided the information we needed to successfully and safely replace the switch. 
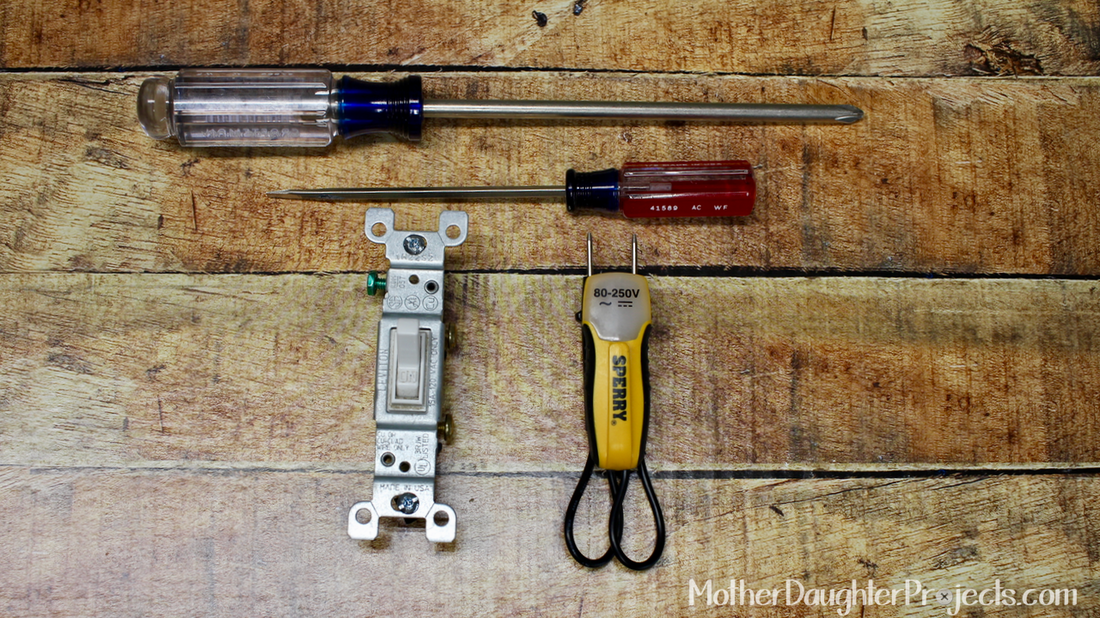
We used slotted and Philips screwdrivers, a voltage tester, and the single-pole replacement switch.
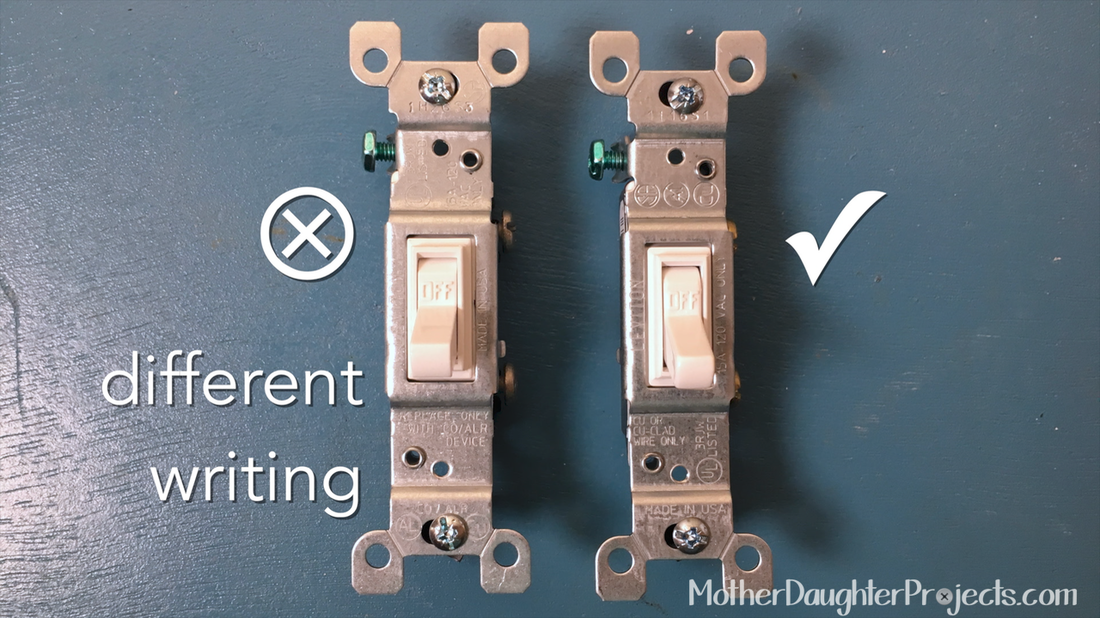
The switch on the left is the one we purchased locally--it's totally different from the one we needed. Look at the writing on it.
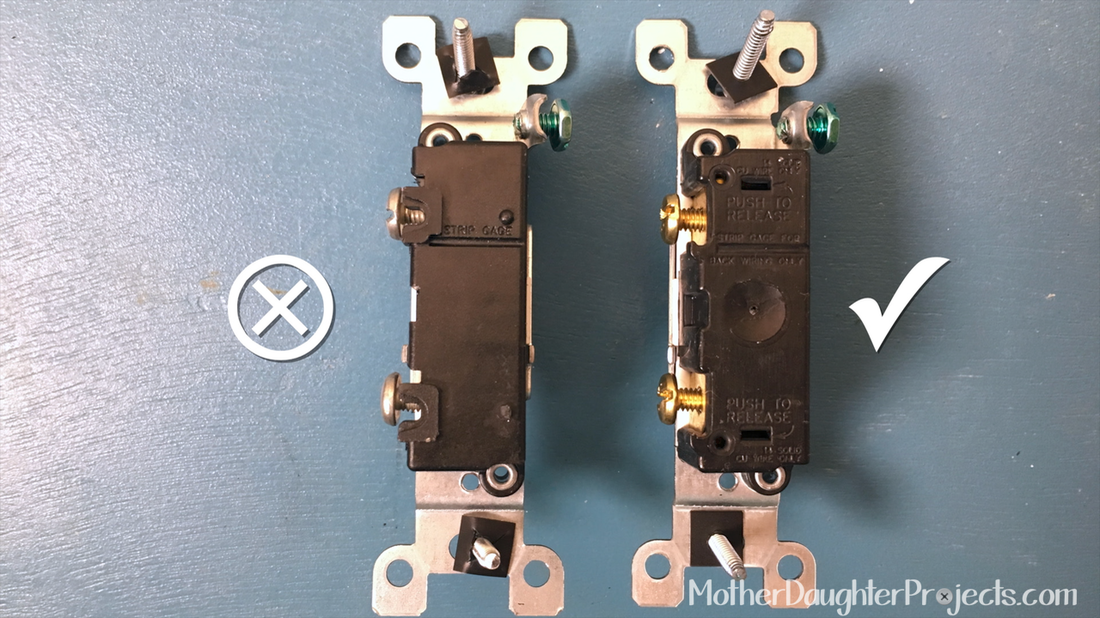
The switch we needed to replace has the capacity to be wired from the back, the one we first purchased did not have this feature.
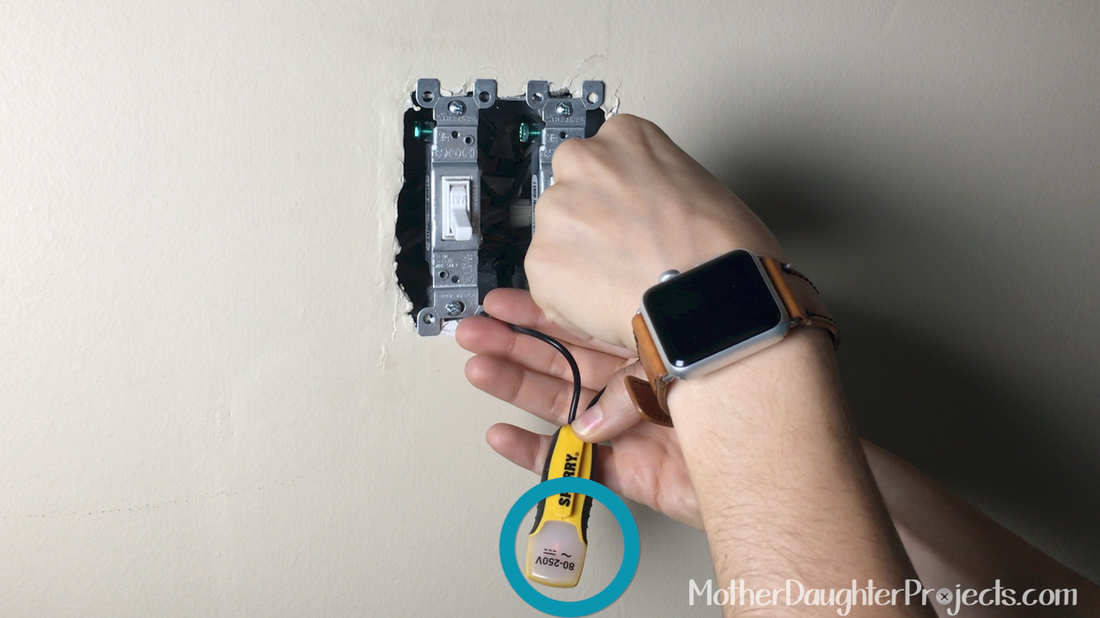
It's important when working with electricity to be sure the POWER is OFF. In this picture you can see the power is LIVE as the light on the tester is lit up. (blue circle)
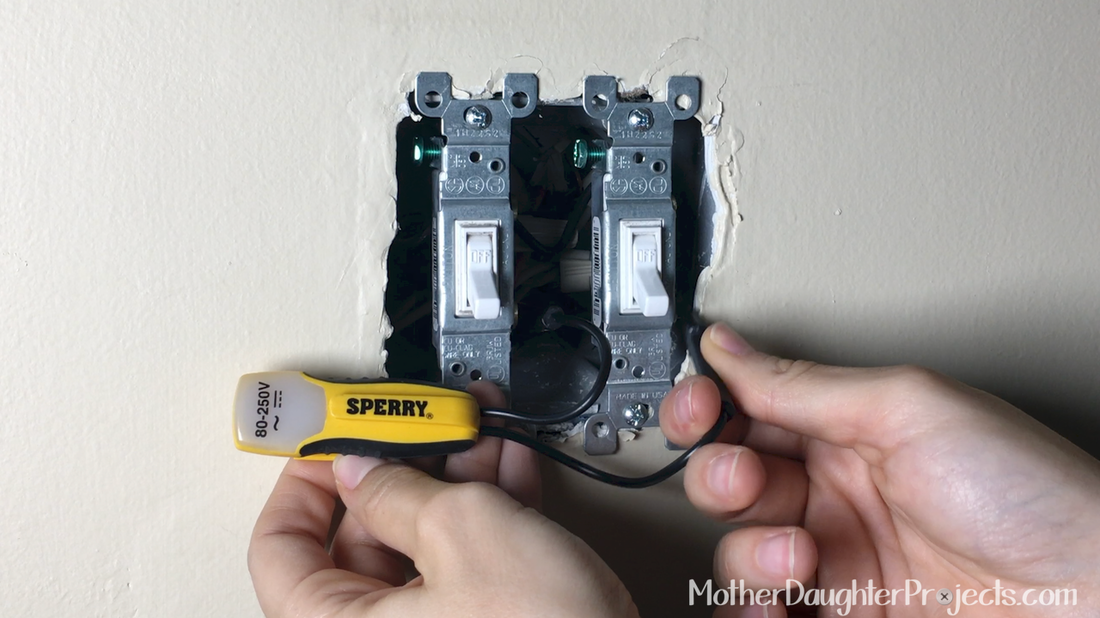
After turning off the power at the circuit panel, check AGAIN that the POWER is OFF. The tester should not light.
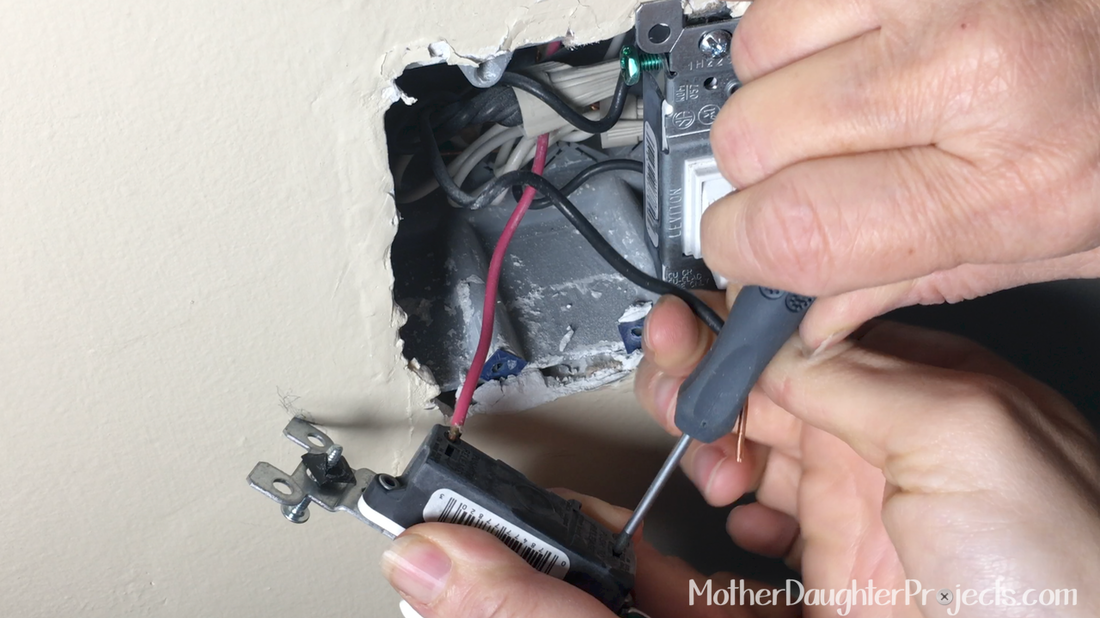
Remove the switch using the Philips head screwdriver. Use a tiny slotted screwdriver to push in at the rectangular indentation to release the wires.
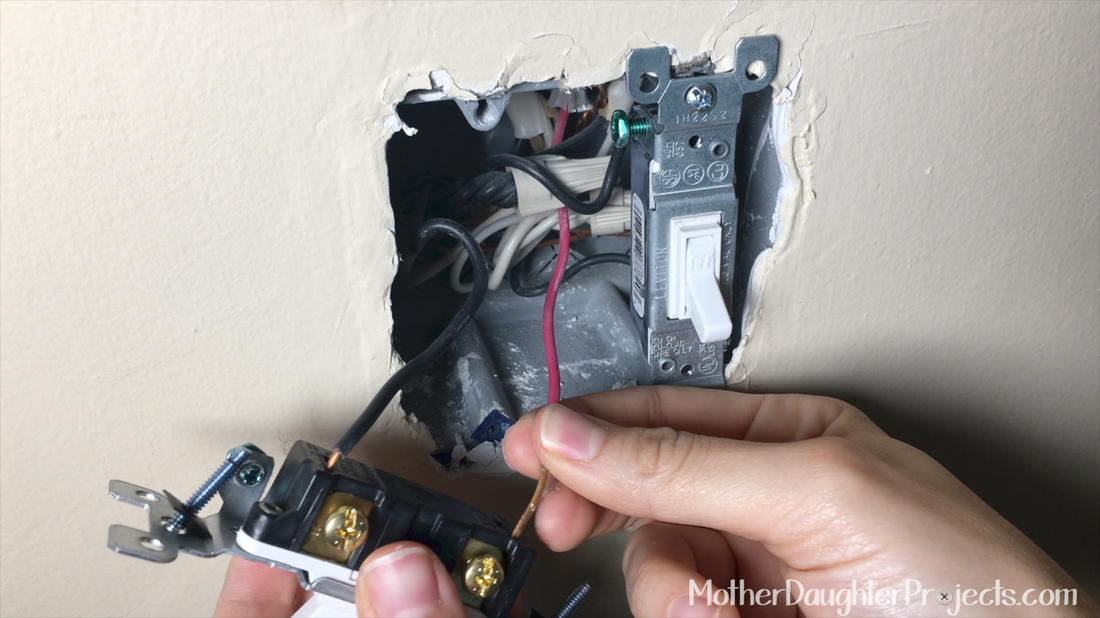
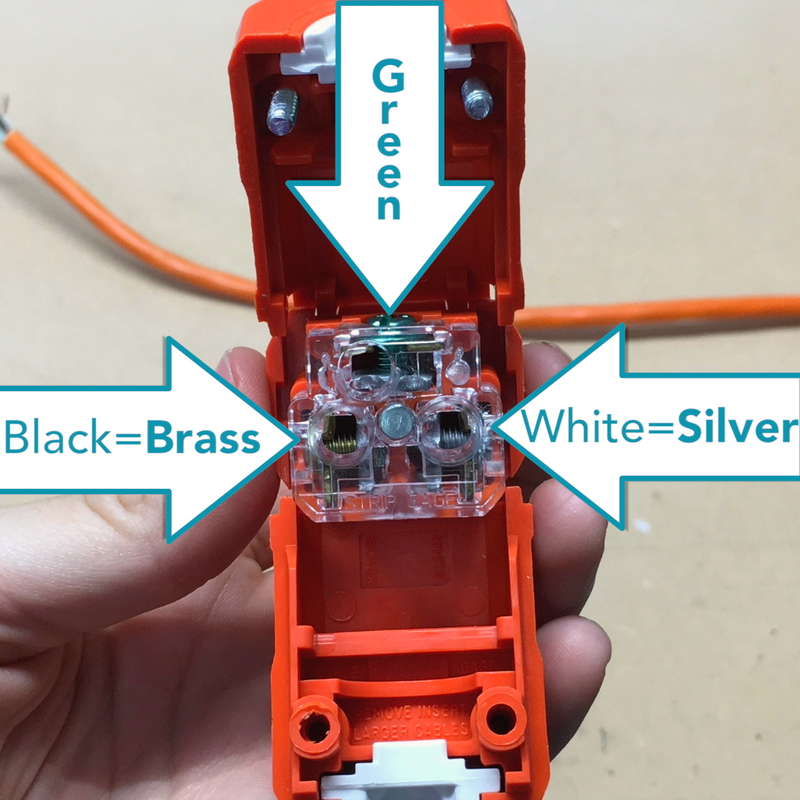
Attach the wires to the new switch by placing into the wire holes on the back side of the switch. Be sure to get the wire in the correct position. In our install, the red wire, attached at the top of the switch and the black wire to the bottom.
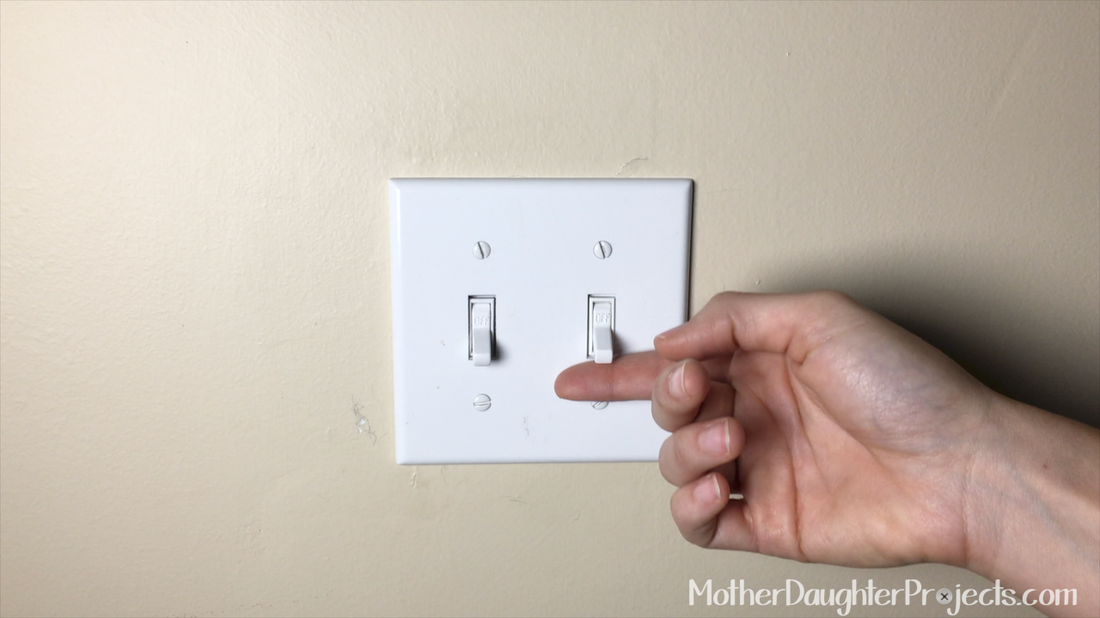
Screw the switch back into place, replace the cover, turn on the power and test. Success!
This was a pretty straight forward repair once we got the right part and did adequate research to safely make the replacement. If this had been more that a switch problem, we would probably call in an electrician.
Working with electricity can be dangerous if the proper safety measures are not taken. Always test to see if the area you are working on is LIVE. If it is, STOP, and turn OFF the POWER.
FYI: We are not professionals, and we don’t claim to be. This is what we found worked for our project. Yours may need a little different approach. Safety first!
FYI: Affiliate links are being used on this page. Purchasing via these links help support MDP! Related Projects
0 Comments
Leave a Reply. |

Mother Daughter Projects
|