In the news lately there have been reports of people putting cameras on the outside of peepholes to see into your house/apartment/hotel room. I (Steph) started thinking about the peephole in my front door and possible ways of covering it when not in use.
After much thought, I came up with a DIY solution that is cute, functional, removable, and adds a little more security to my home. Mom helped bring the idea into reality and had most of the materials we used in her craft stash! Watch the video above to see it come together. 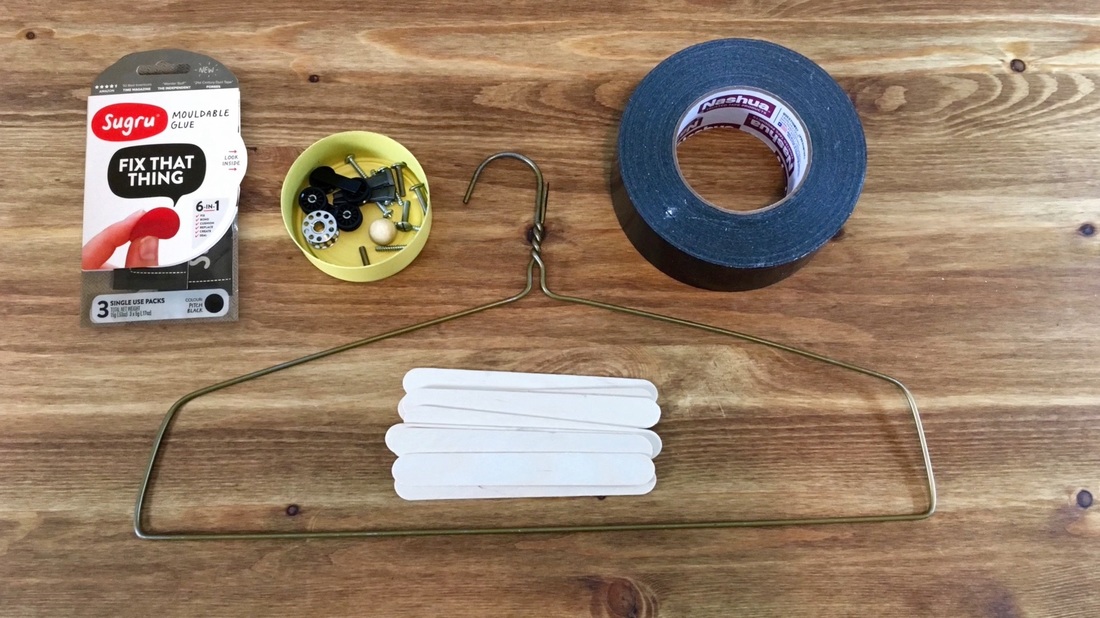
Materials:
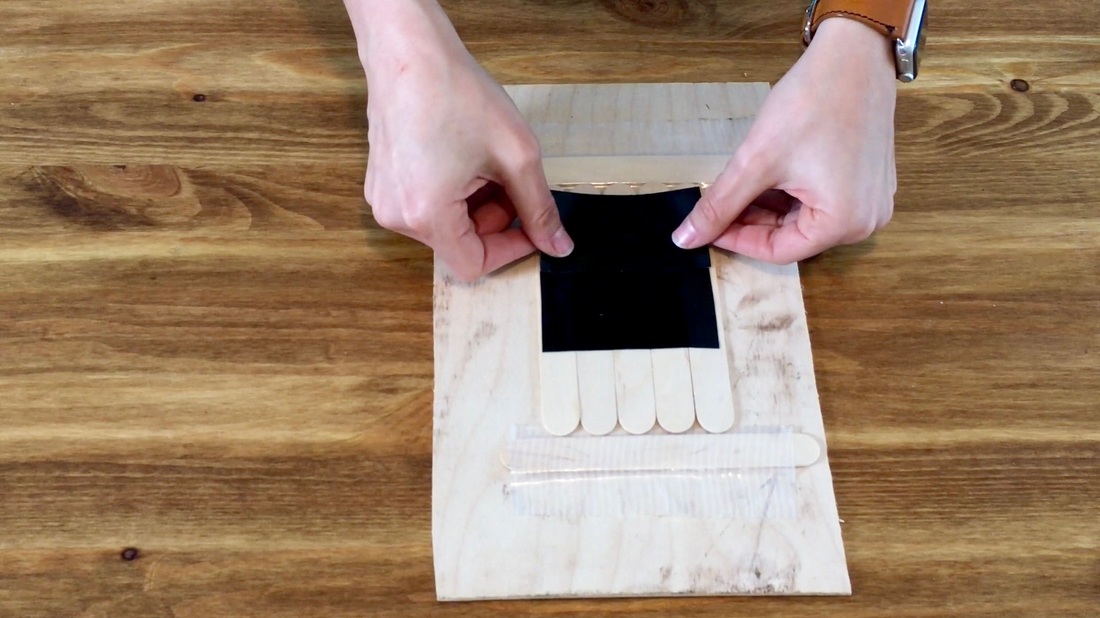
We started with five large popsicle sticks. We made a guide to hold the sticks while we duct taped them together.
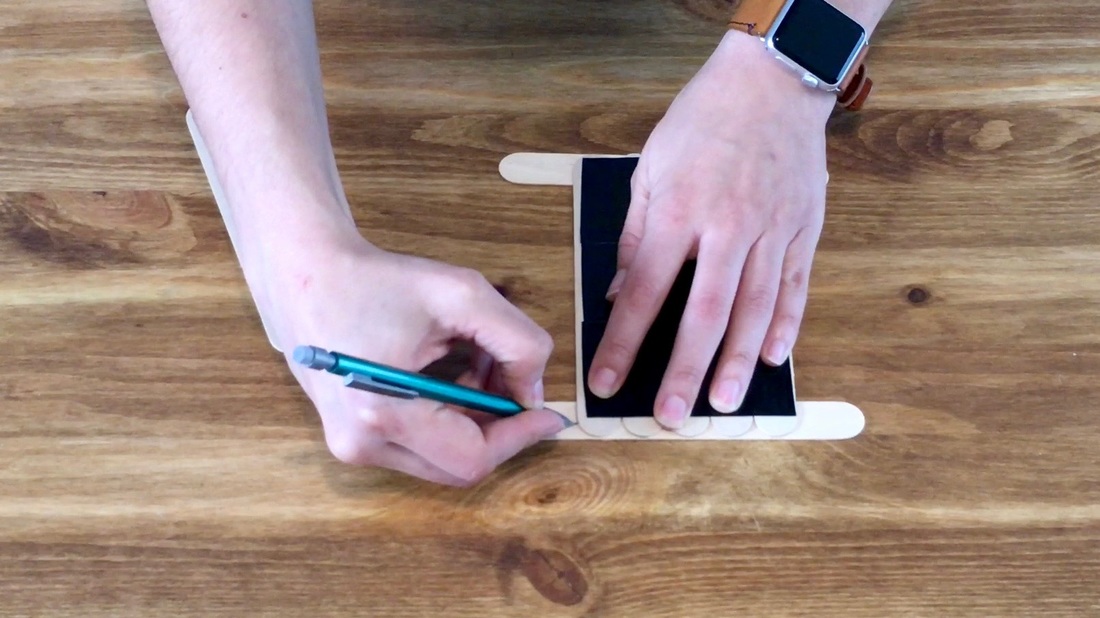
We measured and cut the sticks to cover the bottom and top.
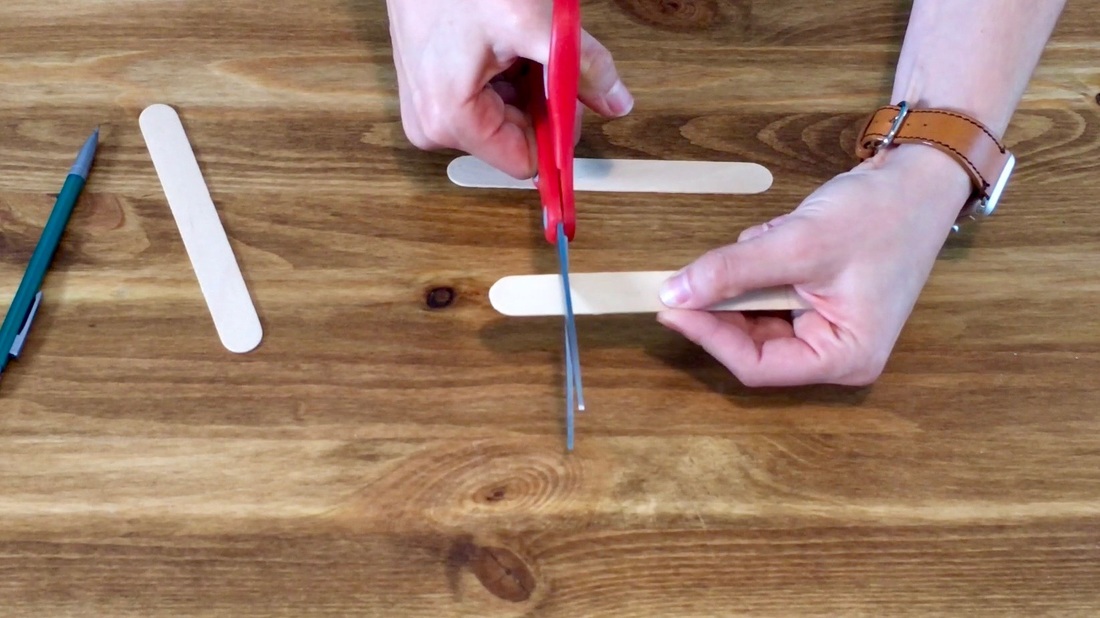
We easily cut through the sticks with scissors.
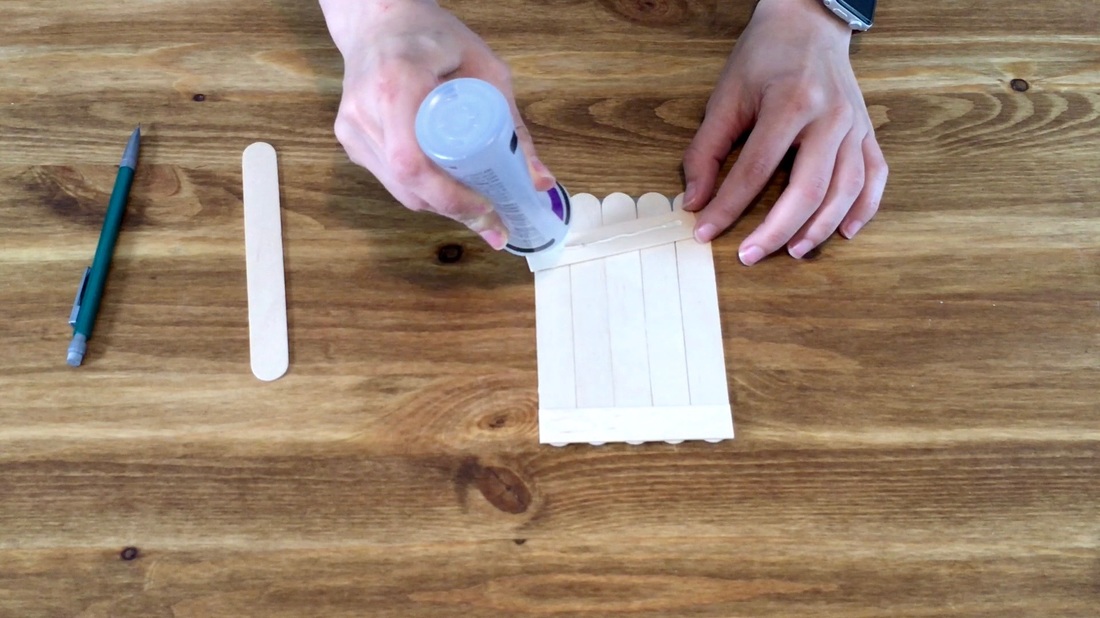
We sanded the edges a little bit and glued the sticks in place.
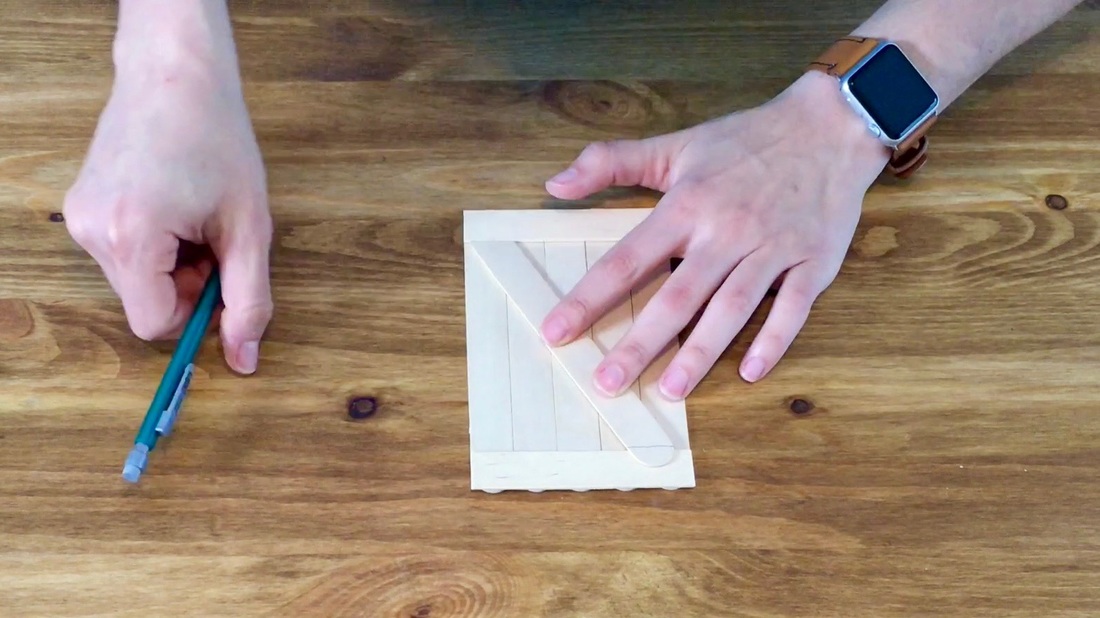
To make the X pattern on the door, we measured and cut the sticks again.
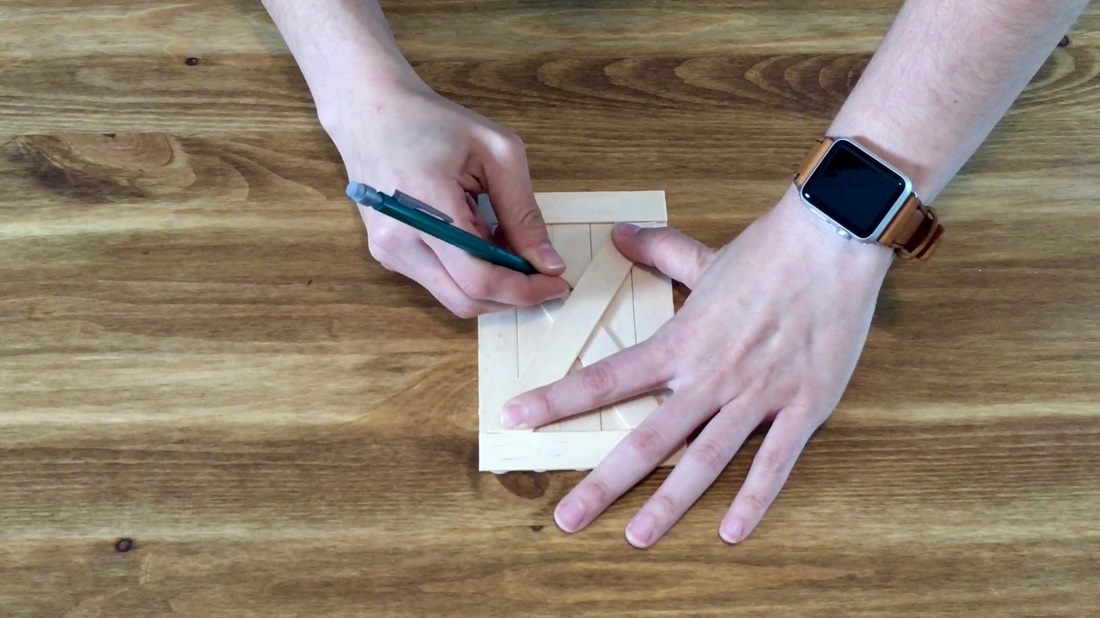
It took a few tries to get the right cut on the sticks, but we had plenty of extra sticks to practice with.
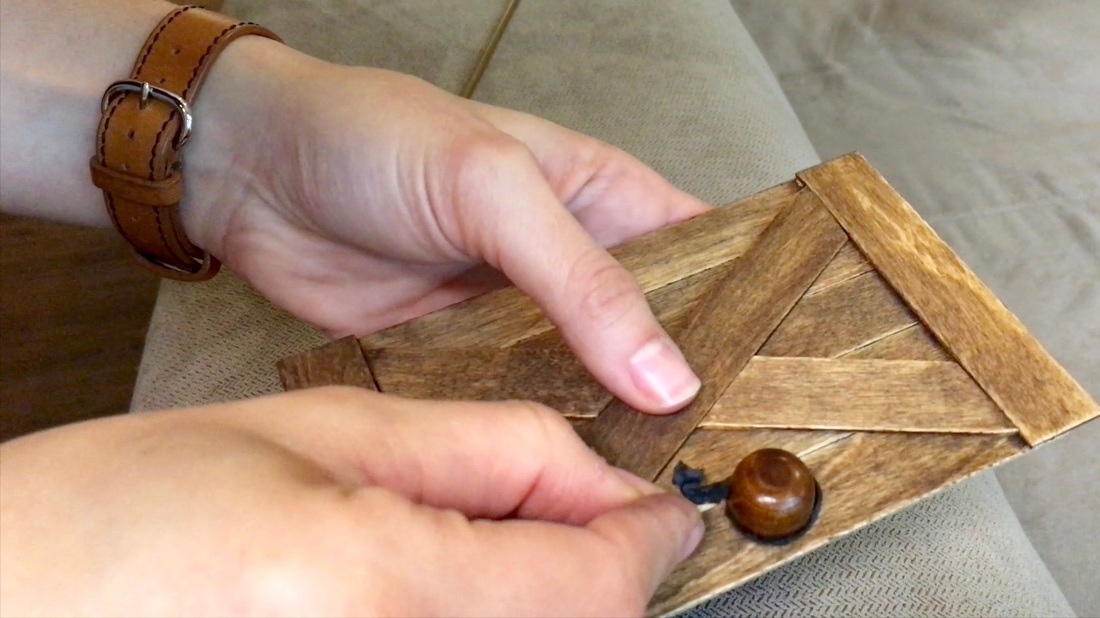
The handle is the rubber end of a door stop. This was something that we had available but get creative with this.
I dipped the door stop in the same stain we used for the door so it would look cohesive.
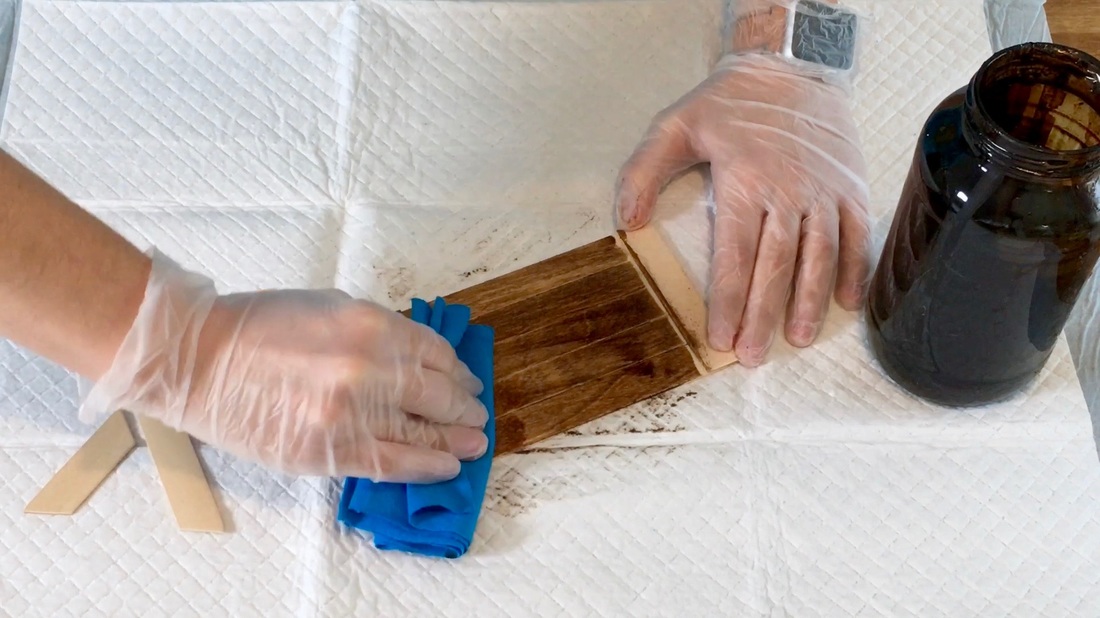
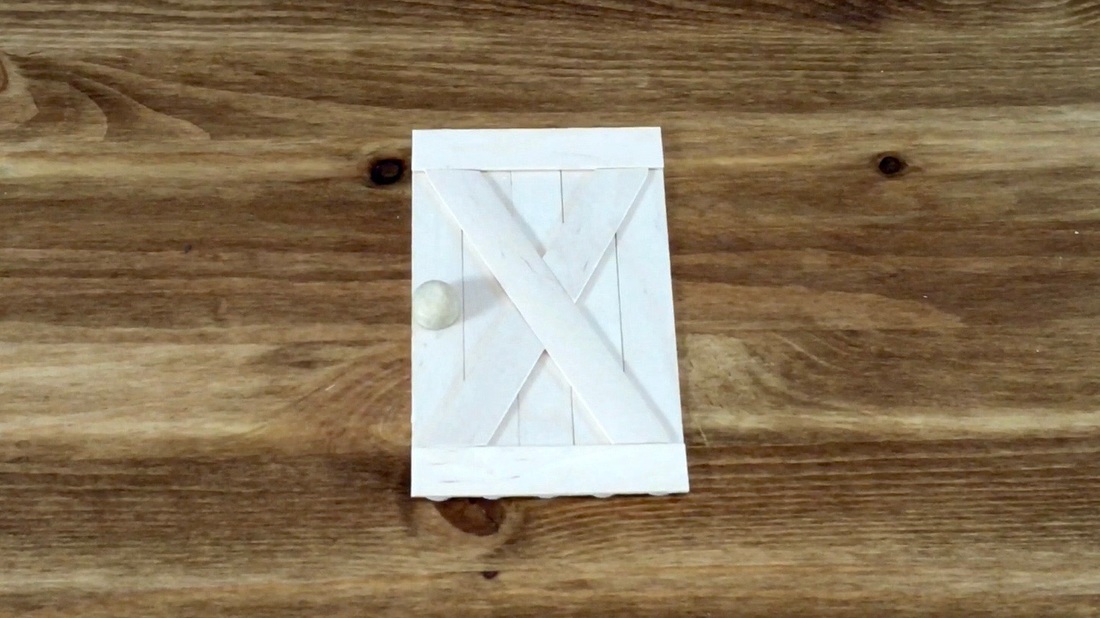
Before we glued the X in place, we stained the door and X-pattern. We used a dark stain we already had from another project.
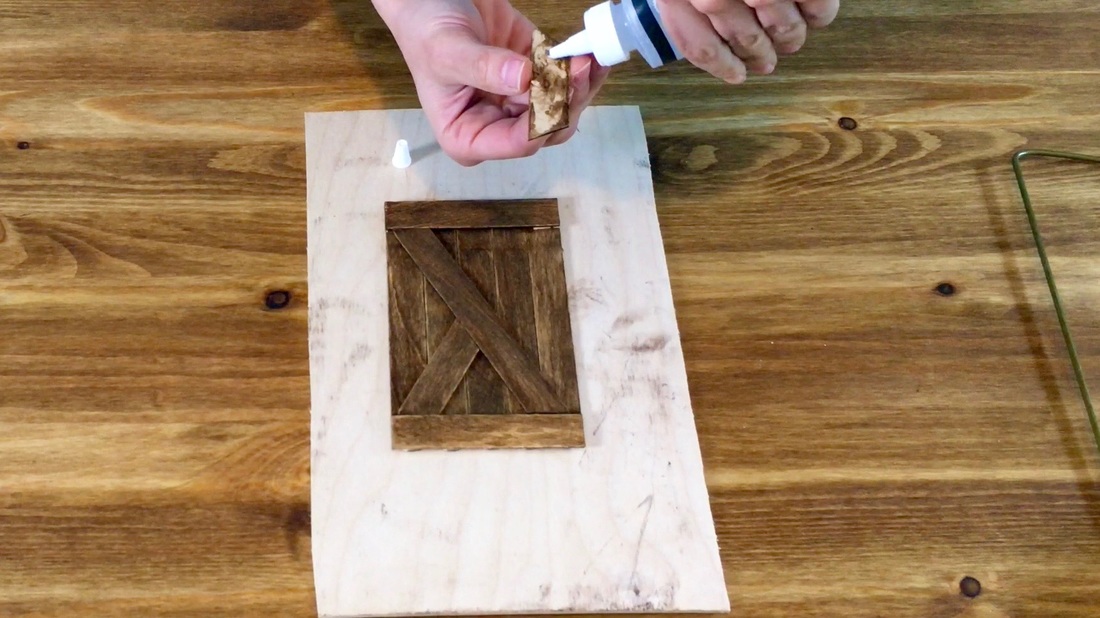
After the stain dried, we glued the X in place.
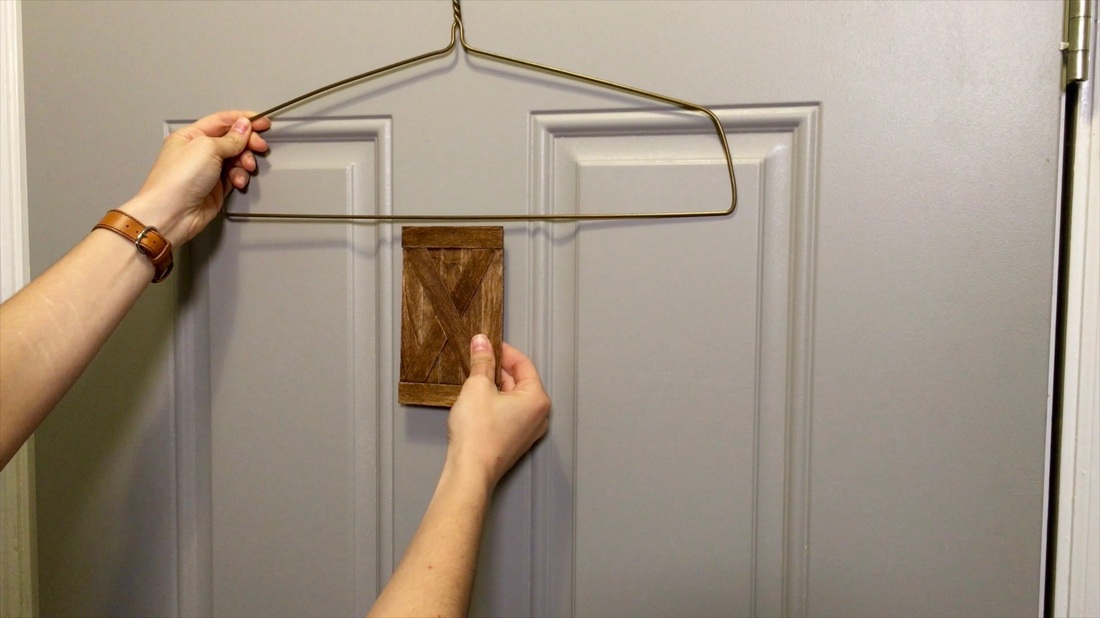
Next we headed to the front door to figure out the placement of everything. We use tin snips to cut a straight piece of metal from an old coat hanger.

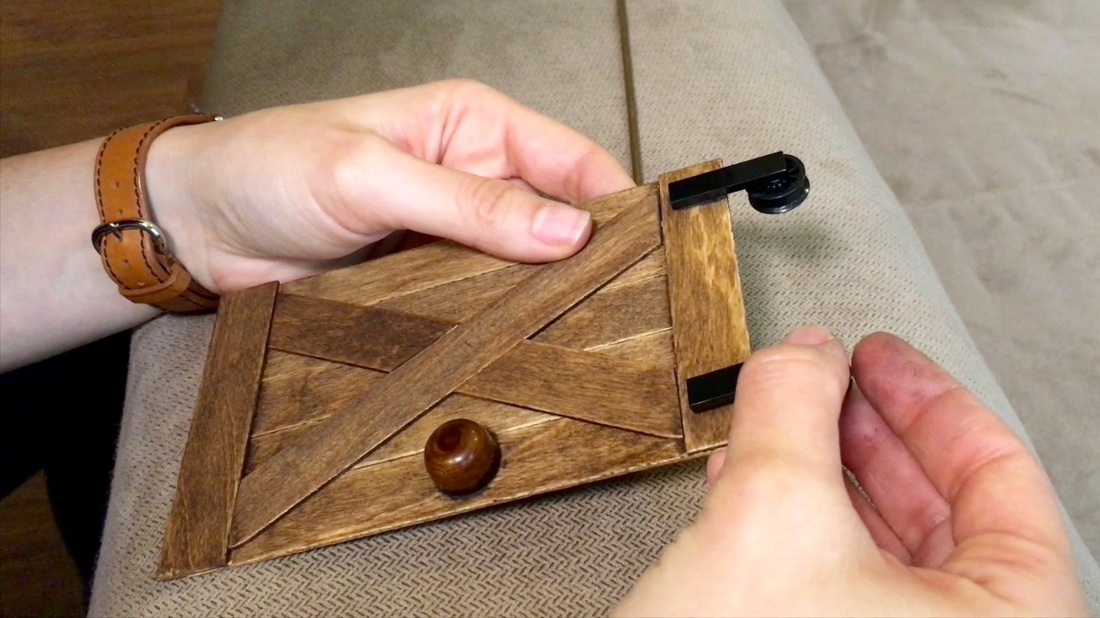
To make the barn door move, we used six Lego pieces. I have a large Lego collection so this came from my personal stash. If you're not into Legos, you can probably do this with small wheels from the hardware store.
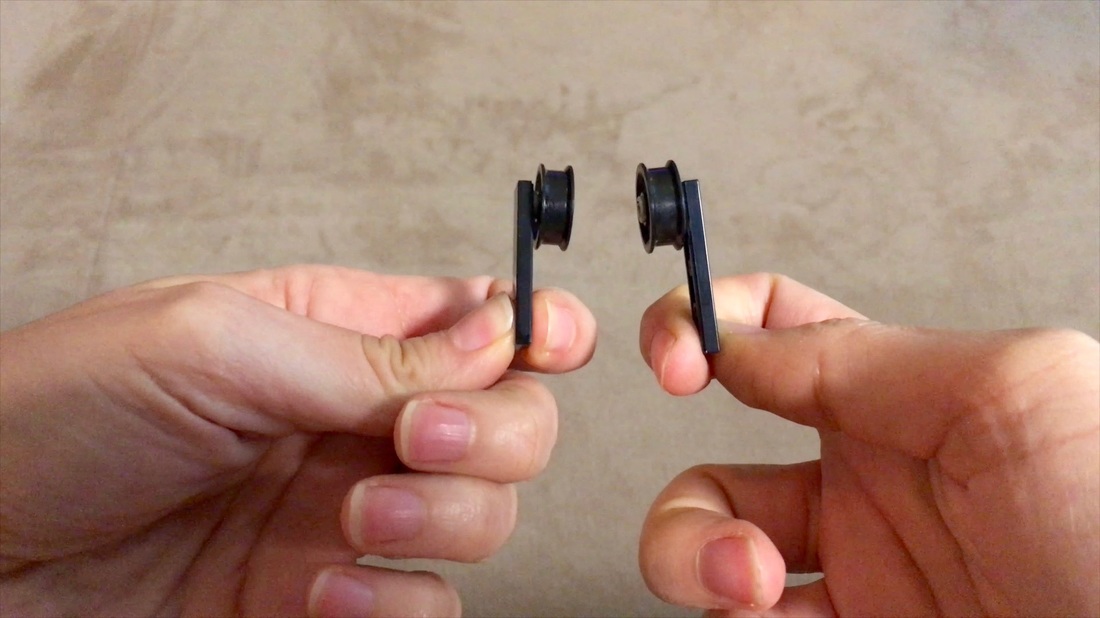
We added a half pin to a wheel, and attached a 1 x4 tile to that. The wheel rolls very smoothly.
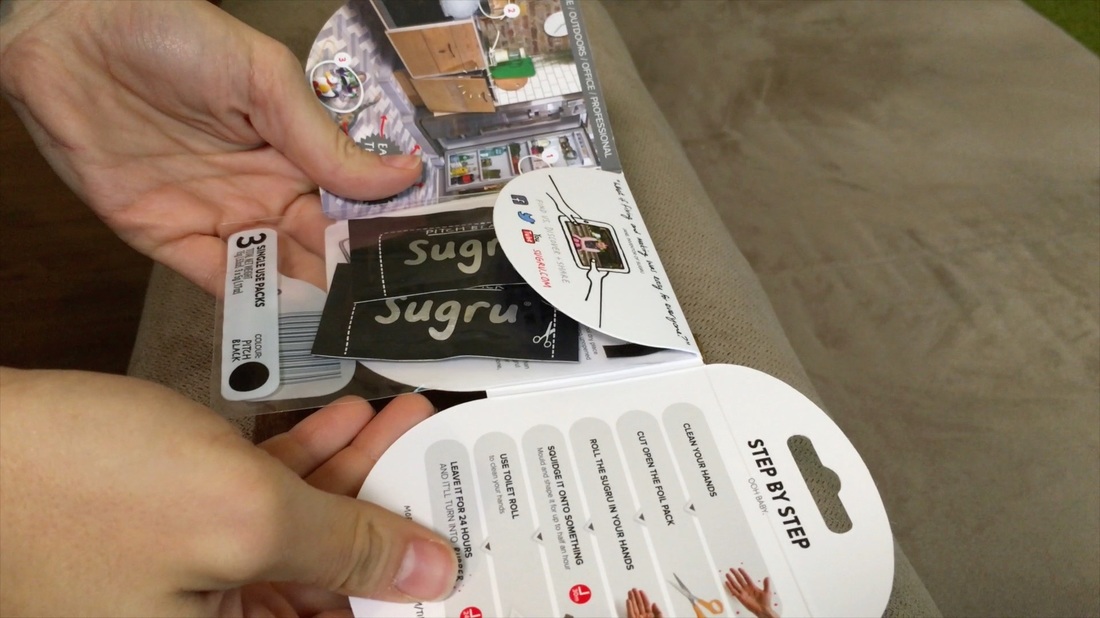
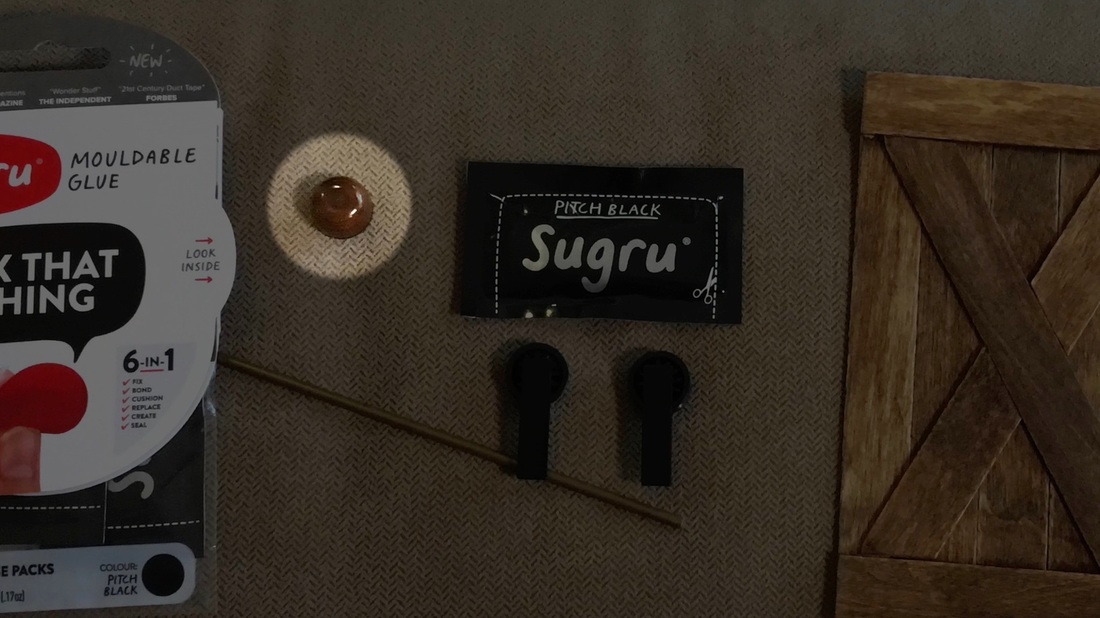
We have been wanting to try out Sugru. It's a product that is designed to stick and mold to many things and can be removed. We thought it would be great for this project.
We used it to attach the handle in place. We used a toothpick to remove the excess Sugru.

We also used it to attach the wheels to the barn door.
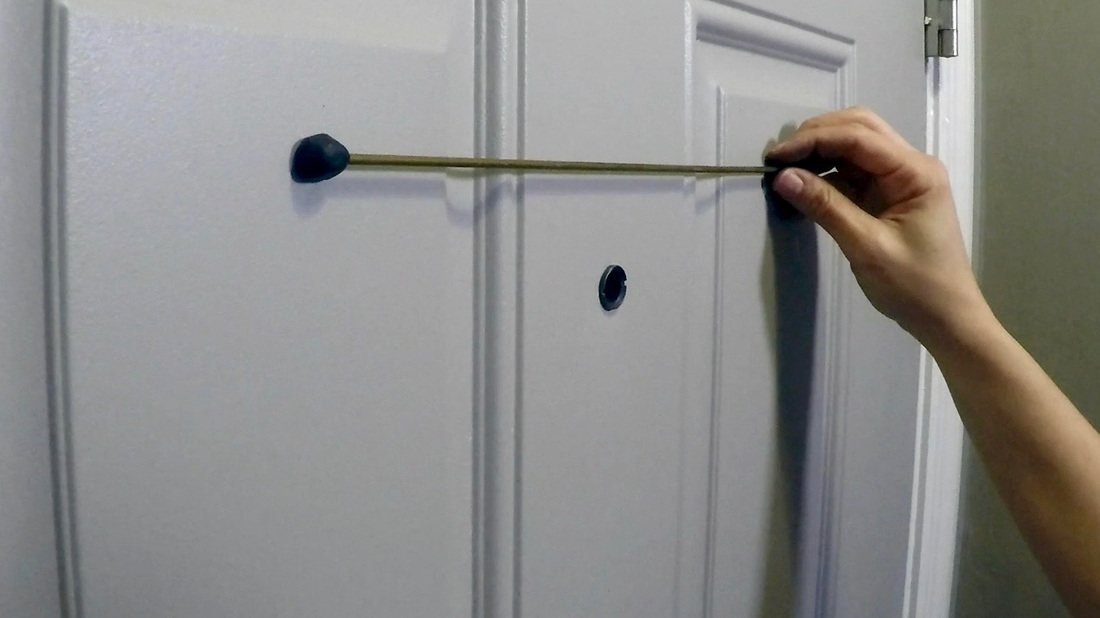
We headed back to the front door and use the Sugru to attach the metal bar to the door.
Sugru takes 24 hours to cure so I placed a piece of duct tape on the metal bar to keep it in place.

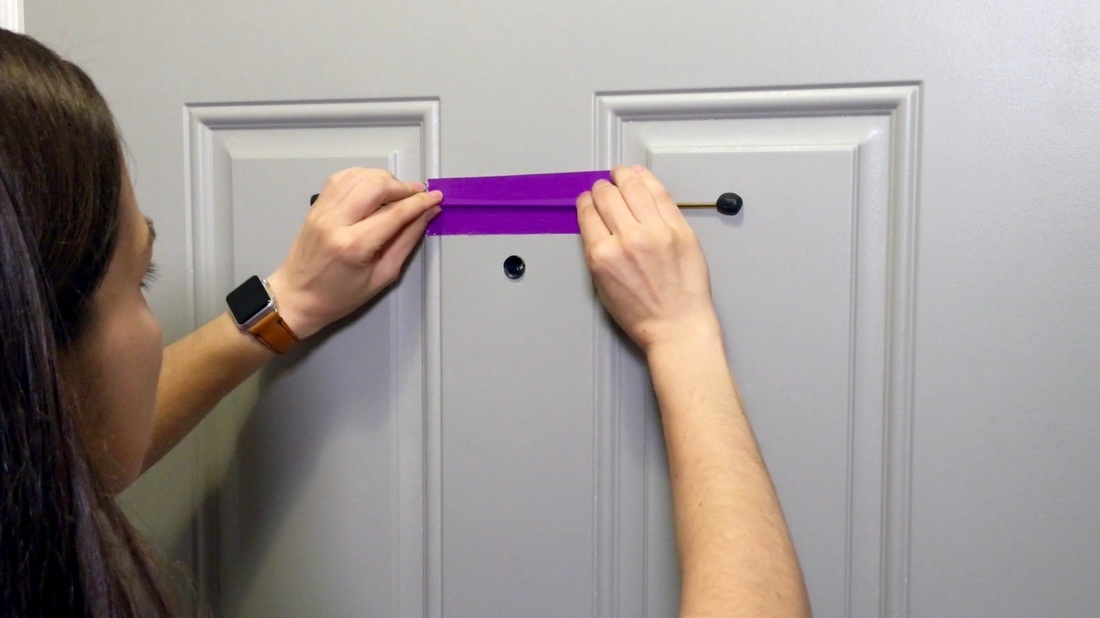
And here it is...a little barn door for my front door peephole!
I don't use my front door that much and I don't have kids so I decided just having it hang by the wheels was secure enough for my needs. But with different doors/lots of slamming you might need to secure yours in a different way. Adding a few magnets (for metal front doors) might do the trick! What other ideas do you have for peephole safety? Leave ideas in the comments below! Please note: We are not sponsored by any of the companies/products that we used. These products were picked and bought by us. FYI: We are not professionals, and we don’t claim to be. This is what we found worked for our project. Yours may need a little different approach. Safety first! FYI: Amazon affiliate links are being used on this page. Related Projects
26 Comments
Teq
4/3/2016 10:17:47 am
I have covered my peephole with round magnets for years. I use magnets because they are in my craft stash and I am to lazy to come up with what you did and to lazy to do the project. but I think I like your idea better than mine.
Steph
4/3/2016 04:57:28 pm
thanks!
Teq
4/3/2016 05:17:15 pm
because of your idea more people are going to be coming up with their own ideas to cover up their peepholes. Good job and keep them coming.
Steph
4/3/2016 09:53:42 pm
Yes, I hope so! Thanks
Carol
4/4/2016 11:25:19 am
Sewing bobbins would work for the wheels
Steph
4/4/2016 11:50:30 am
Yes, we thought about that too. Good idea! 4/6/2016 07:59:51 am
SERIOUSLY? Cutest thing ever...would LOVE it if you'd link up to Talk of the Town. :) http://www.sadieseasongoods.com/talk-town-link-party-14/
Vicki Kubiak
4/6/2016 11:15:23 pm
Thanks for the invitation and kind words. I've posted our tiny little barn door to "Talk of the Town." 4/7/2016 01:57:24 am
This is seriously the most insanely adorable project!
Vicki@MotherDaughterProjects
4/7/2016 06:42:07 am
*Blush* Thank you for your support!
Jansi
4/10/2016 05:20:17 pm
I absolutely love this! Very clever, really adorable, and, of course, useful. I, however, am going to make one for use as a fairy door in my hallway. That where the fairies enter and exit my home. I would love to have it done before my granddaughter comes. :)
Steph
4/10/2016 05:37:56 pm
Thanks Jansi. A fairy door is a great idea and I think your granddaughter will love it! 4/13/2016 10:02:39 am
Visiting from the Talk Of The Town Party - that is the best peep hole cover EVER! Pinning to share ☺
Steph
4/13/2016 02:49:27 pm
Thanks so much Marie!
MimiG2002
4/13/2016 06:16:44 pm
Perfect. I really love your creativity..
Steph
4/13/2016 10:24:35 pm
Thanks Mimi. So happy you found our site! Feel free to sign up for our email list to get all our project updates (link at top of post).
Ashley
4/19/2016 08:23:54 pm
Can you give me more information on the Lego pieces? So I can order, or maybe other options?
Steph
4/20/2016 09:03:50 am
Hi Ashley, if you look at the materials list at the top there are links to a website you can buy the Lego pieces. Another thought we had but did not try was using a sewing bobbin for the wheel and putting a bolt and nut through it so it would still roll. We went with the lego idea so we did not fully think through the bobbin idea.
Theresa
10/4/2016 12:45:12 pm
OMG!! This is the cute thing ever ever ever!!! Been wanting a barn door but can't figure out how to make one wide enough for my opening so I will settle for this on my front door. I love everything in miniature. Question - I'm not understanding how the half pin connects with the 1x4 tile because the tile looks smooth on both sides. Do they have a place that the half pin snaps into? Thank you for posting this. Too damn cute!!!! Someone said they were making a fairy door THAT's a really cute idea too!
Steph
10/4/2016 01:35:03 pm
Hi Theresa! We are so happy you like the project! One side of the 1x4 tile is smooth but the other side has groves to attach to a lego brick or other components. The half pin just snaps into places really easily. If you google "lego 1x4 tile" you should see a bunch of images of both sides. Hope that helps!
Don
3/28/2018 04:47:23 pm
Gotta say, your peep-hole project made me smile. I've been wanting a justification to make a rolling barn door but, none of my door ways will allow the movement.
Steph
3/29/2018 09:43:59 am
Awesome Don! Glad you like the idea :)
Dian
5/5/2018 08:10:25 am
If this is totally your idea no one else's you should really think about selling this idea to somebody that will make you some money don't let someone else steal this idea from you
DJ
11/13/2023 01:51:52 pm
I love this idea. I've been wanting to do something like it for the small window on my front door to keep out the heat from the sun in summer. The popsicle sticks would be too small, but paint sticks would work as the window is about 8" H x 4" wide. I knew how I wanted to do the door and "rod", but couldn't figure out the small wheels. I have a billion extra bobbins laying around, so why didn't I think of that? Thanks for the tip. Leave a Reply. |

Mother Daughter Projects
|