|
text by Vicki Sign up to get Mother Daughter Projects updates in your email!
This post is sponsored by The Home Depot.
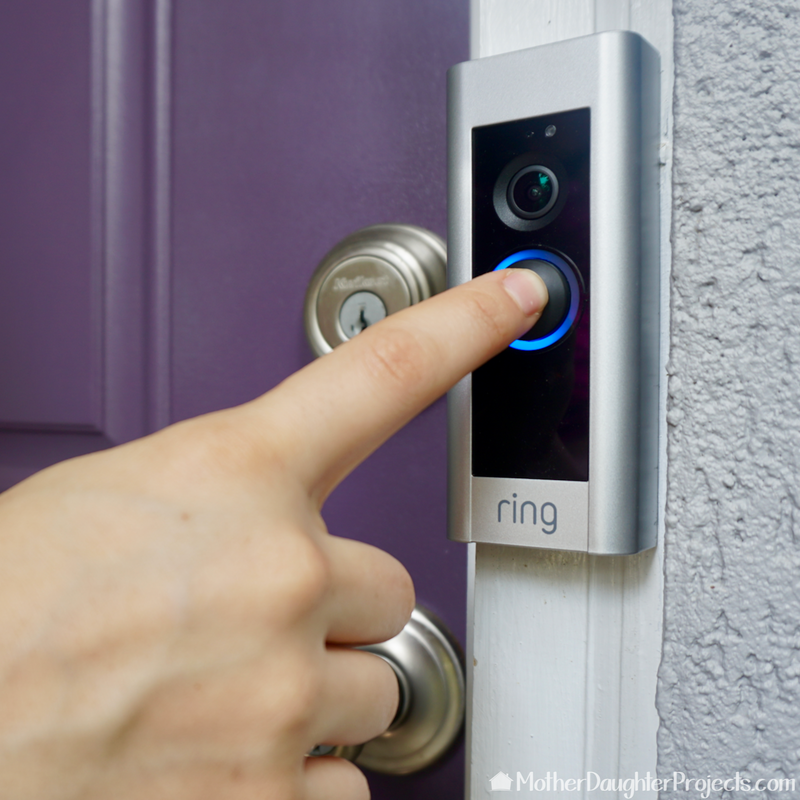
To date, we have installed three Ring smart home devices at Steph's house and one at mine. We have been impressed with the ease of installation, as well as the app setup.
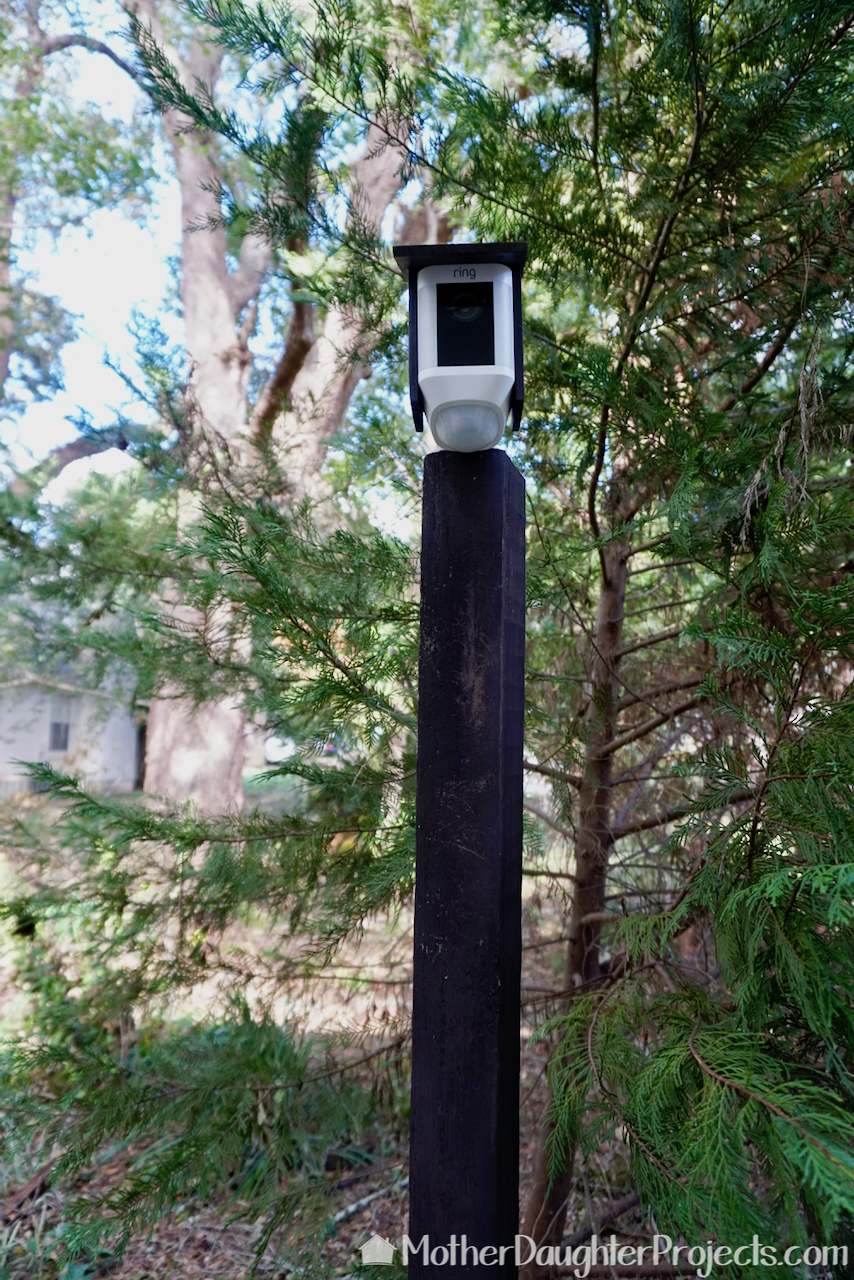
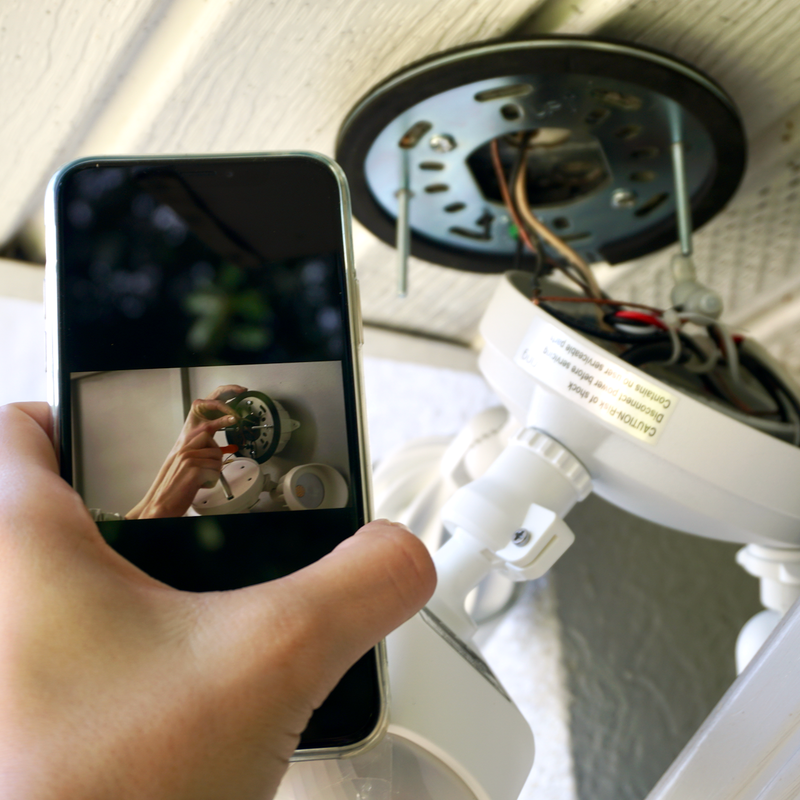
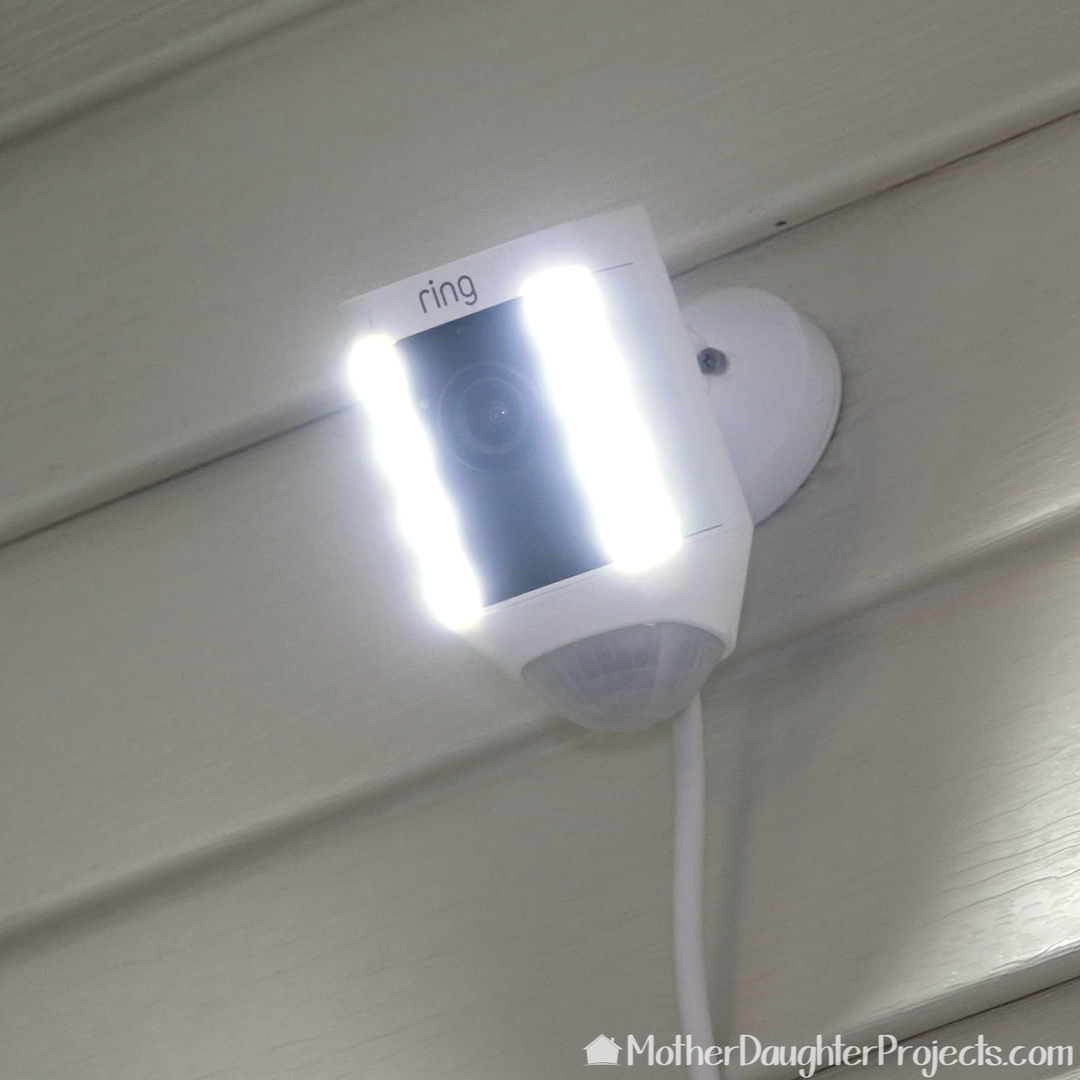
As participants in the 2018 #smarthome campaign with The Home Depot, we are able to request smart home products to try out. Since we had already installed the Ring hardwired outdoor camera, as well as the plug-in version, we wanted to try out the battery one too! We were sent a two-pack of of battery powered cameras to try out. The easiest install would have been to put them on the house, but we wanted to be able to see the exterior. We needed to install them away and looking towards the exterior of the house. Take a look at what we did, and how we gave them a bit of camouflage. 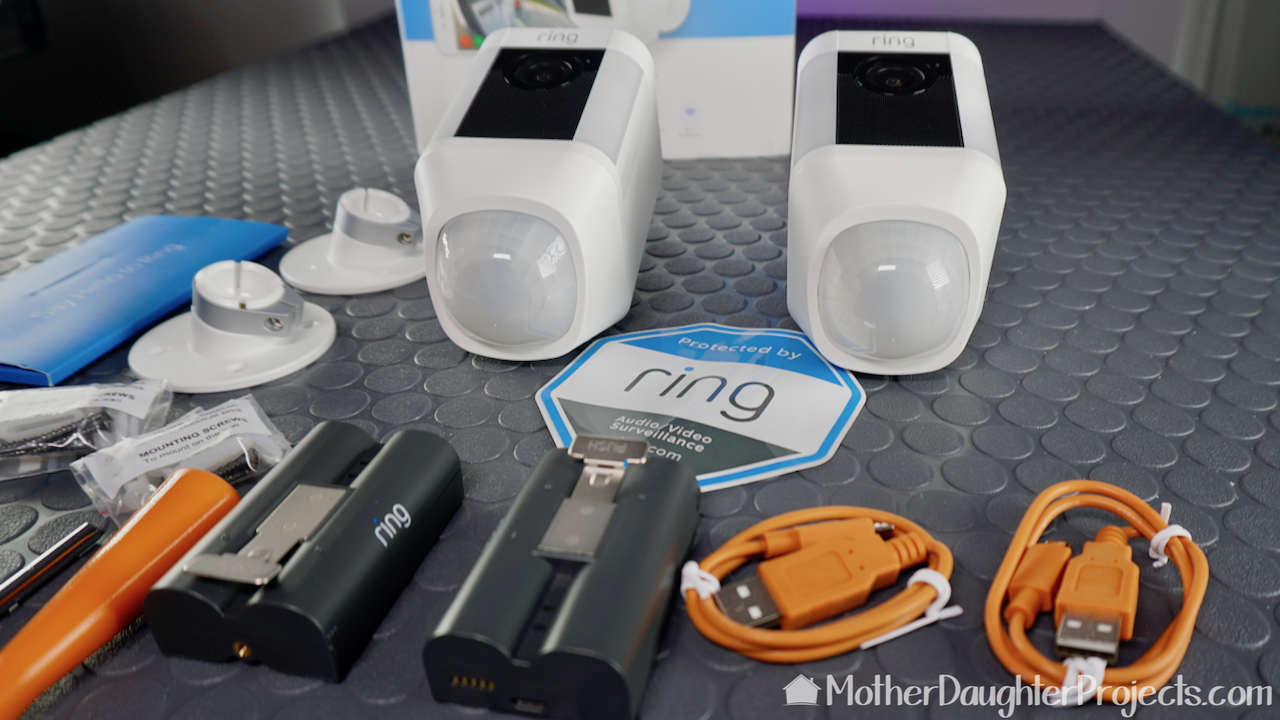
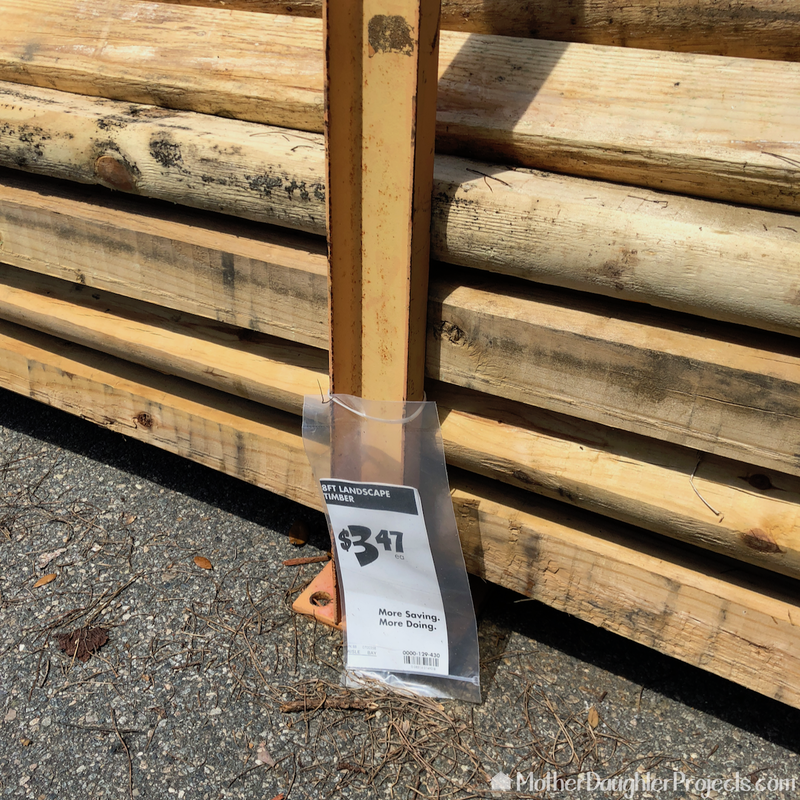
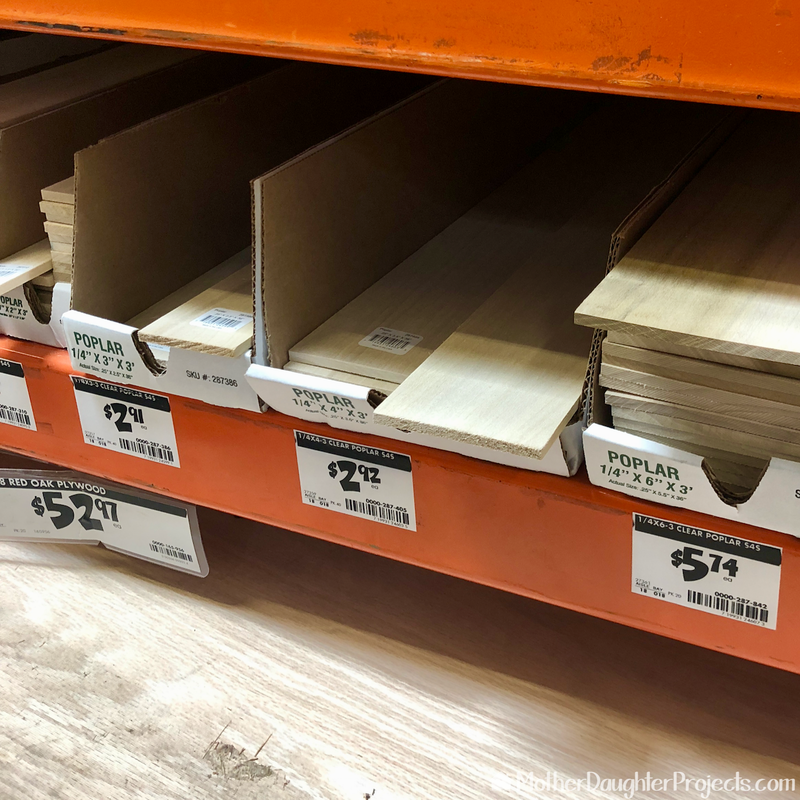
Materials:

Steph created a 'birdhouse' design based on the measurements of the camera. She used a miter saw to make the cuts.
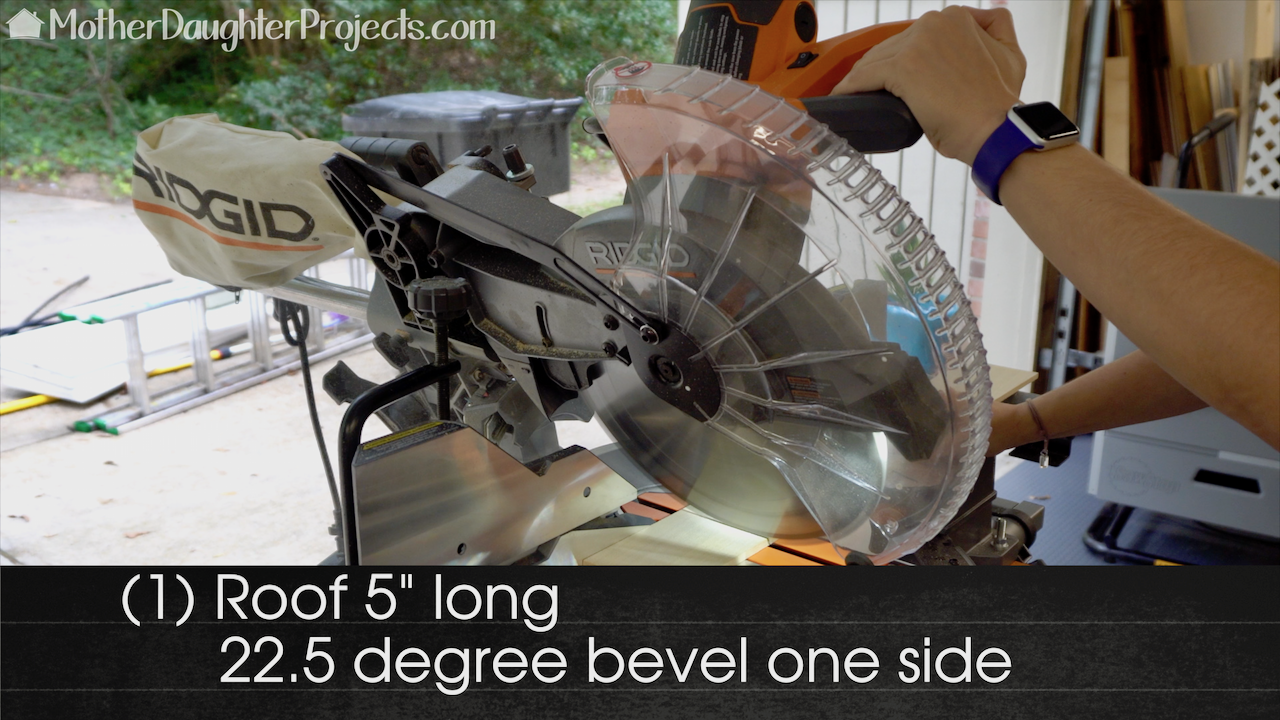
Making the bevel cuts.
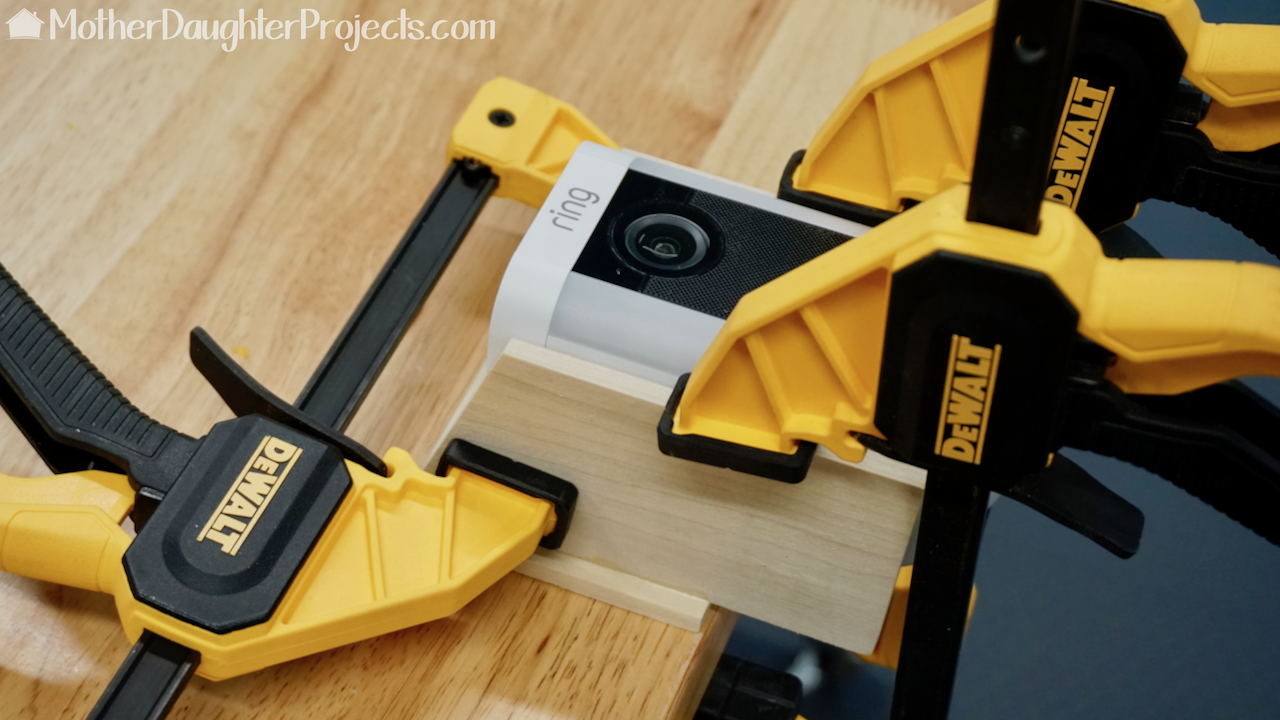
After all the pieces were cut, we used outdoor wood glue to connect the pieces. Everything was clamped into place and allowed to dry.
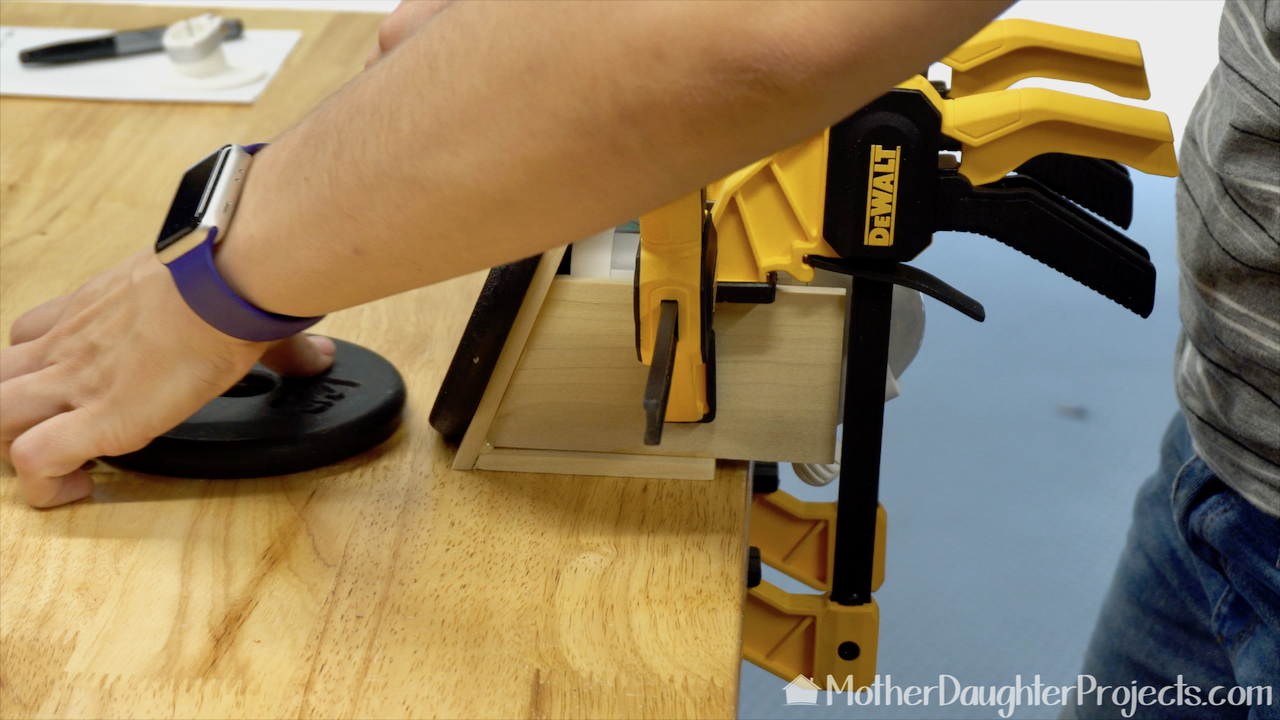
After the sides were dry, we added the roof. These weights helped to keep the parts in place as it dried.
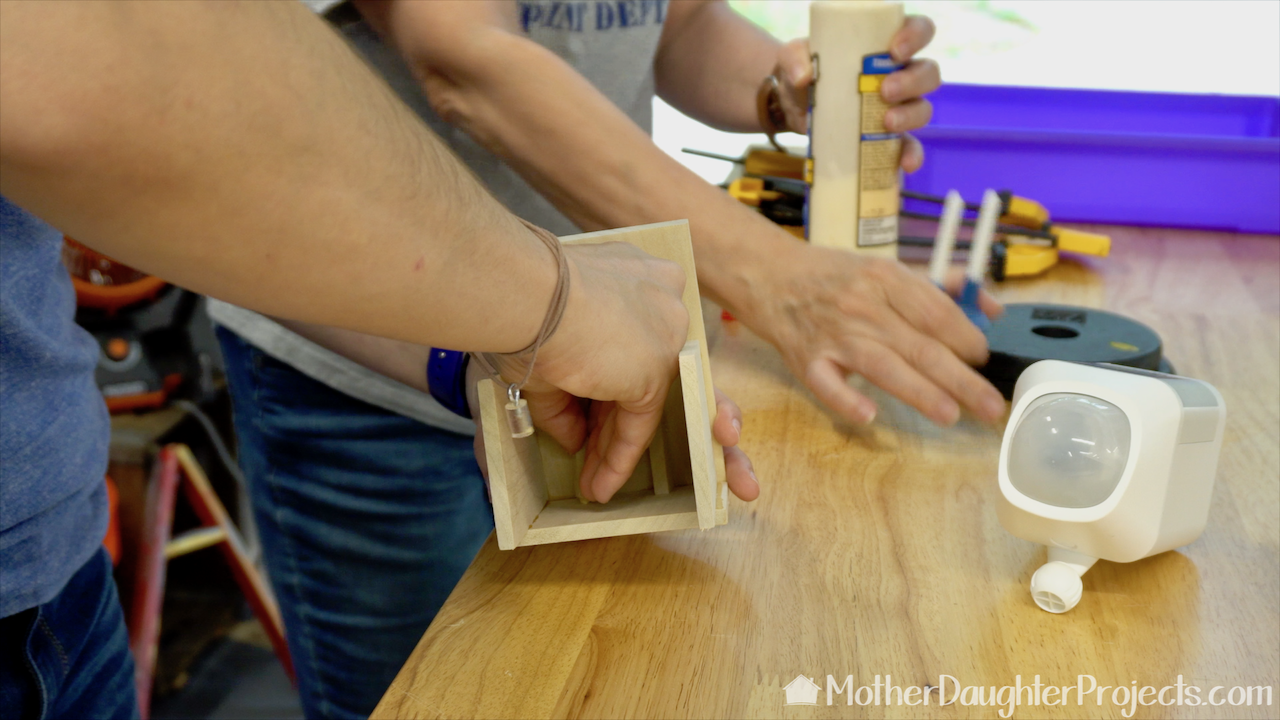
The two pieces, we cut from the sides, were glued into the underneath side of the roof. This will make the 'birdhouse' fit flat against the top of the camera.
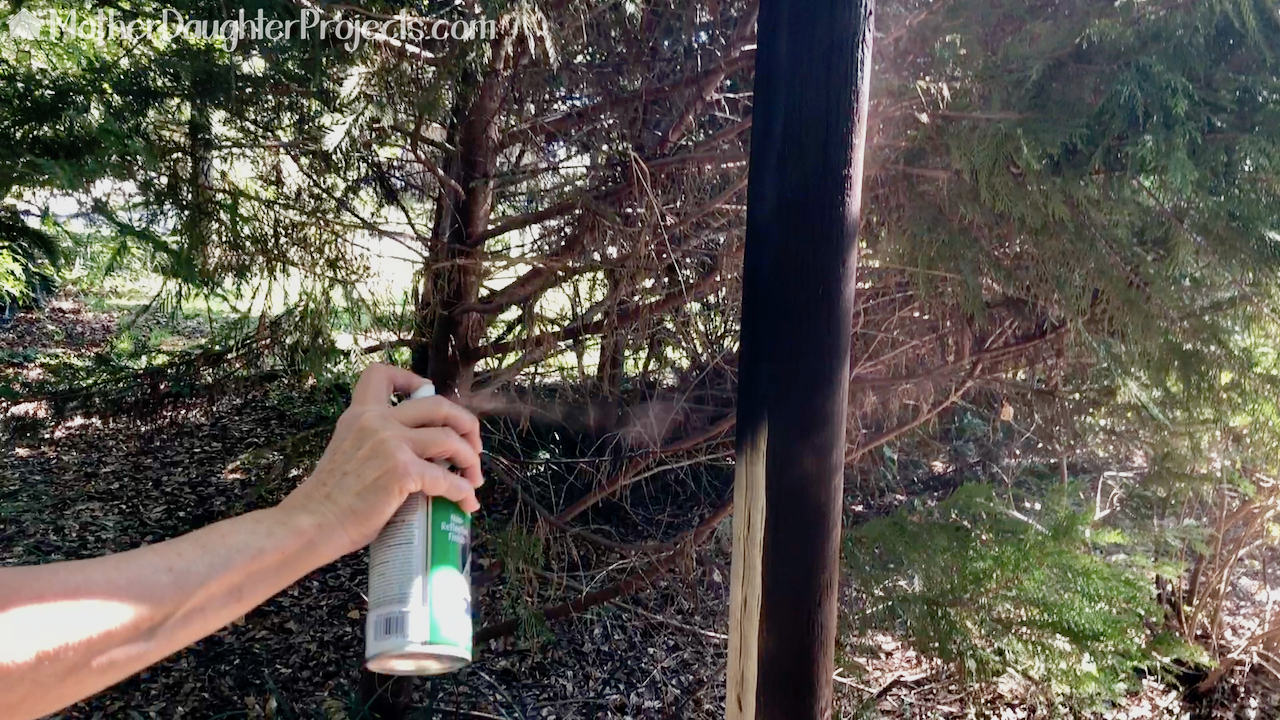
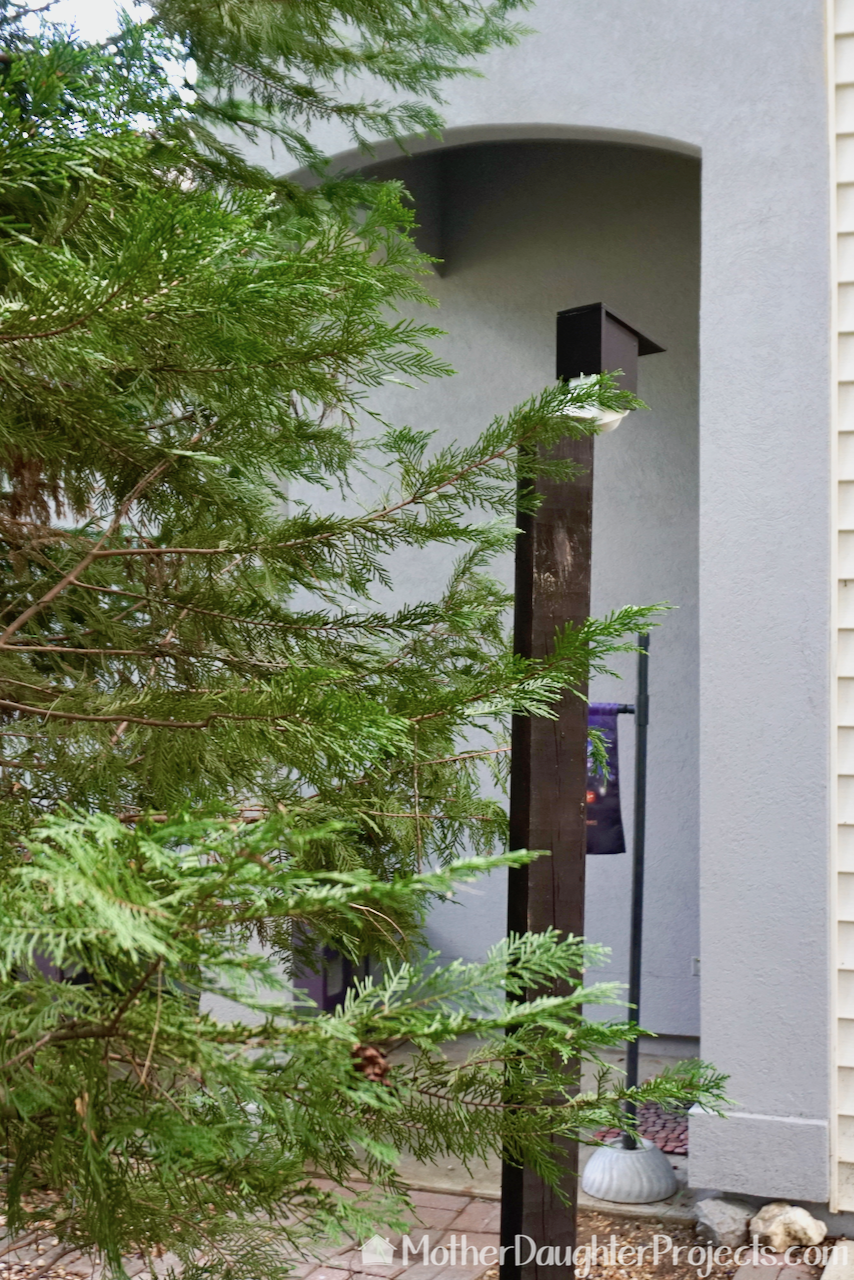
Steph dug a hole and set the post and then backfilled the hole with dirt. I sprayed it with Rust-Oleum Earth Brown Camouflage Spray Paint.
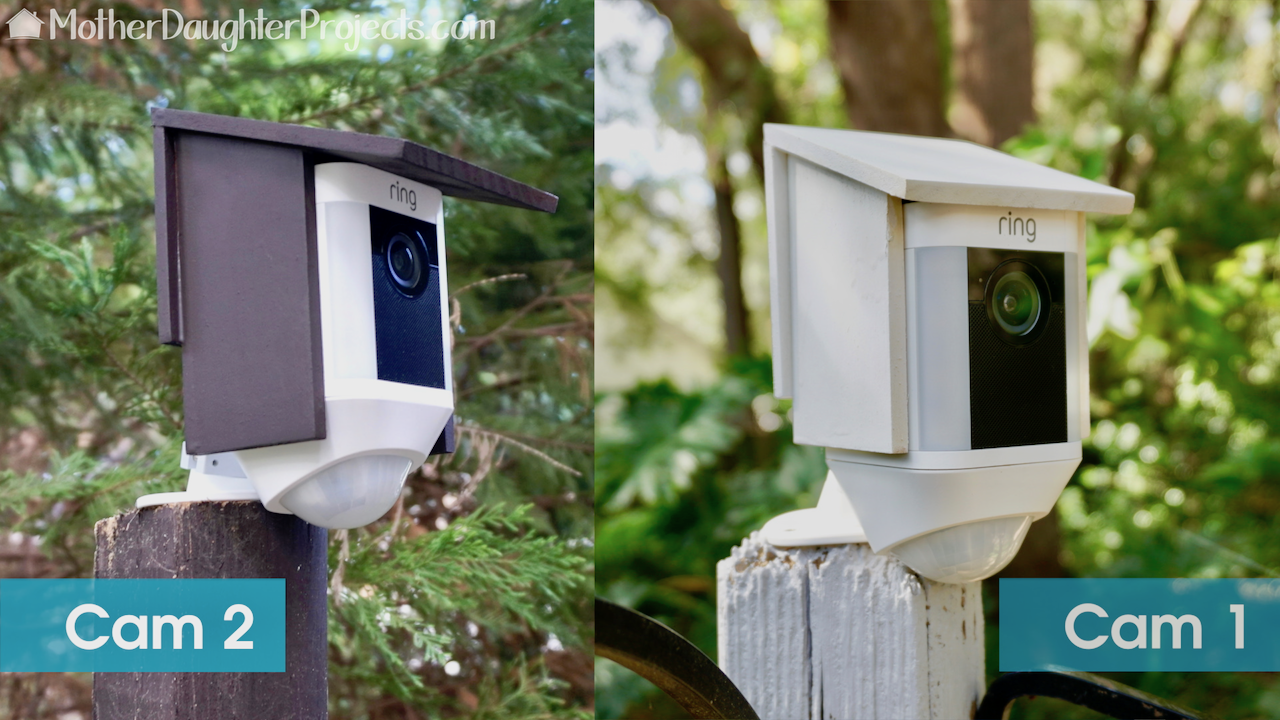
The two little 'birdhouses' are finished and in place. They fit like a slipcover. There is nothing extra holding them in place.
One of the concerns we had about this product, was expected battery life. Steph set up the camera in the house prior to installing it outside to monitor battery life. She found the battery lasted 50 days before needing to be recharged. Also, there is room for two batteries in each camera so, in theory, if two batteries are installed, you could get 100 days of use before recharging.
We acknowledge that The Home Depot is partnering with us to participate in the Smart Home Campaign 2018. As a part of the Program, we are receiving compensation in the form of products and services, for the purpose of promoting The Home Depot. All expressed opinions and experiences are our own words. Our post complies with the Word Of Mouth Marketing Association (WOMMA) Ethics Code and applicable Federal Trade Commission guidelines. FYI: We are not professionals, and we don’t claim to be. This is what we found worked for our project. Yours may need a little different approach. Safety first! FYI: Affiliate links are being used on this page. Purchasing via these links help support MDP! Related Projects
5 Comments
Mike
10/26/2018 04:29:31 am
Tthat is exactly what I have been looking for! Though I'll never be able to afford it.
Steph
2/3/2020 06:57:04 am
Nope, no damage to the cameras. 3/22/2021 10:47:41 pm
My husband and I want to put a camera in a birdhouse in the back yard so we can watch the baby birds from egg stage to maturity. Does your birdhouse do that. Can you see inside of it and watch the birds? Just curious. Thanks
Steph
3/23/2021 08:12:17 am
This is not a real bird house, it's just a cover for the camera that makes the camera look like a bird house. But you could probably make a birdhouse to put a camera like this in. Wyze outdoor camera is a good option, as it is smaller that the Ring camera. Leave a Reply. |

Mother Daughter Projects
|