|
text by Vicki Sign up to get Mother Daughter Projects updates in your email!
This post is sponsored by The Home Depot.
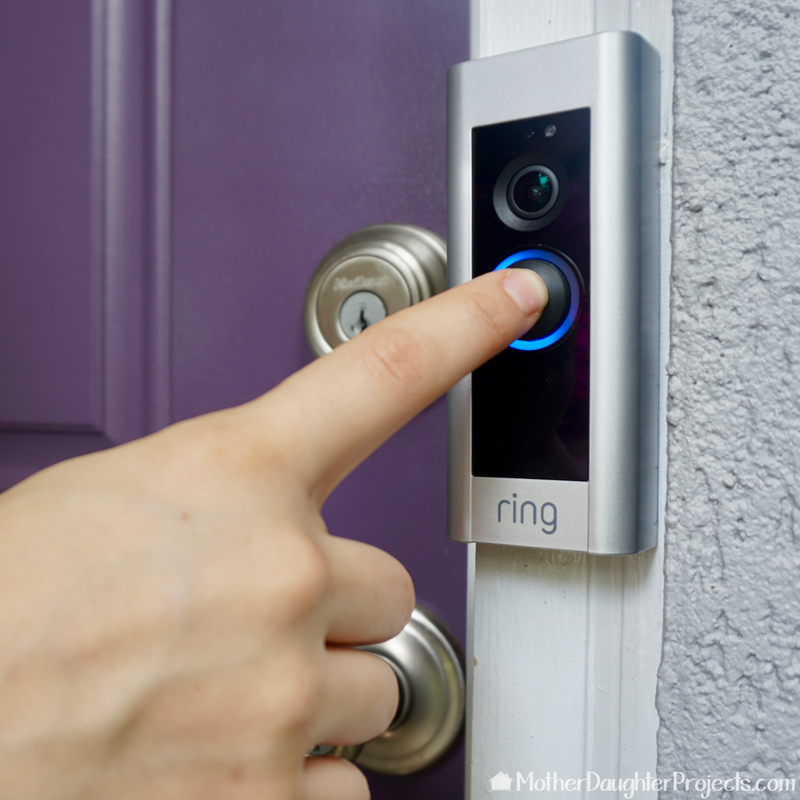
We've now installed about half a dozen Ring brand smart home products at my house and Steph's house, although she has way more than I do (I feel like we need to remedy that situation)!
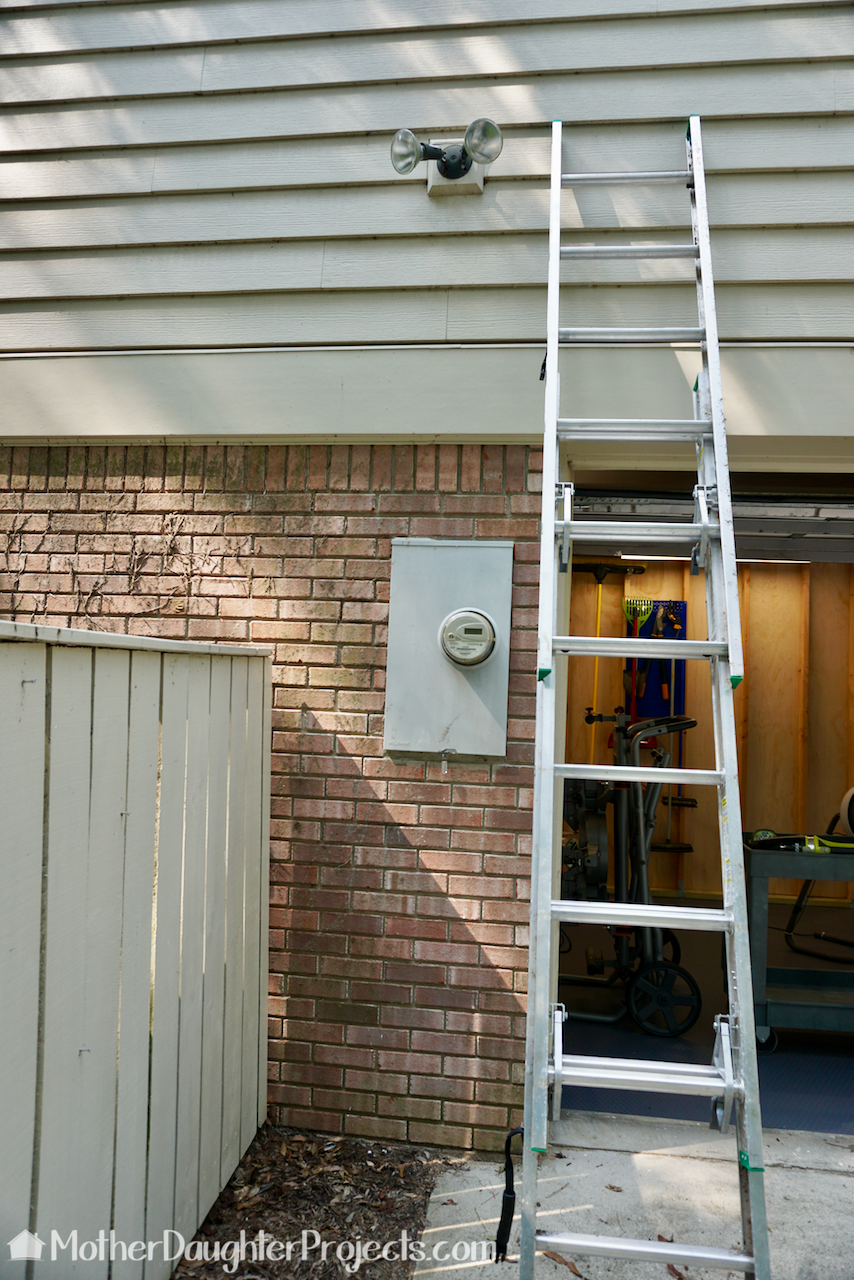
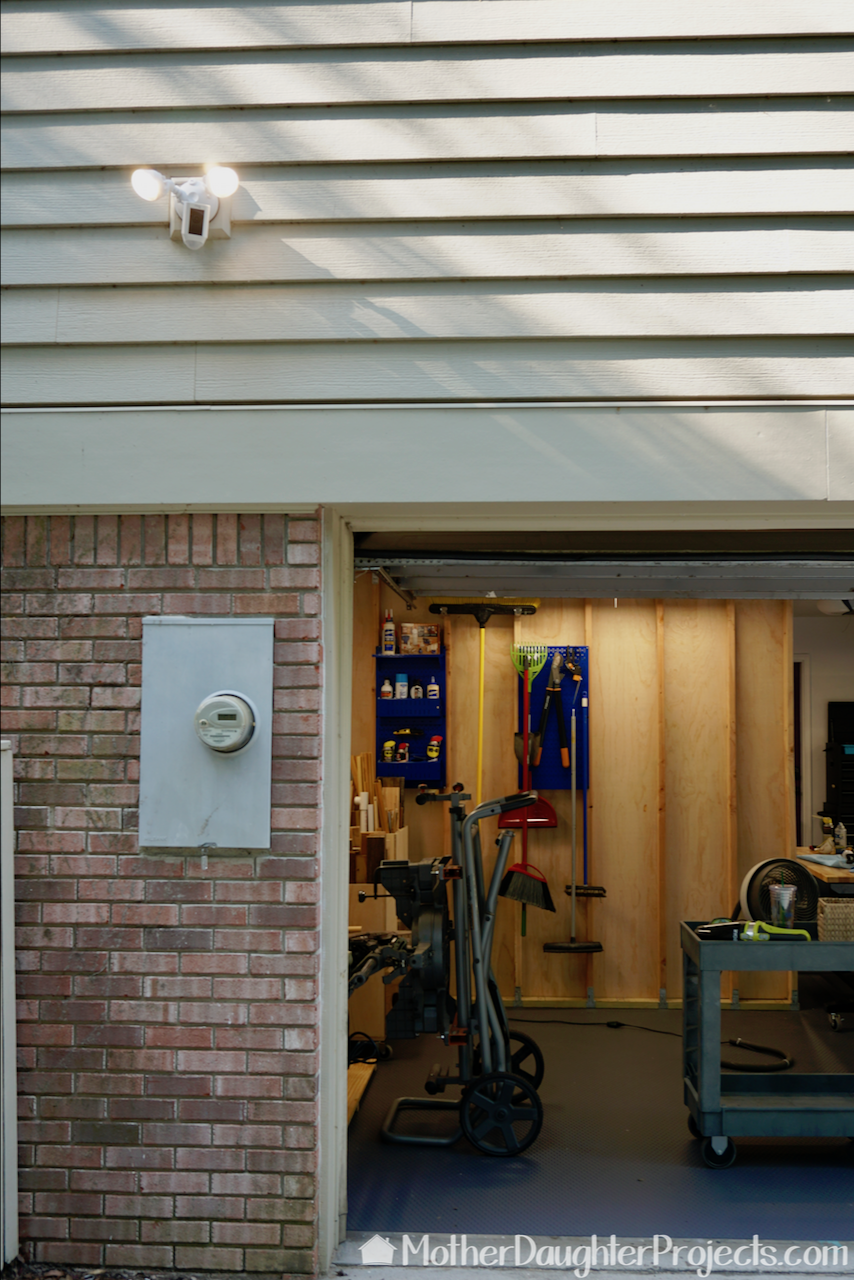
Ring has a variety of outdoor security devices to meet the needs of many homeowners and renters. There are models that are hardwired, some are battery operated, others plug-in, and some actually run on solar power! In this tutorial, we are replacing an existing floor light fixture with a wired Ring Floodlight cam. Click on the video to see the entire installation process. 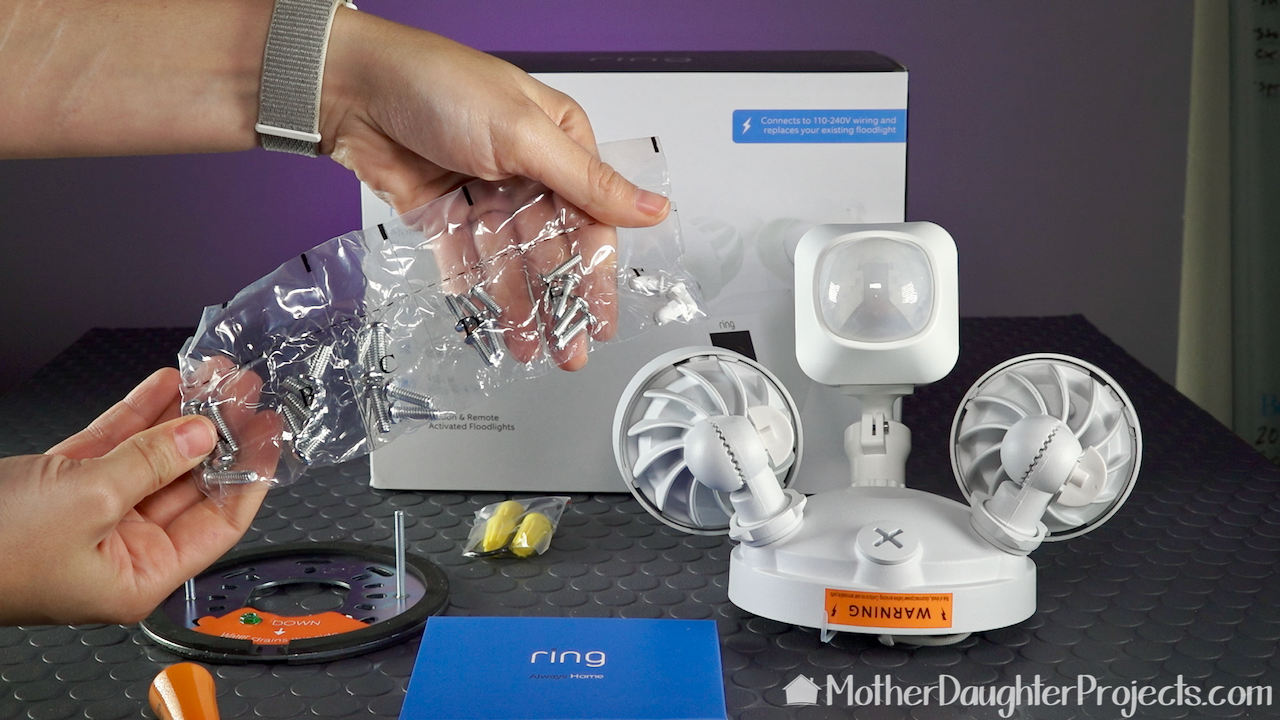
Everything you need for the installation of the Ring floodlight cam comes in the box. Everything is labeled and packaged well. There is even a screwdriver that is used for the standard screws, as well as the specialized screws used to complete the install.

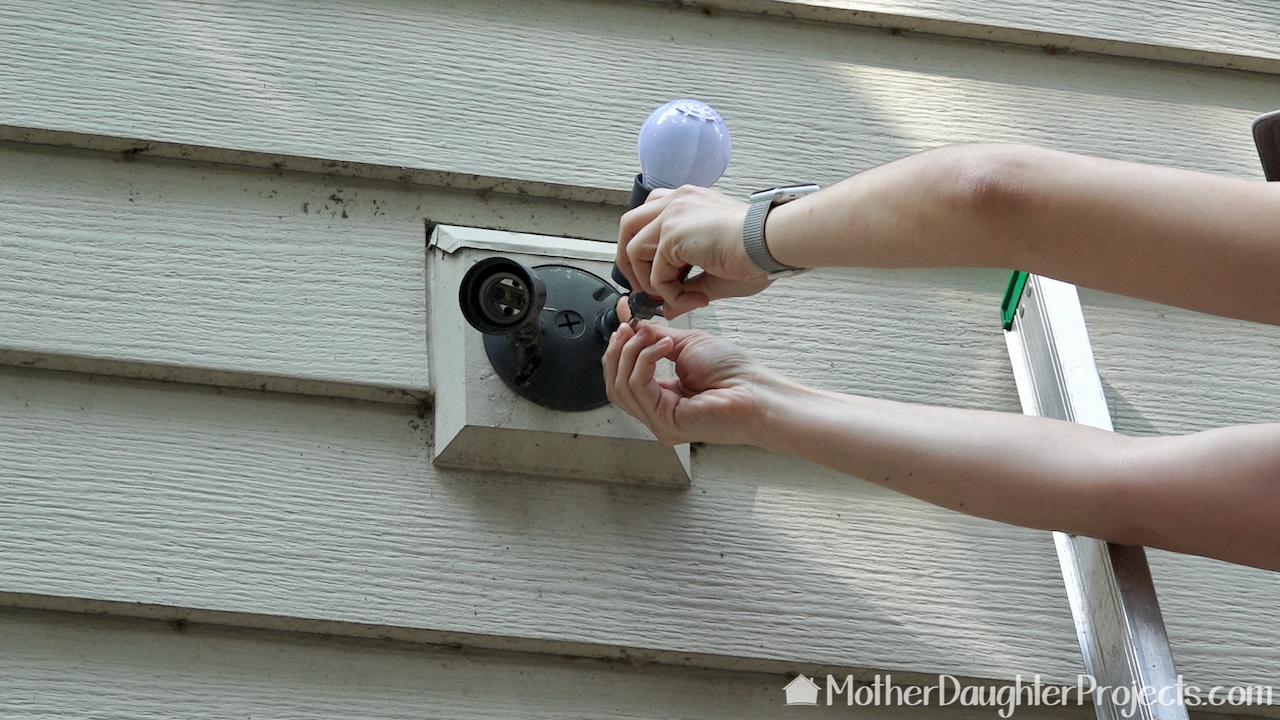
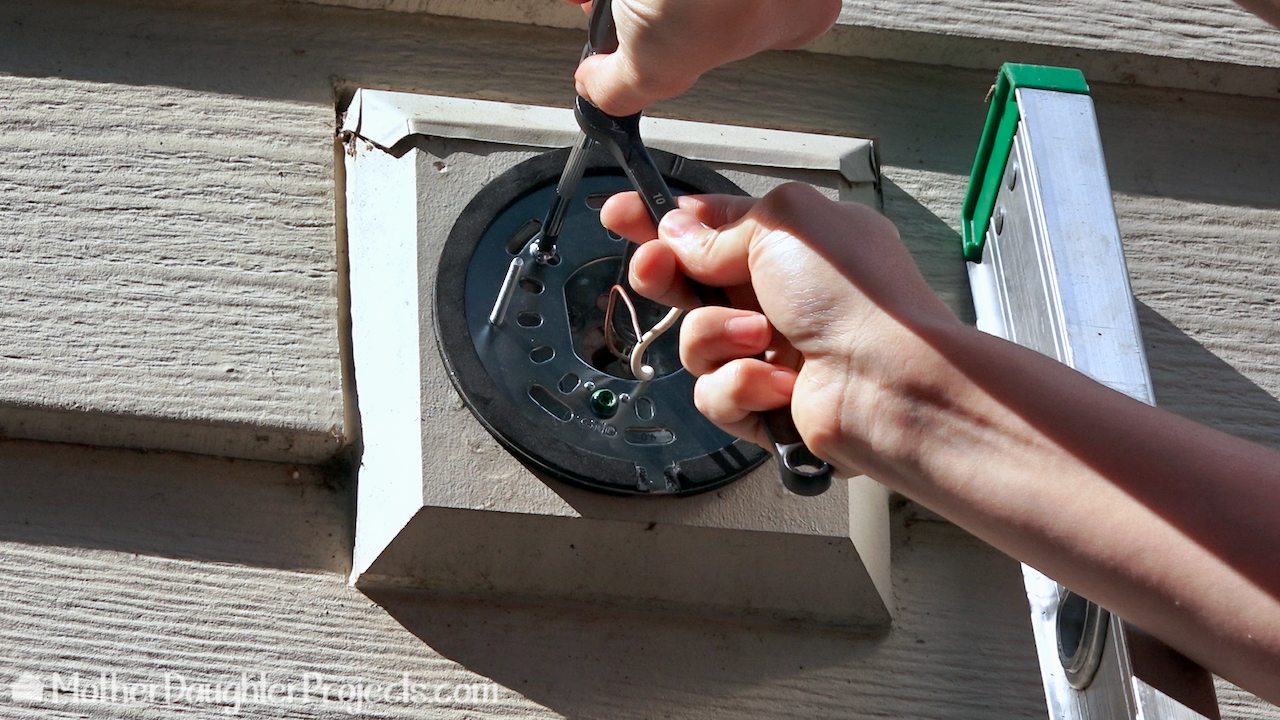
We turned the power off to this light before removing the old flood light. The old fixture proved to be a little difficult to remove. One of the screws had rusted badly and didn't want to budge. We tried a variety of options. Ultimately using WD-40 Specialist Rust Release along with a socket wrench worked! Once that was out of the way, it was smooth sailing!
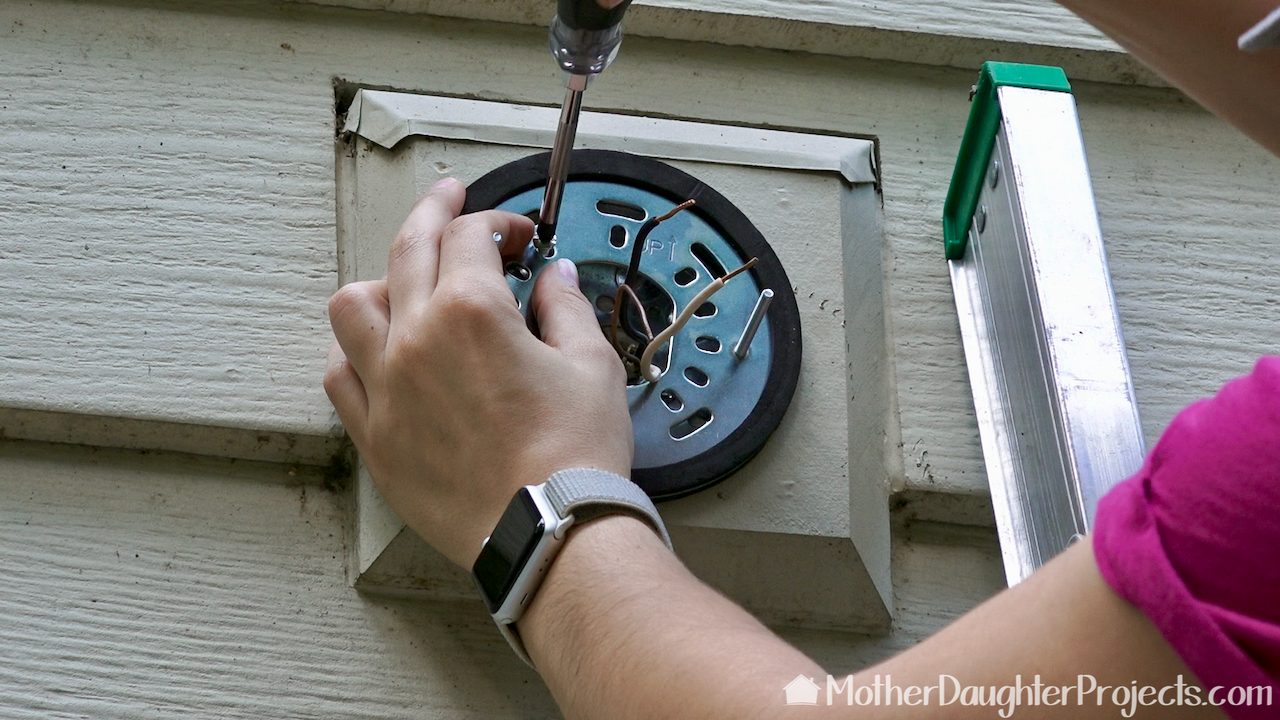
With the old fixture removed, we attached the Ring baseplate. If you are not comfortable with electric work and/or your wiring looks different then the ring manual- consult a licensed electrician.
Steph had a little challenge getting leverage to screw in the plate. This Milwaukee screwdriver has a wrench-ready bolster on the handle. This allows the user to use a wrench to get extra leverage when using the screw driver. It's called 'mechanical advantage.' My 91 year old dad shared this little tip about mechanical advantage about a year ago. This is the first time we've had a chance to try it our for ourselves.
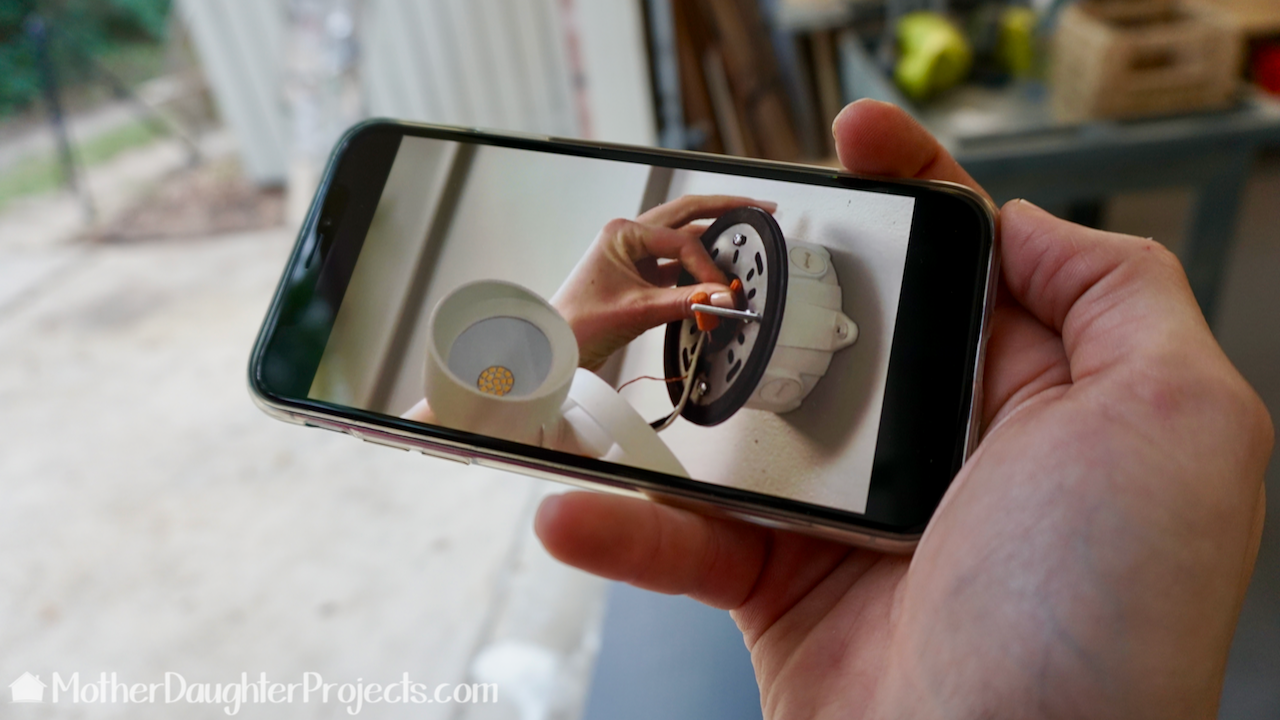
The Ring app has videos for each step, which walks you visually through the installation.
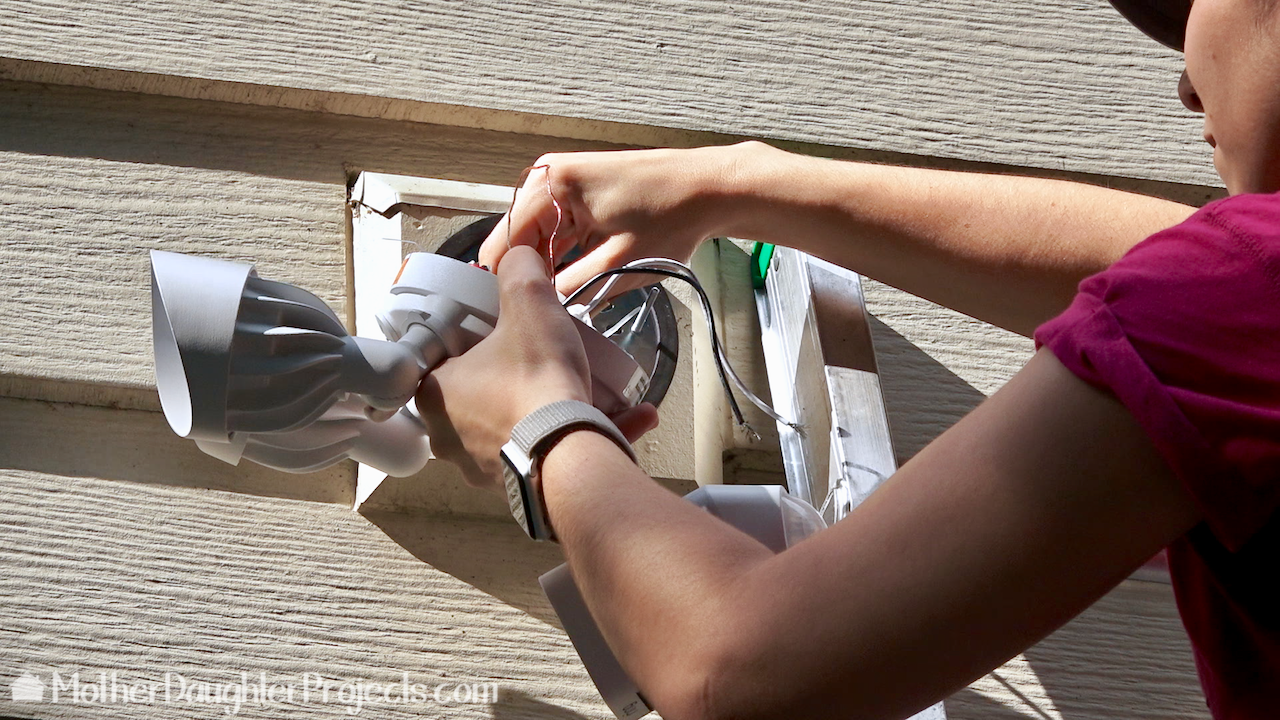
A really handy feature of the installation is the inclusion of a hook, which holds the fixture while you're doing the wiring.
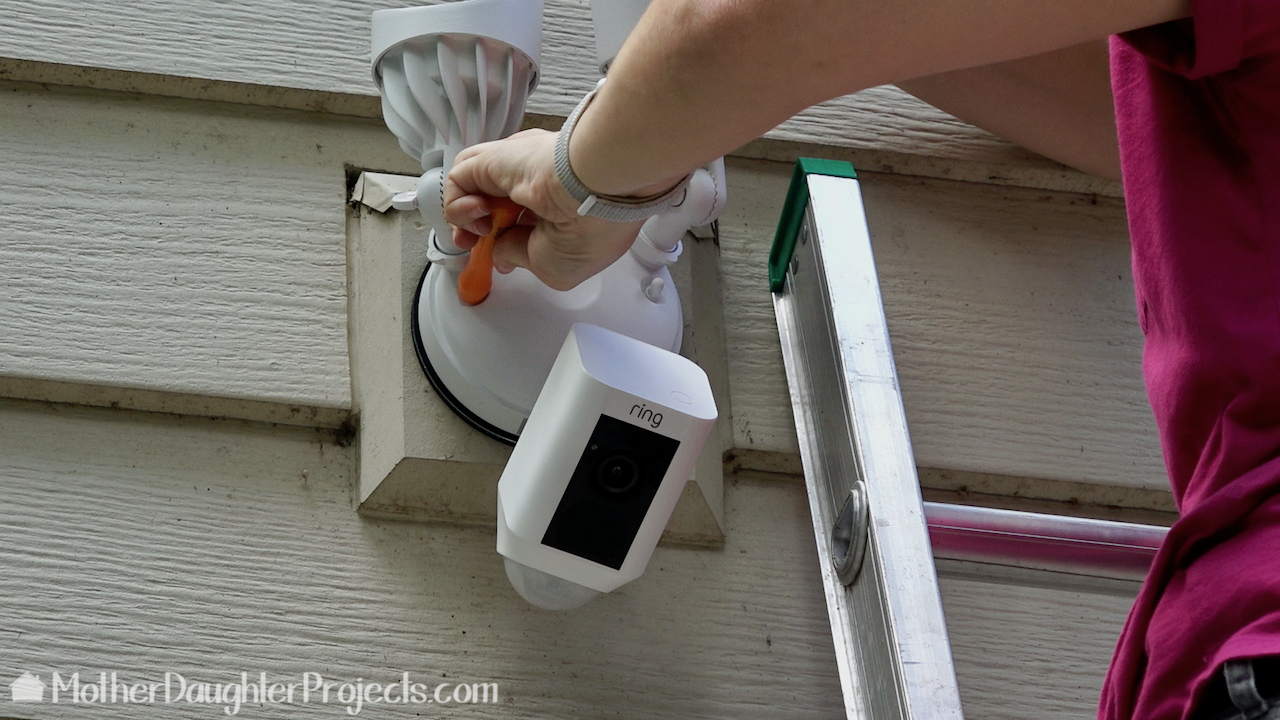
The handle of the orange screwdriver is used to tighten the specialized screws that finish the installation.
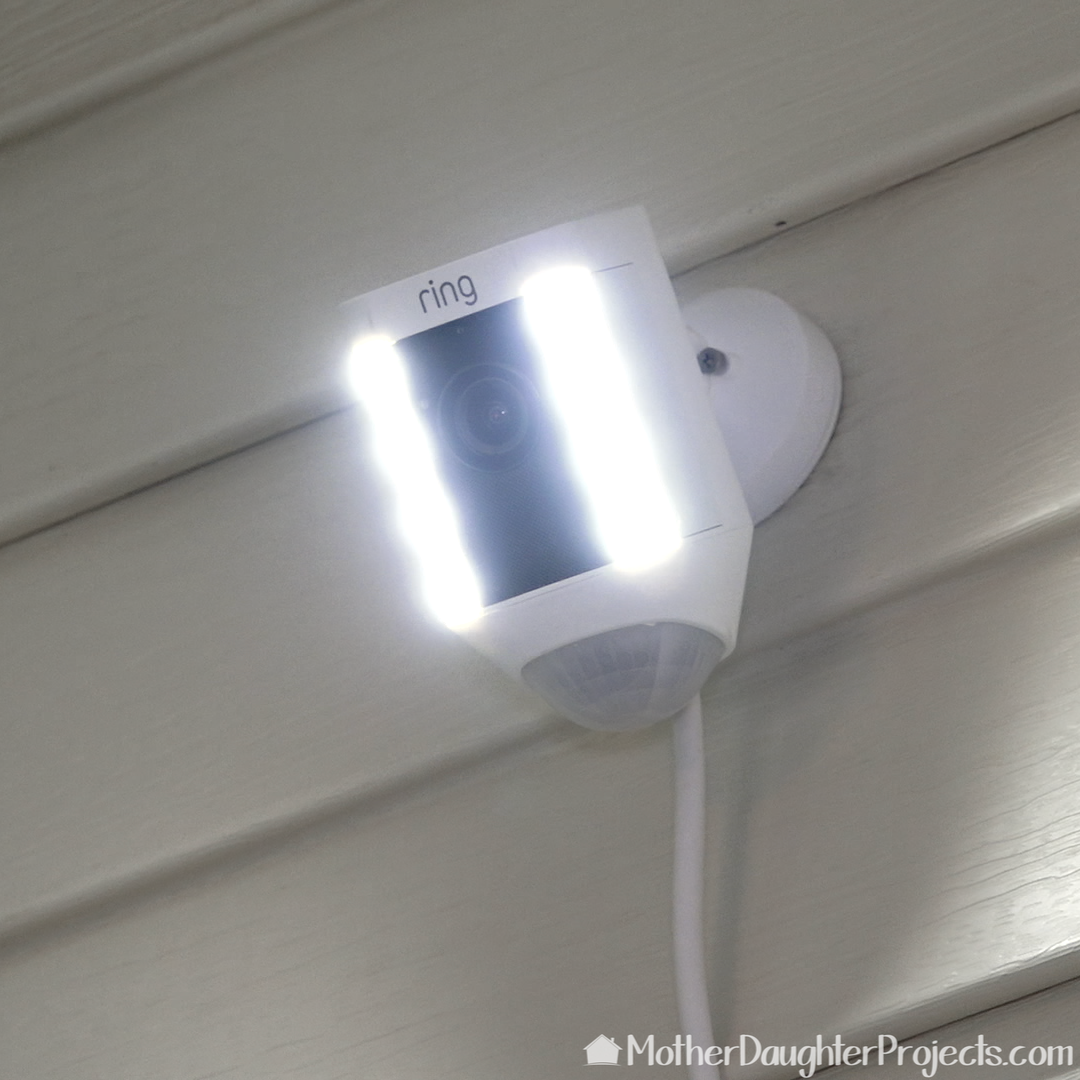
The last step is to fine tune the placement of the lights and camera. We logged into the app to check the direction of the camera and lights. Easy!
We have been very happy with the Ring family of products. Each one, including this floodlight installation, have been without issue. The written instructions as well as the video instructions are designed in a way to anticipate any potential problem a homeowner may encounter.
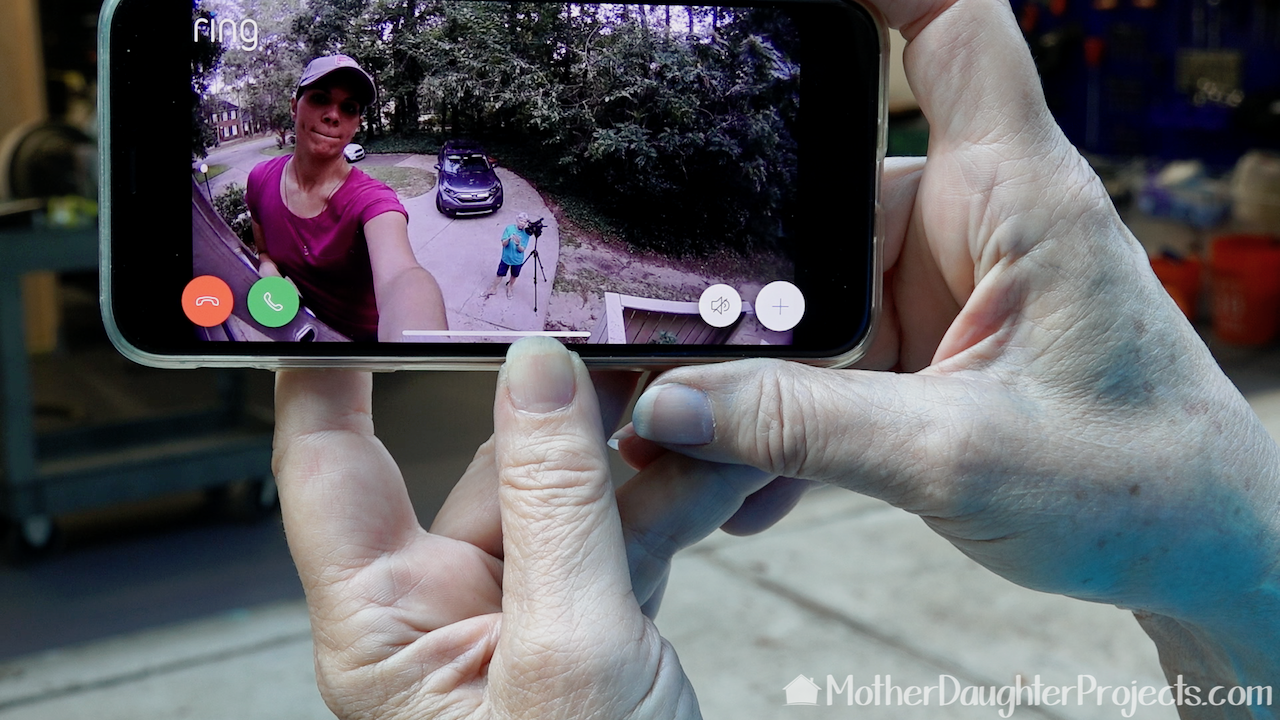
We had no issues with setting up the device through the app. Again, it prompts you through the various steps that need to be completed. One of the nice features of the Ring app is the ability to be able to share the camera. It always makes me feel a little more secure knowing someone is aware of my comings and goings! We acknowledge that The Home Depot is partnering with us to participate in the Smart Home Campaign 2018. As a part of the Program, we are receiving compensation in the form of products and services, for the purpose of promoting The Home Depot. All expressed opinions and experiences are our own words. Our post complies with the Word Of Mouth Marketing Association (WOMMA) Ethics Code and applicable Federal Trade Commission guidelines. FYI: We are not professionals, and we don’t claim to be. This is what we found worked for our project. Yours may need a little different approach. Safety first! FYI: Affiliate links are being used on this page. Purchasing via these links help support MDP! Related Projects
0 Comments
Leave a Reply. |

Mother Daughter Projects
|