|
text by Vicki Sign up to get Mother Daughter Projects updates in your email!
This post is sponsored by The Home Depot.
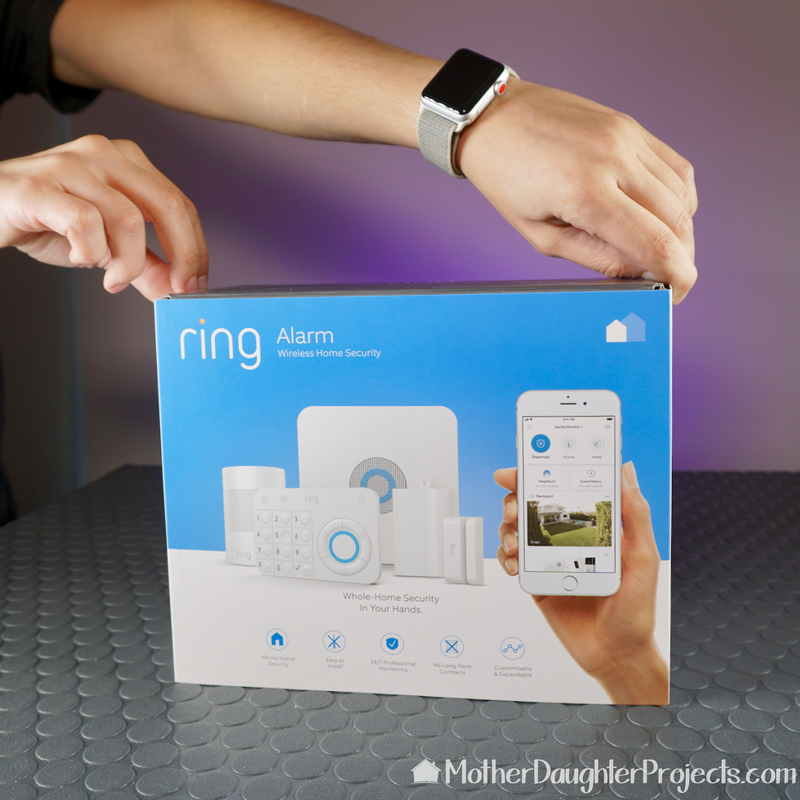
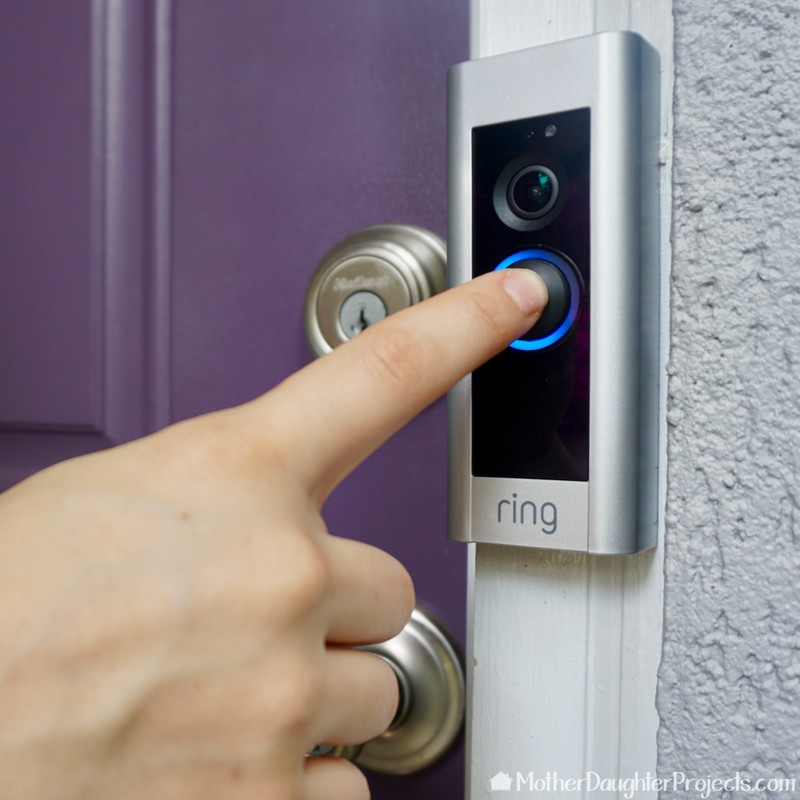
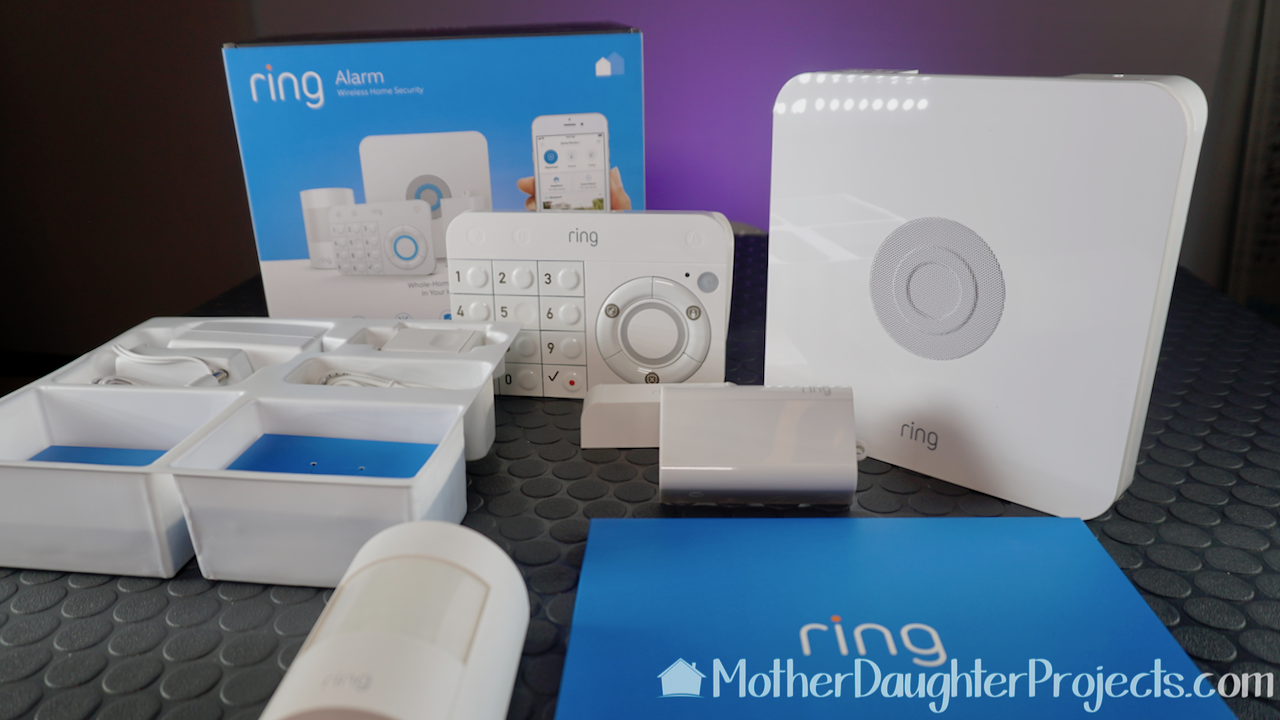
We've installed, and used, a variety of smart home products recently, but none as new to the market as the Ring Alarm Wireless Home Security Kit. This is a brand new offering from Ring, the makers of the widely used Ring Doorbell! If you like the Ring Doorbell, you will be excited to learn about this new DIY friendly security system.
Product:
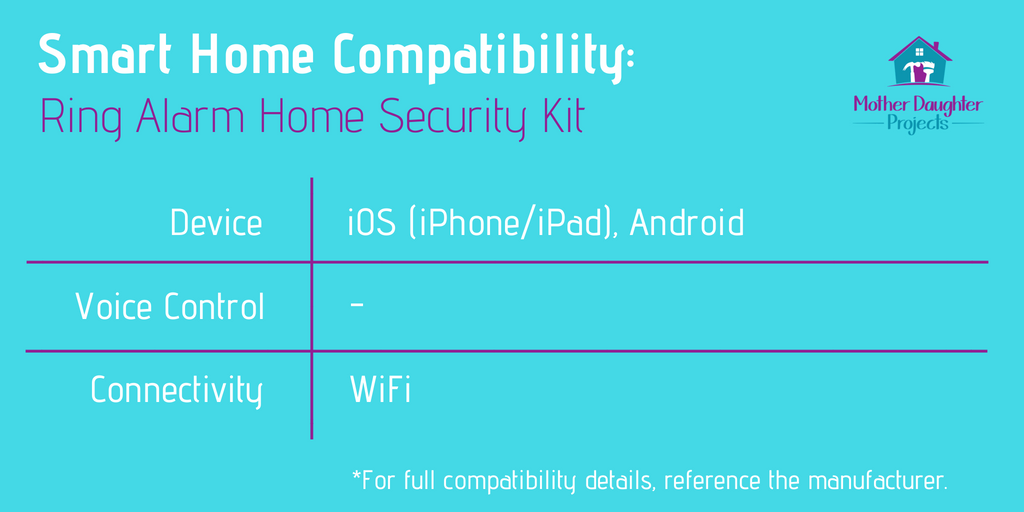
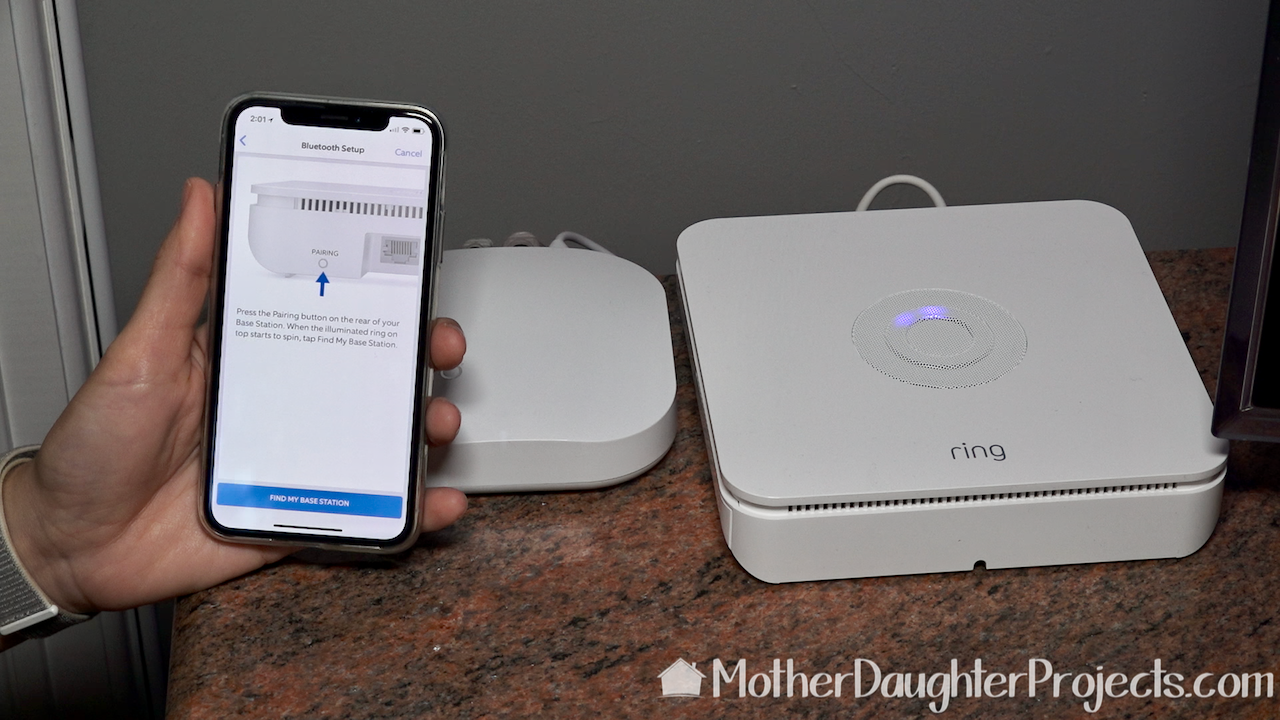
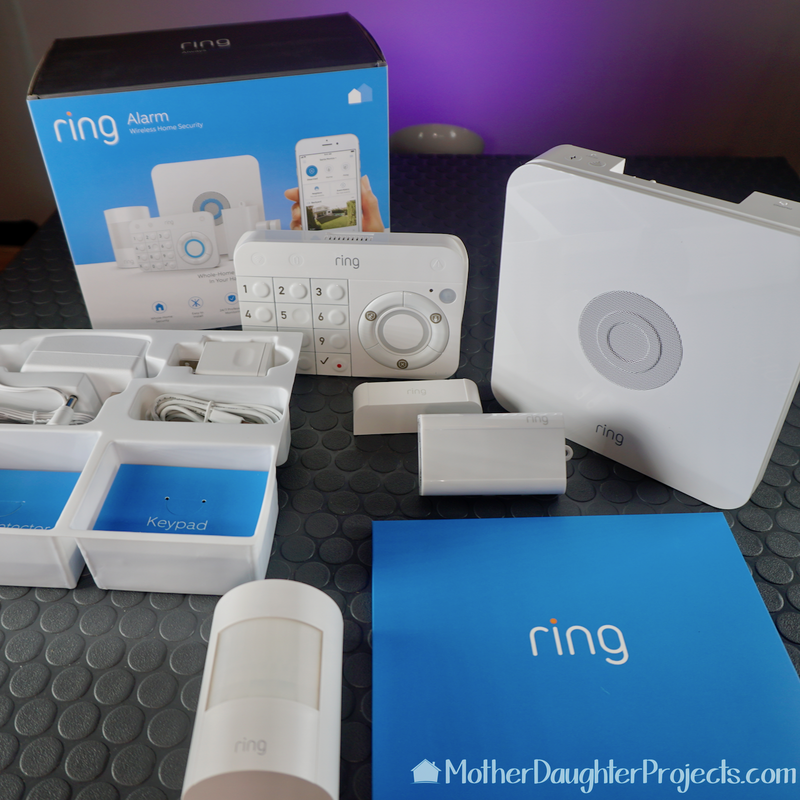
First things first, set up the base station. This can be hardwired (plugged into your router) or WiFi. Steph's sits near the router so it was easy enough to plug in an ethernet cable. Follow the Ring app for step by step installation instructions.
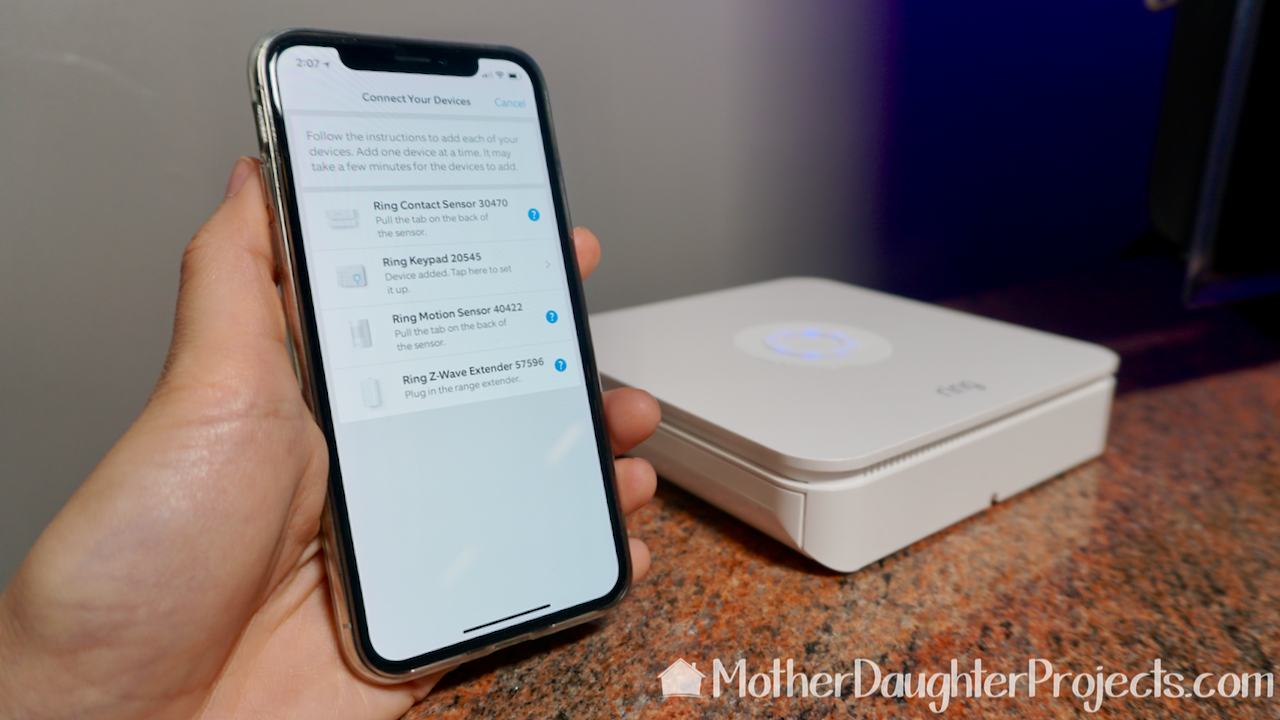
Continue to use the app to start connecting all the devices.
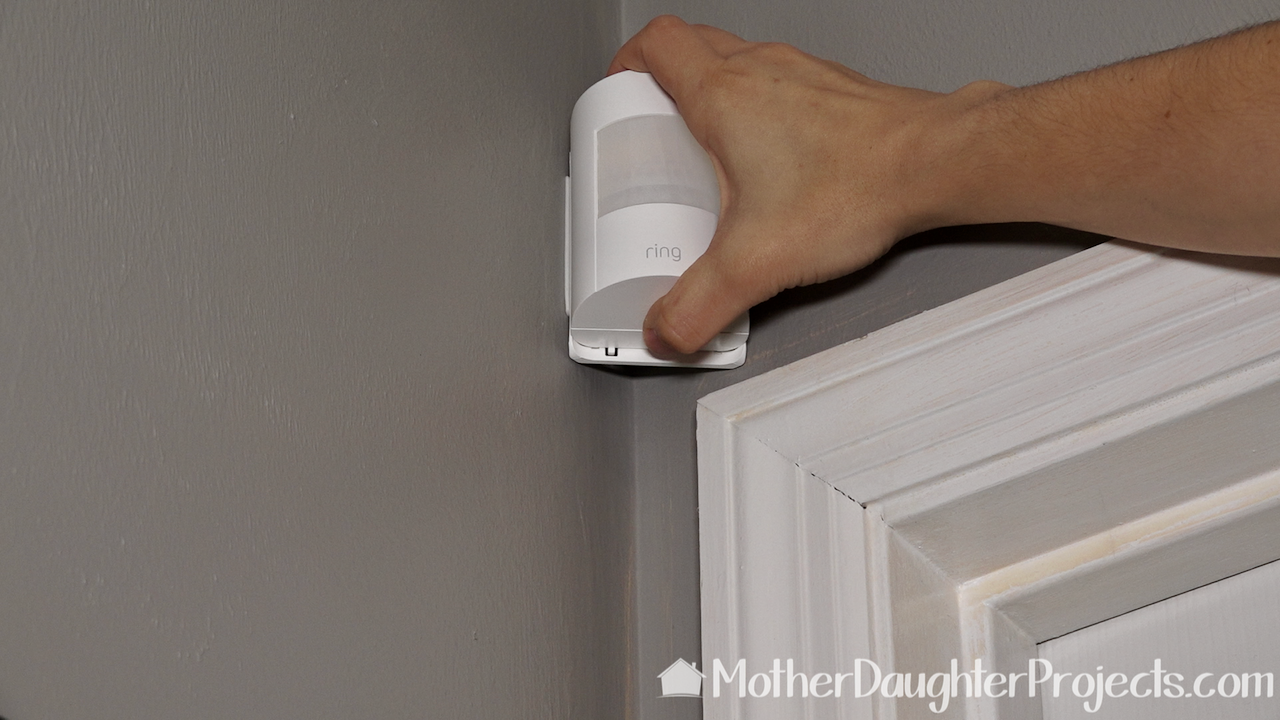
One of the included sensors is a motion detector. This can be put in a corner (as shown) or on a wall. The instructions will walk you through the optimal set-up placement. There is self-stick mounting tape included for this simple install.
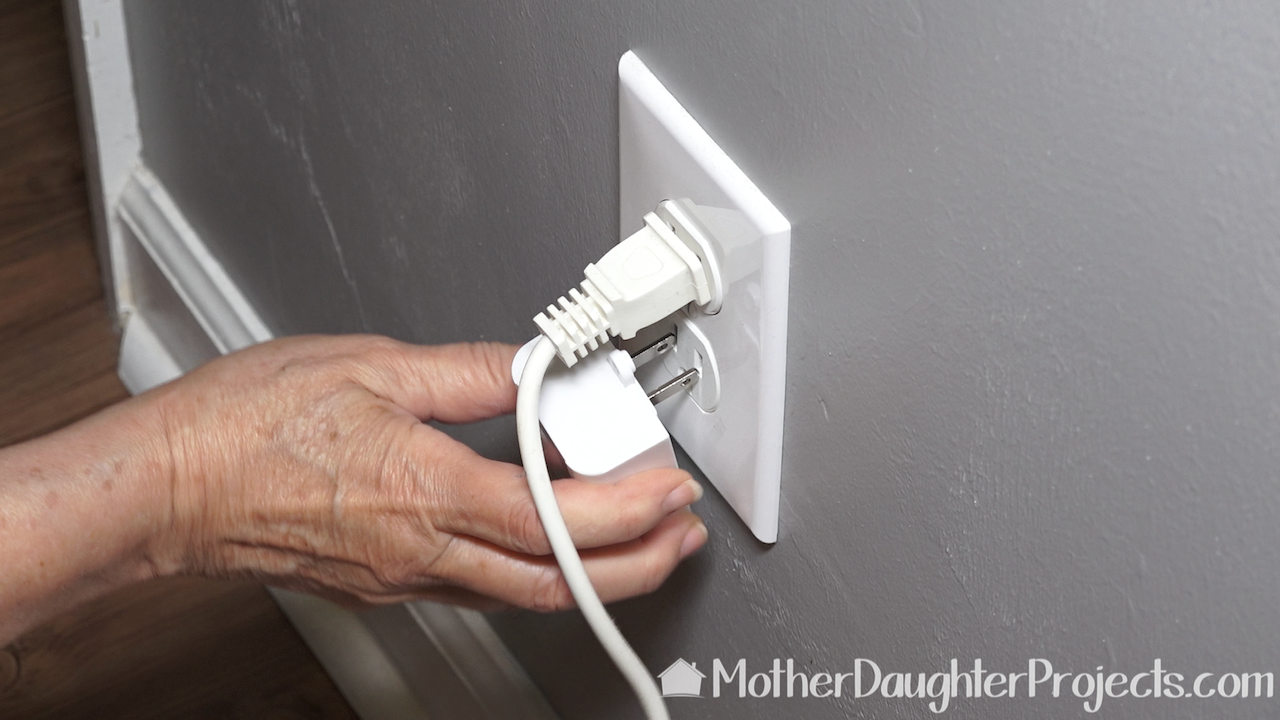
The range extender is plugged into an existing outlet near one of the sensors. This helps the entire kit work together.
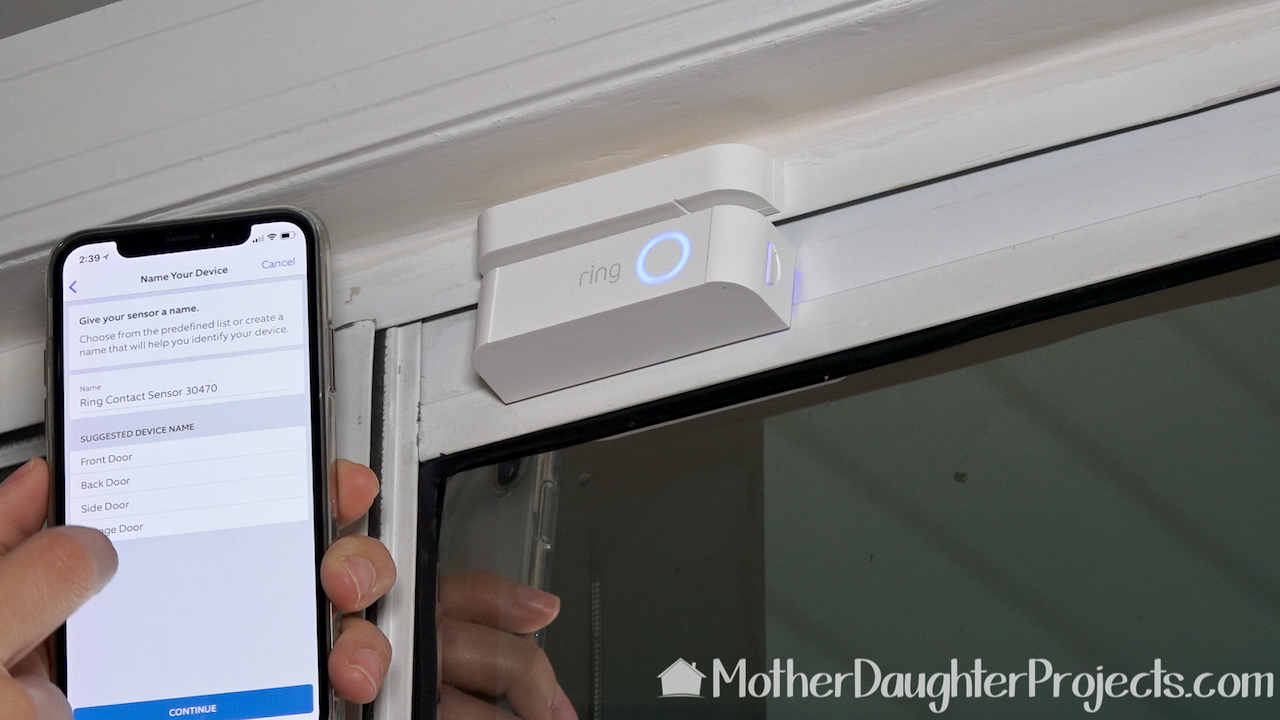
This window/door contact sensor is perfect on the sliding glass door. Again, it is simply put into place with double sided mounting tape. The directions are very specific in helping you to know how far apart to place the pieces of the 2-part sensor. A quick set-up on the app and it was ready to go!
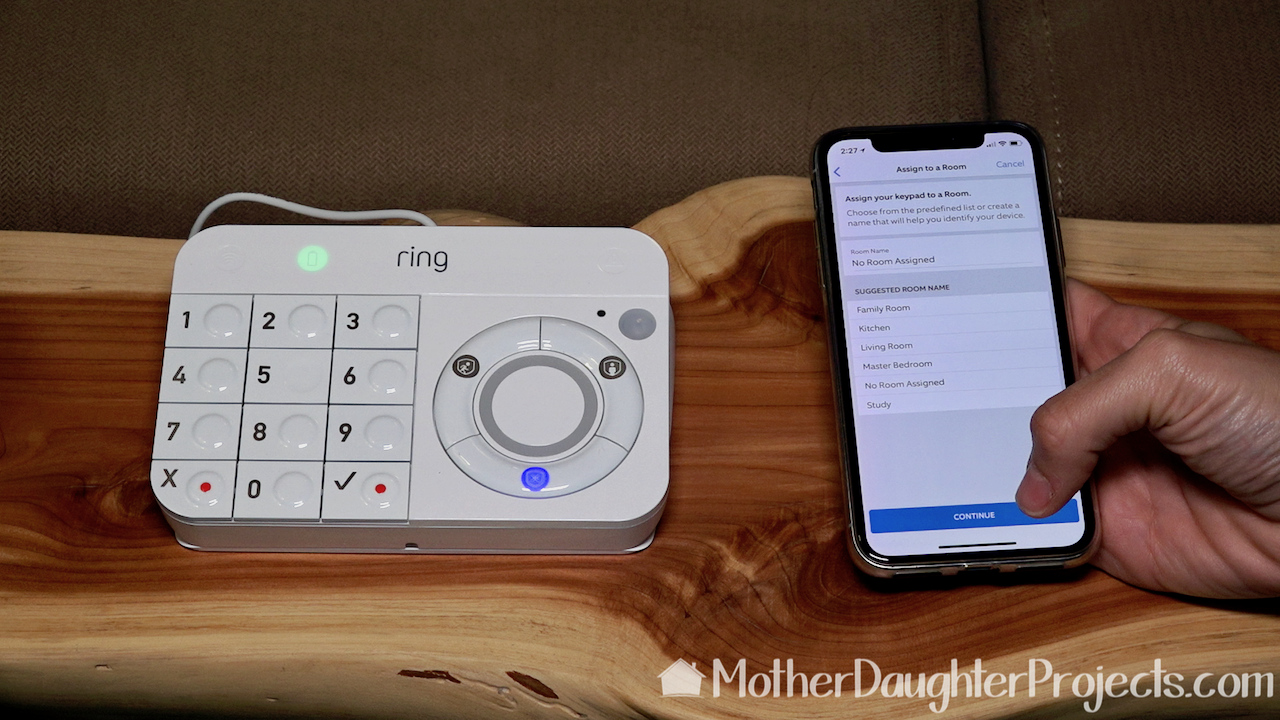
The last set in the install is to set up the Ring Alarm Kit keypad. This can be mounted on a wall or set on a surface. It has a very ingenious stand for doing this. Set up the alarm code in the app. The keypad is battery operated or can be plugged in. Take a little time to understand how to arm and disarm the system via the keypad.
Wow, this exceeded any expectation we had for a DIY friendly home security system!
The install was simple and the app was easy to follow-- making pairing the devices seamless. The possibility for system expansion are affordable and varied (new products coming soon). From our experience, Ring seems committed to maintaining its software and app and innovating for the future. They appear to be a company that is in the smart home business for the long haul and not some "one-hit" wonder! This whole-home security system is truly DIY friendly. It's good for renters or short-term homeowners, as nothing is permanent making it is something you can remove and take with you! Is this something you would install in your home? Let us know in the comments below! We acknowledge that The Home Depot is partnering with us to participate in the Smart Home Campaign 2018. As a part of the Program, we are receiving compensation in the form of products and services, for the purpose of promoting The Home Depot. All expressed opinions and experiences are our own words. Our post complies with the Word Of Mouth Marketing Association (WOMMA) Ethics Code and applicable Federal Trade Commission guidelines. FYI: We are not professionals, and we don’t claim to be. This is what we found worked for our project. Yours may need a little different approach. Safety first! FYI: Affiliate links are being used on this page. Purchasing via these links help support MDP! Related Projects
3 Comments
Tanya Stirling
2/28/2019 07:39:57 pm
I can't get the keypad to sync with my iPhone its driving me crazy I've been working on it for hours
Steph
3/1/2019 09:19:22 am
Oh no- that's frustrating! I just took a quick look in the app on my phone and it shows an option to set it up manually. Have you tried that yet? Also, I see in the app they have a help option to contact support right away. Hope you get it working!
Nicole
6/7/2019 05:29:26 pm
How did you get the sliding door to work?? I put much sensor on the the sliding door but when the door is closed the sensors aren't on the same level since the door slides into the door frame Leave a Reply. |

Mother Daughter Projects
|