|
Can you use a stand alone sign in your home? Perhaps for a special menu, welcome, wi-fi password notice for guests? In this post, we're sharing how we created a couple of scroll saw projects for an event display. These were specific to our needs, but can be adapted for use in your own home.
Materials/ Tools:
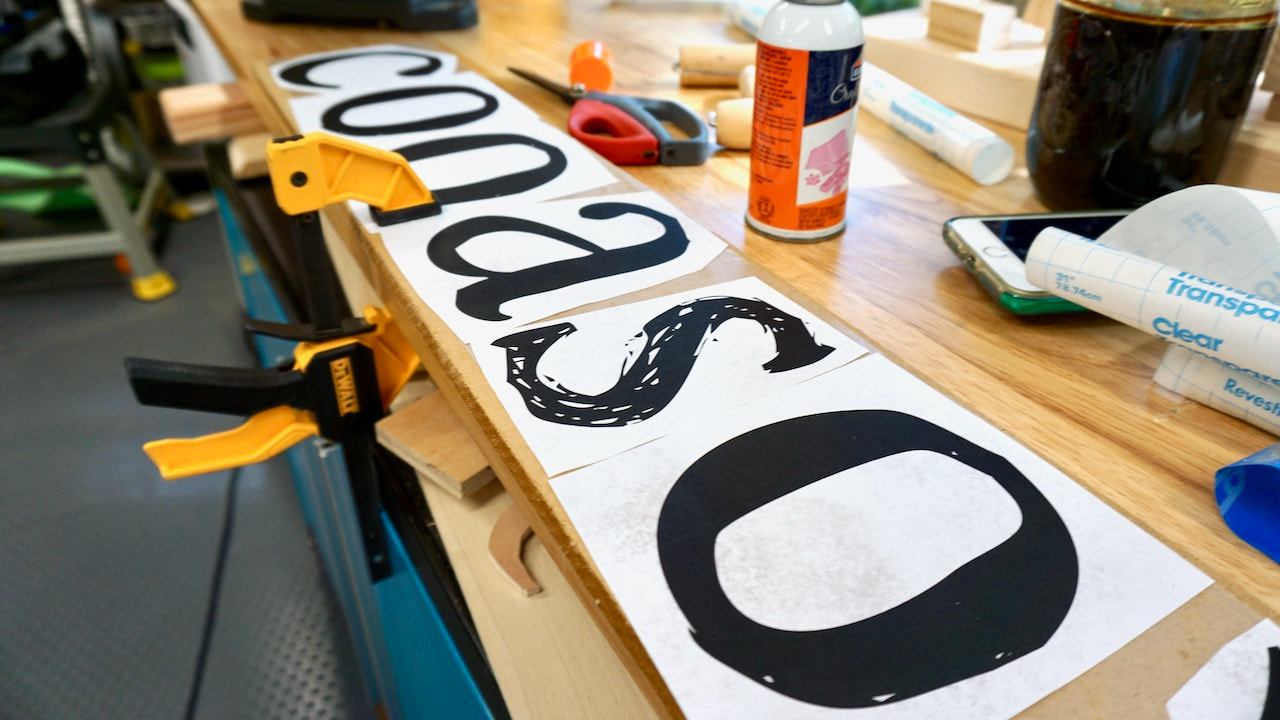
Every scroll saw project starts with a pattern! Steph created the letters for our sign on Canva.com, although you can use any graphic program that allows you to customize the size of your finished project. I use the same method to attach the pattern on all my scroll saw projects. Cut a piece of contact paper to fit the wood you're using, apply spray adhesive, and then add the paper pattern. What this does is allow you to remove the pattern without any sticky residue left on the wood.
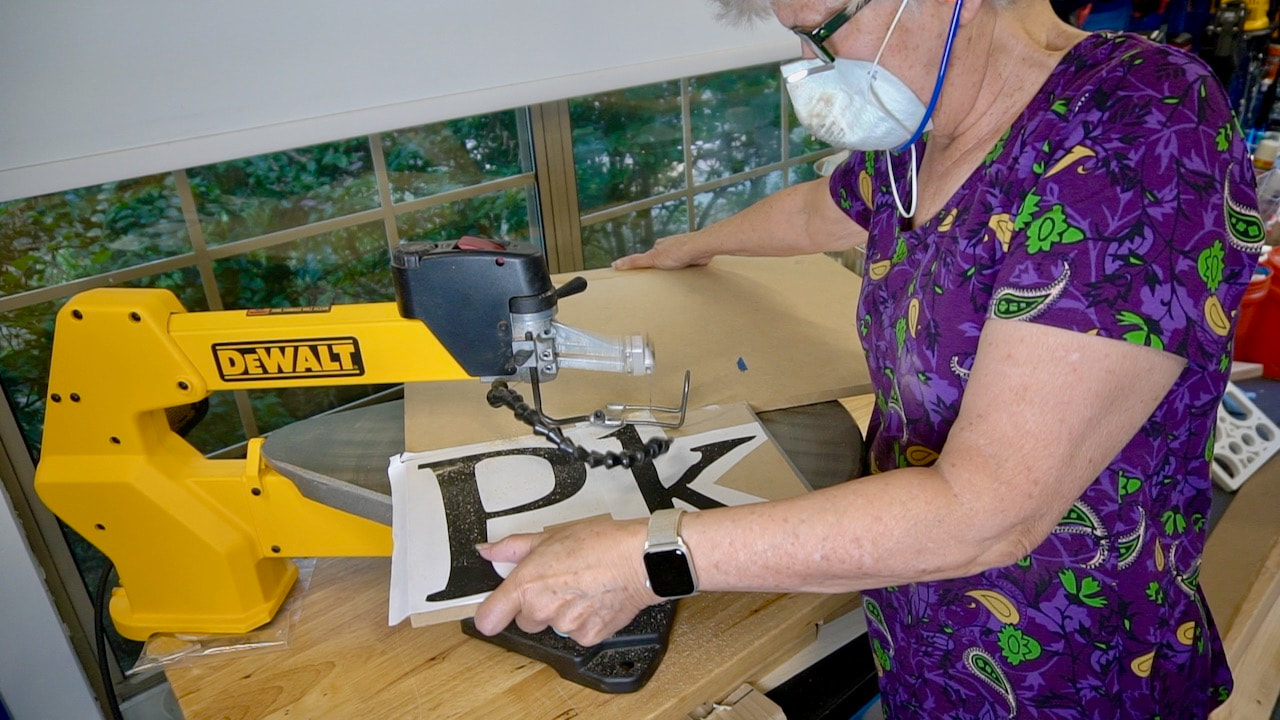
The first thing I did was to cut my wood into a manageable size and then I cut each of the letters out. Safety gear is a must! I'm using MDF which produces SO MUCH DUST!
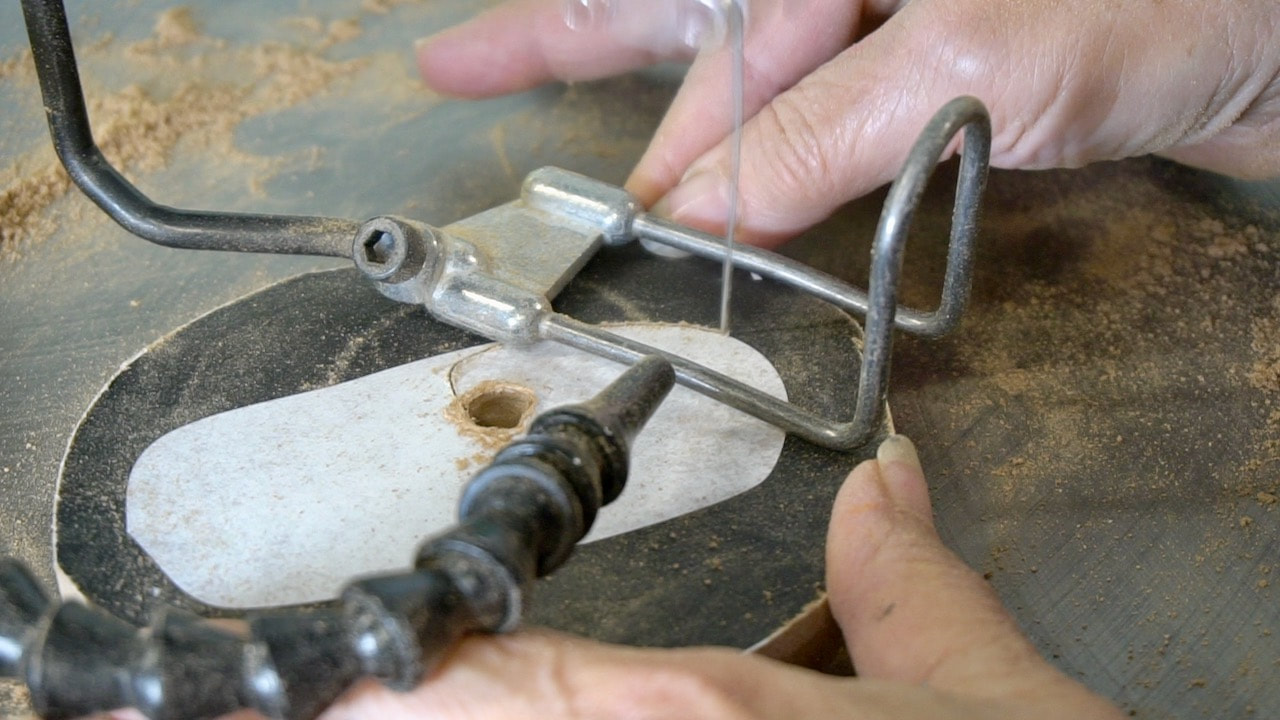
To cut out the interiors of the letters, a hole is drilled into the piece and then the blade is inserted into the hole. Tip: cut the centers before cutting the outside of the letter.

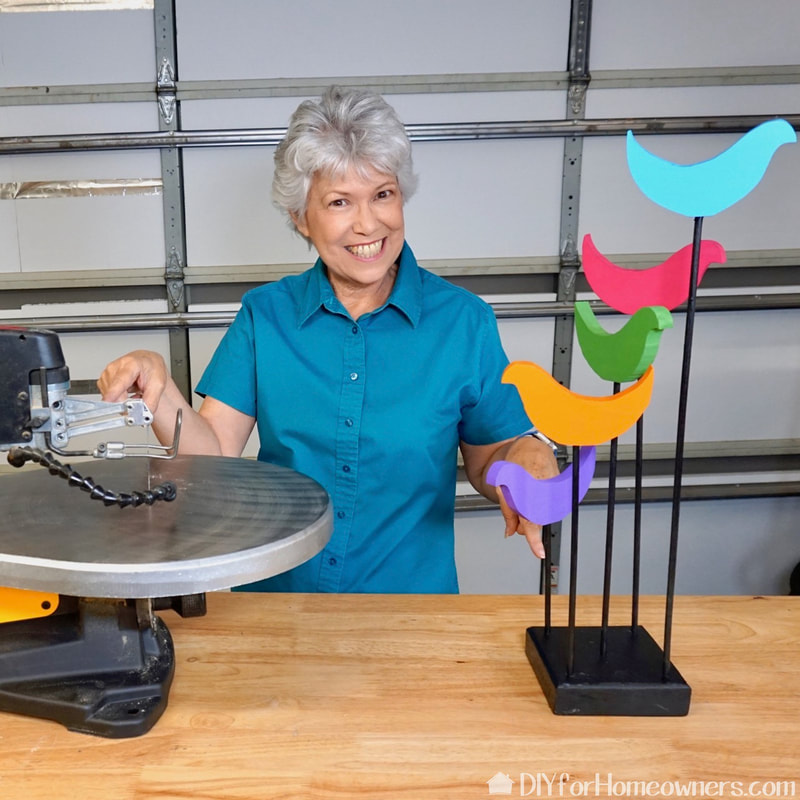
I love seeing all these cut out letters! I'm enjoying this scroll saw so much! Learning a new skill at my age is very gratifying!
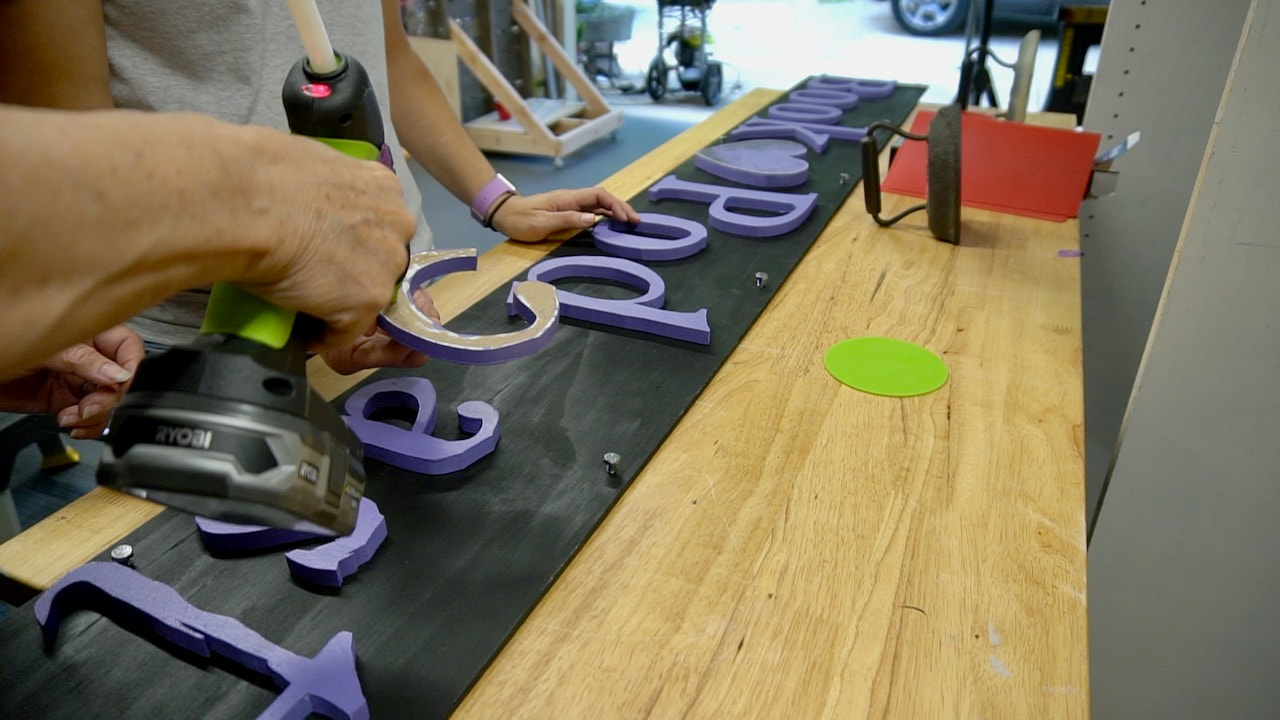
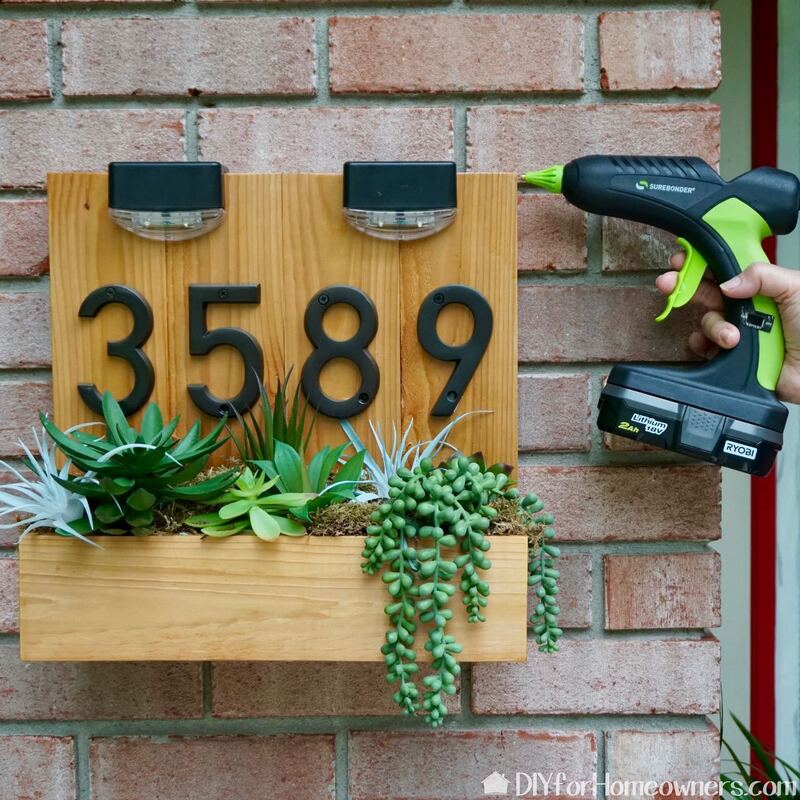
Once all the letters were finished, cleaned up, and painted, we attached them to the board. We are using Surebonder construction hot glue sticks to attach the letters, but regular wood glue would work.
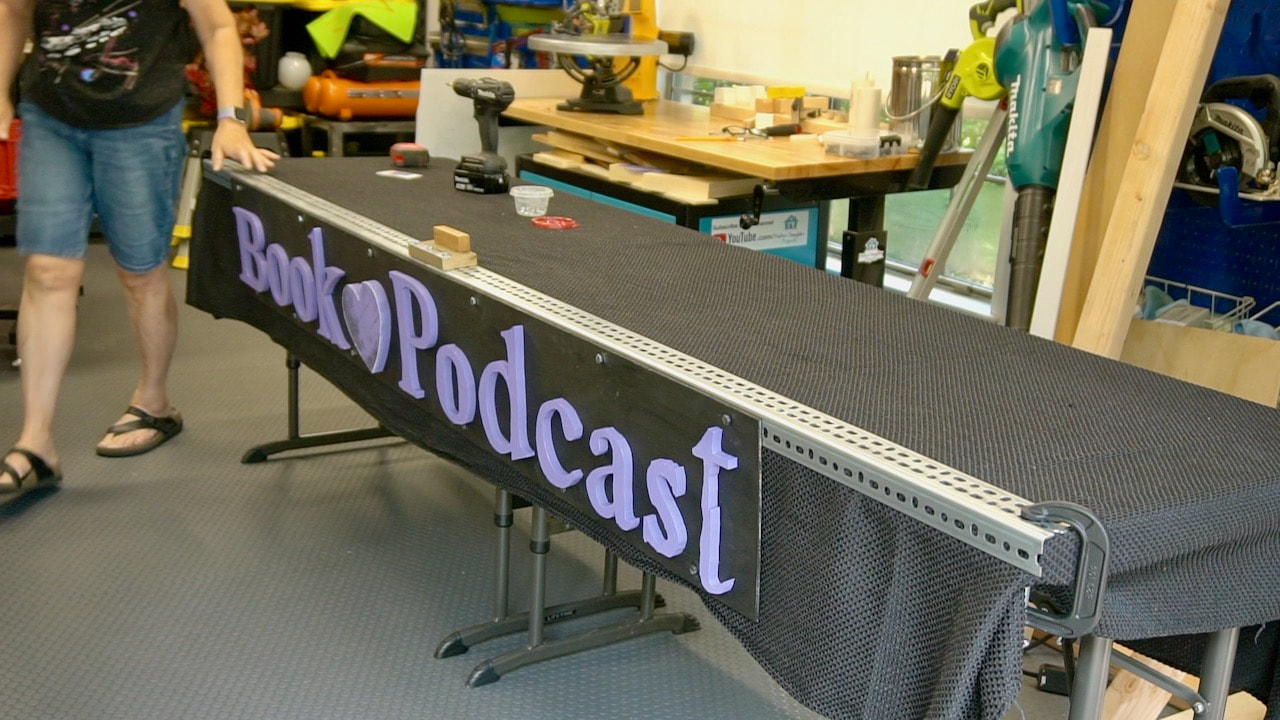
Putting it all together on the table to check the fit. That's two pieces of slotted angle iron held in place with two Husky C-clamps. It worked and attached to the table exactly how Steph designed it. So cool! Okay, that's one more project down, on to the scroll saw sign!
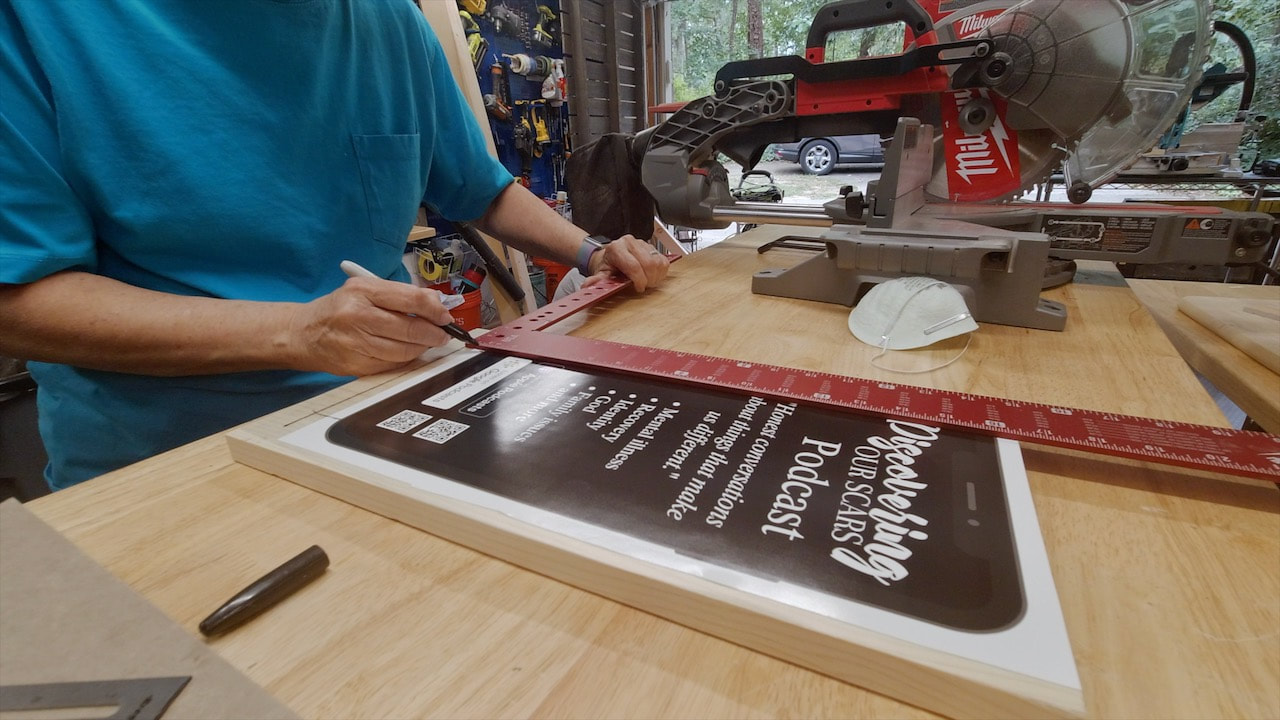
Steph also designed this paper sign in Canva.com. We decided to order two copies--one for the scroll saw pattern and one to use on the finished project. Here I'm marking the width and depth of the part of the sign that will stand in the holder. That Milwaukee framing square is coming in so handy in our projects. It's lightweight which I appreciate.
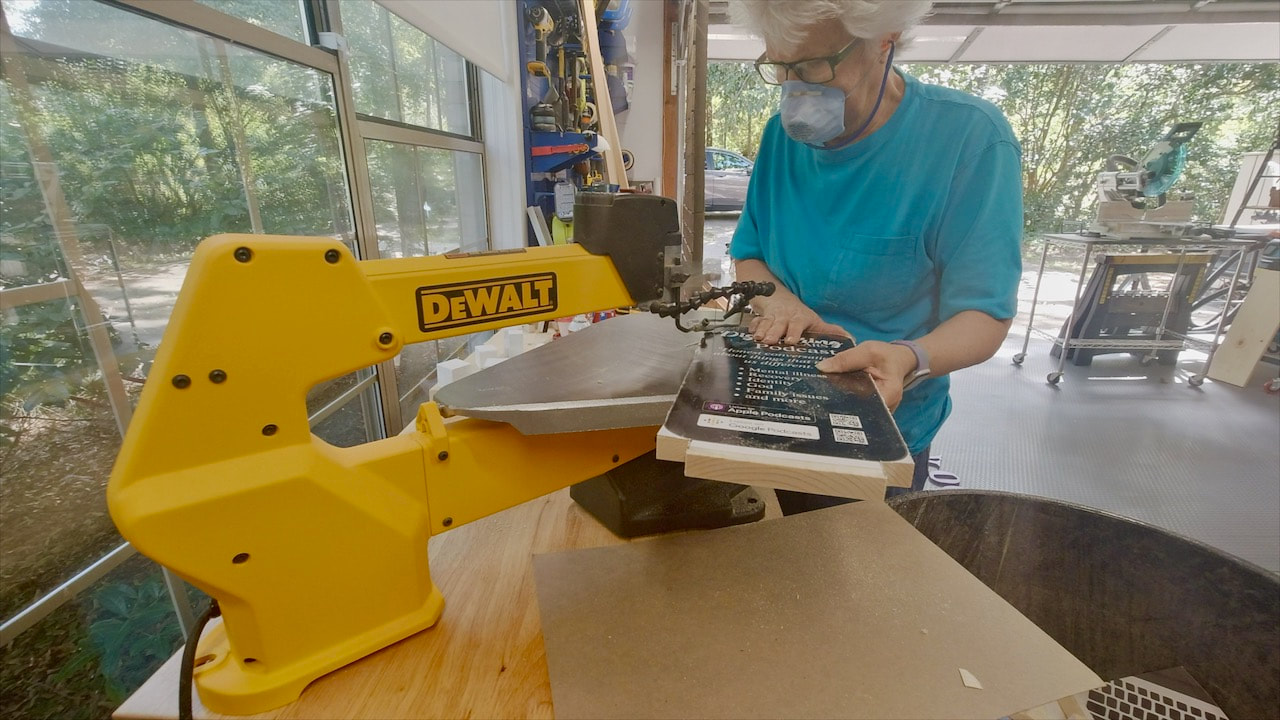
Cutting out the sign. There is a lot less dust with this pine, but still enough to warrant a mask!
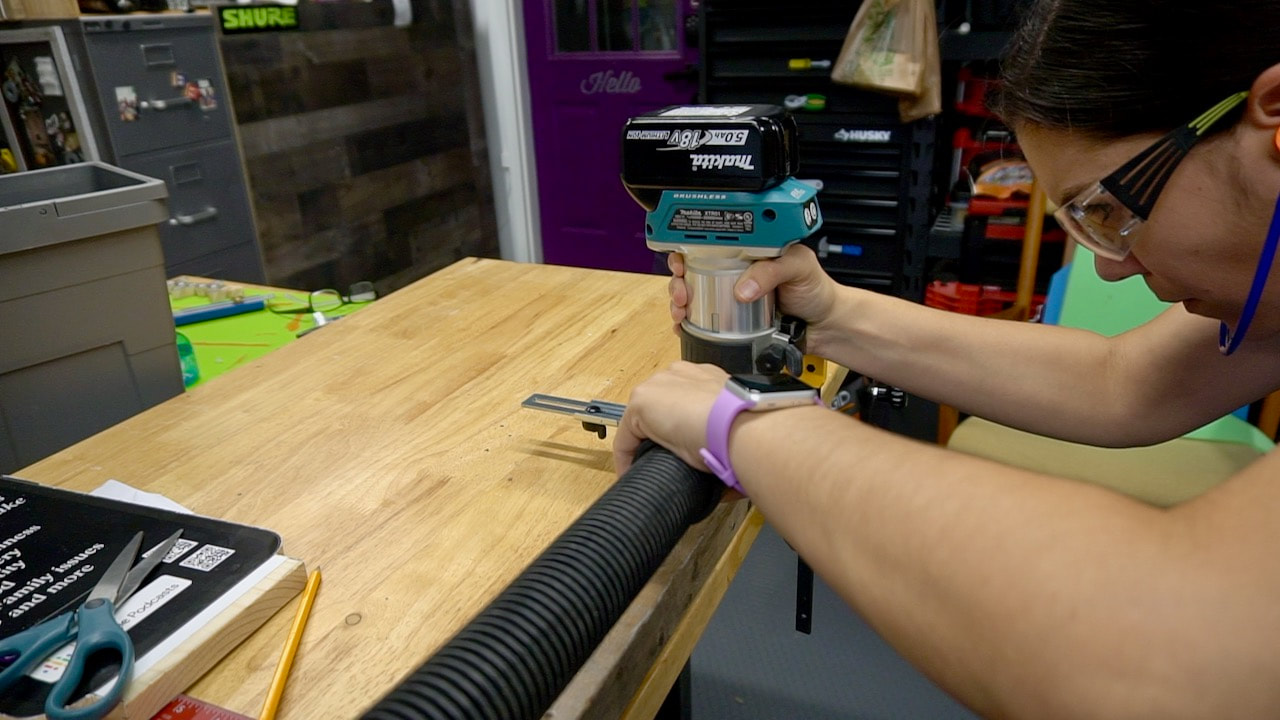
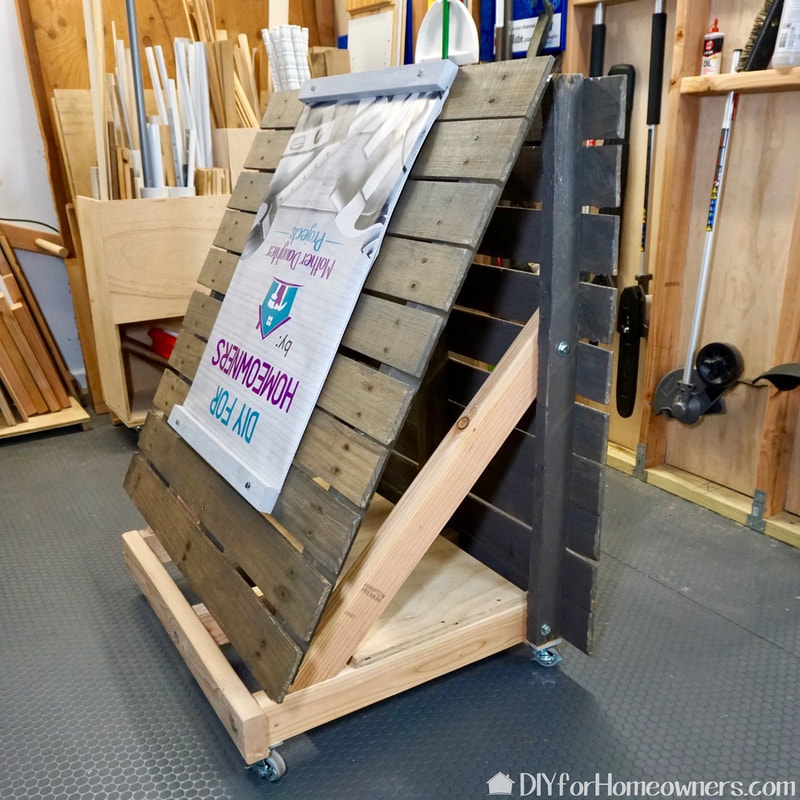
Steph is routing out a groove on a piece of pallet wood where the sign will stand. The secret to success with a router is making shallow passes, increasing the depth of the bit until you reach the final depth you need.
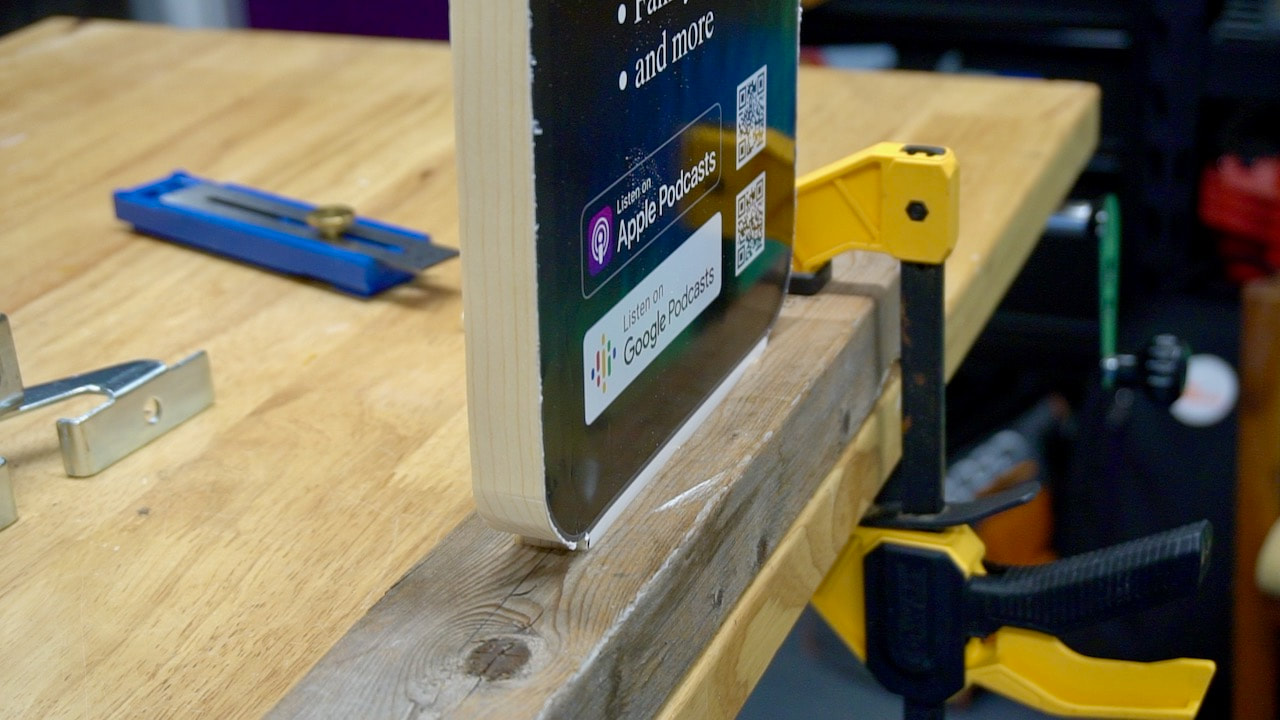
Testing the fit--it's perfect! We cut the board to size, cleaned it up a bit and done!

Testing out all the elements of the display.
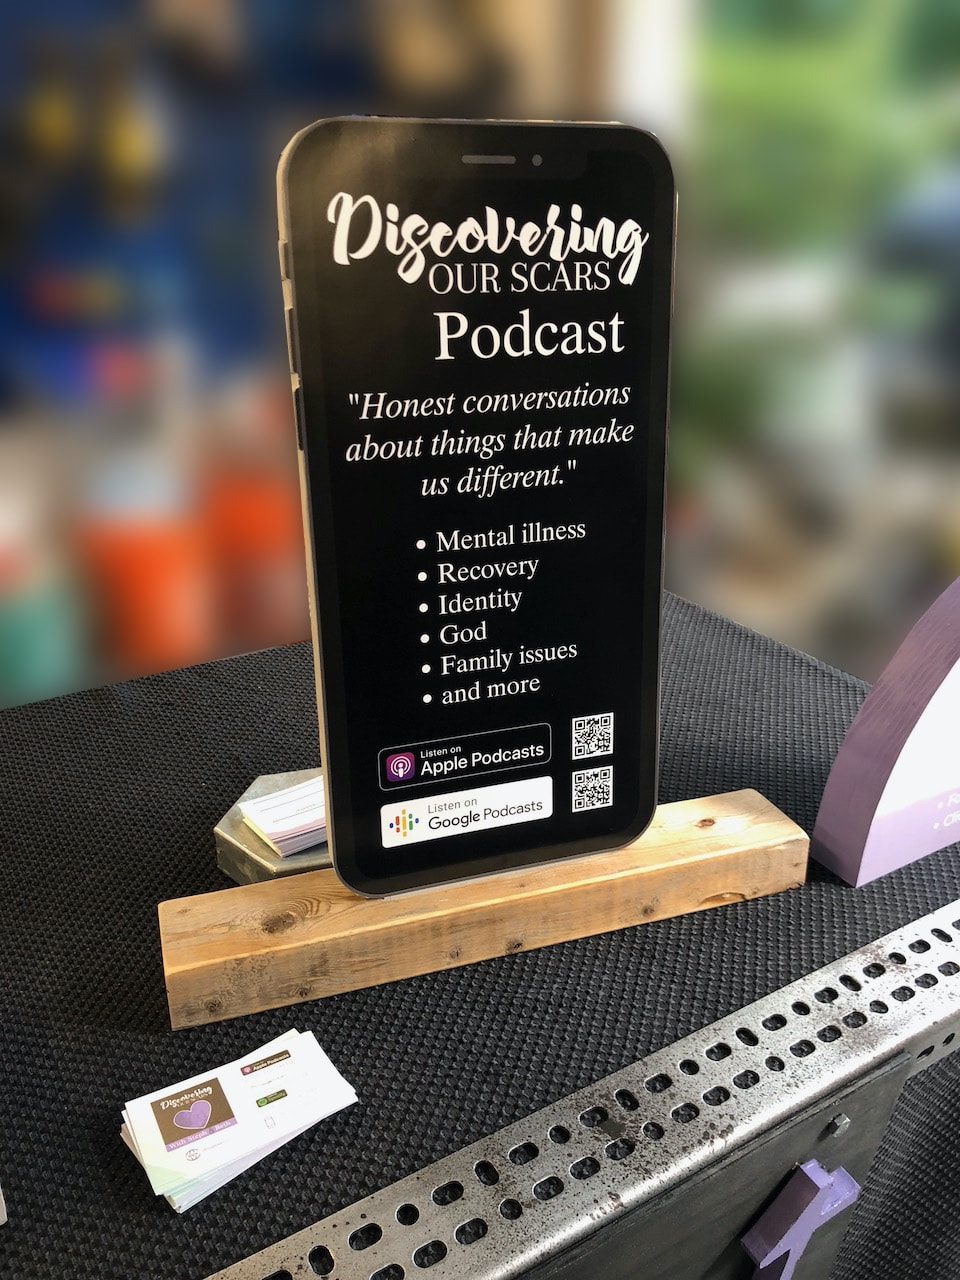
This is one of my favorite things we did. You can make a sign to say anything or paint with chalkboard paint or white board paint and you have a cool new communication board for your home!
The use of that angle iron proved to be a genius idea of Steph's. The sign was designed for an 8 foot wide table. Well, surprise! When we got to the event, the table was actually six feet. We had a little panic moment, but realized the sign would still match up to the holes if we overlapped the angle iron! It worked and it fit the table perfectly!
Please note: This is not a sponsored post. FYI: We are not professionals, and we don't claim to be. This is what we found worked for our project. Yours may need a little different approach. Safety first! FYI: Affiliate links are being used on this page. Purchasing via these links help support MDP! Related Projects
0 Comments
Leave a Reply. |

Mother Daughter Projects
|