|
text by Vicki Sign up here to join our weekly email newsletter!
This project just went on and on!
I set out to do one thing after the threat of the hurricane had passed: return the outdoor furniture to the patio. But I ended up with a whole bunch of cleaning, repairing, replacing, and painting projects BEFORE ever moving the furniture back! Here's what I ended up doing... Materials/Tools:
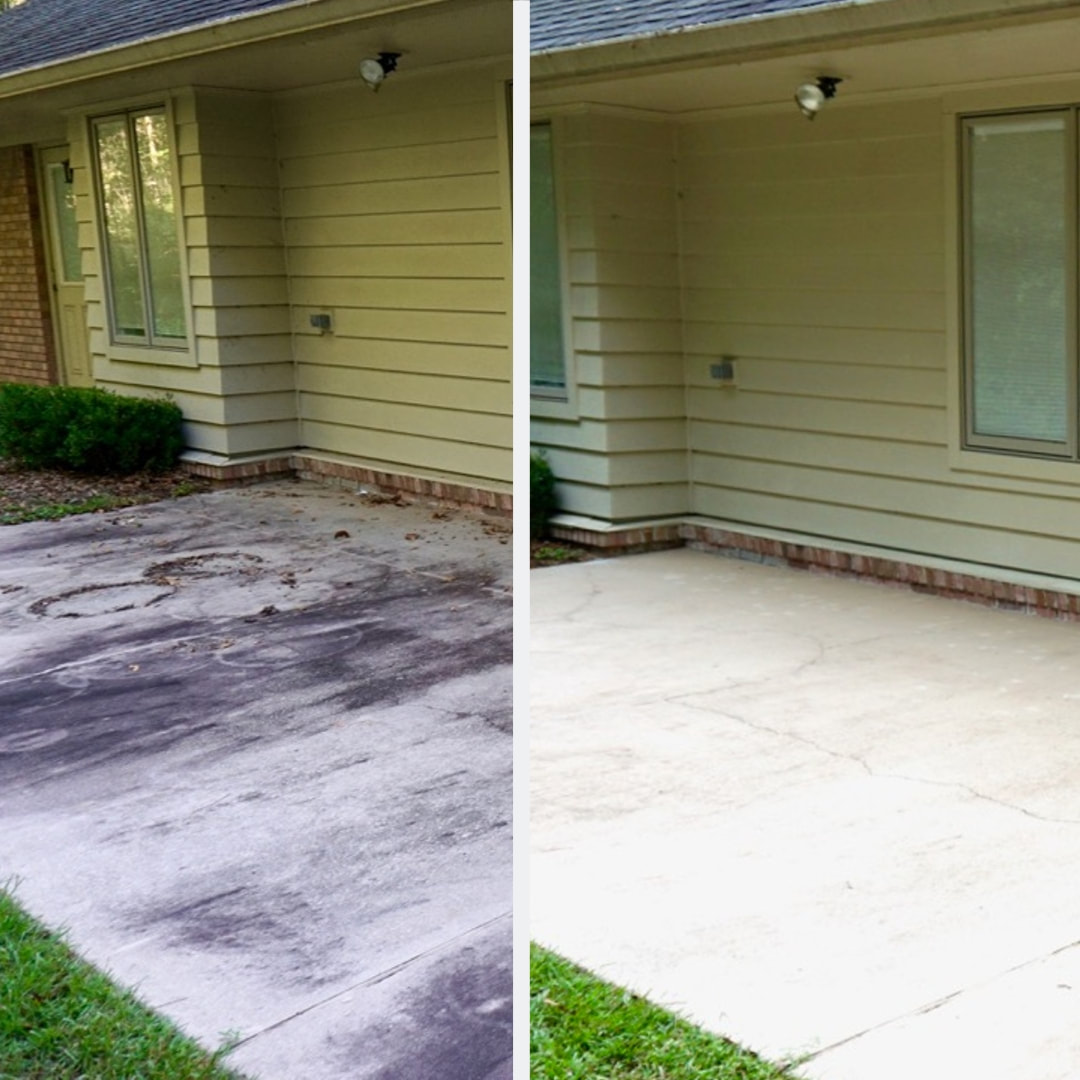
This back patio functions more of a storage area rather than a nice place to sit. Water coming off the roof continually creates those dark dirty spots on the concrete.
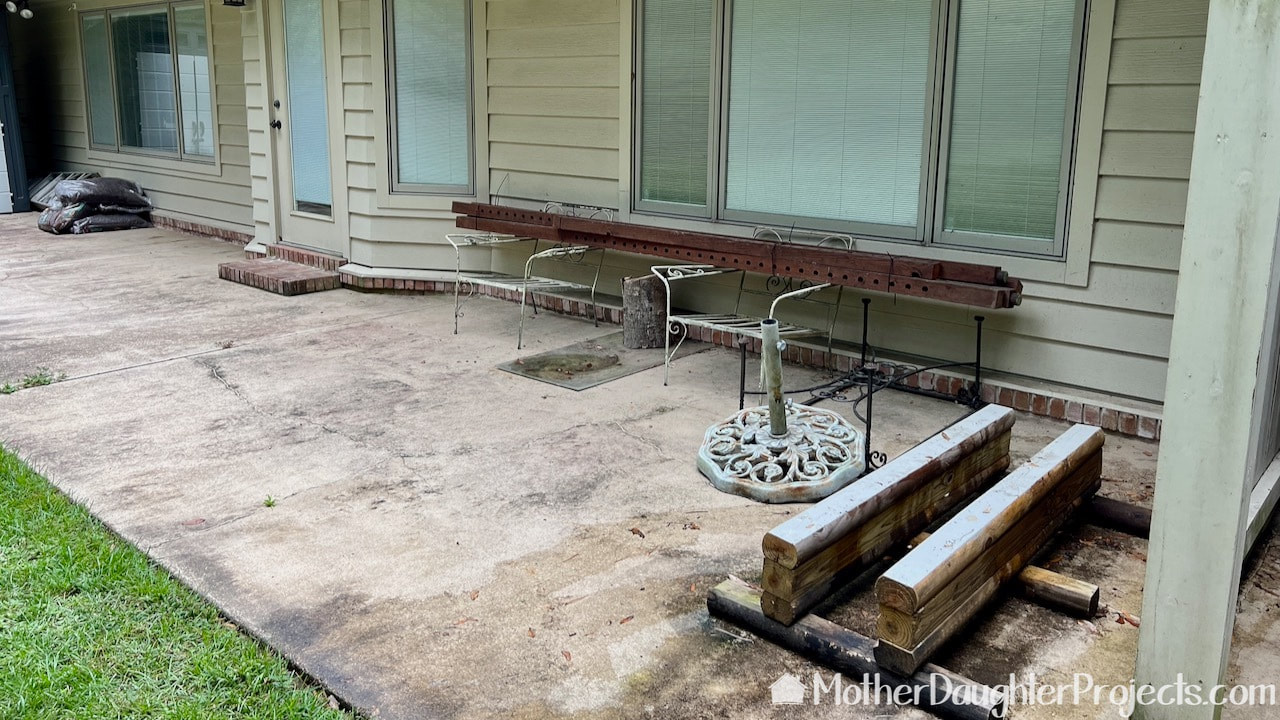
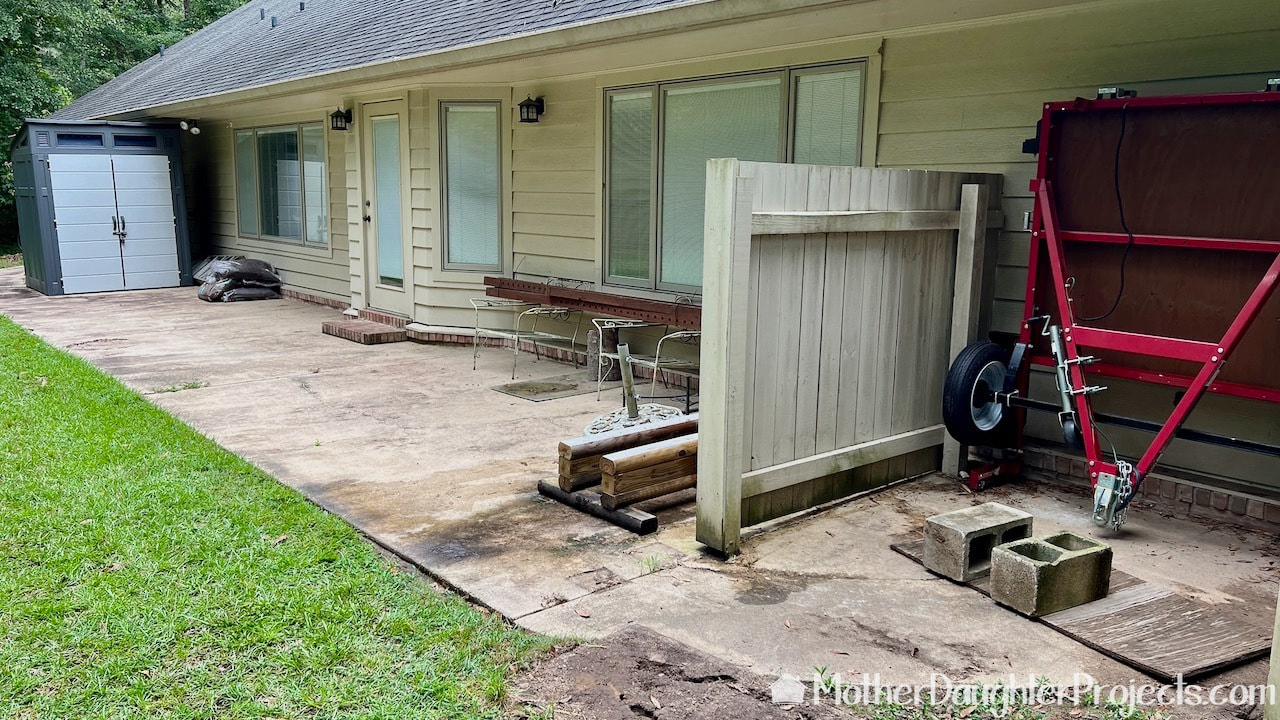
It was a mess! Plus, that kayak stand on the right needed some work as well.
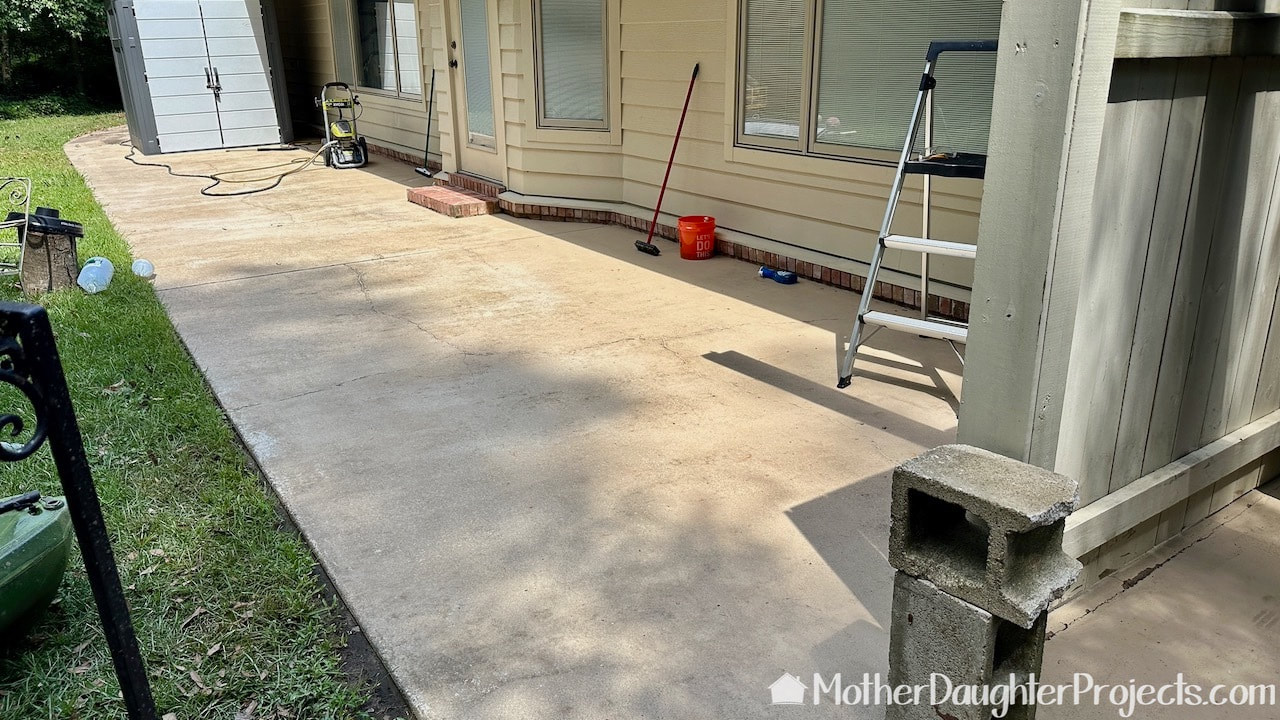
Silly me, I thought a little elbow grease, scrub broom, and cleaner would be all I'd need to clean this. Nope, I had to get out the Ryobi pressure washer to have any hope of getting it clean.
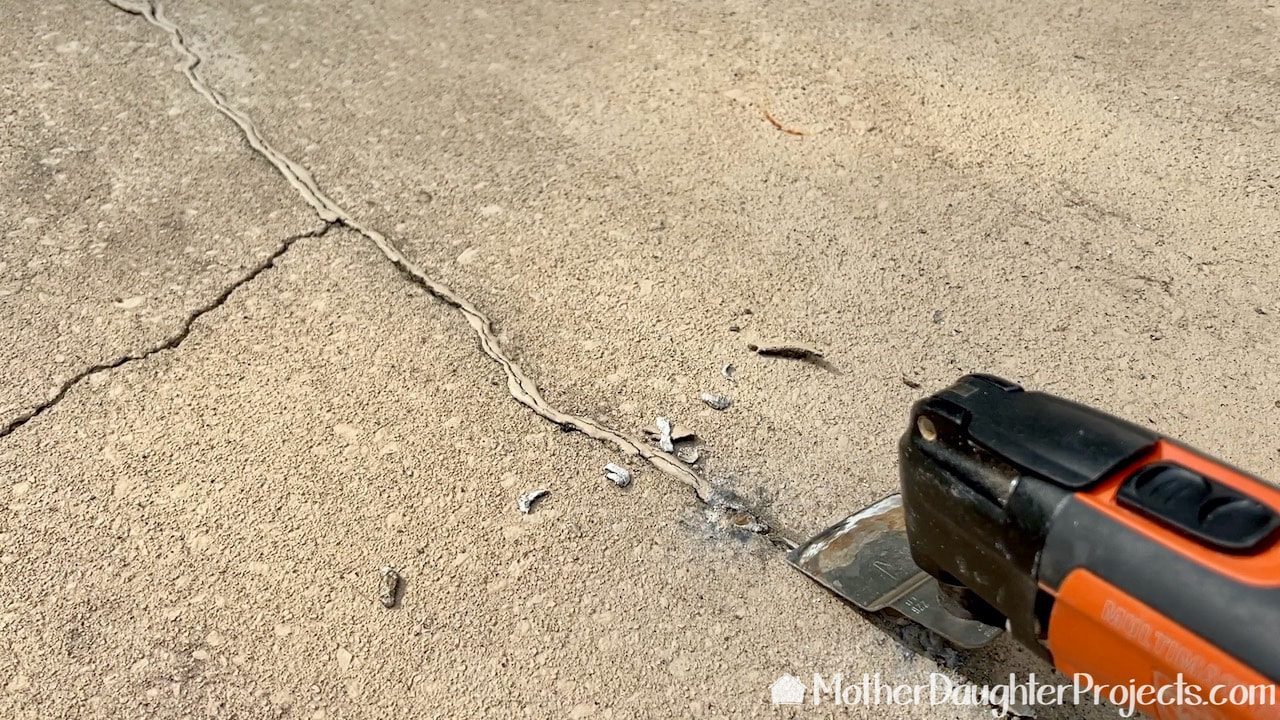
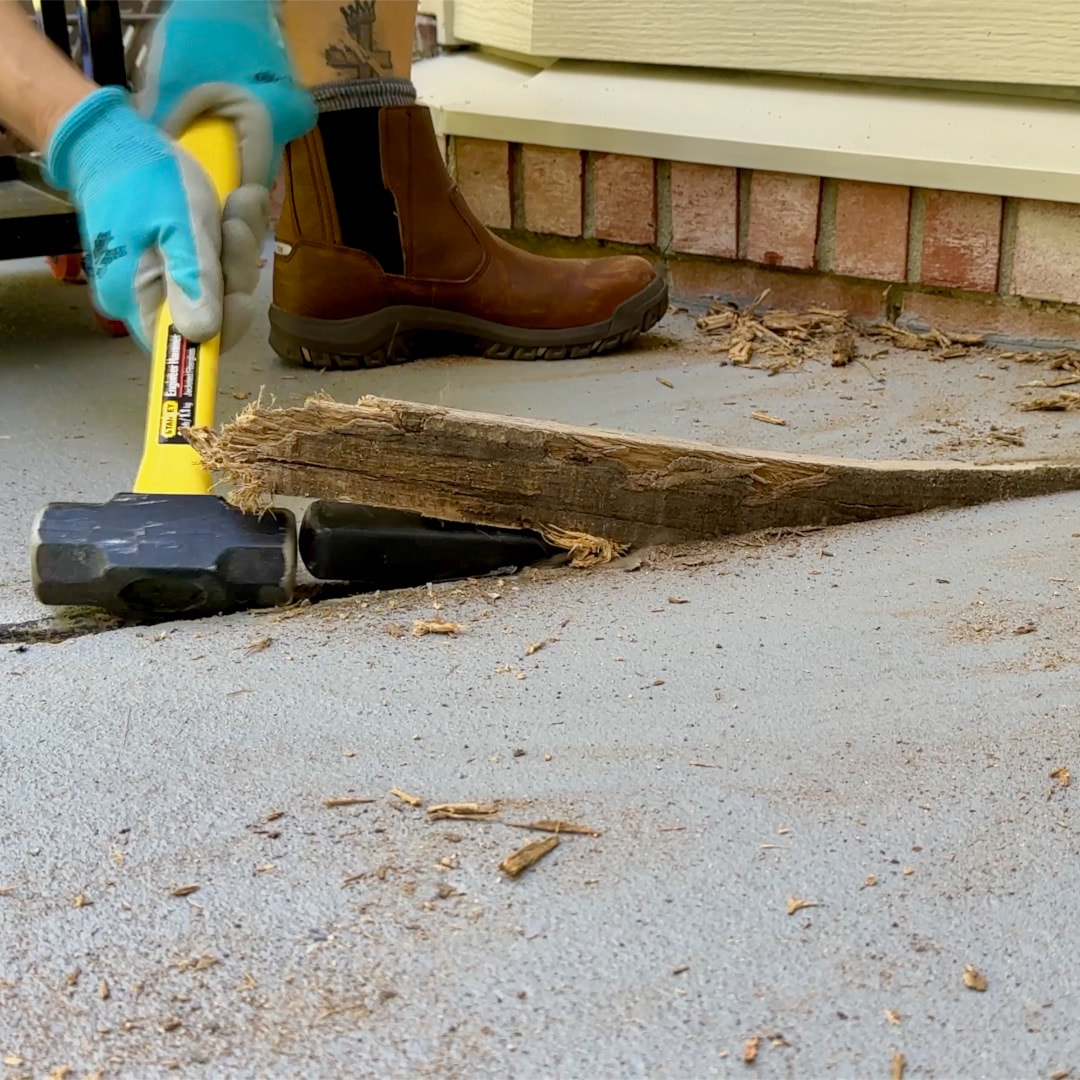
The cracks in the patio had been filled many years ago, but this stuff was cracked and missing in places. I used a putty tool as well as a multitool with a scraper blade to get rid of this old stuff.

I also used a carbide rasp in the multi-tool to help smooth out some of the old crack fill.
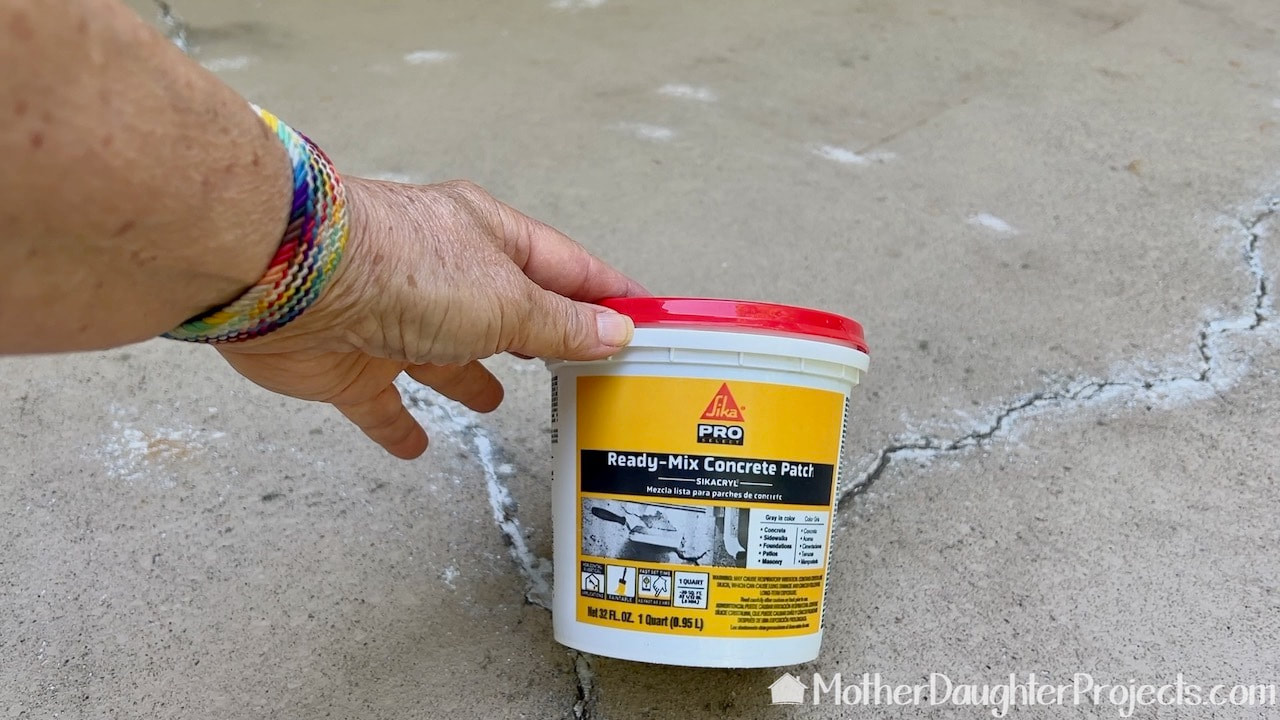
This crack patch seems liked a good option to fill the cracks. It was easy to use and didn't leave a raised line like the old stuff that was used.
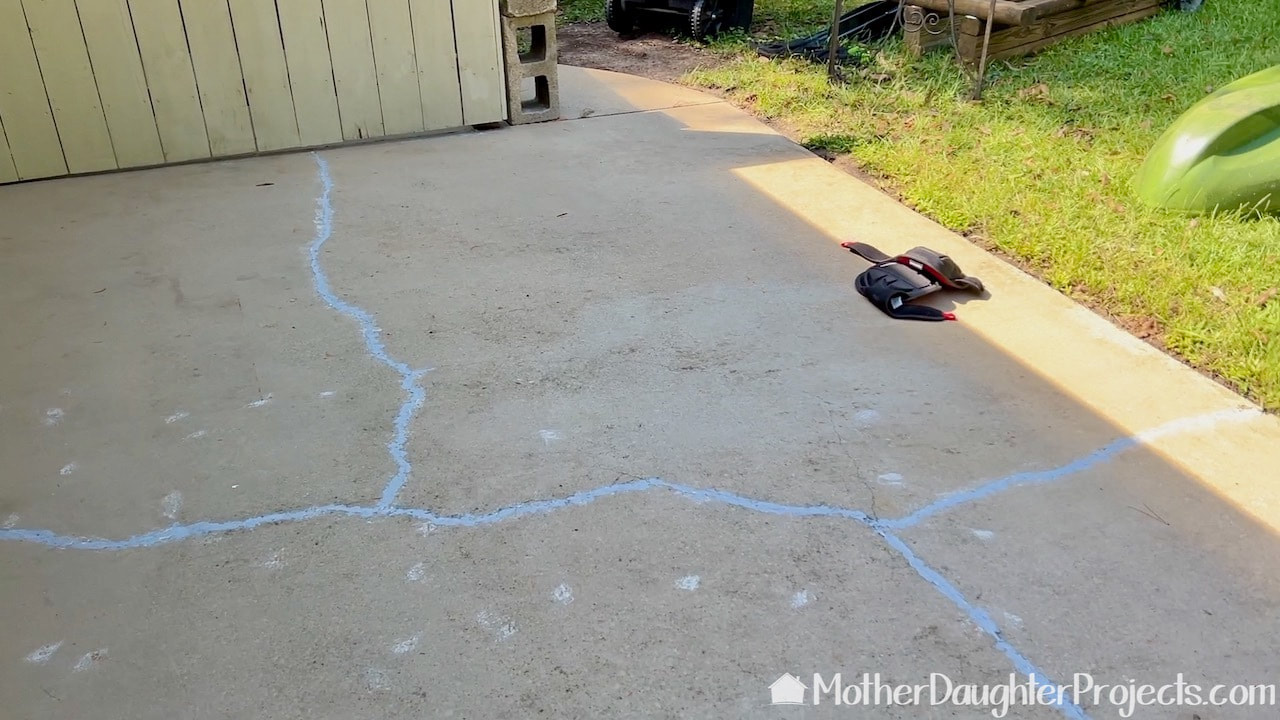
There were so many cracks to fill! Those white patches are where I used that multi-tool with the rasp to grind out rust stains. The still dirty looking areas of the patio are places where the previous paint has worn off and areas where the concrete has been worn from rain and water coming off the roof.
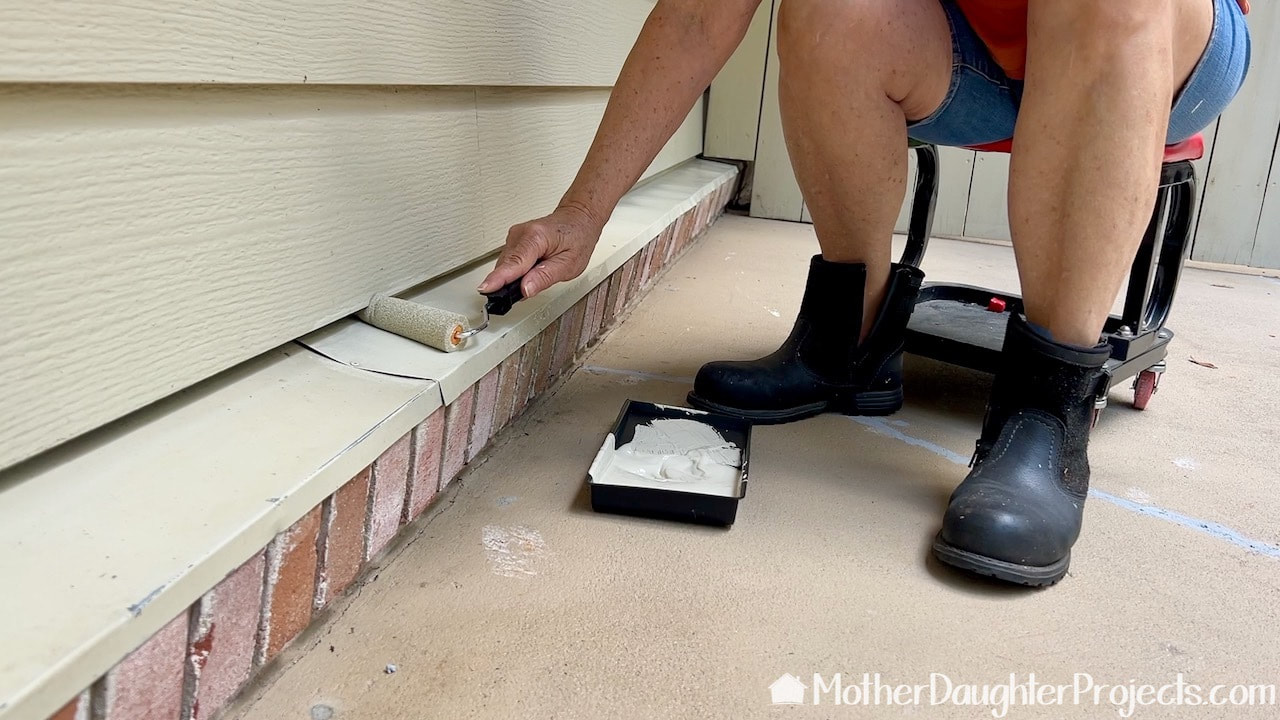
After patchcing the cracks, I just felt like the siding needed to be cleaned and this flashing, cleaned, sanded and painted. I was right--it's a real improvement! This wheeled stool was the MVP of this project. This one is from Harbor Freight.
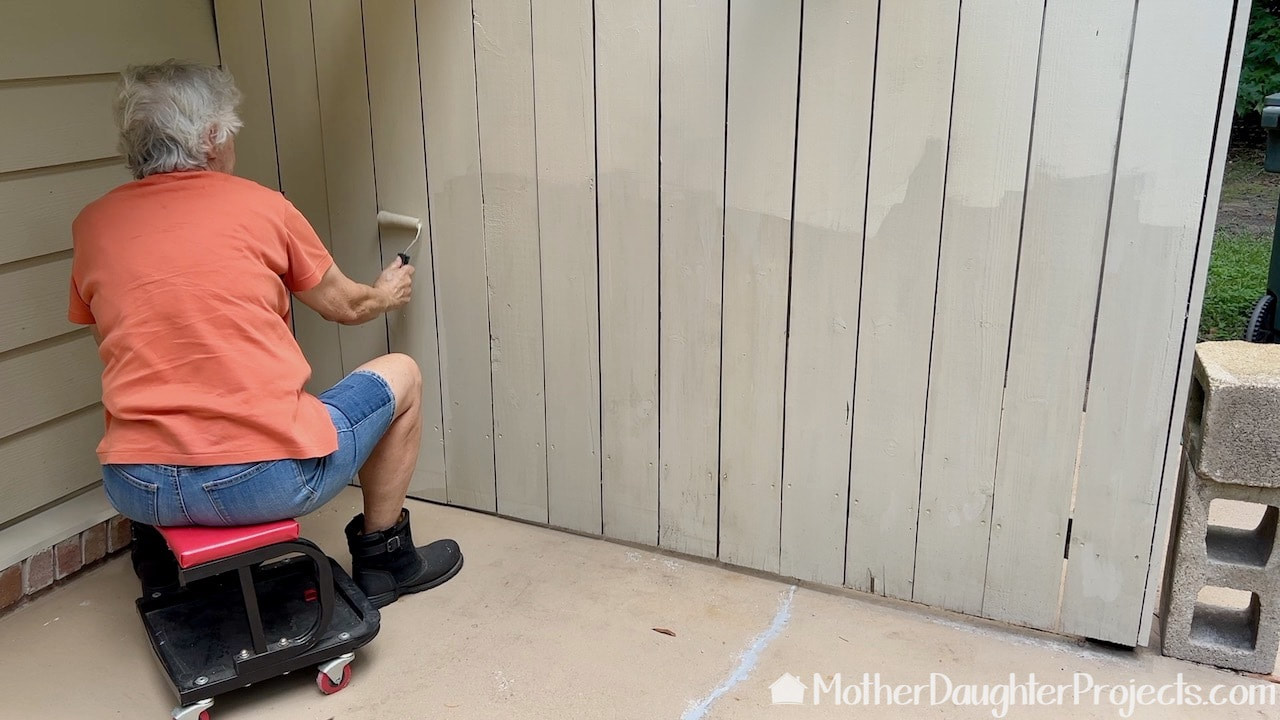
And once the siding was clean, this fence was looking a little shabby as well. A little cleaning and painting freshened it right up!
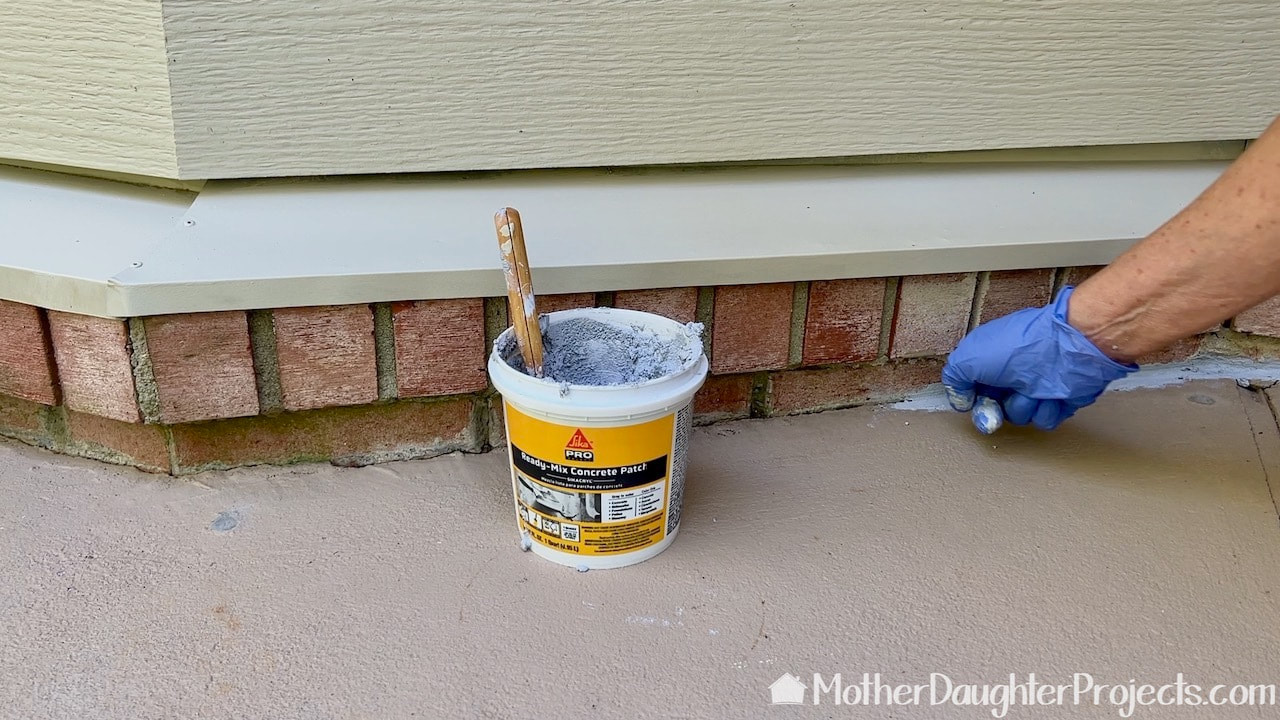
One last thing before starting the concrete painting; fill in this crack that runs the entire length of the patio using the same Sika concrete patch.
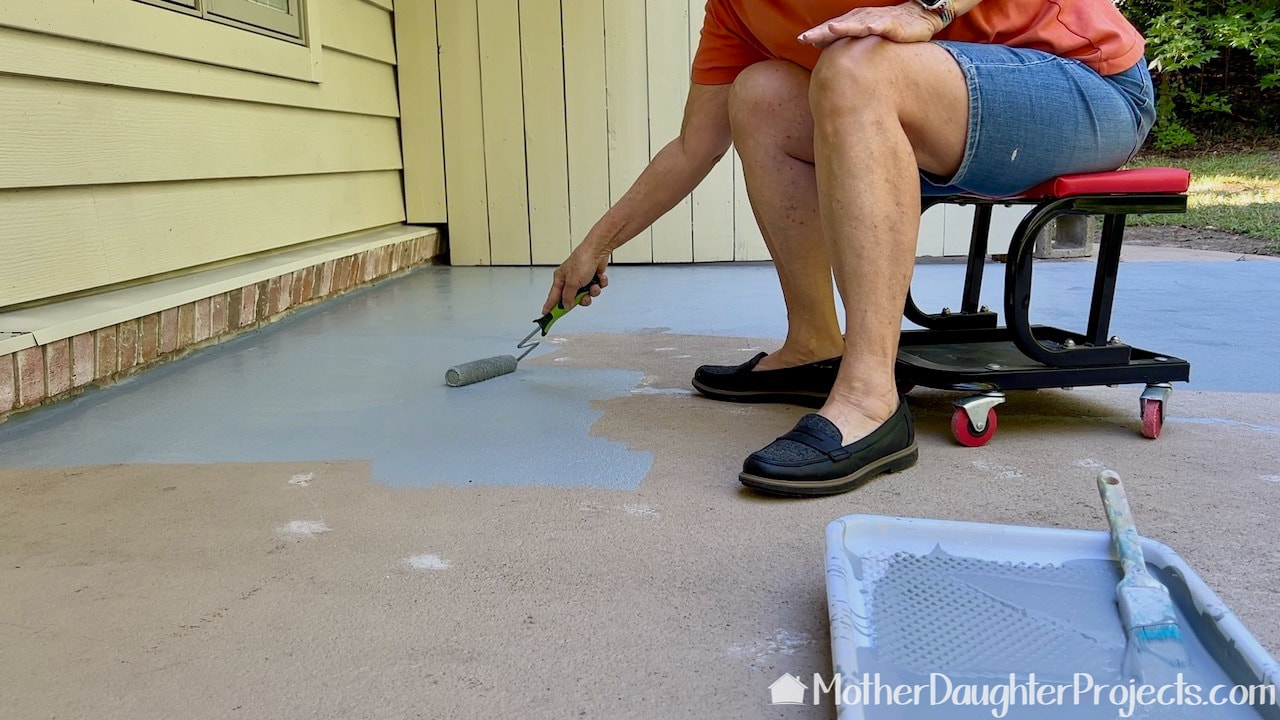
How NOT to paint your concrete. I wised up later and bought a long handle for this roller so I could stand and paint. But at least this rolling stool is helpful!
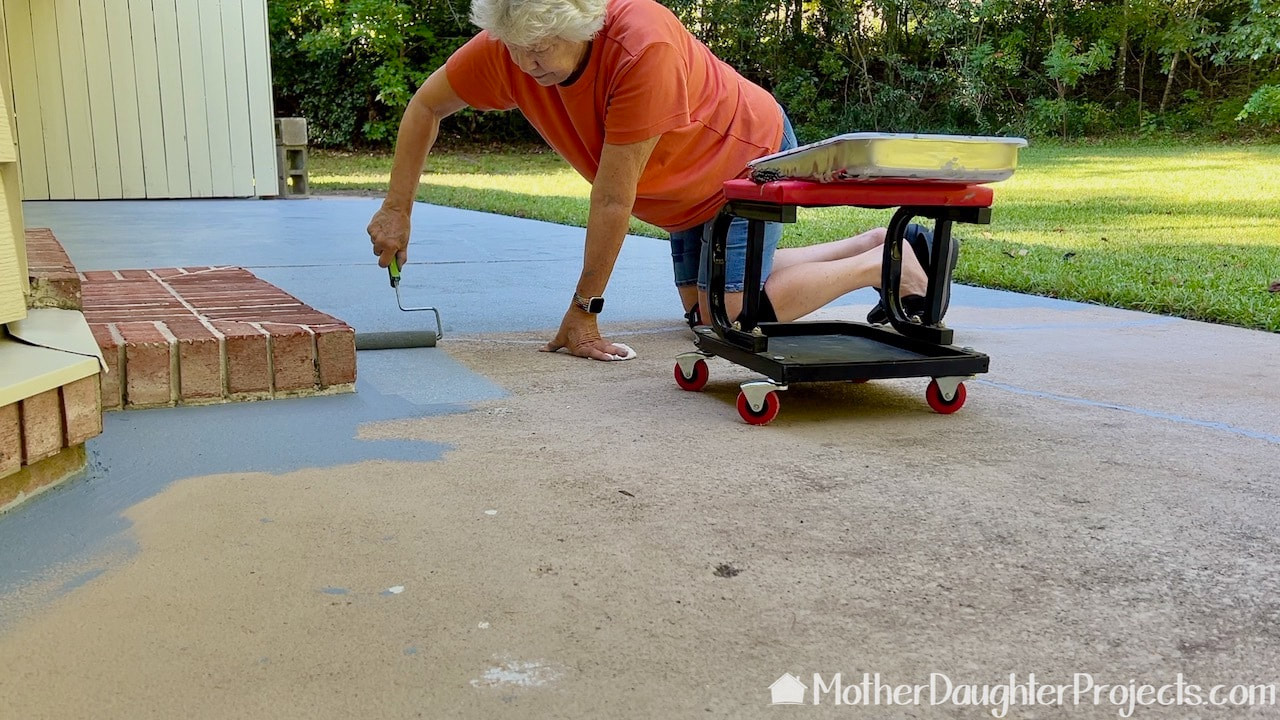
Don't do this without knee pads! I'm using a pair by Husky. They really do save your knees.
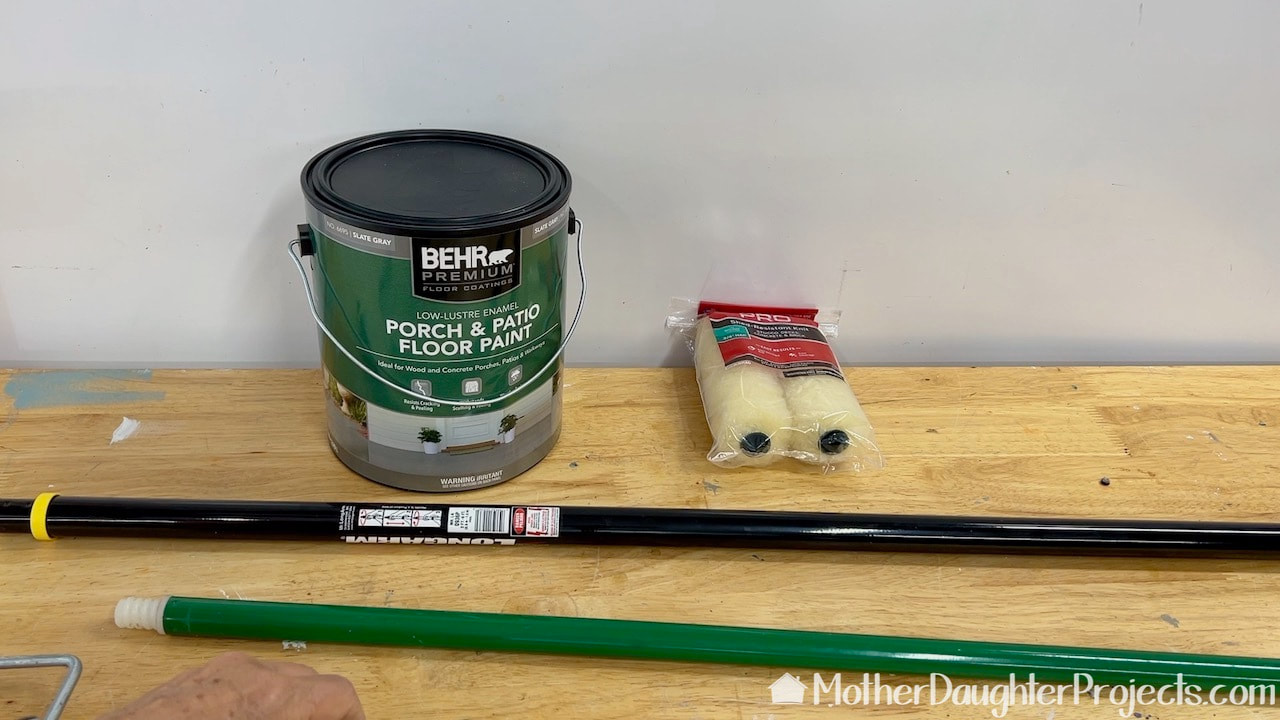
After finishing two thirds of the patio I ran out of paint and patience for using the short-handled roller. I purchased a long handle that would work on the Wooster roller as well as a roller with a three quarter inch nap for concrete.
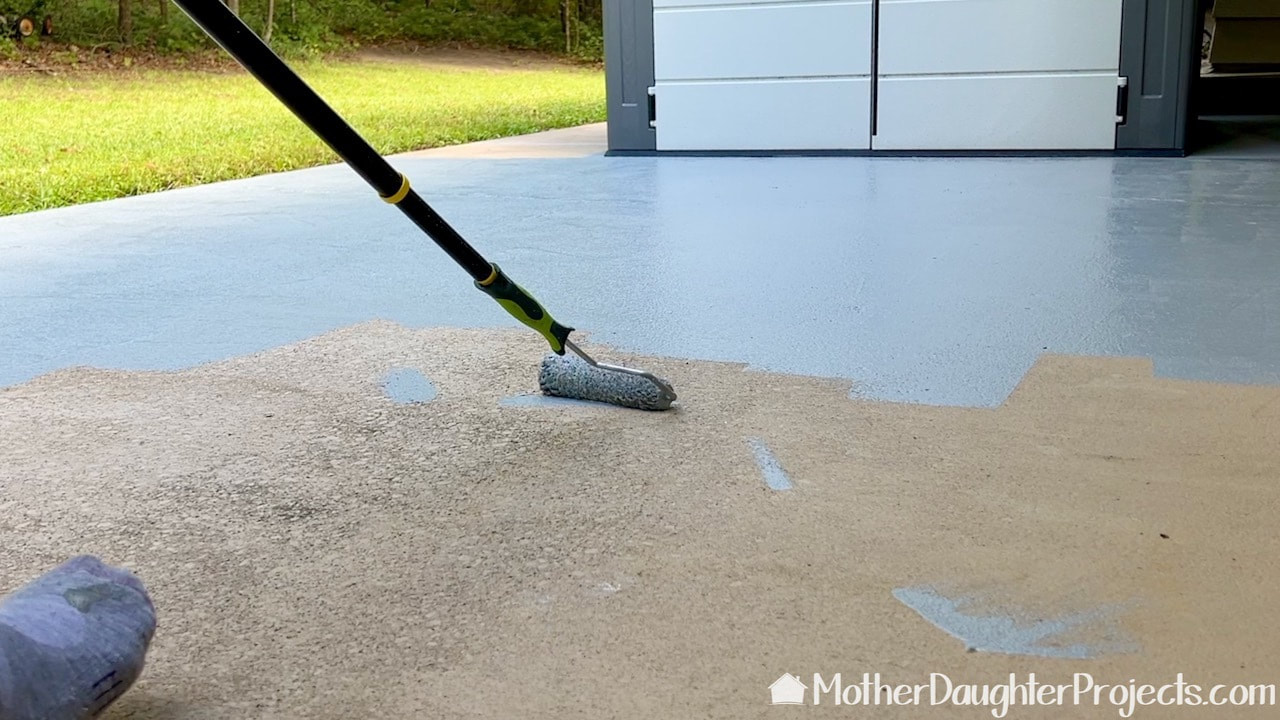
The long handle works much better.
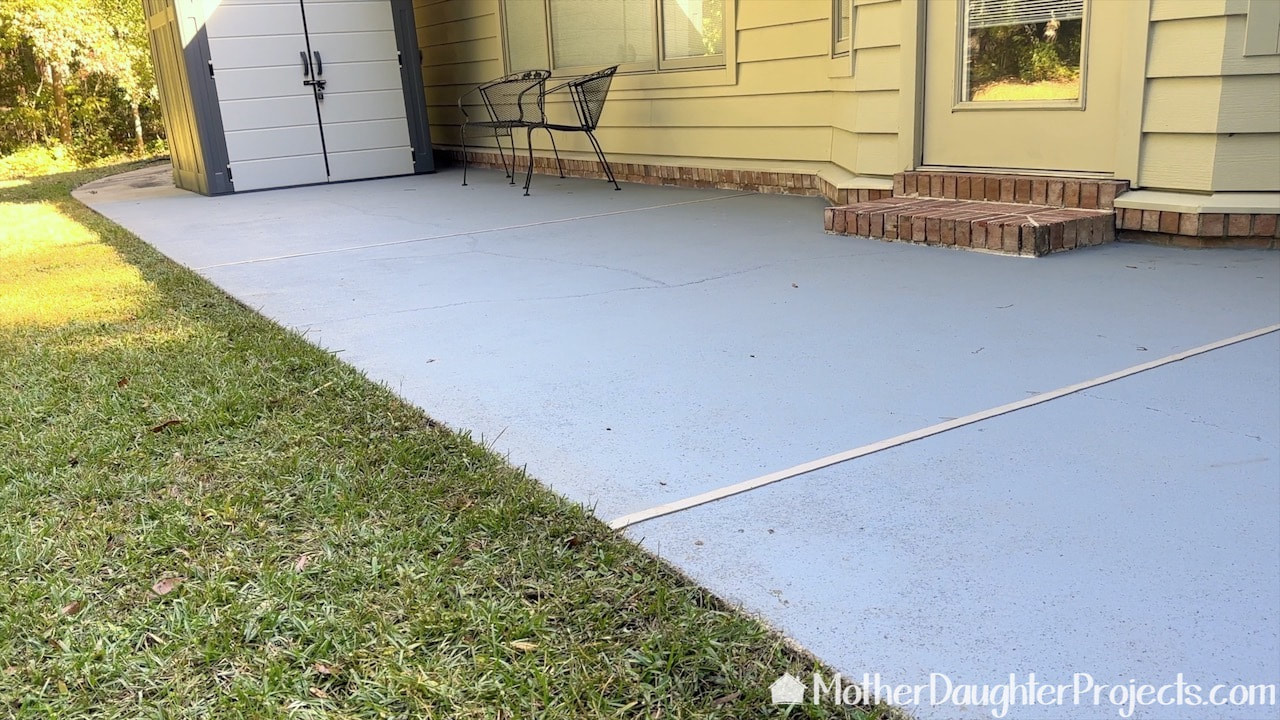
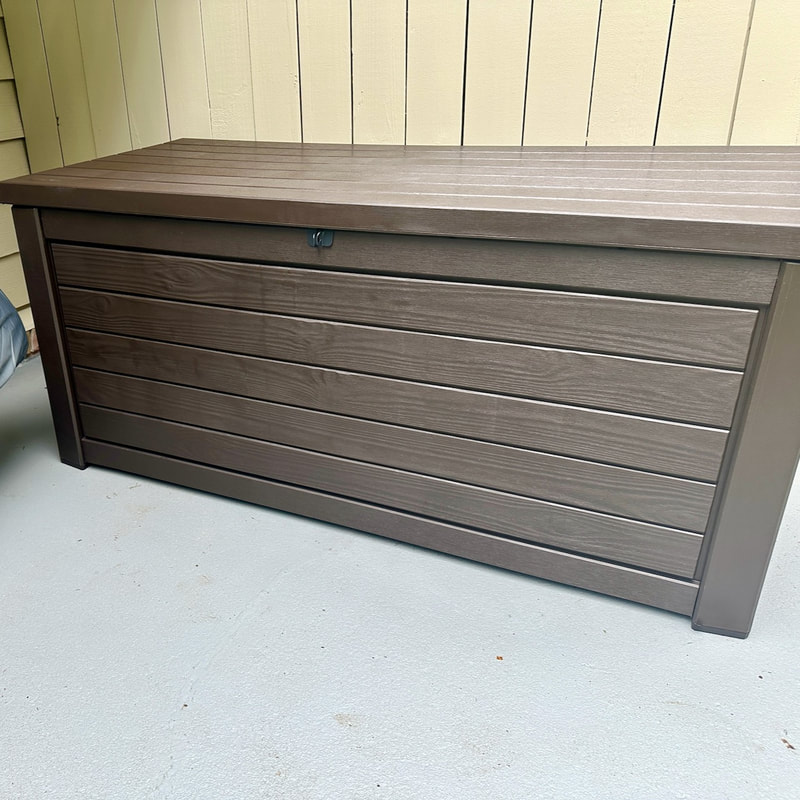
In another video, we removed the old expansion joints and added these new vinyl ones from Trim-A-Slab. They are the perfect finishing touch to this patio refresh. We also added a new deck box, moved the location of the kayak stand and also painted the stand with the same patio color.

That's the kayak under the window. We moved it here as it kept filling with water in the previous location.
Whew! This was a lot of stuff to do back here. Oh, I also cleaned the outside of the gutters as well which you can see in the video. I am hopeful that with this fresh coat of paint, the patio will stay cleaner.
I love the new look and the color. The Behr paint we used comes in a variety of premixed colors or you can get a custom color. We used one of the premixed colors. Because this concrete was in such poor shape it really used a lot of paint. I probably could have easily used a five gallon bucket of paint to really cover all the damage. If I had realized how worn the concrete was I would have used a concrete resurfacing product before painting. Next time! Please note: This is not a sponsored post. We are not professionals, and we don't claim to be. This is what we found worked for our project. Yours may need a little different approach. Safety first! Affiliate links are being used on this page. Purchasing via these links help support MDP. Related Projects
0 Comments
Leave a Reply. |

Mother Daughter Projects
|