|
text by Vicki Sign up here to join our weekly email newsletter!
We are big fans of Nanoleaf lighting, so when I saw these Nanoleaf Shapes on sale at my local Costco, I immediately texted a picture to Steph.
It was no surprise to me that she wanted them! I purchased two sets and took them home to install, well took them to her house. While looking at the Costco website, we found that they sell a variety of the Nanoleaf brand lighting although only the Shapes version was currently on sale. I'll be checking regularly to see if any others go on sale in the future. 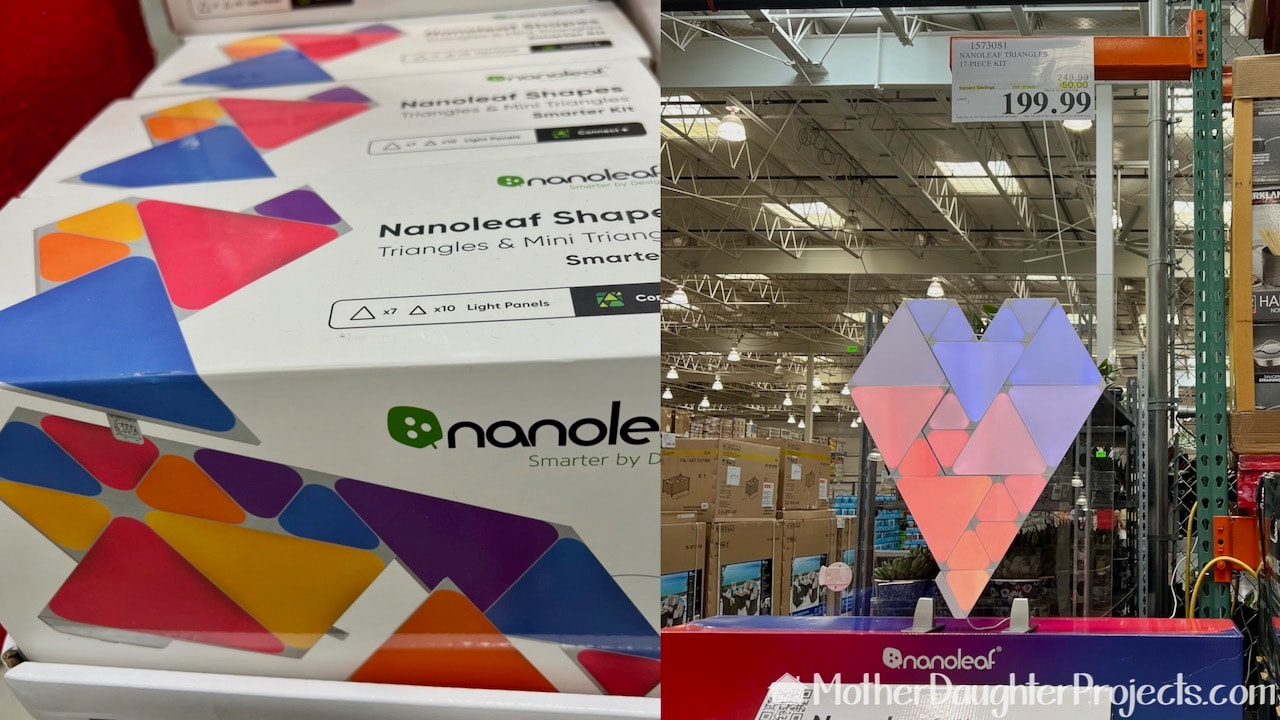
Well, hello Nanoleaf lights! This is the display at Costco that had me stop in my tracks!!!
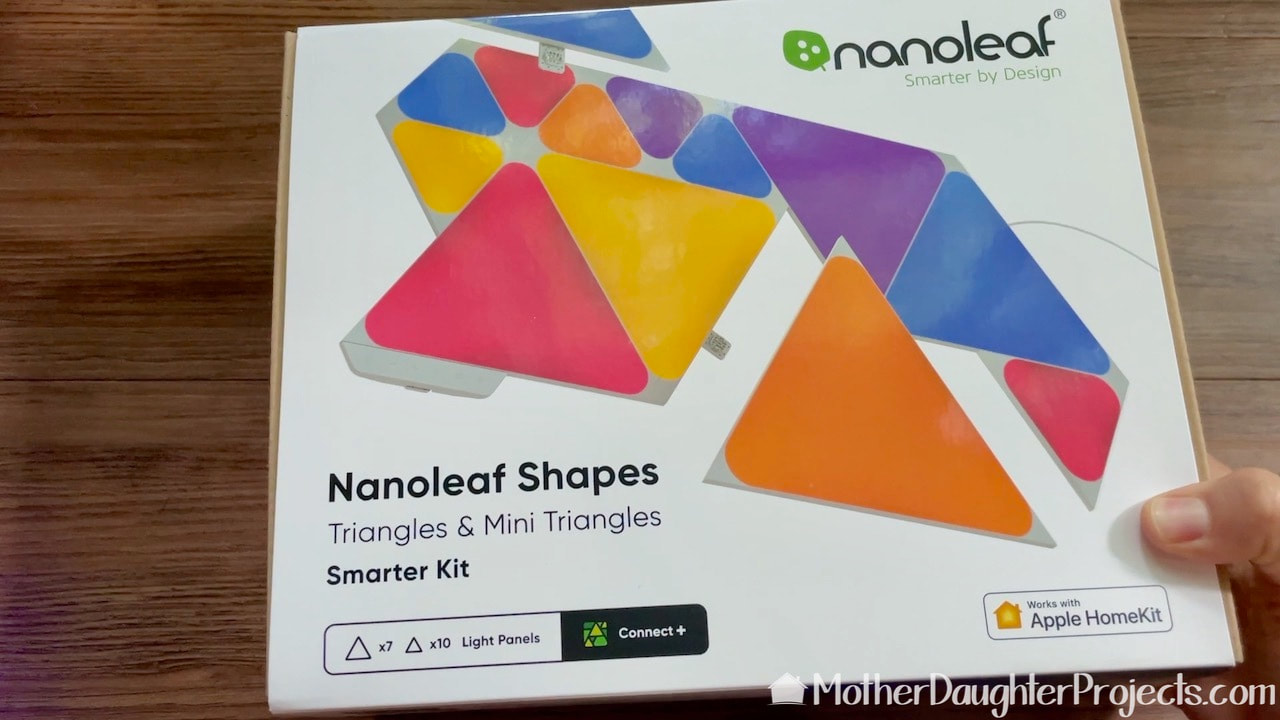
This kit contains seven large triangle panels and 10 small ones along with the self-stick mounting "hardware." There is also a power cord, linkers, and controller.
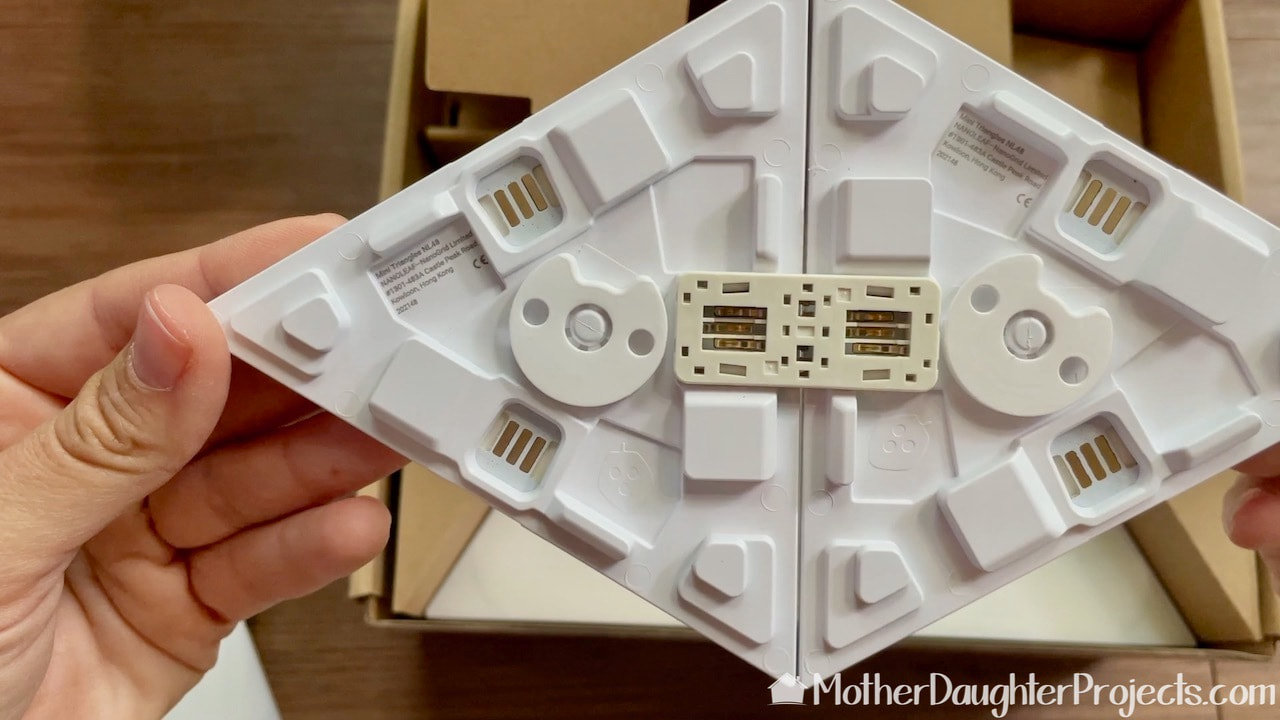
The LED lights connect to each other via these linkers. (That rectangular piece in the center of the picture.) There are a number of attachment points on each piece.
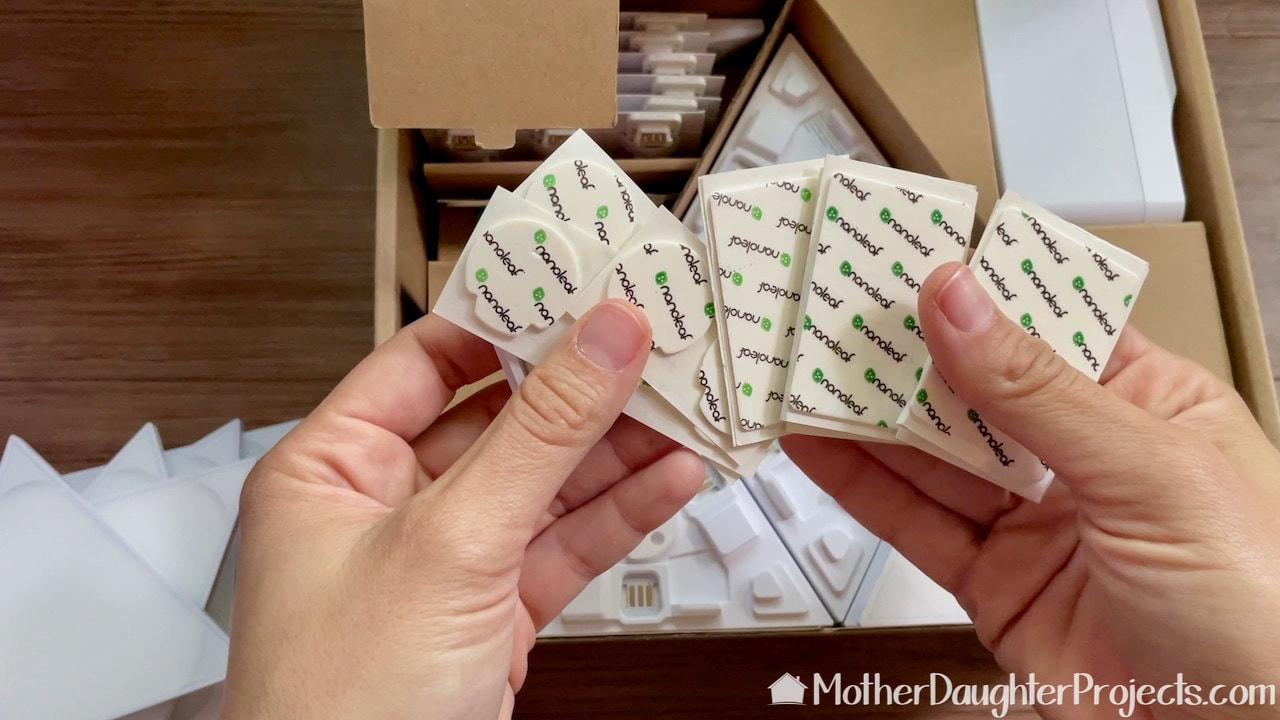
These are the double sided stickers to attach the shapes to the wall.
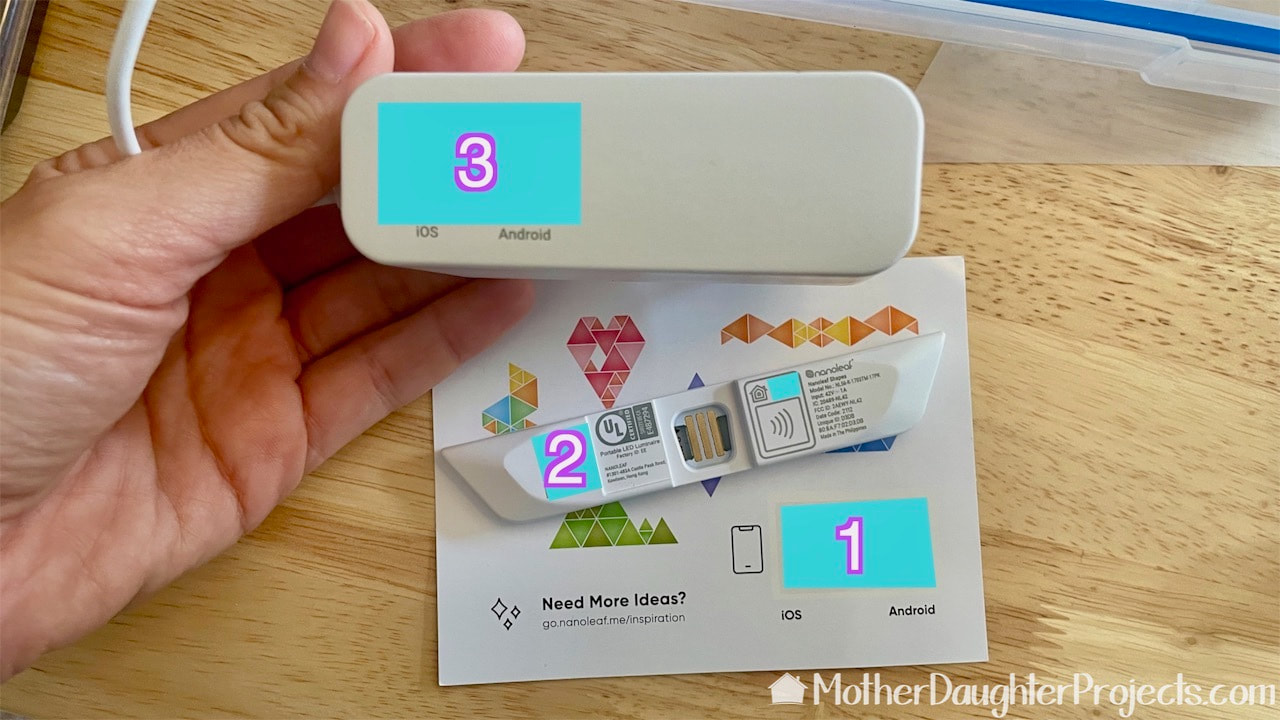
If you are using more than one set of Nanoleaf Shapes, be sure the controller and power cord and instruction code are all the same. The lights won't work if you use the controller from one set and the cord from another.
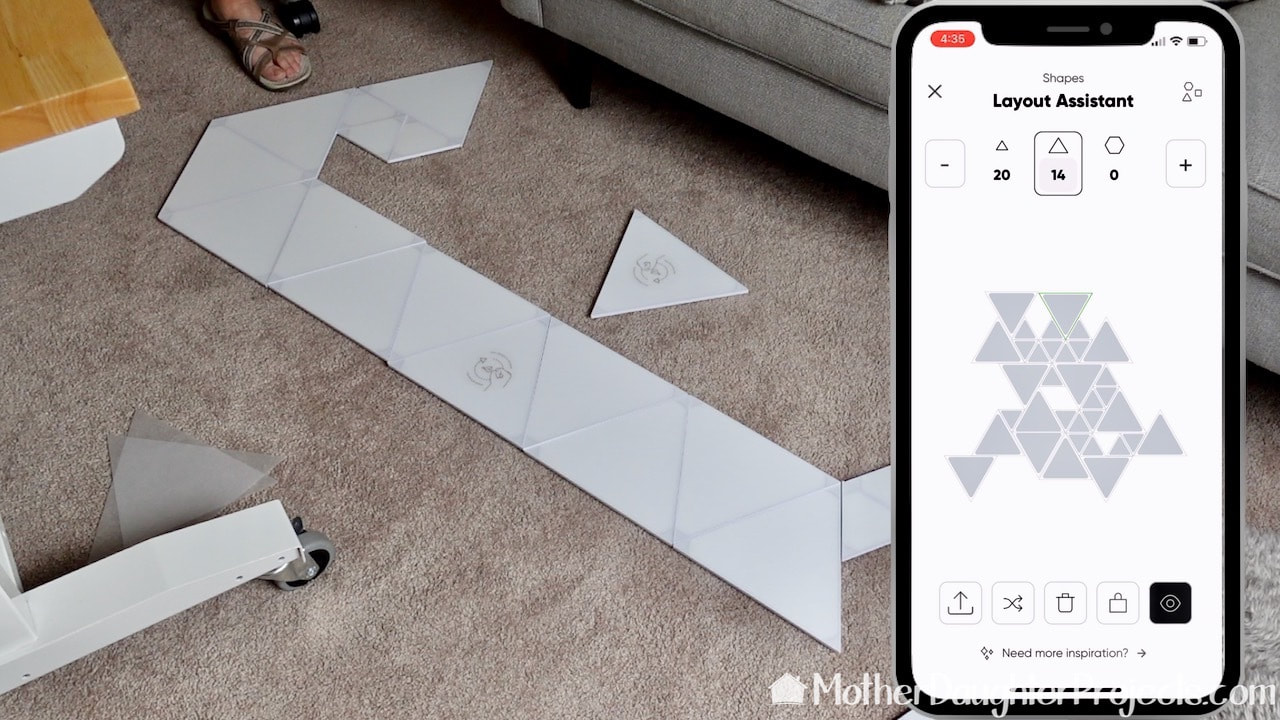
Although there is an app to help you design your layout, we just laid ours on the floor to work out the pattern.
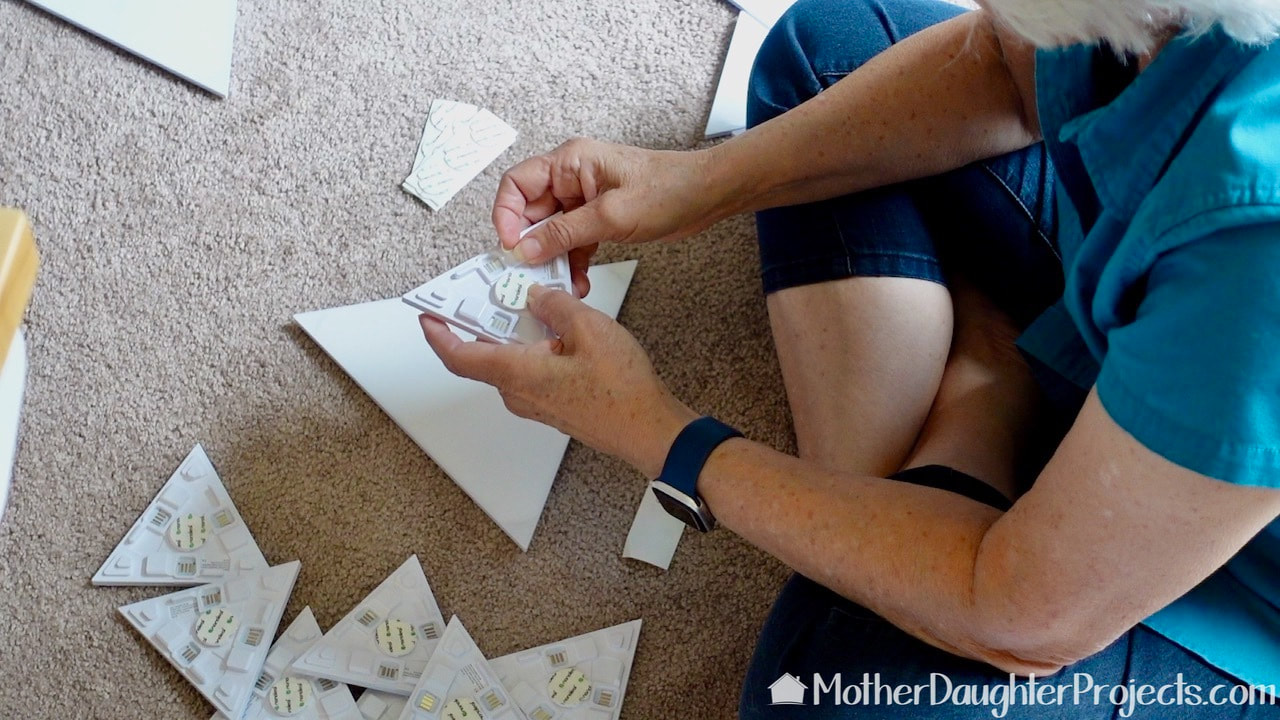
Be sure to take note of the direction the self-adhesive stickers are to be placed on the back. They are designed so that a bit hangs off the edge making it easy to remove the protective backing. I did this wrong on a few, so the backing was hard to remove, but didn't affect the ability of the stickers to attach to the wall.
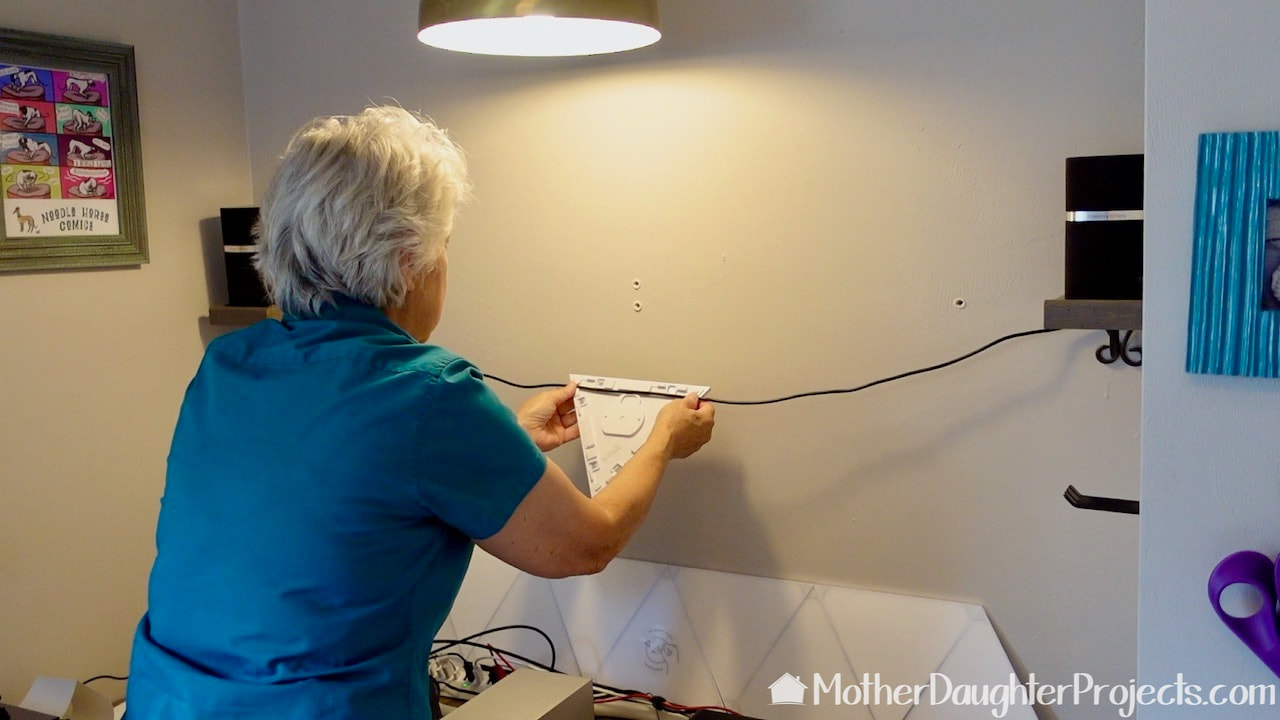
When we started to add the panels to the wall, we realized we were going to have to work with this cord. This cord connects the speakers. Fortunately, there was a convenient groove near the bottom and top of the large triangles that would work to hide the cord.
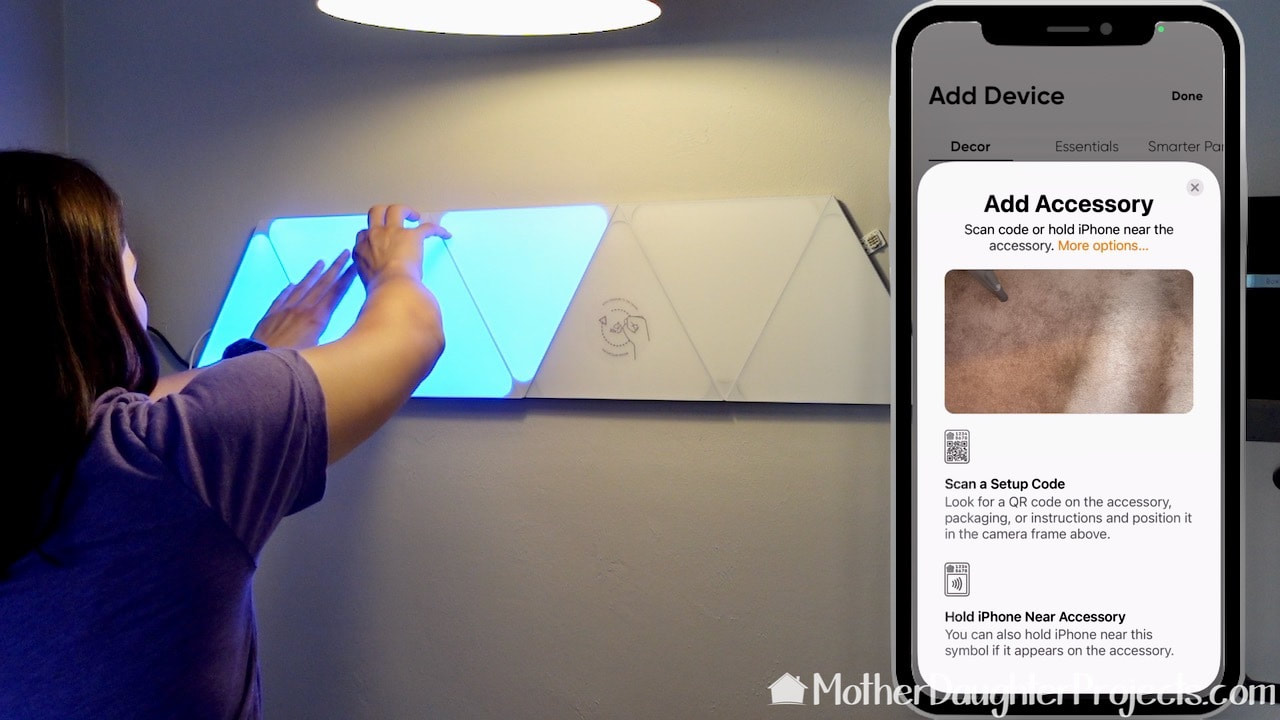
By working with the lights powered on, it was easy to be sure you've make a good connection between the panels.
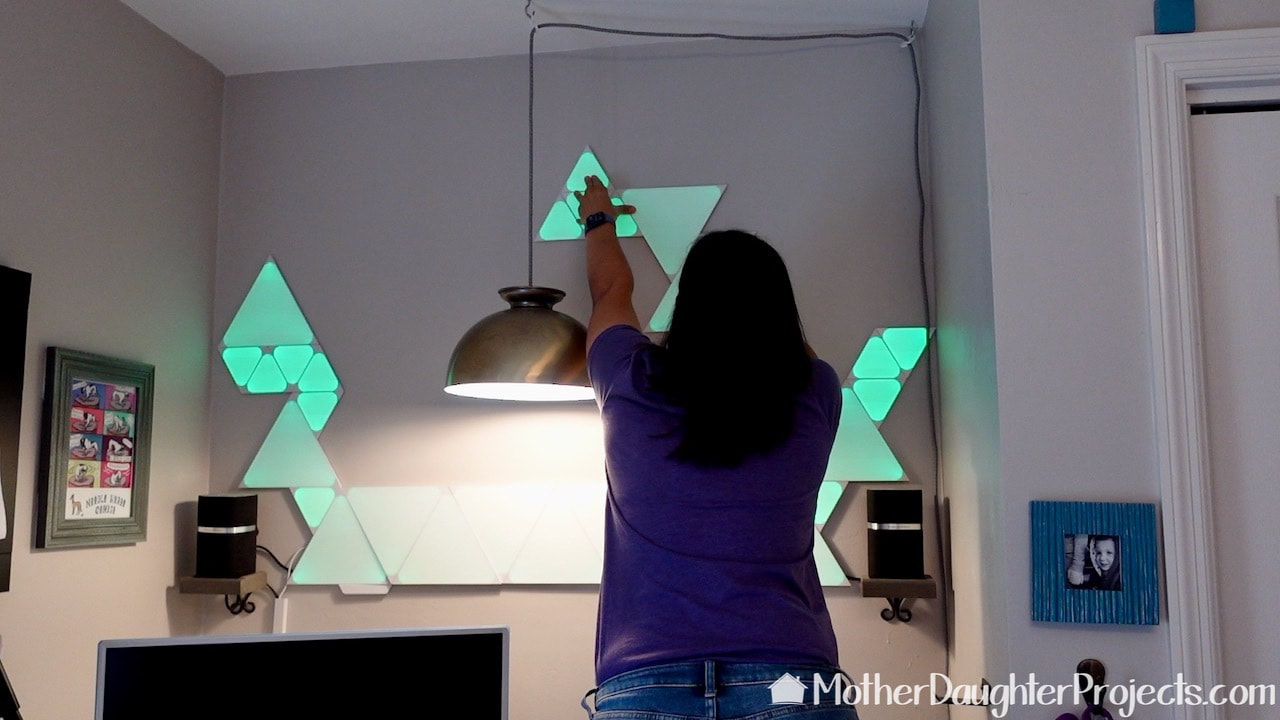
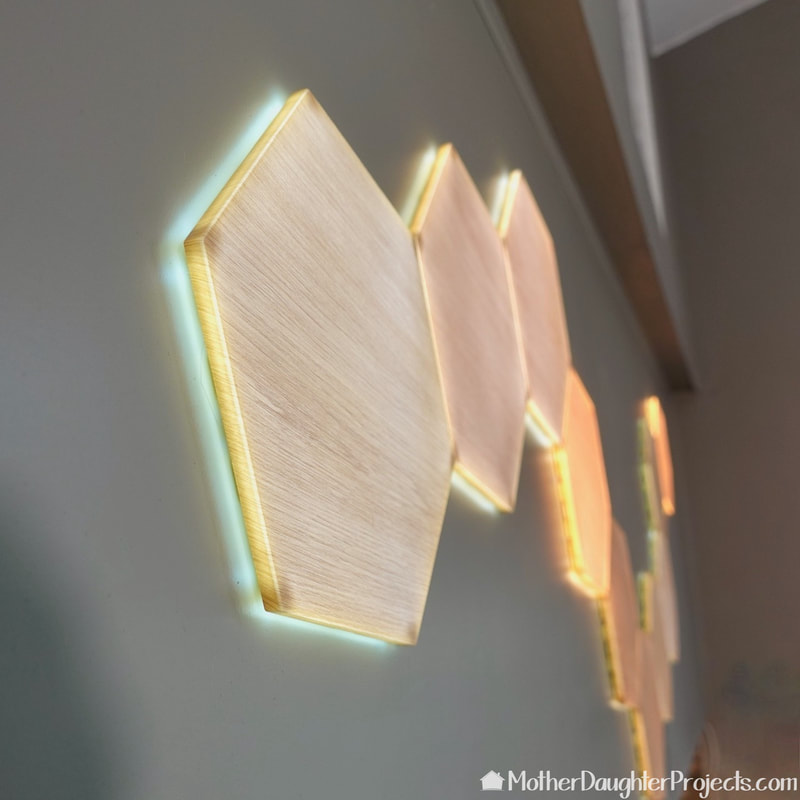
Almost finished! We decided to leave the hanging light and incorporate it into the finished design by "wrapping" the shapes around it. I like the contrast of the warm glow of the hanging light with the cooler LED Nanoleaf shapes.
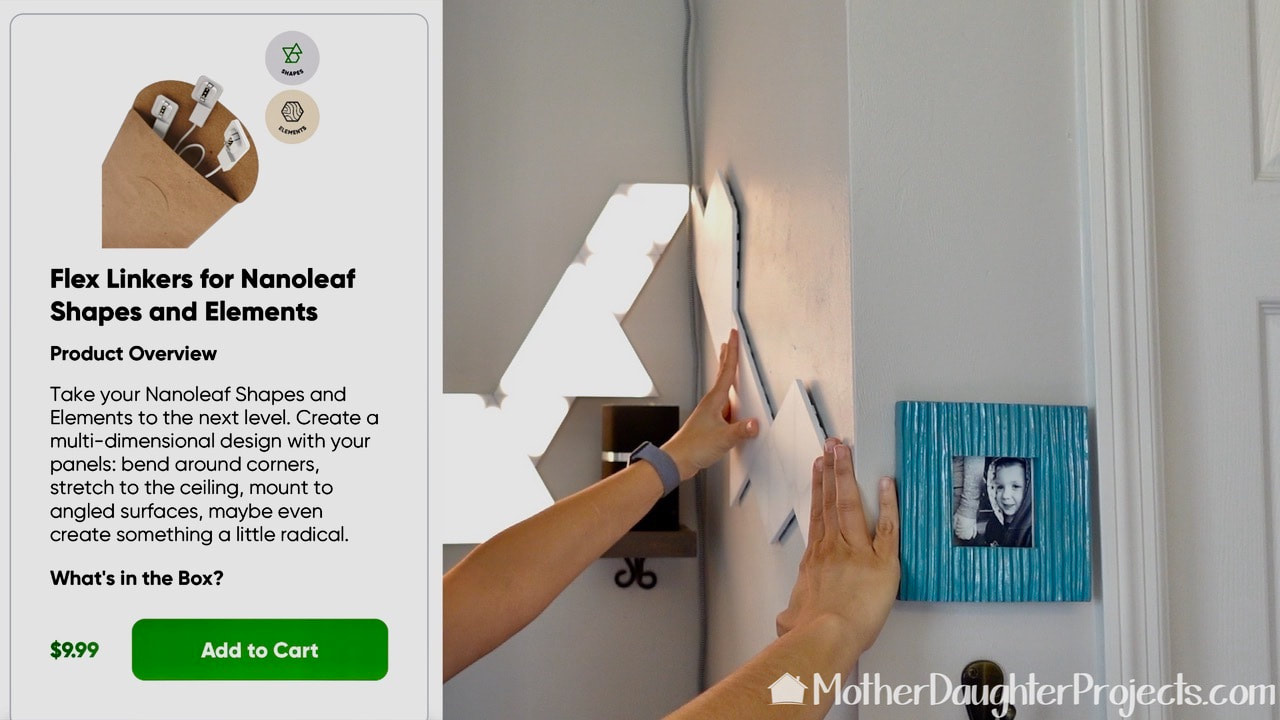
We originally ordered these flex linkers so the lights could fit around the corner, but as you can see, we didn't go with that design. These flex linkers give you even more flexibility for fun designs!
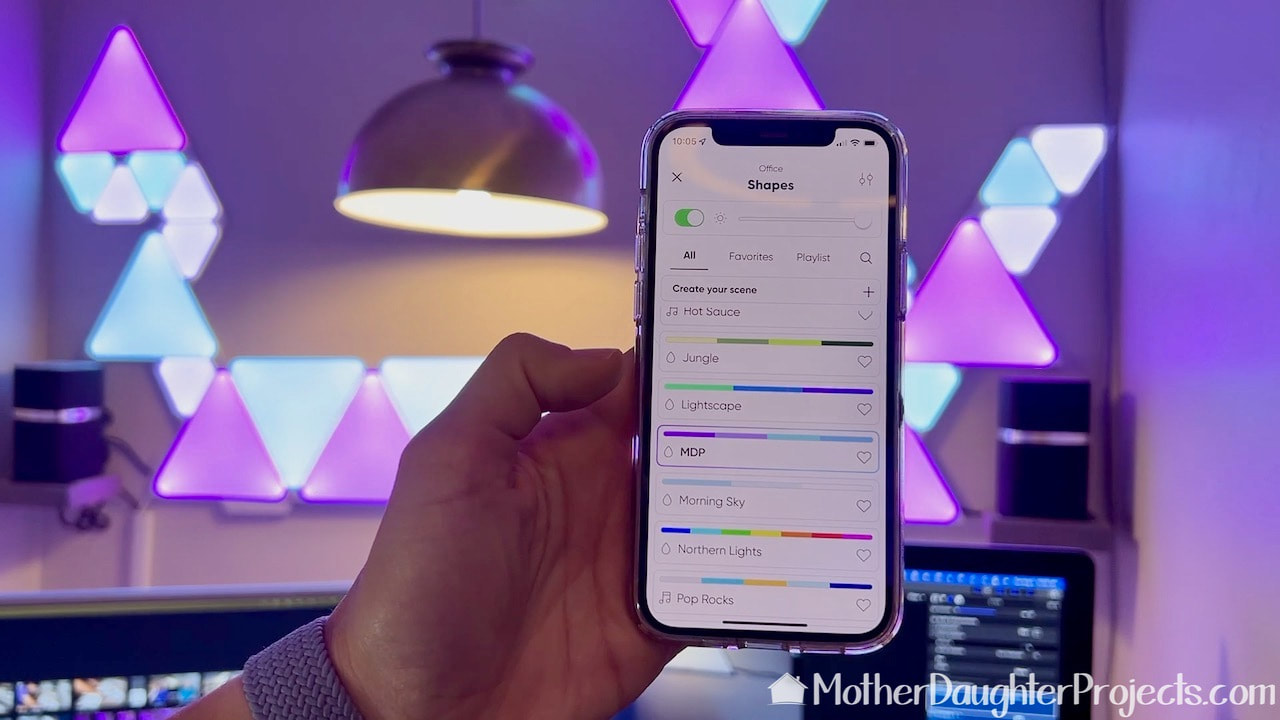
You can manually use the remote or control the lights through the Nanoleaf app.
BEFORE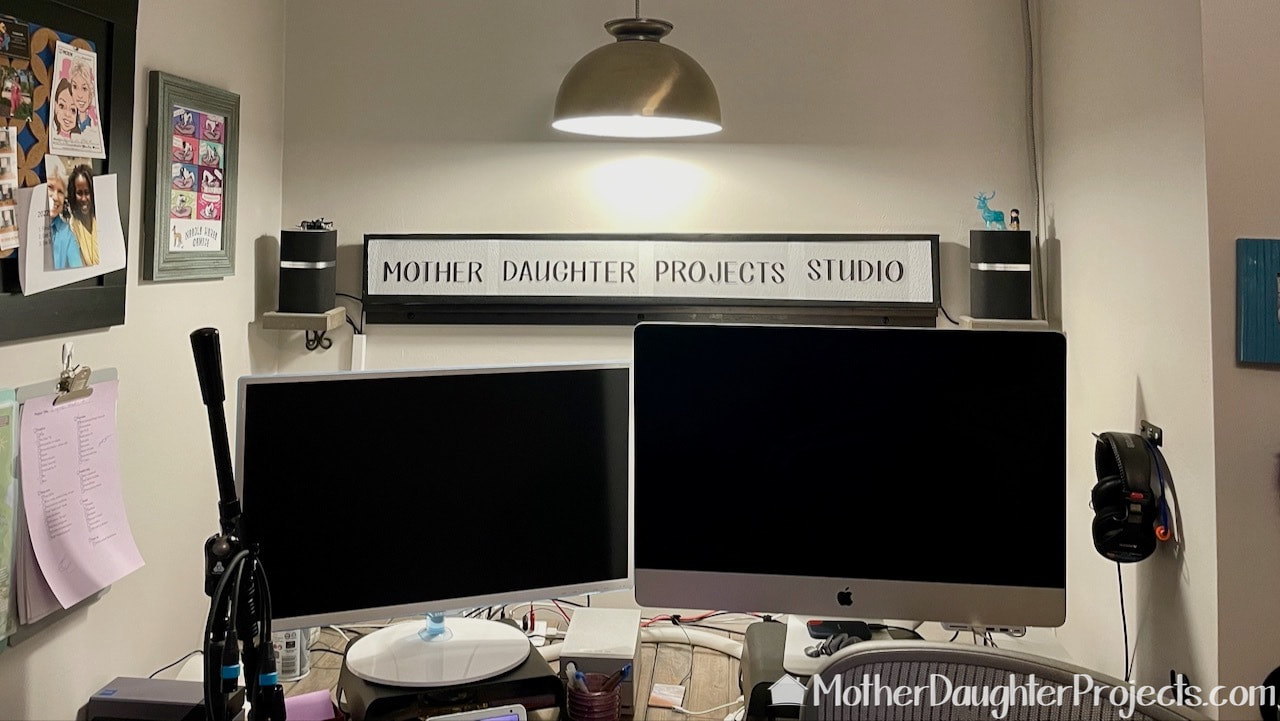
This is the wall above the computer desk before. Our lighted studio sign had long ago stopped working!
AFTER
These are so fun in the space!
Please note: This is not a sponsored post. FYI: We are not professionals, and we don't claim to be. This is what we found worked for our project. Yours may need a little different approach. Safety first! FYI: Affiliate links are being used on this page. Purchasing via these links help support MDP Related Projects
0 Comments
Leave a Reply. |

Mother Daughter Projects
|