|
text by Vicki Sign up here to join our weekly email newsletter!
We were send this circle jig by the woodworking store Woodcraft. We were excited to give it a try because we have never had a great way to make a perfect circle.
We also had the perfect project in mind that needed multiple circles. We did need a few extra items to go with the jig, but once we got that we were ready to go! Materials/Tools:
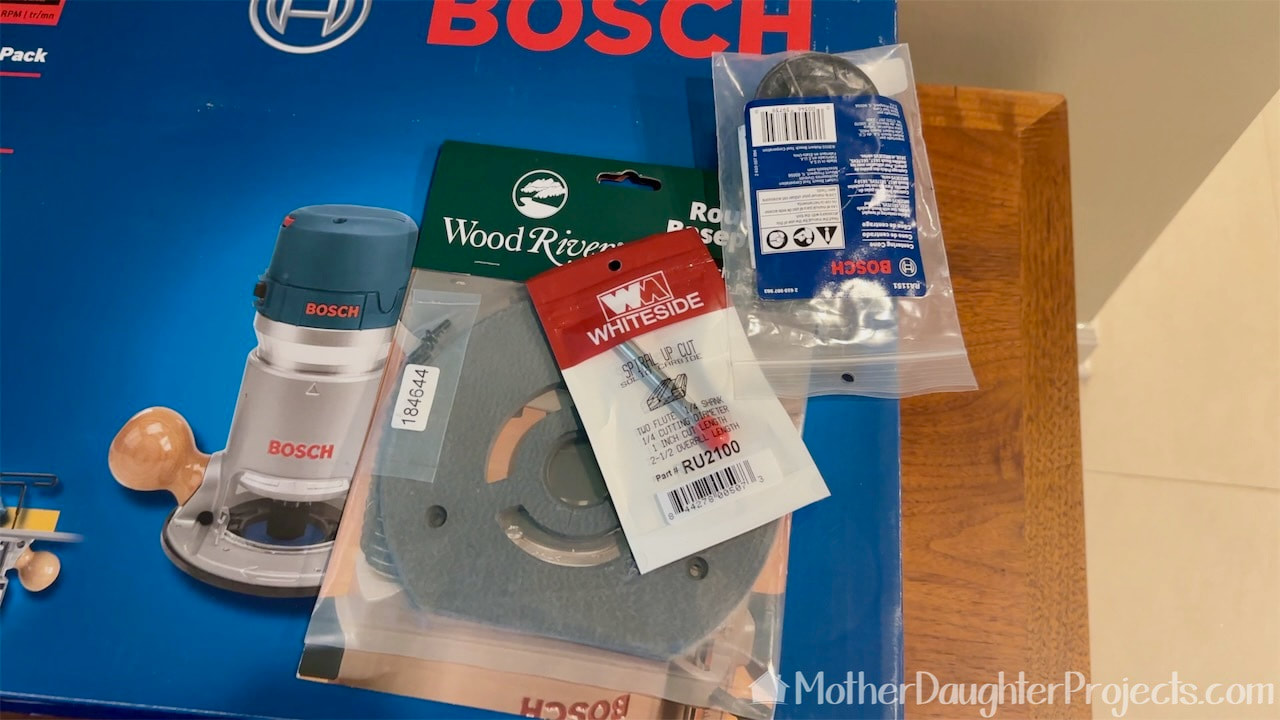
This is what we purchased in order to be able to use the circle jig. What you see is the Bosch router combo, a Porter Cable style base plate, centering cone and a spiral bit. With all that we were ready to go! Let the testing commence!
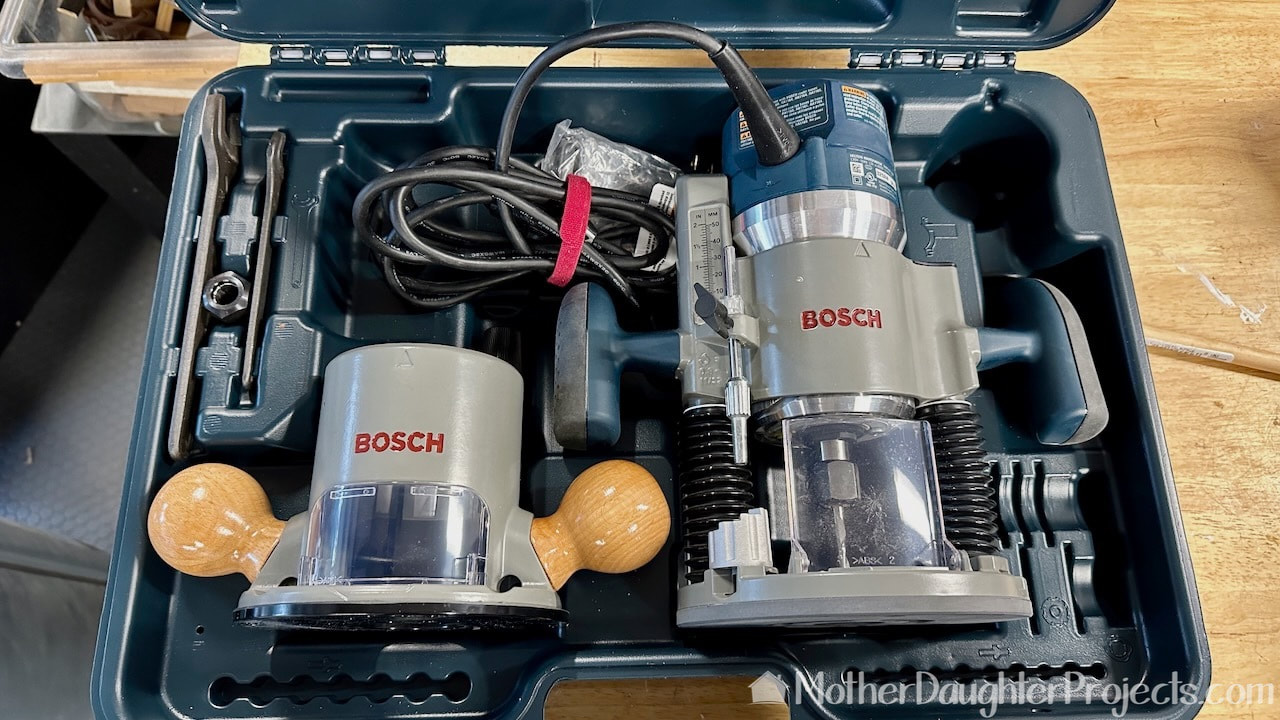
Our new Bosch plunge router. New tools are always a treat and offer up a chance to learn a new skill! This router was no exception!
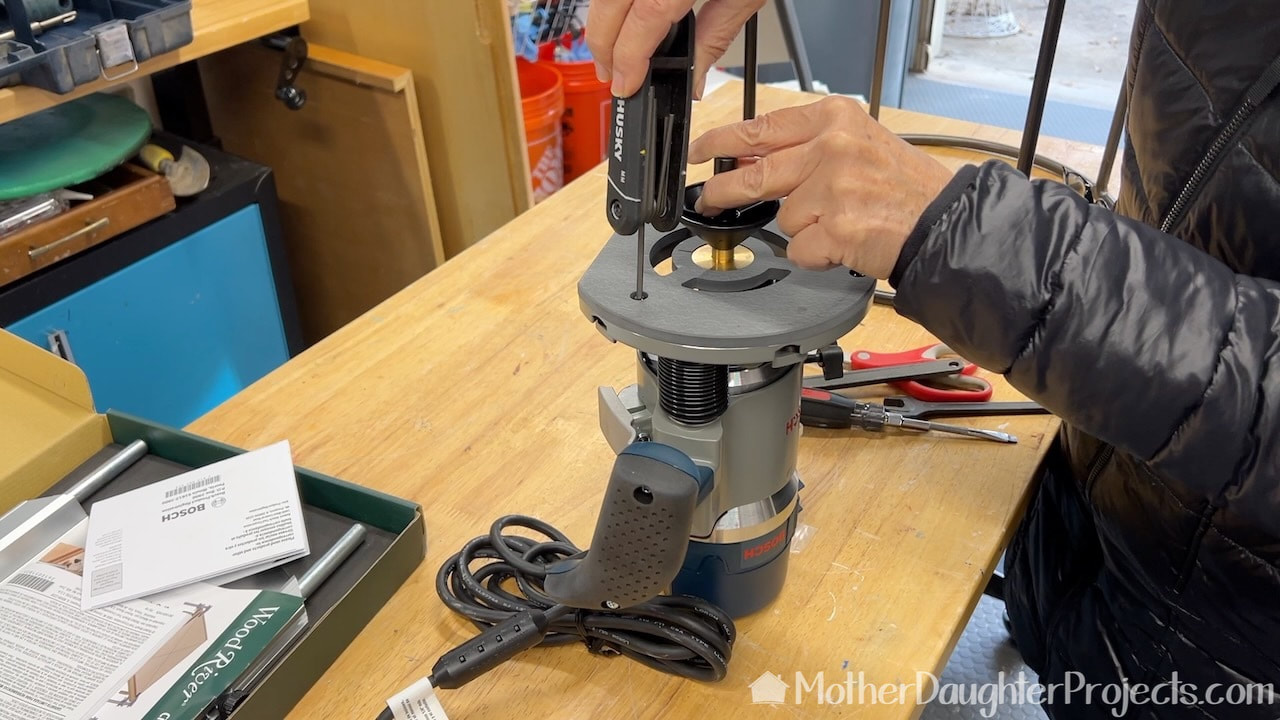
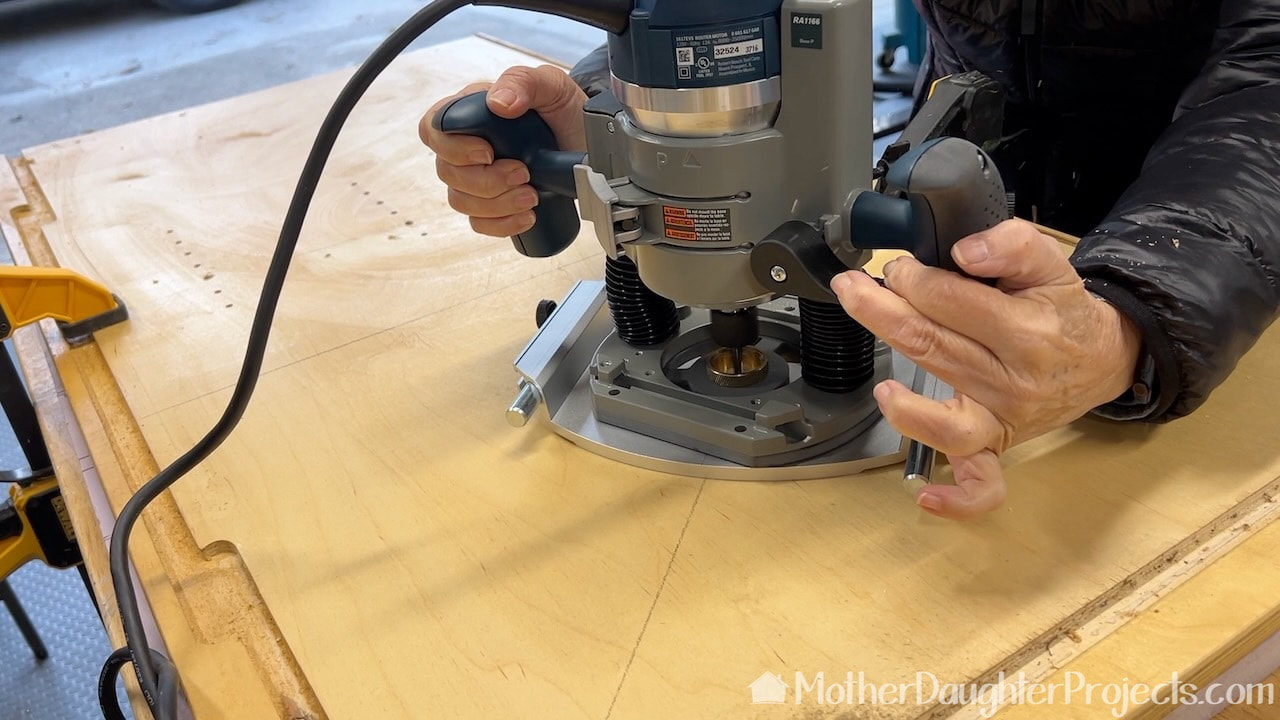
In order to use the circle jig, the baseplate had to be replaced with a Porter-Cable style plate. Here I'm using a centering cone to line up the center with the collet. After assuring it is centered the screws are tightened.
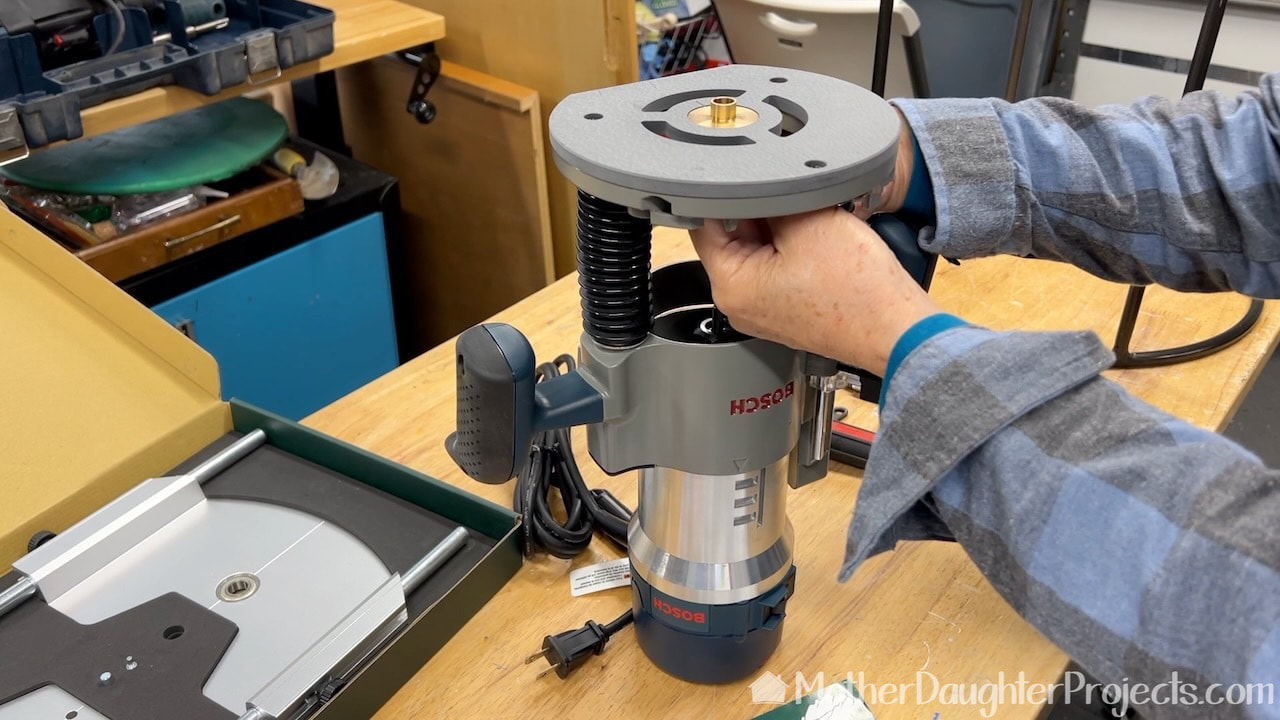
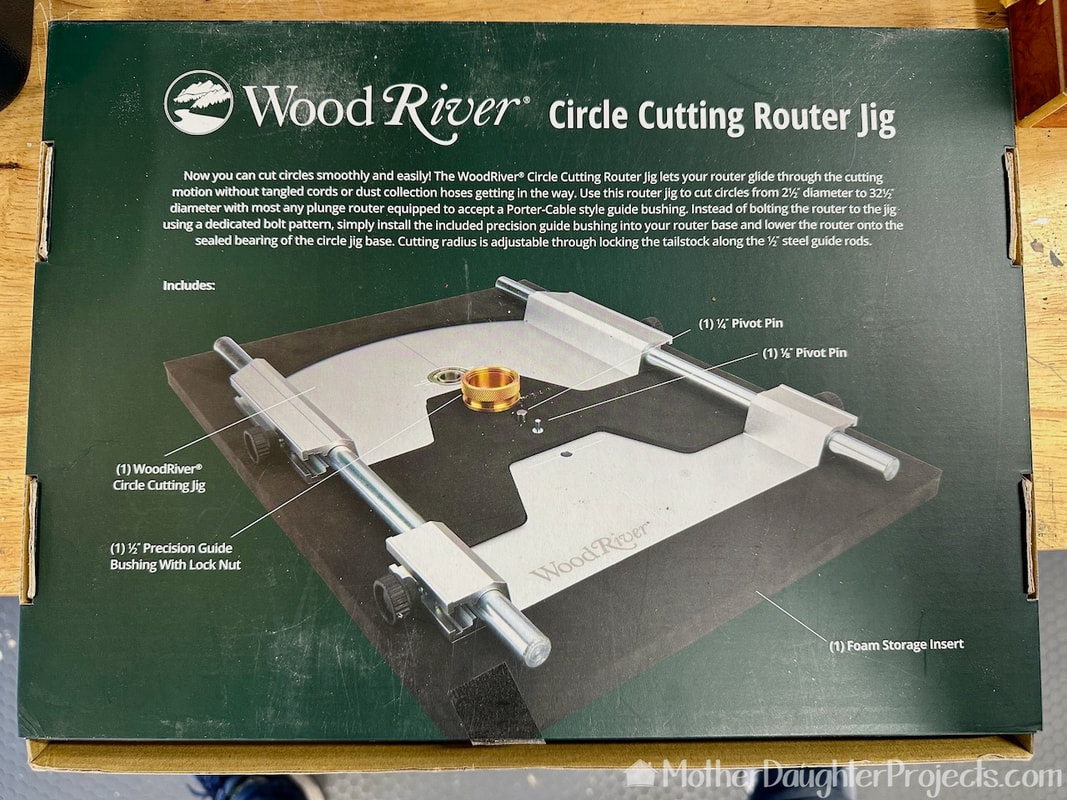
The circle jig bushing has two parts that screw together in the router baseplate.
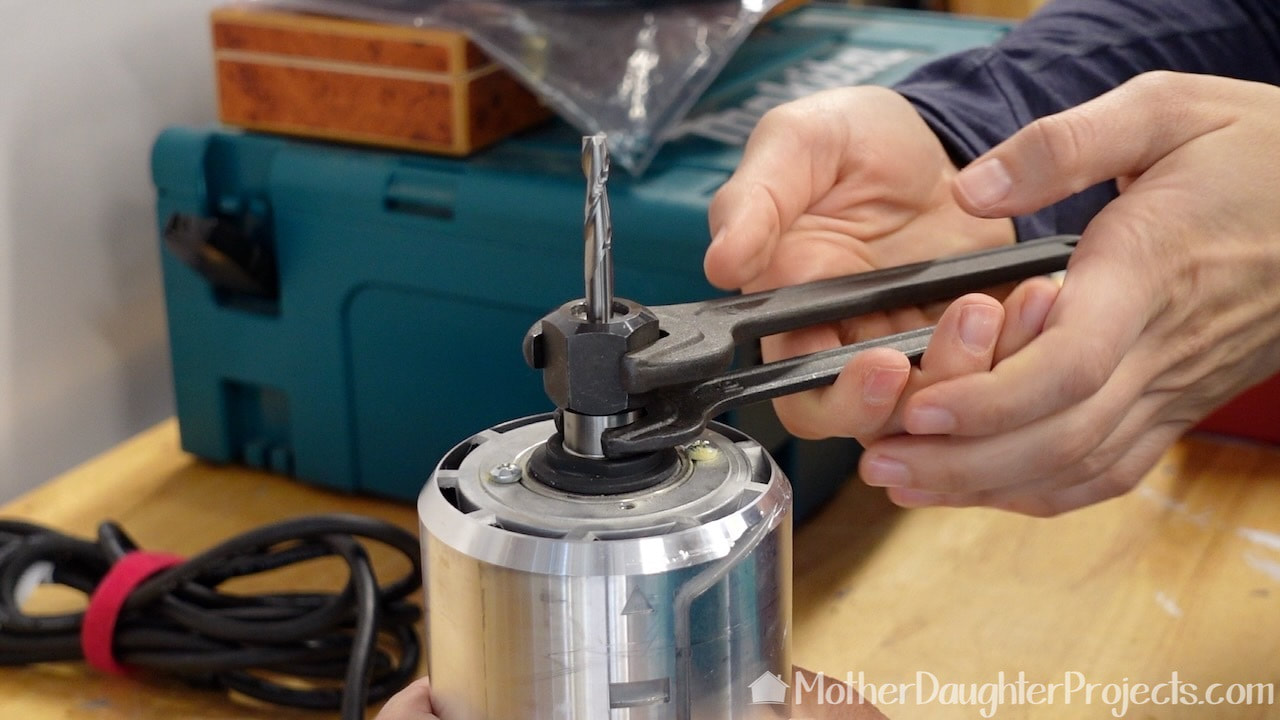
Putting the router bit into the collet and tightening it with the two wrenches that are included with the Bosch router.
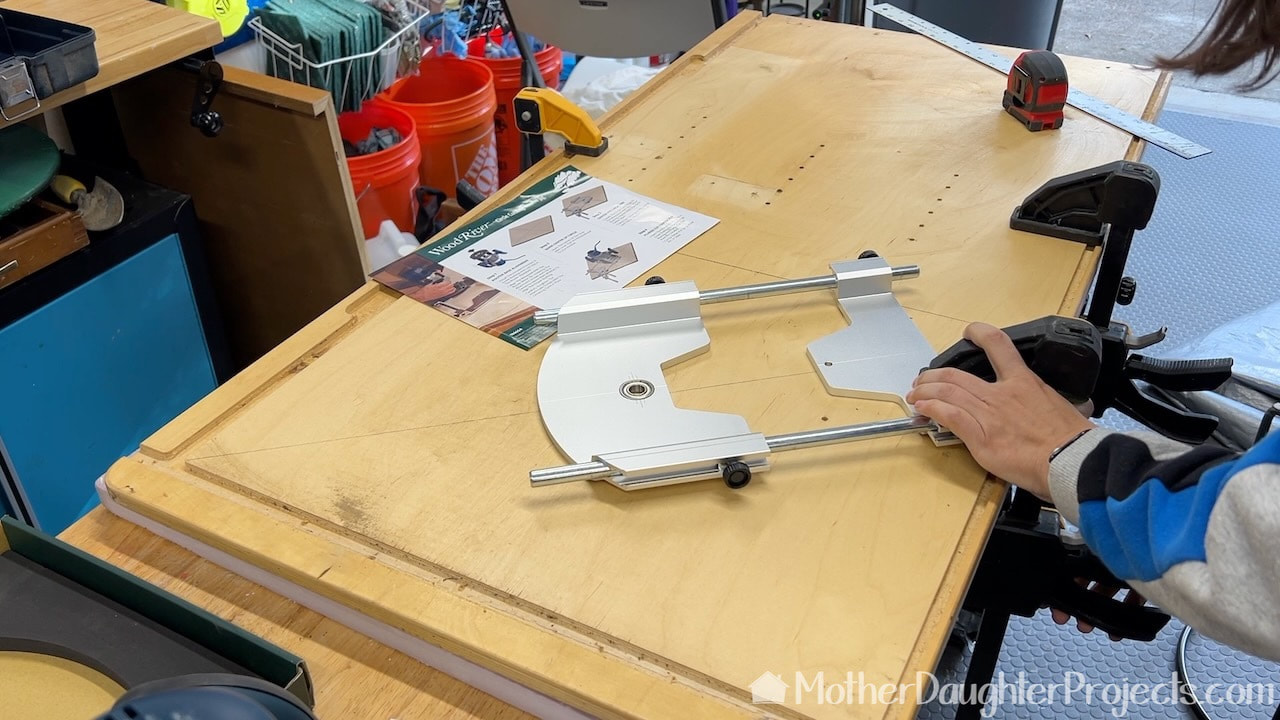
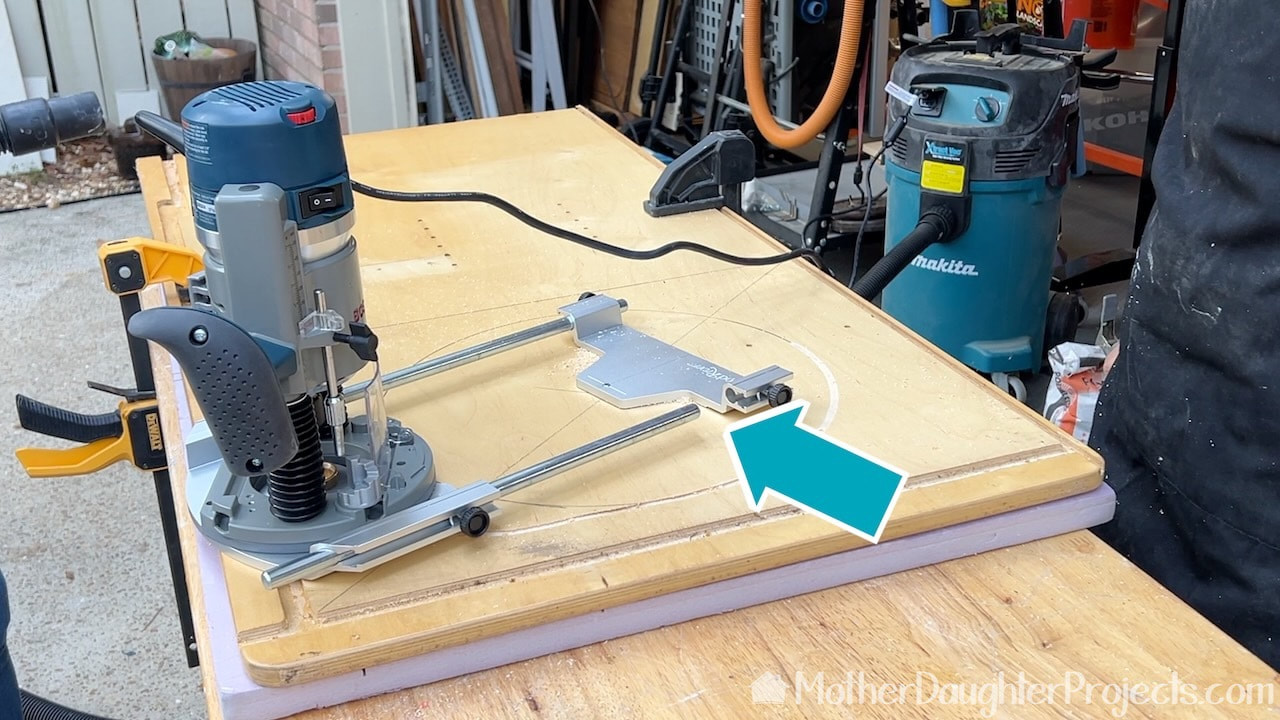
To use the circle jig, it is first clamped into place with the large circle (left in picture) over where you want to the center of the circle to be.
With the router over this point a hole is drilled to accommodate the pivot pin.
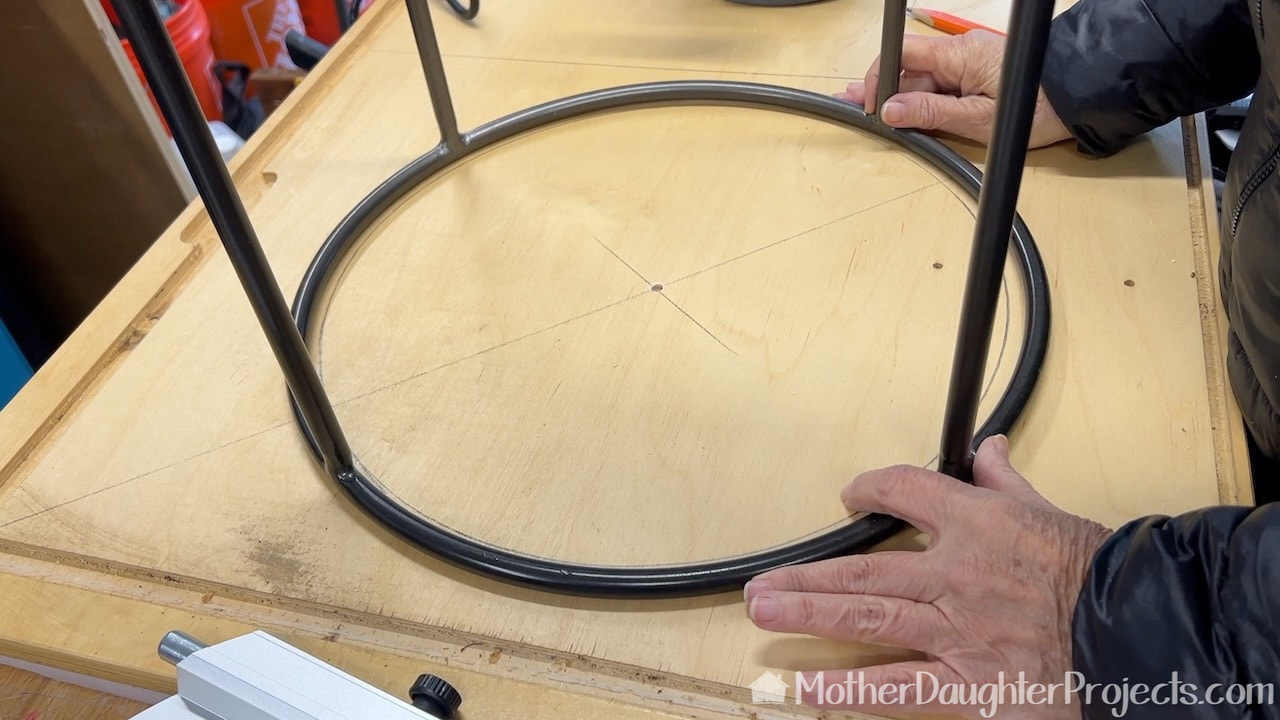
In the video we explain what we are making with this part from an old table. Here I'm checking to see if the circle we are going to cut will fit into this metal frame.

The design of this jig makes it so you're able to keep the router in front of you so that you don't get tangled in the cord. Pretty cool design and easy to use!
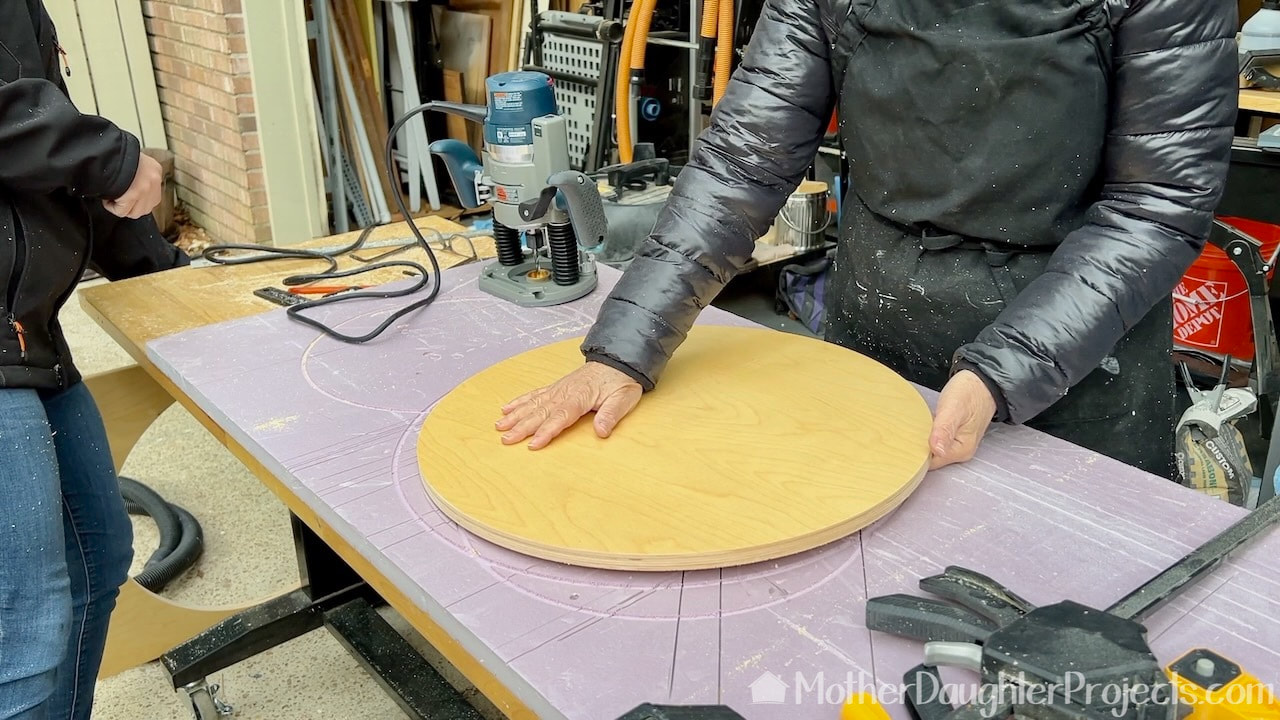
Perfect cut the first time and every time!
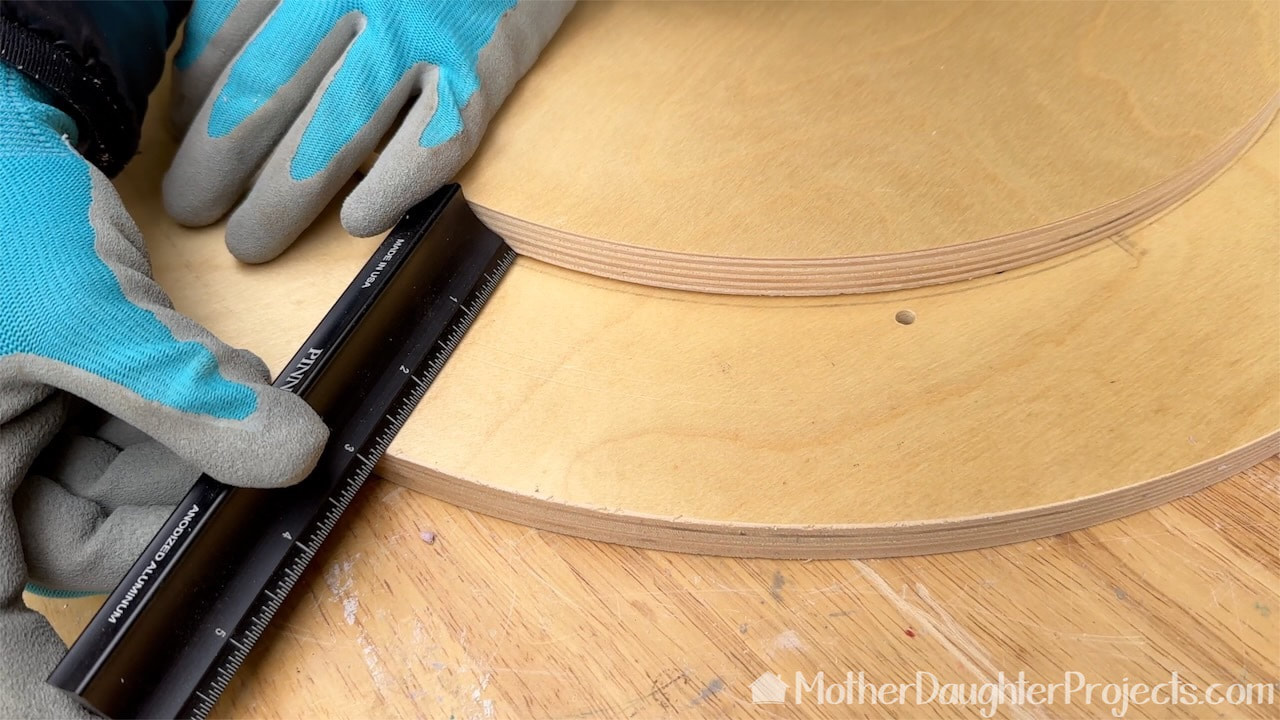
Woodcraft also sent us some Pinnacle marking and measuring tools to try out. We were able to use them on this project. Here I'm using the 6-inch thumb rule to assure this smaller circle is equal distance all around the larger circle.
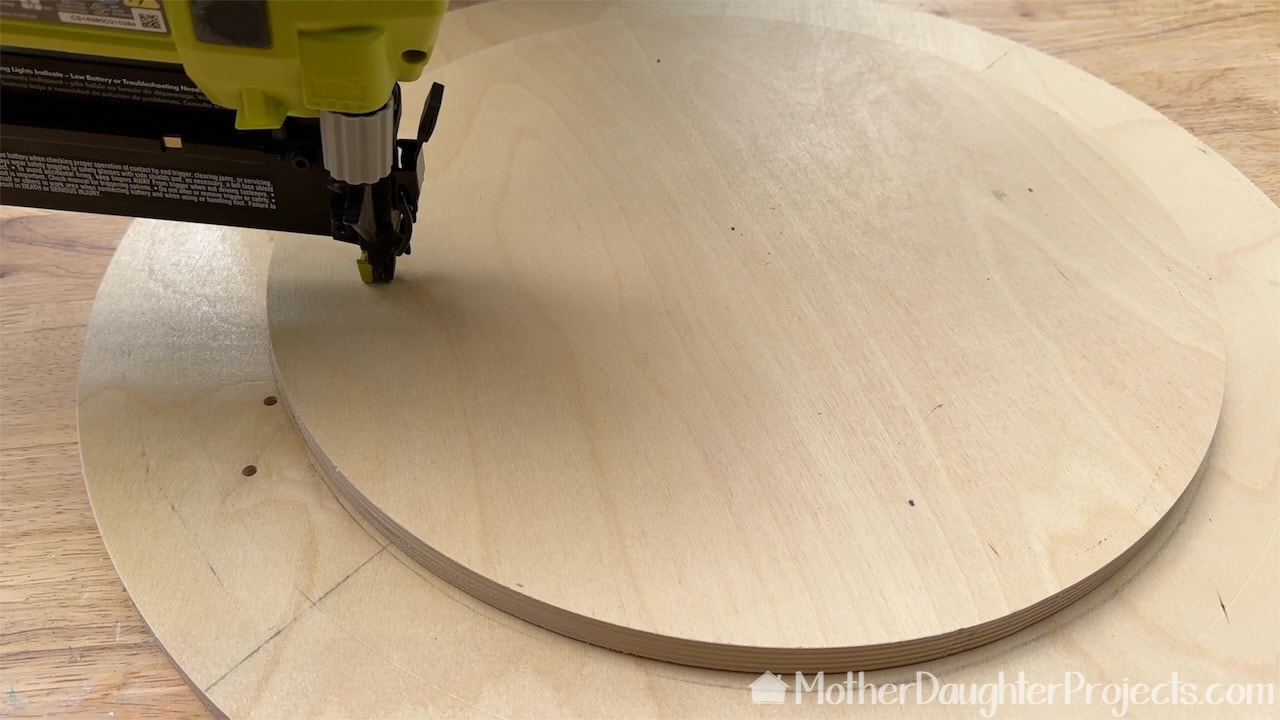
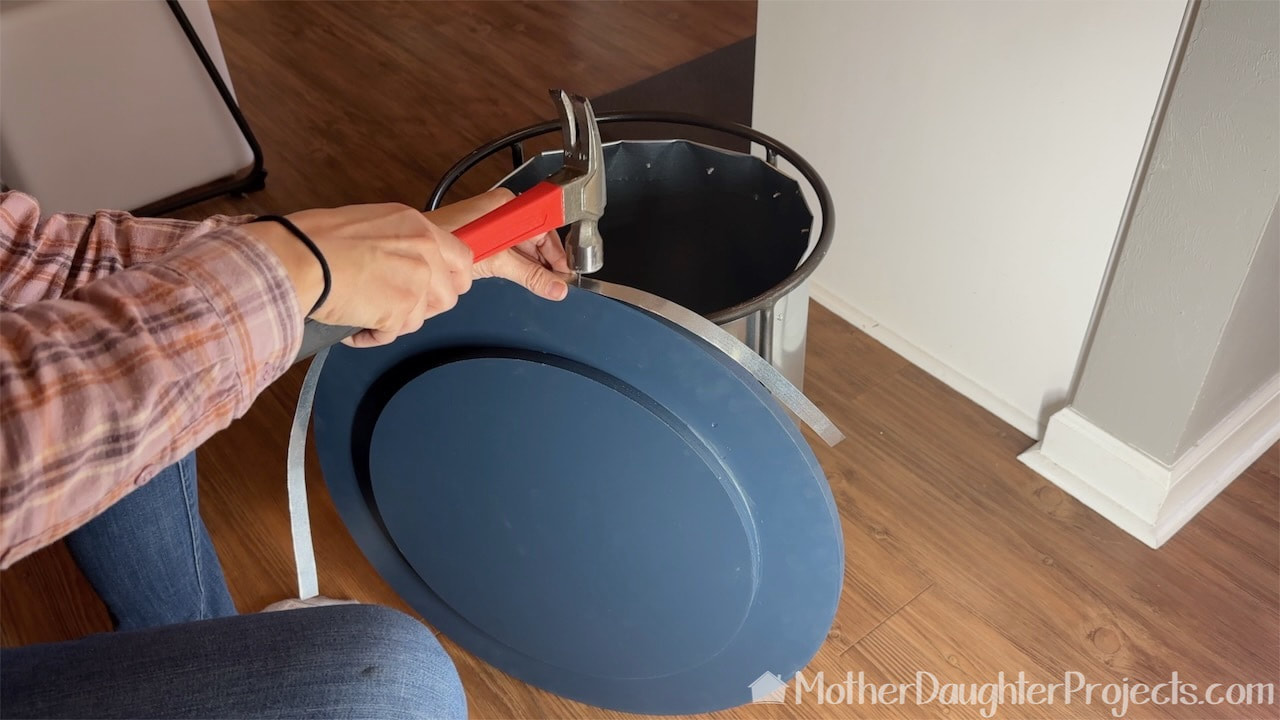
Once centered, the smaller wood round was brad nailed to the larger circle. This will be the top of our storage table.
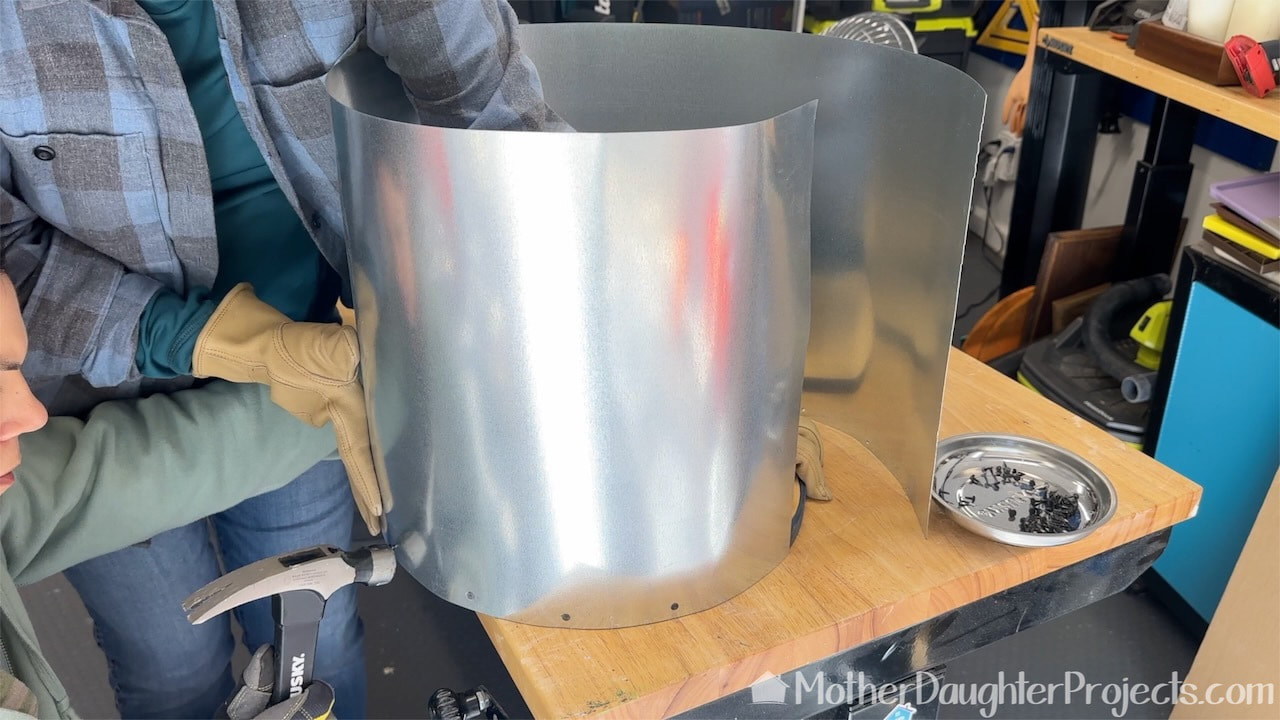
We are using galvanized metal sheeting tacked to the bottom round to form the sides of our wood storage table.
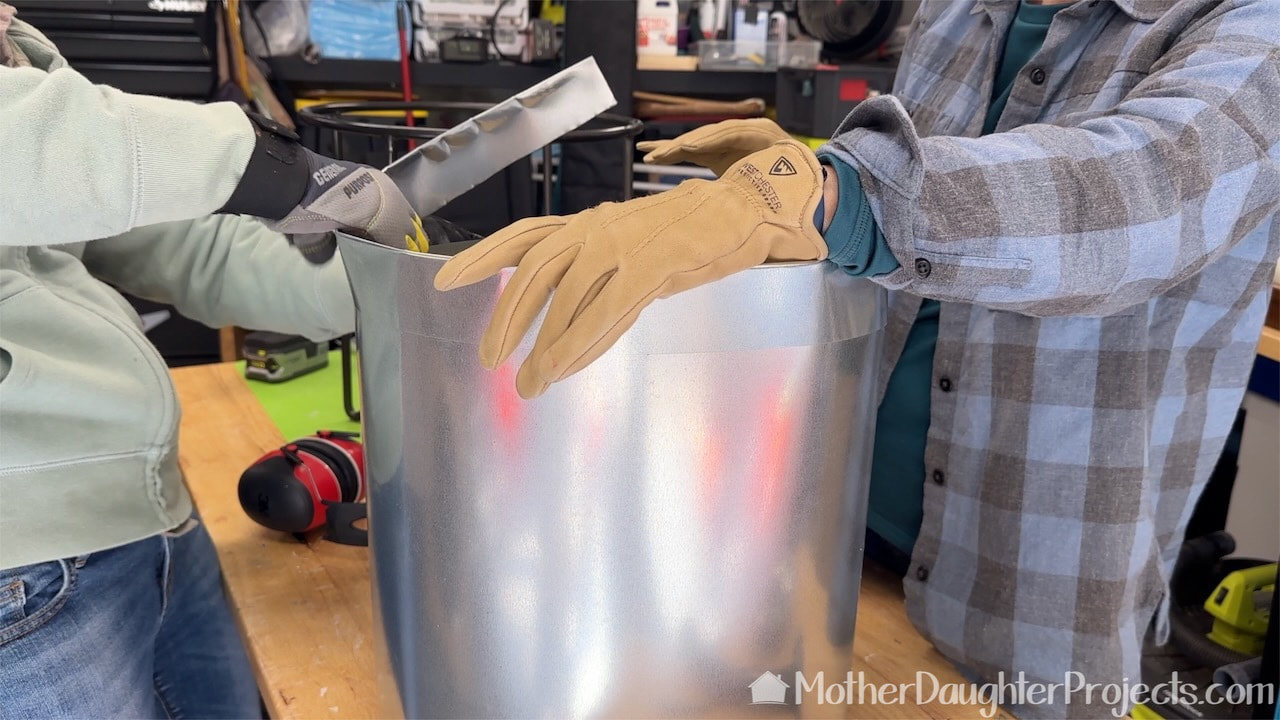
A folded over band of metal sheeting gives the top of the insert strength and stability.
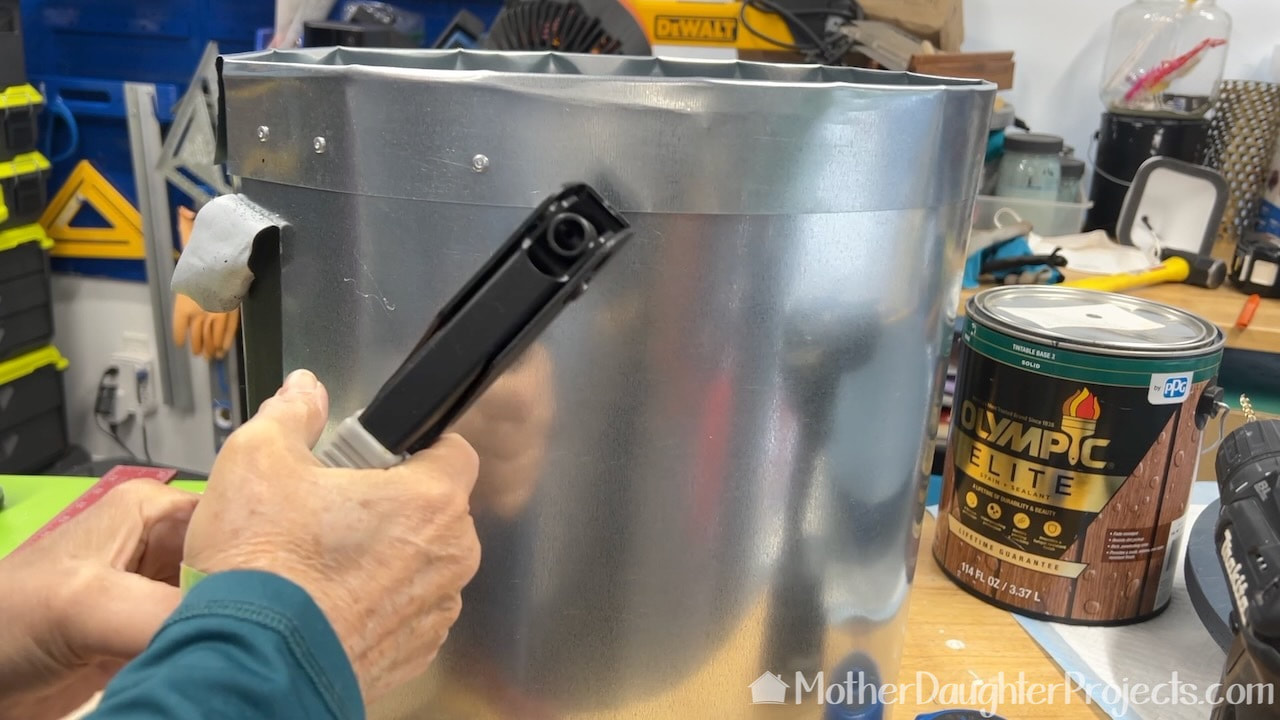
A rivet gun is used to hold the metal pieces together. We used that Olympic Elite solid stain on the right to paint all the wood rounds.
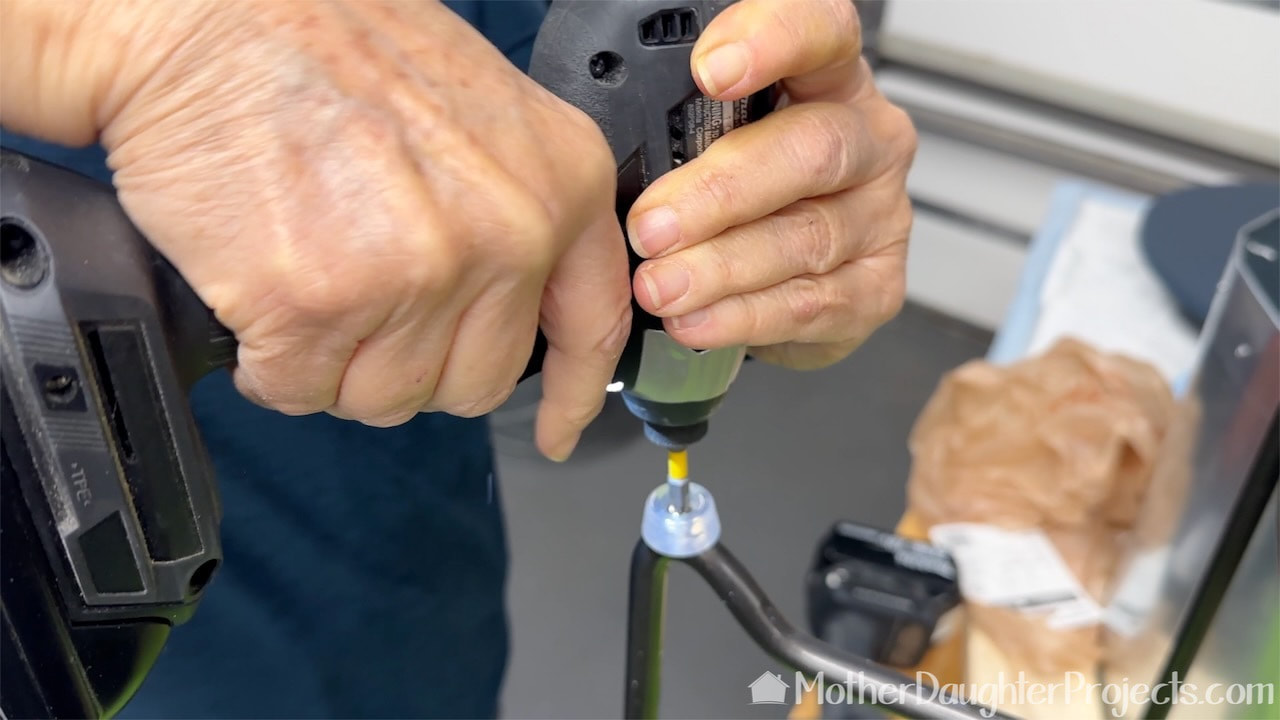
Small plastic feet were added to the base of the metal frame.
Adding a metal accent to the edge of the table top was a last minute design addition.
On our first cutting attempt we had an 'oops' moment. The metal rods came loose causing the router to veer off course. We realized the screw knobs slide and we had not centered them onto the metal rods. It was an easy fix.
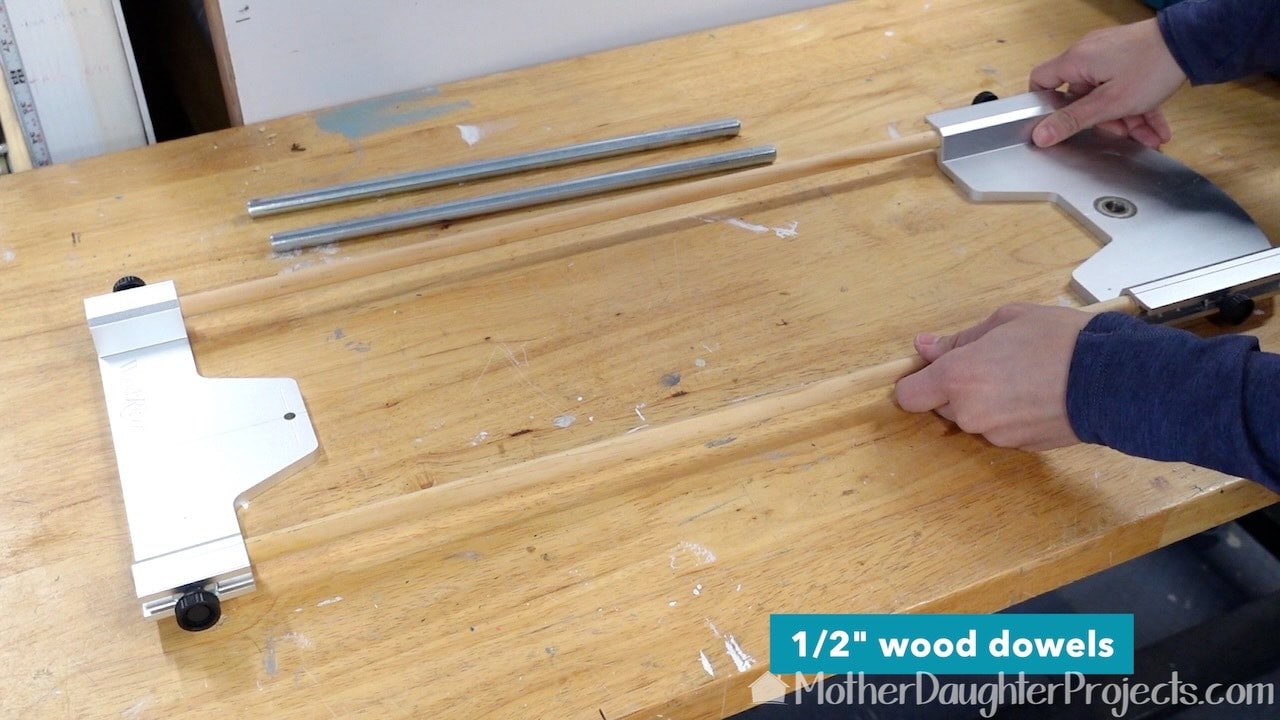
By swapping out the metal rods for wood dowels, the circle jig is able to cut even larger circles.
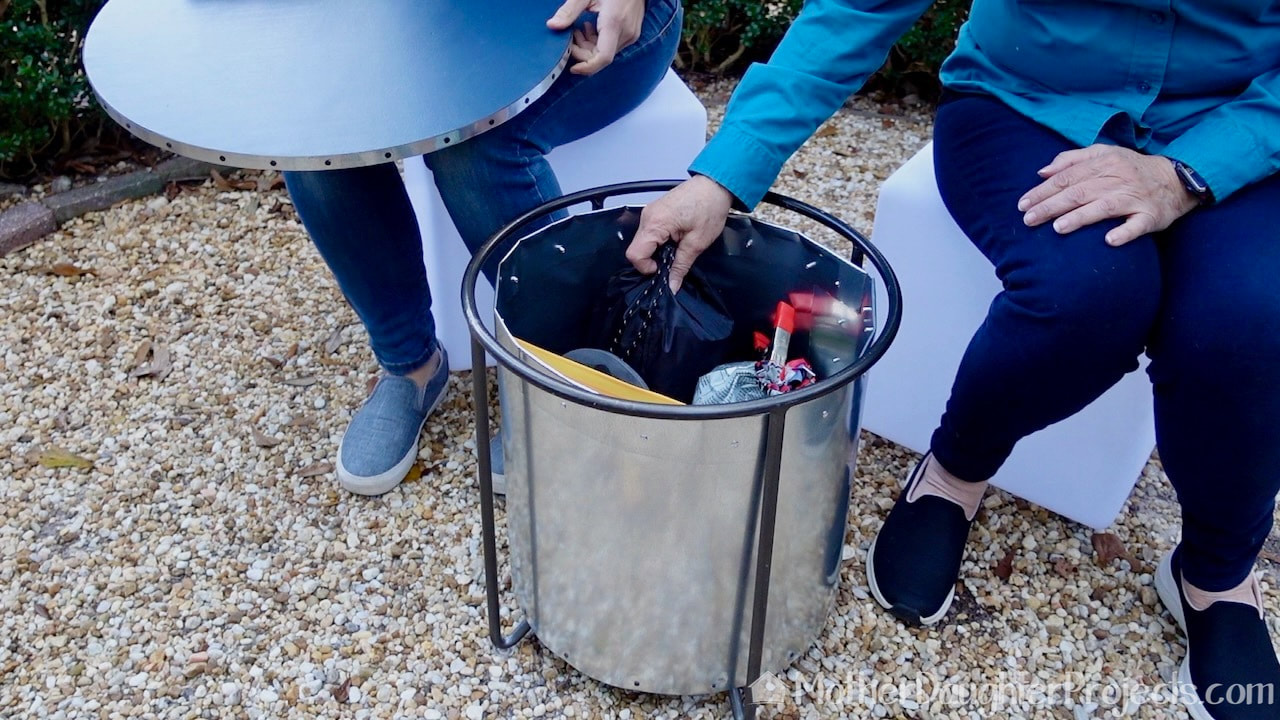
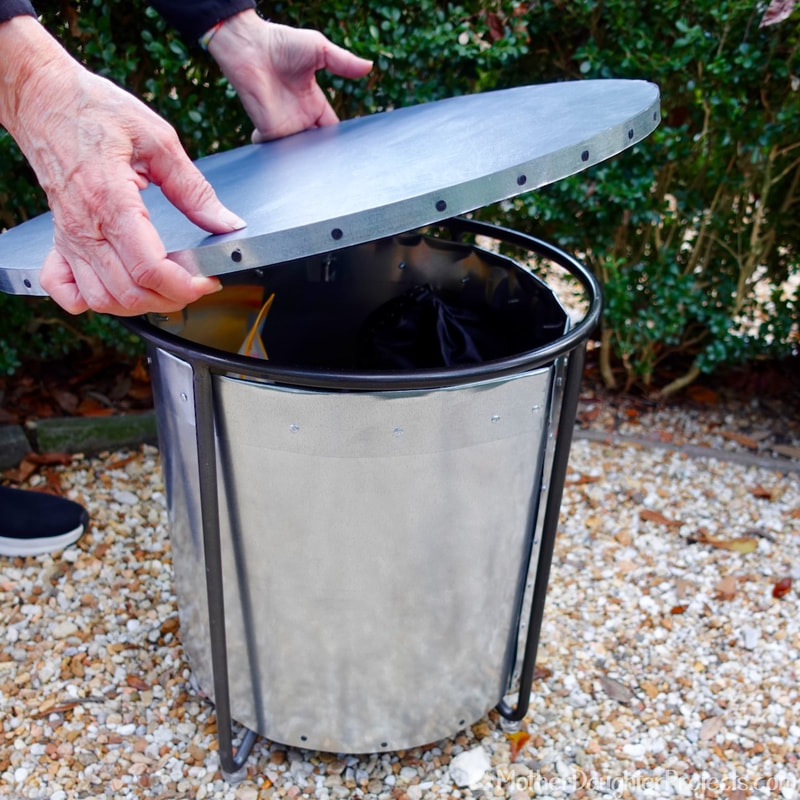
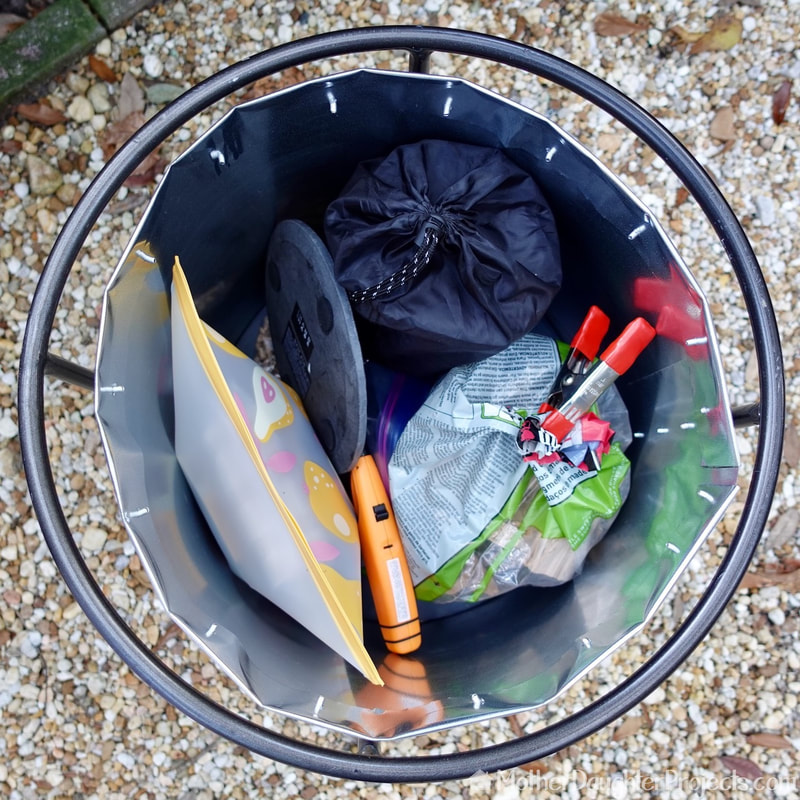
The interior holds the mini Mesa Solo Stove, wood, pellets, and fire starters as well as an 8-inch round of slate on which the solo stove rests.
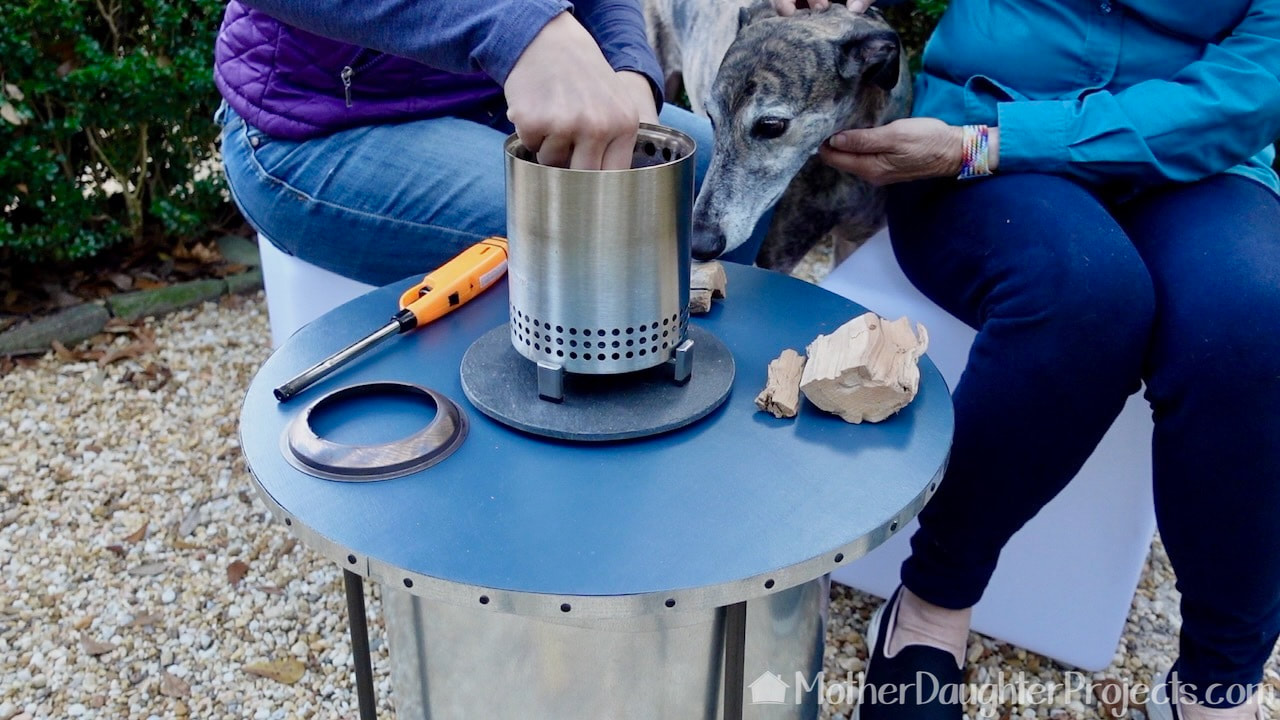
Setting up the tiny Solo Stove with the 'help' of greyhound, Tosh! We got our mini wood pieces at The Home Depot.

This was the perfect way to recycle this old metal table frame and to use up this galvanized metal sheeting we've had since around 2016!
The table is the perfect place to hold supplies as well as to set our Mesa Solo Stove for a quick, fun campfire. S'mores anyone? Please note: This is not a sponsored post. We are not professionals, and we don't claim to be. This is what we found worked for our project. Yours may need a little different approach. Safety first! Affiliate links are being used on this page. Purchasing via these links help support MDP. Related Projects
0 Comments
Leave a Reply. |

Mother Daughter Projects
|