|
text by Vicki Sign up to get Mother Daughter Projects updates in your email!
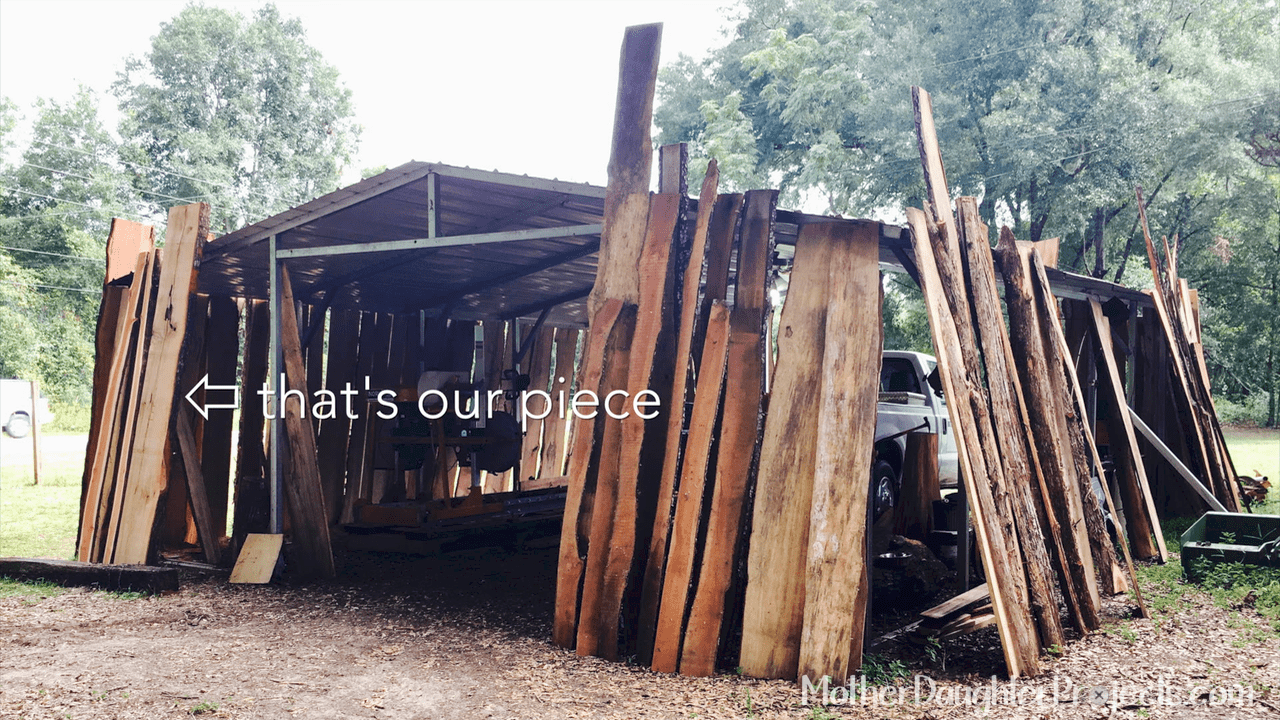
We've been wanting to work with a piece of live edge wood, but hadn't found the right piece of wood at a good price. On a recent trip through Suwannee County in North Florida, we happened upon a small family operated saw mill right by the side of the road. Just like we brake for pallets, we also brake for beautiful live edge wood sold at the side of the road!
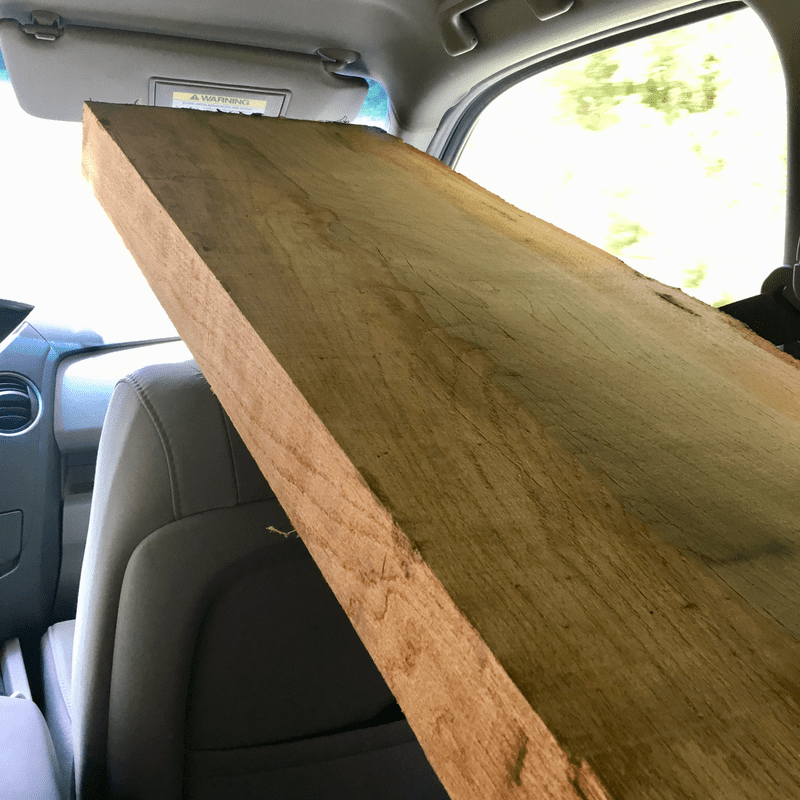
We brought home a slab, 9 1/2 feet long by about 4 inches thick plus a large oval piece. The prices were really, really good! We were able to get it into the Honda pilot without having to have it cut. It was a tight fit with three adults and all our luggage in the car, but we did it.
This is where we purchased our piece of live edge wood--they had lots to choose from--it was difficult to choose only one piece!
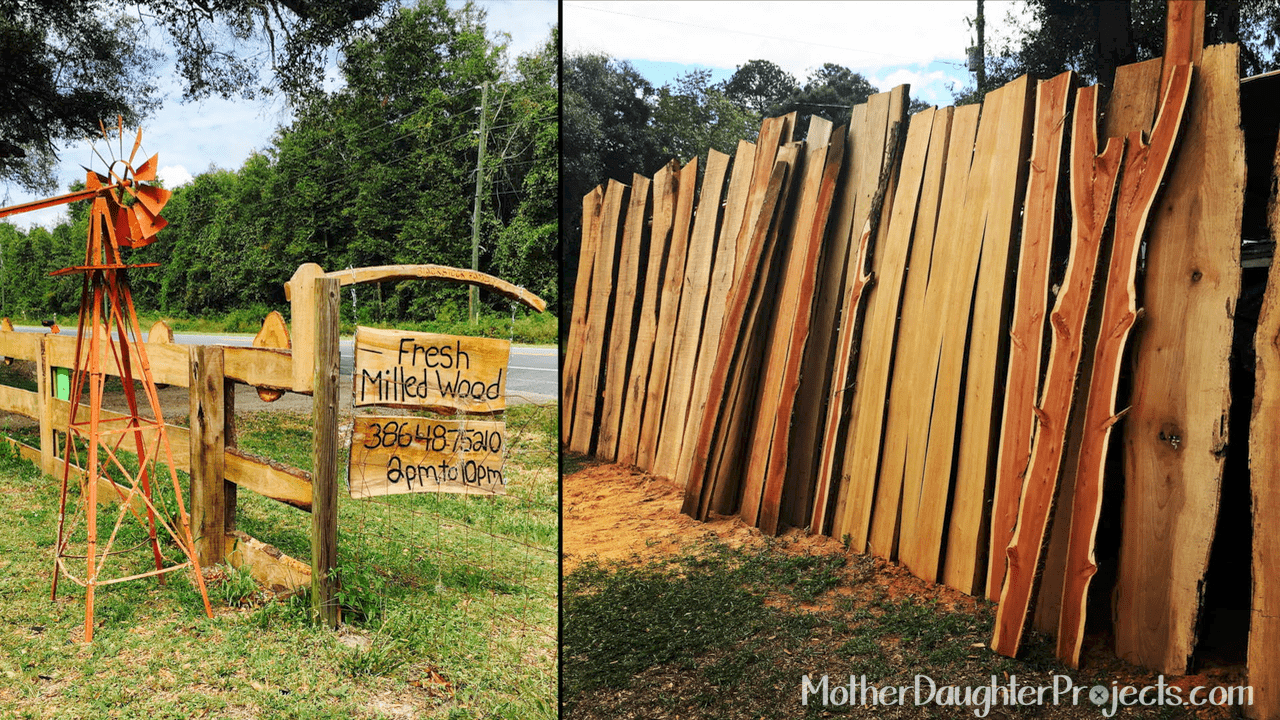
Fresh Milled Wood--family owned and operated in Suwannee County outside of Live Oak, Florida. Try looking in your local area for deals on live edge wood.
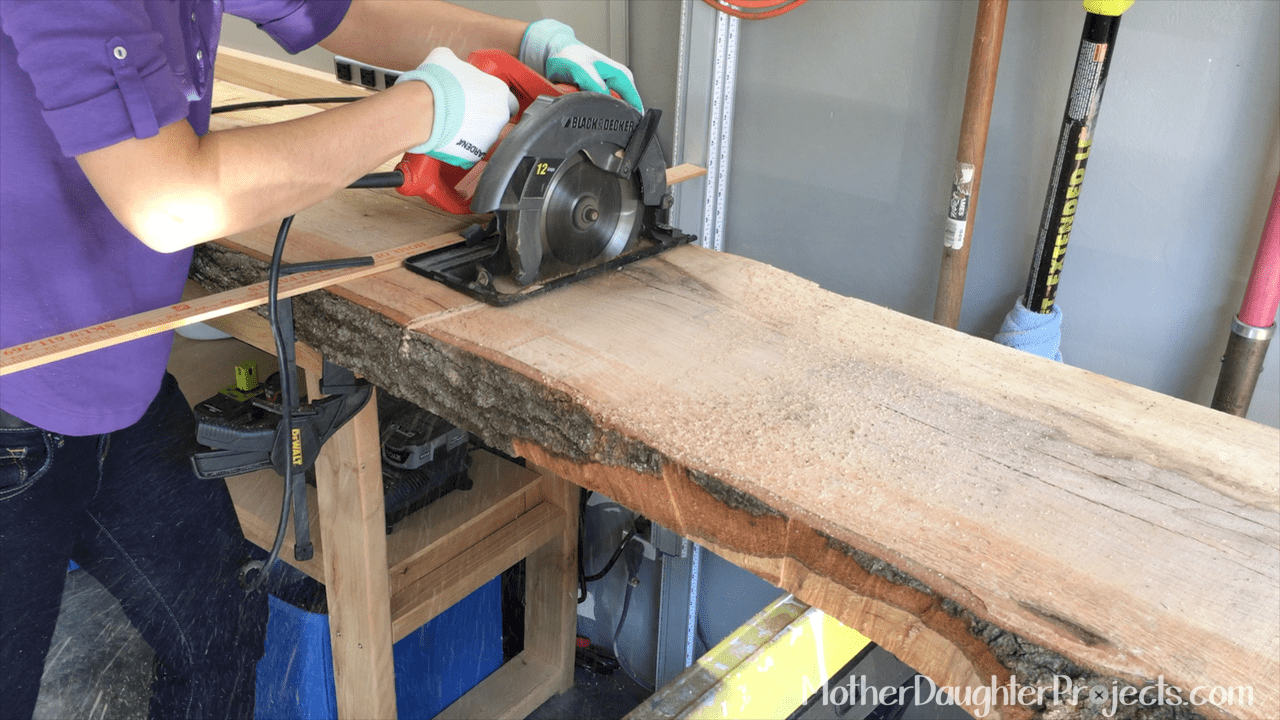
We mulled around ideas for the slab and decided to make two tables--a buffet for Steph and an entry table for Vicki which required making three cuts in the slab. We had to improvise since we did not have a tool deep enough to cut through the slab. We first used the circular saw to cut as far through as we could.
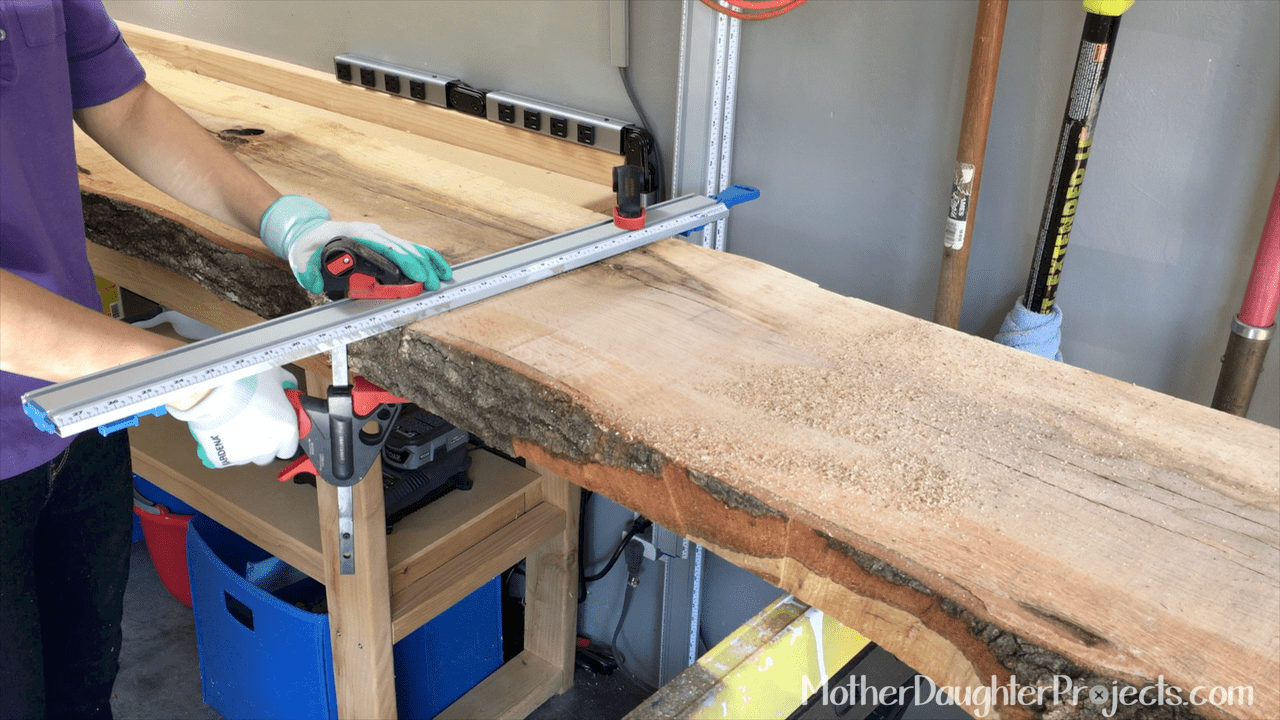
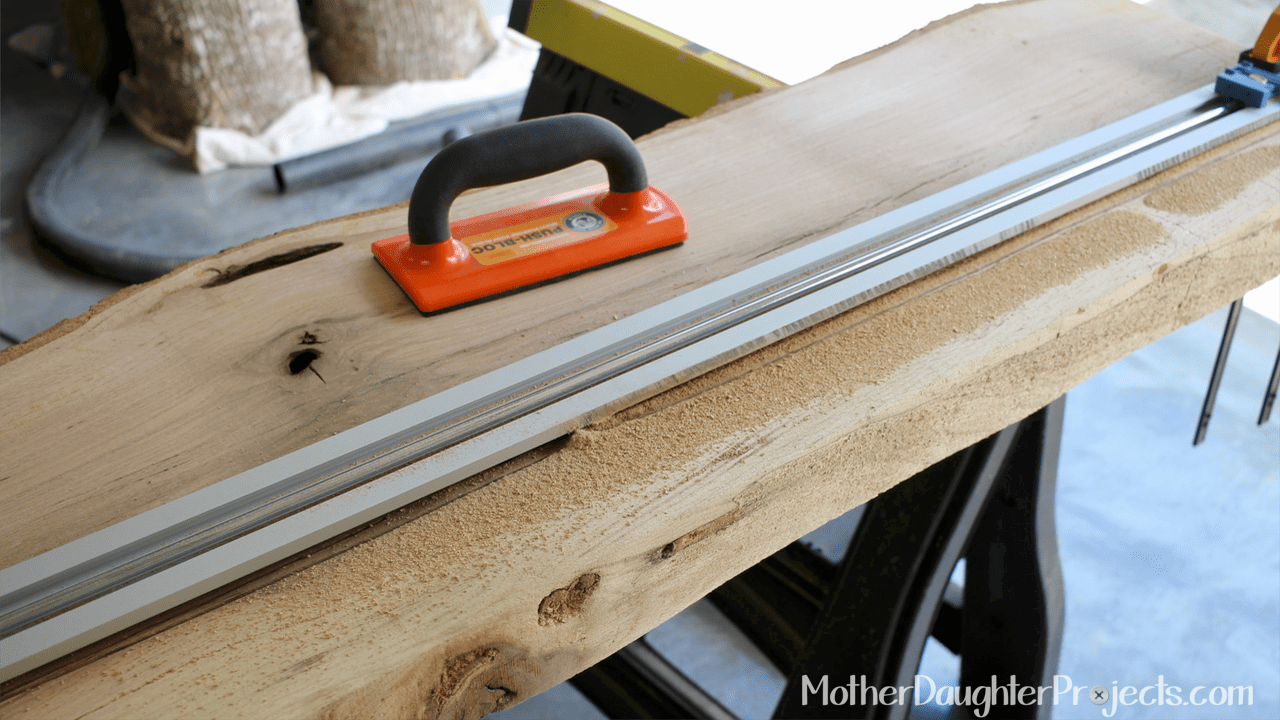
After the first cut with the circular saw, we clamped a metal straight edge to the slab...
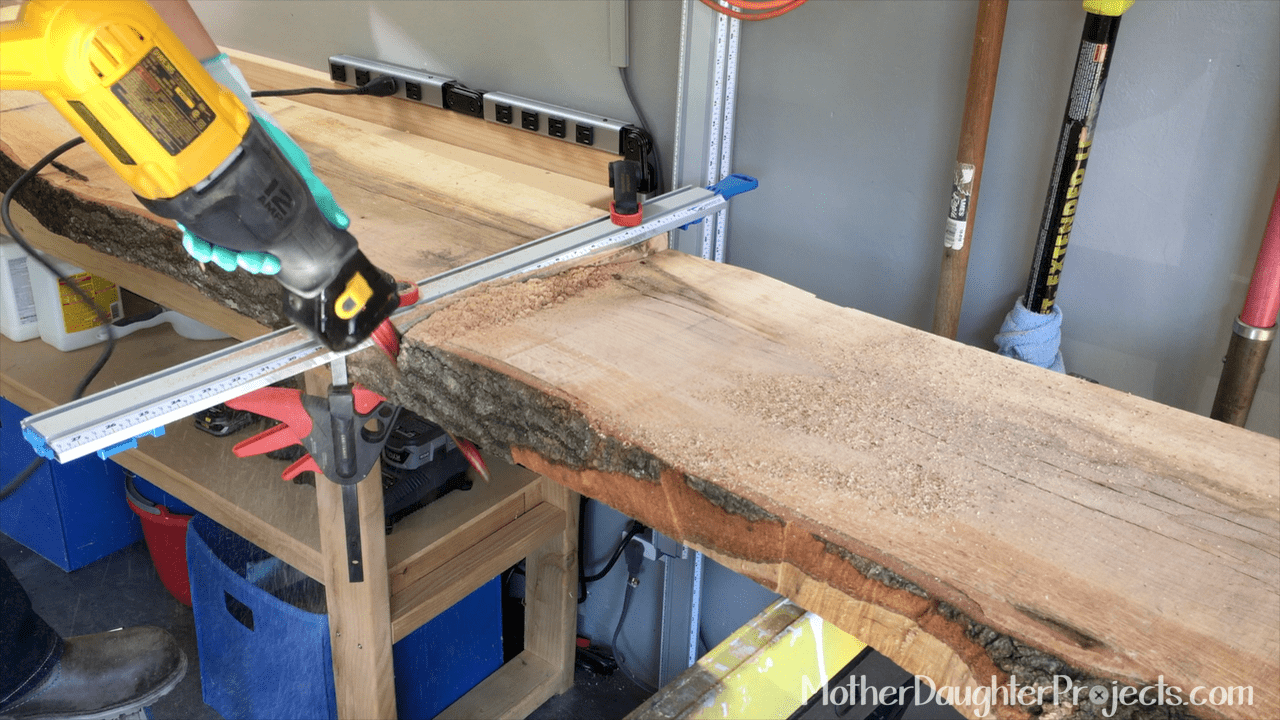
...then used a reciprocating saw to cut through the piece using the previous cut and straight edge as a guide, AND it worked!
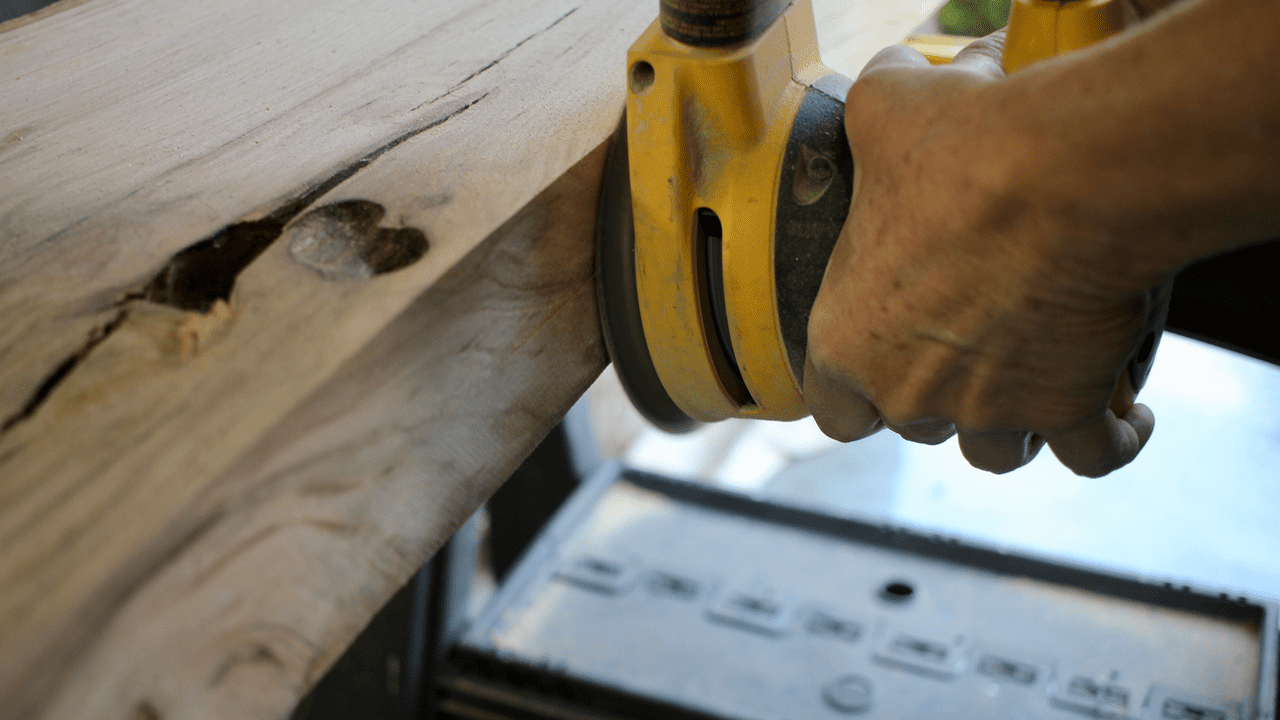
Then we sanded starting at 40 grit and moving to 220. As I sanded, I realized the back edge of the wood was dead and would not accept the stain well.
We decided to use the same technique to cut off the back four inches.
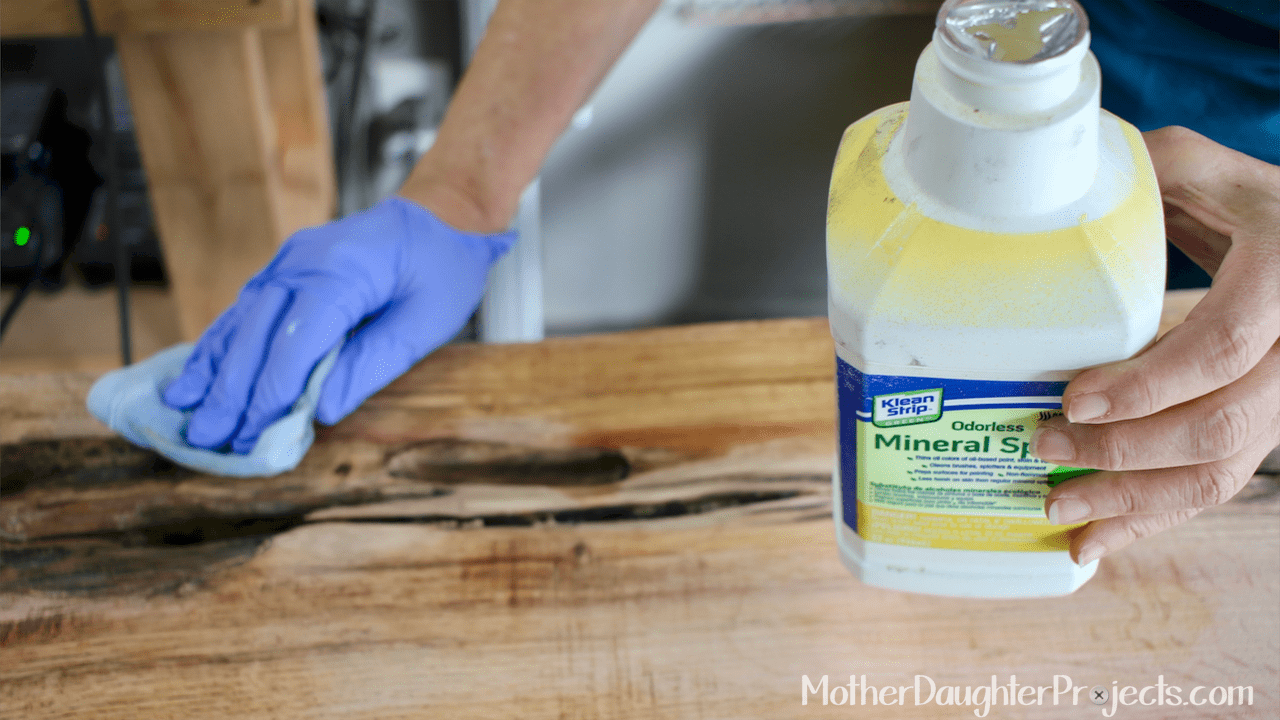
We finished the top by cleaning with mineral spirits. The mineral spirits also gave us an idea of the natural color. We decided to stain since the finished look would have been on the orange side.
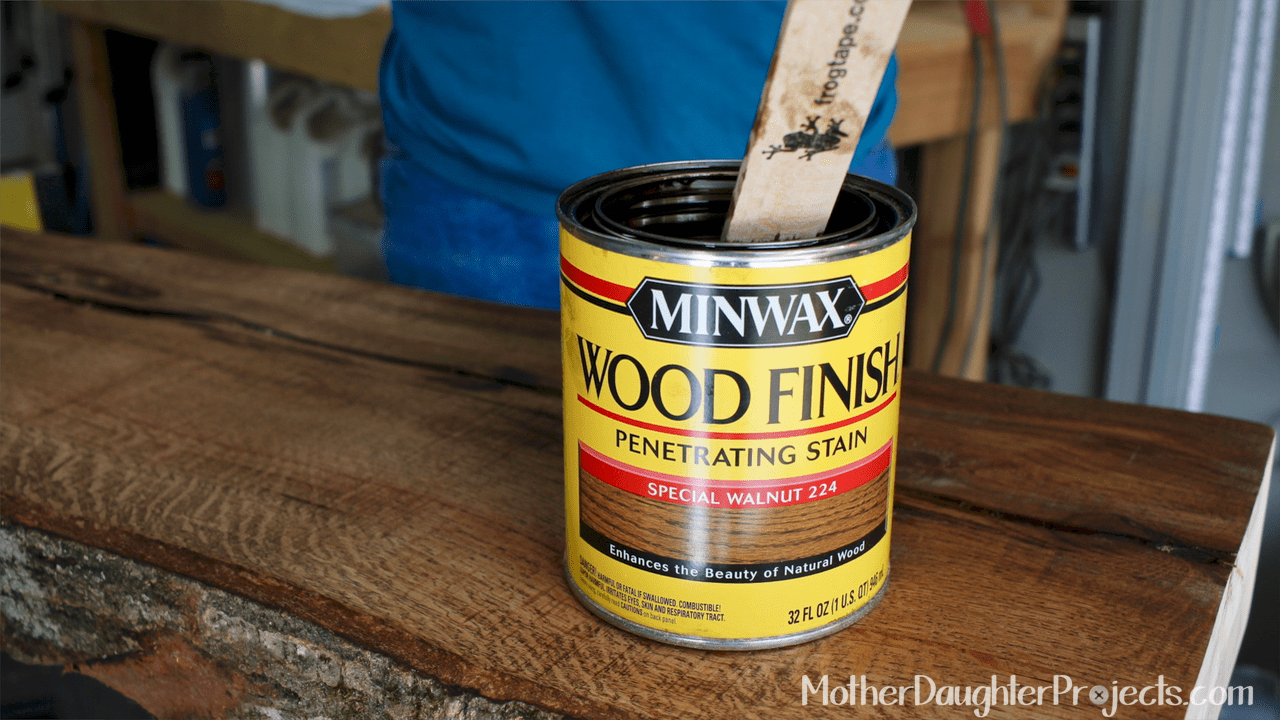
Minwax Special Walnut was our stain of choice.
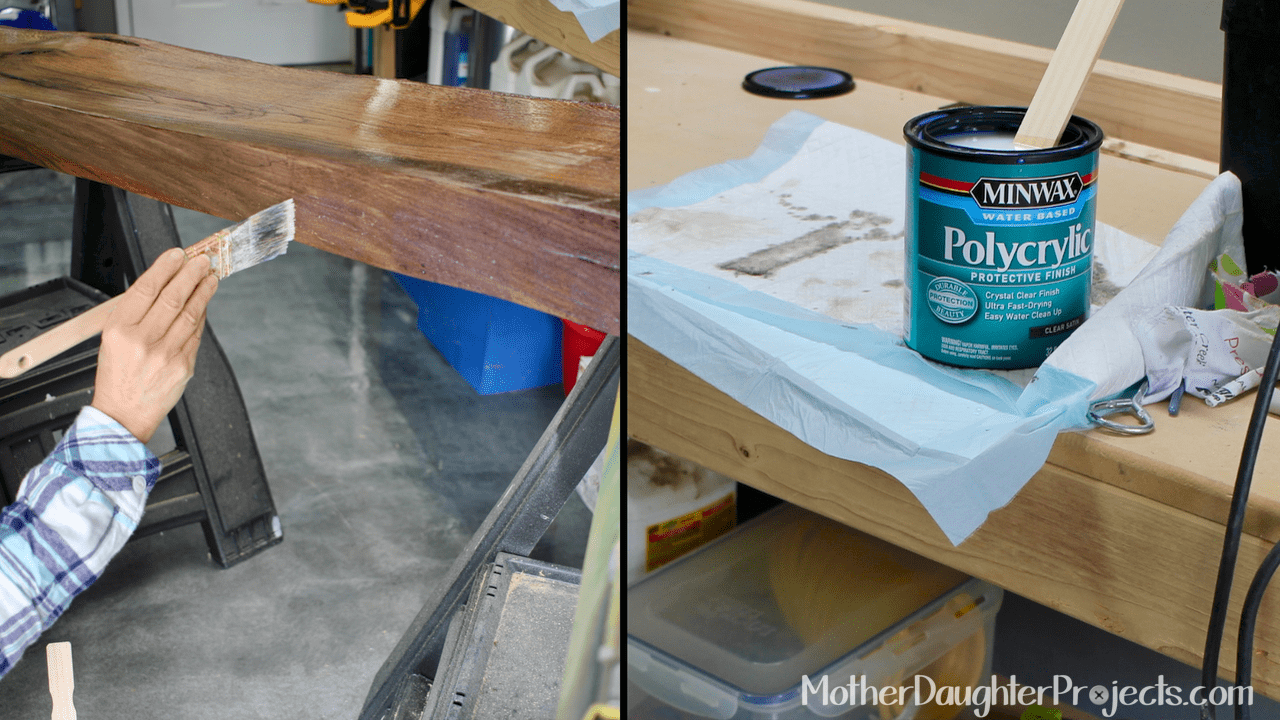
We finished with three coats of polycrylic, which we sanded between coats.
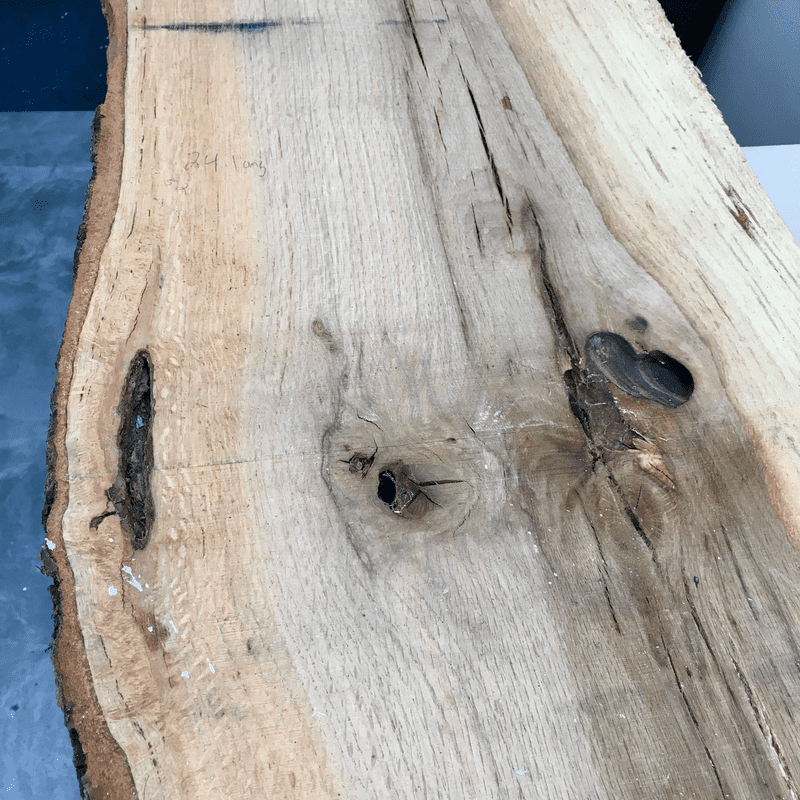
The top and bottom had wormholes, some of which, went through the entire piece. This made for a perfect opportunity to use epoxy with glow powder to fill them. On the right is our epoxy/glow powder test.
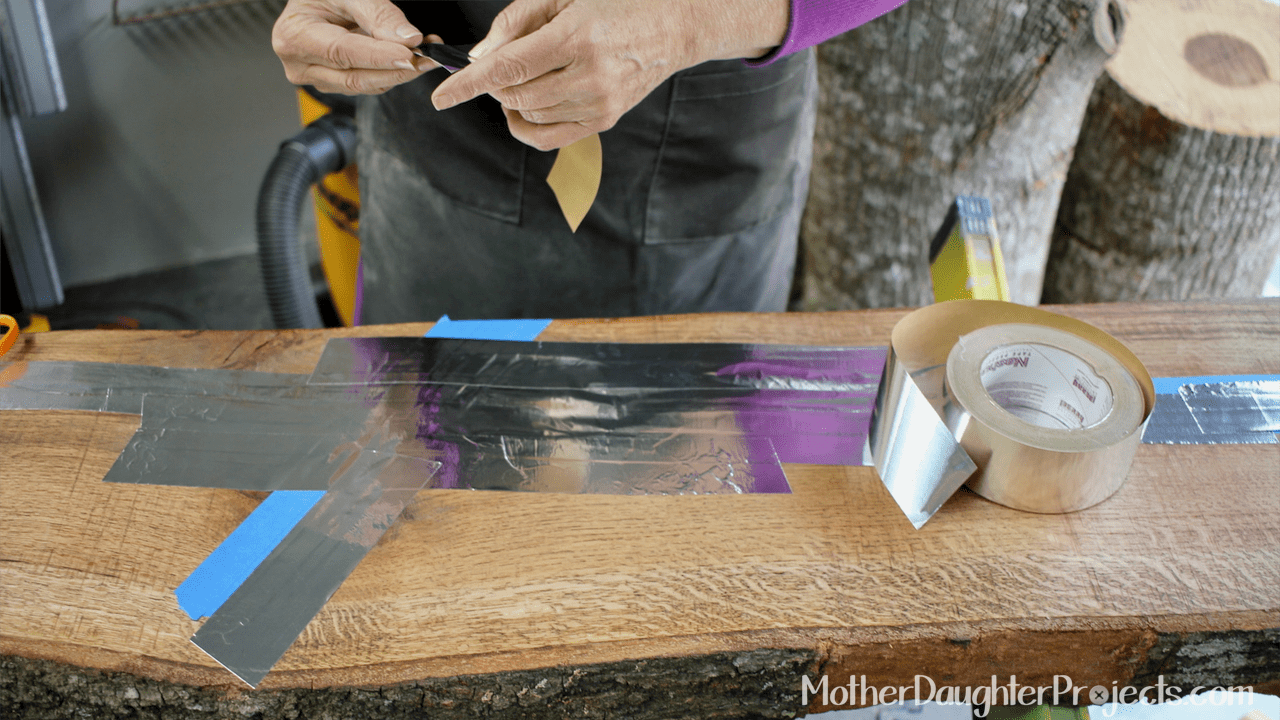
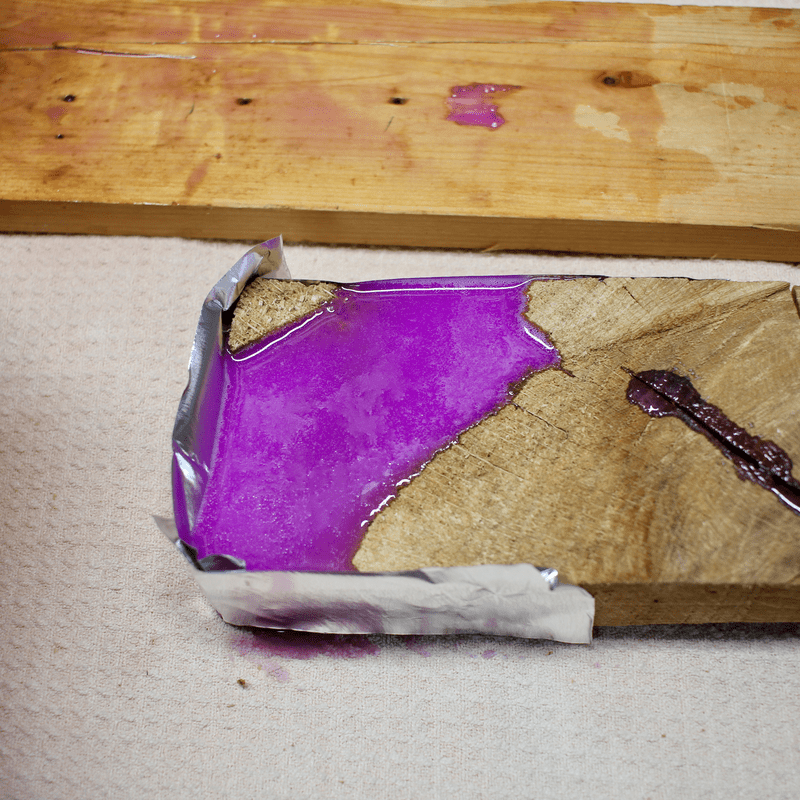
We prepped the slab for pouring epoxy by first covering the holes on the bottom side with painters' tape and then covering this with silver aluminum tape.
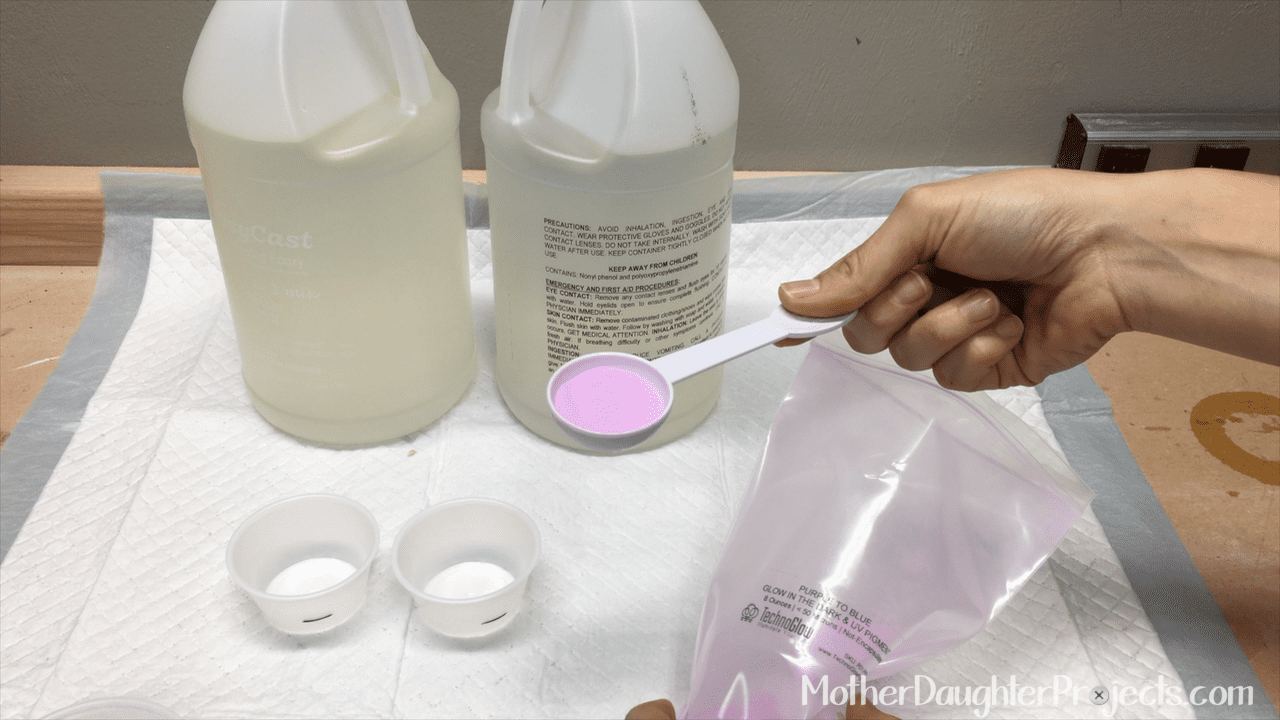
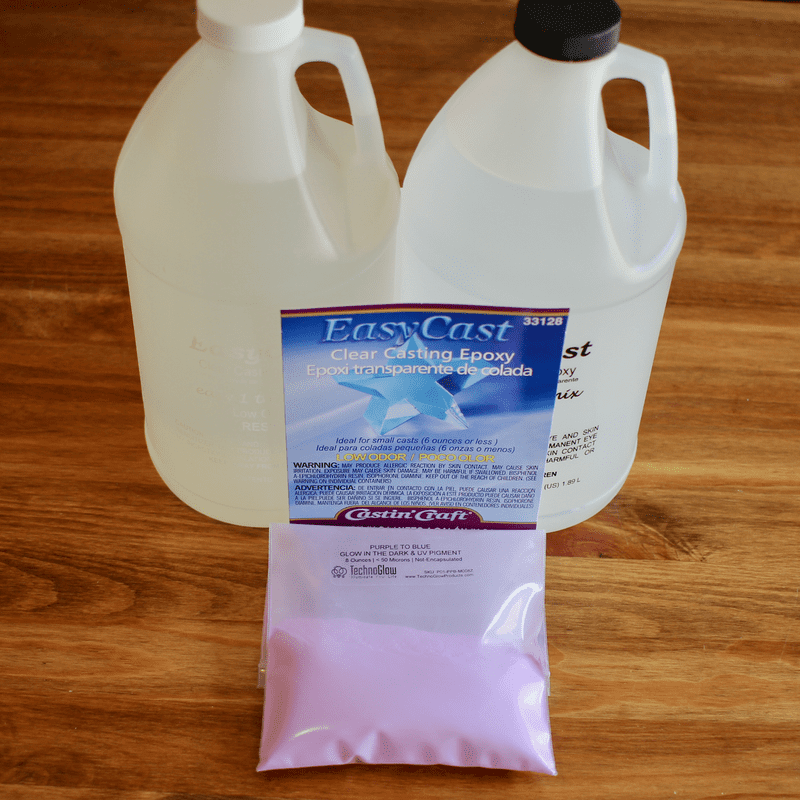
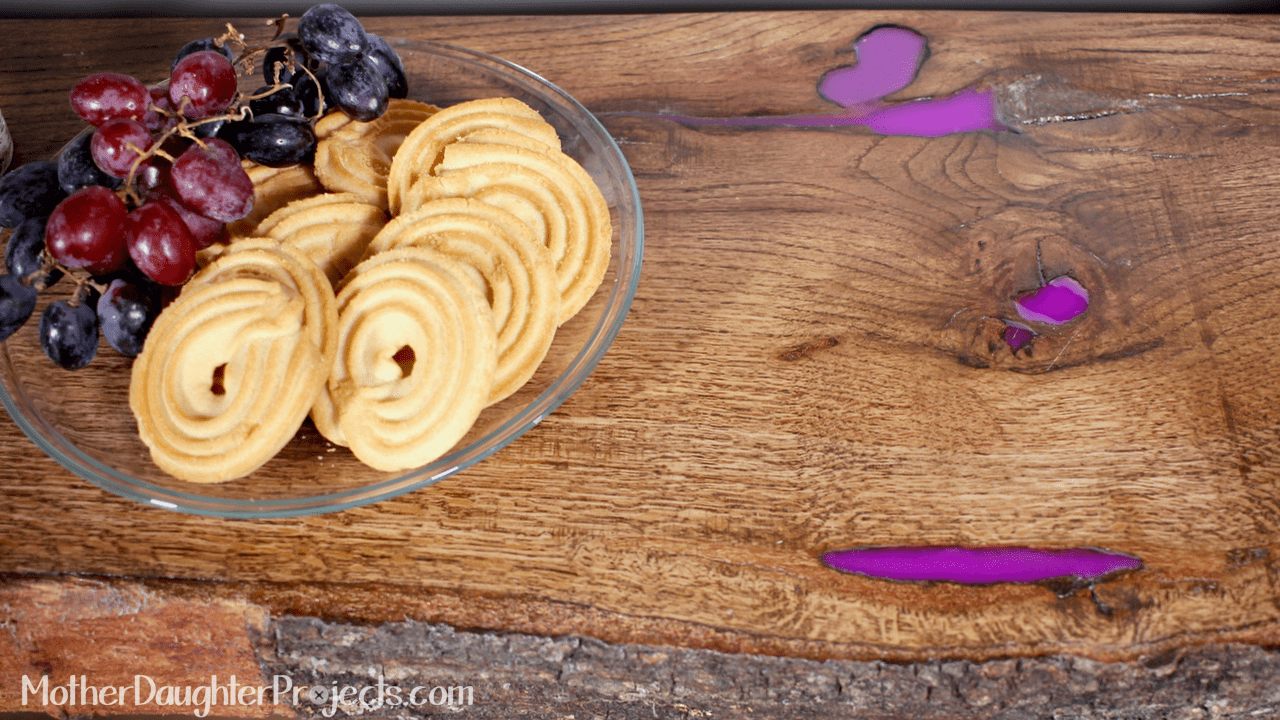
This is the glow power. We followed the manufacturer's instructions on how to use it. It's purple in the day light and glows blue after dark.
The epoxy is mixed in two part. Follow the manufacturer's instructions, exactly! We used a 1:4 radio of glow powder to epoxy- 1 oz powder to 4 oz epoxy.
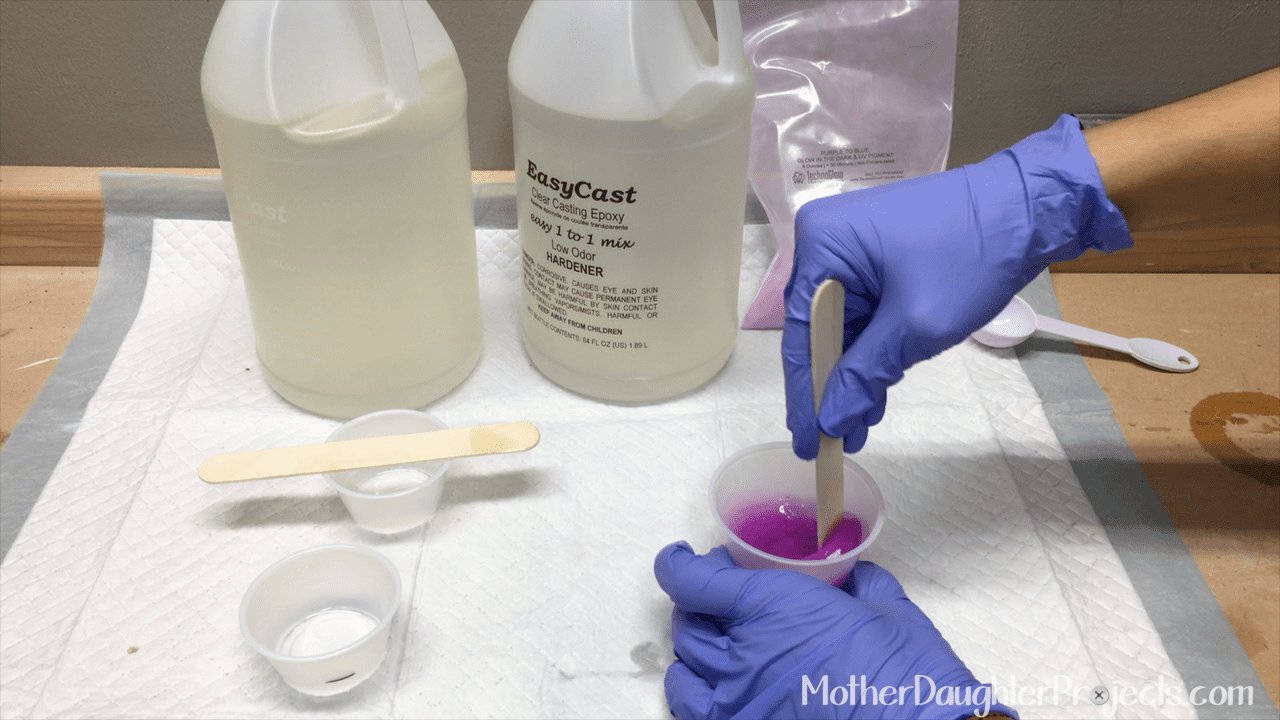
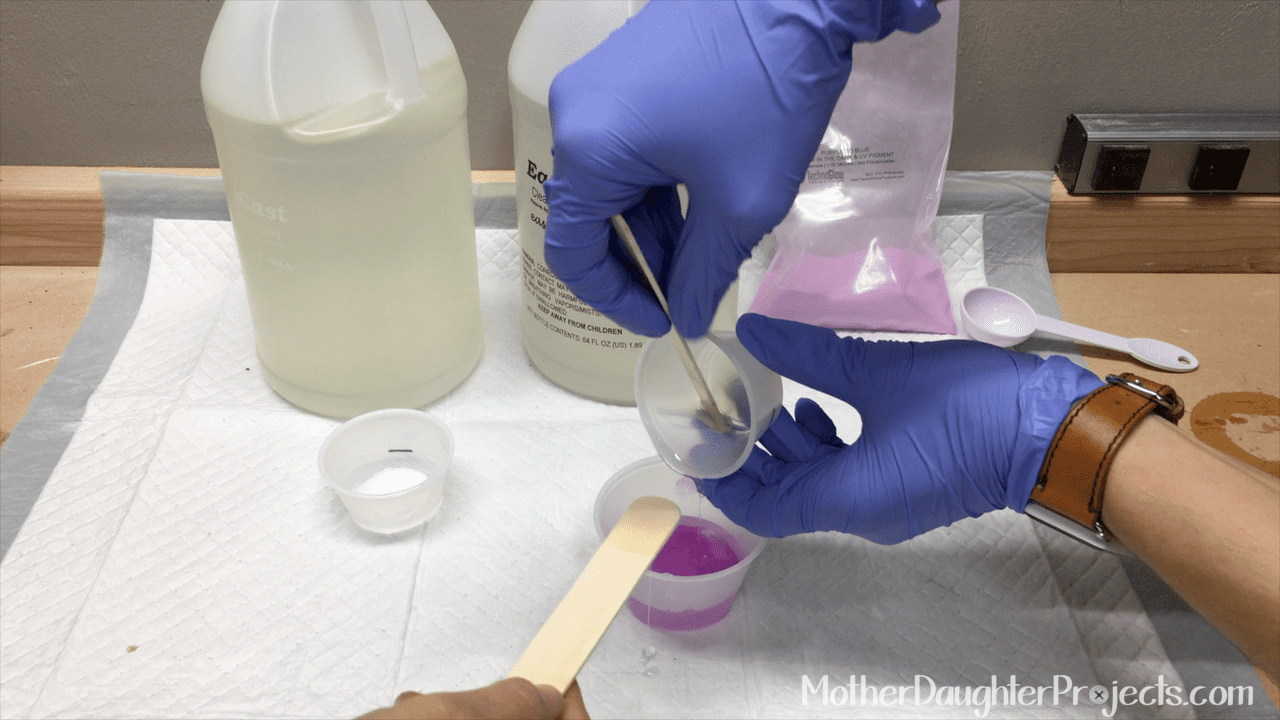
The glow powder is mixed in after the two-part epoxy has been combined.
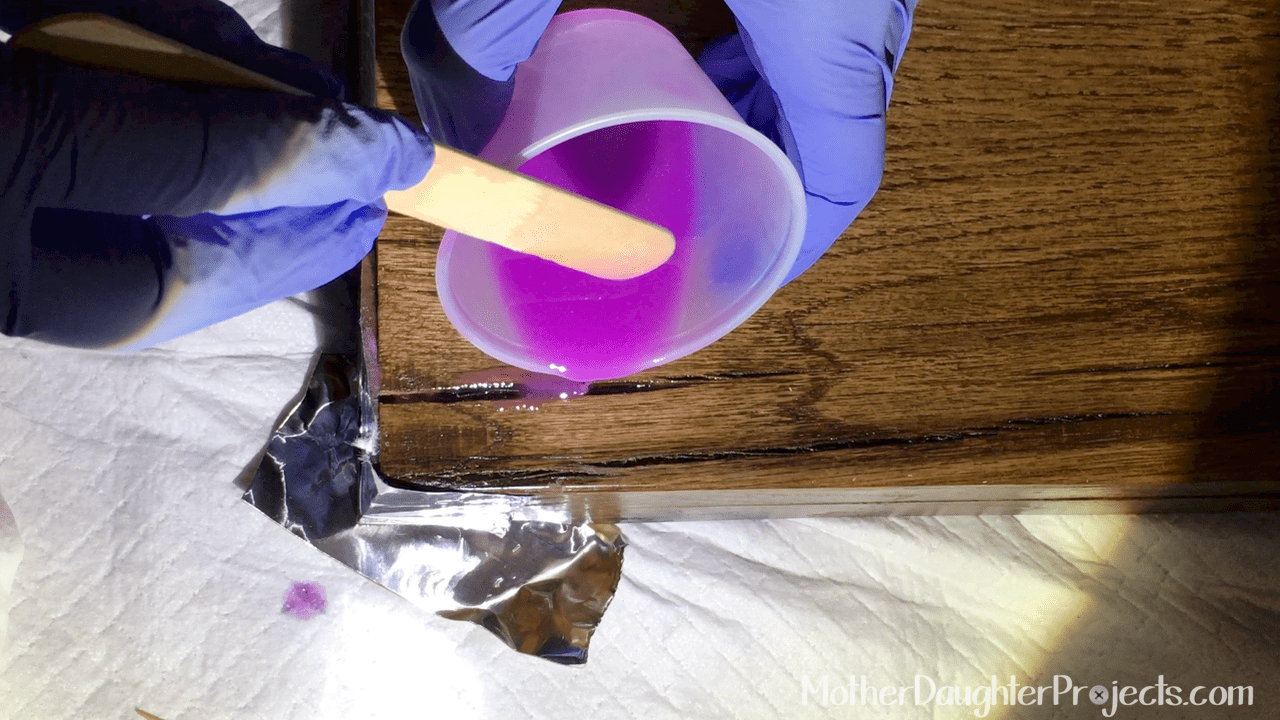
We did several pours over the course of many days, waiting 24 hours between pours. Work slowly, clean up as you go.
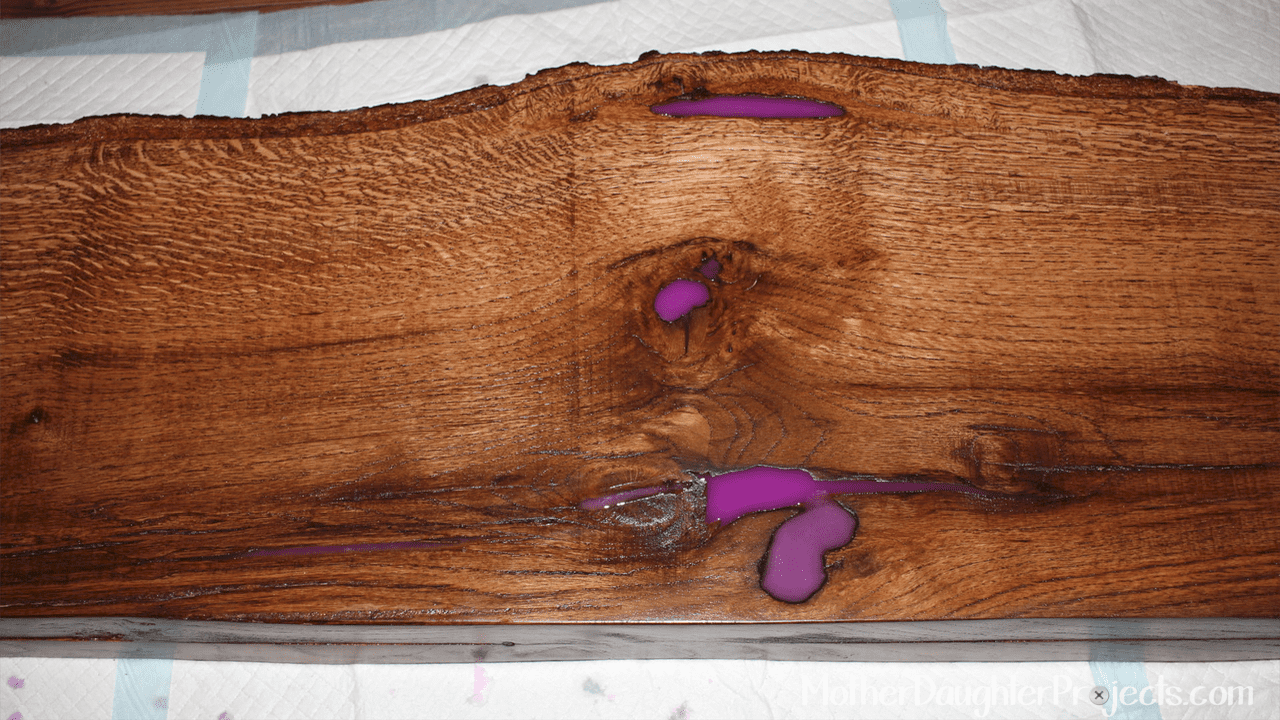
The top of the table at the completion of the epoxy pours.
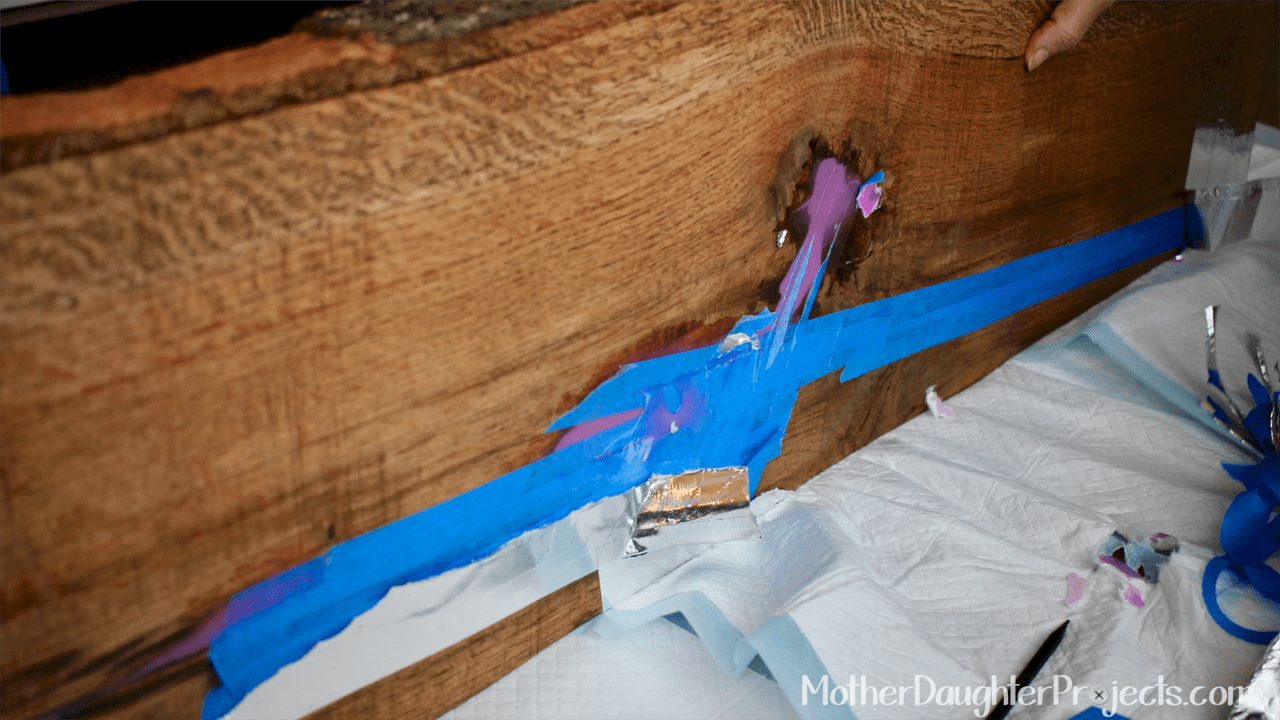
We removed the tape from the underside. Because the wood was not completely flat we had a little spillage outside the tape and between the tape. It took a long time to remove the tape but this was to be expected. In our case, it would have been helpful to use wider tape as some of the wormholes were large.
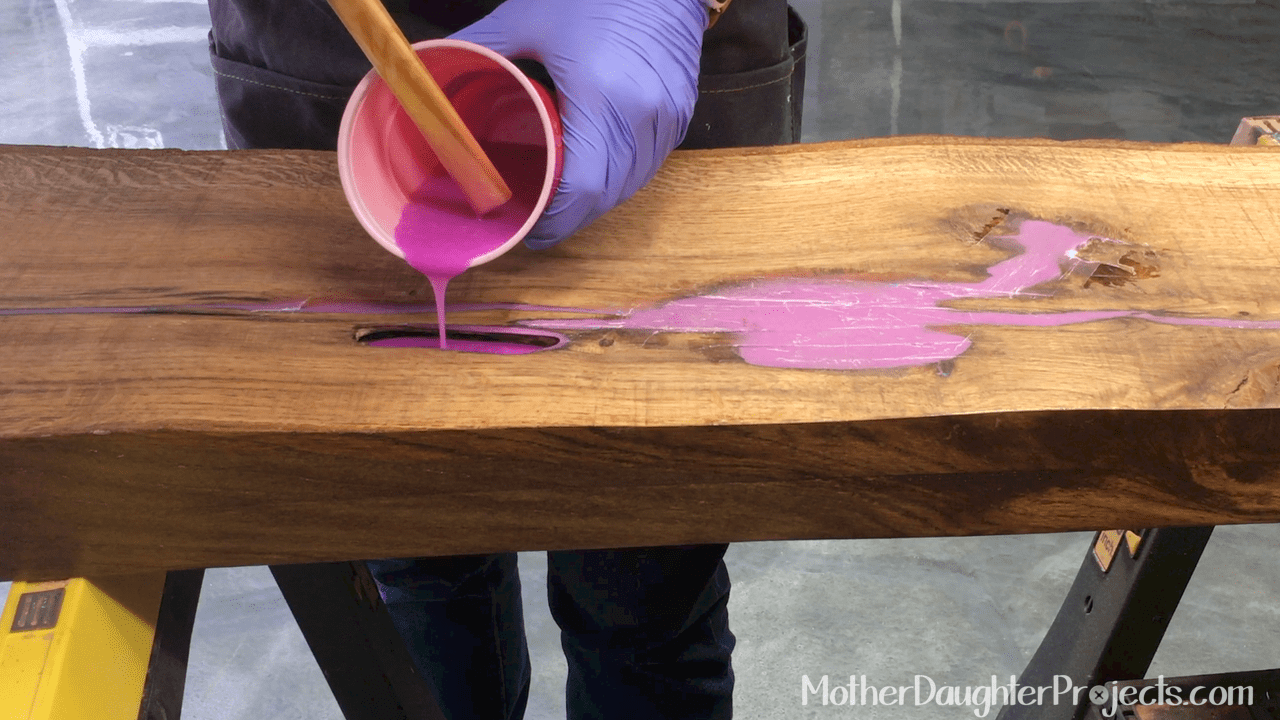
Finishing up the last of the underside epoxy pours.
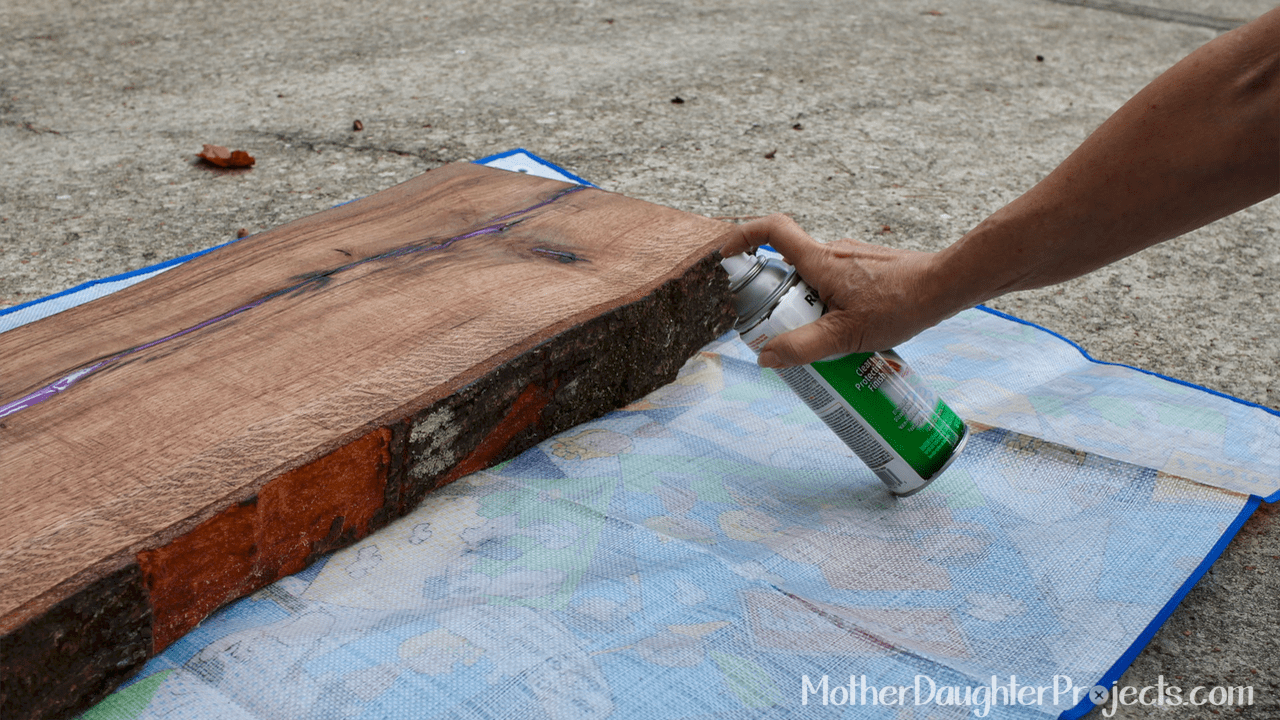
The live edge was finished with a spray clear coat.
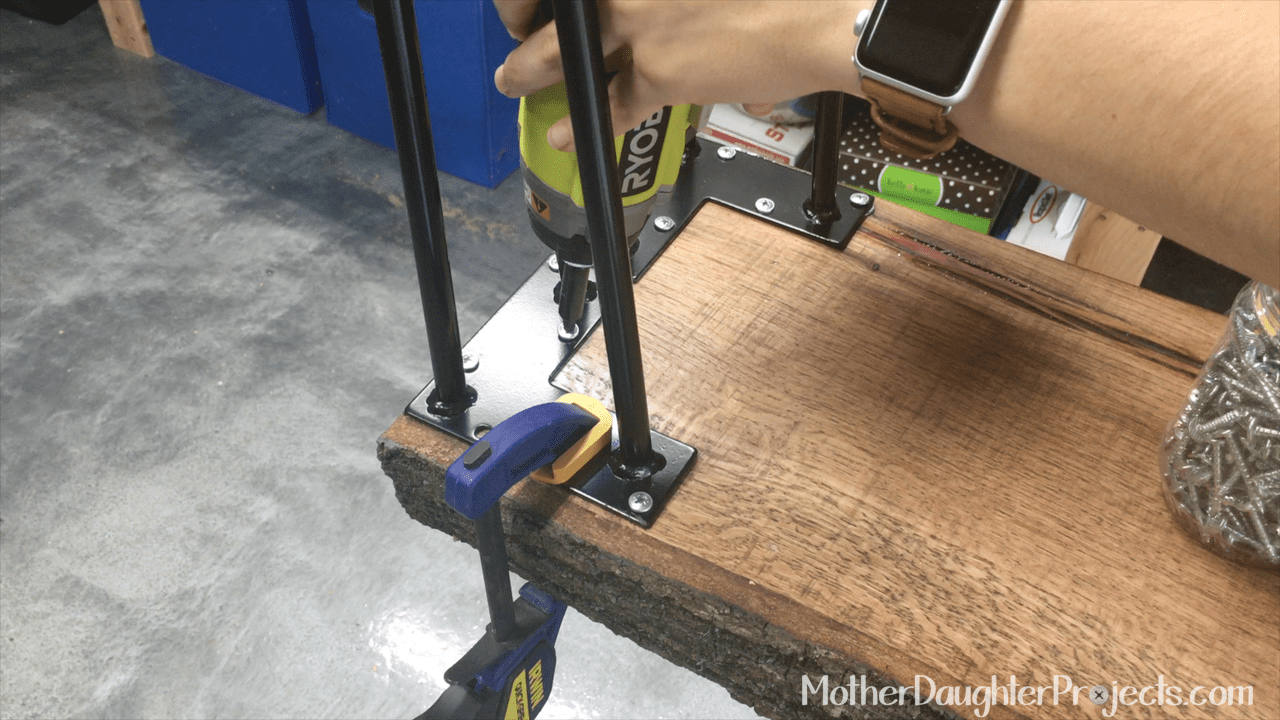
Three-rod hairpin legs from Rockler were clamped and then screwed into place. These legs were the perfect choice.
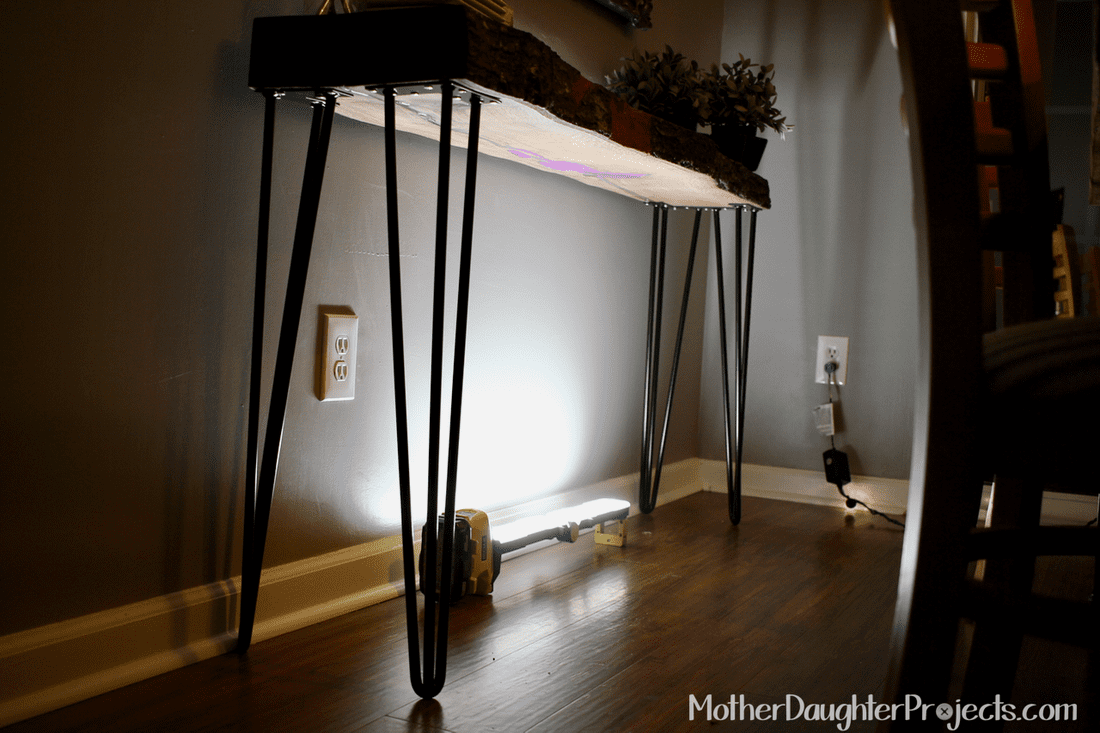
Using a Ryobi battery light to "charge" the underside glow epoxy.
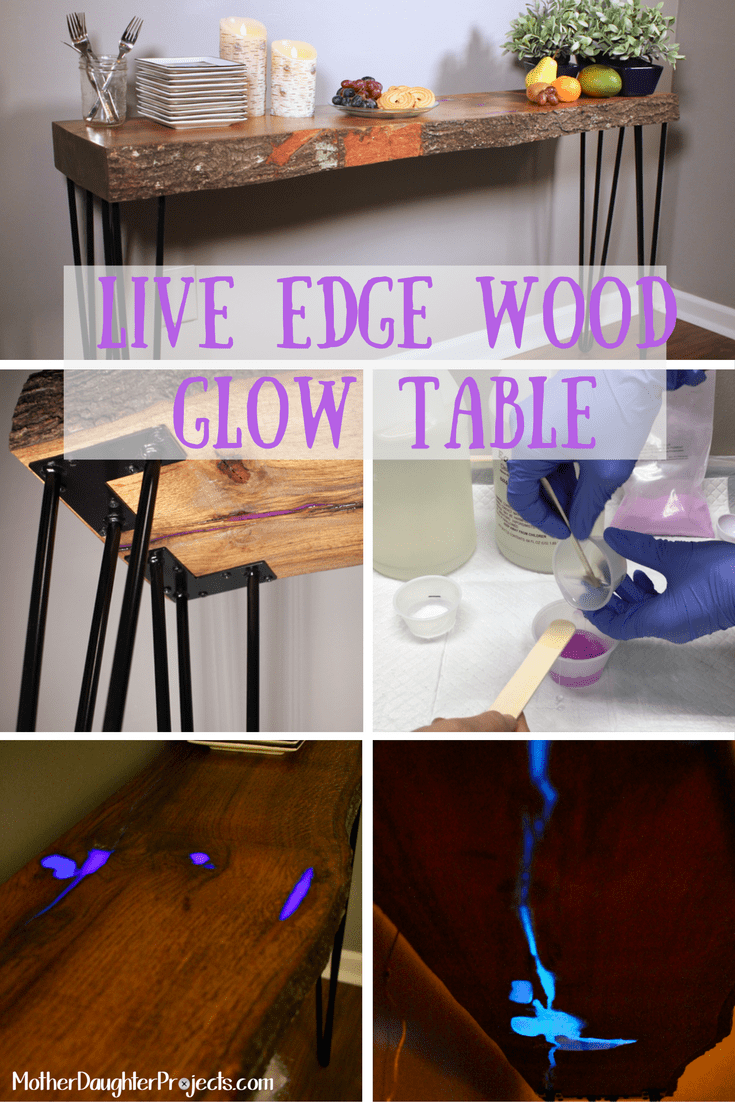
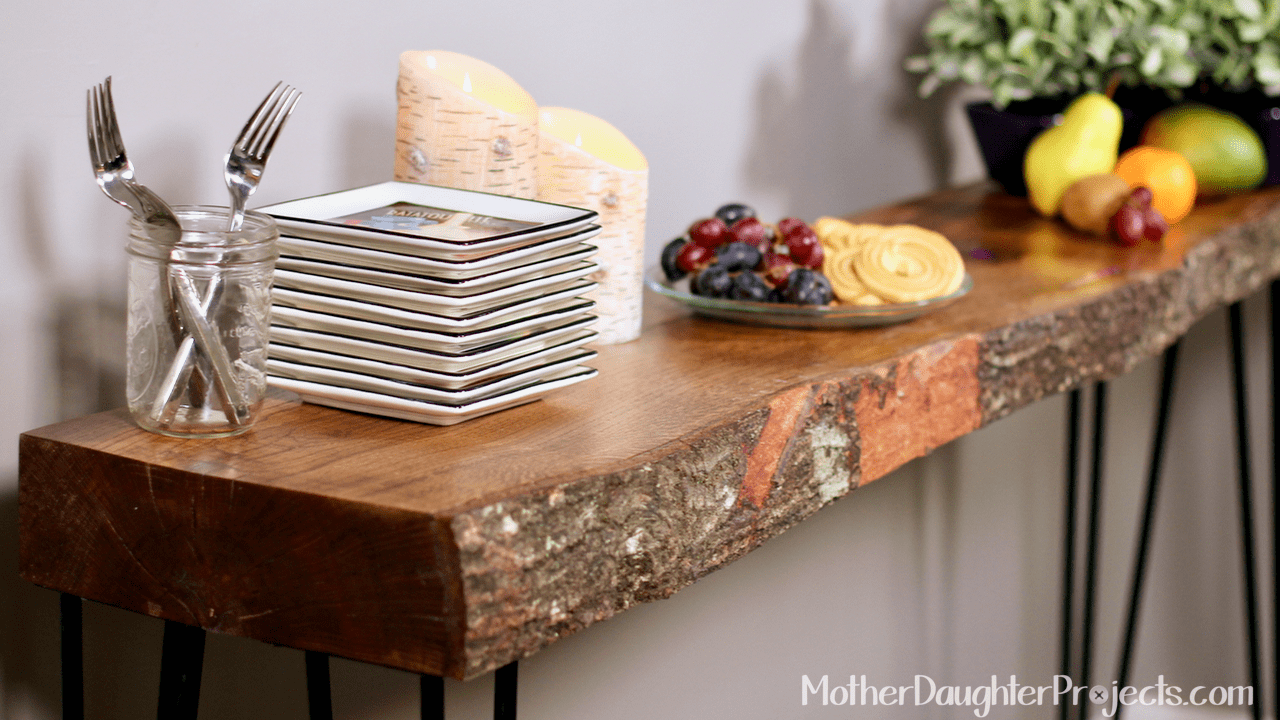
We love how this table turned out! This table is perfect in an imperfect way! Because we didn't have specialized tools like a planner, the table is not a perfect thickness, but despite this, the table is strong, sturdy, and functions well.
What is your dream live edge wood project? Would you use glow powder or just clear epoxy to fill in wormholes? #trylearnshare Please note: We are not sponsored by any of the companies/products that we used. These products were picked and bought by us. FYI: We are not professionals, and we don’t claim to be. This is what we found worked for our project. Yours may need a little different approach. Safety first! FYI: Affiliate links are being used on this page. Purchasing via these links help support MDP! Related Projects
8 Comments
Jess
12/27/2016 06:55:12 am
Looks like it turned out great! I can't wait to make one myself!
Steph
12/27/2016 08:32:23 am
Thanks Jess!
Steph
12/29/2016 09:36:08 pm
Thanks Karen!
Kimberly Scarboro
1/24/2017 08:13:23 am
Love this!! I hope to find a piece of wood like this for a mantle. If anybody knows anywhere around Charlotte, NC.....
Steph
1/24/2017 08:22:50 am
Thanks! A good place to look is craigslist. Also, try asking the pros at home depot, sometimes they know of local wood dealers. 4/24/2018 02:42:13 pm
can the sun be used to charge the item to glow at night?
Steph
4/25/2018 11:02:03 am
Yep! Leave a Reply. |

Mother Daughter Projects
|