|
text by Vicki Sign up here to join our weekly email newsletter!
This post is sponsored by The Home Depot.
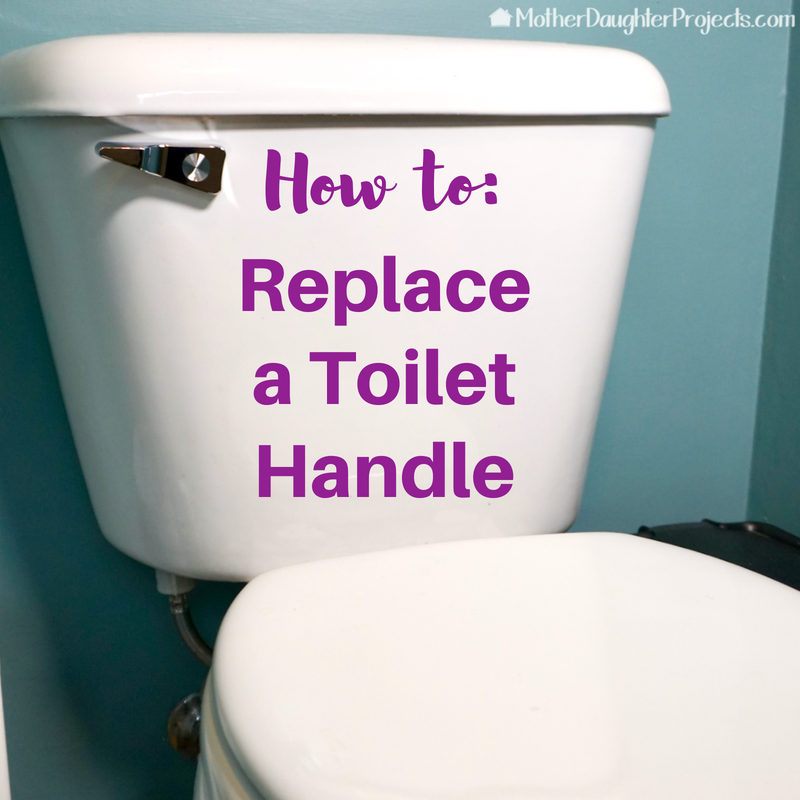
We recently completed four product videos for the Home Depot. What that means is when you are looking at, for example, the Glacier Bay 1.28 GPF toilet, you'll find our product video giving you more information about it.
In addition to the toilet, we also did product videos for a caulk gun, glass cutter, and HLVP spray gun. We were determined to connect all four of these random products into one cohesive mini bathroom makeover. Here's how we did it! Materials/Tools:
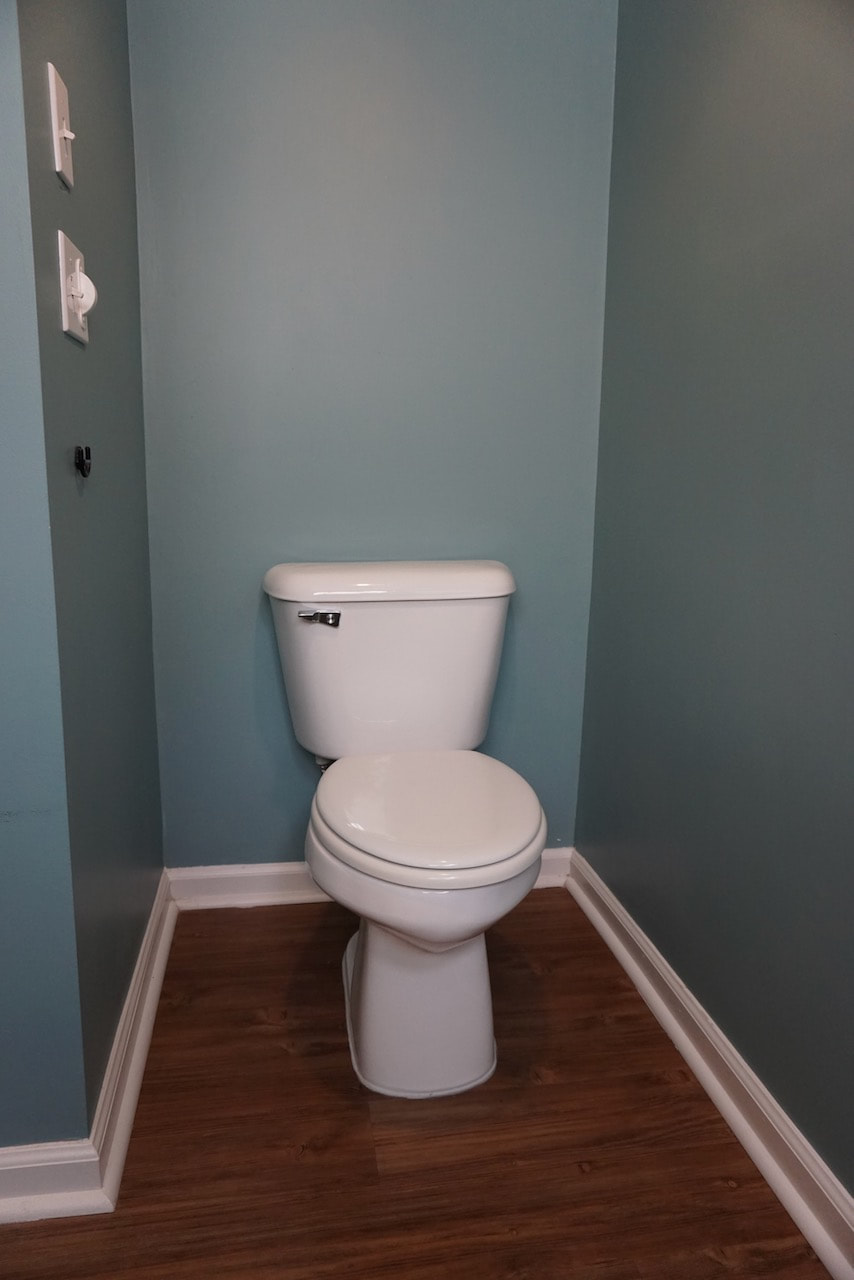
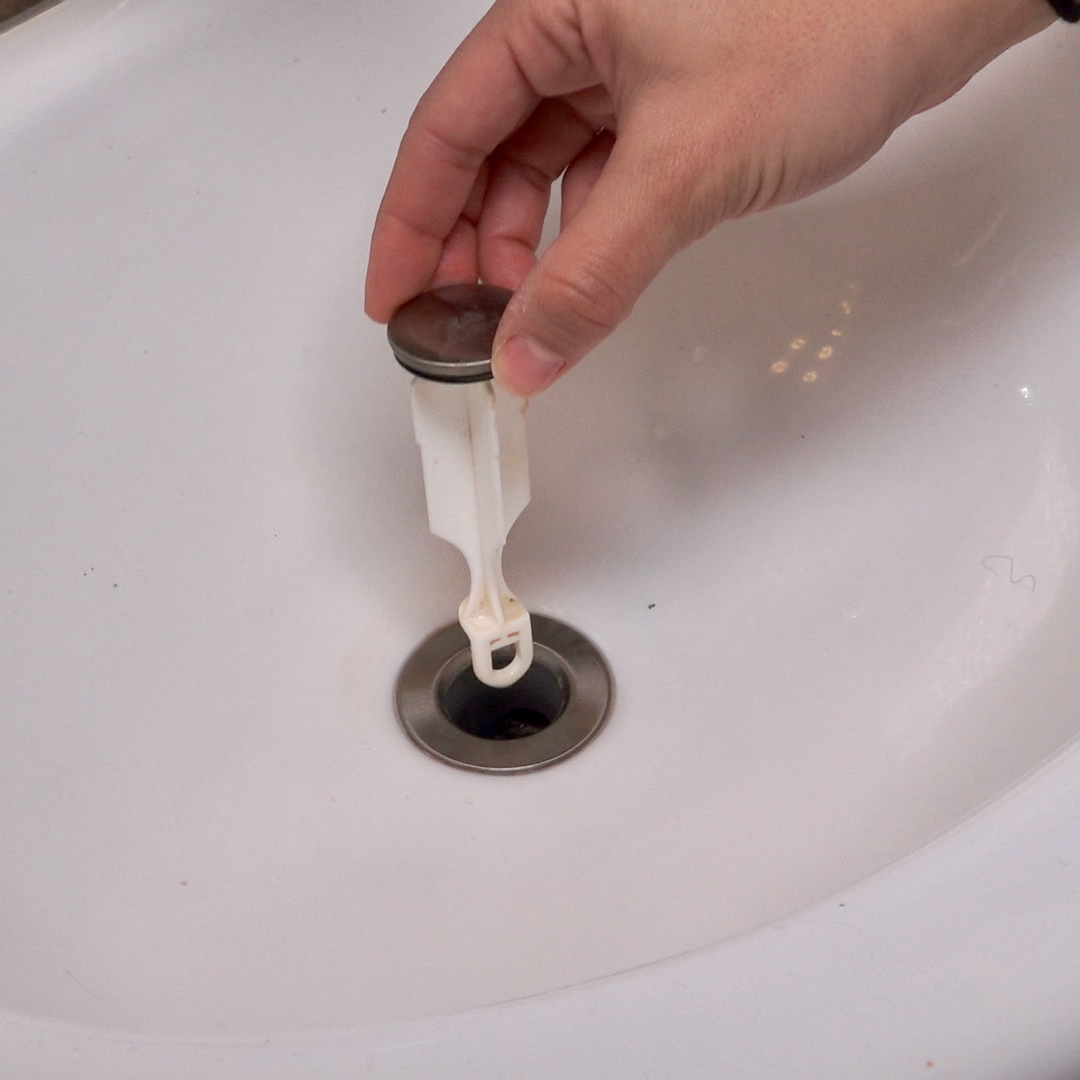
First up, replace the toilet in Steph's bathroom. This is original to the house and despite changing out all the inside the parts, it still leaked. Time for an upgrade. We started by removing the water by flushing and then by using a toilet plunger to push out more water. The remaining water in the tank and bowl were soaked up with puppy pads.
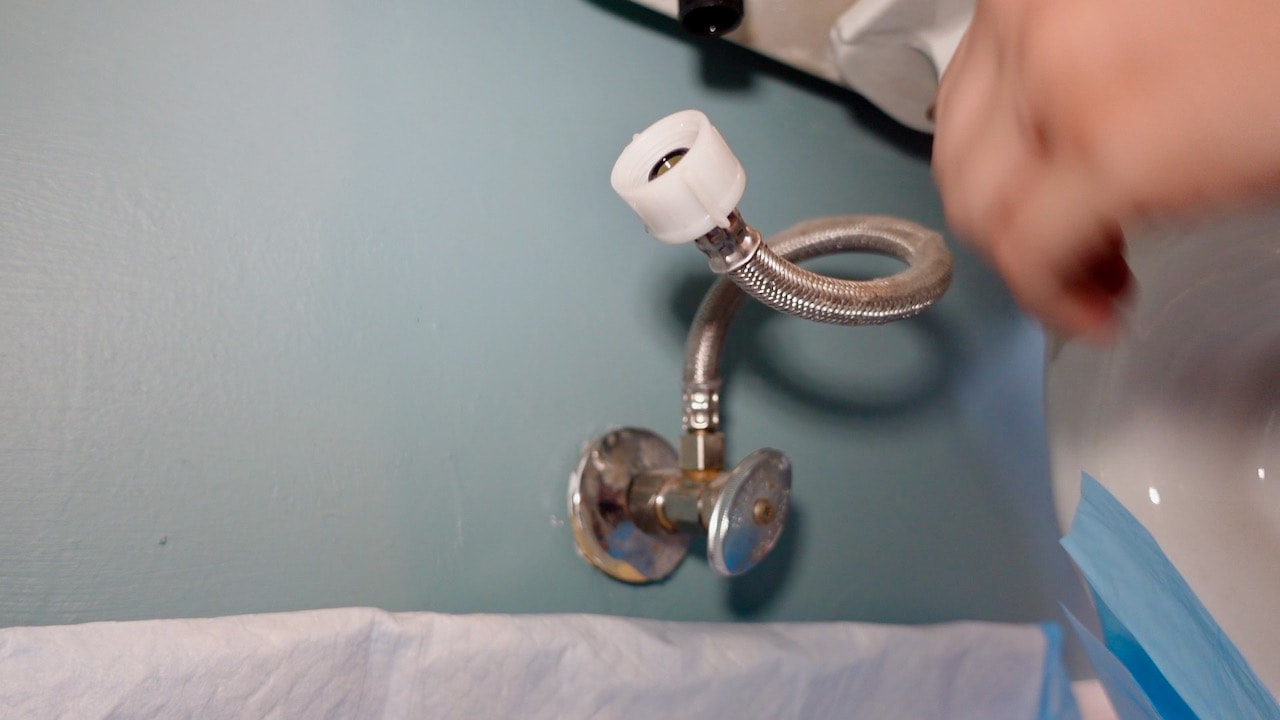
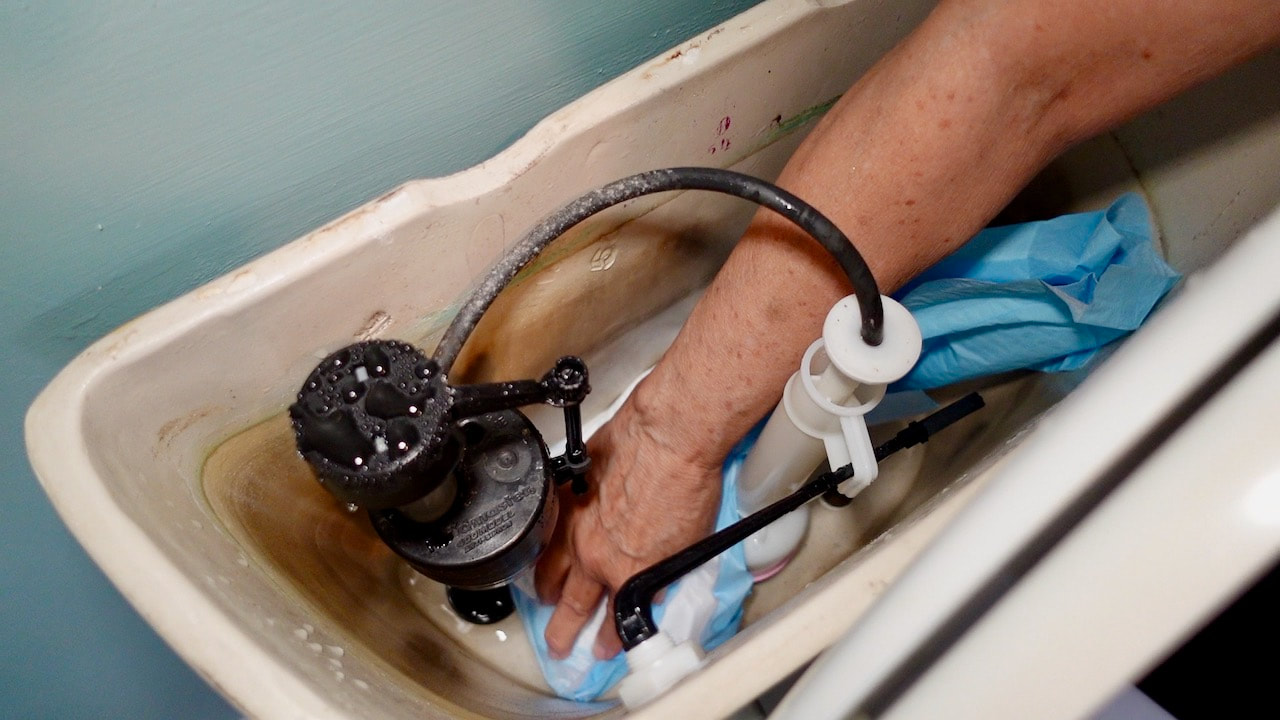
When disconnecting the water line we were sure to catch the excess water with another puppy pad.
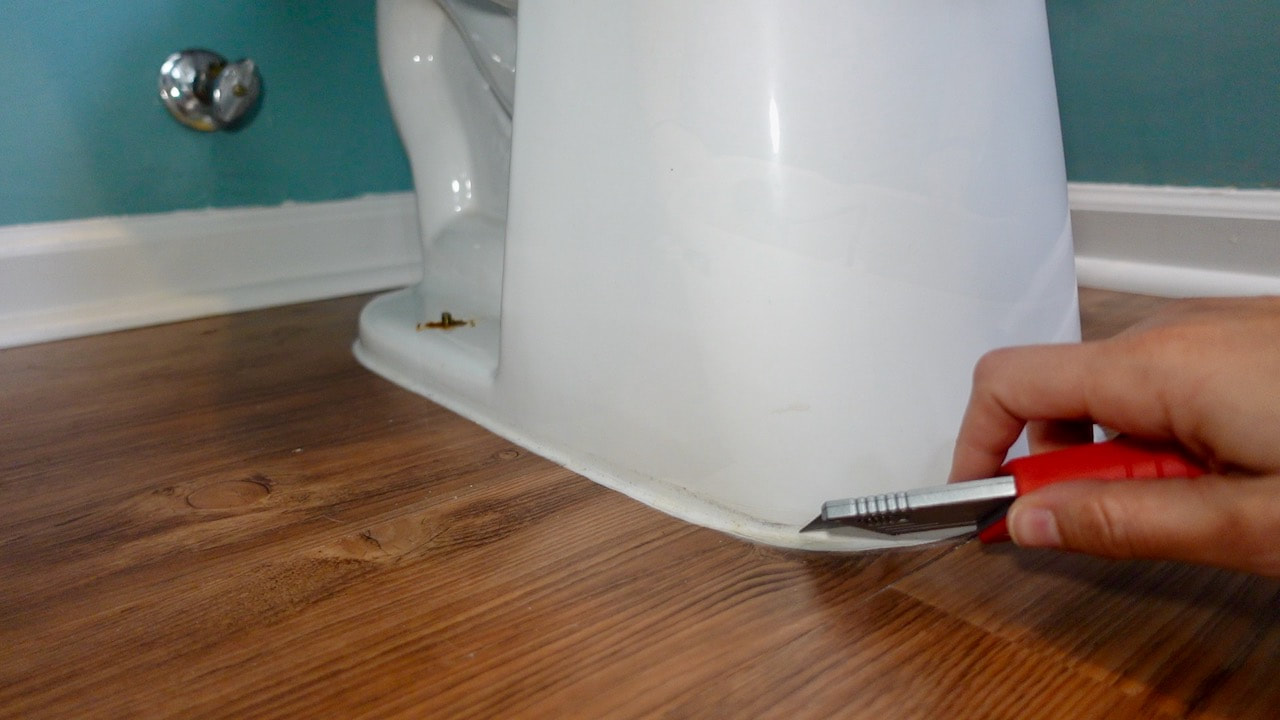
We used a utility knife to score the caulk at the base of the toilet so we could lift it off.
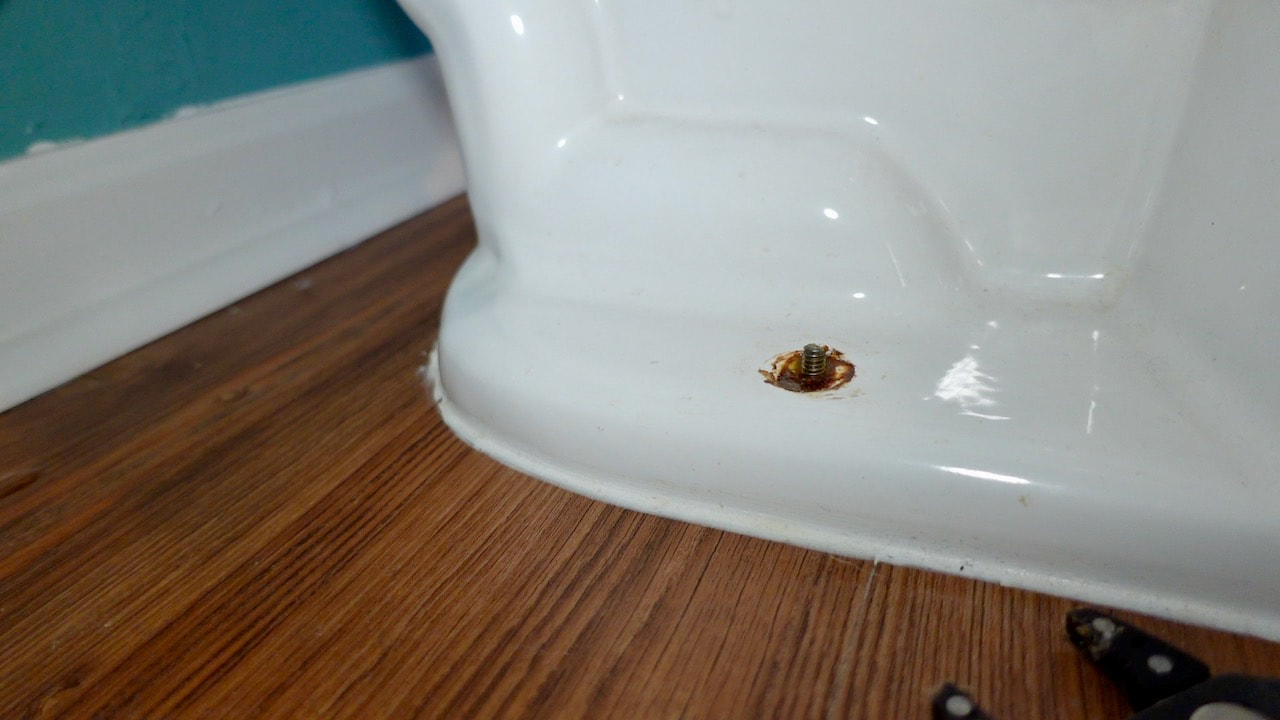
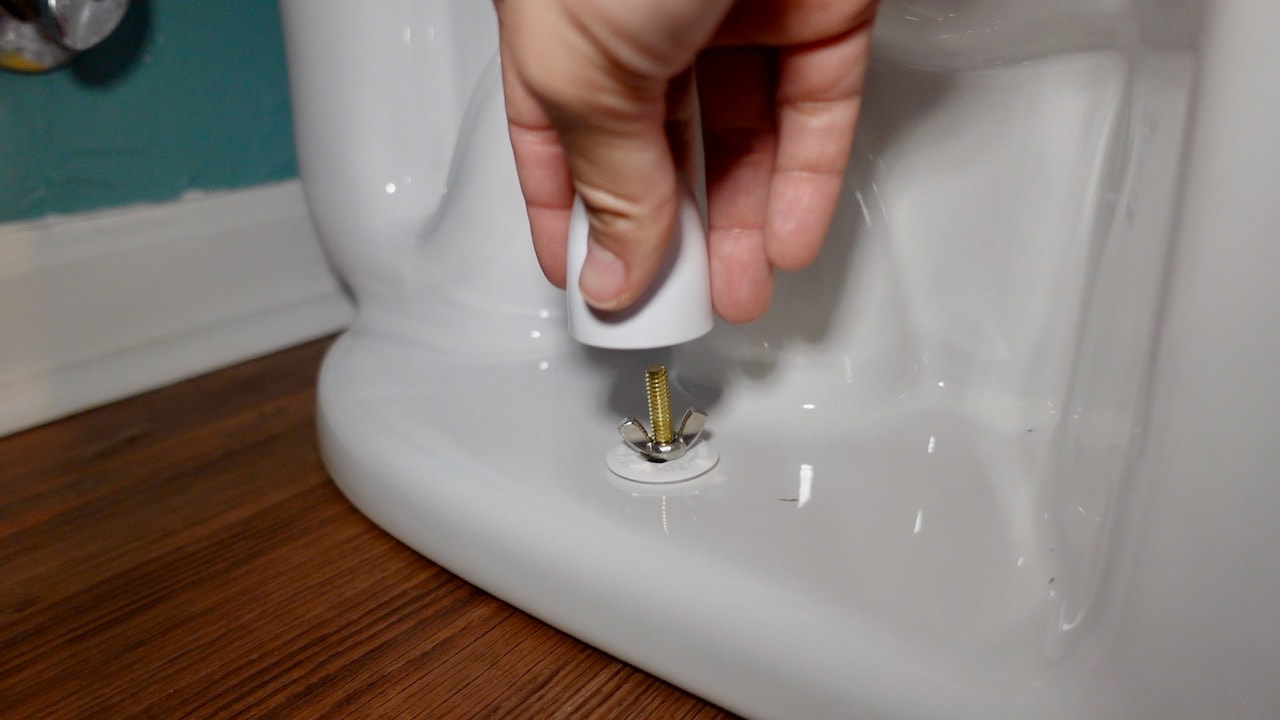
Next, remove the white caps covering the bolts. Unscrew the nuts. That dirty looking stuff is actually old wax from the seal. It's not as gross as it looks!
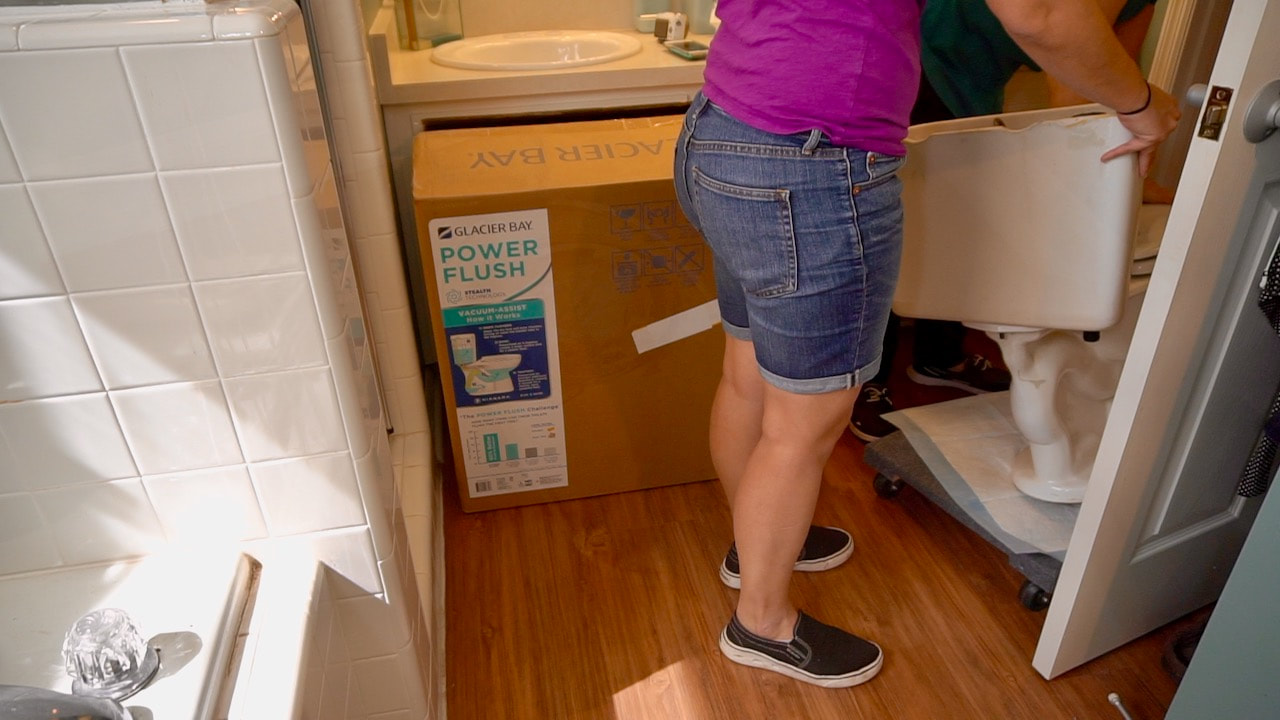
We used a furniture dolly to move the toilet out of the bathroom and into the yard--classy!
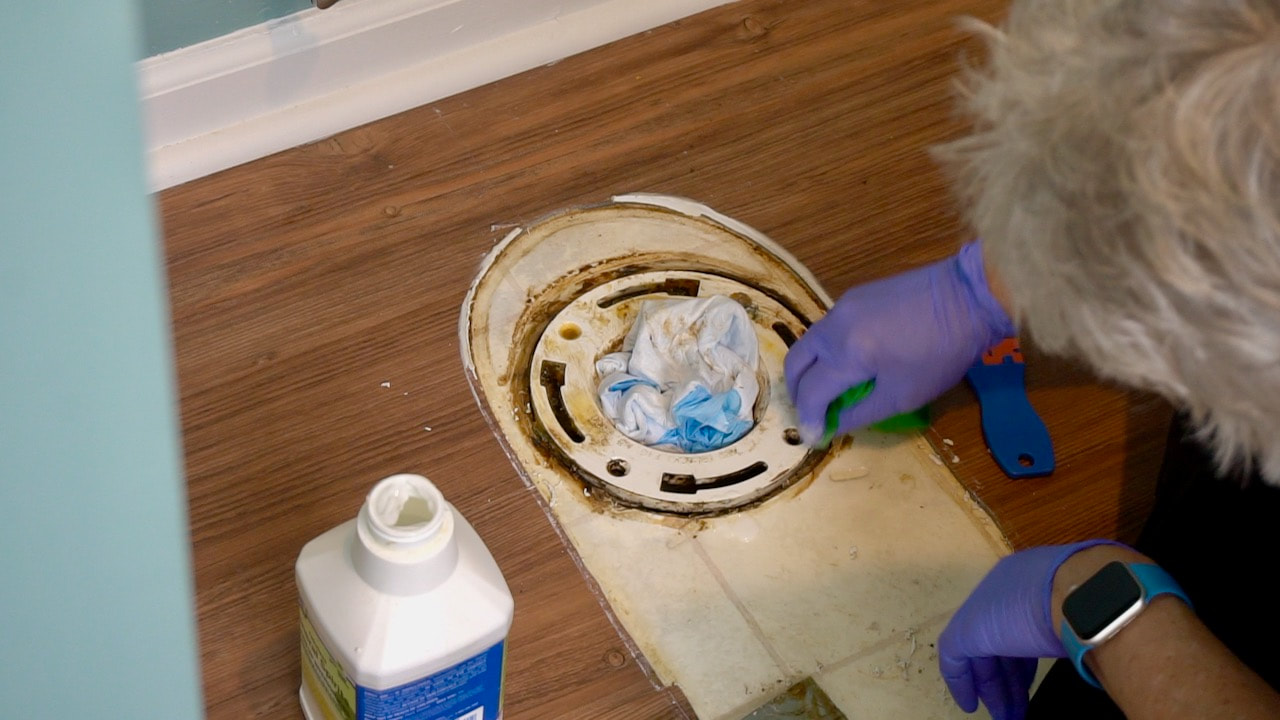
We stuffed another puppy pad into the drain to keep the sewer smells from wafting into the bathroom. The next step is to clean up the old wax seal which we did with a plastic scraper and mineral spirits.
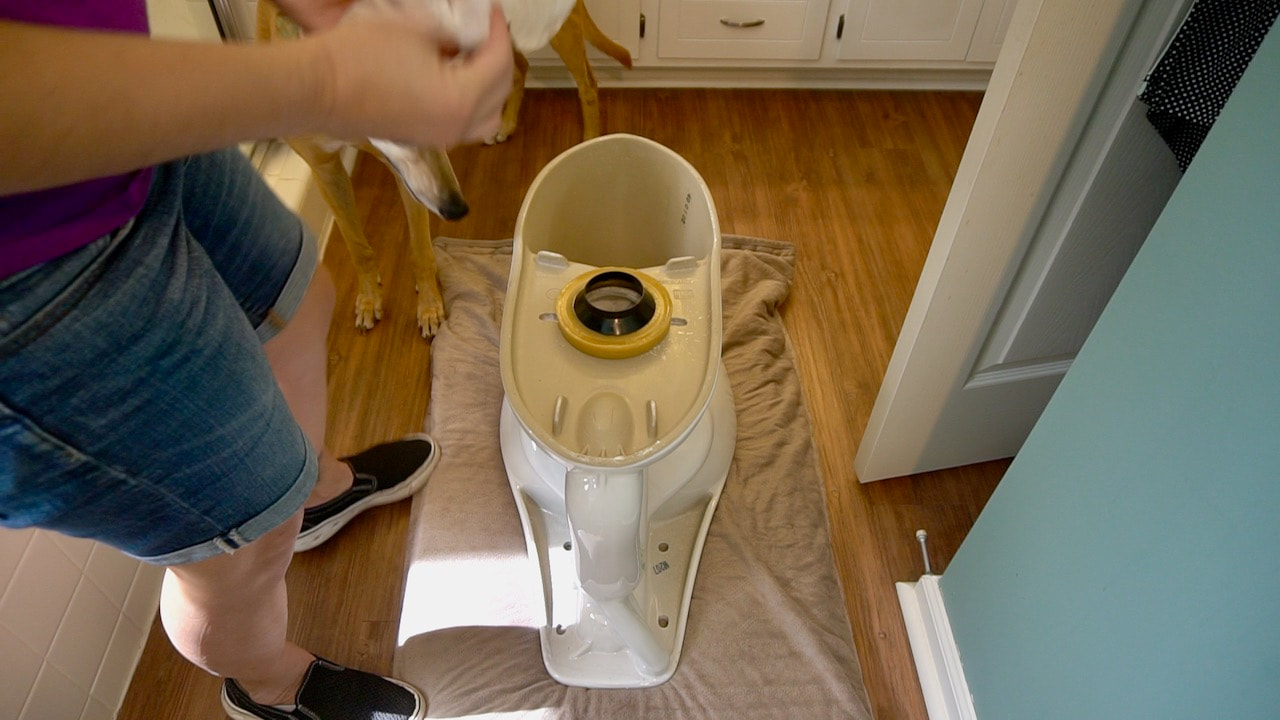
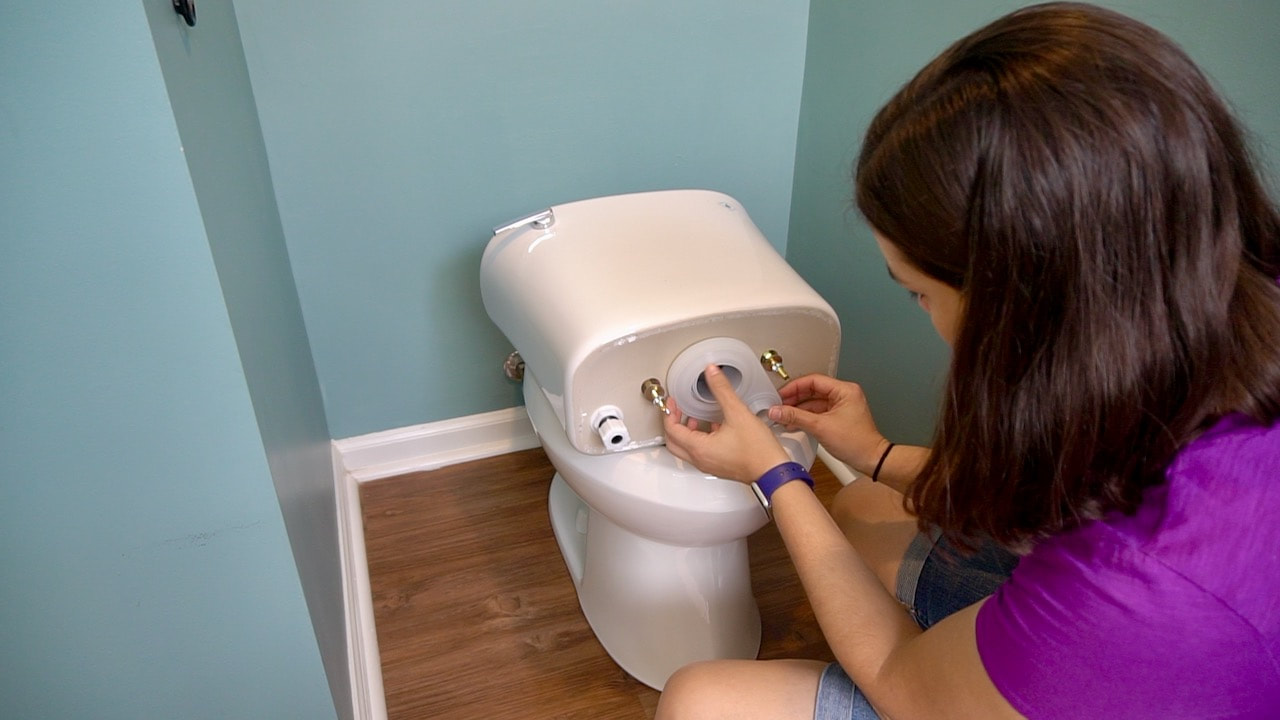
Time to install the Glacier Bay Power Flush 2-Piece 1.28 GPF Single Flush Elongated Toilet. While it was upside down, Steph installed the new wax seal.
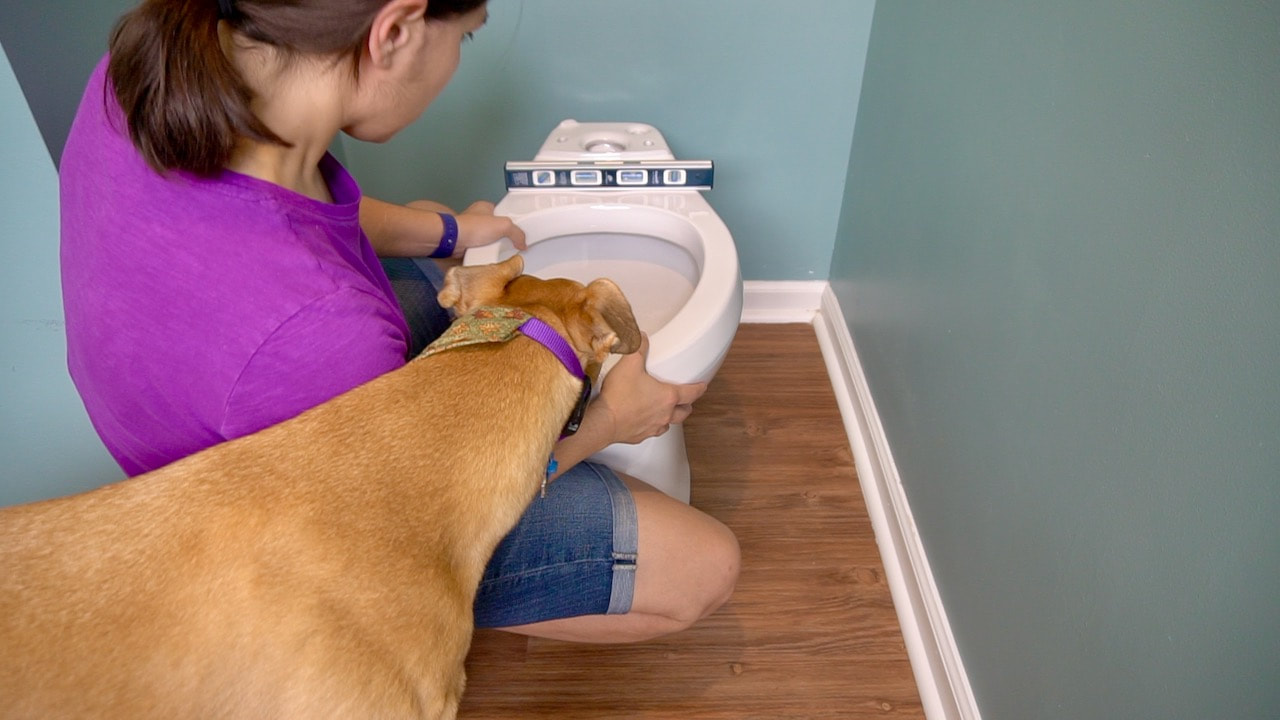
Before fully tightening the bolts, Steph made sure the bowl was level and centered. The shop supervisor was carefully checking Steph's work.
After putting the new bolts in place, the toilet is simply placed over the bolts and screwed into place.
Finally, the tank was screwed into place and the water line reattached. Pro Tip: place a puppy pad under the water line until you've tested it.
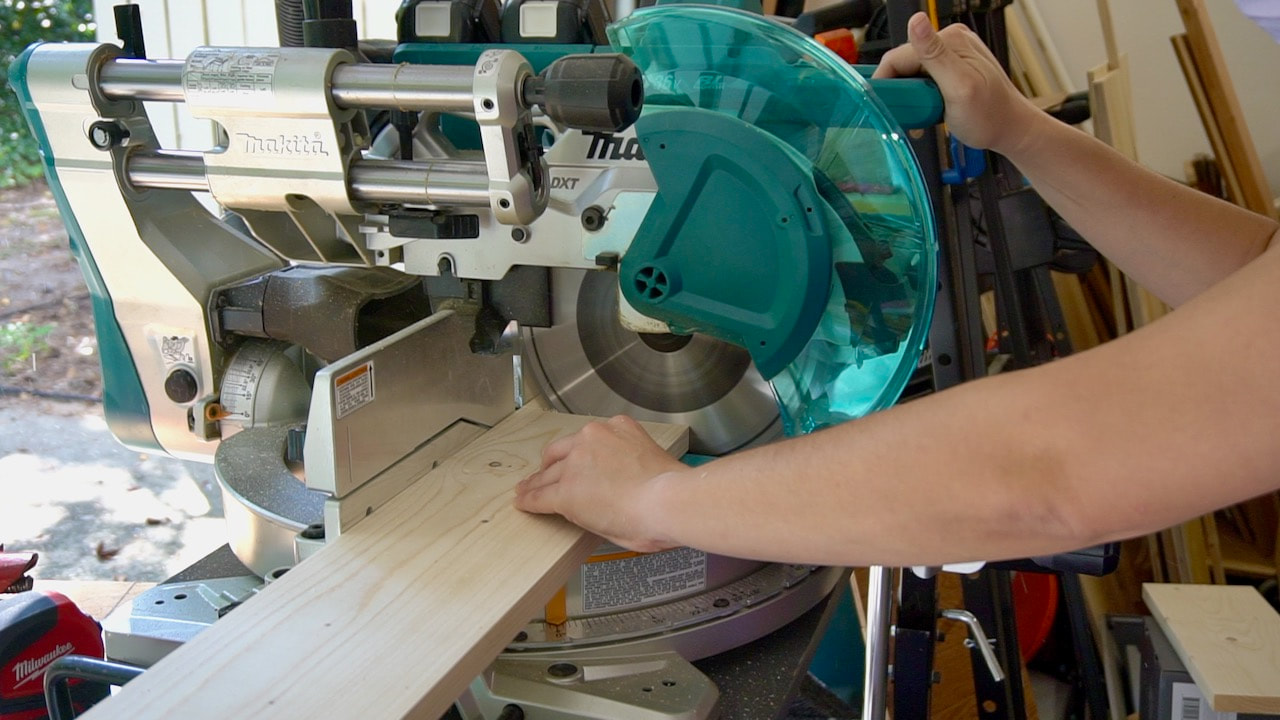
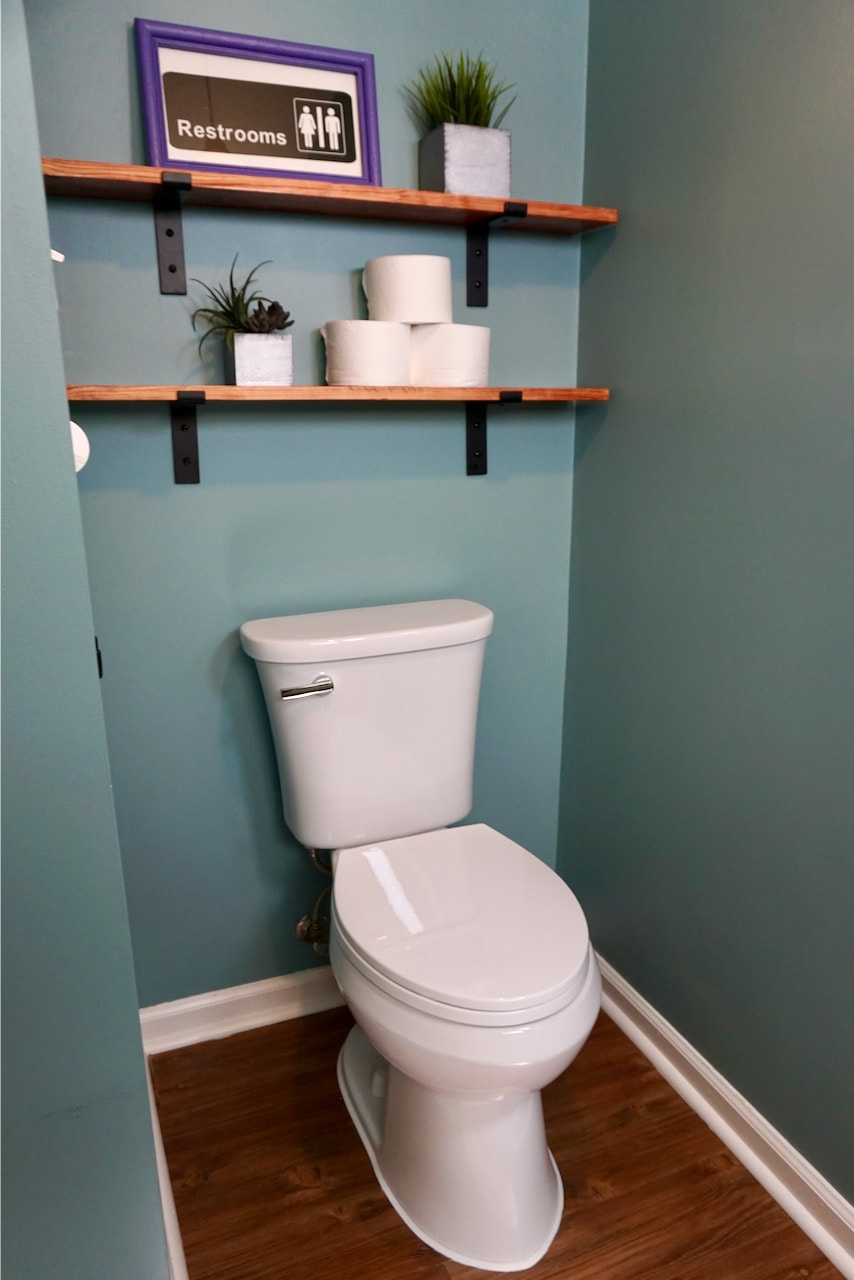
With the new toilet in place, we turned our attention to decor. The toilet area in Steph's bathroom is the perfect space for shelves. We cut 1x6" boards to size on the miter saw.
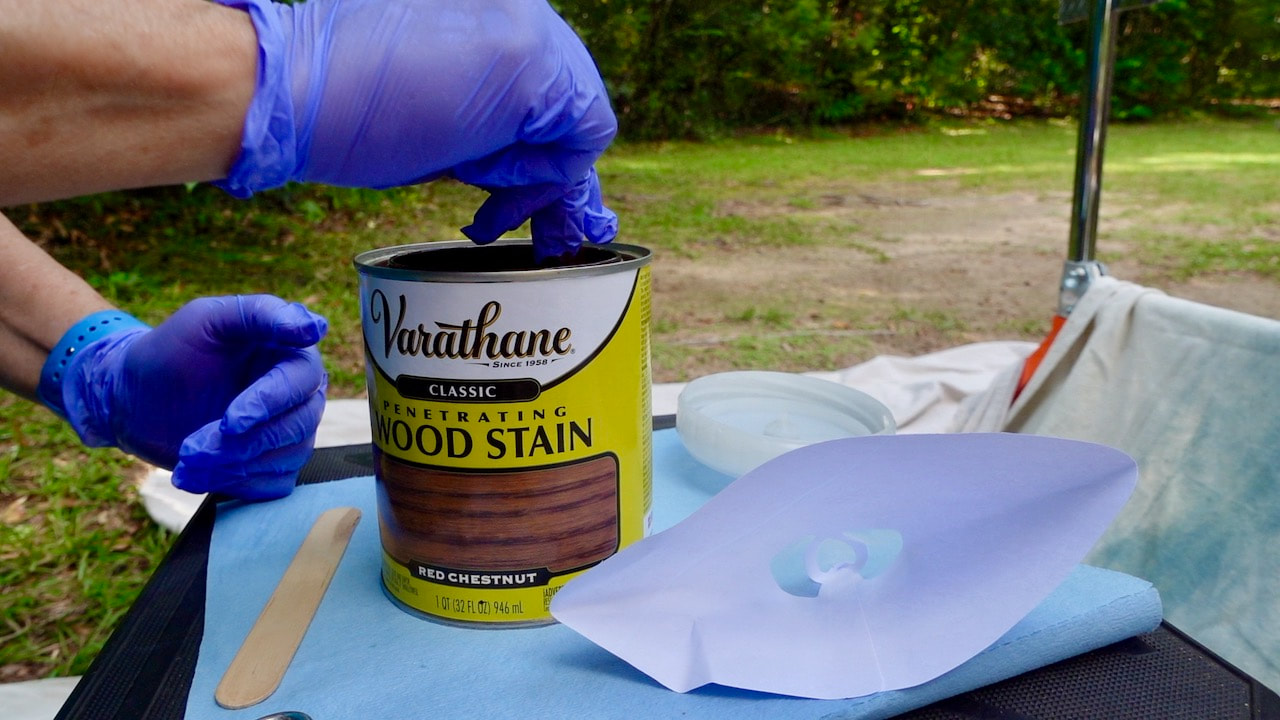
We are using a HLVP spray gun using Varathane wood stain in red chestnut. The instructions for the spray gun suggests straining the stain into the paint cup. The straining filter is the white object in the right lower corner.
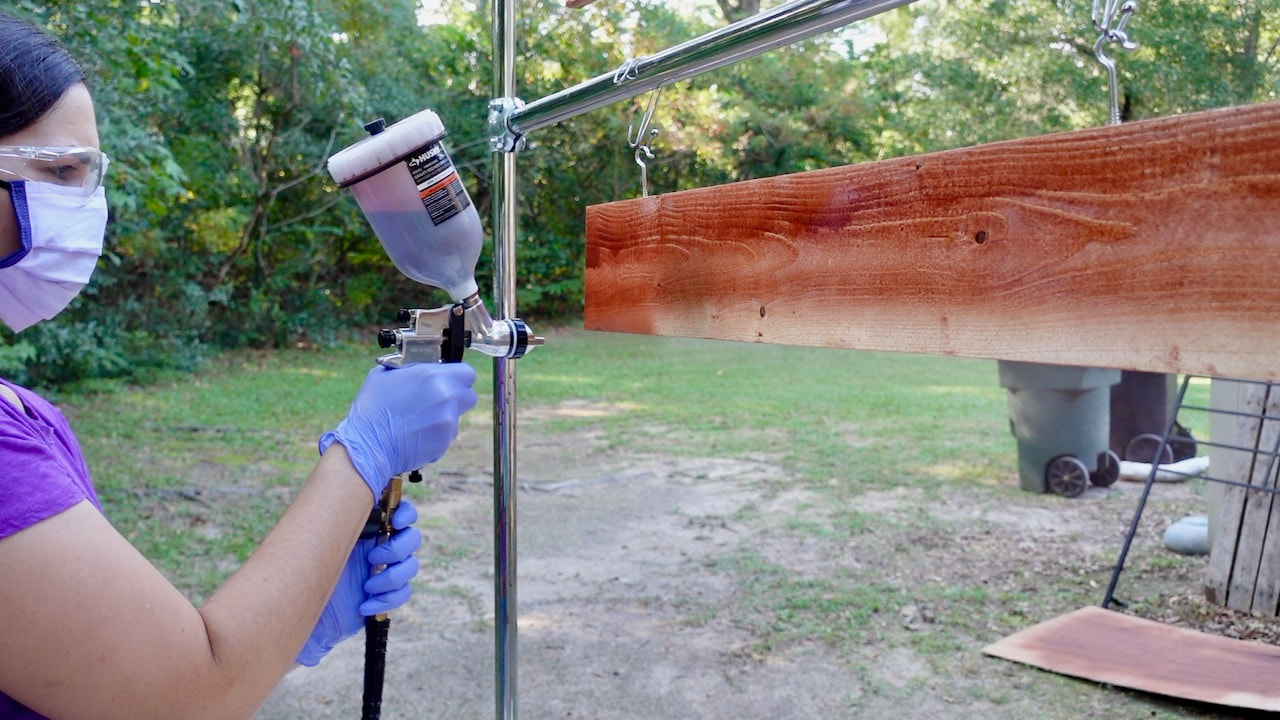
This is the Husky Gravity Feed HVLP Spray Gun. We added screw hooks to the side of the board that will be attached to the wall and hung it from our clothes rack so we could spray all sides at one time.
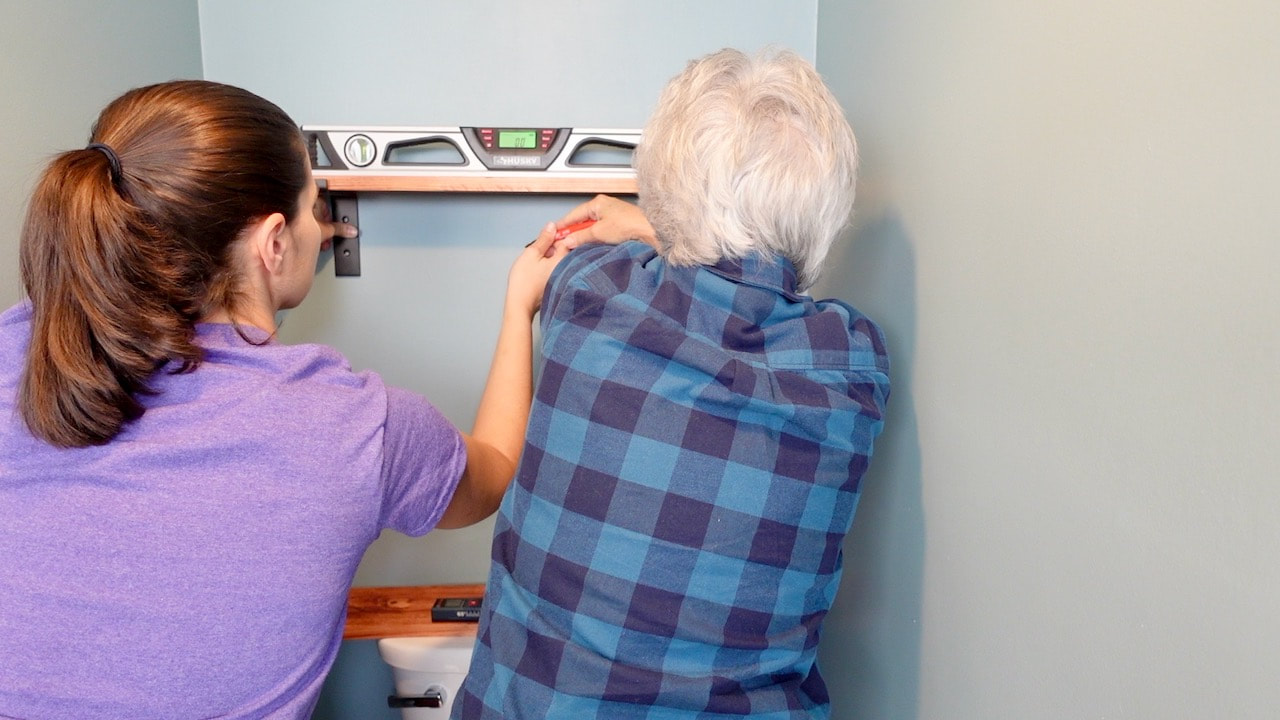
We are using modern, farmhouse shelf brackets to hold the shelves. They were very easy to use and look great.
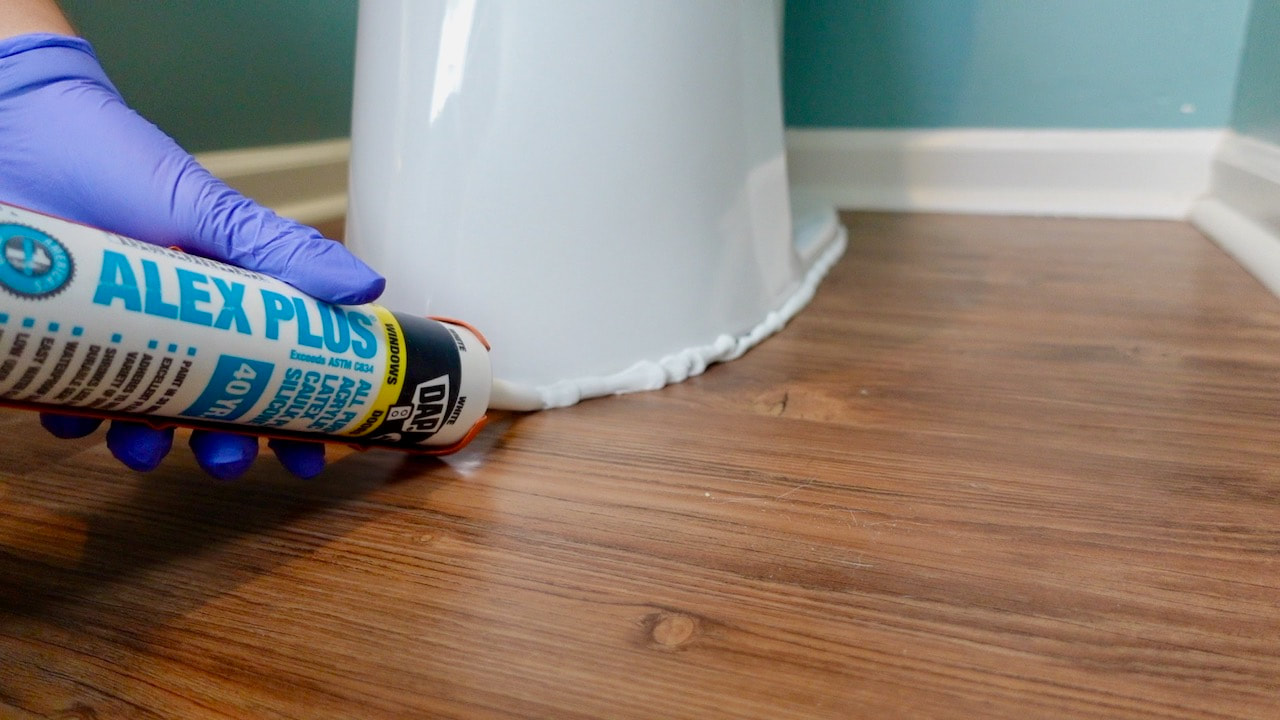
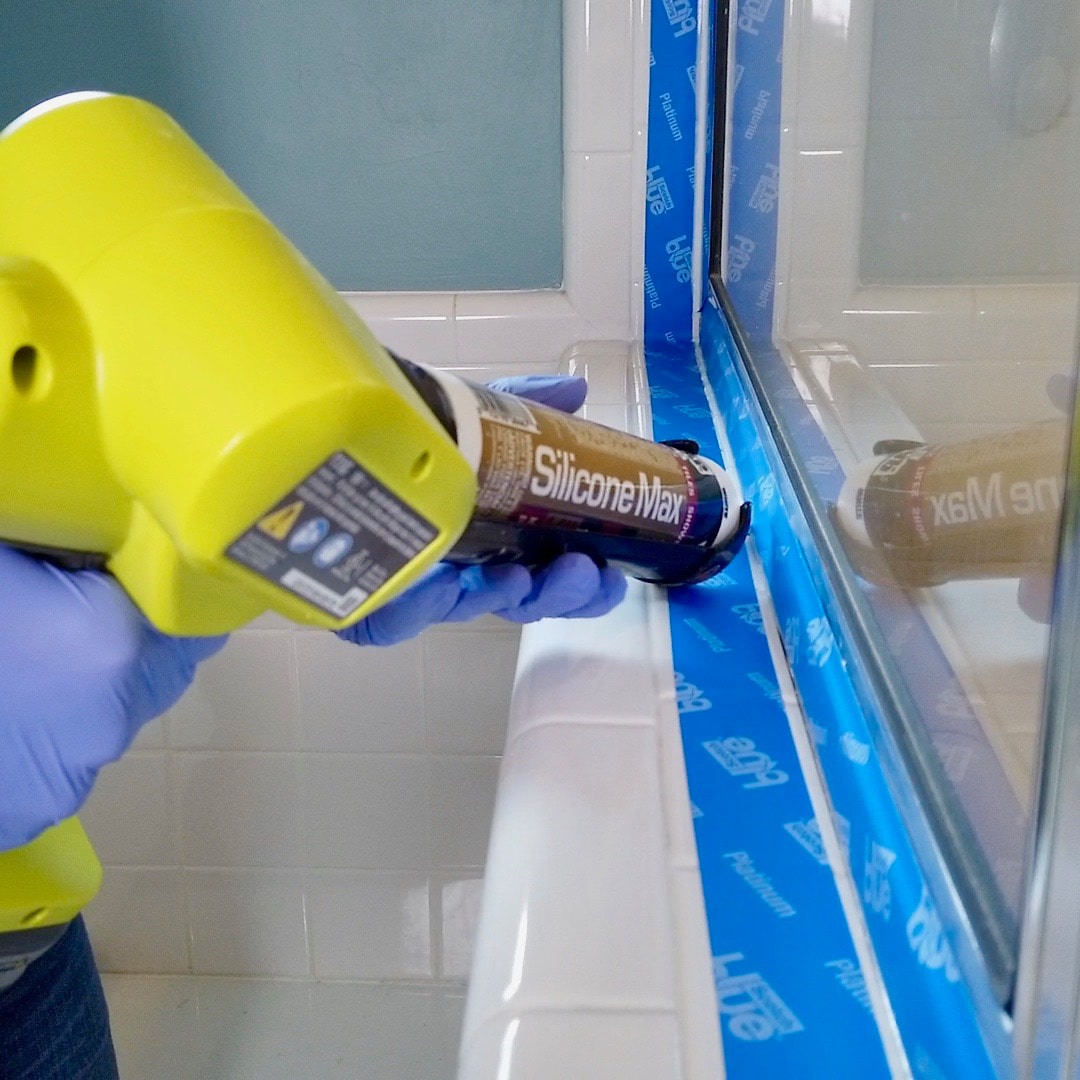
We debated back and forth about caulking the toilet and decided after reading an article by Family Handyman, we decided it was a good idea. We are using the HDX 10oz smooth rod caulk gun.
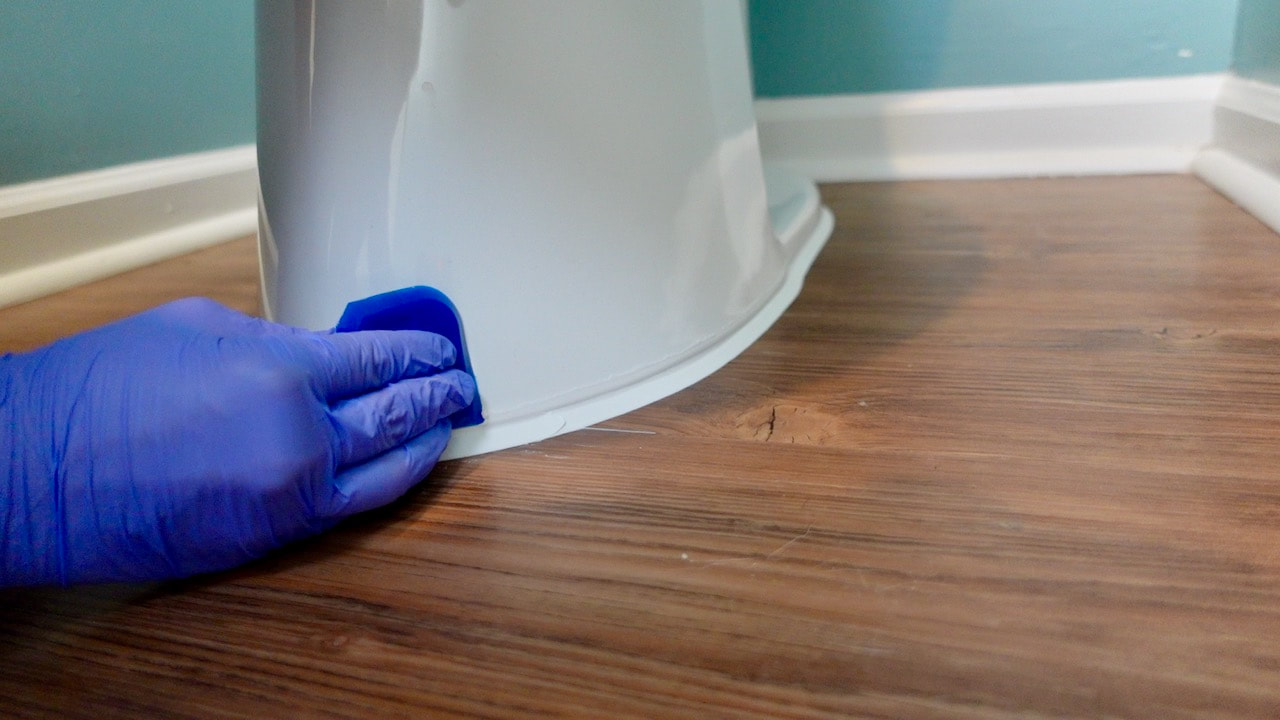
This little silicone caulking tool was so useful! We would certainly recommend getting a set for all your caulking needs.
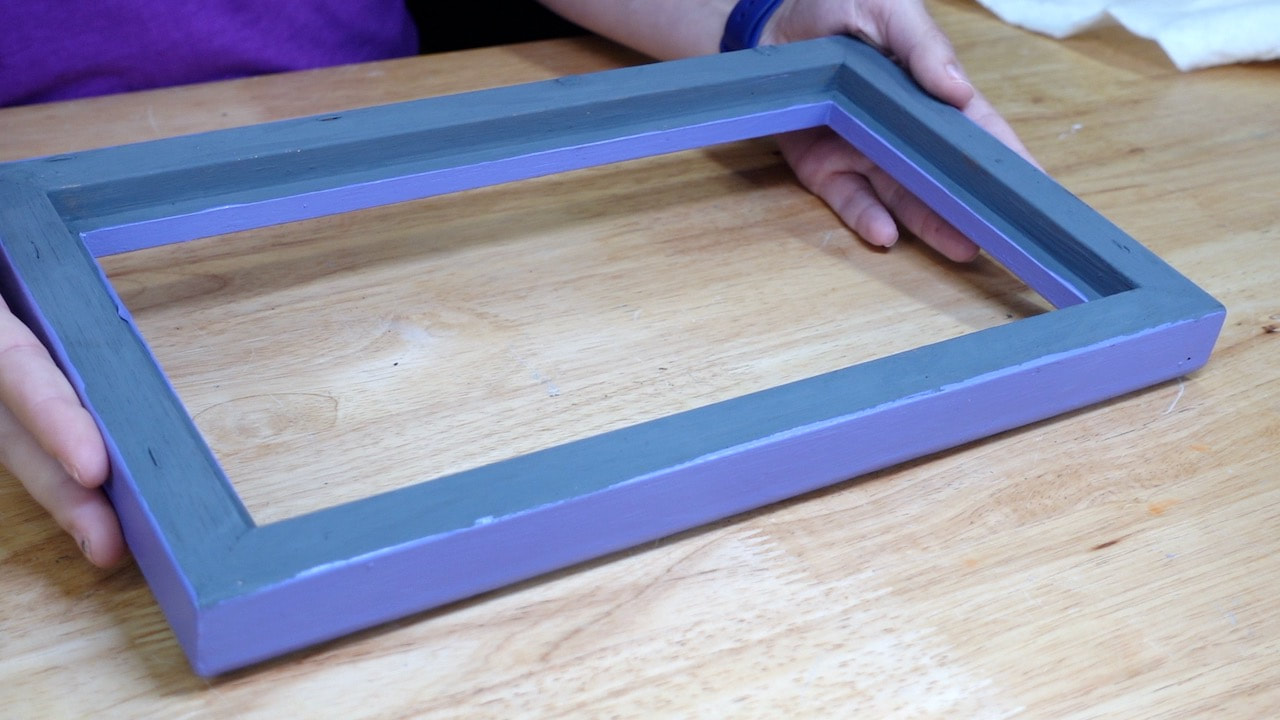
Lastly, we decided to cut new glass for this odd size frame to make a little artwork for the mini bathroom makeover.
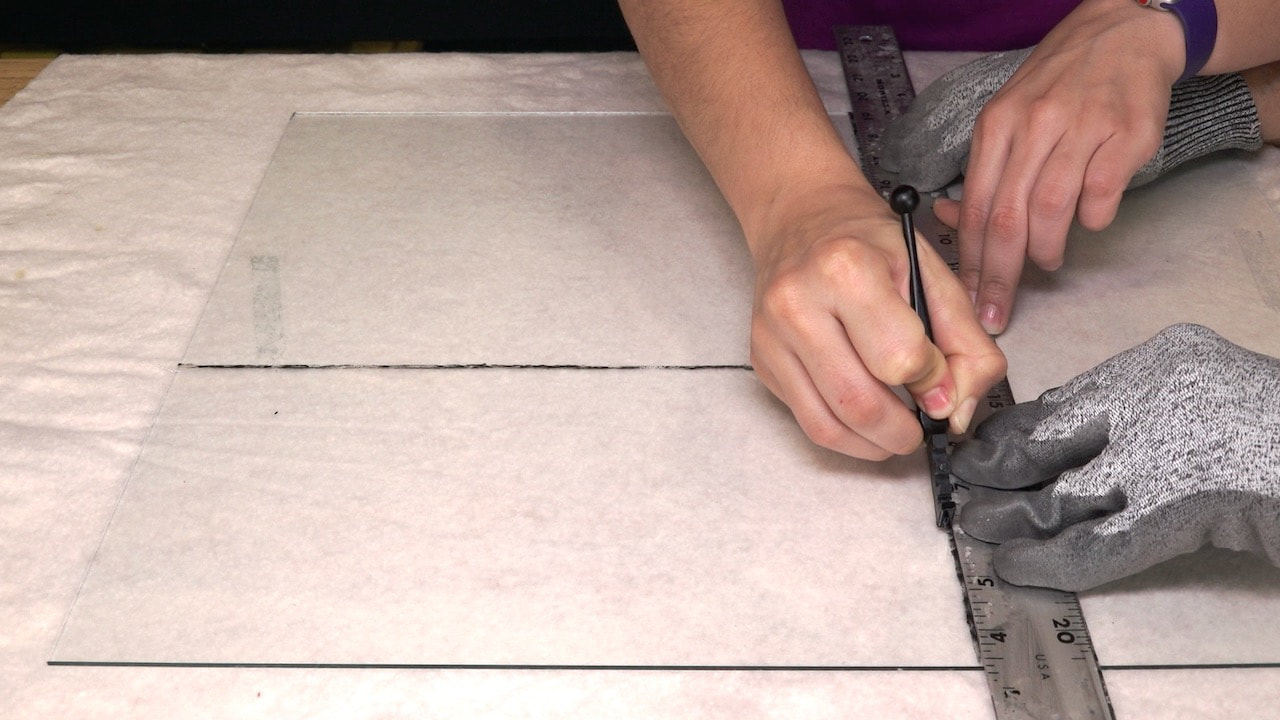
Steph is cutting this piece of glass to size with the Husky 5” glass cutter. Pro Tip: use a 3-in-1 oil to lubricate the cutting wheel prior to cutting. Steph used the Cricut Maker to cut vinyl for the new frame.
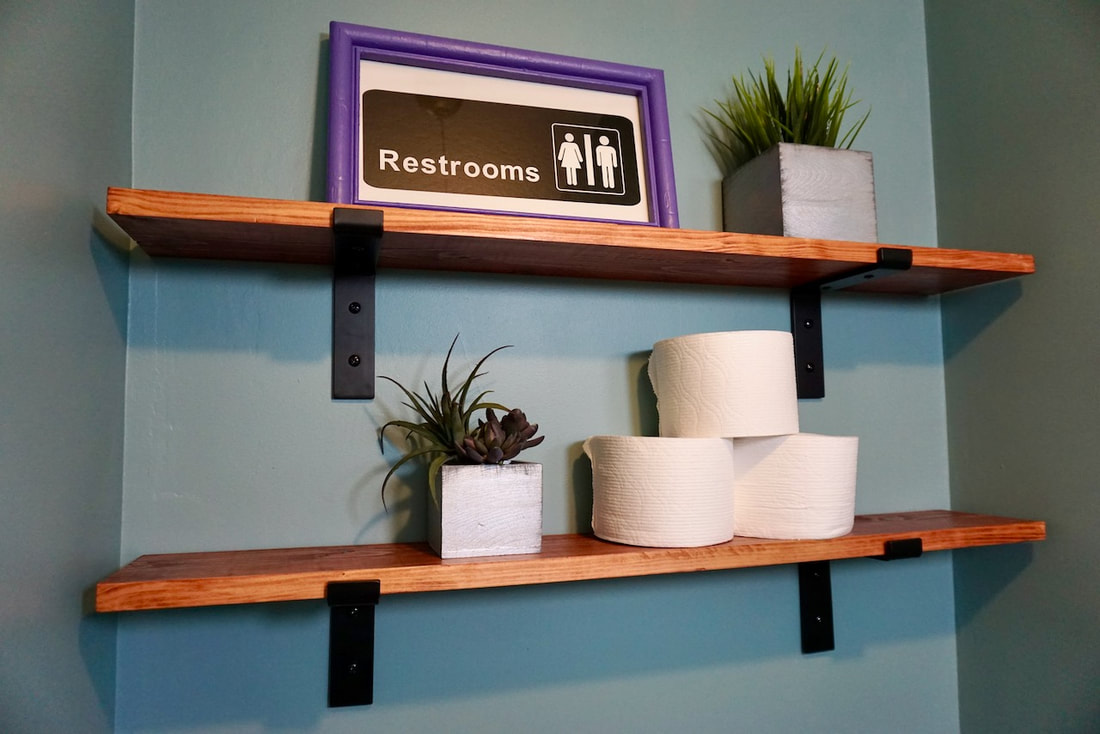
Here are all the projects finished in the mini bathroom makeover.
We were so happy we were able to incorporate all four products in the mini bathroom makeover. Our biggest takeaway is how easy it was to install a new toilet! Who knew? We would not hesitate to install another. We were especially pleased that the new toilet completely covered the old toilet footprint. We didn't have to do anything to the floor other than remove the old caulk.
Personal footnote: (As a reminder, this is Vicki writing this about my mother, Steph's grandmother.) At the time of this post, we have been in the midst of the COVID-19 pandemic for eight months with no end in sight. Everyone has a story to tell about this time period and how it has affected them. During the first five months of the pandemic I lost both of my elderly parents. Two weeks before my mom died, she traveled to my house to spend a week with us. It was an honor to be able to care for her during that time. While she was here, Steph got the email from The Home Depot about this product campaign. We were able to share with my mother the news. She was thrilled--so happy and urged Steph to immediately contact The Home Depot and say yes to the campaign! Both my parents were so proud of the work we do and never failed to take the opportunity to tell us. So mom/grandma, this post is for you. Thank you for always believing in us. We acknowledge that The Home Depot is partnering with us. As a part of the Program, we are receiving compensation in the form of products and services, for the purpose of promoting The Home Depot. All expressed opinions and experiences are our own words. Our post complies with the Word Of Mouth Marketing Association (WOMMA) Ethics Code and applicable Federal Trade Commission guidelines. FYI: We are not professionals, and we don’t claim to be. This is what we found worked for our project. Yours may need a little different approach. Safety first! FYI: Affiliate links are being used on this page. Purchasing via these links help support MDP! Related Projects
0 Comments
Leave a Reply. |

Mother Daughter Projects
|