|
text by Vicki Sign up here to join our weekly email newsletter!
A visit to Disney Springs at Walt Disney World provided the inspiration for these picture frame Christmas trees!
Disney's are made of different varieties of molding, but I thought I could recreate the look with old picture frames. Plus, I had an ever growing stash of frames in my garage. Time to reimagine those frames! Materials/Tools:
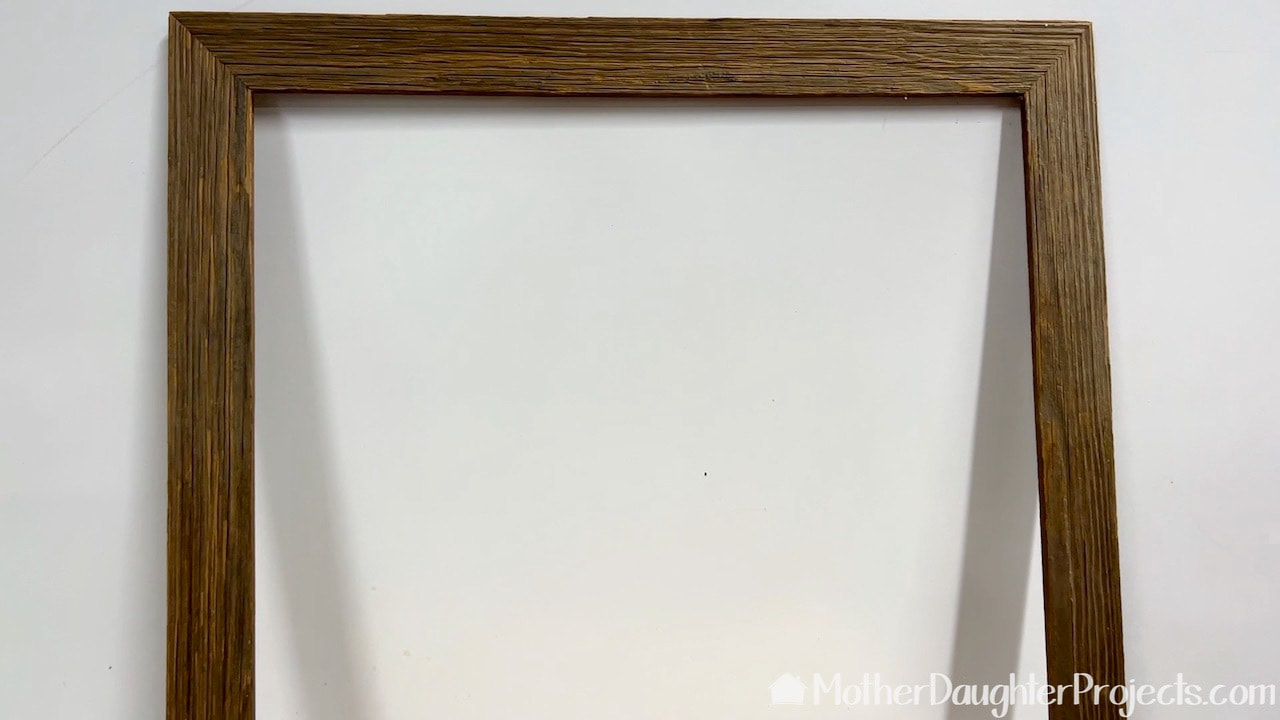
The first tree I made was from this barn wood look frame.
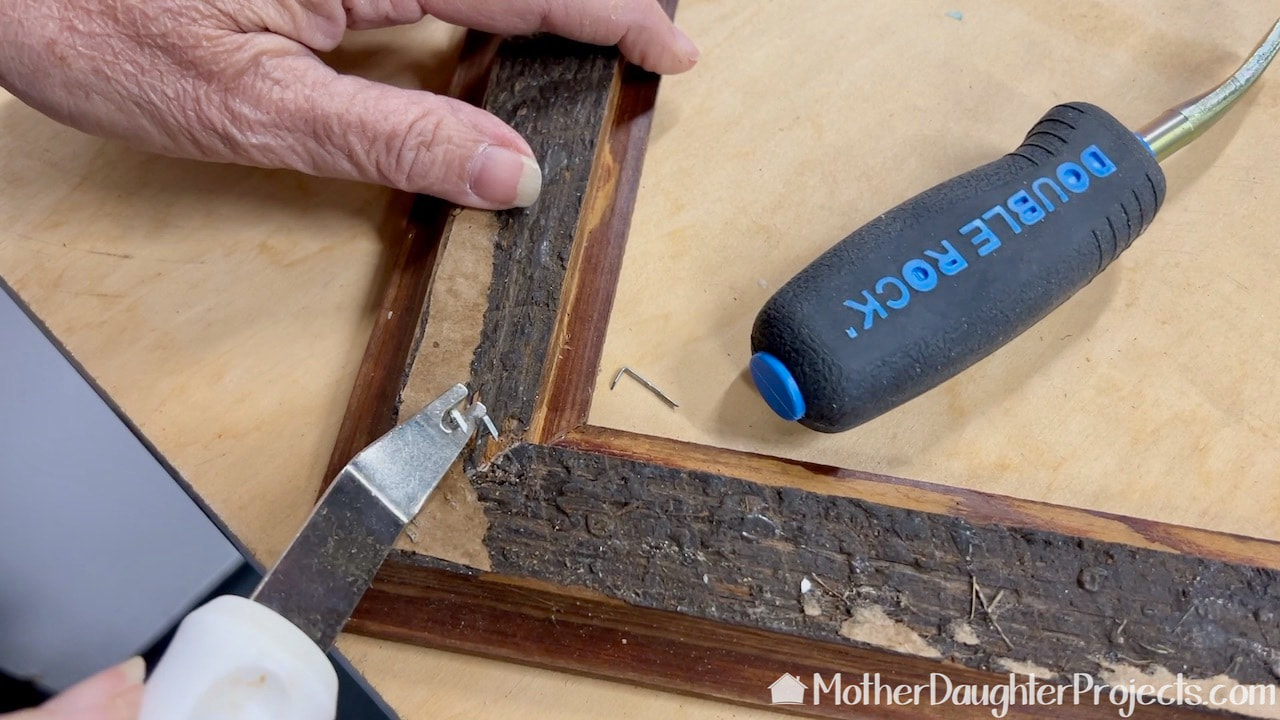
I first needed to deconstruct the frame. This Double Rock tool and Arrow staple removal tool worked really well to remove the staples. Once removed, the frame came apart easily with a few blows from a rubber mallet.
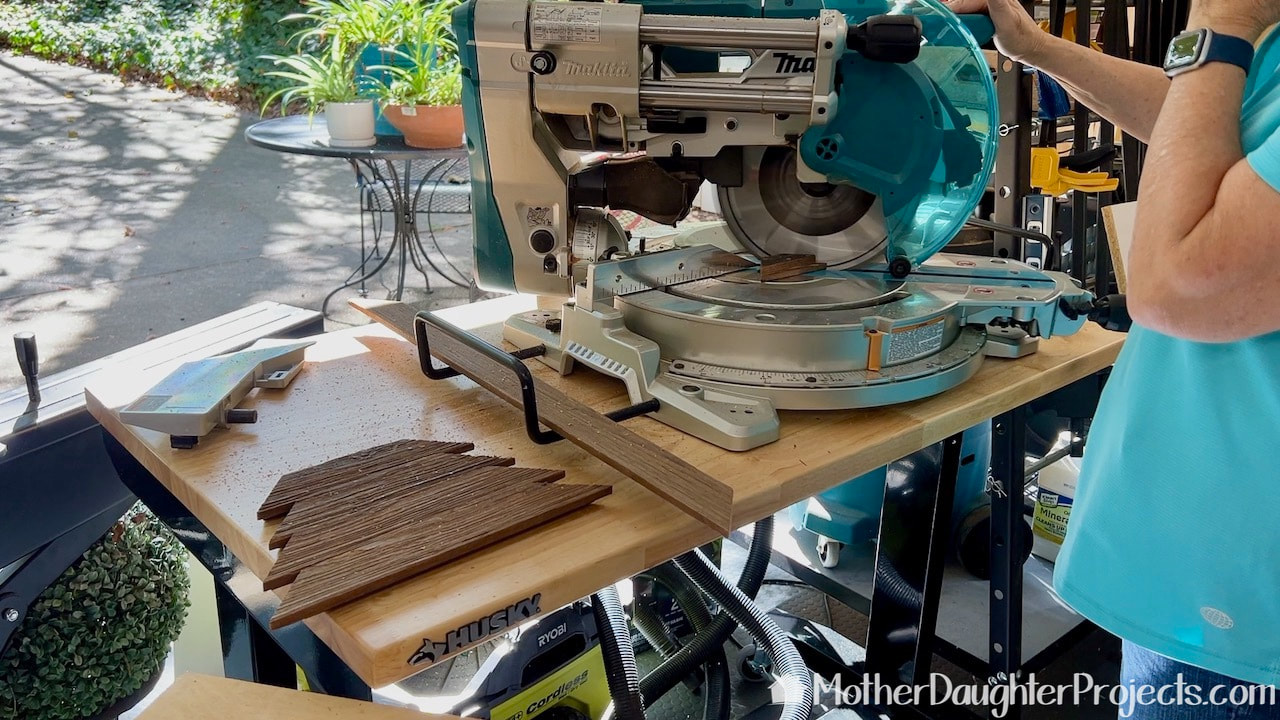
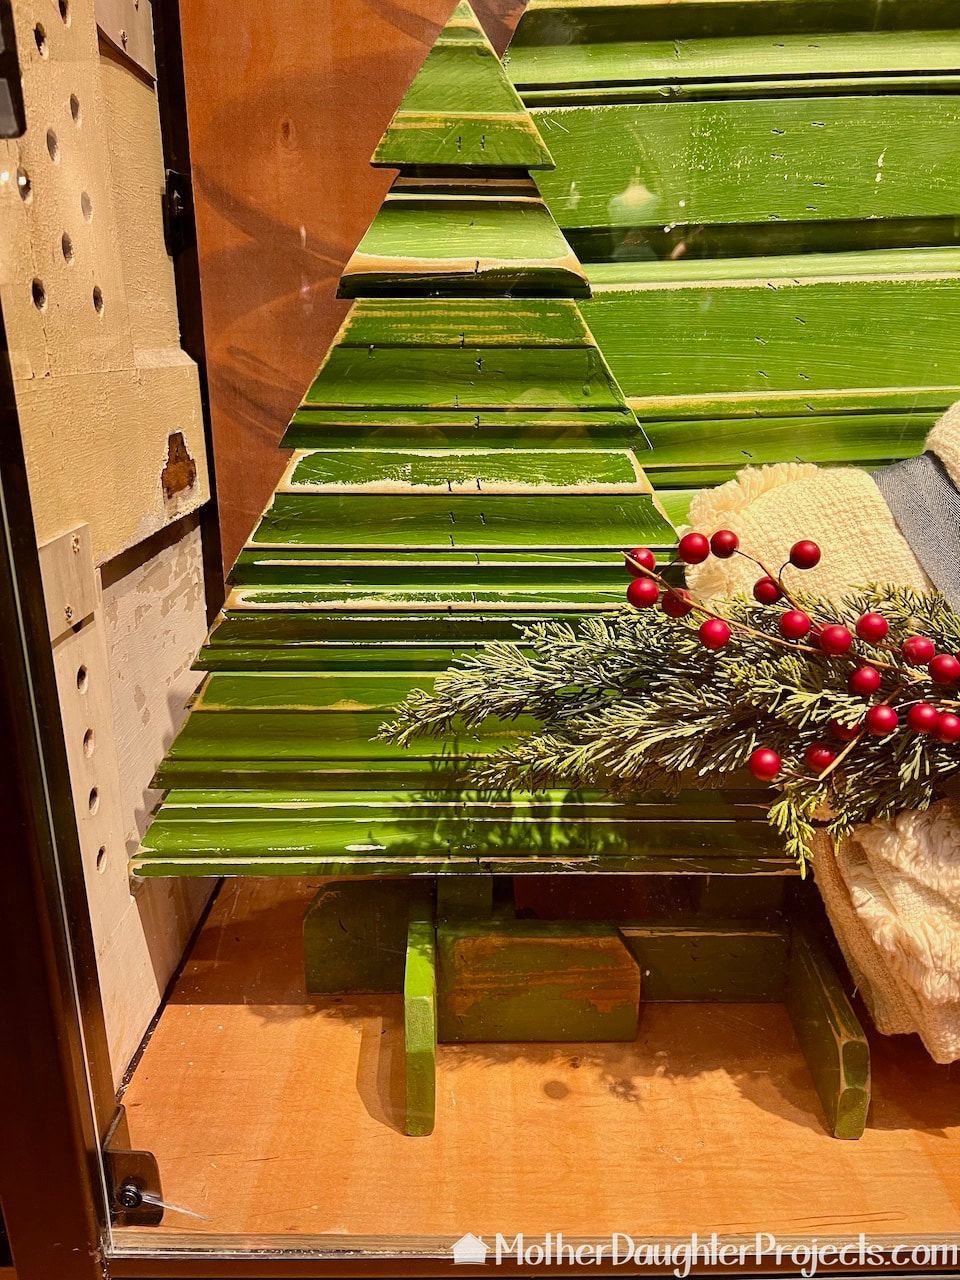
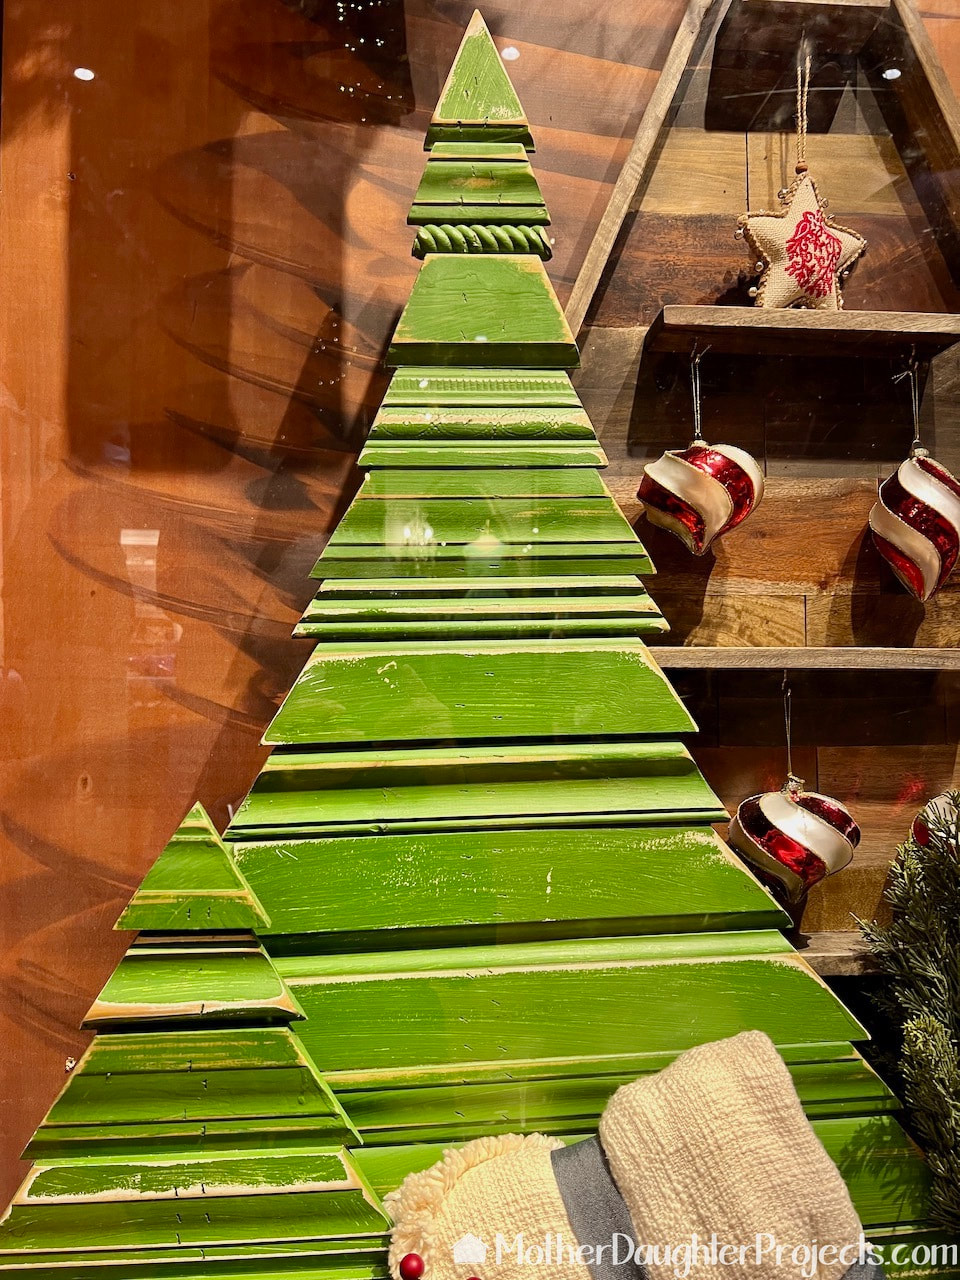
I cut nine slats with 45 degree angles on each side. The base slat is 12 inches ending with 4 inches for the very top one.
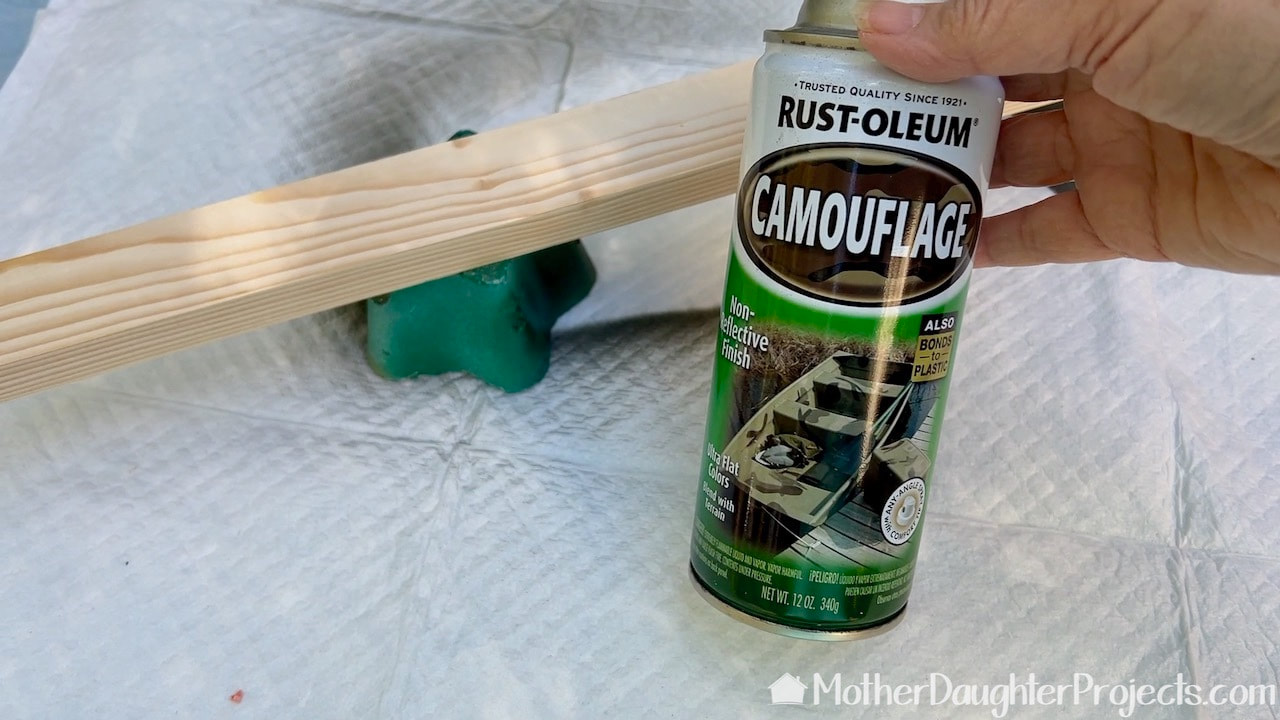
The slats will be attached to this 3/4 inch by 1 1/2 inch board which I painted Rust-Oleum camouflage green.
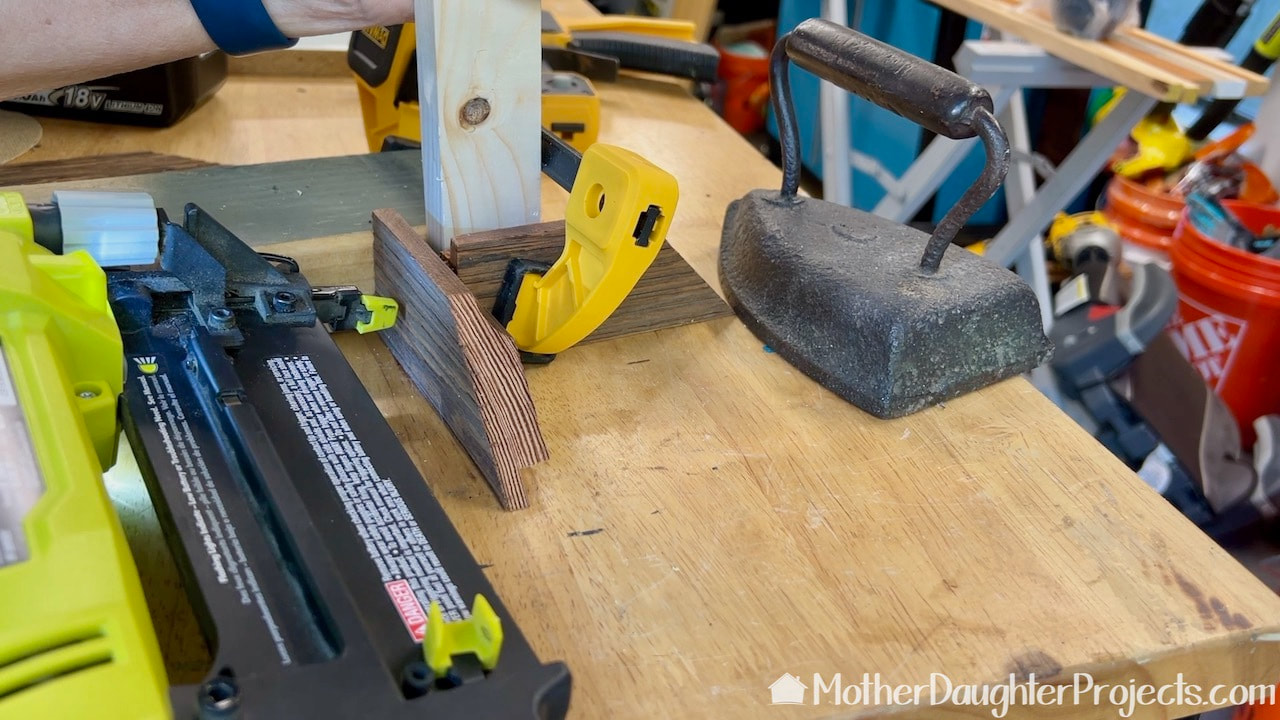
I made a simple base for the tree which is removable so the tree can be stored flat. I glued and brad nailed the pieces which were made from the same frame molding that I had leftover.
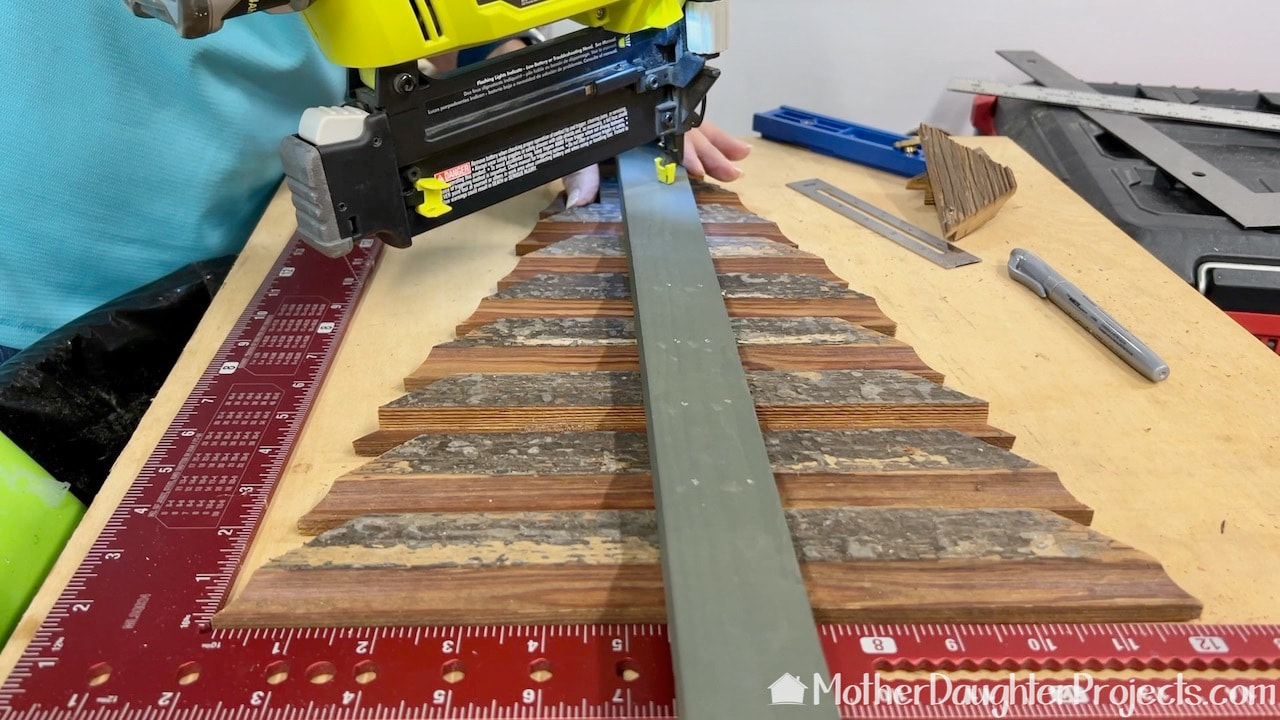
After lining up the slats, I brad nailed them to the "stem" using a Ryobi 18 gauge brad nailer.
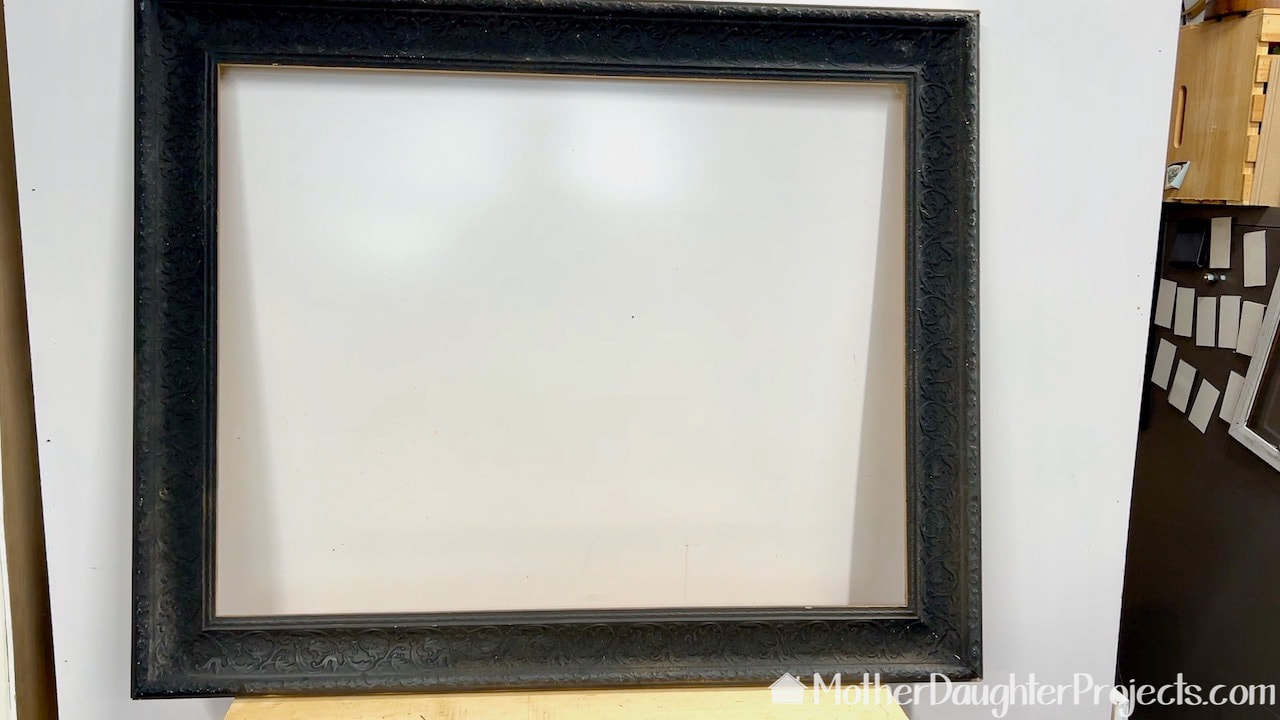
The first tree was successful so I decided to try it with the second frame. It had really beautiful raised designs on it that I knew I could emphasis with metallic paint. This frame proved to be troublesome throughout the build, but I did persevere and finish!
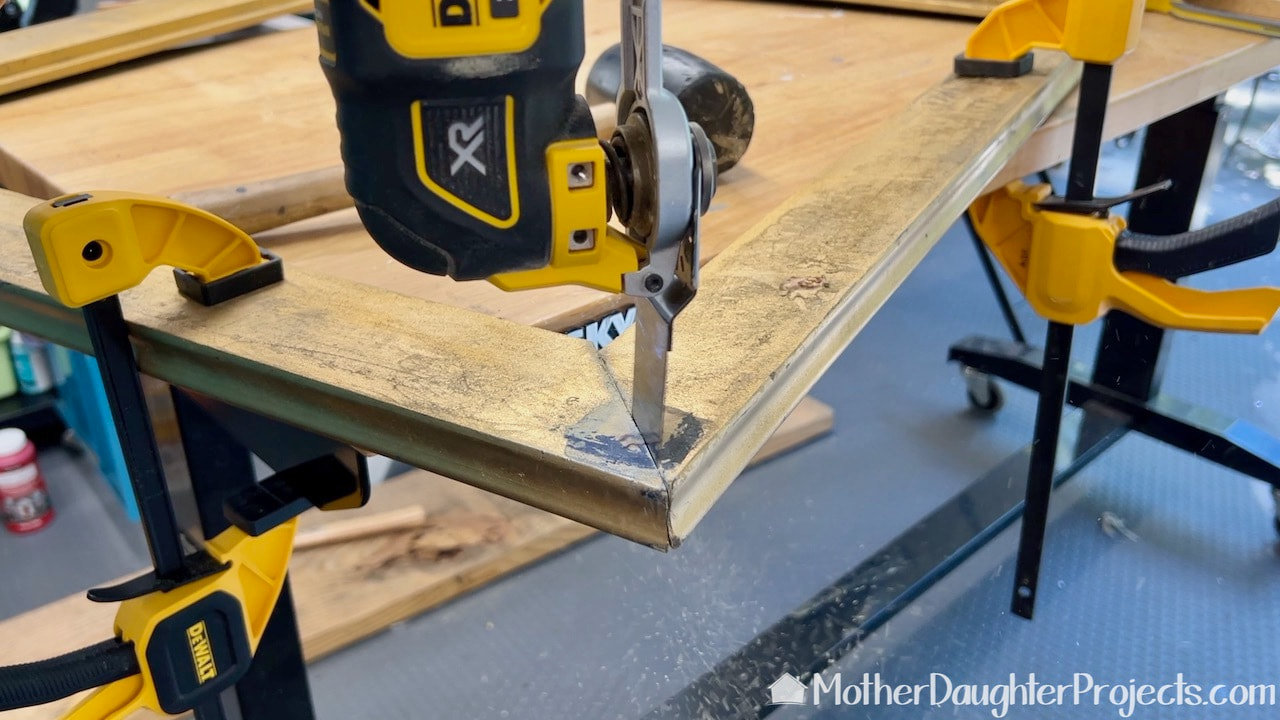
This frame was so difficult to dissemble that I had to cut it apart with a DeWalt multi-tool!
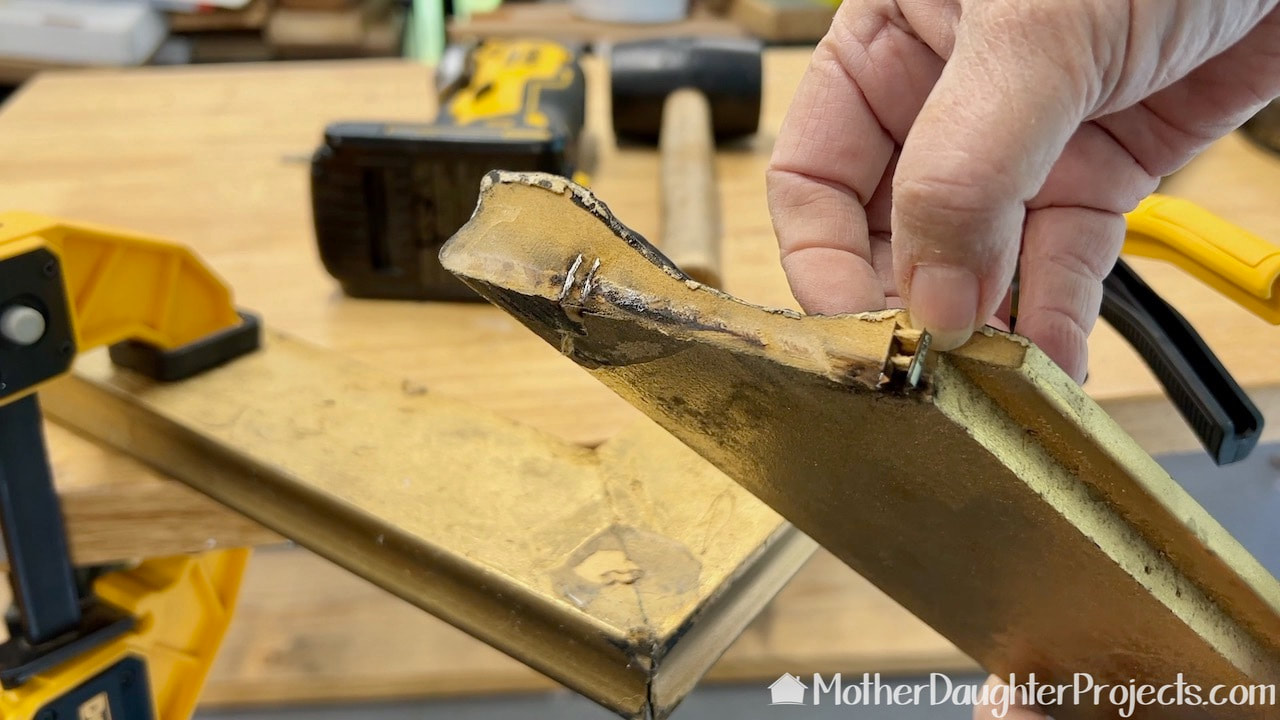
See those staples? They were never coming out. In retrospect, I probably should have quit at this point!
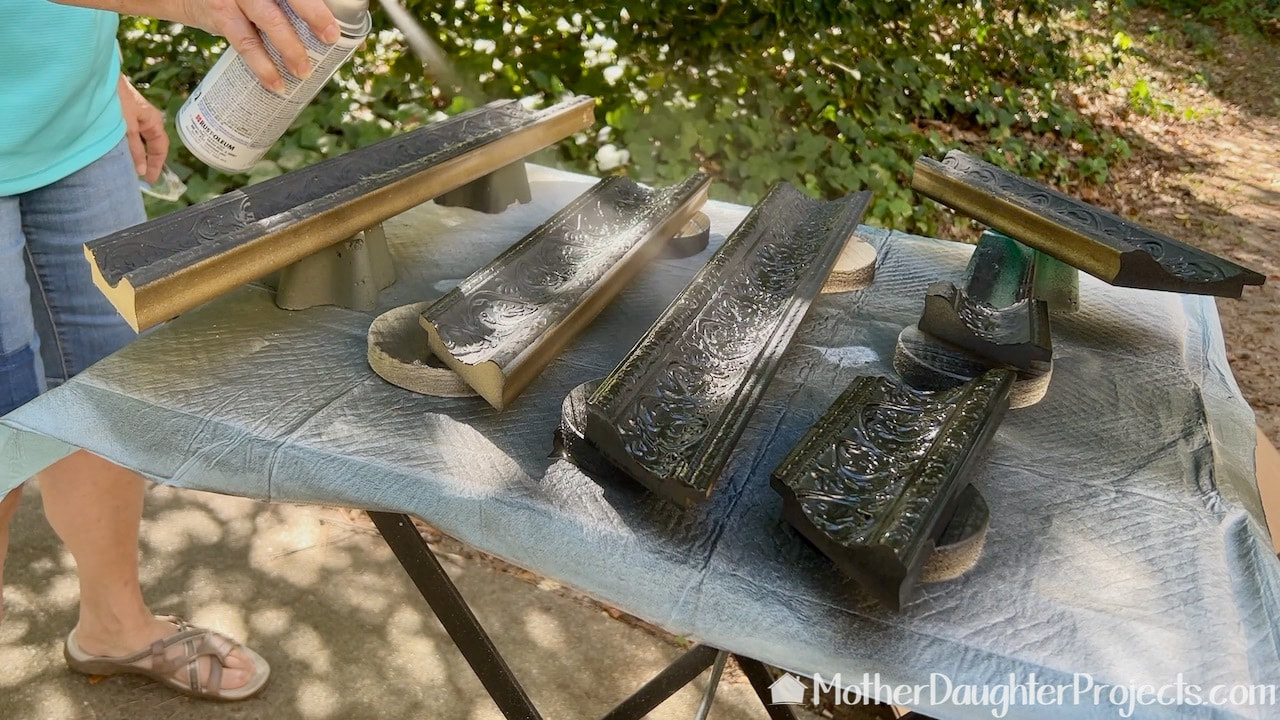
After cutting the pieces I gave them a fresh coat of black spray paint. These slats were cut at a 31.6 degree angle
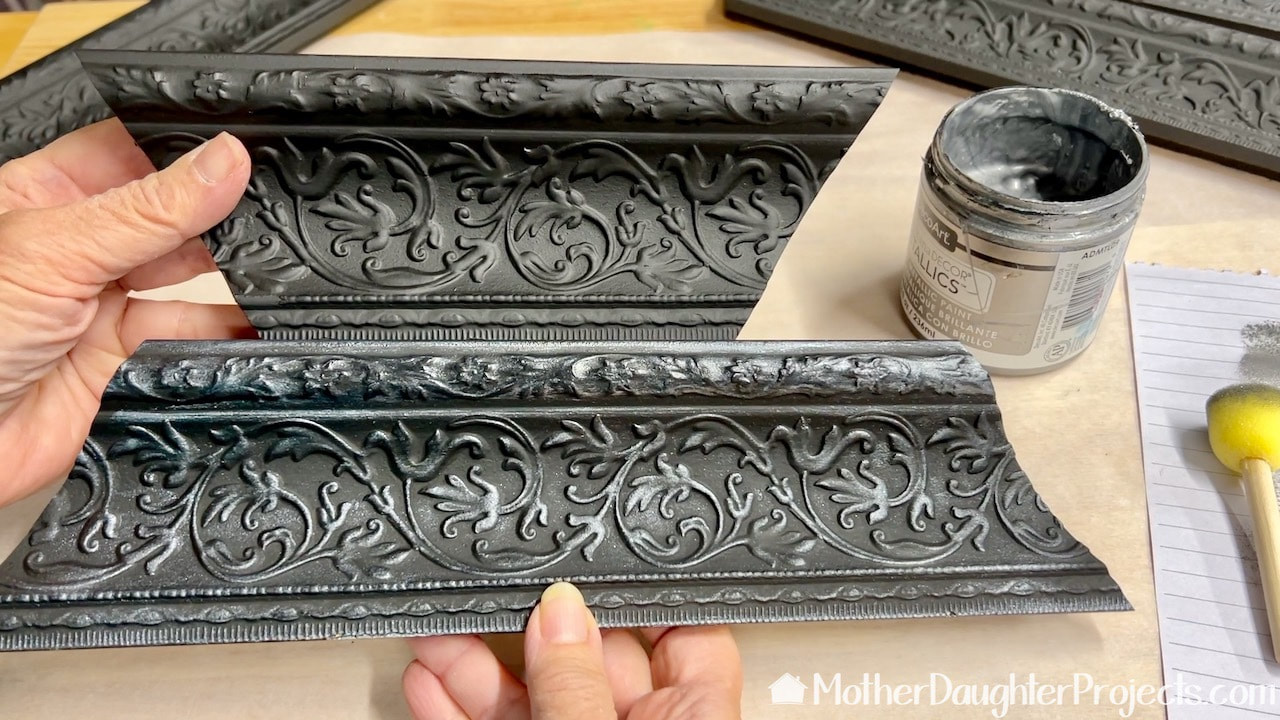
To emphasize the raised detail, I lightly painted them with DecoArt silver metallic paint.
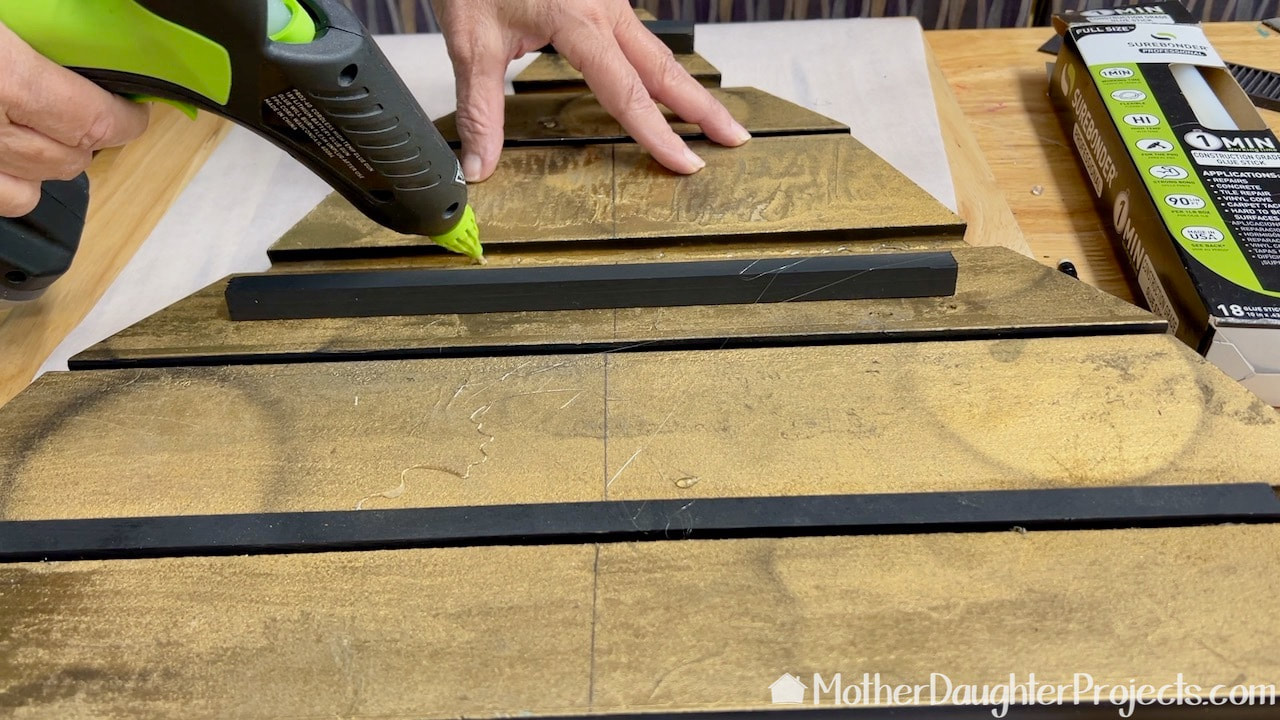
When I laid all the slats to attach the "stem" I realized the back was not flat. It was going to be a challenge to attach the stem! These square dowels were used to glue the slats together so that I had a flat surface to nail into. Unfortunately, when I attached the stem, I somehow missed the thick areas of the molding and ended up nailing the tree to my workbench! Ug!
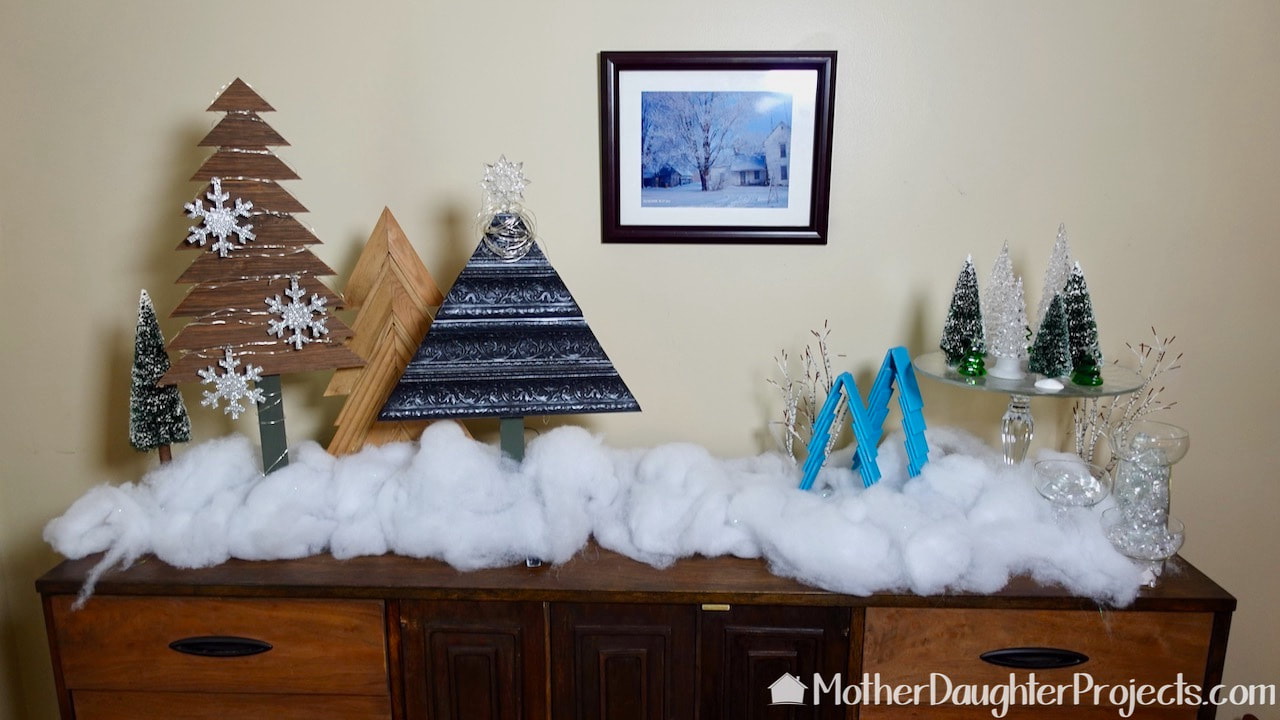
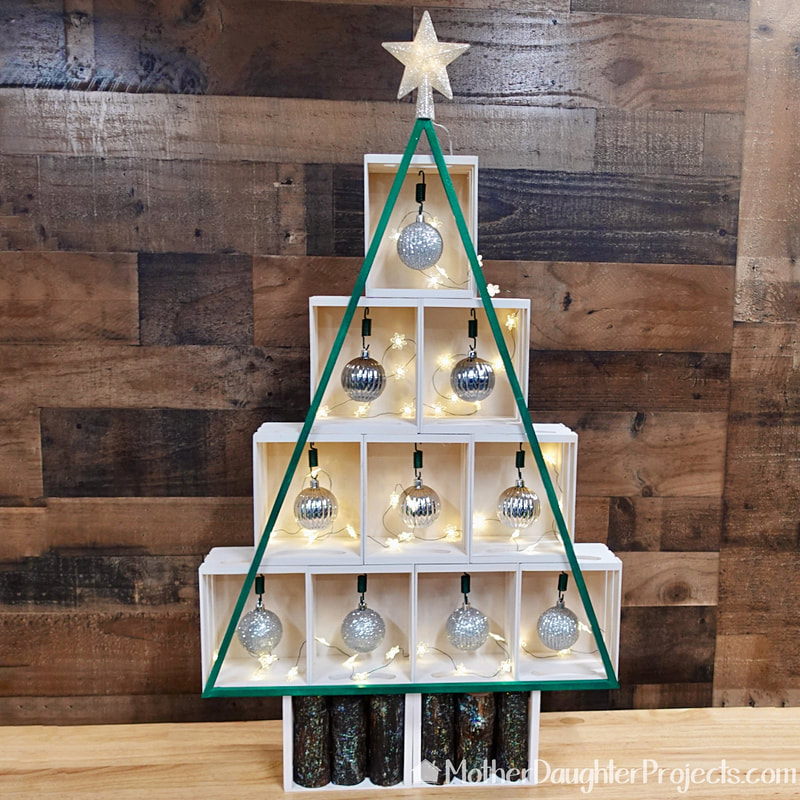
Despite all the frustration of the second tree, I finished! For display, I added our Pottery Barn dupe in between the two picture frame trees.
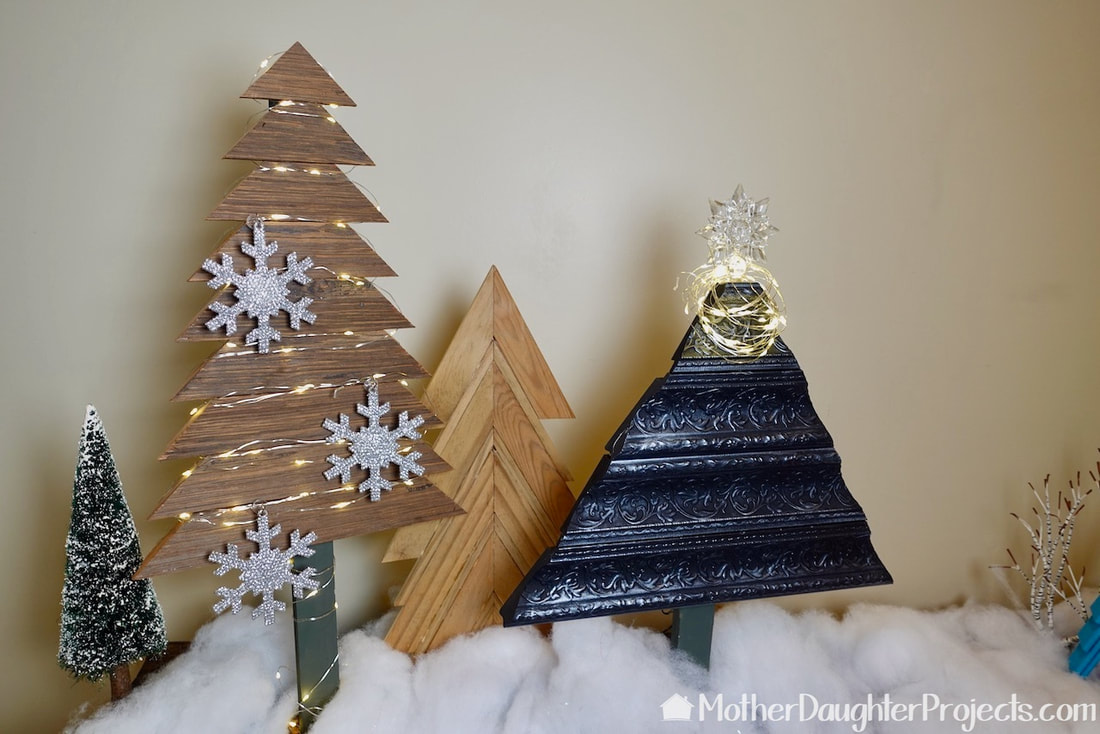
Three DIY Christmas trees inspired by Disney World and Pottery Barn.
After the whole 'nailing the tree to the tabletop' fiasco, I managed to get it ripped off the workbench table losing a couple of slats in the process. After cutting the stem shorter and repairing what was broken, I got it finished.
I decided I wanted a star on top of the black tree so I went looking through my house to see if I had anything that would work. This past January, my oldest sister died and I was tasked with cleaning out and selling her house. I found this glass star while I was sorting her belongings. This is actually the top of a vintage perfume bottle that I remember from when I was a child. I was happy I could repurpose it. It's a sentimental reminder of childhood, my sister, Karen, and my parents. Karen was a champion of Mother Daughter Projects and was our very first "super thanks" donor. She is missed. Please note: This is not a sponsored post. FYI: We are not professionals, and we don't claim to be. This is what we found worked for our project. Yours may need a little different approach. Safety first! FYI: Affiliate links are being used on this page. Purchasing via these links help support MDP Related Projects
0 Comments
Leave a Reply. |

Mother Daughter Projects
|