|
text by Vicki Sign up here to join our weekly email newsletter!
This was a fun experiment to try to see if it was possible to embed battery powered lights into epoxy resin.
Spoiler: it totally worked! The lights still worked after being encased in epoxy. Read on to see how I did it. Materials:
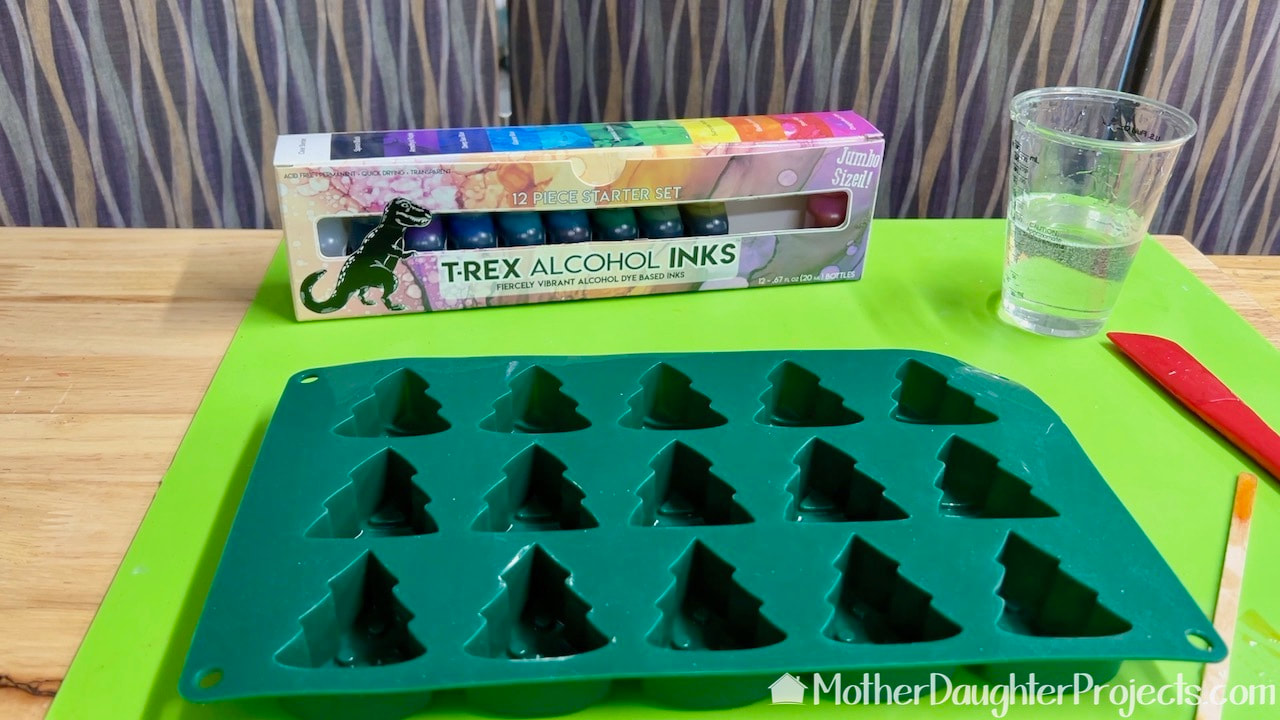
This was the silicone mold I used. It's for baking but it totally works for epoxy. This one is not readily available, but it appears there are plenty that would work for this kind of project. I'm trying out this fresh new box of T-REX alcohol inks that TotalBoat sent to me.
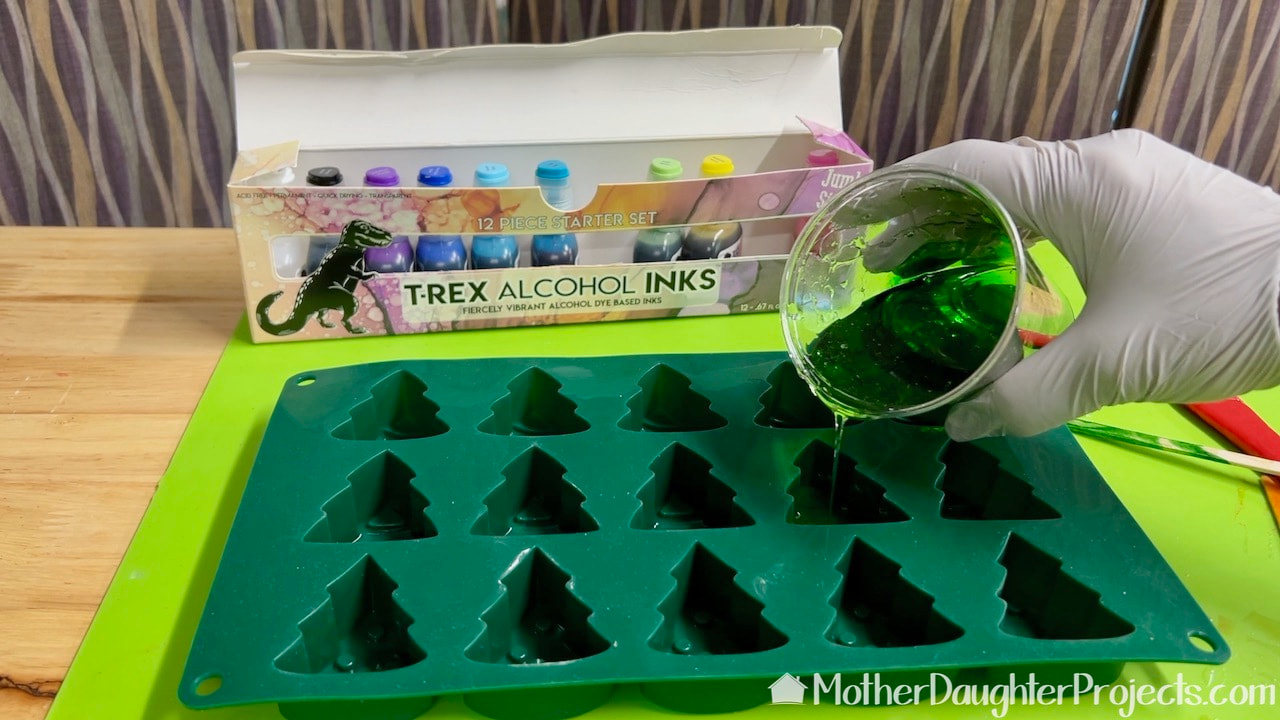
To set the lights, I mixed up a small amount of TotalBoat epoxy colored with a bit of green ink. I poured this into each of the molds. Only seven of the molds will have lights.
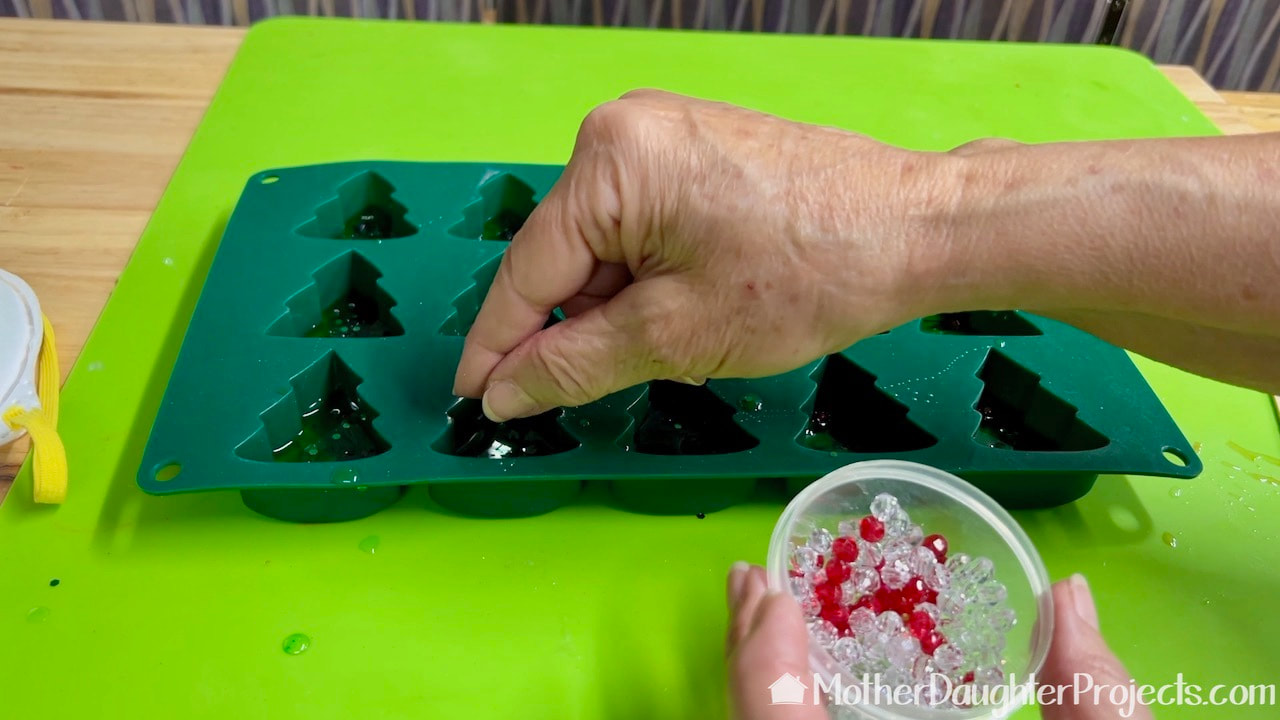
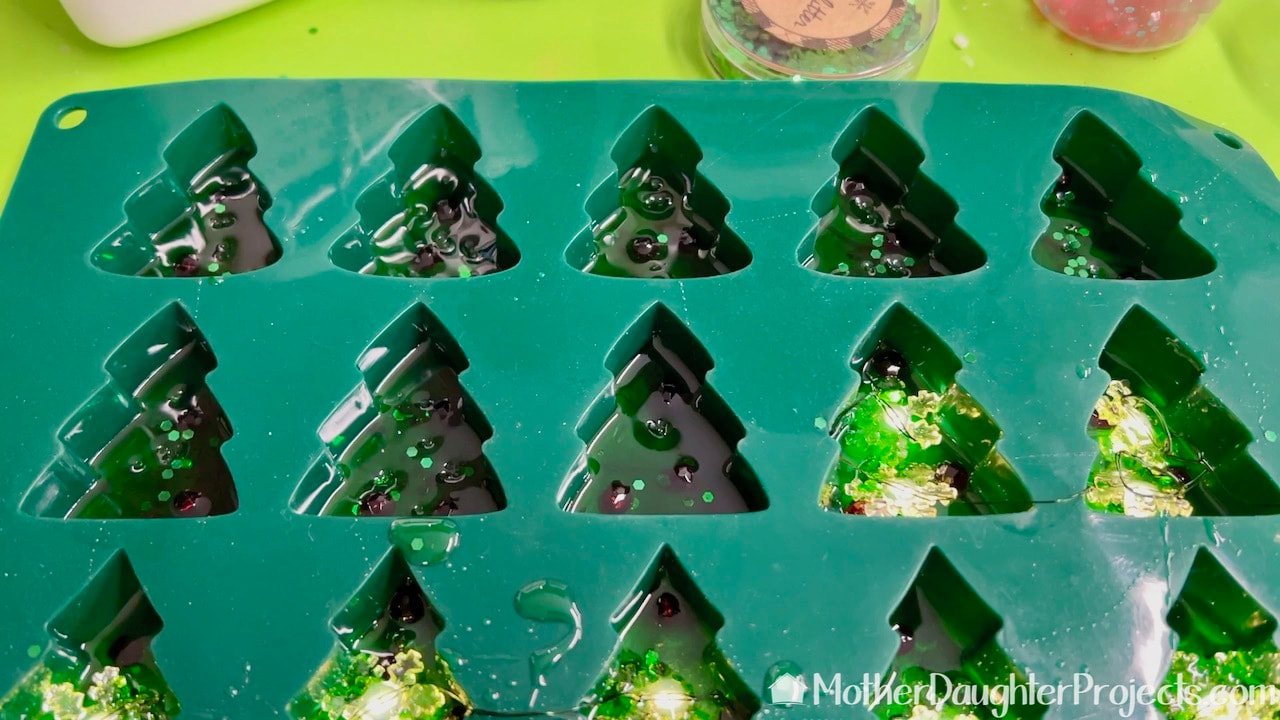
Before adding the lights, I added some plastic faceted beads into the epoxy.
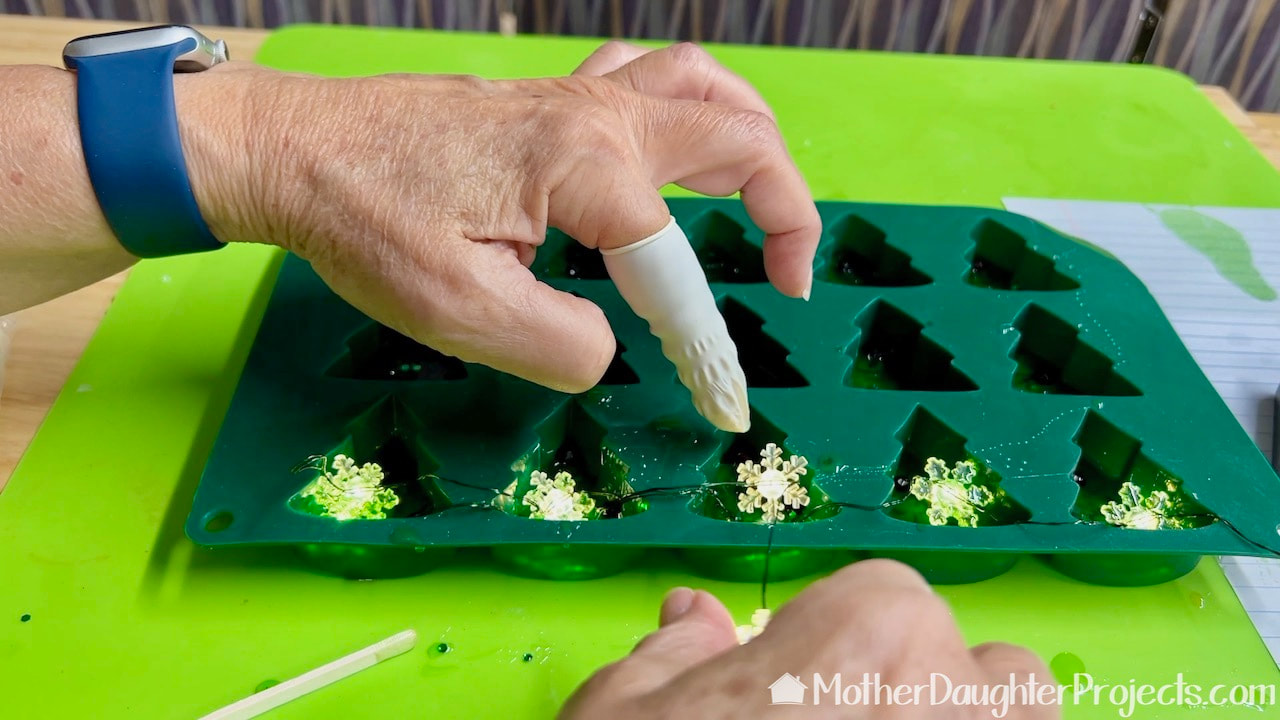
I started putting in the lights on the far right side. I added one light each, then doubled back adding a second to each mold. When I got back to the first one I determined how many lights I needed to leave out so that the next two would end with two only. The excess between the top two and bottom will allow the entire row to stand in a continuous row.
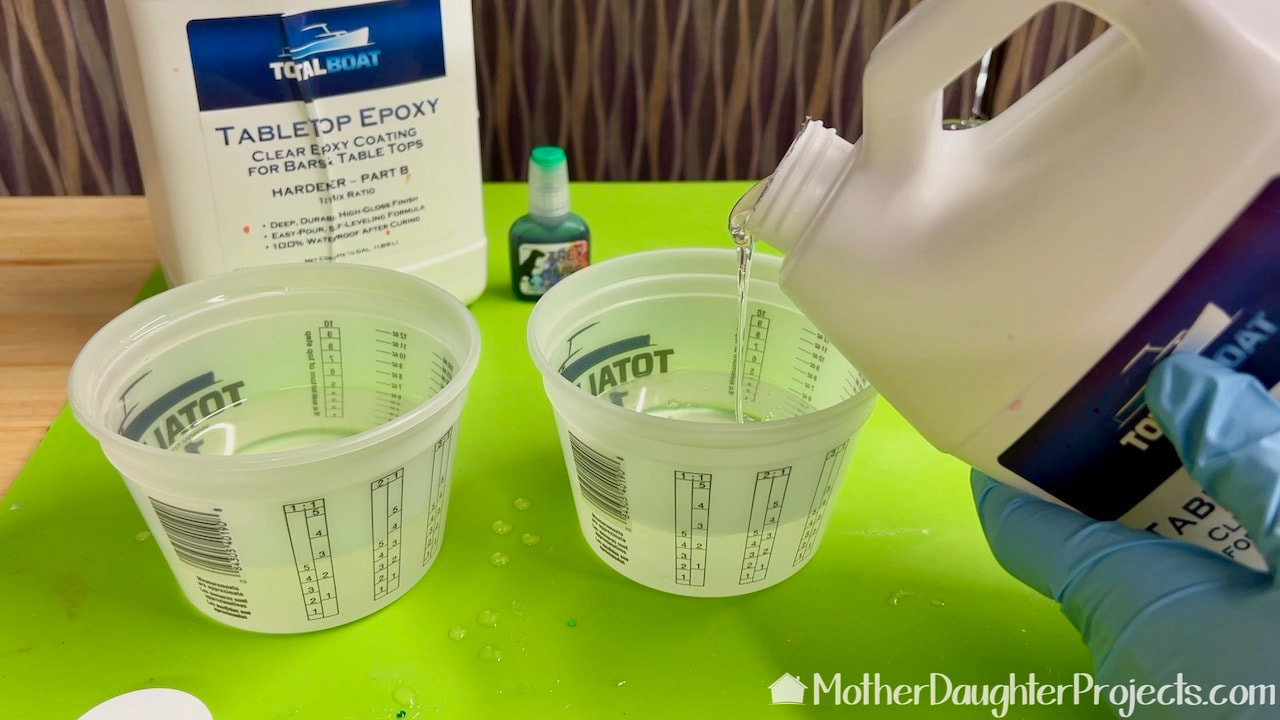
The Totalboat tabletop epoxy is mixed in a one to one ratio.

This is what the epoxy looks like when you add the alcohol ink. It needs to be mixed well to evenly distribute the color.
The lights want to float out of place, so as the epoxy cured, I continued to push the lights back into place.
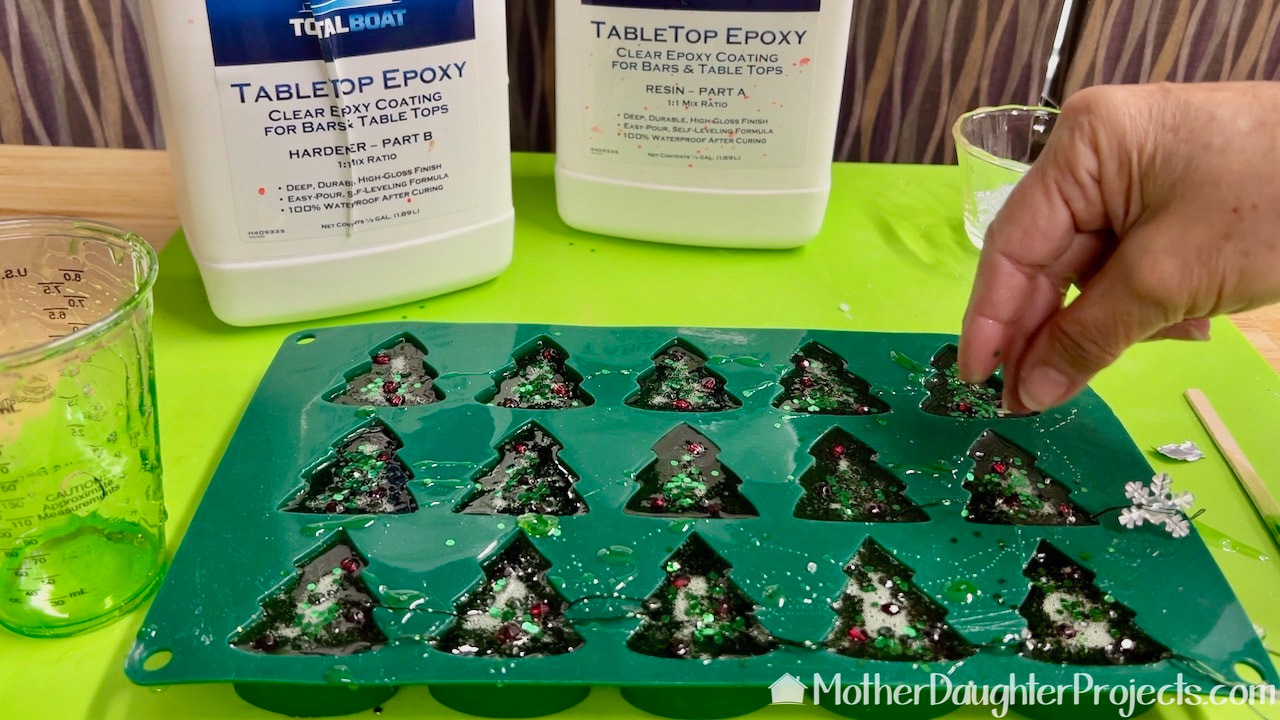
The last pour of epoxy is finished with more beads and chunky glitter.
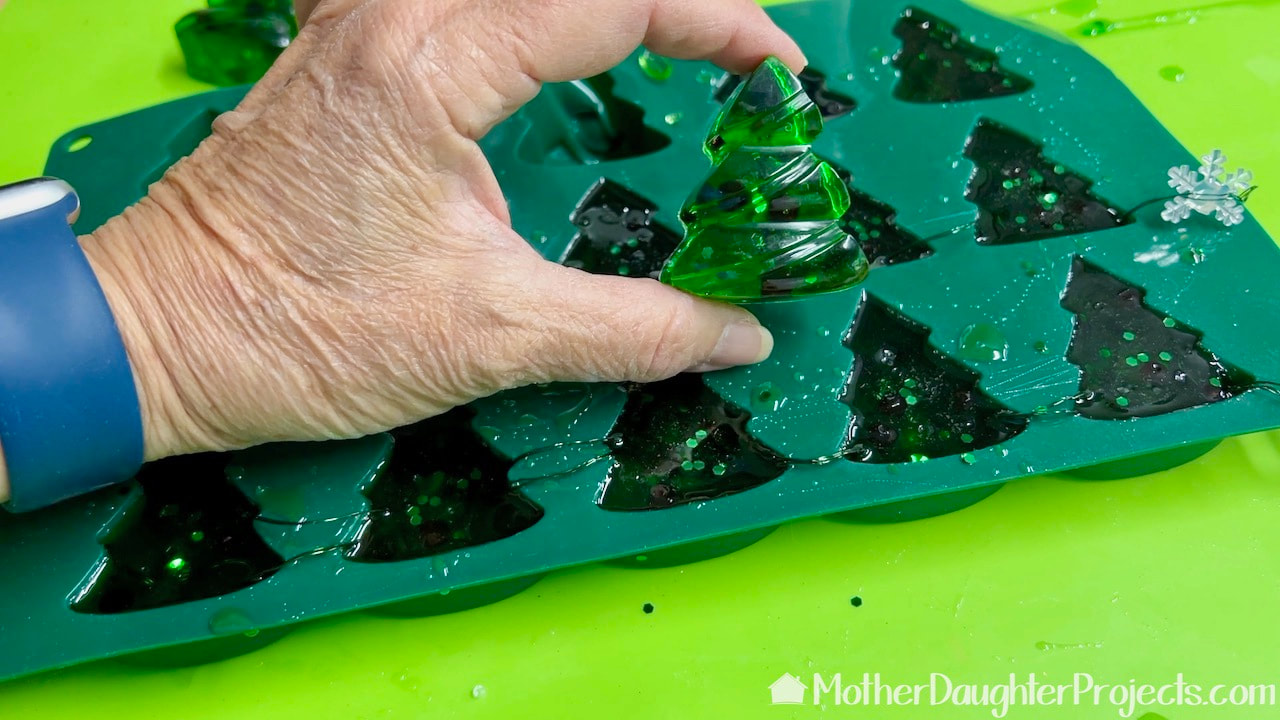
I let them cure overnight, then un-molded.
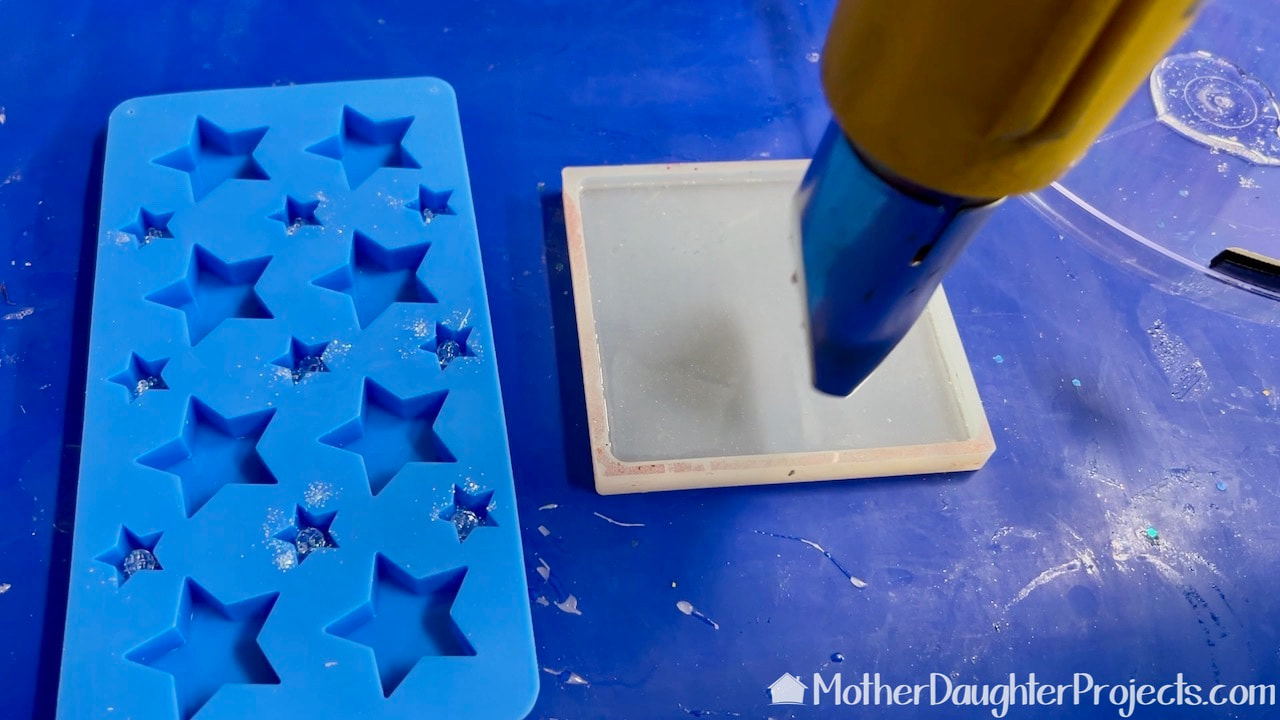
This is a mold from Walmart that I found in their cake decorating department. Because it's hard to remove air bubbles from small molds, I first poured the epoxy in this large flat mold and removed the air bubbles with a heat gun. I then poured this epoxy into the molds.
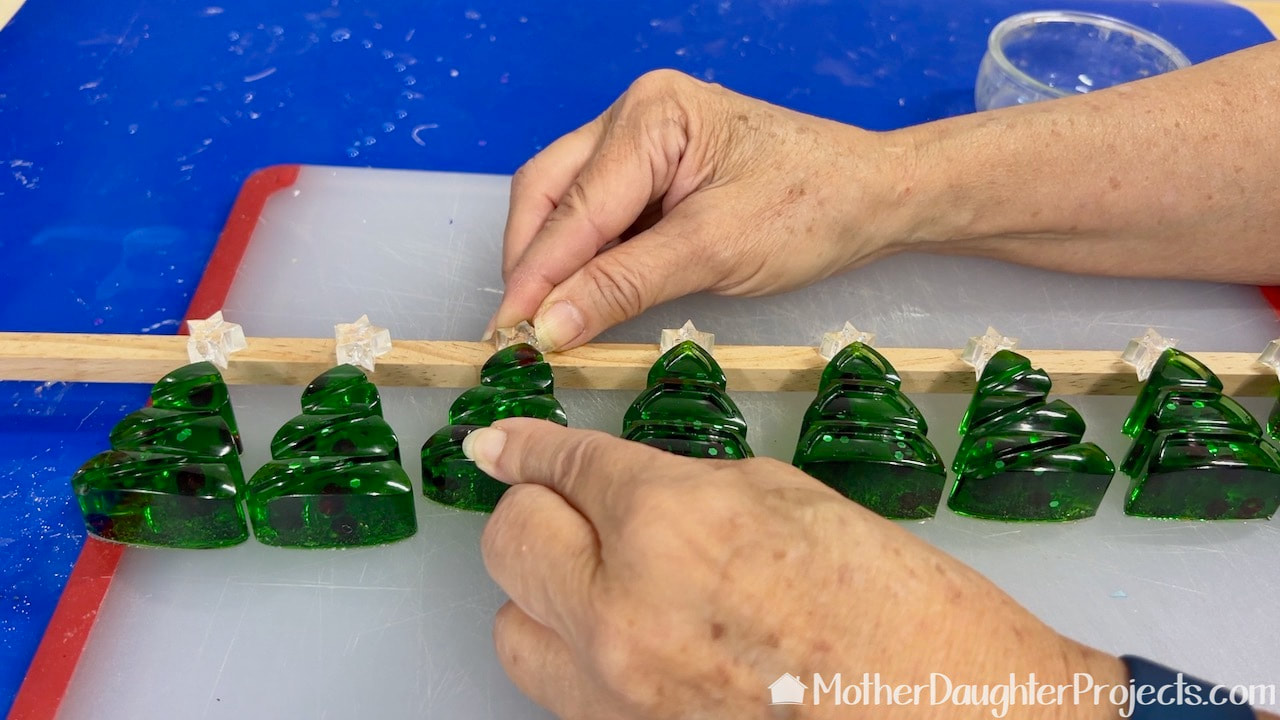
I used Gorilla contact cement to attach the stars to the trees.
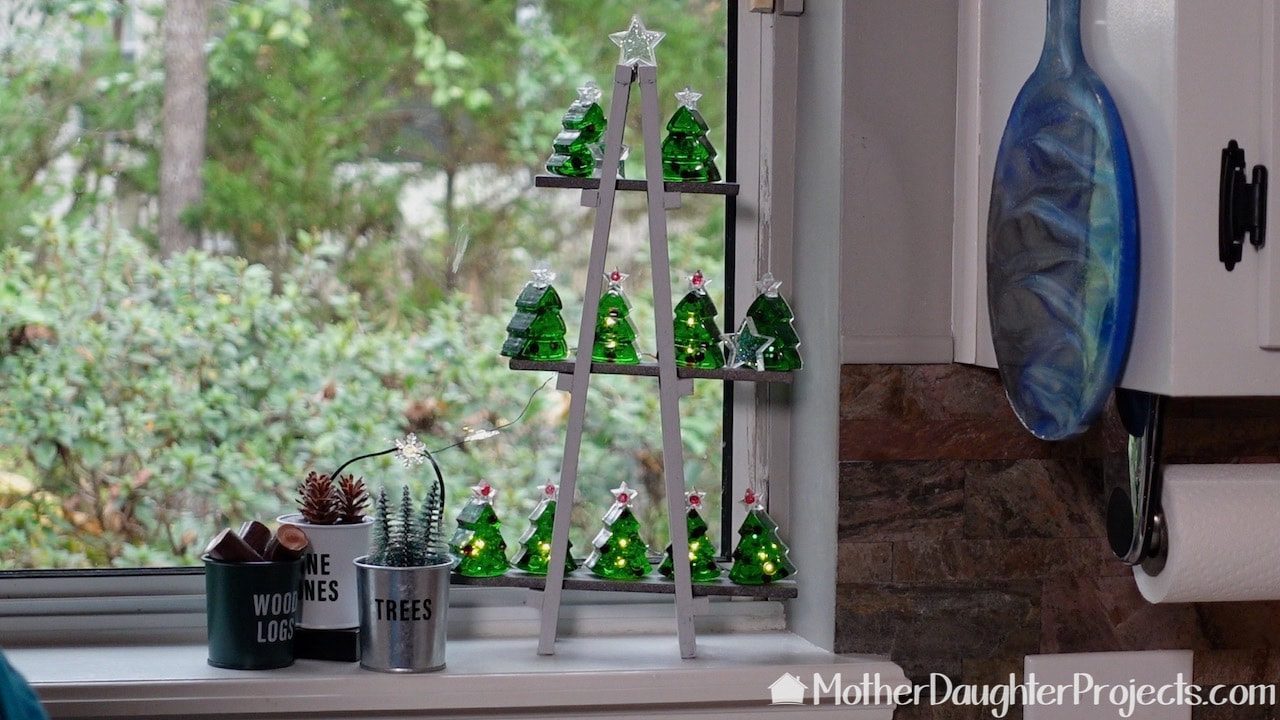
The lighted trees and the non-lighted ones are perfect on this mini ladder tree.
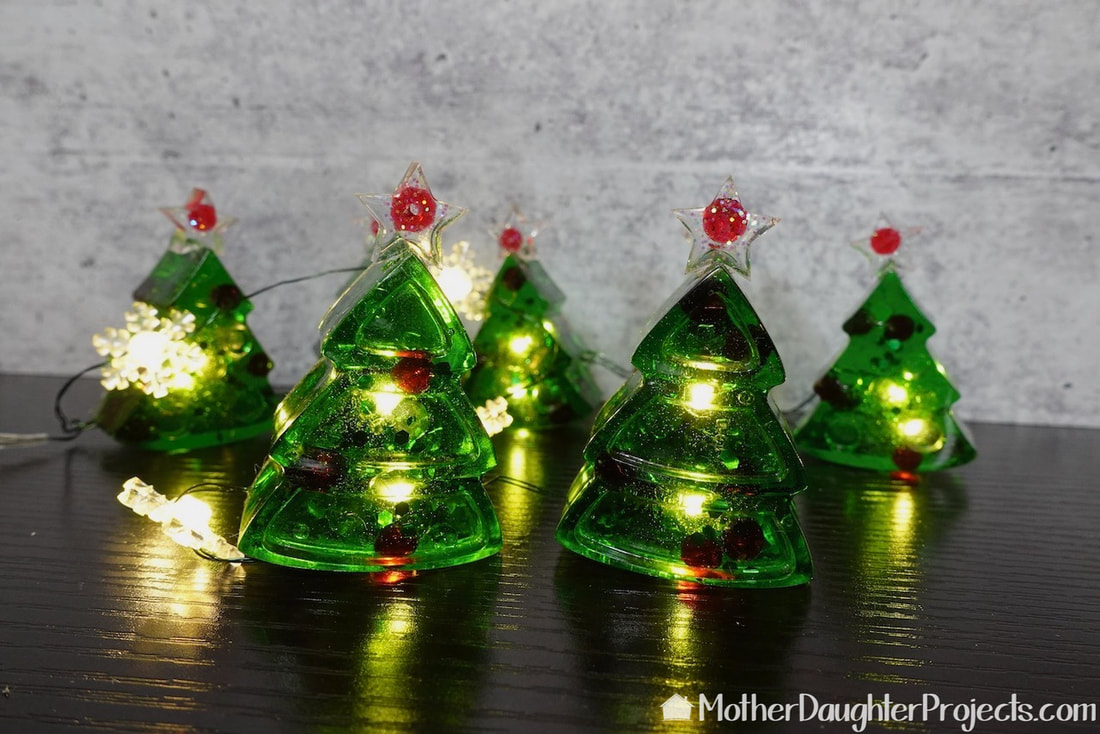
This was another successful experiment. I wasn't sure the lights would actually work after being encased in the epoxy, but as you can see they did.
These lights don't have the timer feature, but that's what I would recommend as they will come on everyday at the same time. The trees are the perfect addition to our mini ladder tree! Please note: This is not a sponsored post. Total Boat did provide the epoxy for free. FYI: We are not professionals, and we don't claim to be. This is what we found worked for our project. Yours may need a little different approach. Safety first! FYI: Affiliate links are being used on this page. Purchasing via these links help support MDP Related Projects
0 Comments
Leave a Reply. |

Mother Daughter Projects
|