Mother Daughter Projects

  • About
    • Contact
    • Privacy Policy
  • Maintenance
  • Improvement
  • Decor
  • Tech
  • Tools
  • About
    • Contact
    • Privacy Policy
  • Maintenance
  • Improvement
  • Decor
  • Tech
  • Tools

DIY for Homeowners

Schlage Connect Smart Lock Install

10/26/2018

0 Comments

 
text by Vicki     Sign up to get Mother Daughter Projects updates in your email!

This post is sponsored by The Home Depot.
Schlage Connect touchscreen deadbolt lock.
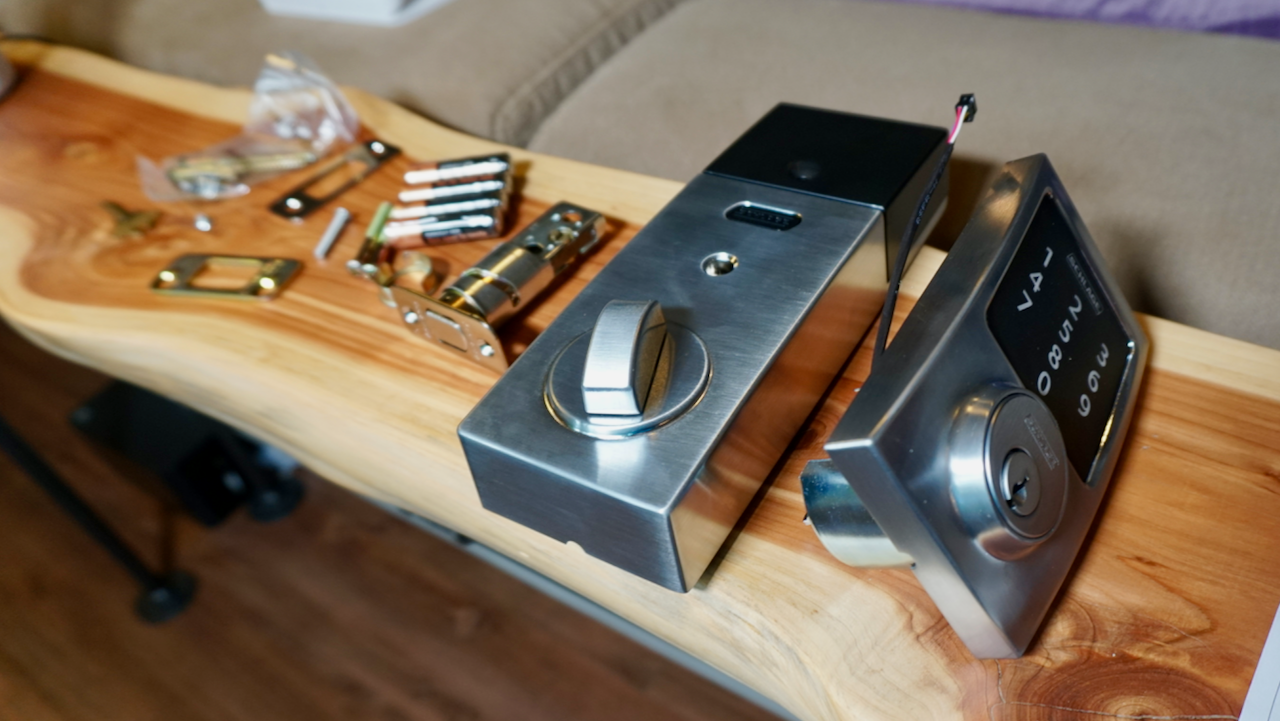
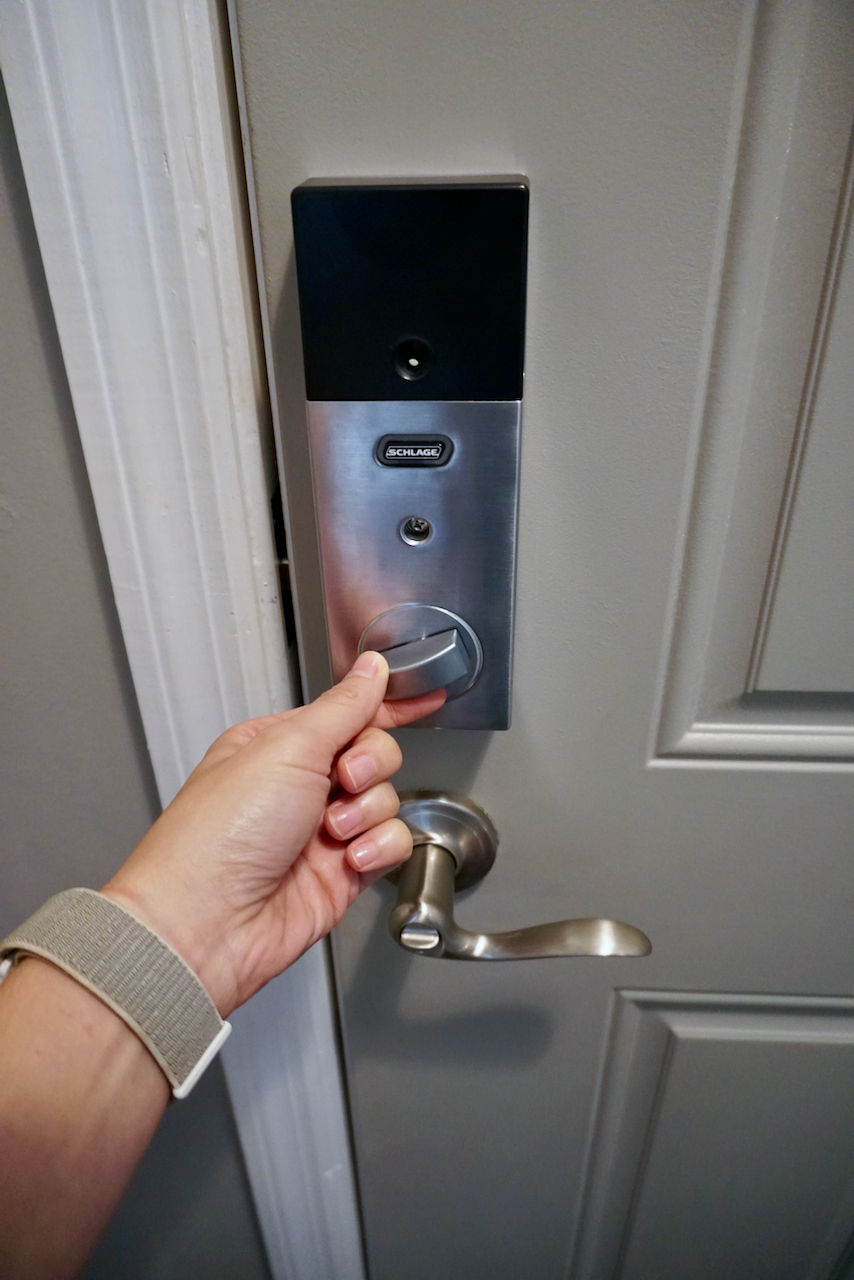
About a year ago, we installed the Schlage Sense lock at my house. We had a very easy time with the install and smart features' setup. As part of The Home Depot #smarthome campaign, we had a chance to try out the Schlage Connect Lock. Schlage makes three smart locks, and here you can click to see the differences.

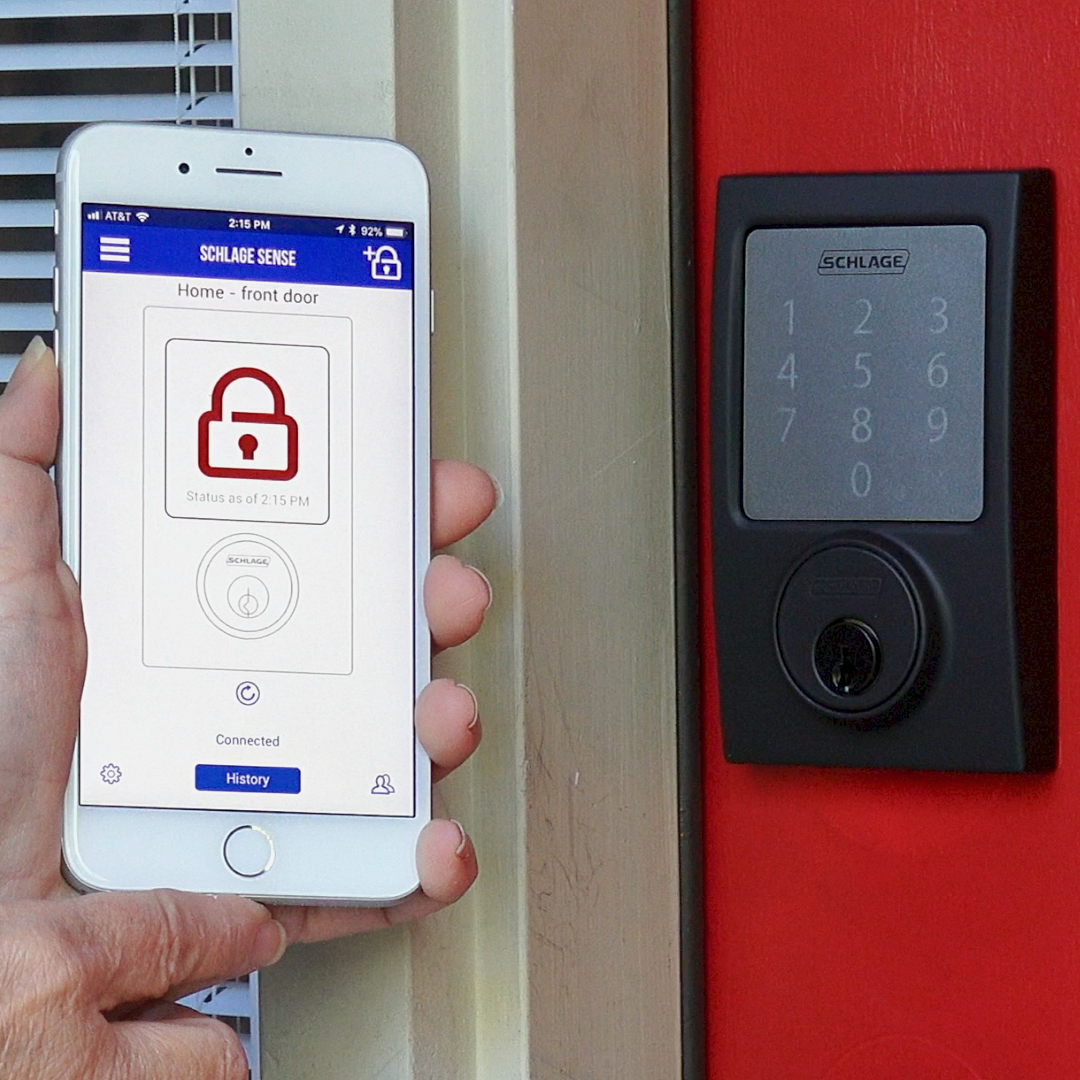
With the Schlage Connect, you need an additional hub for the smart features to work. If you already have one of the compatible hubs in your home, which you can see here, then this might be a great lock for you. Check out below as we show you the lock install at Steph's house. 
Schlage Connect touchscreen deadbolt lock.

Product:


  • Schlage Century Satin Nickel Connect Smart Lock with Alarm (Home Depot)

Getting ready to install the Schlage Connect touchscreen deadbolt lock.
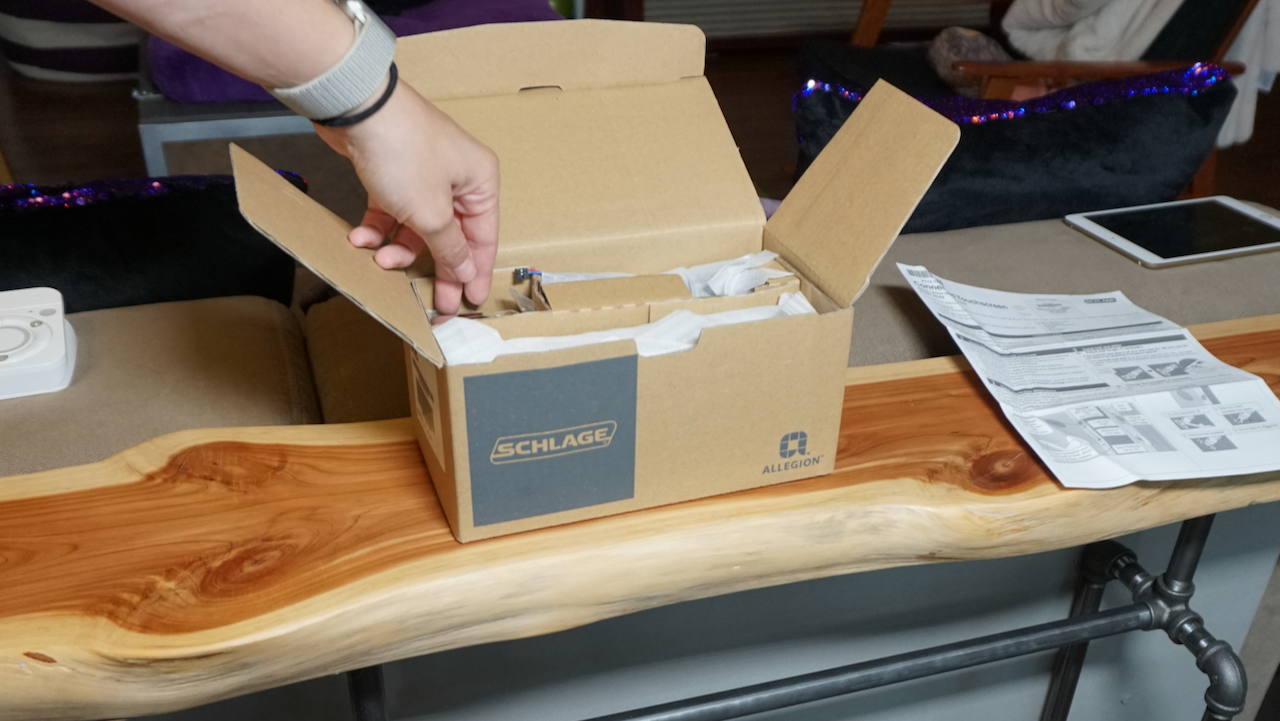
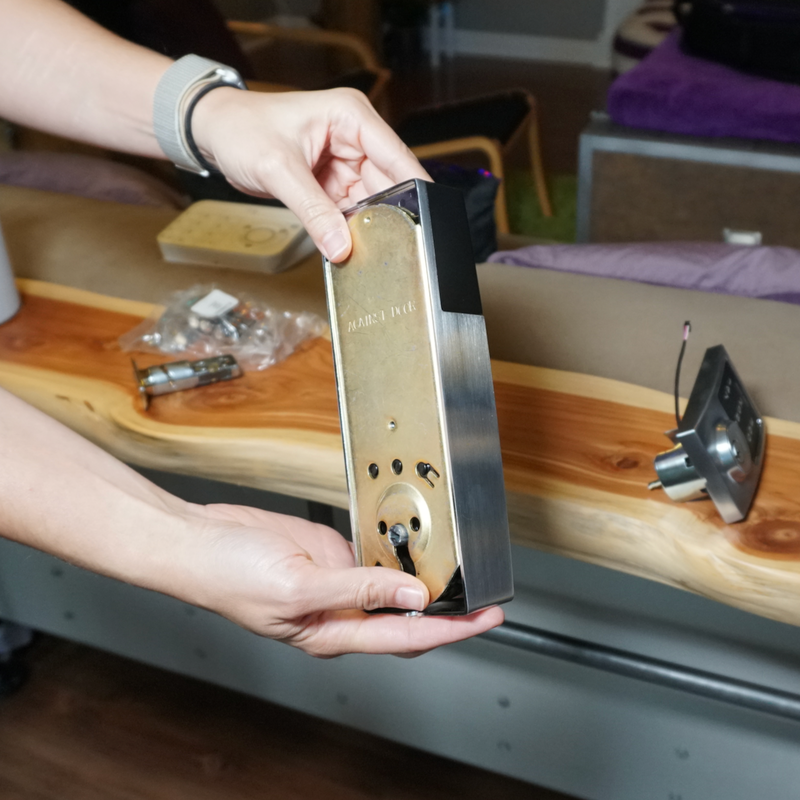
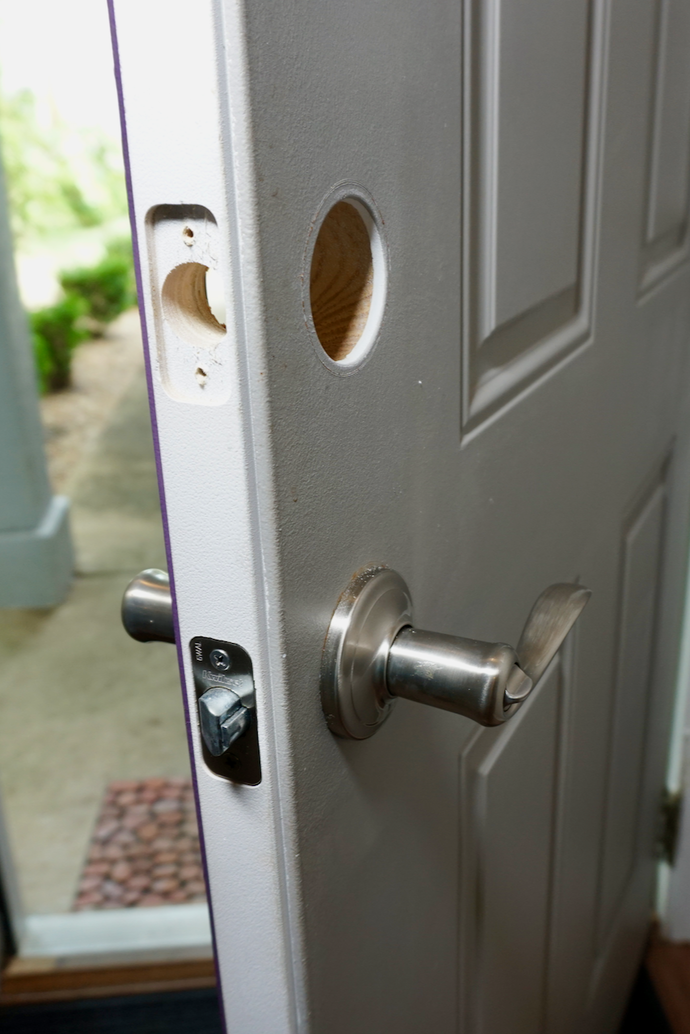
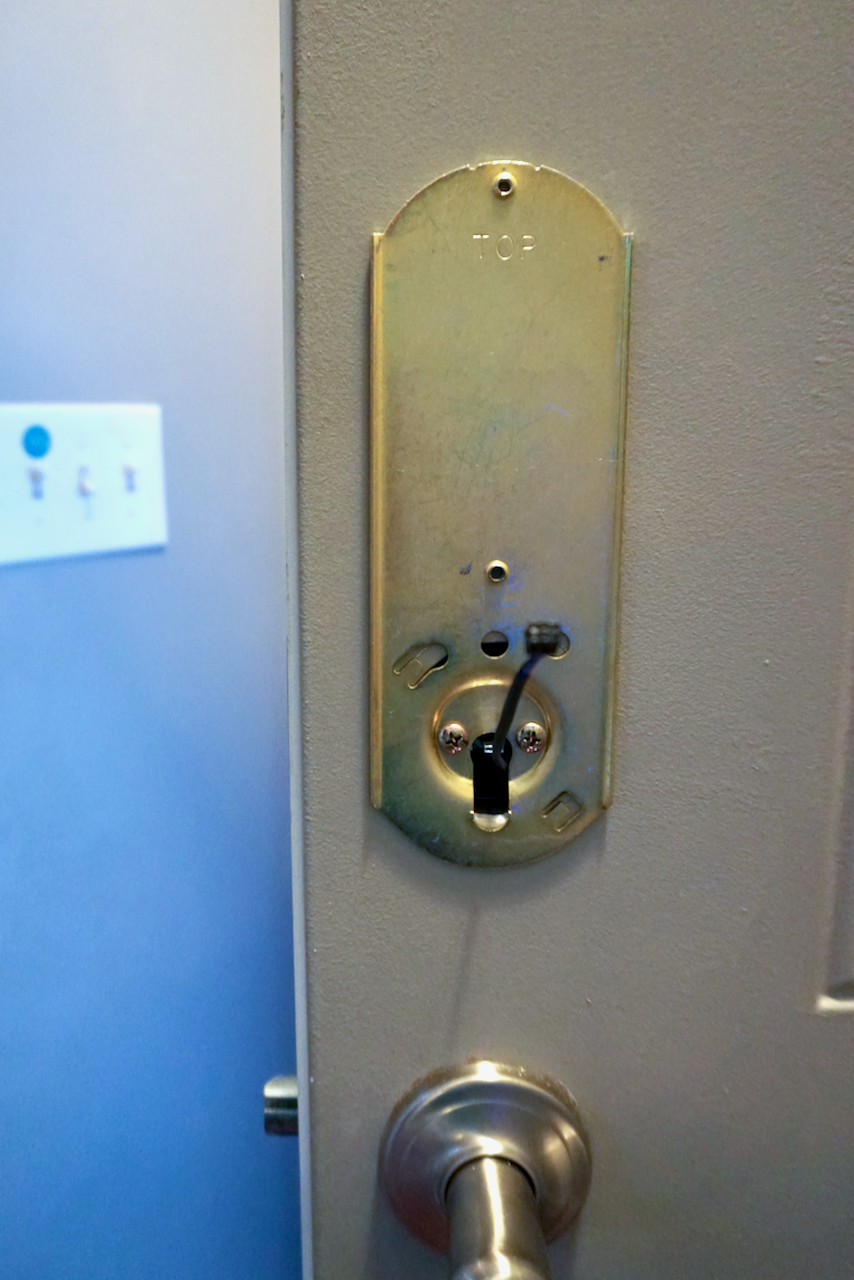
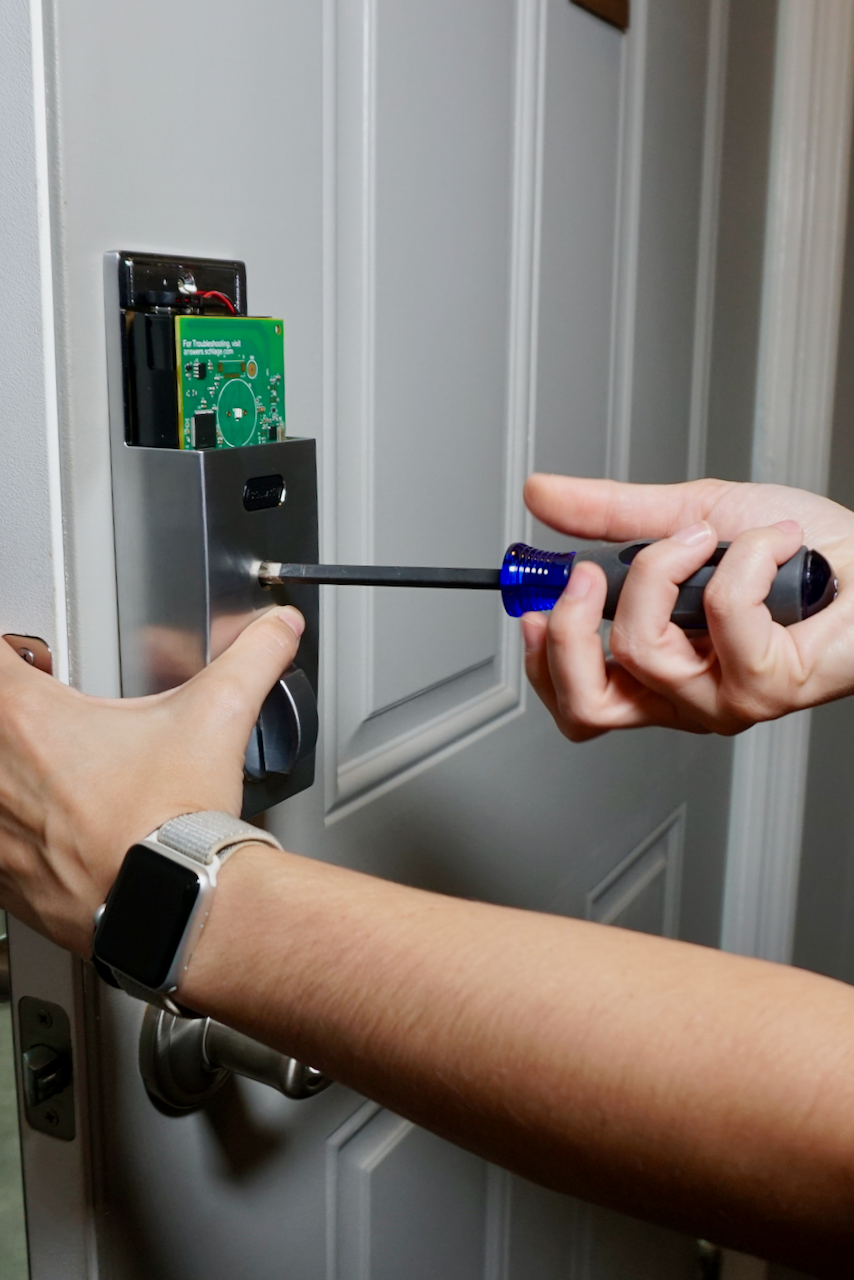
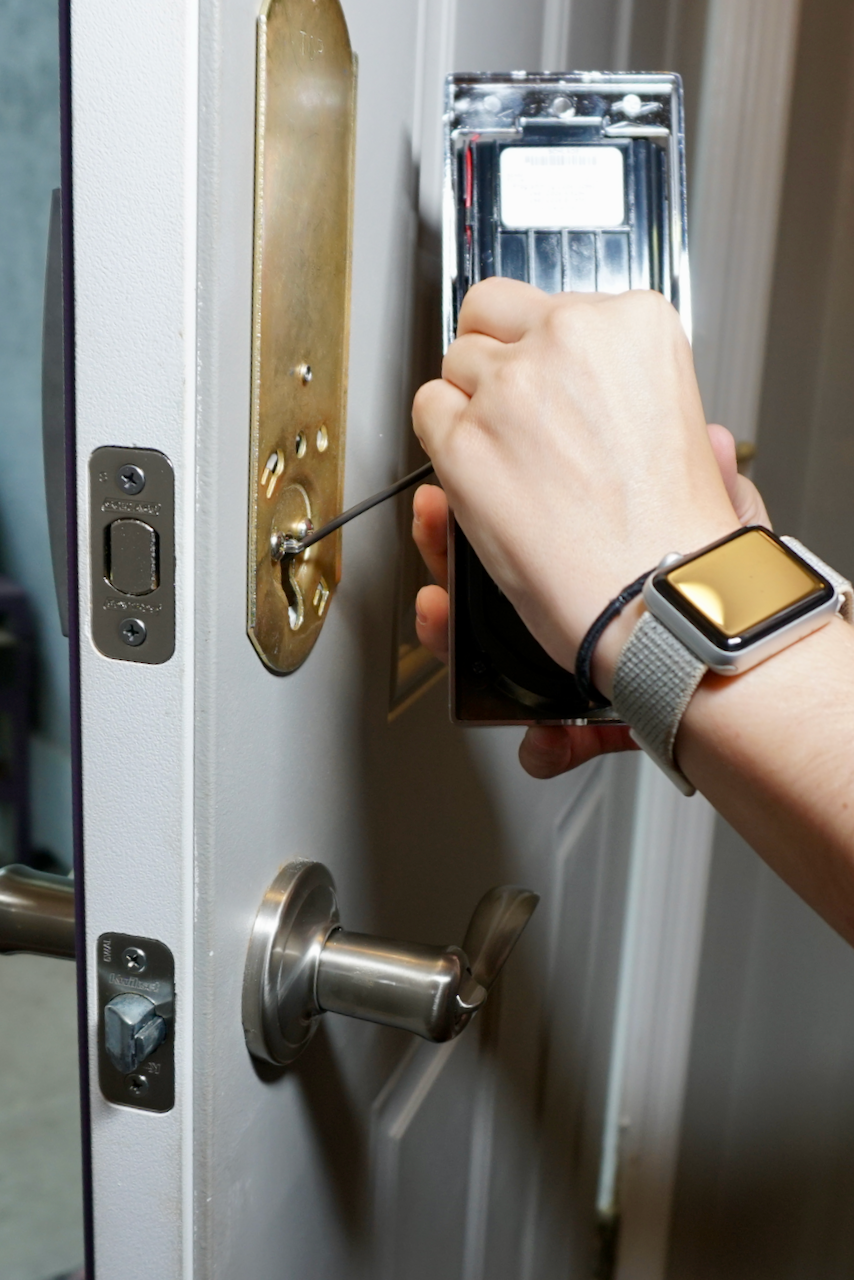
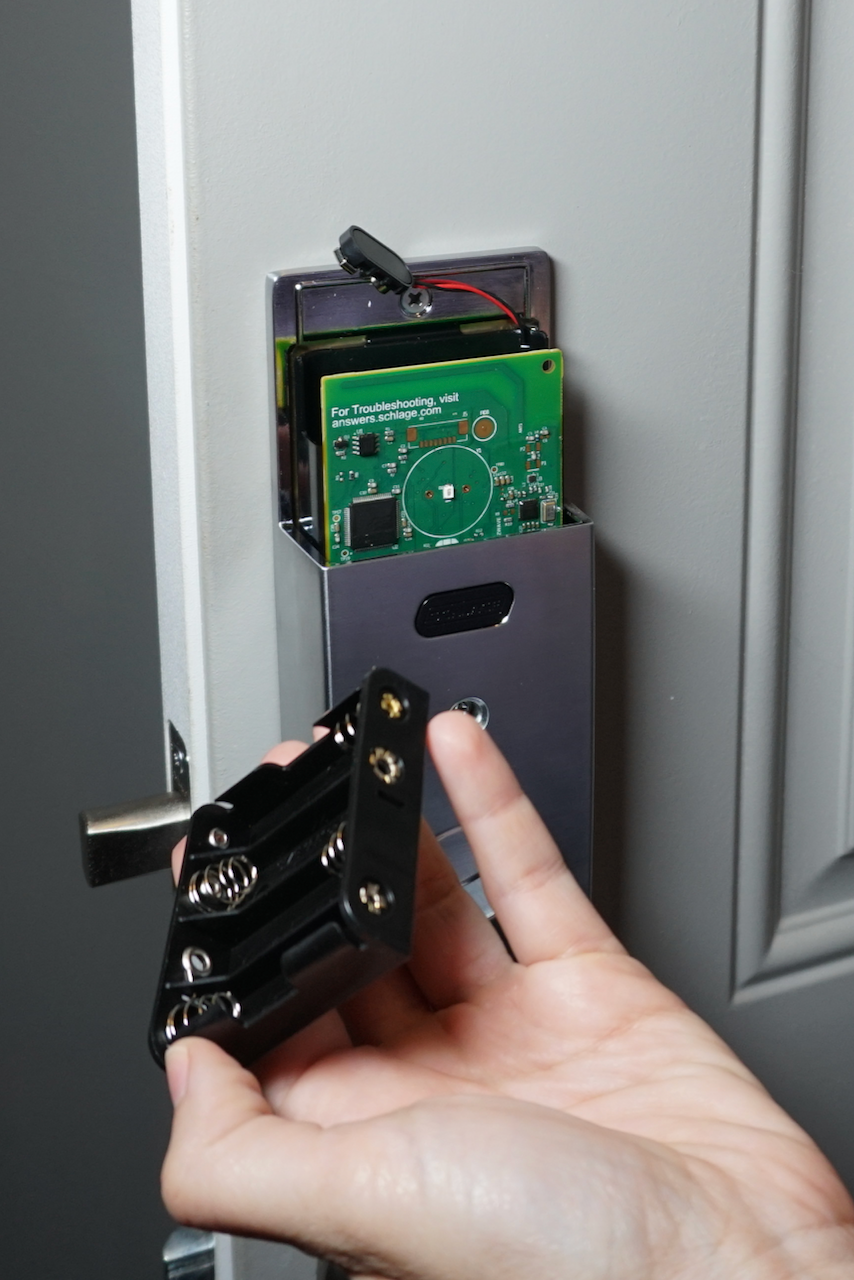
After checking to be sure all the parts were included, we read the install instructions and got started.
Schlage Connect touchscreen deadbolt lock.
This is the backside of the lock. That upper section slides away to insert the batteries.
Schlage Connect touchscreen deadbolt lock.
This the backside of the interior part of the lock.
Remove all the old lock hardware before installing the Schlage Connect touchscreen deadbolt lock.
The install of the new lock begins with the removal of all the old lock parts and hardware. We are not changing the handset, so everything below the hole stays the same.
Installing the Schlage Connect touchscreen deadbolt lock touchscreen on the front.
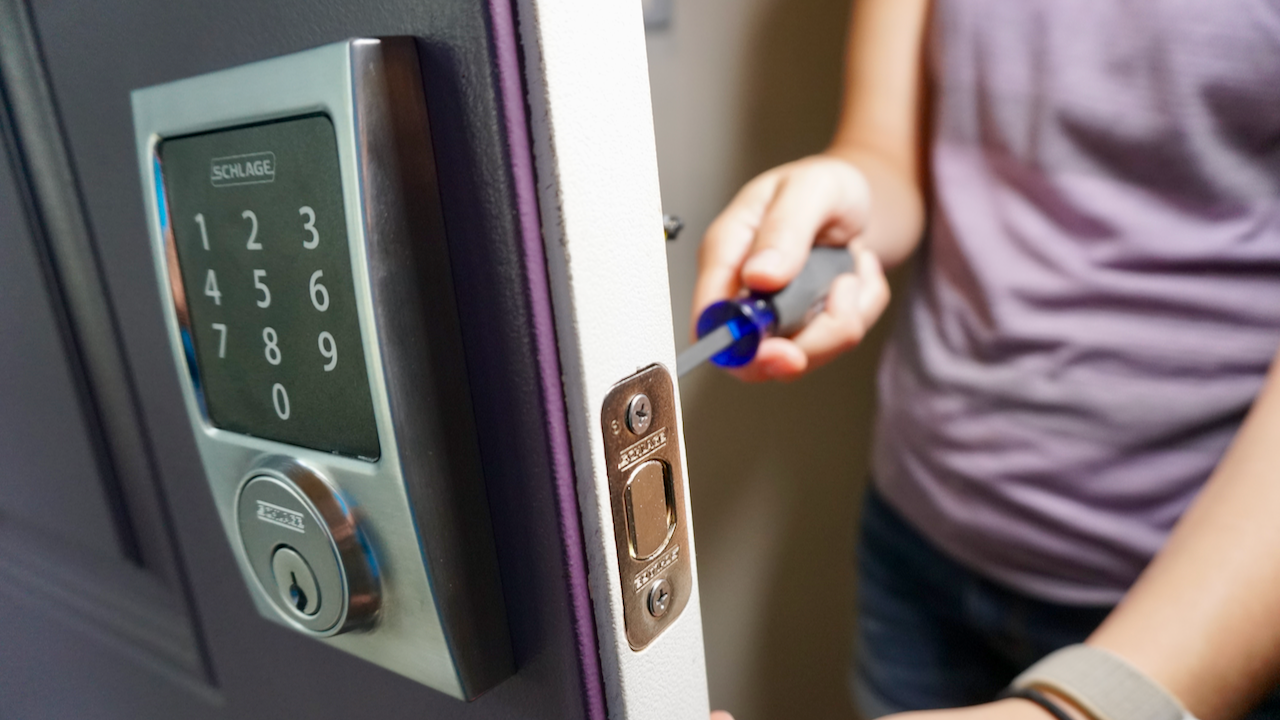
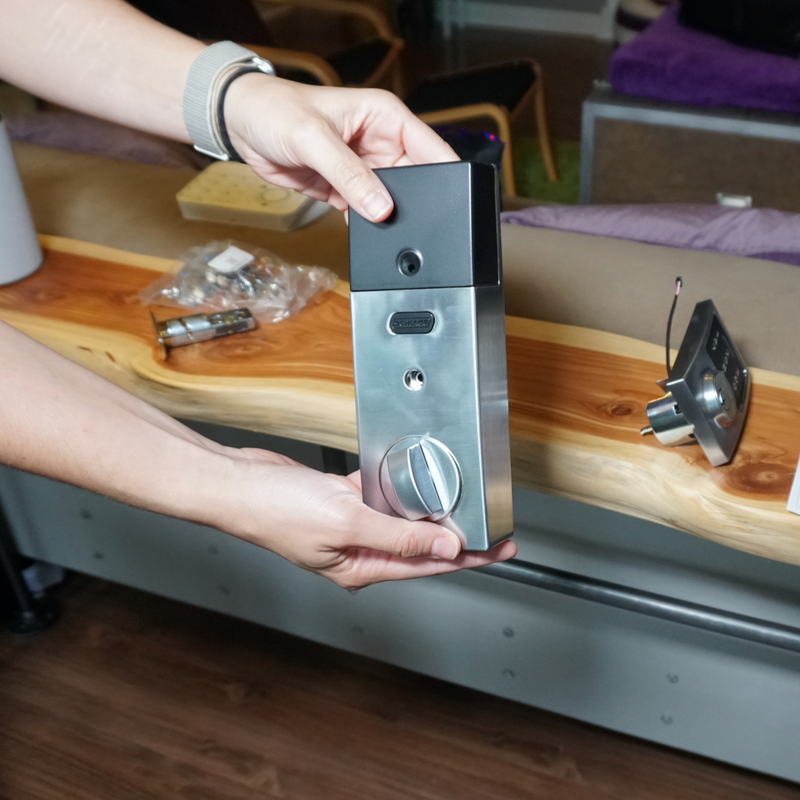
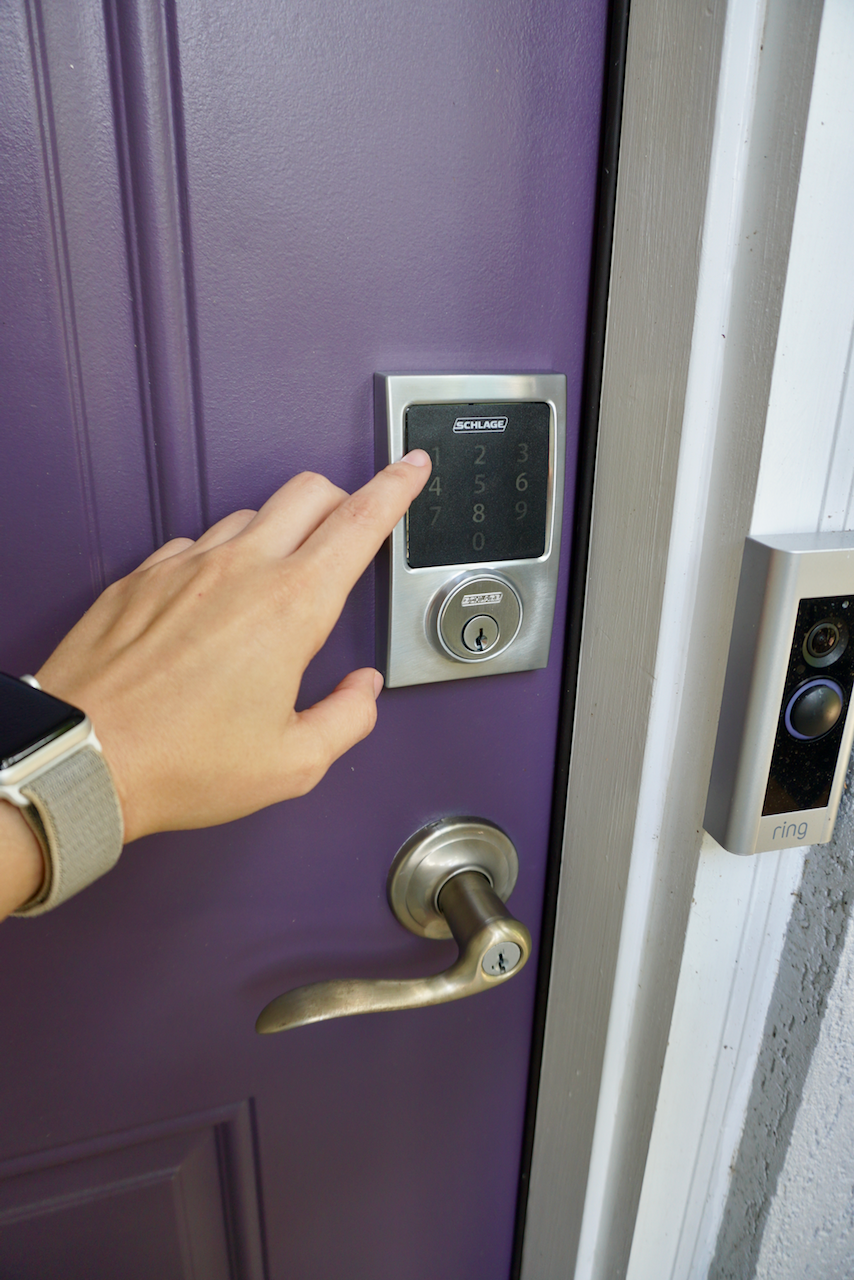
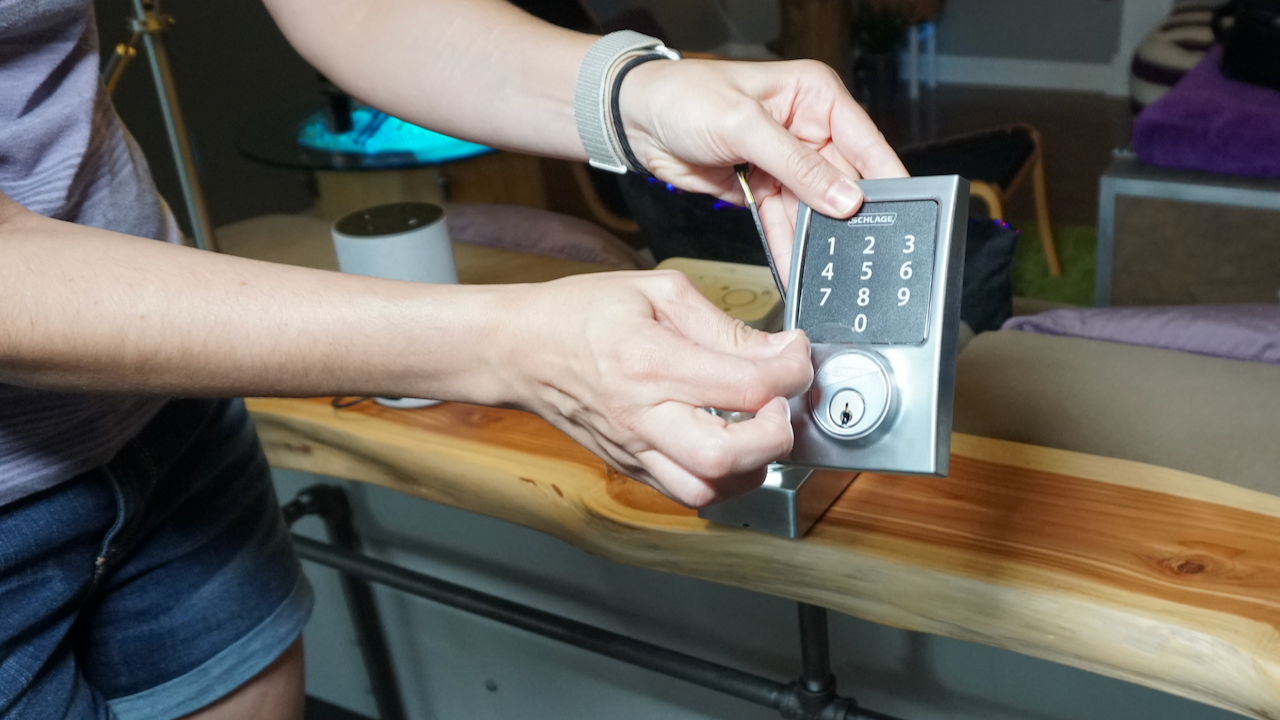
The bolt is installed first then the touchscreen is screwed into place.
Install the Schlage Connect touchscreen deadbolt lock support plate.
Next, the support plate is installed on the inside of the door making sure the cable from the touchscreen is correctly passed under the bolt, through the support plate.
With the provided screws, attach the alarm assembly to the support plate.
Turn the knob to lock and unlock the door from the inside.
Use the touchscreen to type in the code to open.
Use the touchscreen to type in the code to open...
Connect the cable to the alarm assembly.
Before the back is secured onto the support plate, the cable is connected to the alarm assembly. Route the cable into the channel to avoid crimping the cable.
Install the included batteries into the battery tray and install into the alarm assembly.
Follow the Schlage instructions to reset the factory code.
Touch the Schlage logo to lock. A green check will appear to confirm.
...touch the Schlage logo to lock. A green check will appear to confirm.
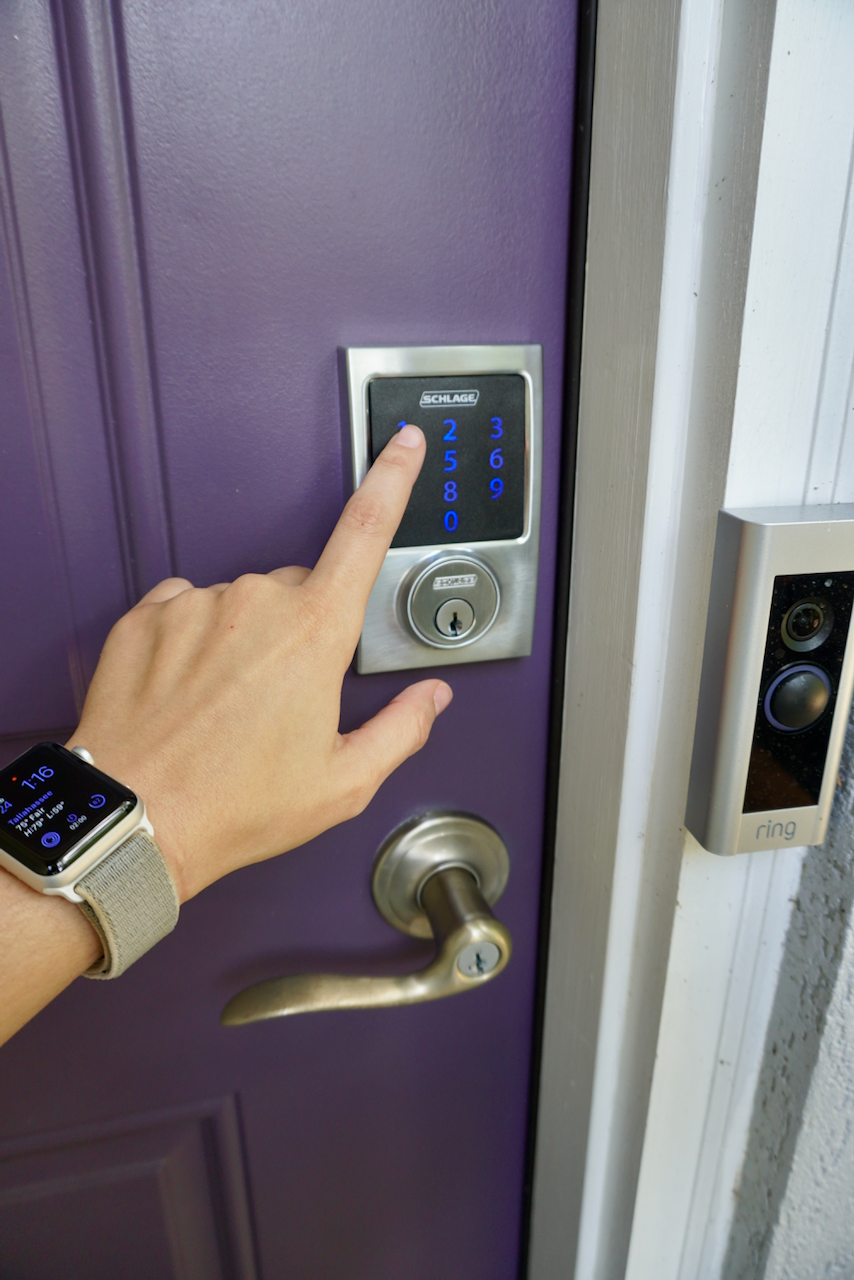
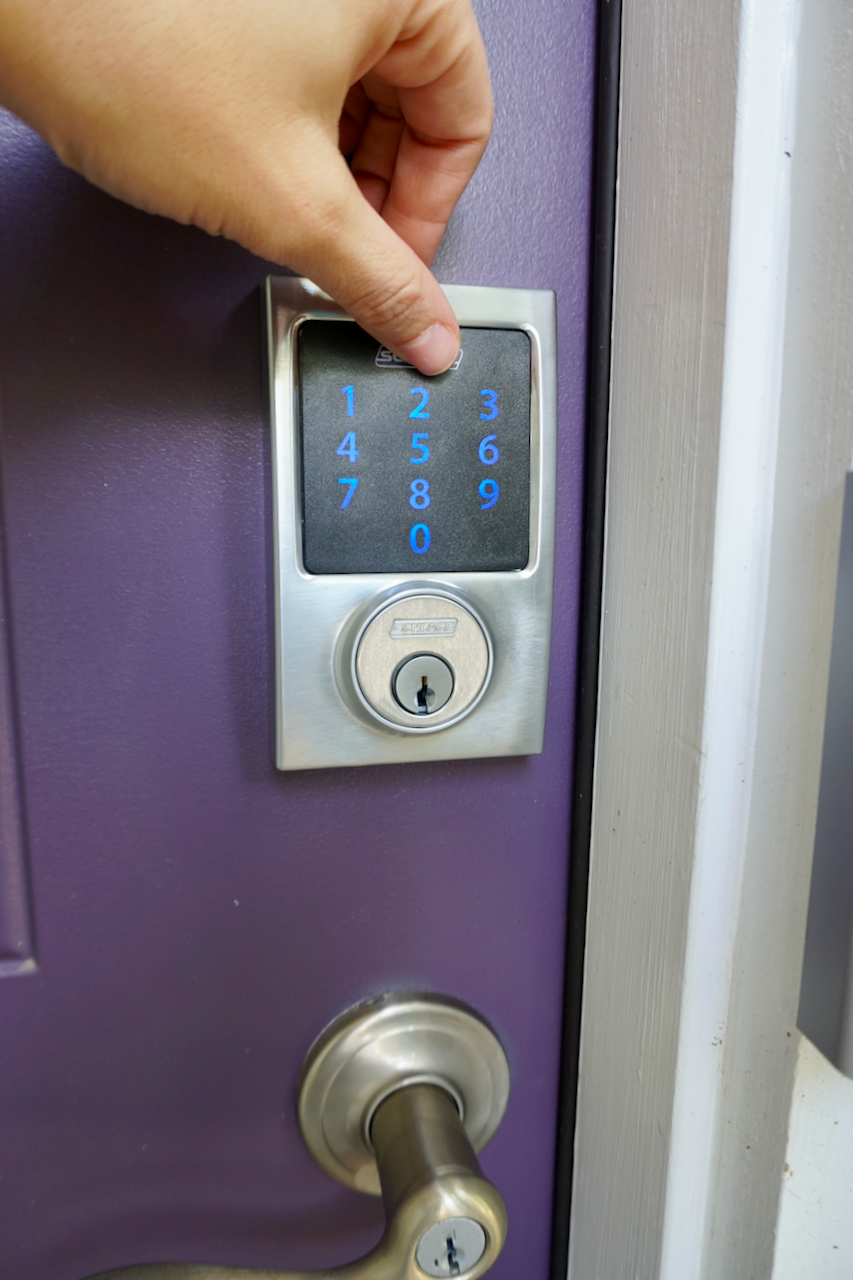
The Schlage Connect has a touchscreen that you can program right from the screen or by enabling the smart features through your phone. You can add multiple codes for different family members or for workers that may need temporary access to your home.

As we said in the intro, if you already have one of the compatible hubs or are planning on getting one, this is a great lock to consider. 


We acknowledge that The Home Depot is partnering with us to participate in the Smart Home Campaign 2018. As a part of the Program, we are receiving compensation in the form of products and services, for the purpose of promoting The Home Depot. All expressed opinions and experiences are our own words. Our post complies with the Word Of Mouth Marketing Association (WOMMA) Ethics Code and applicable Federal Trade Commission guidelines.

FYI: We are not professionals, and we don’t claim to be. This is what we found worked for our project. Yours may need a little different approach. Safety first!

FYI: Affiliate links are being used on this page. Purchasing via these links help support MDP!

Related Projects

Picture
Install a Smart Lock
Picture
Bookcase to Coffee Table
Picture
How to Install a Smart Doorbell
0 Comments


Leave a Reply.

    MotherDaughterProjects.com

    Mother Daughter Projects
    ​
    Steph & Vicki

    MotherDaughterProjects.com
Mother Daughter Projects, LLC ∙ est. 2015 ∙ Tallahassee, FL by Vicki & Steph ∙ Privacy Policy