|
text by Vicki Sign up here to join our weekly email newsletter!
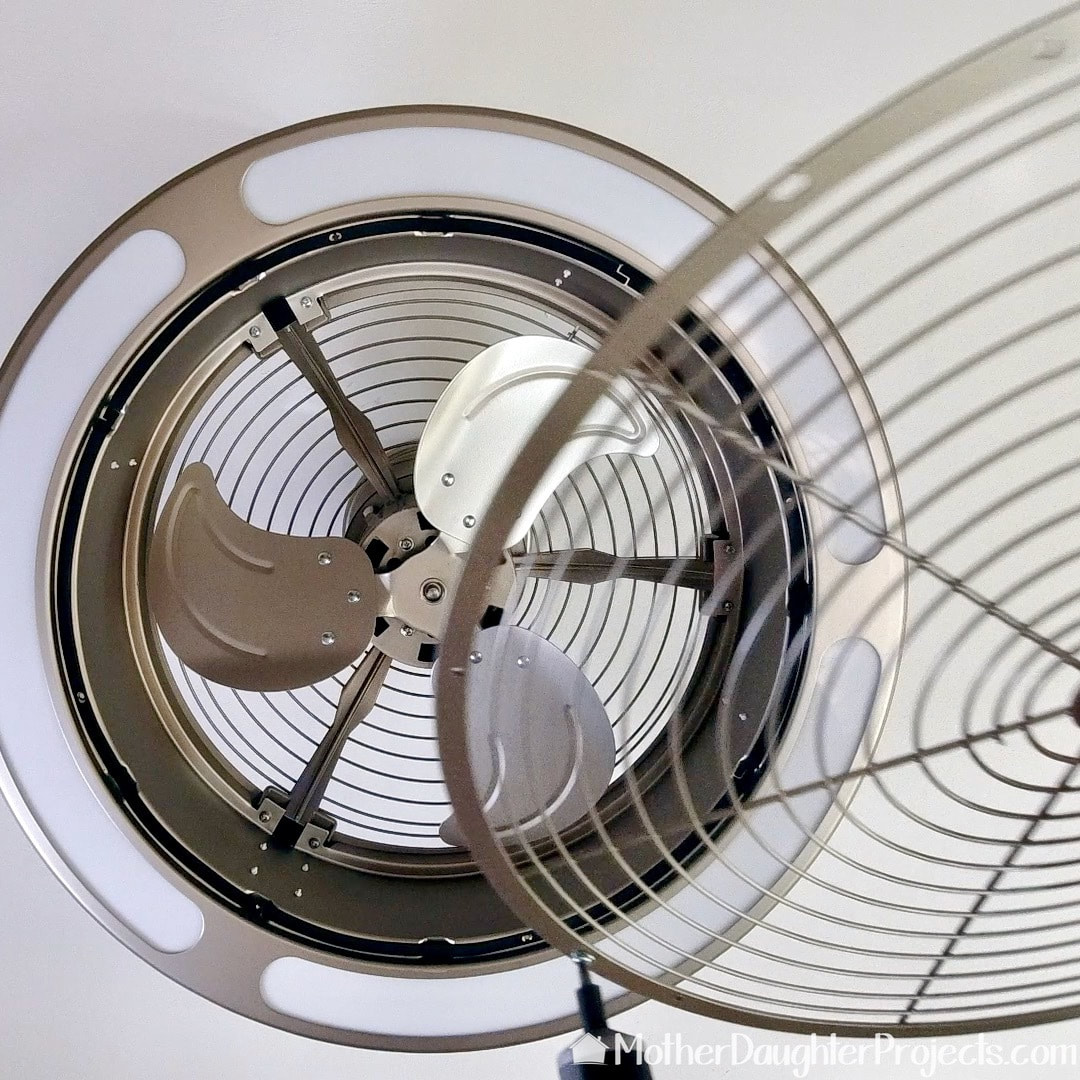
Cleaning table fans is probably not on anyone's to-do list unless you have taken a good look at the dust and debris that has accumulated. Then, cleaning becomes a high priority.
With hotter weather approaching, now is a great time to get those fans in tip top shape. Not only will they run more efficiently but they'll no longer spew dust into the air when they are on. Let's get to it! Materials/Tools:

This is the fan I use everyday in my bedroom including during the winter to keep the air circulating. You can easily see how dirty it is.

This is the one I use in the bathroom after a shower to help move moisture out of the area. I open the window, put the fan near the window, and point it out the bathroom door. Using this method along with the ceiling exhaust, moves out the moisture pretty quickly. This one is especially dirty as the dust combines with moisture to form a pretty hard to remove layer of dirt.

Here are some of the tools and cleaning supplies I'm going to use. The Ryobi battery powered light is so I can be sure see everything that needs to be cleaned. Be sure your fan is unplugged before starting to work.

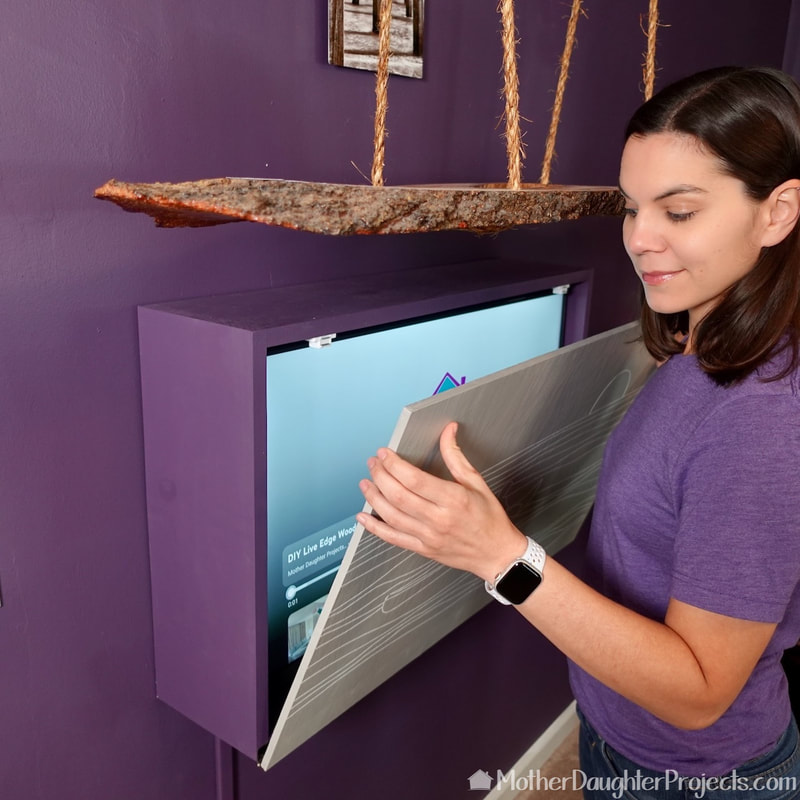
I downloaded the manual for this fan or so I thought! There are many models of this tilting panel fan. When the back of this one didn't line up with the downloaded manual, I realized the models were different. This model, 279T. When I did find an aftermarket manual, it said that "the fan has no user serviceable parts inside and cannot be opened for cleaning!" Obviously that little warning did not deter me!

I carefully removed the screws on the back that I assumed were holding the front to the body of the fan. I was right. The front easily came off. Fingers crossed that this will work once I'm finished!

Once the front was off, it was easy to remove the nut holding the fans in place.

Using warm water, Dawn, microfiber cloth and a couple of brushes, I was able to throughly clean the front panel.

An old toothbrush helped to clean between the front openings.

I used a pair of Robo-Grip pliers to loosen the nut to remove the blade. Hint: take pictures as you go along so you can be sure you get things back where they belong.

I washed the blades in the sink as well. They are so clean now!

I used a variety of tools to remove the stubborn dust from inside. An inexpensive paintbrush and a wet/dry vac working together did a great job.

A folded pipe cleaner worked to get into the small hard to reach areas.

After everything was clean, I reassembled the fan AND it still works!

Now onto this dirty little thing. Again, the manual states that it can not be opened for cleaning. There is no way this fan can be cleaned without opening. I just started unscrewing all the screws to see what would happen.

With the screws removed, everything fell apart which was actually a little startling! But you can see how dirty this is even more so that the other fan.

All the washable parts got a bath in the kitchen sink. The paintbrush was very helpful getting into those small areas on the front of the fan.

A finally rinse and the front piece was clean!

These fins were very hard to clean. I used the paintbrush method, but ended up needing to use a thin, damp microfiber cloth to get them really clean.

With all the parts clean and dry, it was time to put the blades back on and reassemble.

This fan was a little tricky to put back together and I did end up having to refer back to photos to get it correctly oriented. Two sets of hands would have made the reassembly of this fan a little easier, but in the end, I got it all back together.

I plugged it in and it works! Whew! Wasn't sure about this one!
Even though both of the manuals for these fans (Vornado calls them air circulators) said not to open these for cleaning; I wasn't content with just surface cleaning them. I needed them to be throughly cleaned! Having air blow through these dirty things certainly can't be healthy.
You take a very real risk that you'll void any warranty you have as well as the possibility it might not work after cleaning. These were risks I willing to take. If you are concerned how you'll clean a fan, I would suggest checking the product manual before buying to see if it can be taken apart and buying one that is easy to clean. I have another tilting panel fan that needs cleaning as well as two old Vornado fans that live in the garage. Those are super dirty. But that's a cleaning project for another day! Please note: This is not a sponsored post. FYI: We are not professionals, and we don't claim to be. This is what we found worked for our project. Yours may need a little different approach. Safety first! FYI: Affiliate links are being used on this page. Purchasing via these links help support MDP. Related Projects
0 Comments
Leave a Reply. |

Mother Daughter Projects
|