|
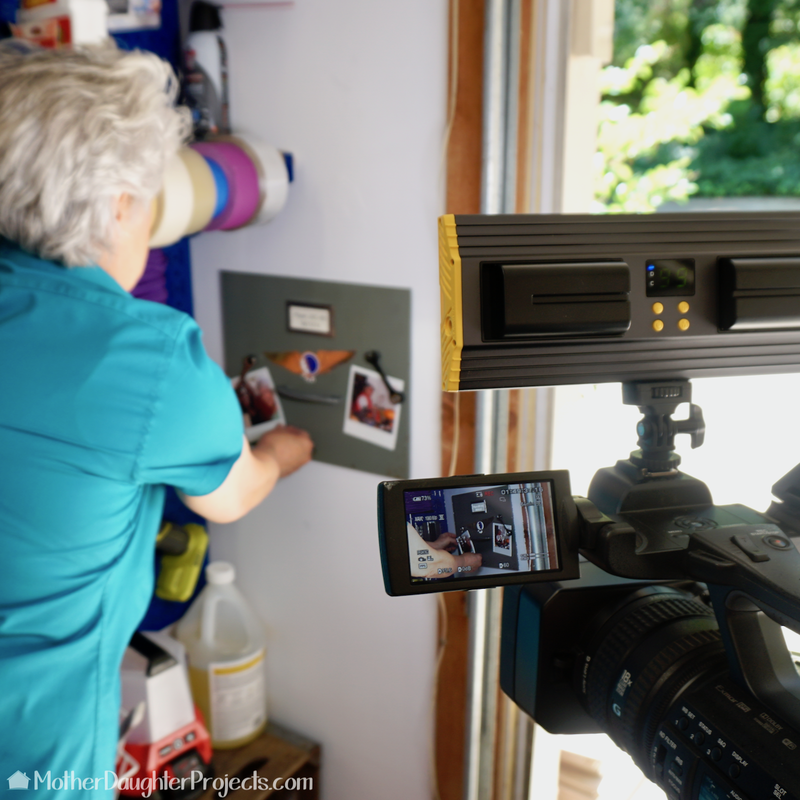
text by Vicki Sign up here to join our weekly email newsletter! We rarely label a project quick and easy but we WERE going to label this one as such. BUT, this very simple project was anything but that due to a series of mishaps! Read along. Have you ever had a project that was just one roadblock after another? Do tell! 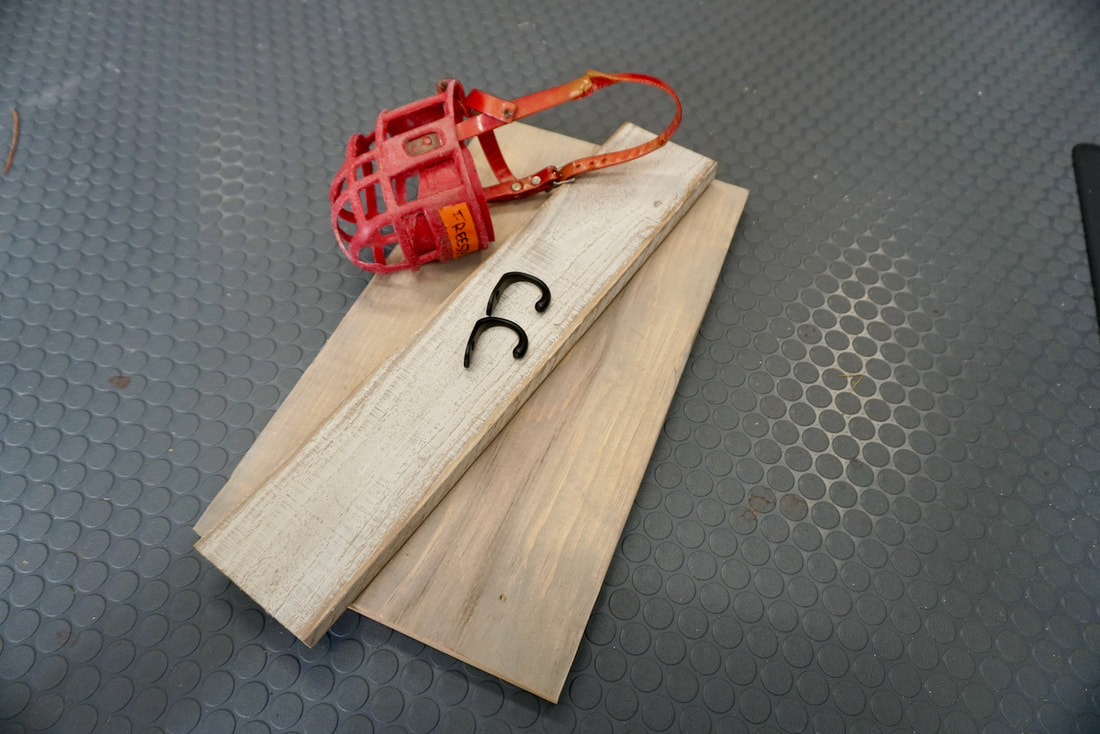 Every retired adopted greyhound comes with its kennel muzzle. Greyhounds aren't aggressive dogs, but when they get excited and want to play they can and do nip at their greyhound friends. Greyhounds have very thin skin so the muzzles are worn to protect against accidentally injury. Steph wanted to display Mac's and Tosh's muzzles AKA, Freestar and Victoria, their racing names, to honor their racing history. 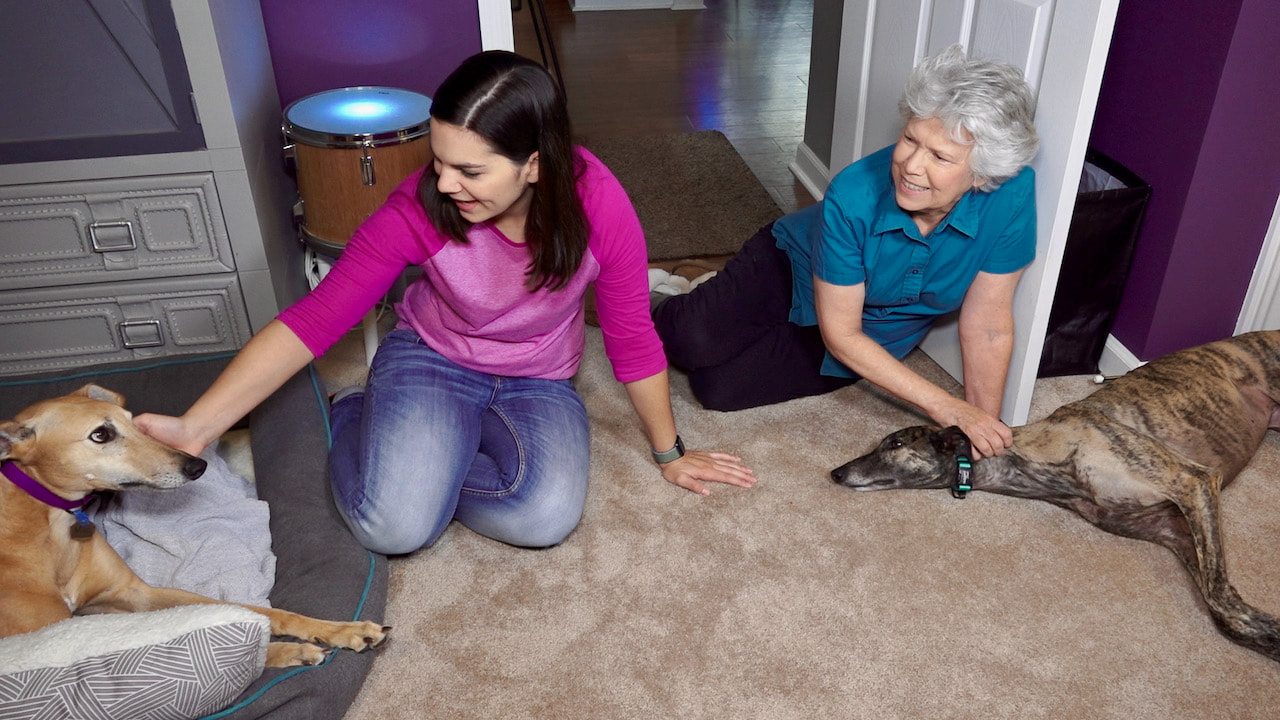 Retired greyhounds living their best post-racing life! By the way, they sleep a lot--about 22 hours a day! 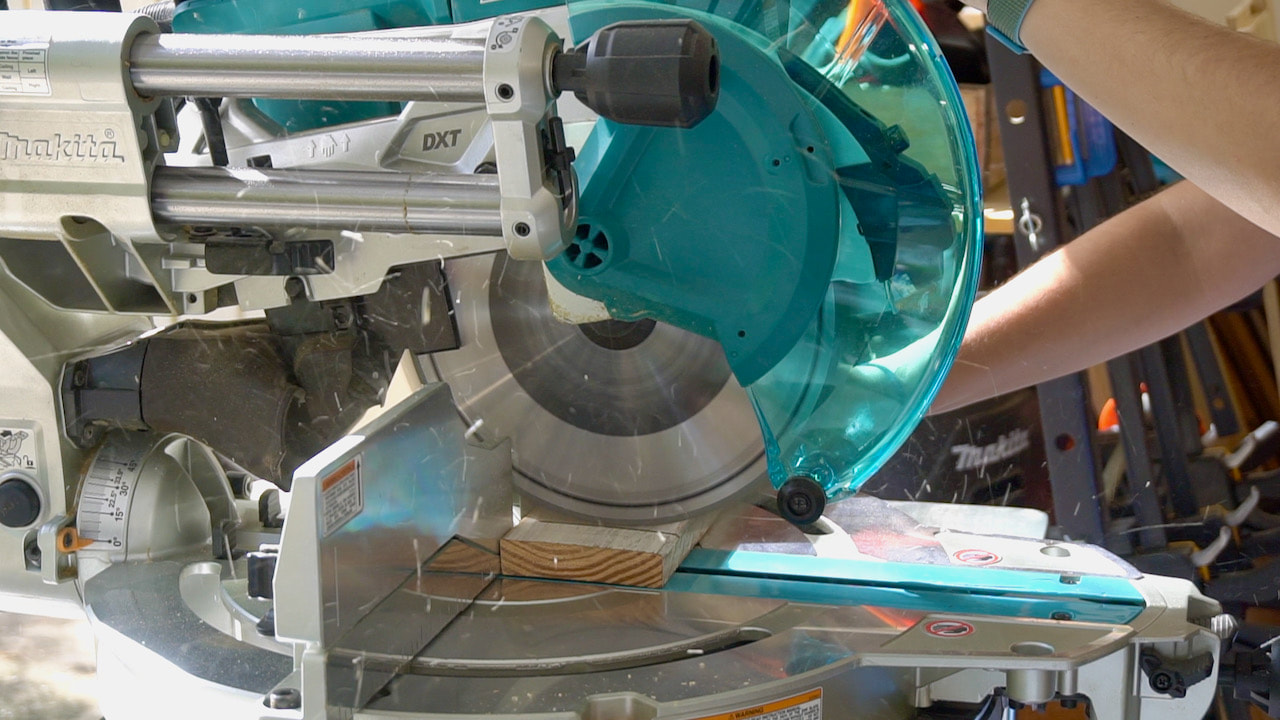 We sourced two boards of the same thickness from our scrap pile. Both were already finished so that would save time. One was a little longer than the other so Steph cut it to size on the miter saw. Actually if we had had three boards of various lengths we could have staggered them for a rustic look and there would be no need to cut them! 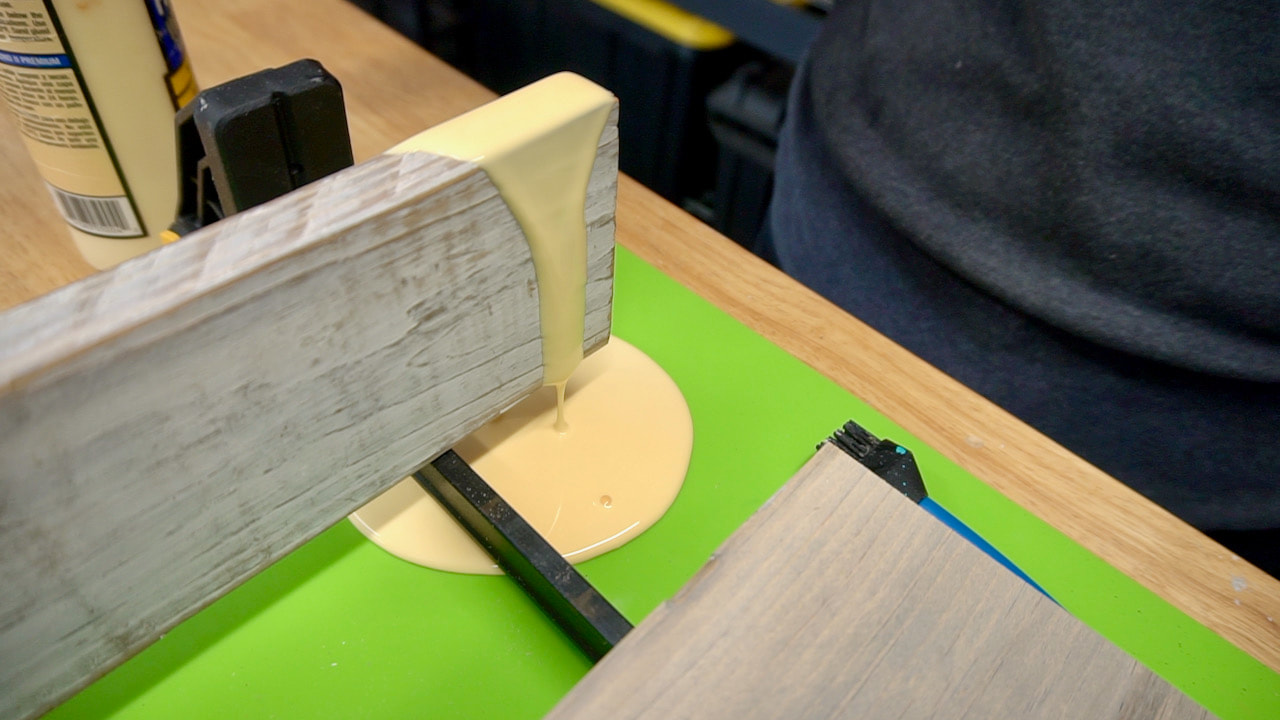 Uh oh!!!! Who didn't tighten the glue lid? What a mess, but we had put down the silicone mat so the glue did clean up fairly well. 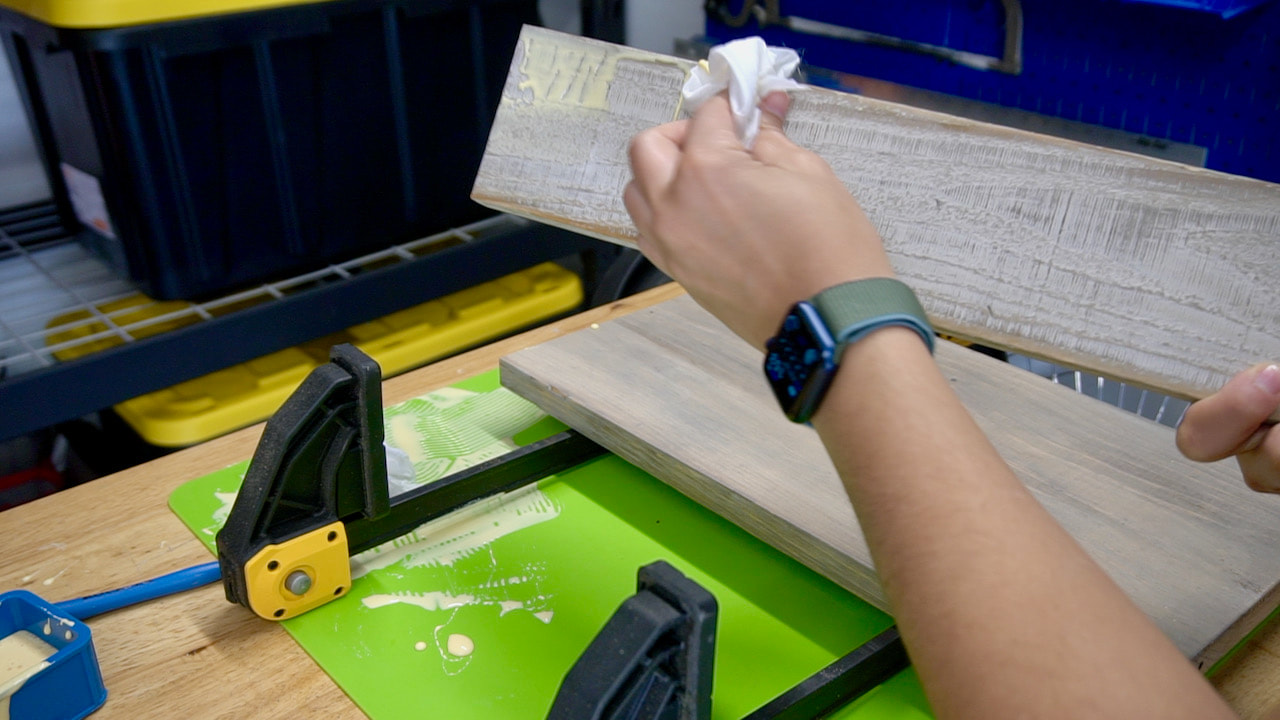 We keep baby wipes in the garage for just this reason. They work well to clean up glue messes! 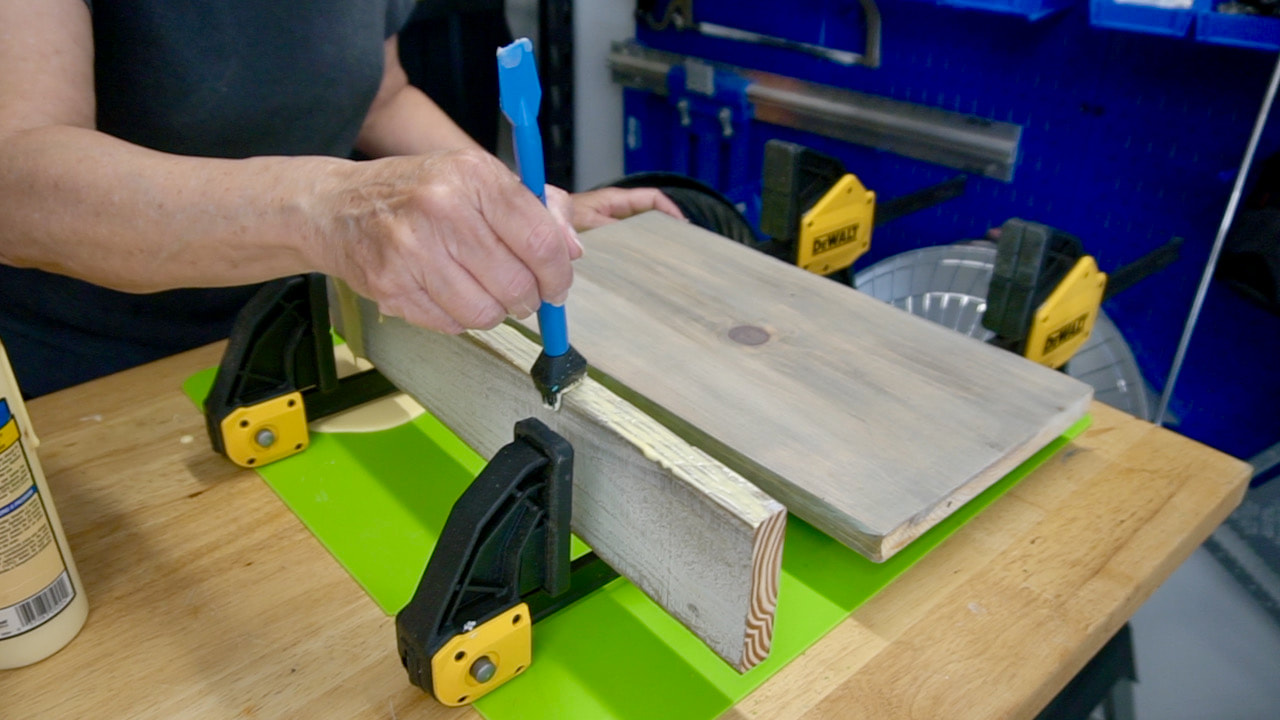 Now, we can finally glue up the boards. We first roughed up the edges with sandpaper since the boards had finish on them. I used glue from the spill and used a Rockler silicone glue brush to coat the edges. 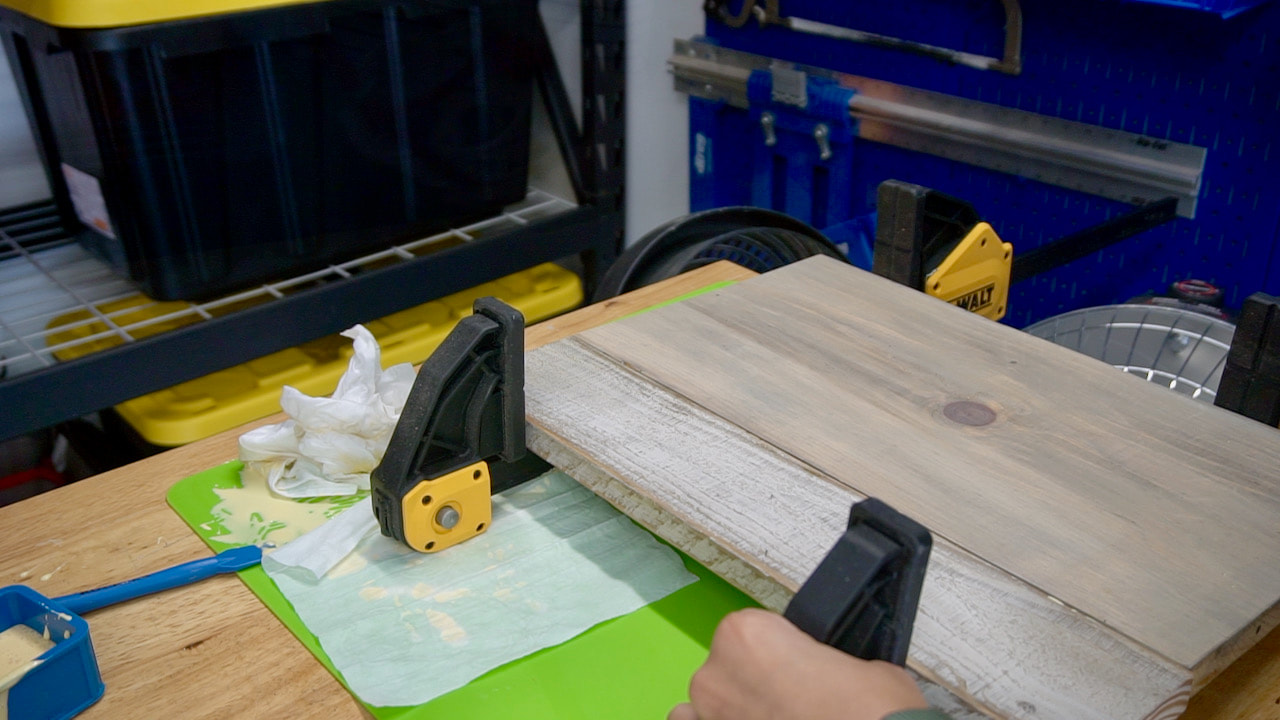 We clamped the boards and allowed it to dry. 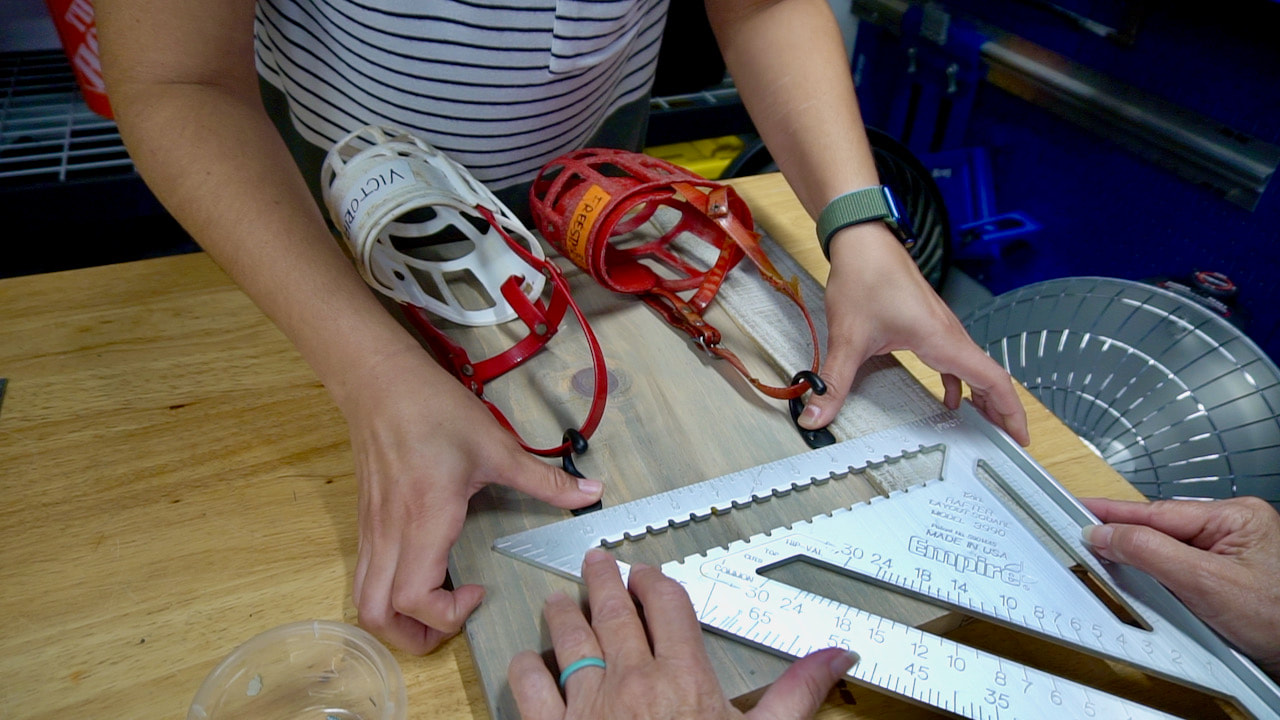 Time to mark the placement of the hooks. After putting the hooks into place it was clear something went wrong as the right one was not even with the left. Steph removed the right one, remarked it and attached it again--this time with success! 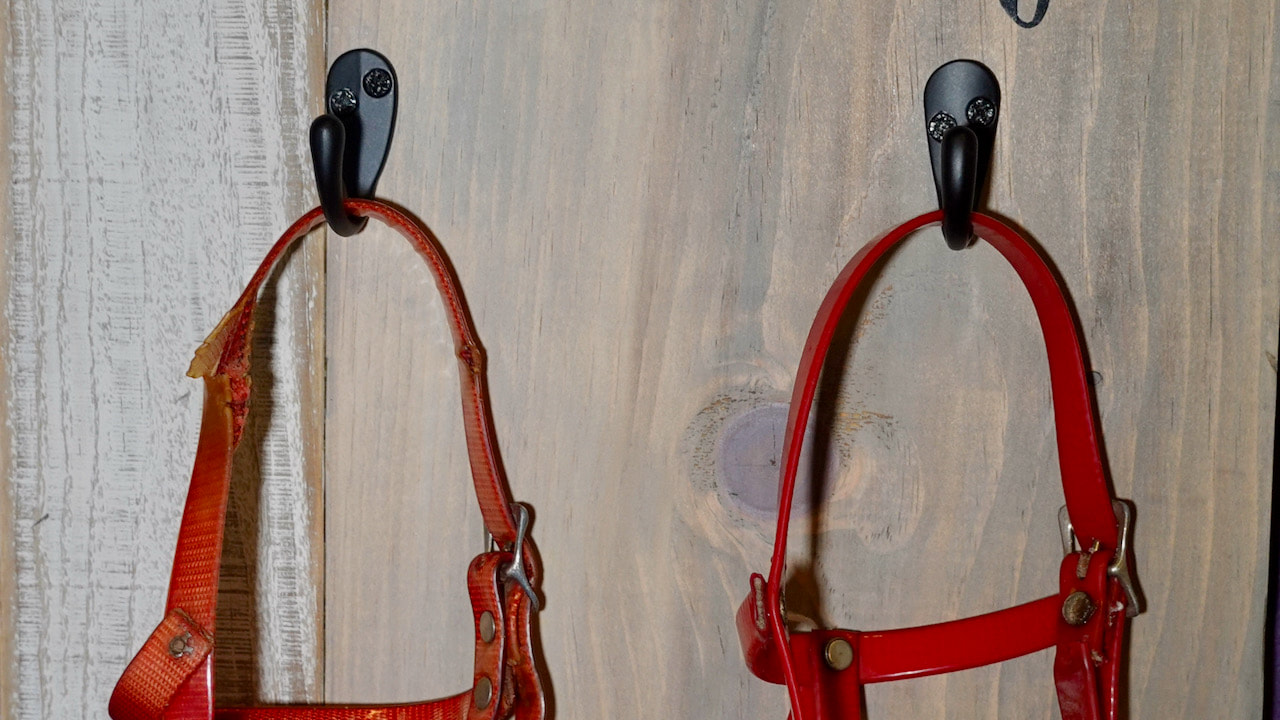 Look closely at the hooks--they are different! That is why they didn't line up the first time around. Tip: if you're reusing hardware, make sure it matches! 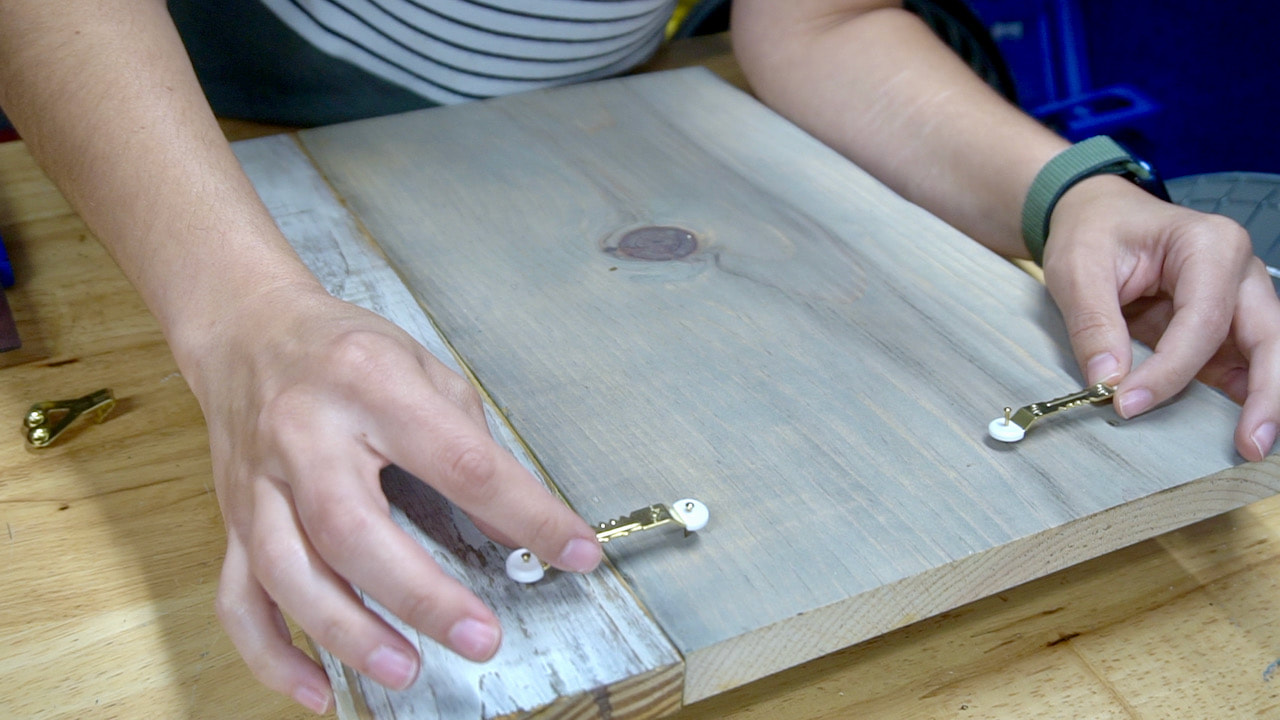 These OOK branded sawtooth hangers are easy to apply as they have a built in nails. 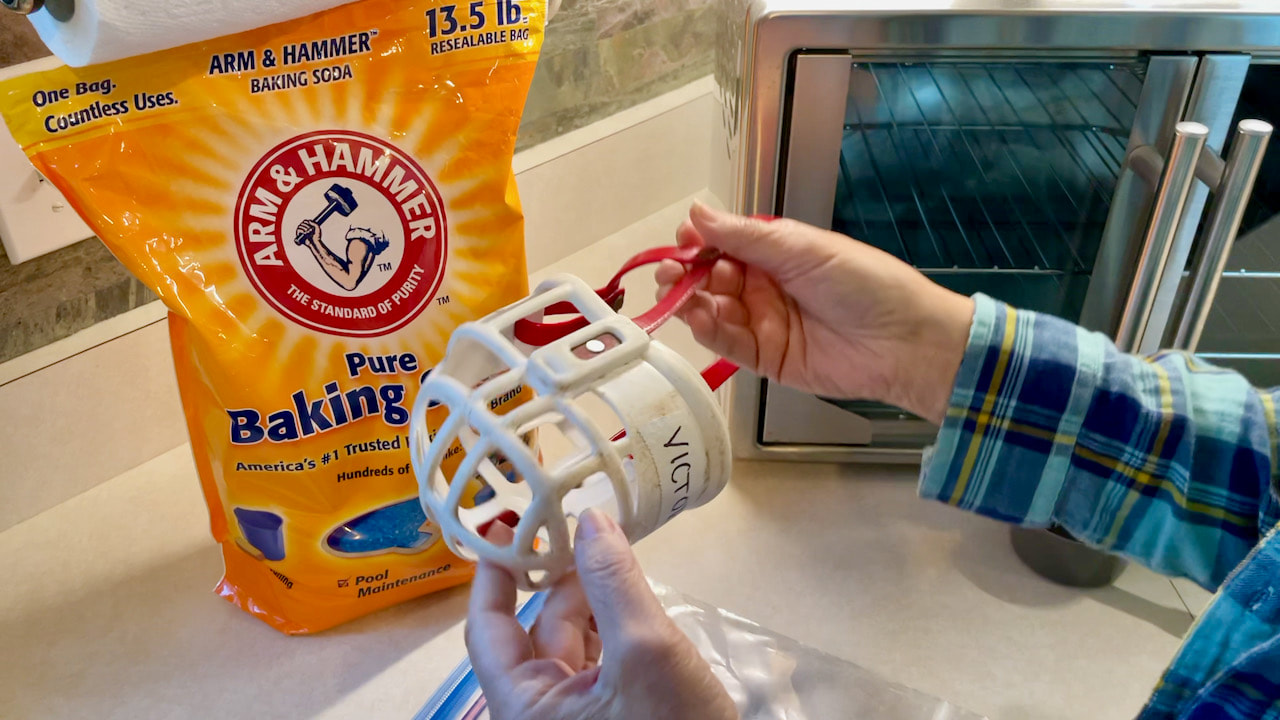 Along the way we noticed the muzzles smelled really, really bad especially Tosh's AKA Victoria. I washed them both first but when that didn't take care of the smell I placed them in plastic bags with baking soda and left them in the sun for a while. The baking soda seems to absorb the smells. Tosh's needed a second round of the baking soda treatment. 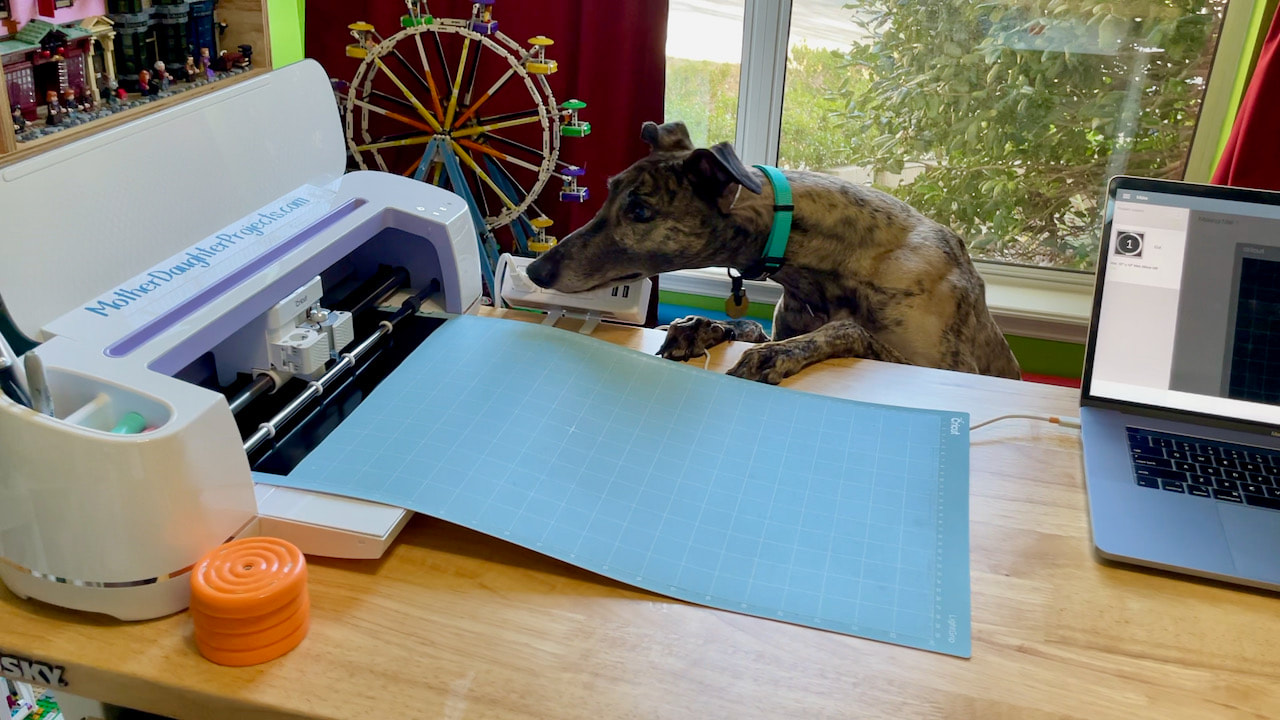 Tosh is so different from Mac. Tosh is very curious about new smells and sounds and the noise of the Cricut Maker was no exception! She had to jump up to see what was what. Fortunately, nothing was damaged or knocked off the table by the curious pup! 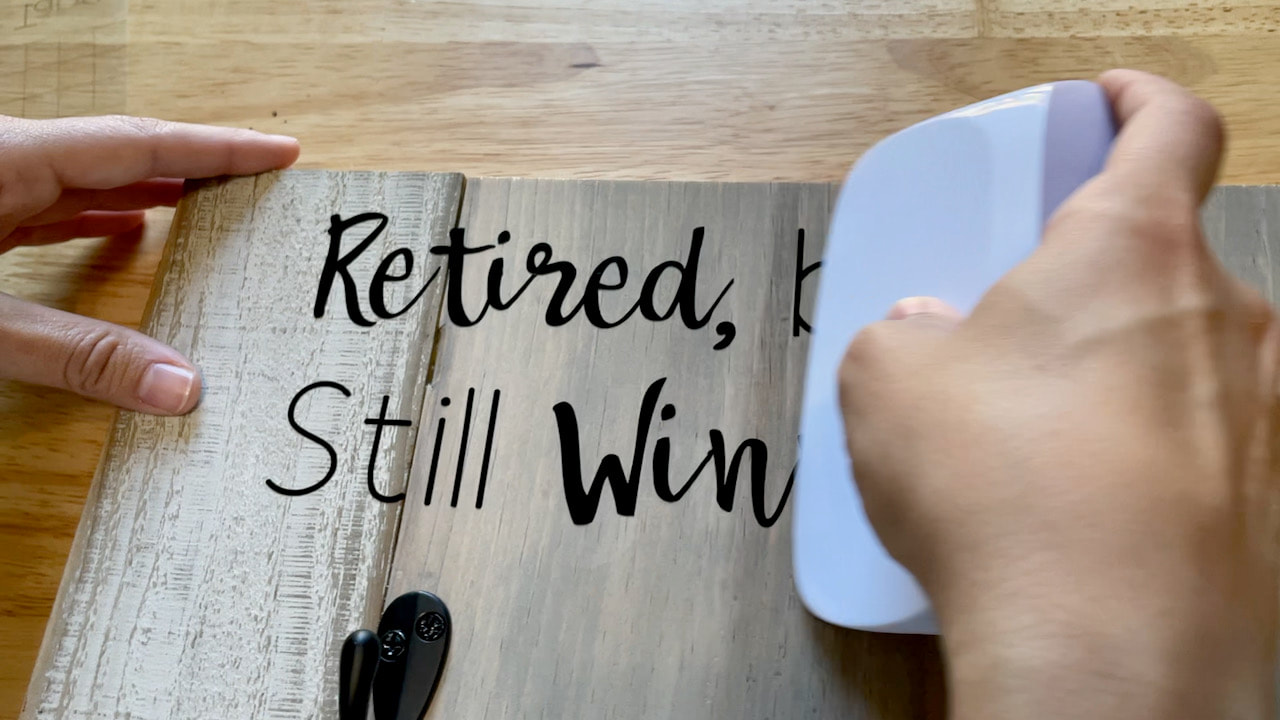 Steph added some Cricuit cut vinyl to the display board.  Steph added some hooks to the wall and the display piece was ready to hang. 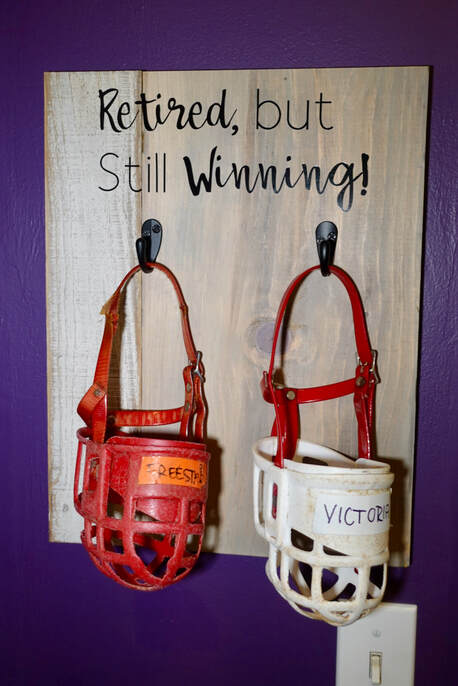 All done! A simple display board to hold a bit of greyhound history. I like the idea of displaying things that have history to them and incorporating them into my home's decor. We did something similar with an old file cabinet that was my dad's. I didn't want to keep the entire thing, but I decided to deconstruct it and keep just the front of one of the drawers. It now has a place of honor in the garage and it makes me smile and think of my dad every time I see it. How to you display important keepsakes? Do you hide things away in storage or keep them on display? Please note: This is not a sponsored post. FYI: We are not professionals, and we don't claim to be. This is what we found worked for our project. Yours may need a little different approach. Safety first! FYI: Affiliate links are being used on this page. Purchasing via these links help support MDP! Related Projects
2 Comments
Tim
12/24/2020 10:22:04 am
Ahh, the most fun game of all, the leftovers matching game. I usually buy things I know I’ll use again in bulk packs, just like the hooks you show. Trouble is, then next time I need them, I have the same problem, where I find one or two, but never as many as I need, and then they aren’t the same. Naturally, I can’t find the dozen or so I should have left over. Then you go digging through things, trying to find that place “you definitely wouldn’t forget” that you put the stuff, maybe scrounge up one or two more, and they somehow aren’t exactly the same either. The upside I suppose is the times I find the entire bunch of leftover from a bulk pack of whatever, it’s like winning the jackpot.
Steph
12/28/2020 07:57:37 am
Thanks for sharing Tim! Leave a Reply. |

Mother Daughter Projects
|