Mother Daughter Projects

  • About
    • Contact
    • Privacy Policy
  • Maintenance
  • Improvement
  • Decor
  • Tech
  • Tools
  • About
    • Contact
    • Privacy Policy
  • Maintenance
  • Improvement
  • Decor
  • Tech
  • Tools

DIY for Homeowners

Basic DIY Bookcase

8/2/2023

0 Comments

 
text by Vicki     Sign up here to join our weekly email newsletter!
We have two amazing used bookstores in town. When my grandkids come to town, we have to visit the bookstores multiple times.

During their six-week visit this summer, all the grandkids accumulated so many books! All three of them love to read so I can't say 'no' to more books.

The middle grand had run out of room for books in his room so he asked if we could make him bookshelves.

​So plans were made, lumber was bought and bookshelves took shape! It was fun to work with him on this project. 

This is a perfect beginner project. 

Materials/Tools:


  • (7) 1x10⁻⁸ft Common Board (Home Depot)

  • 1/8 in. x 4 ft. x 8 ft. Utility Panel (Home Depot)

  • Milwaukee Cordless Dual Bevel Sliding Compound Miter Saw (Home Depot)

  • Kreg Shelf-Pin Jig (Amazon)

  • Kreg Pocket-Hole Jig 720 (Home Depot)

  • Titebond 1 gal. Premium Wood Glue (Home Depot)

  • Rockler Clamp-It Assembly Square (Amazon)

  • Dewalt Carbon Fiber Stapler/Tacker (Home Depot)

  • Dewalt 50 in. 600 lb. Trigger Clamp w/3.75 in. Throat Depth (Home Depot)

This is a display of common boards at the Home Depot.
We got all the lumber in our roomy Chrysler van.
This thin wood was purchased from the Home Depot to use on the backside of the bookshelves.
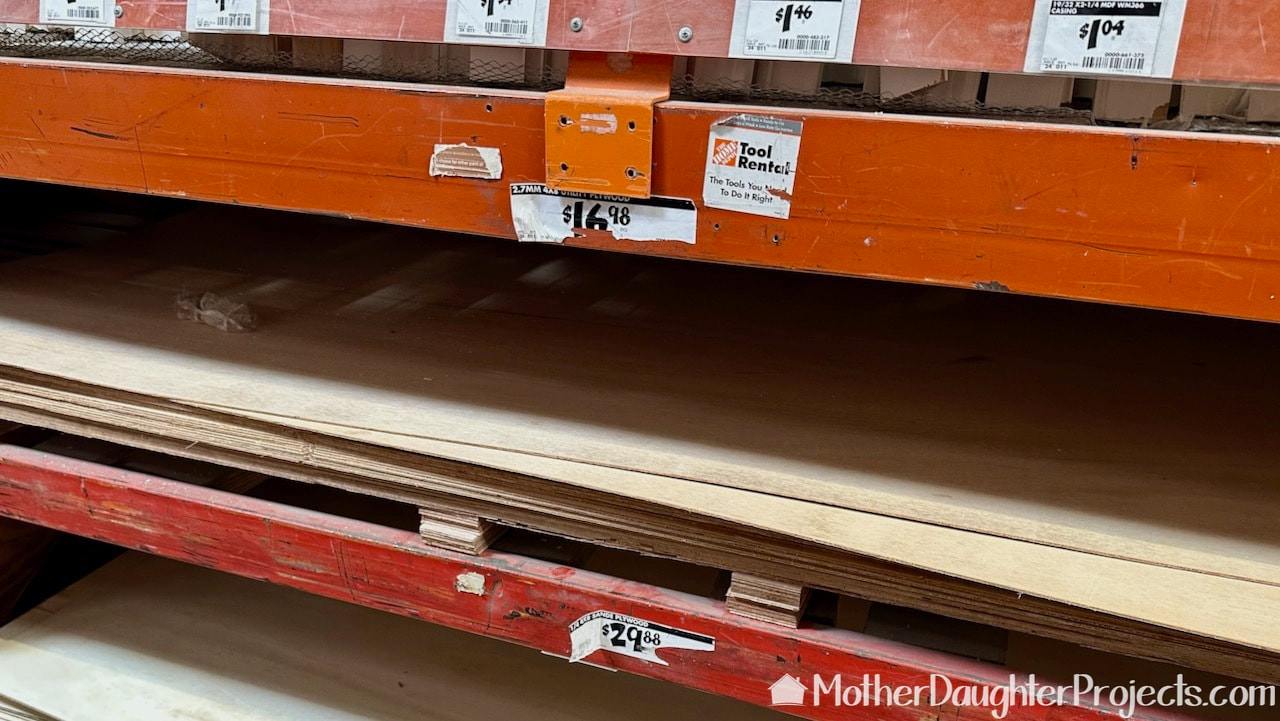
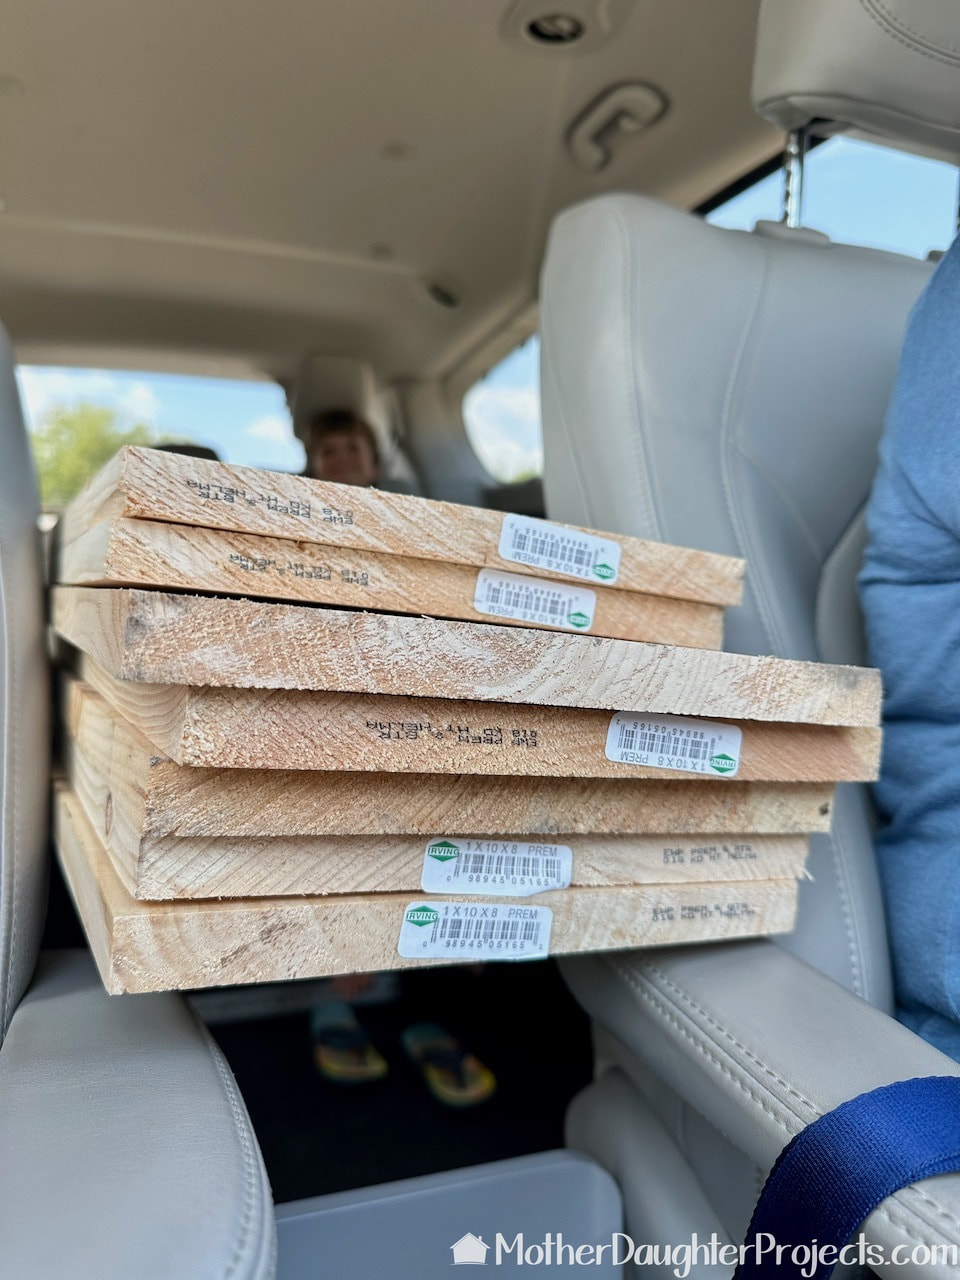
After a trip to Home Depot we had all the lumber we needed to build two bookcases.
Steps
  • Cut (2) 47”
  • Cut (4) 30”
  • Drill shelf pin holes on sides
  • Drill top and bottom side pocket holes
  • Sand
  • Clean up holes
  • Glue center together 
  • Assemble
  • Glue and attach sides
  • Glue and attach middle
  • Flip and attach top
  • Cut shelves
  • Cut back
  • Paint
  • Attach back
  • Let dry
  • Place shelves
Steph cut down the lumber to size on this battery powered Milwaukee miter saw.
Here my grandson is using the Kreg pocket hole jig. He enjoyed using both of the Kreg jigs.
Here my grandson is using the Kreg pocket hole jig. Pocket-hole joinery is how we will attach the bookcase together.
To make the shelves adjustable, we used a Kreg shelf pin jig to make the holes.
We used a Dremel rotary tools to help clean up the inside of the shelf pin holes.
Sanding the bookcase parts with a Ridgid battery powered sander.
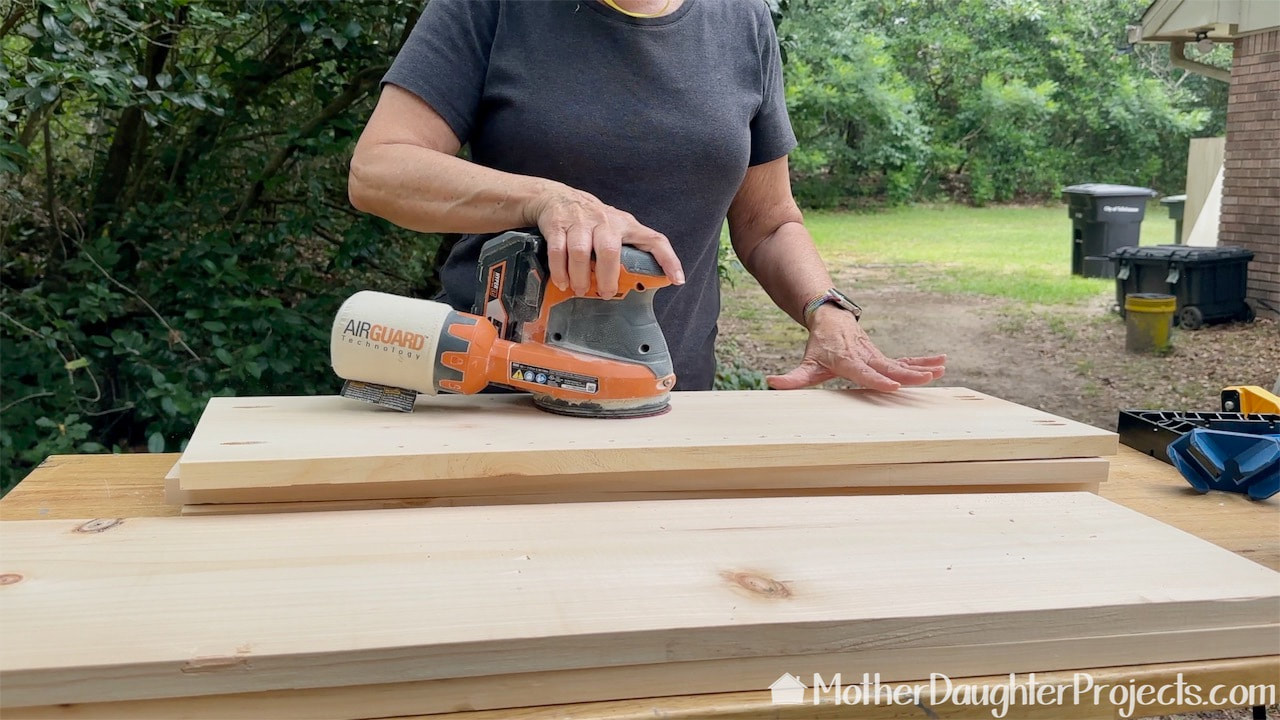
My grandson was not interested in this sanding part, so I took over this step! These common boards were really rough needed a lot of sanding.
Using Rockler silicone glueing tools to assemble the bookcases.
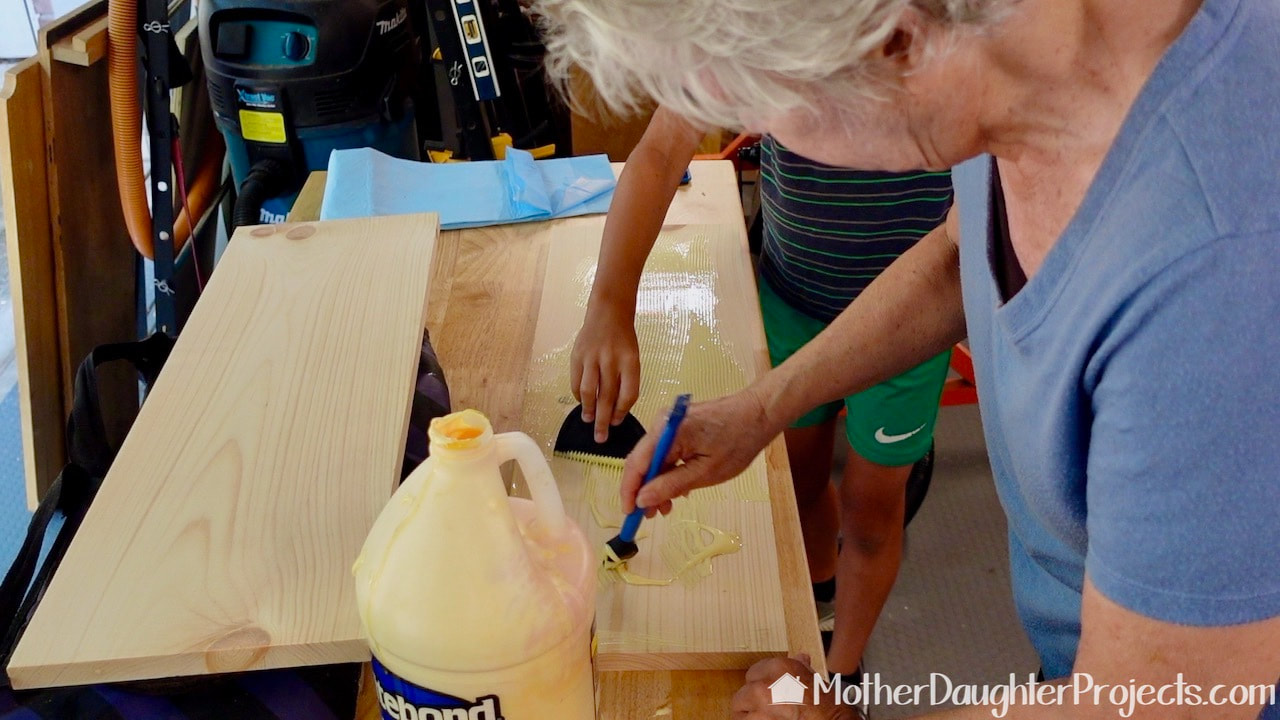
We worked together to do all the glue ups. We are using Rockler glueing tools. They work great and the dried glue peels easily off.
Assembling the bookcase with pocket holes and wood glue.
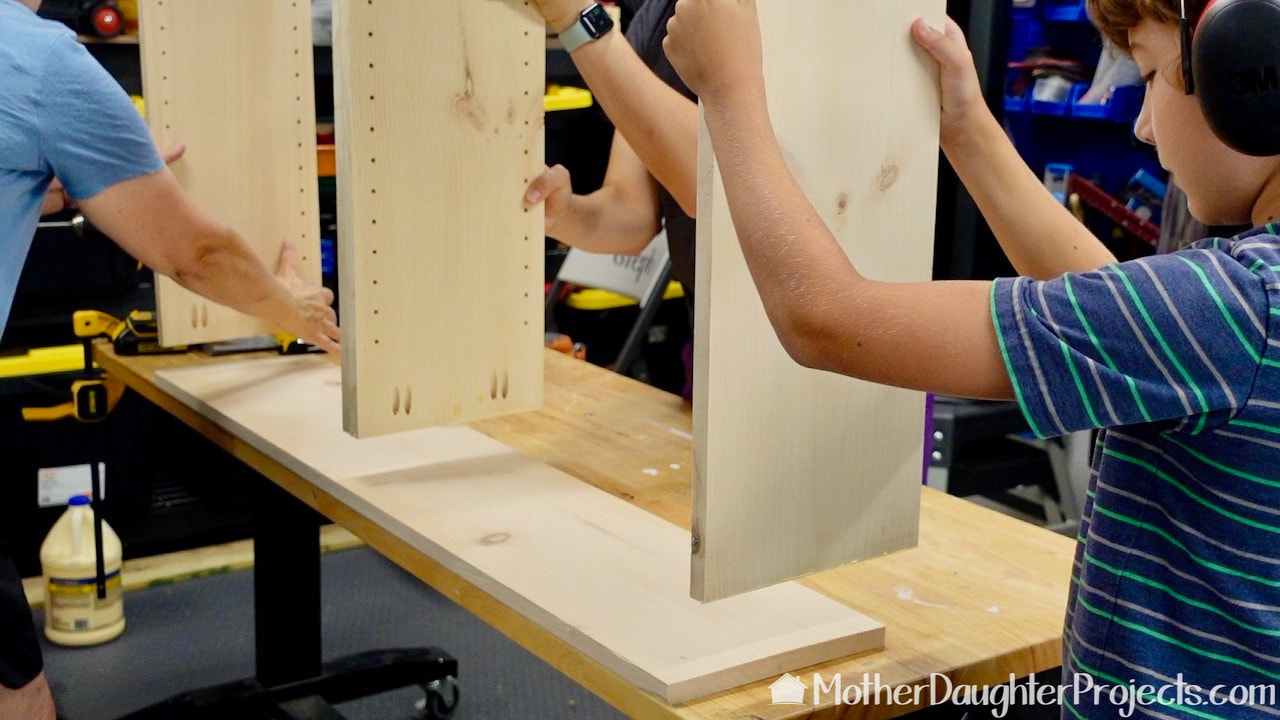
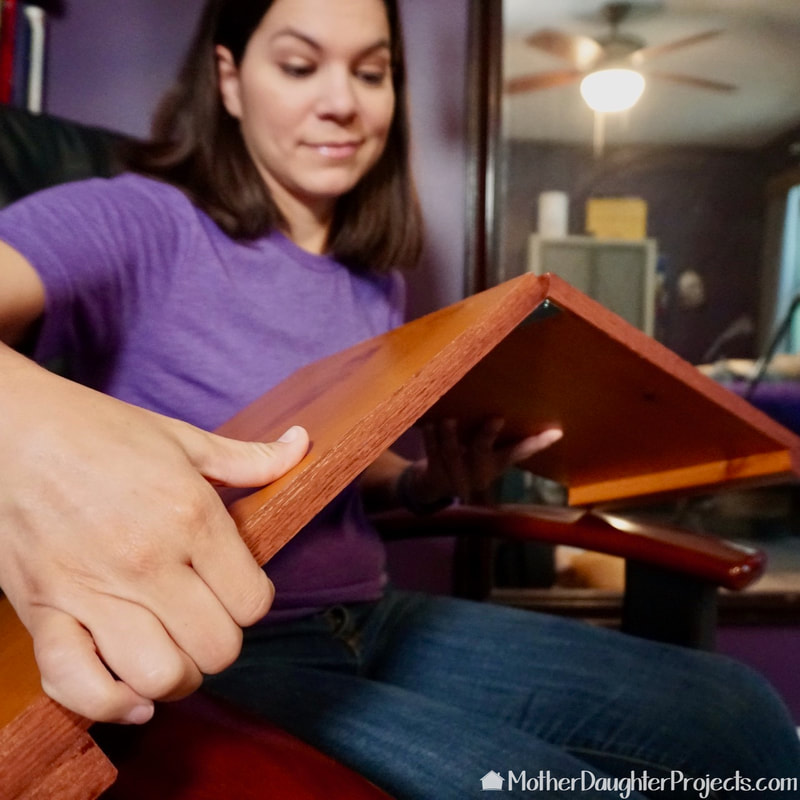
Having an extra set of hands was very helpful when assembling the bookcase.
Screwing in the screws in the pocket holes.
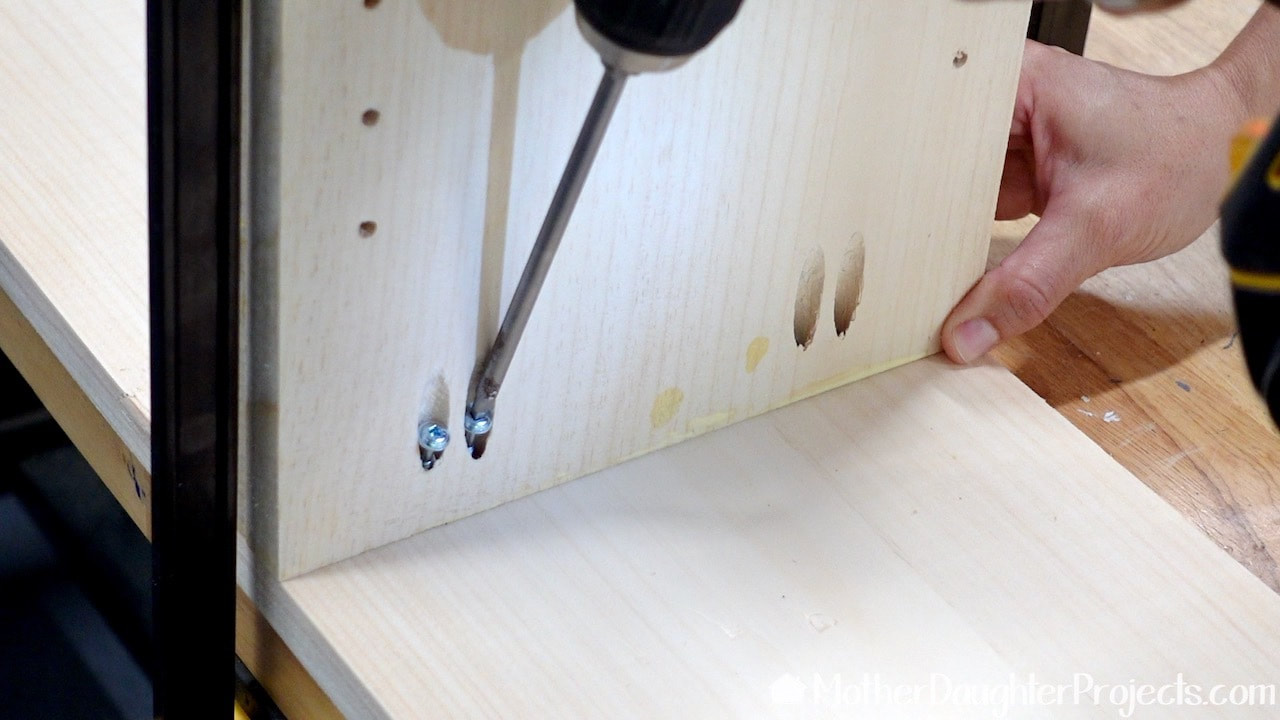
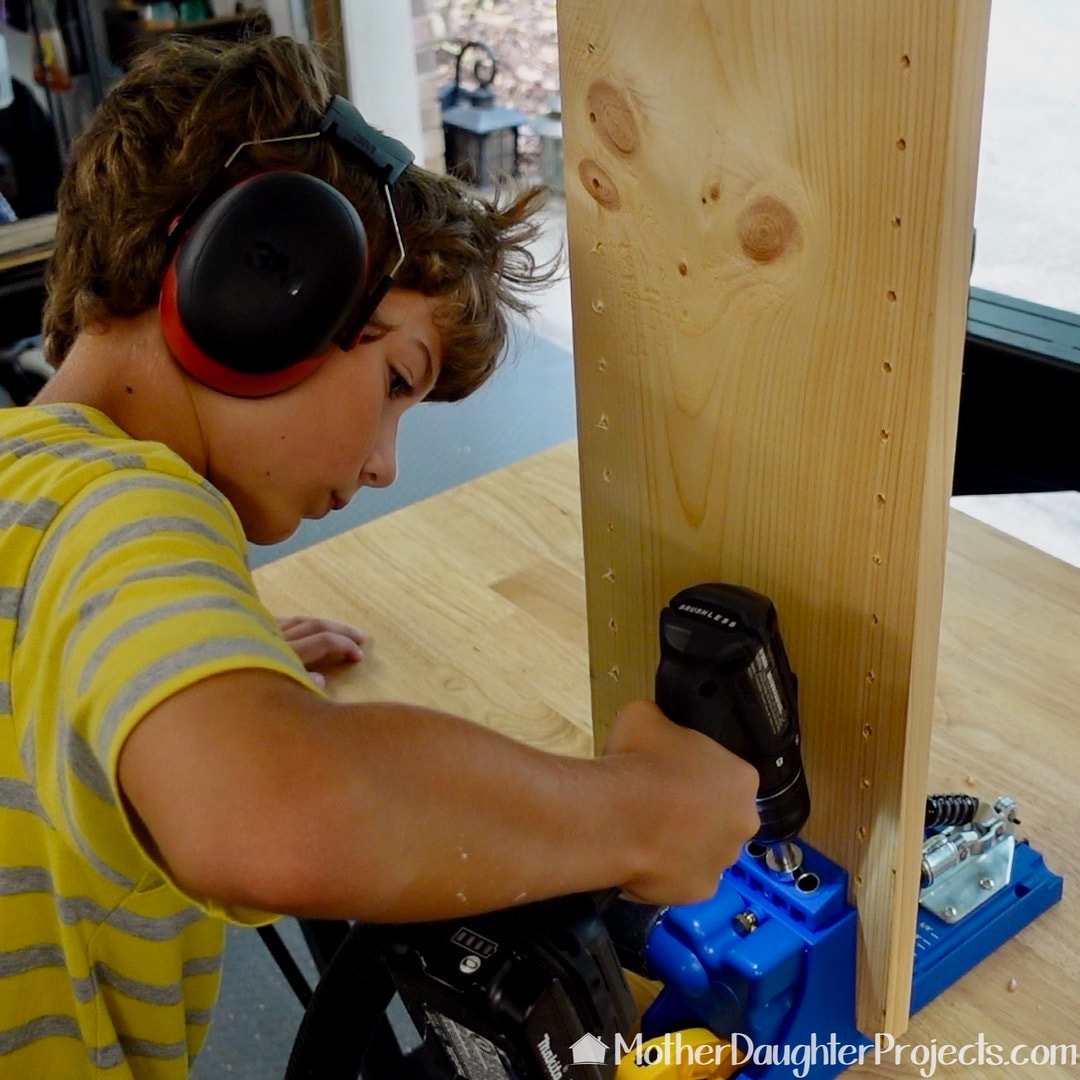
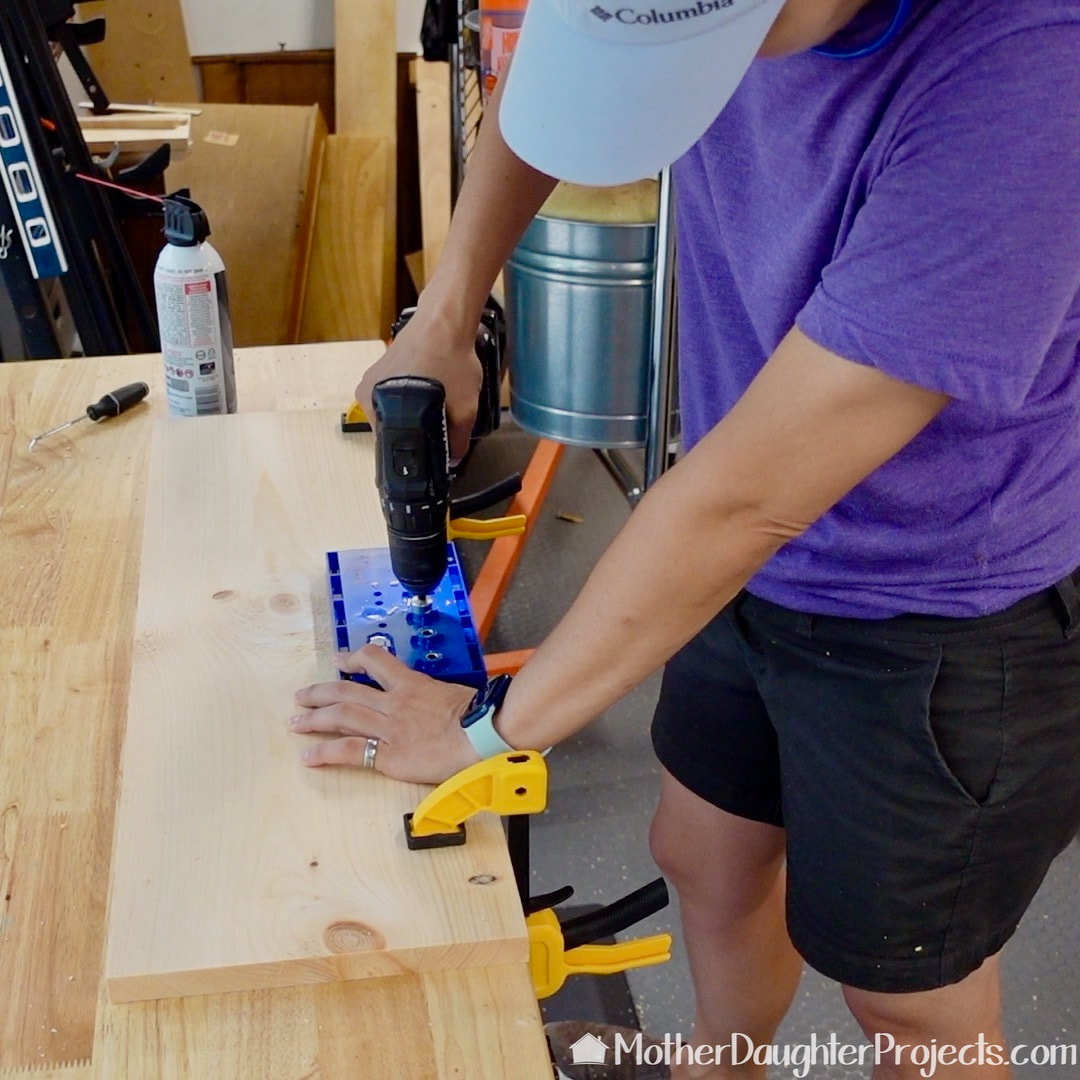
We used pocket holes and wood glue to assemble everything.
Adding the shelves to the almost finished bookcase.
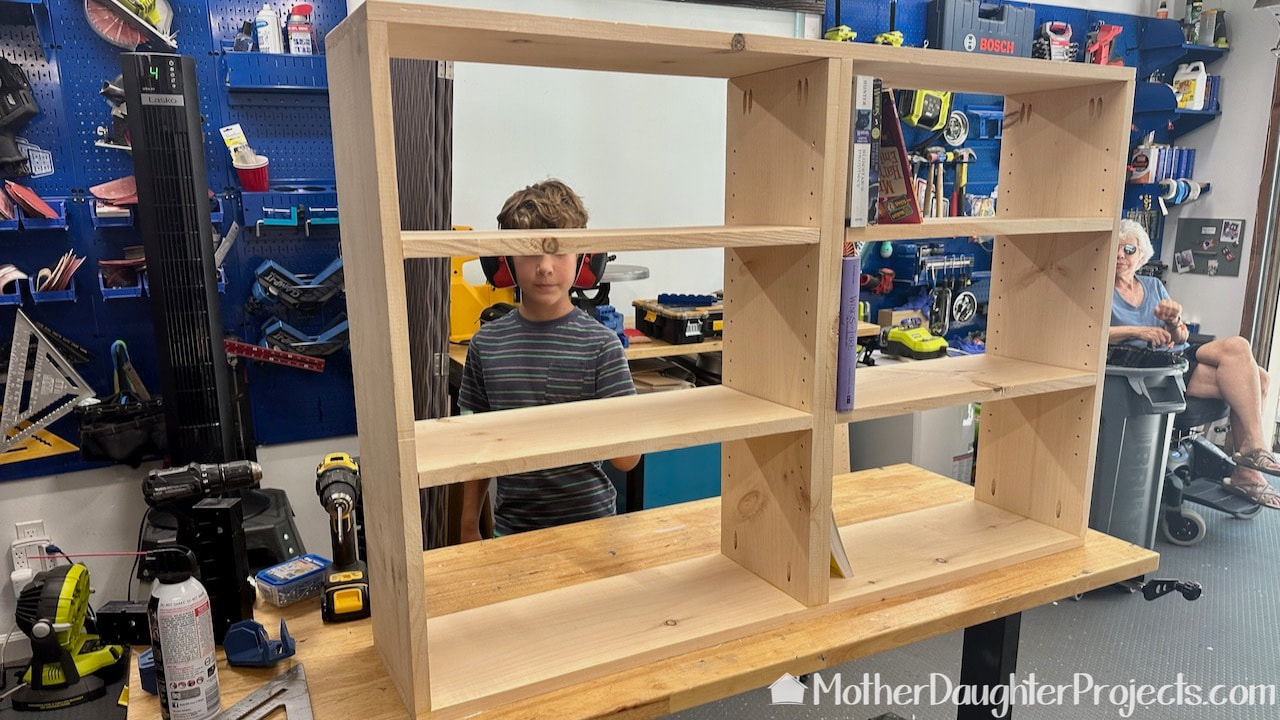
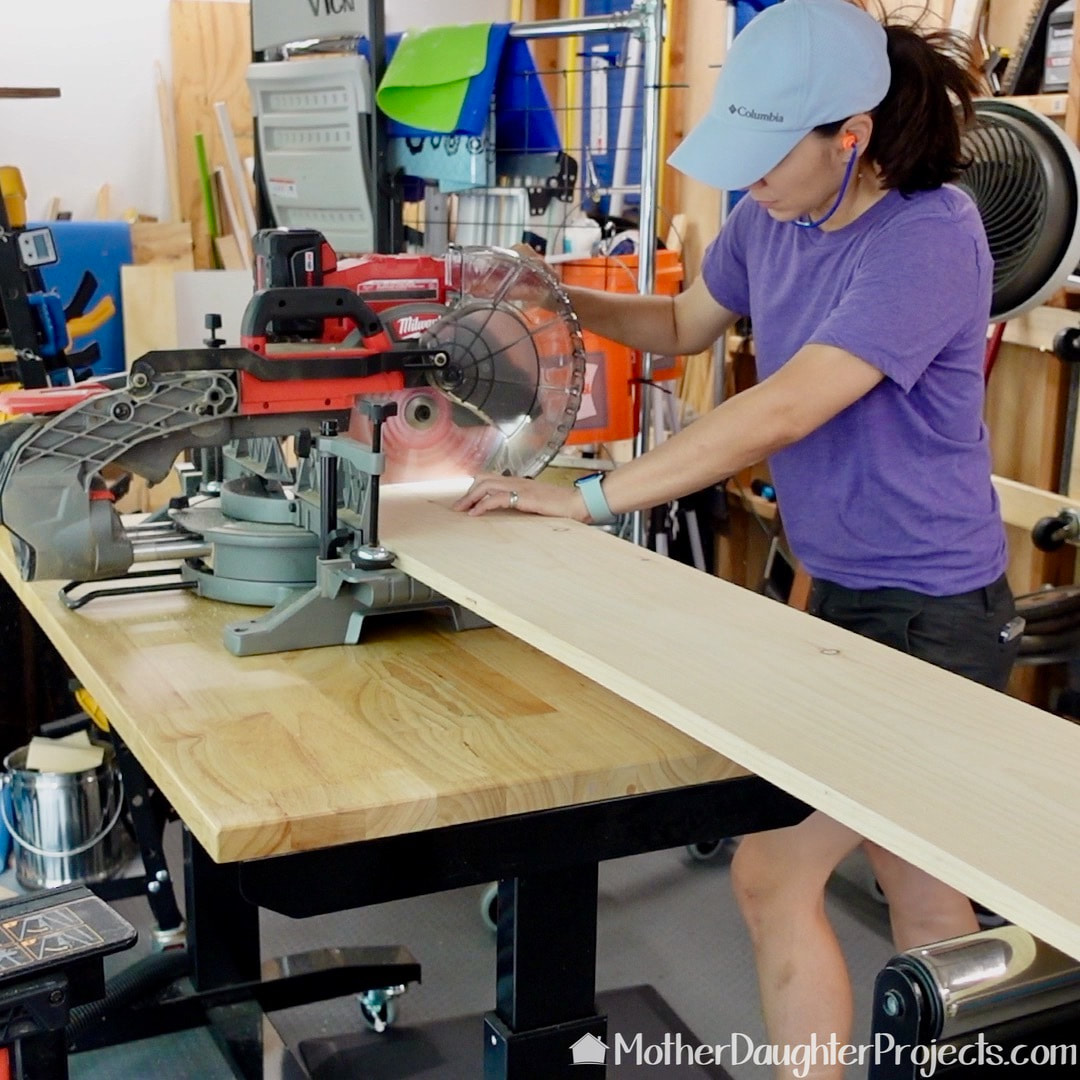
A good tip is to wait to cut the shelves until the unit is assembled to account for any variation there may be in the finished product.
Priming the unit before adding color.
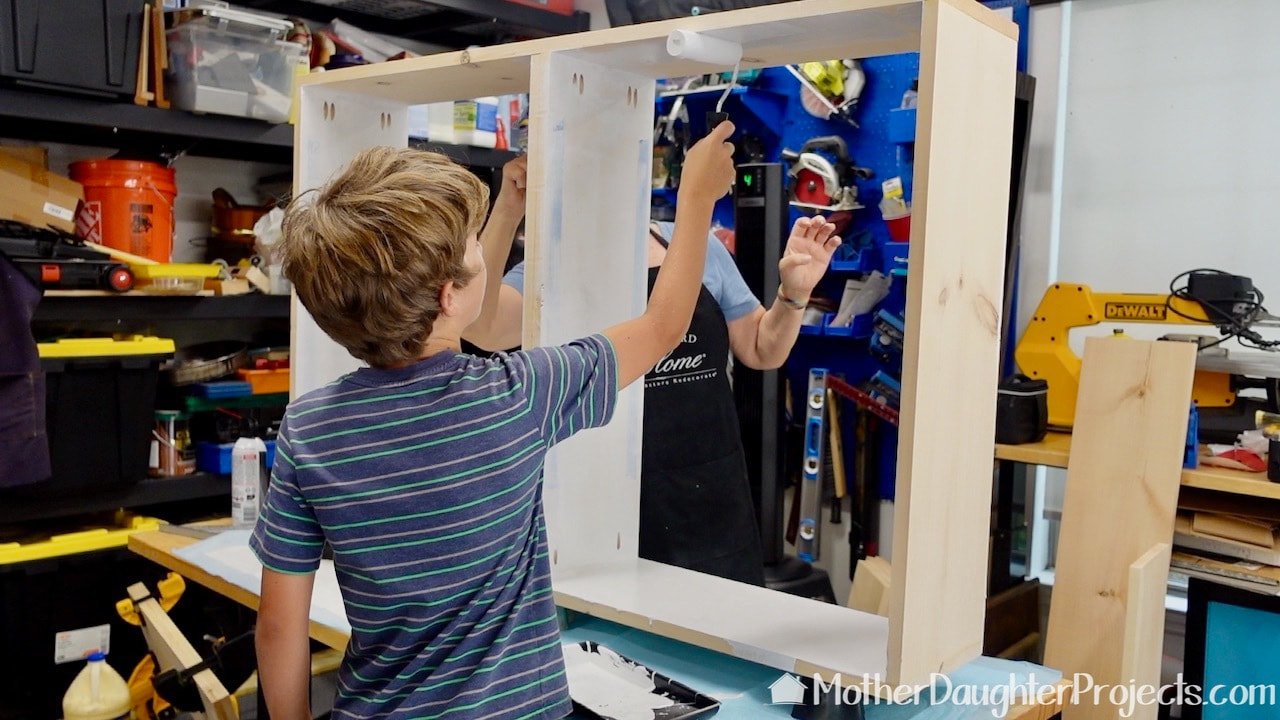
We primed the unit before painting the final color.
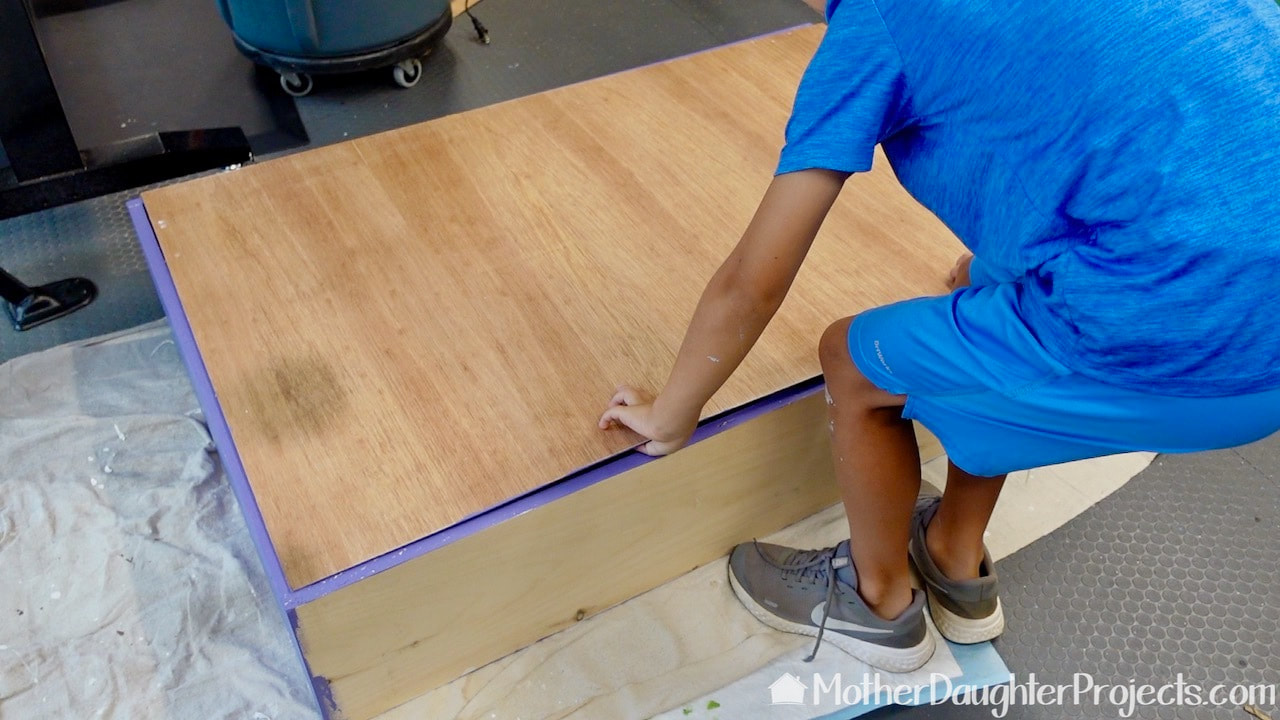
To finish the bookcases, we added a thin piece of wood to the backs.
This Dewalt carbon fiber staple gun is one of the easiest to use.
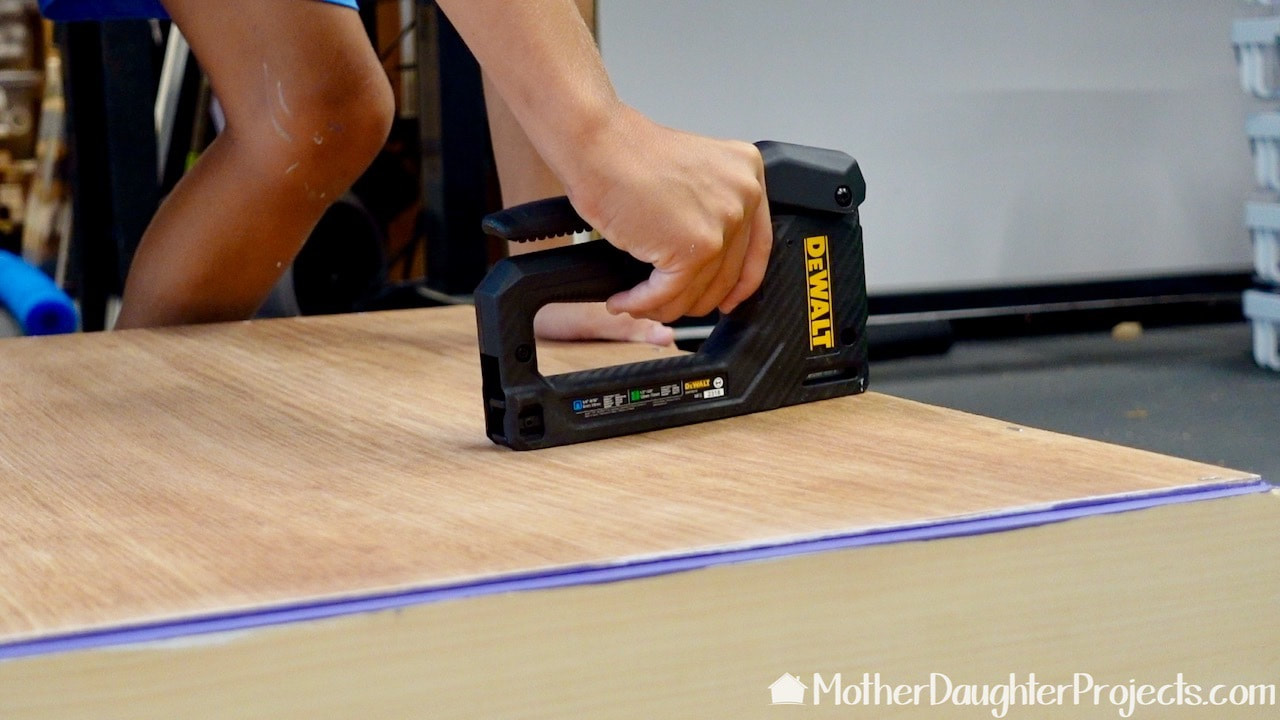
The backing was stapled into place. This DeWalt carbon fiber staple gun is one of the easiest ones we've ever used. The 10-year-old had no problem using it.
The bookcases are bright green and purple!
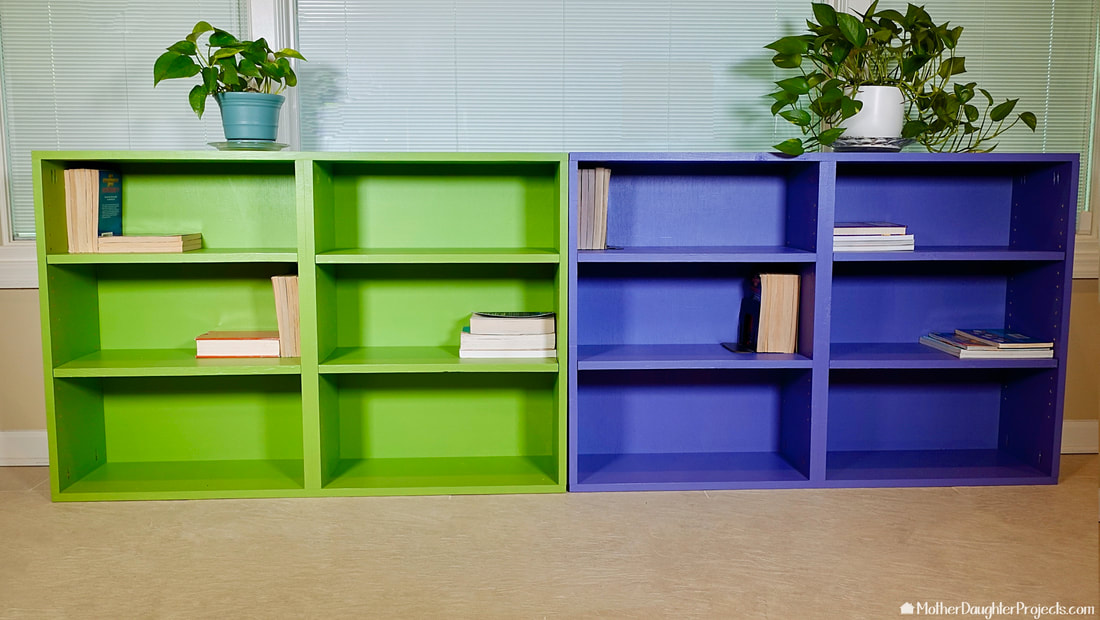
The color of these was my grandson's choice! He wanted lots of color for his room. These will be heading south to his house.
Here are the book cases all ready to be installed in my grandson's room.
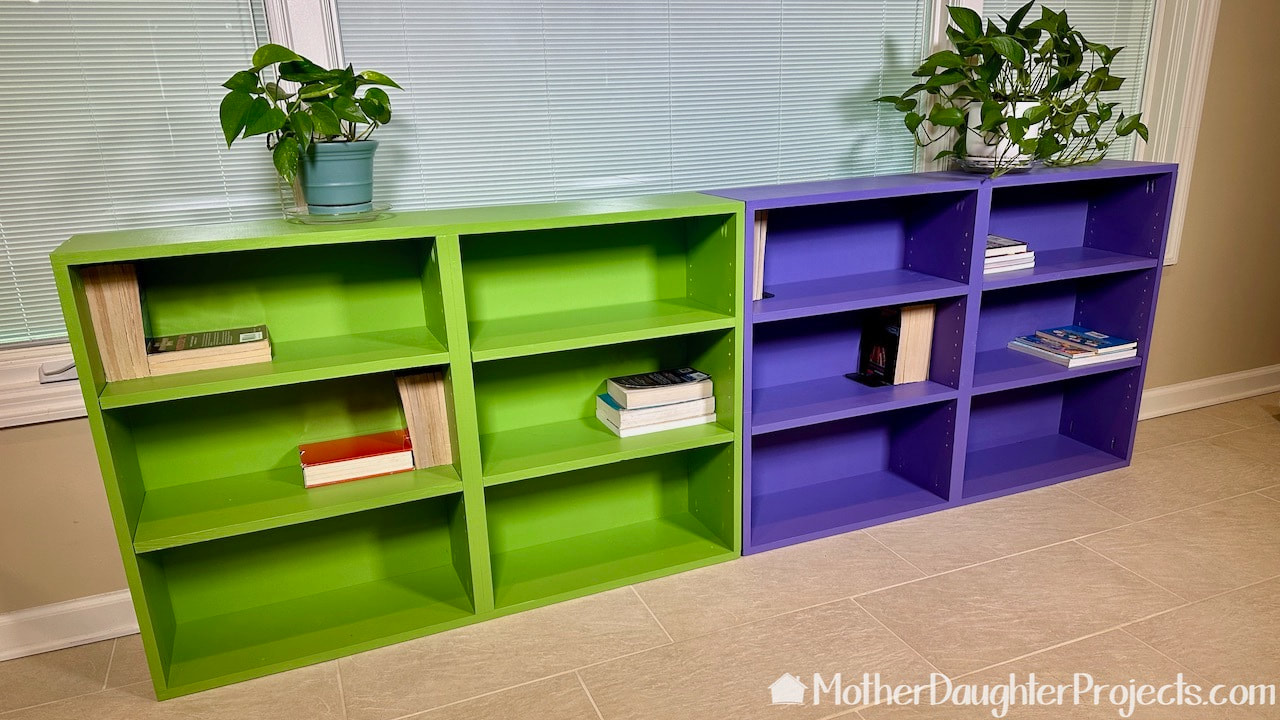
The depth is perfect for the books he likes and the height gives him plenty of room for extra treasures he wants to display.
With the exception of cutting the wood and sanding, my grandson was involved in all aspects of this build. His favorite part was painting, but he did enjoying getting to use the drill and the Dremel rotary tool too. 

One of the best "tools" we have in the garage are our Husky adjustable tables. Because we could adjust the table down to his level, he was able to safely use the various power tools and work without having to stand on his tippy toes!

​Next year: power saw training!

We will be looking forward to seeing these in his room on our next visit to his home. 


Please note: This is not a sponsored post.
​
We are not professionals, and we don't claim to be. This is what we found worked for our project. Yours may need a little different approach. Safety first!

Affiliate links are being used on this page. Purchasing via these links help support MDP.

Related Projects

Picture
Folding Table for Chair
Picture
Picture Ledge Wall
Picture
Harry Potter Book Crate
0 Comments


Leave a Reply.

    MotherDaughterProjects.com

    Mother Daughter Projects
    ​
    Steph & Vicki

    MotherDaughterProjects.com
Mother Daughter Projects, LLC ∙ est. 2015 ∙ Tallahassee, FL by Vicki & Steph ∙ Privacy Policy