|
text by Vicki Sign up here to join our weekly email newsletter!
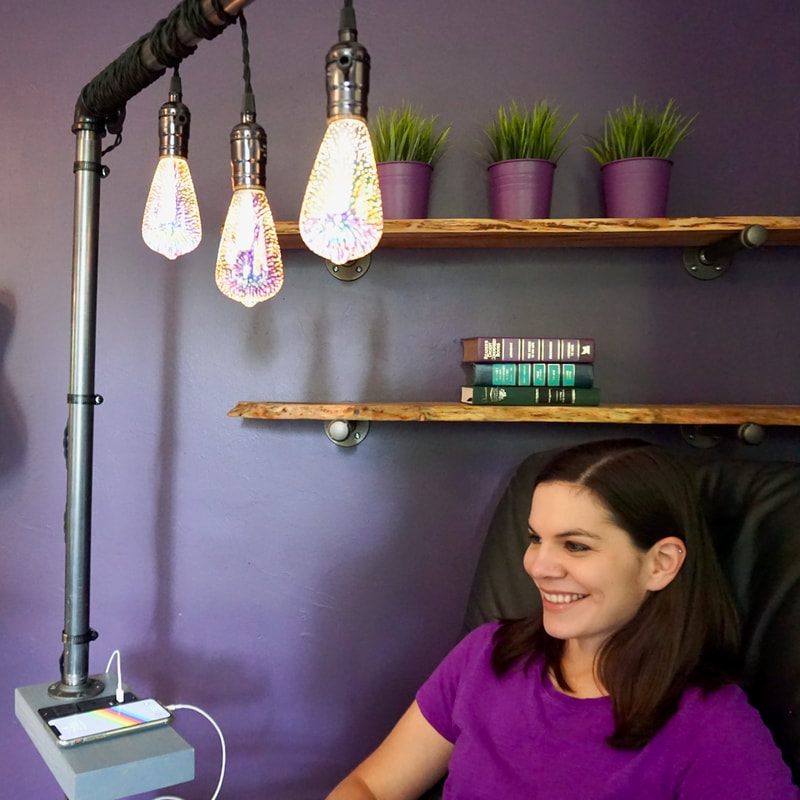
Steph was gifted a massage chair from a relative a few years ago. Since then she's been enjoying massages all while editing on her laptop.
Recently she decided she needed an upgrade from the pillow she was using to elevate her computer. After a quick trip to the garage to source material, she was on her way to designing and building a folding table for her favorite chair. Materials/Tools:
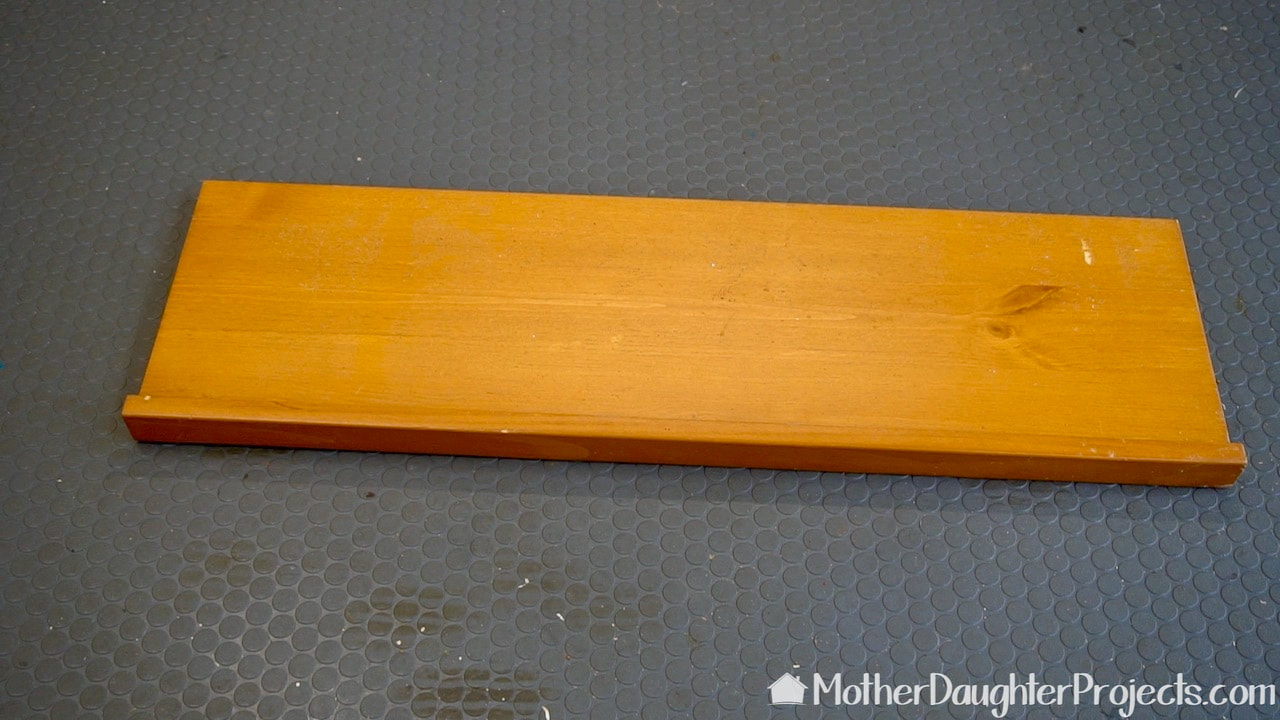
We found a bunch of these wood shelves curbside one year. We've almost used all of them, but still had a few in the garage which proved to be the perfect "use what you have" material for this project.

If you don't have sometime perfect in your garage to use already, a trip to the Home Depot will yield what you need. We picked up some edge banding while we were there.

If you are building this, your table measurements will be based on your chair. We measured across the chair from the outside edge of the arm to the other outside edge. This was 28 inches. We added an additional 3 inches to allow room for the stoppers. We cut the shelf to size and then exactly in half.
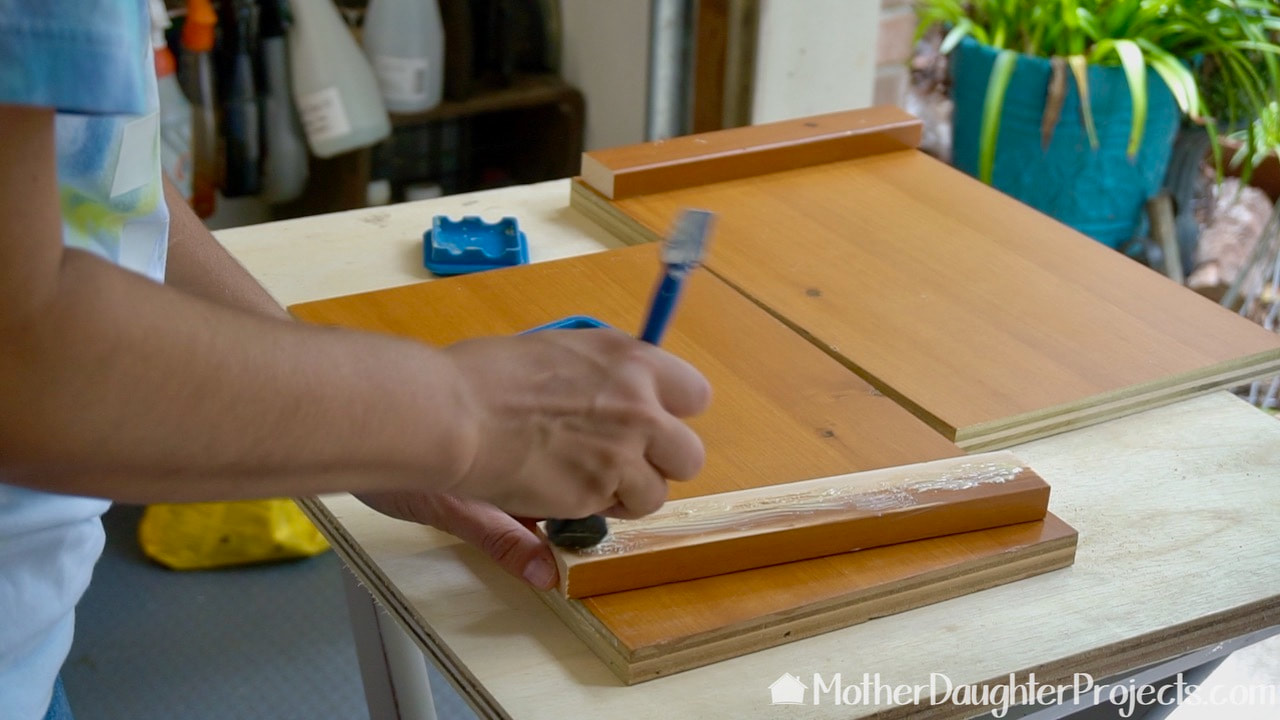
The stoppers are cut from the lip that was attached to the front of the shelf. We cut them to the width of the table and glued and brad nailed them into place.
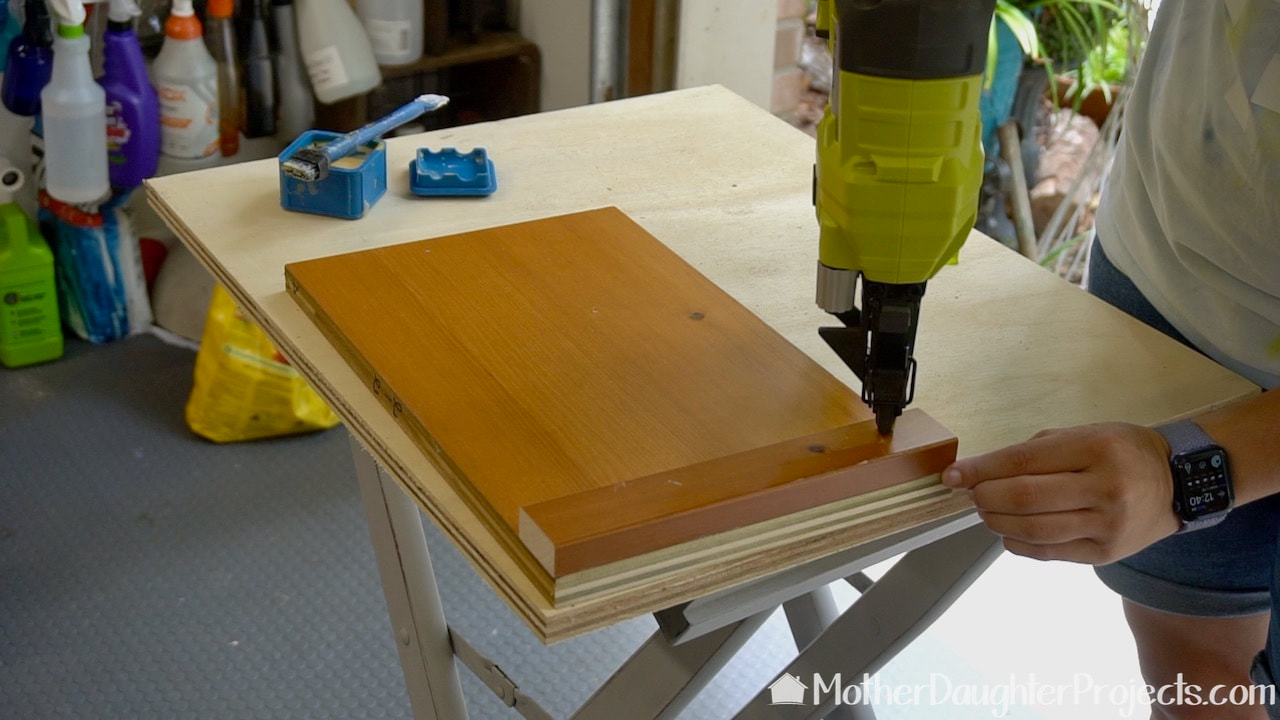
We are using a Ryobi battery powered nail gun to secure the stoppers in place.
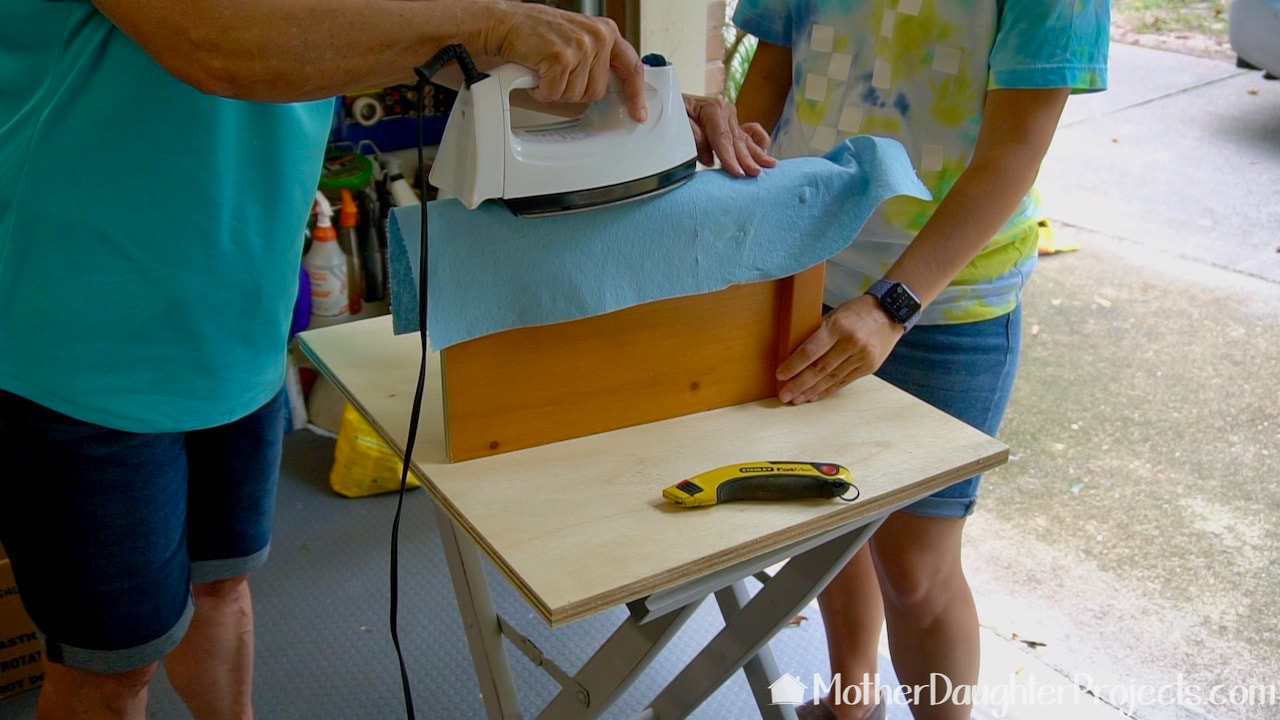
To give the table a more finished look we are ironing edge banding into place. I'm a sewer and always use a press cloth between the iron and fabric. It seemed like the right thing to do here as well! The "press cloth" is a shop towel.
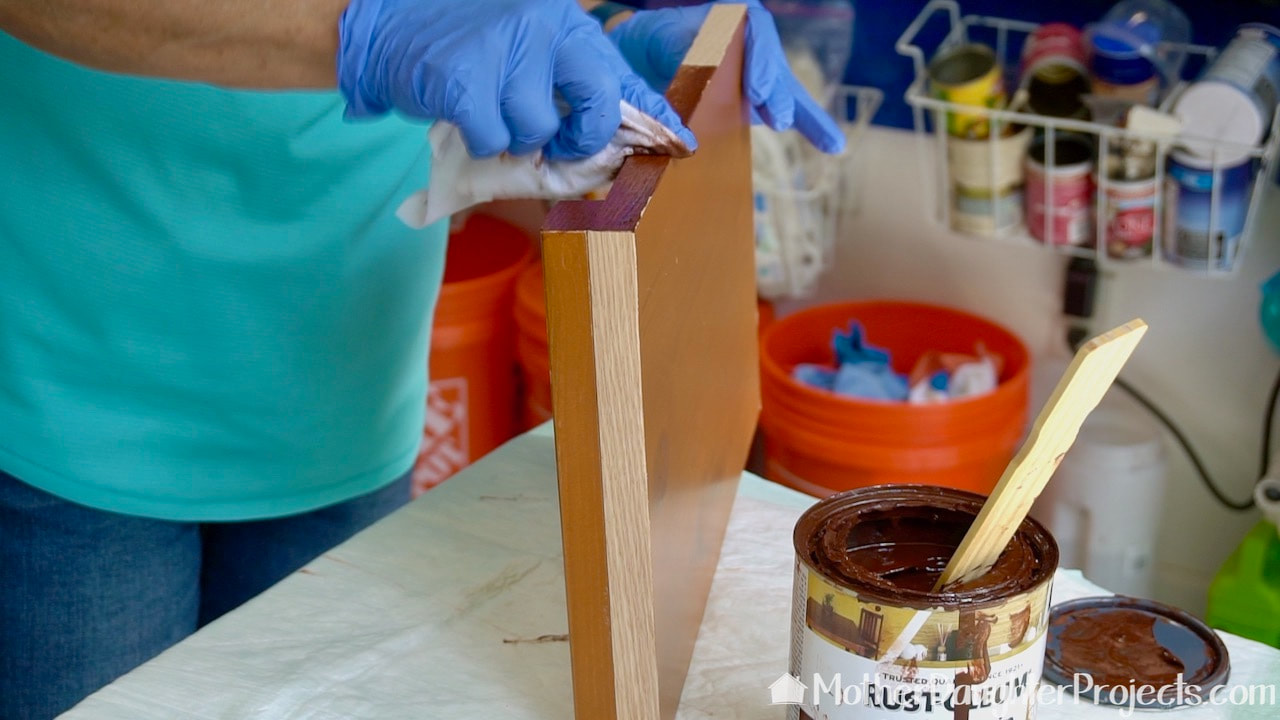
We stained the edge banding in a stain that coordinated with the existing finish.
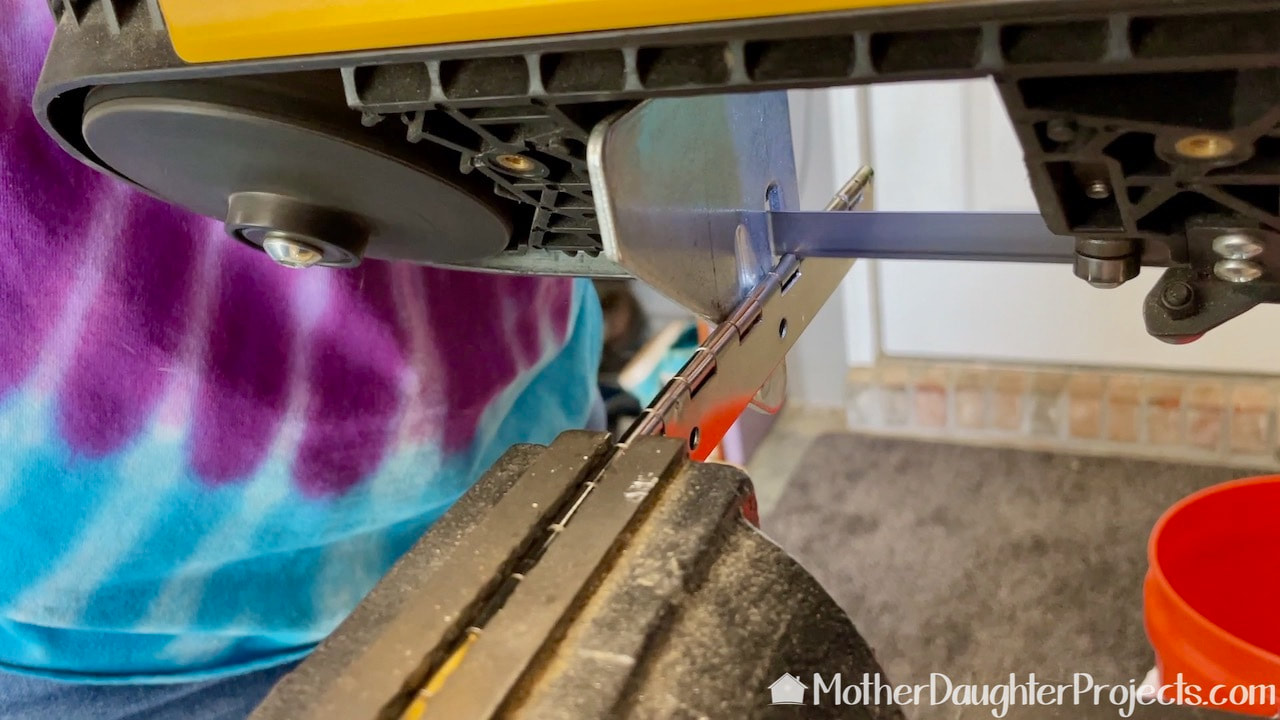
To fold the table we needed a piano hinge. We could not find one in the length we needed so we cut down a 12 inch one we had on hand with a portable band saw.
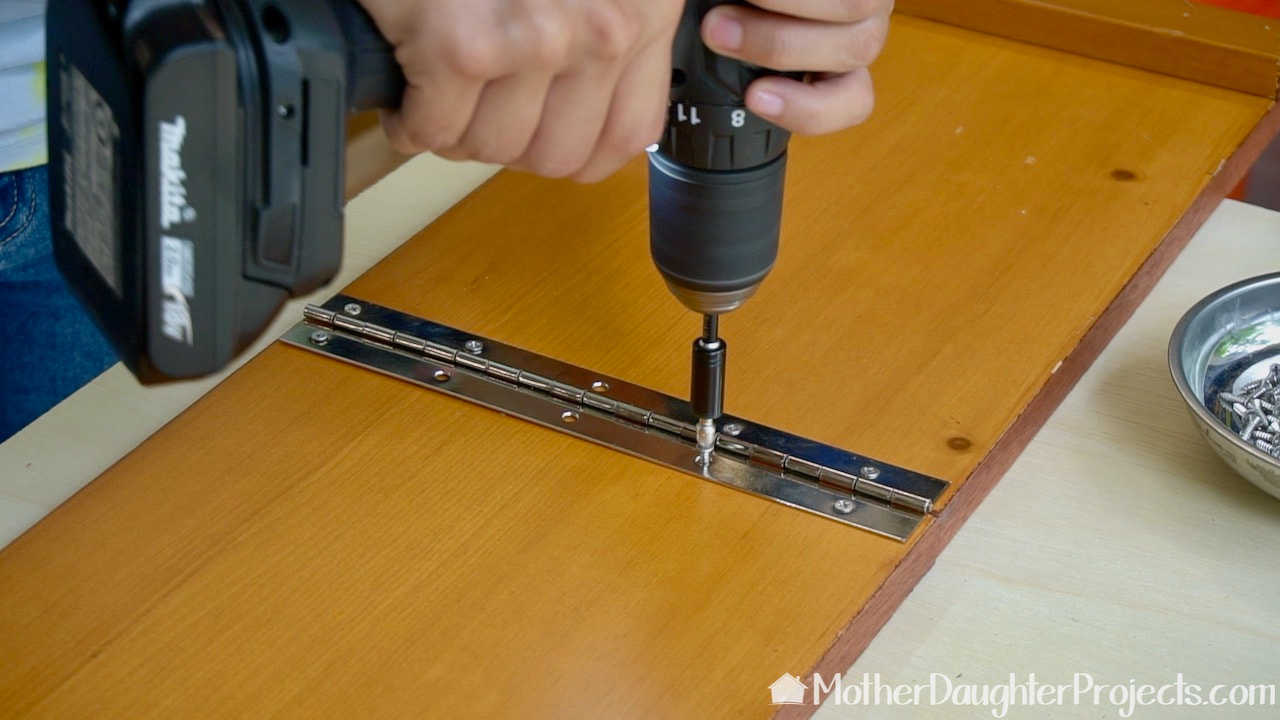
The last step is to screw the piano hinge into place.
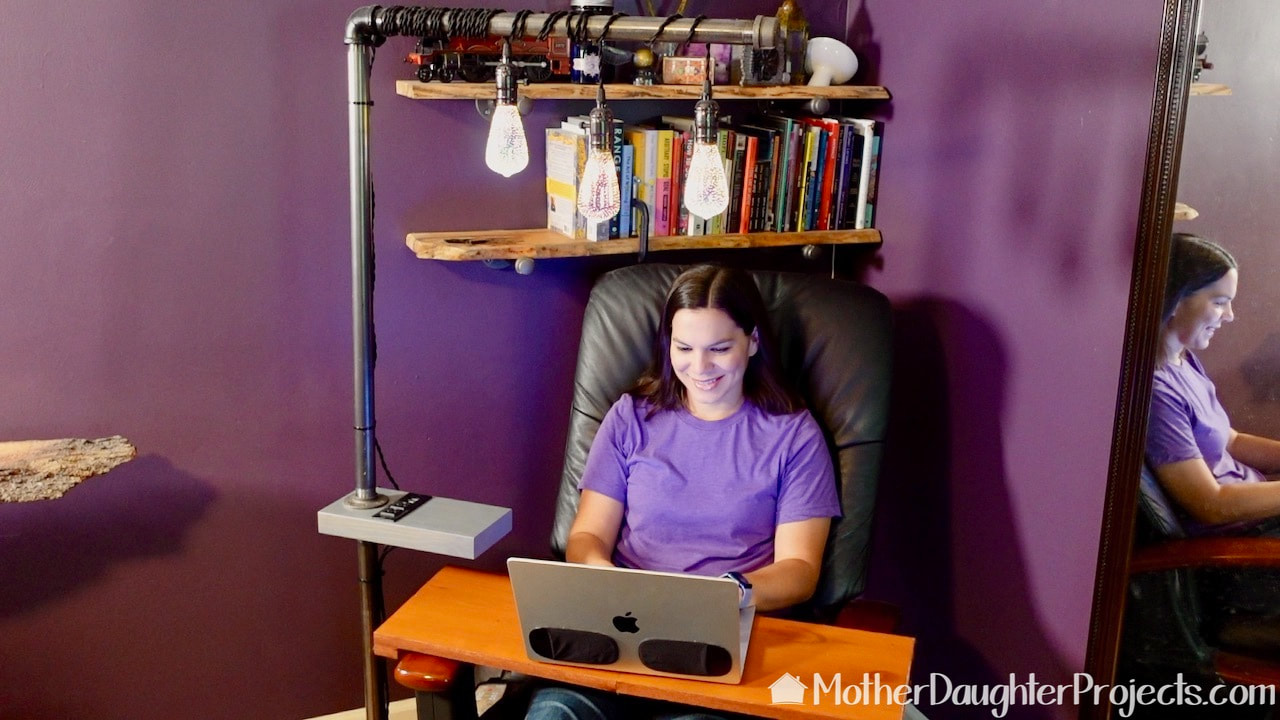
The table is a perfect addition to this relaxing space!
This super simple project went together really quickly. It's nice when you have all the supplies already on hand (with the exception of the edge banding.)
This idea lends itself to total customization. You can keep it simple like this one or make some really fancy depending on the materials you use. Simple and functional is perfect for this space. Please note: This is not a sponsored post. FYI: We are not professionals, and we don't claim to be. This is what we found worked for our project. Yours may need a little different approach. Safety first! FYI: Affiliate links are being used on this page. Purchasing via these links help support MDP Related Projects
0 Comments
Leave a Reply. |

Mother Daughter Projects
|