text by Vicki Sign up here to join our weekly email newsletter!
We are always on the lookout for new and innovated DIY products to try. Steph spotted this new product by DAP and thought it looked promising. She convinced me we needed to give it a try in a head to head product challenge. DAP Eclipse Wall Repair Patch verses standard spackling.
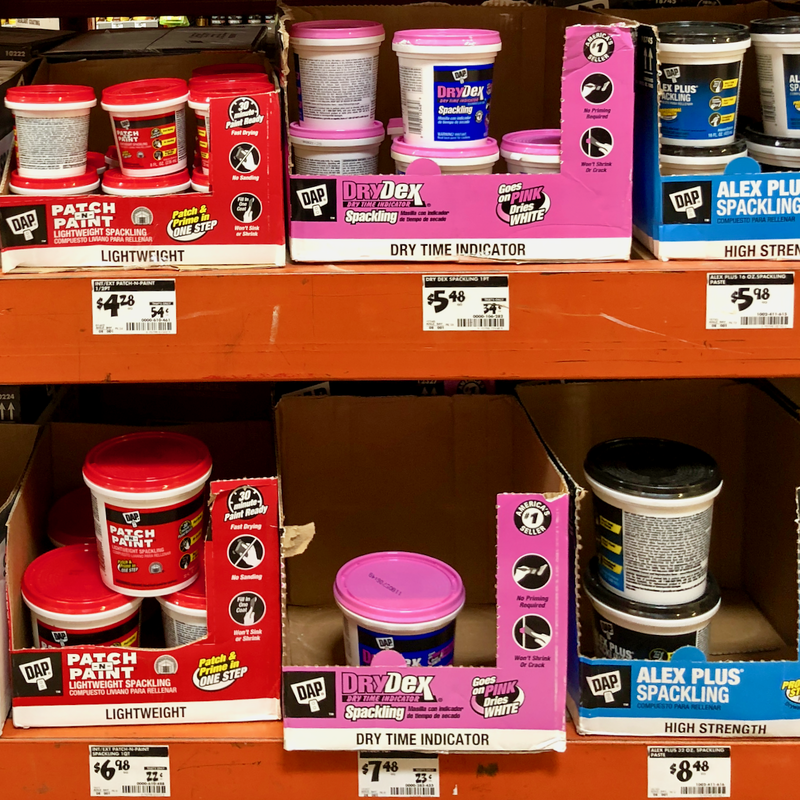
Product:
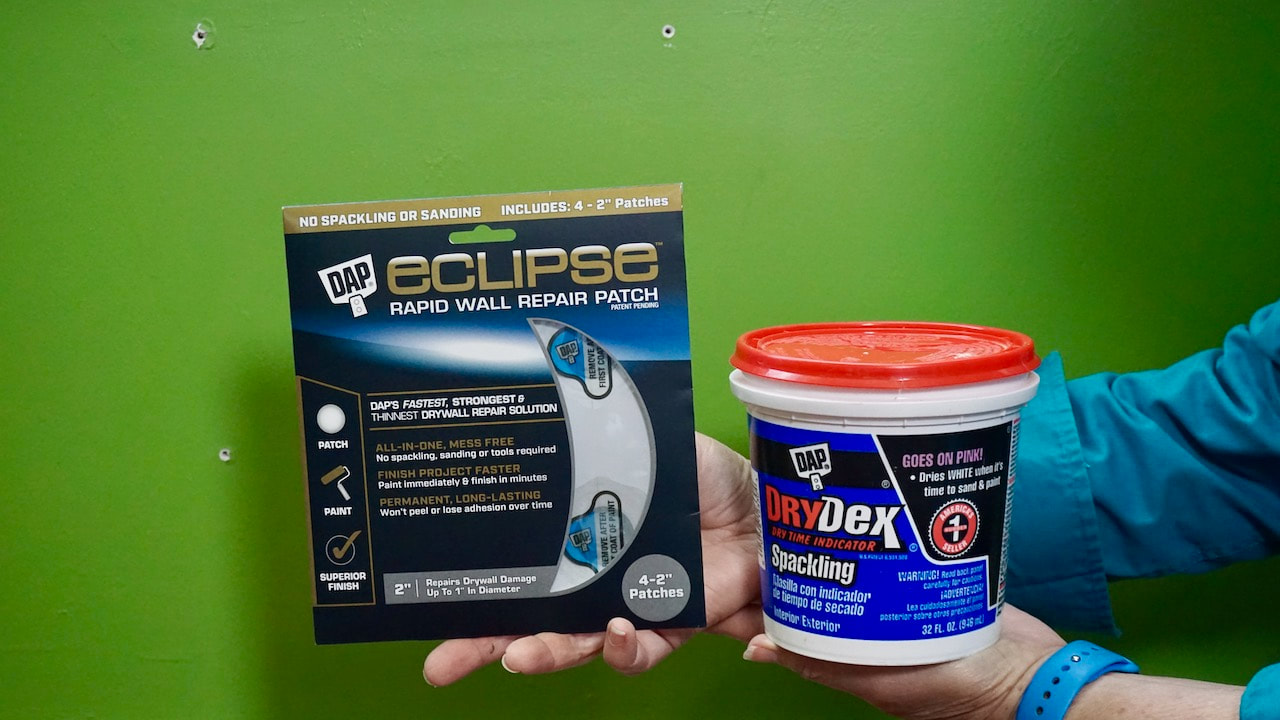
New technology verses old. Let's do this!
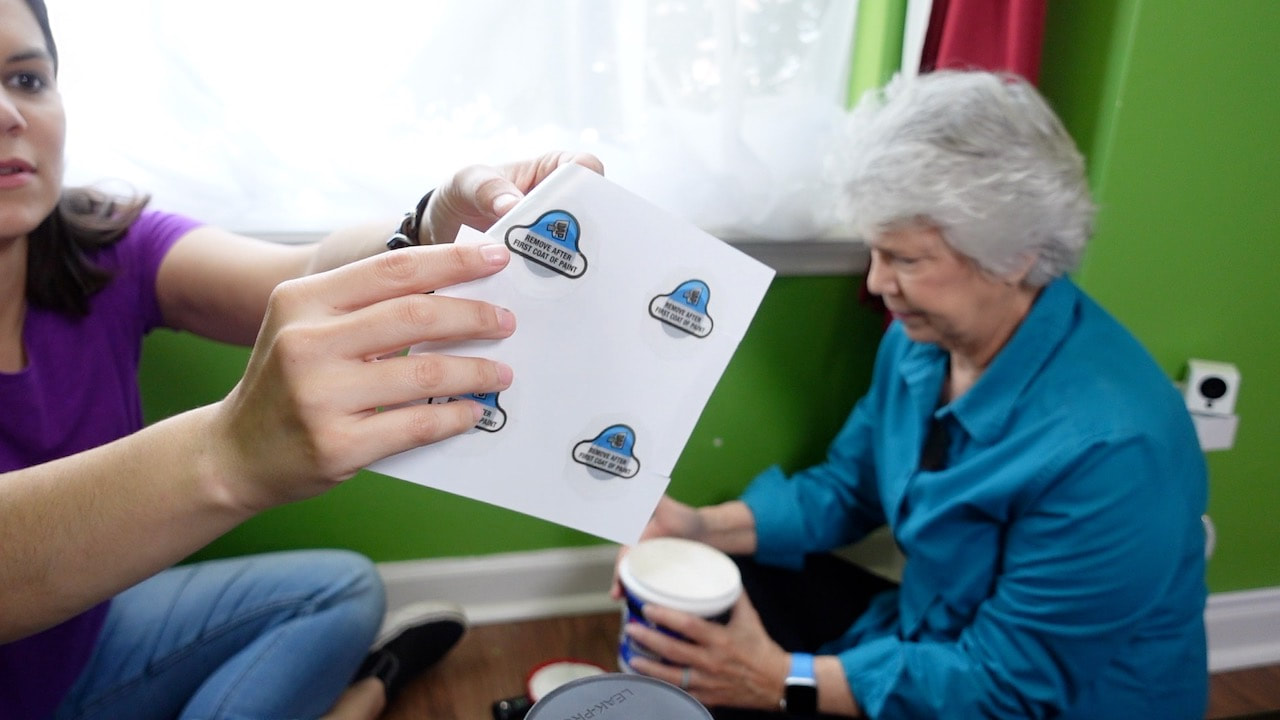
The DAP Eclipse in the 2" size comes with four stickers. It certainly is intriguing. Steph took the lead on using the Eclipse while I uses the messier spackling.
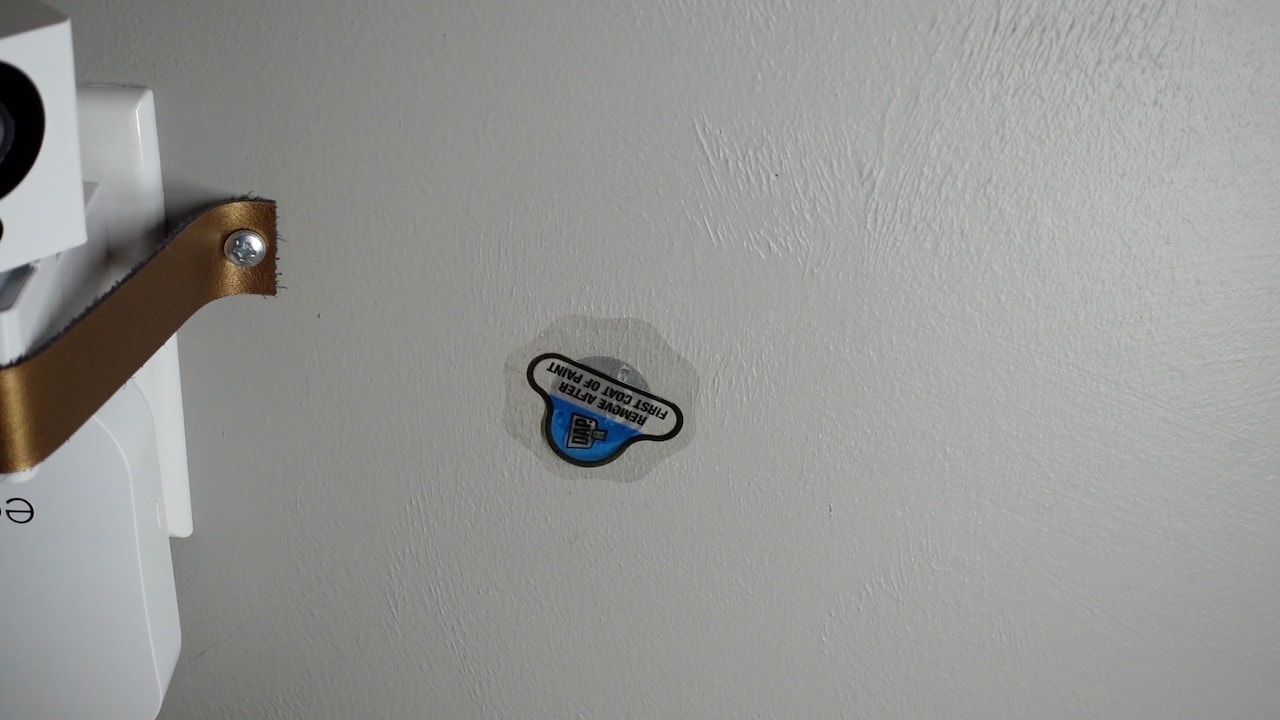
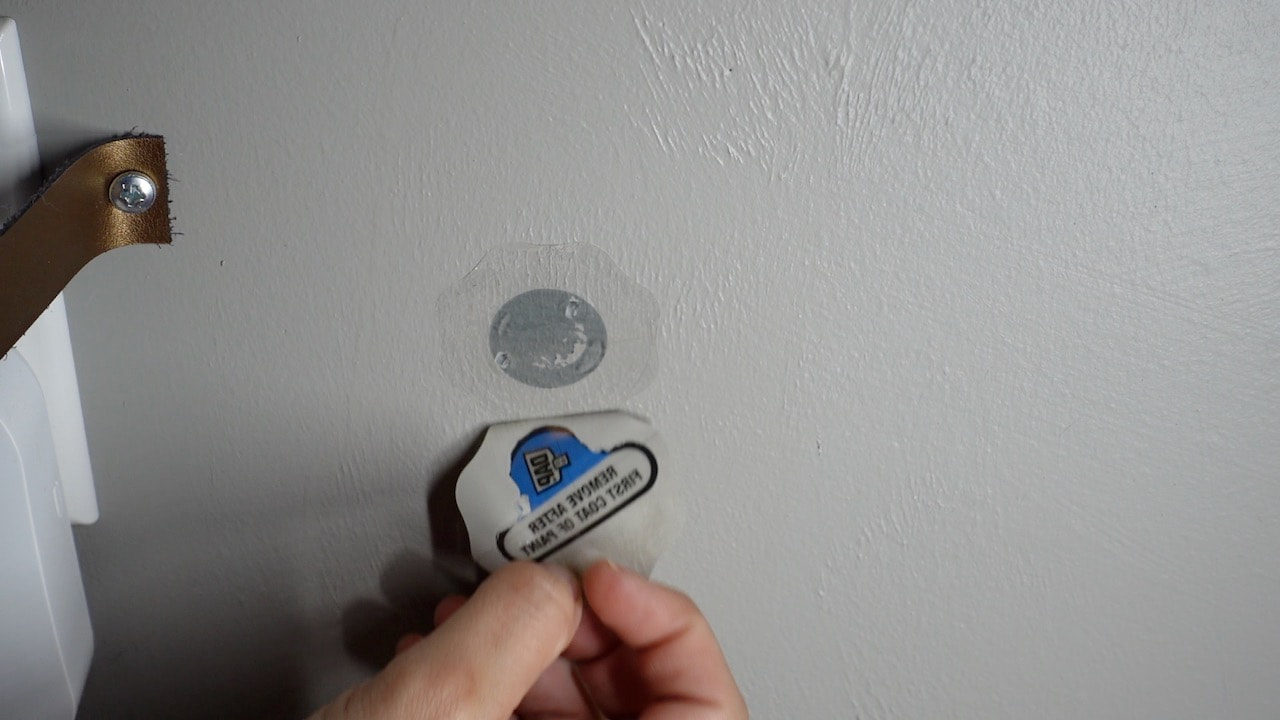
First step is to place the patch over the hole, paint the stickers, let dry and then peel off the top layer.
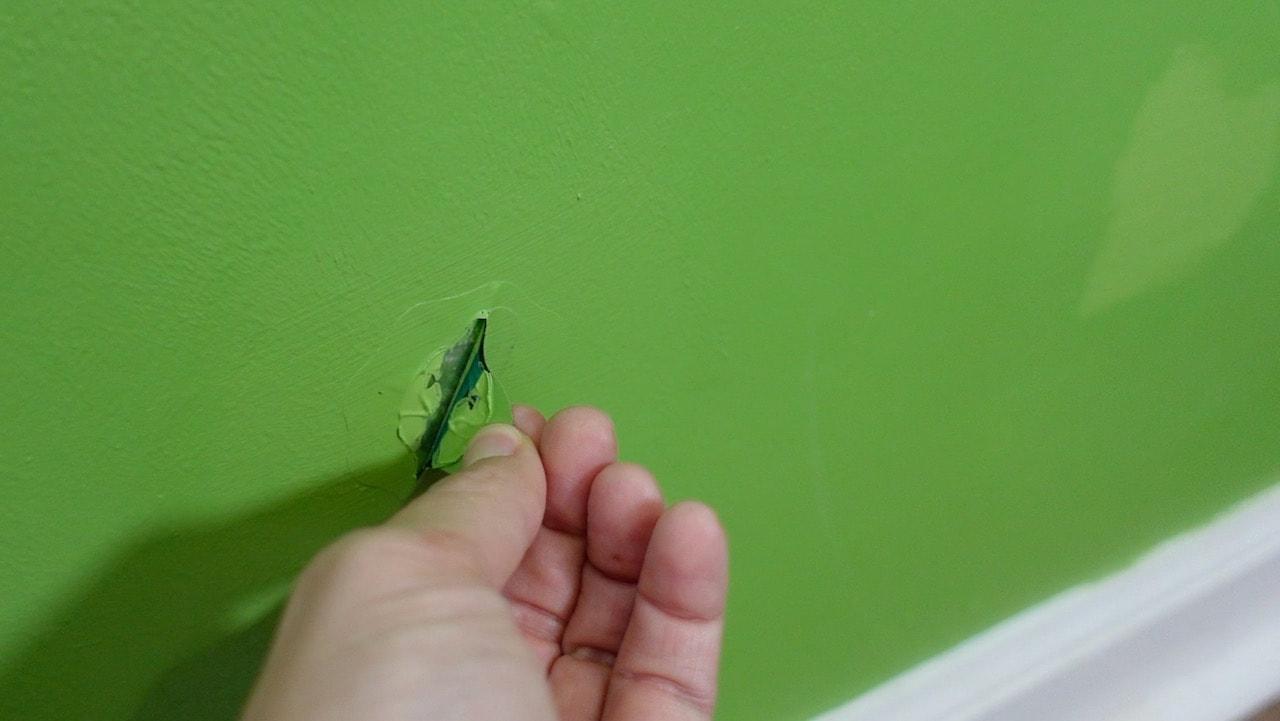
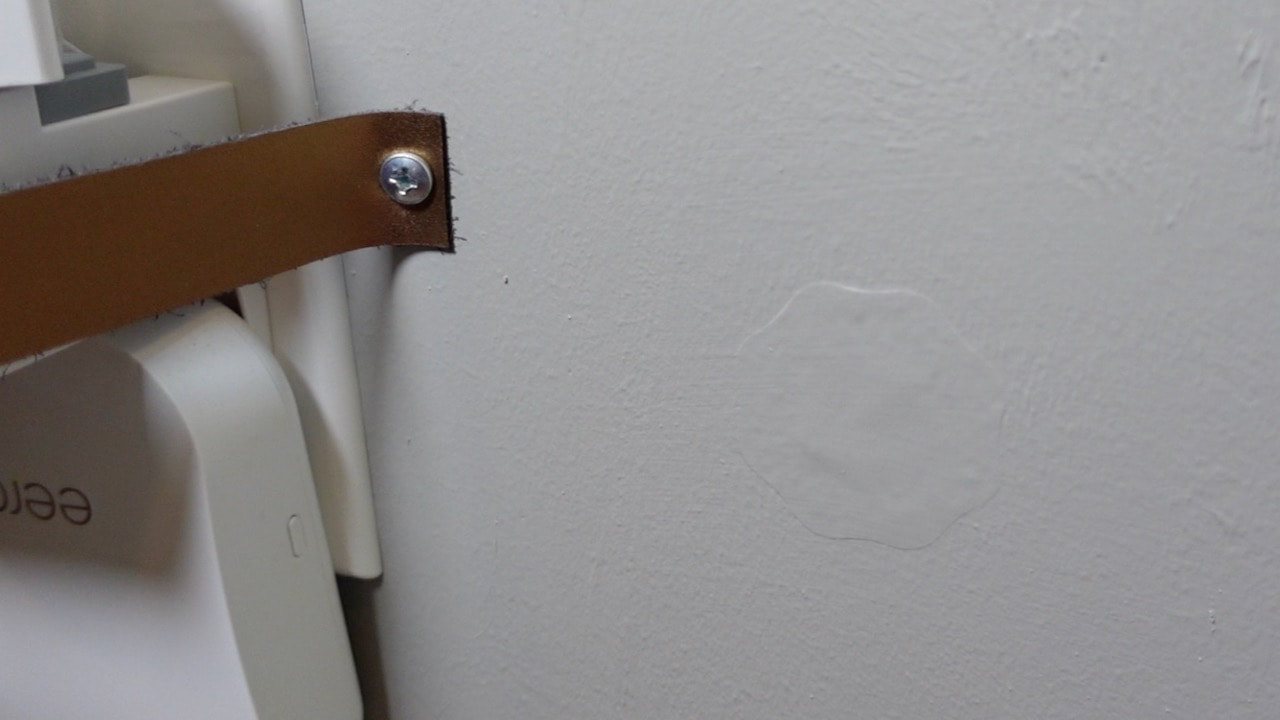
This is the patch after the outer lay is removed.
The outer layer of the patch. Steph was already moving onto painting while I was still cleaning up my spackled areas.
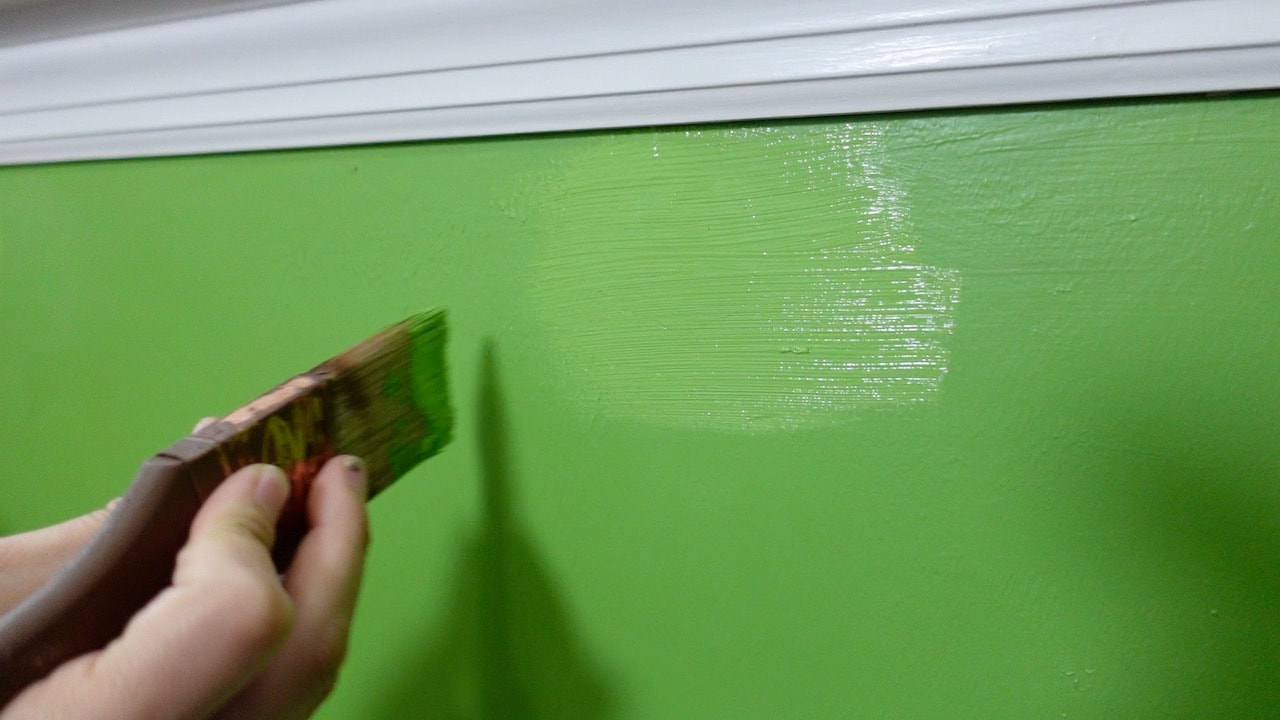
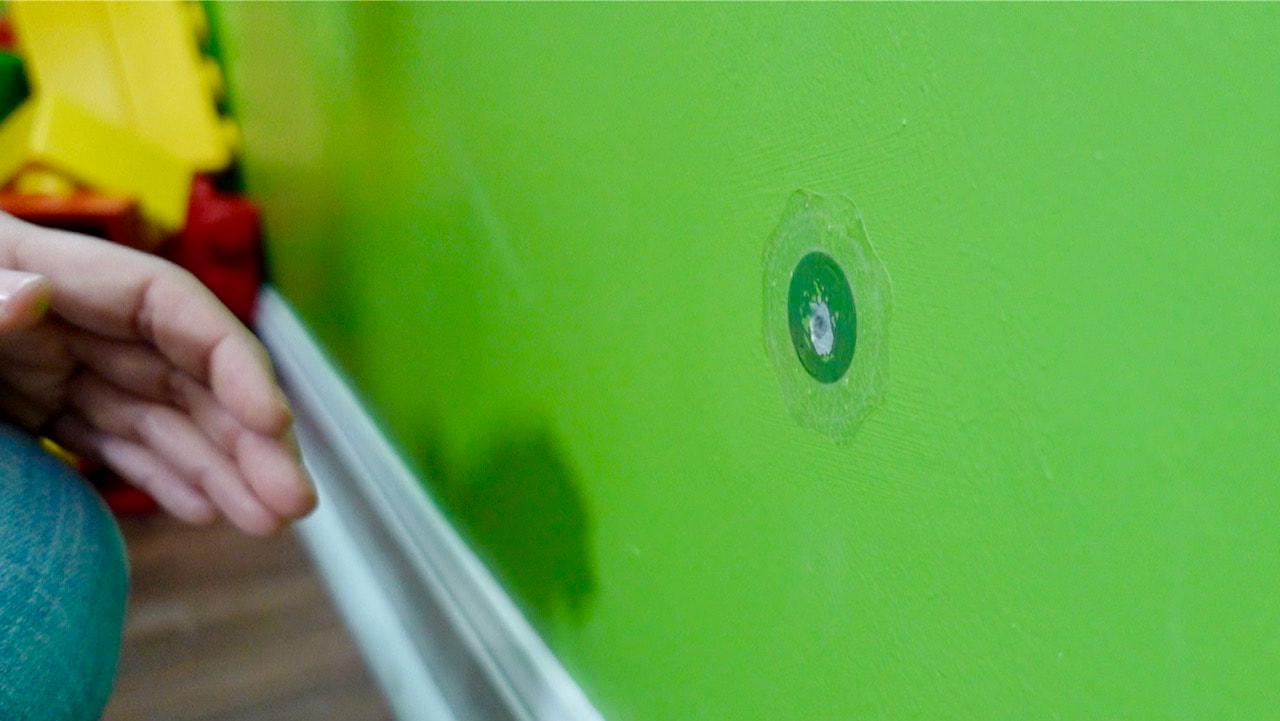
First coat of paint over the patch.
After the first coat is was apparent their was a patch under the paint. Okay, they do recommend up to three coats so we added more.
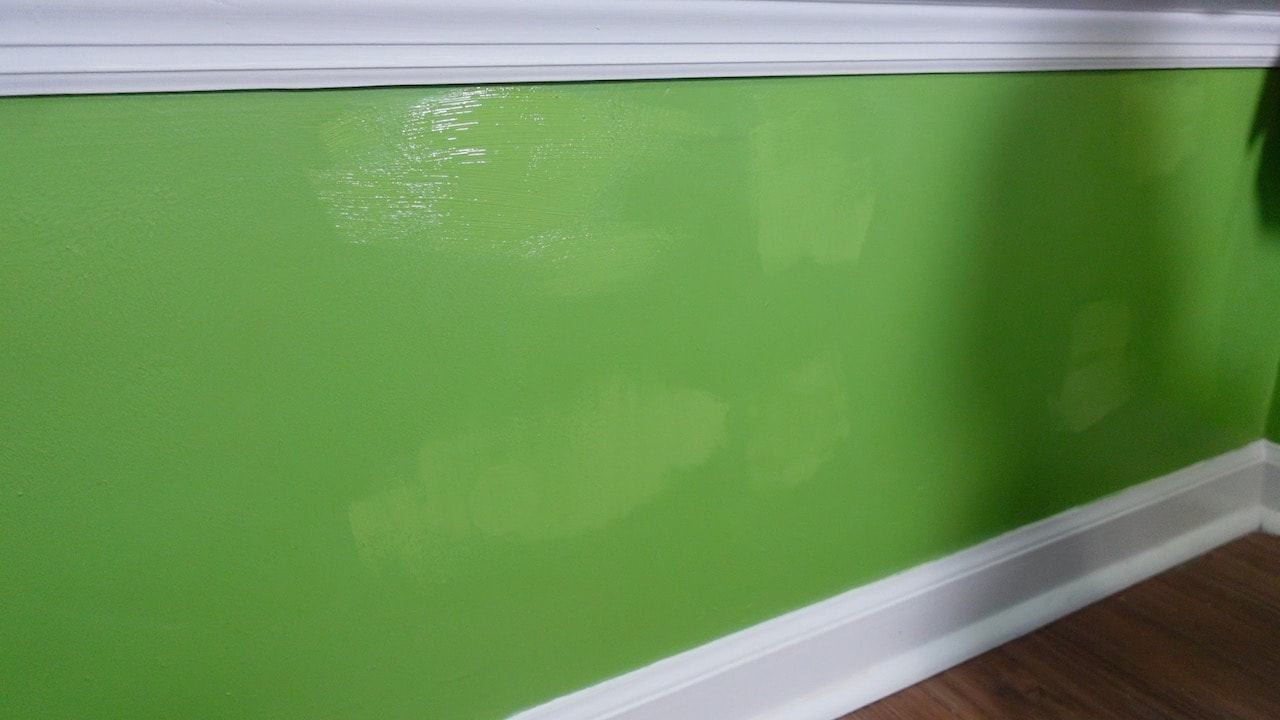
Paint goes on the patches as well as the now dry spackle.
From a distance, all looks good!
We had one patch left so Steph decided to try it on this wall and use a roller to paint the wall since a roller over a brush is recommended.
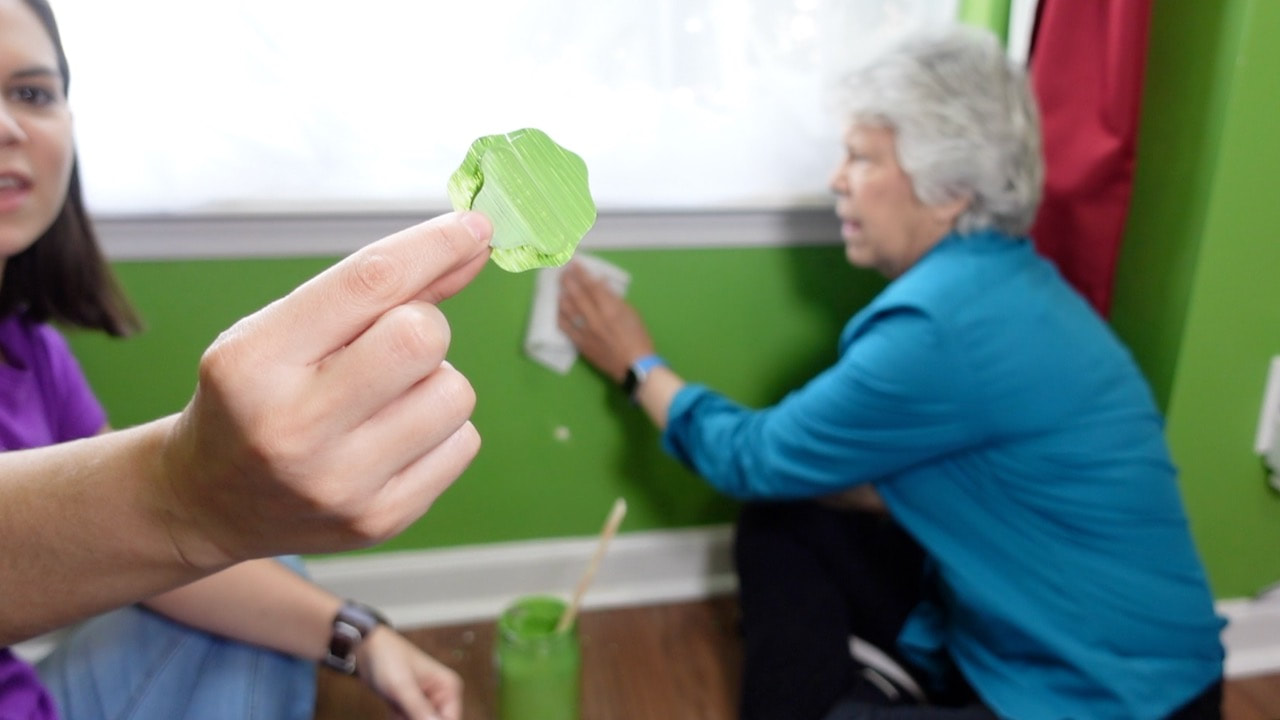
Step one, done! The patch is on the wall, painted over, left to dry and the top layer removed.
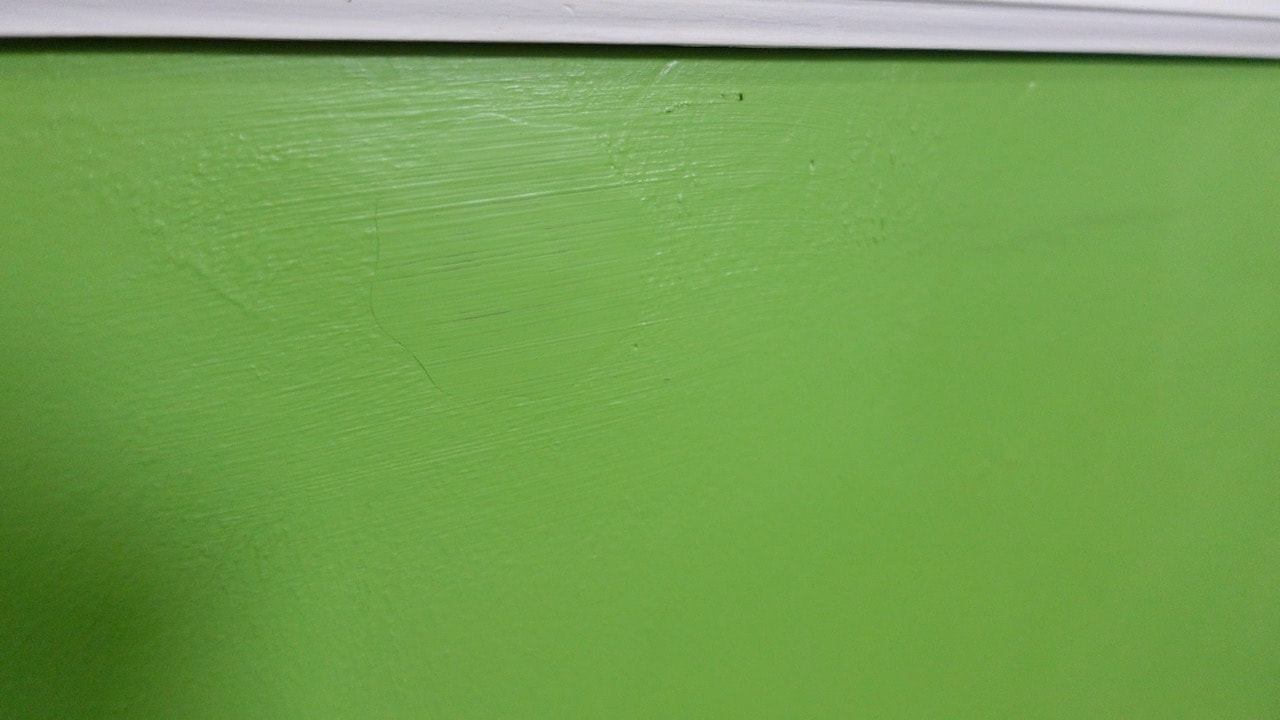
This is three coats of paint with a roller. Hummmm, that looks pretty much like a sticker on the wall! I can just see a curious child seeing that and picking it off!
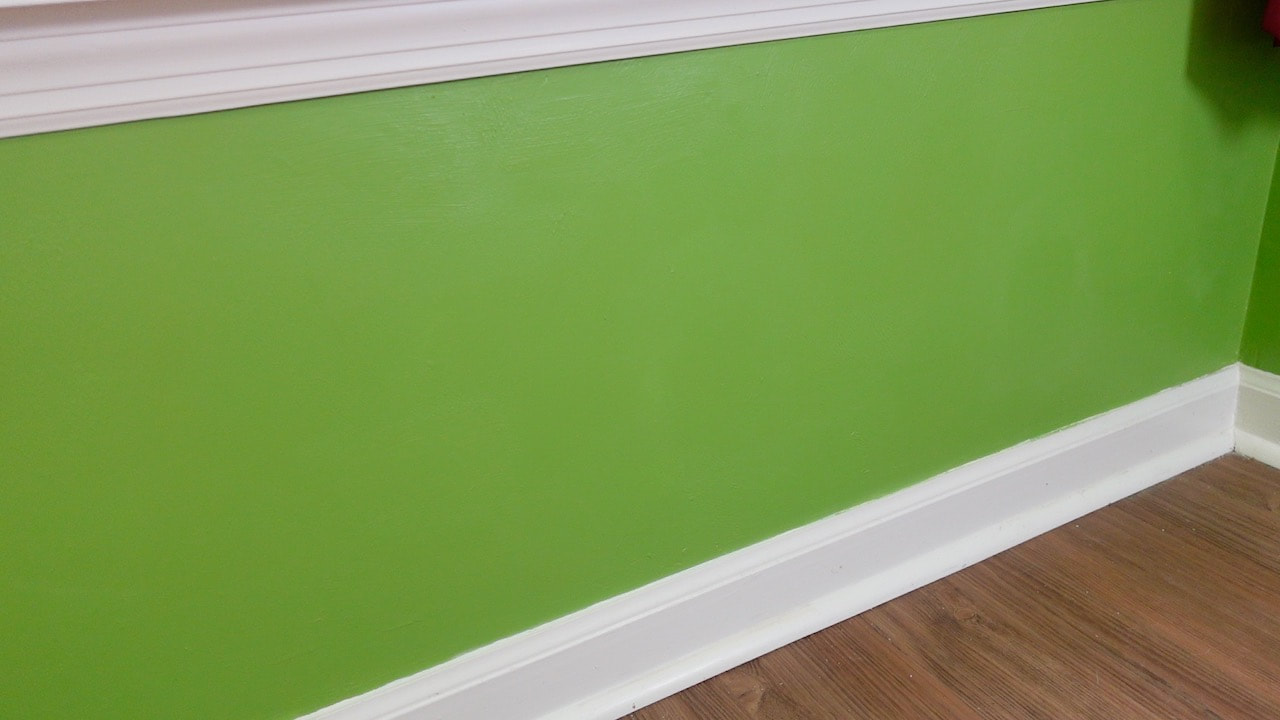
Well, we were not bowled over by this product. It didn't appear to be any easier than using spackling, although it is a lot less messy.
Would we use it again? Possibly, but it would have to be in a less visible area. We think more research is needed into the recommended use of this product. Have you tried this? What was your experience? Please note: This is not a sponsored post. FYI: We are not professionals, and we don't claim to be. This is what we found worked for our project. Yours may need a little different approach. Safety first! FYI: Affiliate links are being used on this page. Purchasing via these links help support MDP! Related Projects
0 Comments
Leave a Reply. |

Mother Daughter Projects
|