|
text by Vicki Sign up here to join our weekly email newsletter!
Over the last few months, Steph has been building miniature rooms from various kits. She is enjoying it so much that she has slowly been adding miniature tools in which to make the builds a little easier.
With all those new tools, she needed an efficient way to organize and store them. She created a simple three box caddy that is easy to use and move around. Although this is for her miniature supplies, it can be customized for whatever hobby or craft is your passion! Materials/Tools:
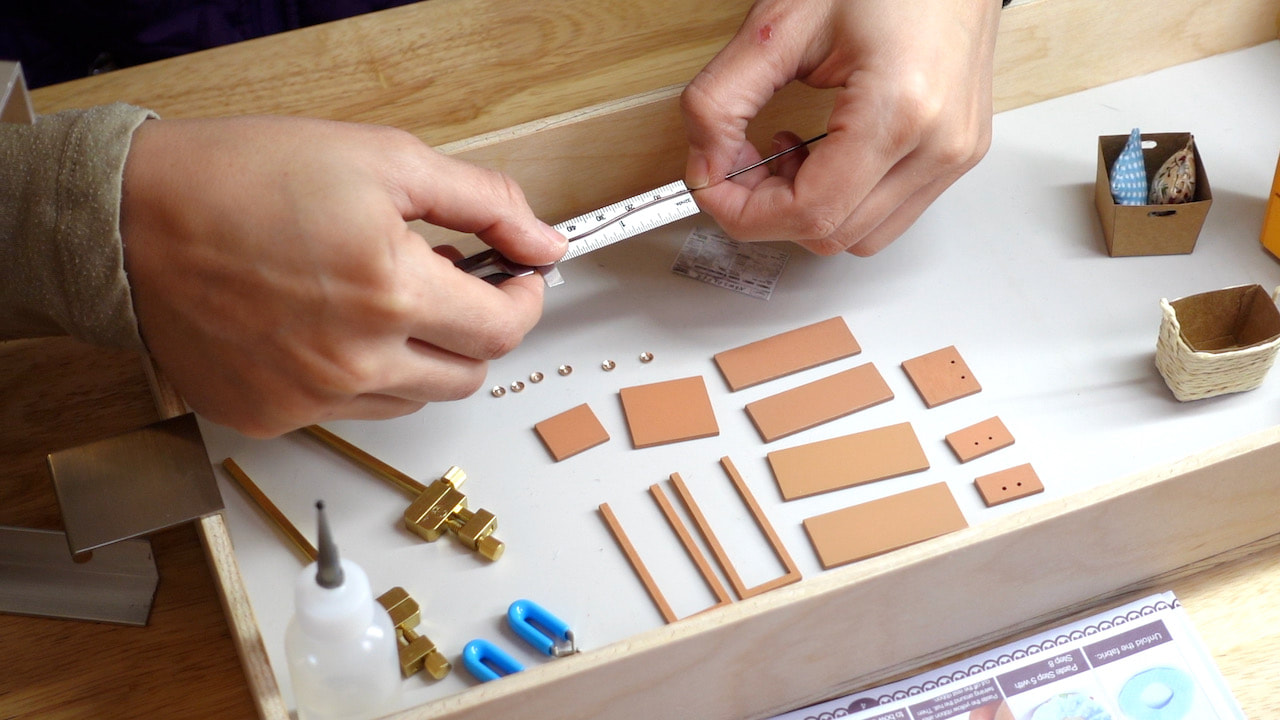
Miniature building has lots of tiny pieces and one of the features of this caddy is the top box can be used to help contain all those bits while working!
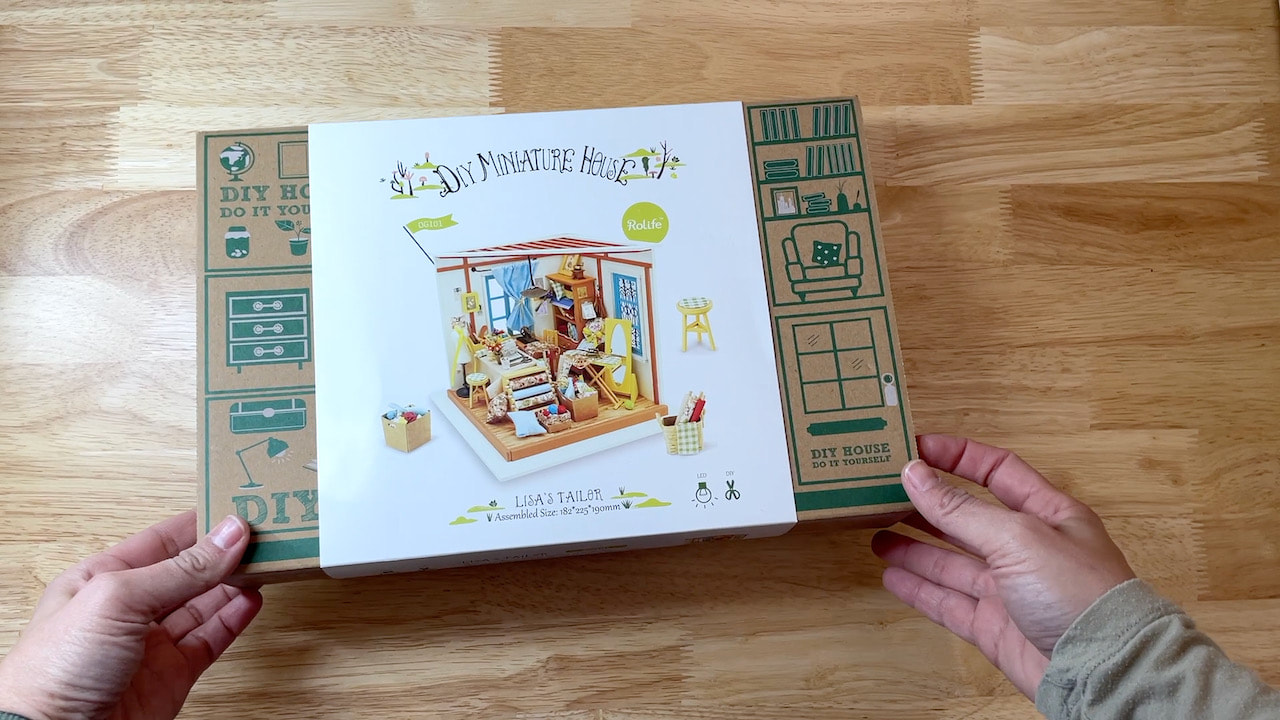
There are many versions of this particular kit from many different sellers on Amazon. So far, all the kits she's tried have been okay. Some are better than others, but a review of the different ones is for another time.
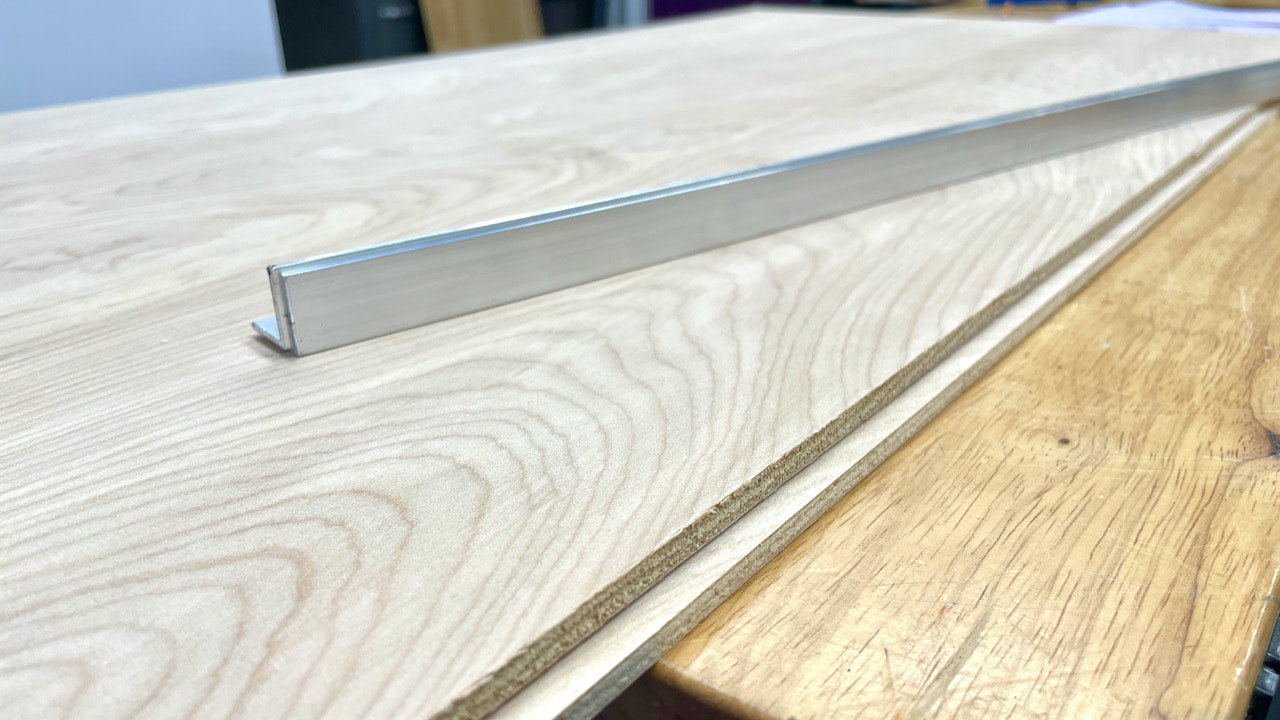
To make this box light enough, Steph used 1/4" plywood and aluminum angle iron.
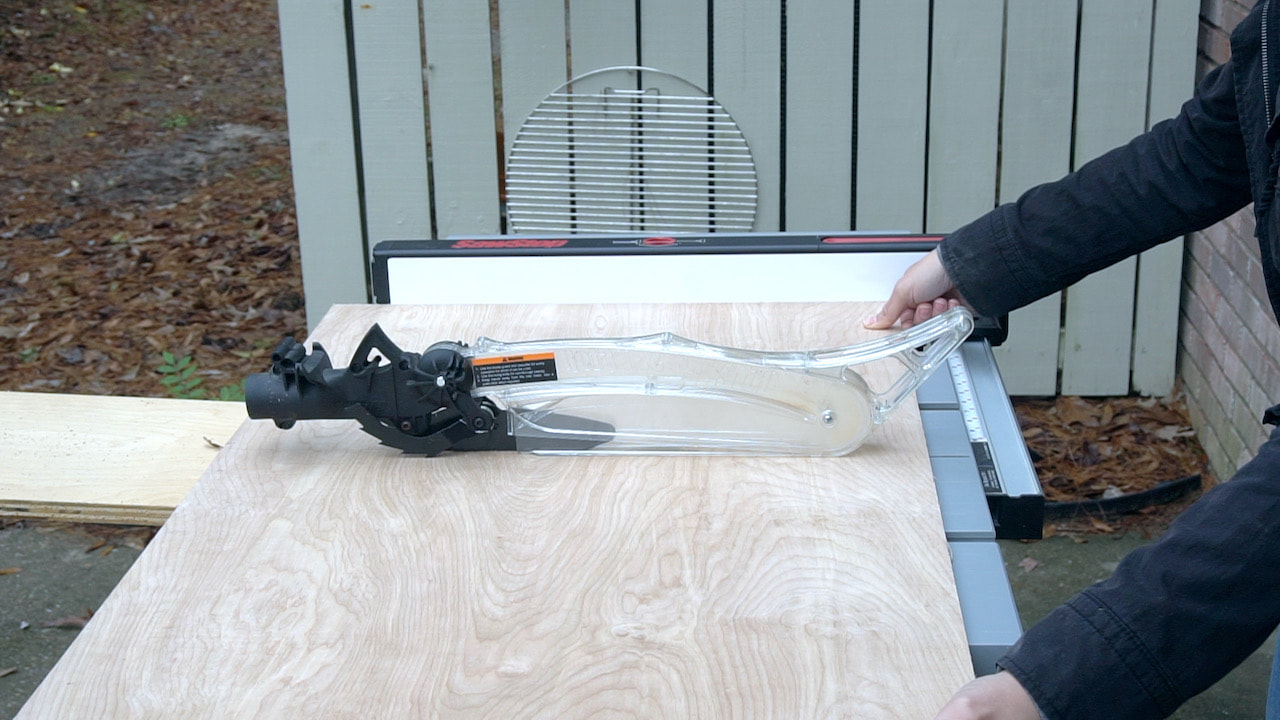
All the cuts were made on a table saw. This is a SawStop, which is the safest table saw you can get!
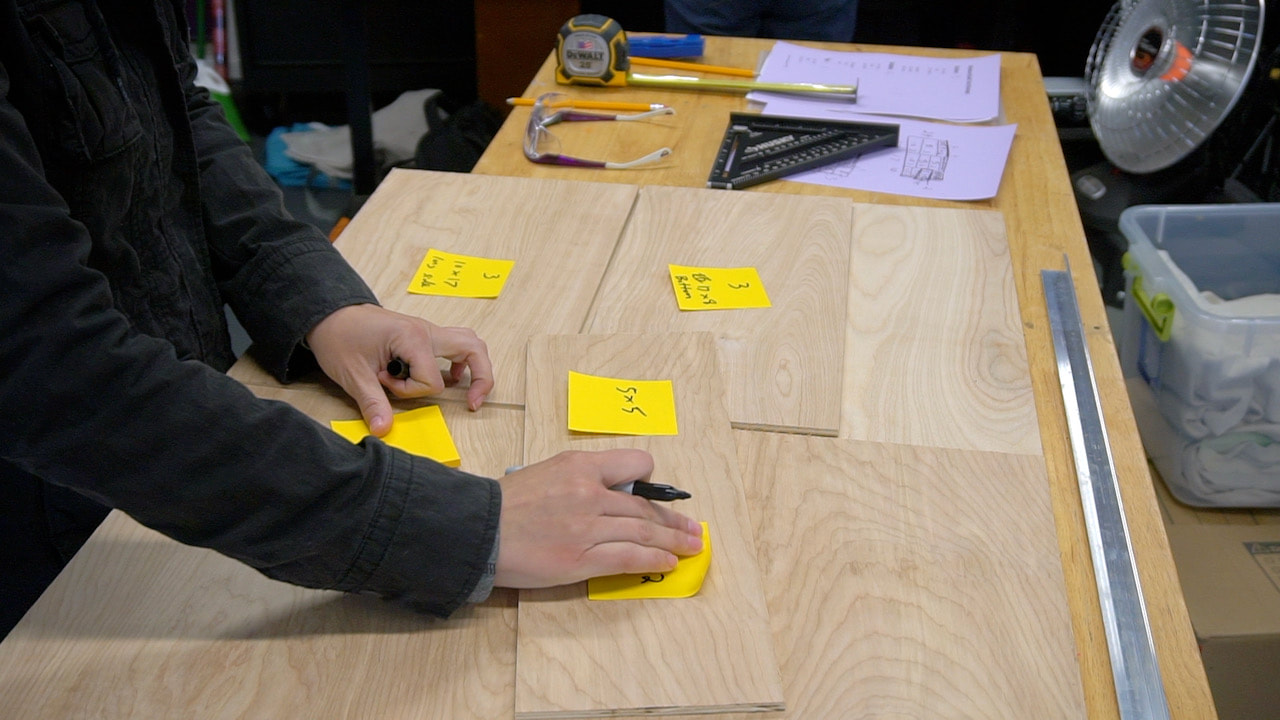
Lots of sticky notes were used to keep track of the pieces for the three different boxes.
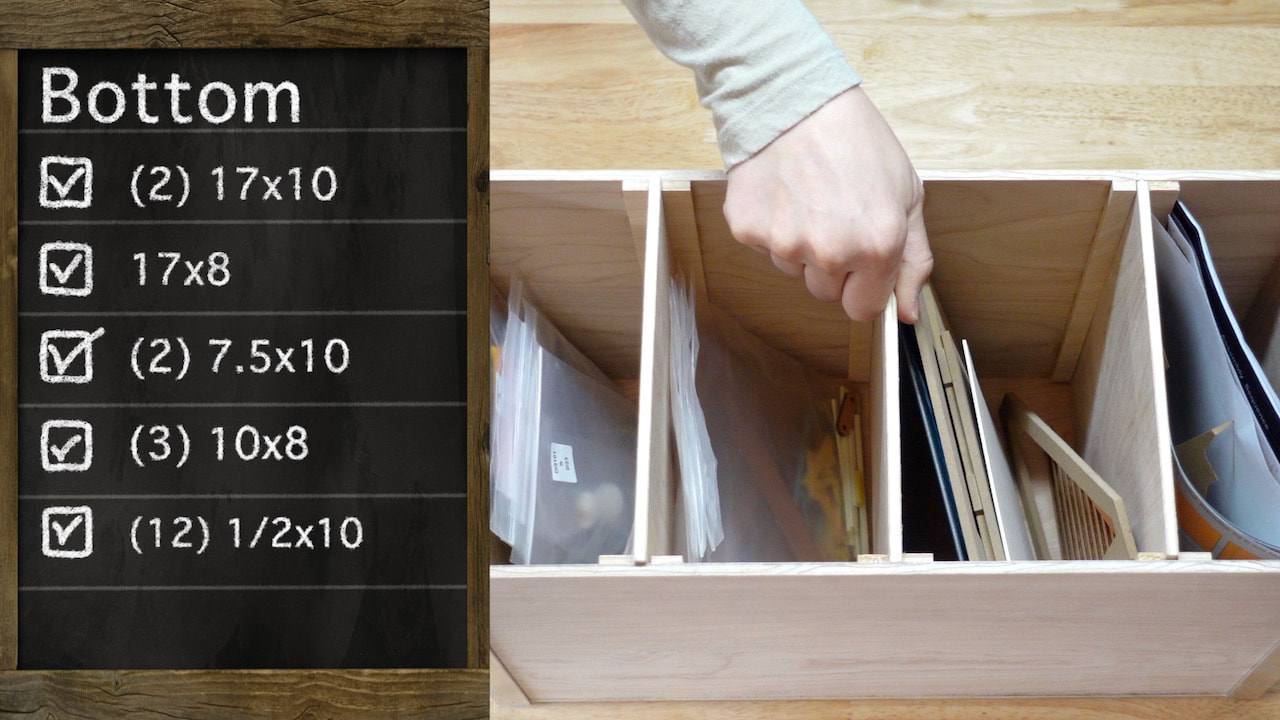
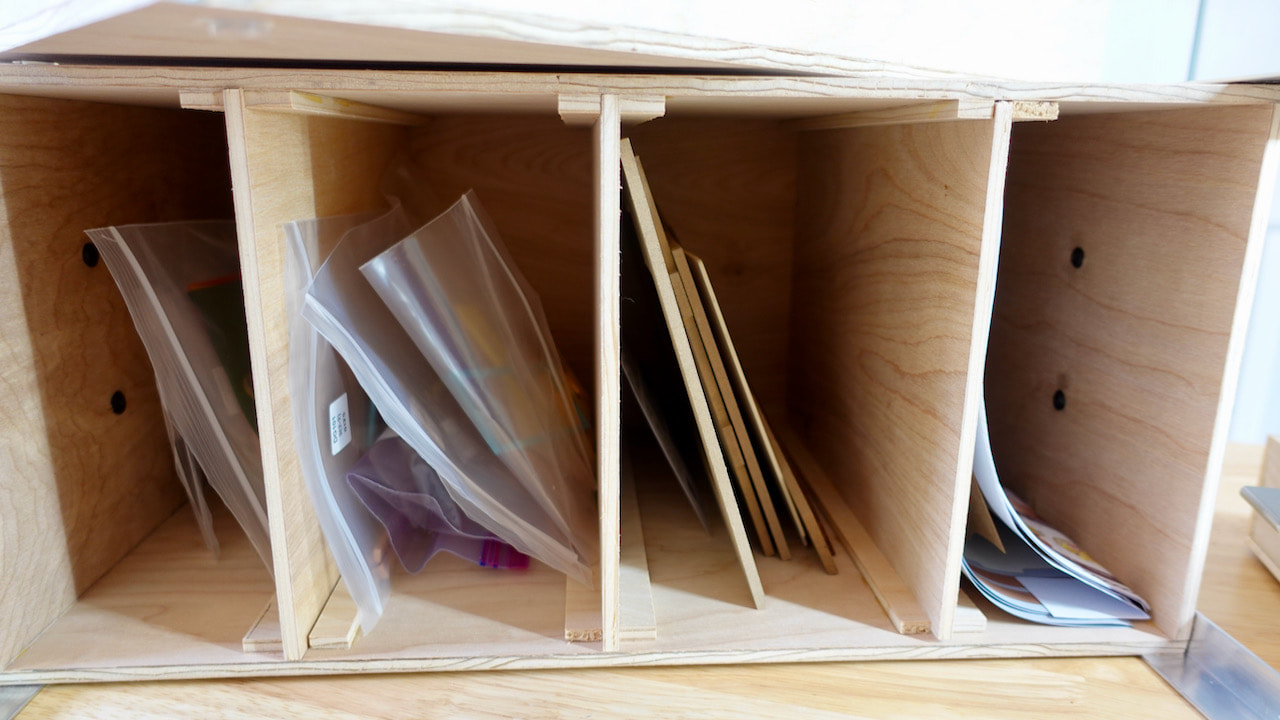
Each of the three levels were designed with different specs based on what was going to be stored in it. The bottom level stores larger things. The dividers in this box can be removed.
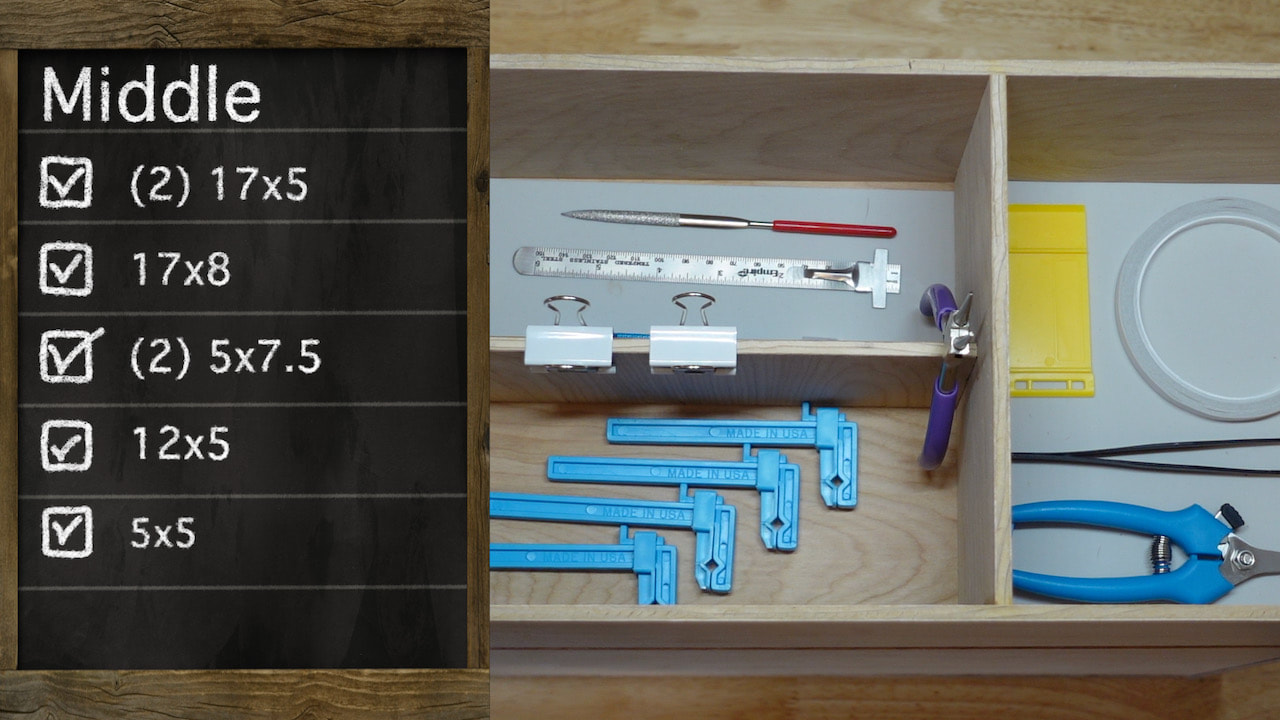
The middle box holds all the cute tiny tools! These dividers are permanent.
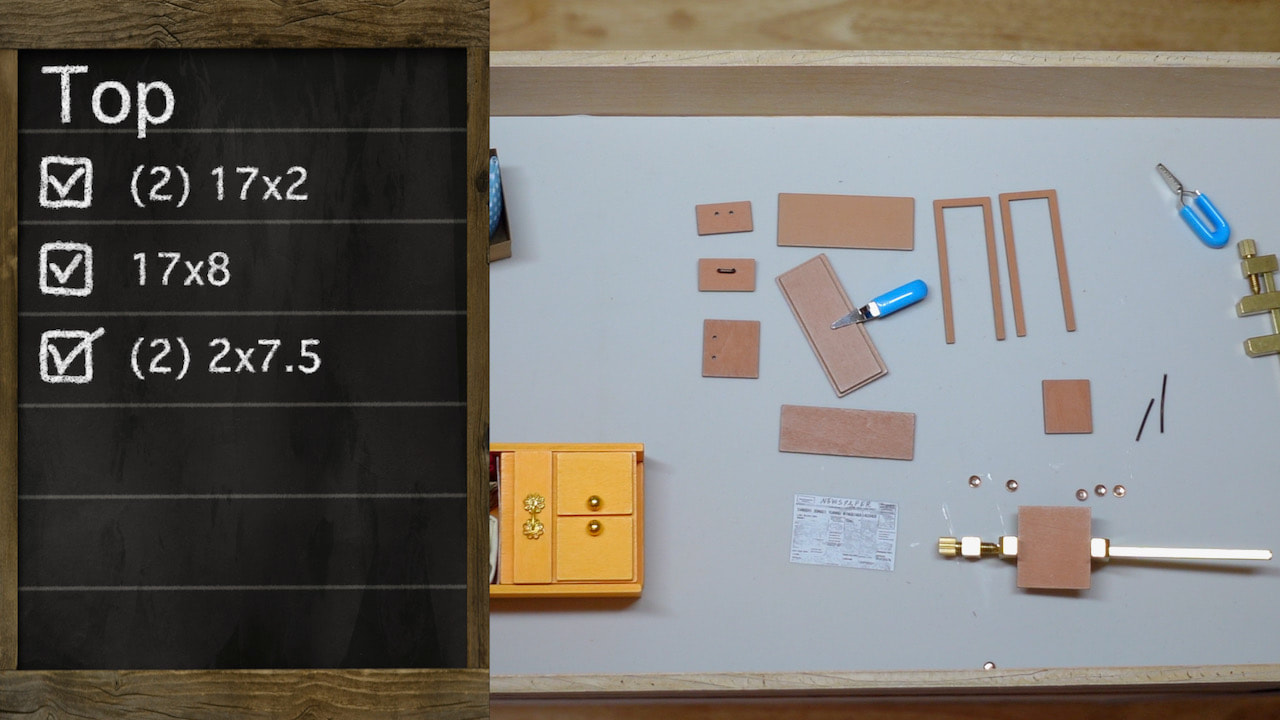
The top box is used to build in and hold the current finished pieces. The white is a very thin, non-textured silicone mat that was cut to size. The mat makes glue clean up really easy.
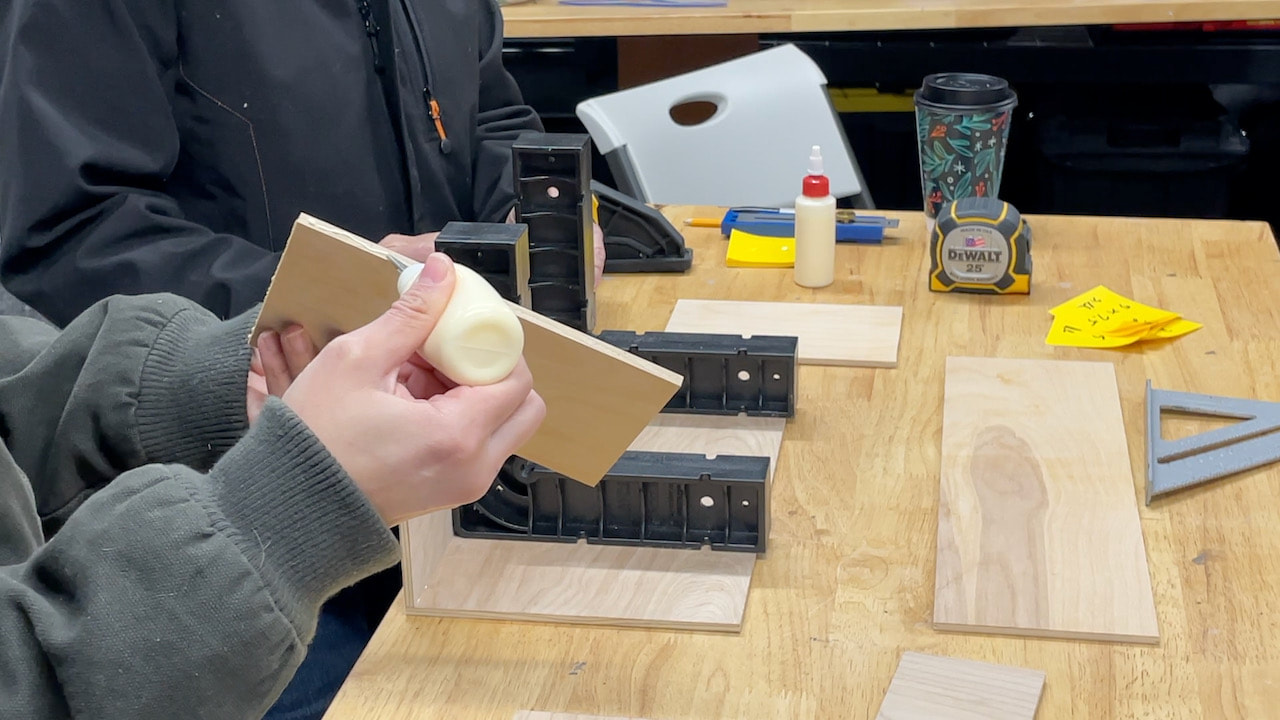
All the boxes are constucted with butt joints and wood glue. The wood glue was transfered to a small bottle with a fine tip to be able to accurately glue the 1/4 inch plywood. With this bottle, we were able to glue with very little squeeze out to clean up.
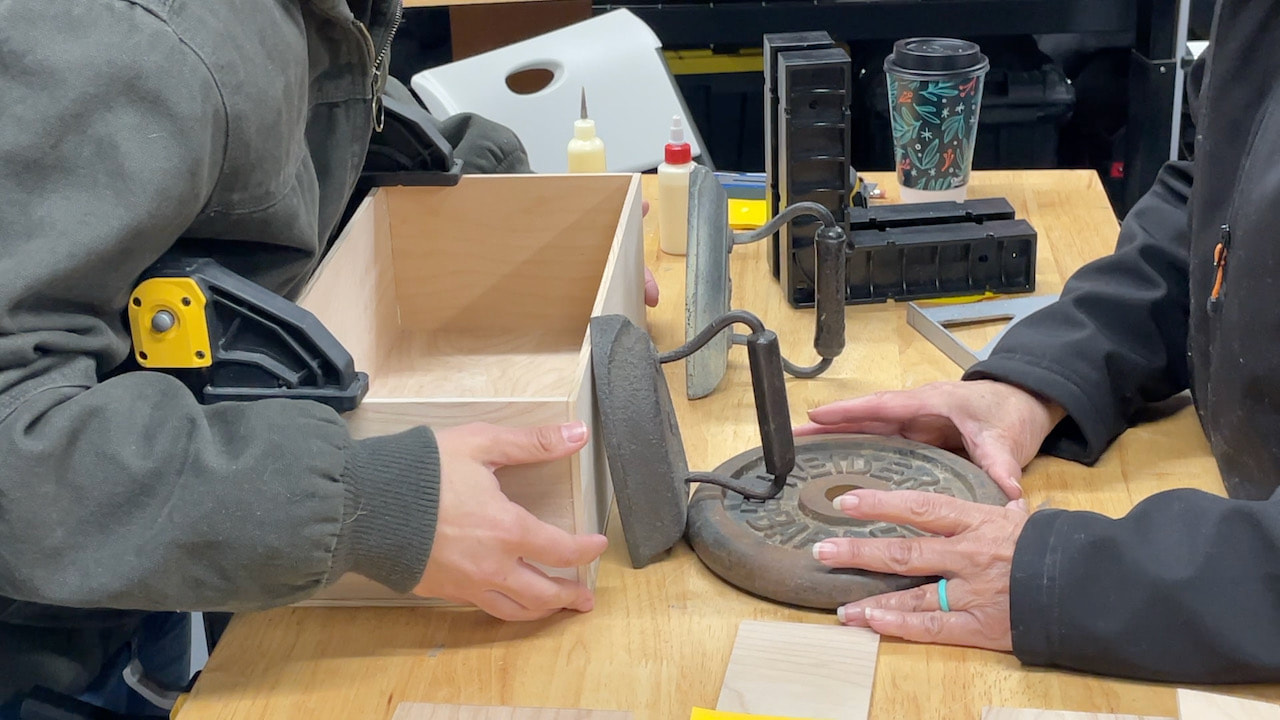
To keep the walls in place while they dried, we propped them in place with vintage seven pound irons and weights.
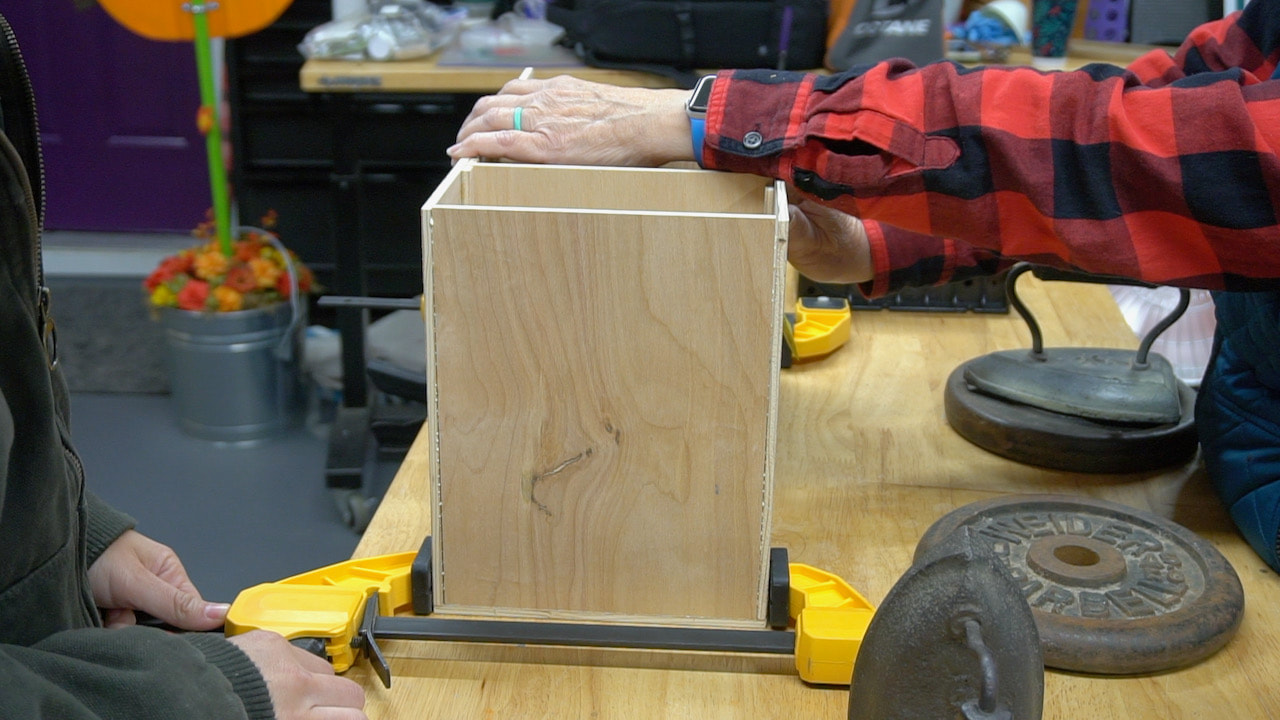
We also used clamps where we could while parts dried.
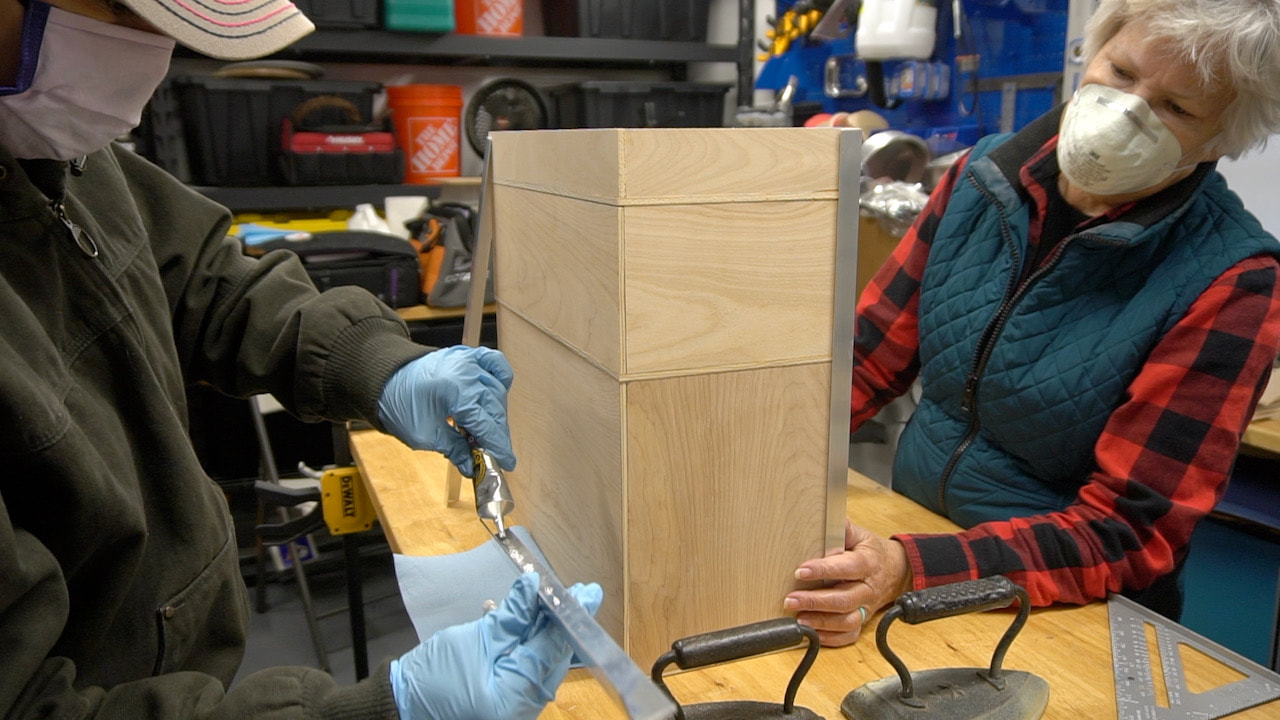
To keep the boxes securely together, we cut angle iron to the height of the stacked boxes, then we glued this to the bottom box.
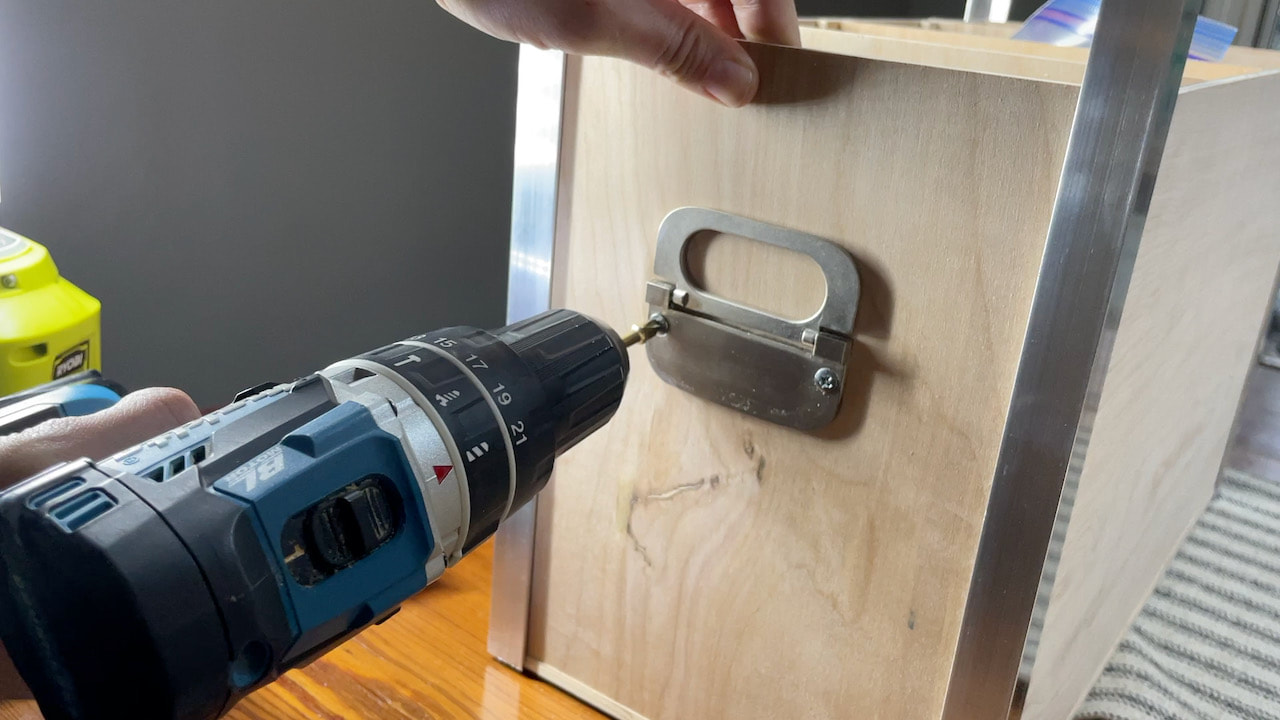
The last step was to added handles to each side of the bottom box. Not shown. Steph also added lifting handles to each of the top two boxes to make it easier to remove them.
During building, the large box is placed on its side for easy access to the larger parts.
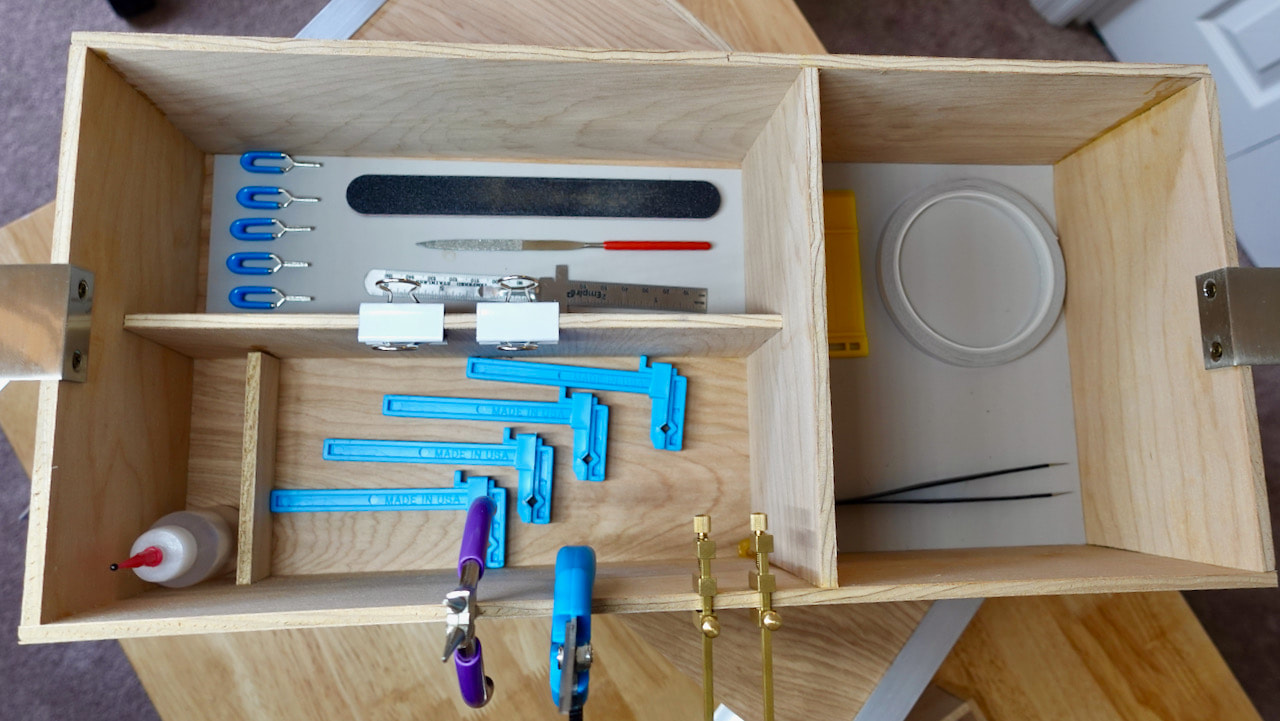
When the box is in use, the tools in the middle box are placed on the edge to make it easy to grab them when needed.
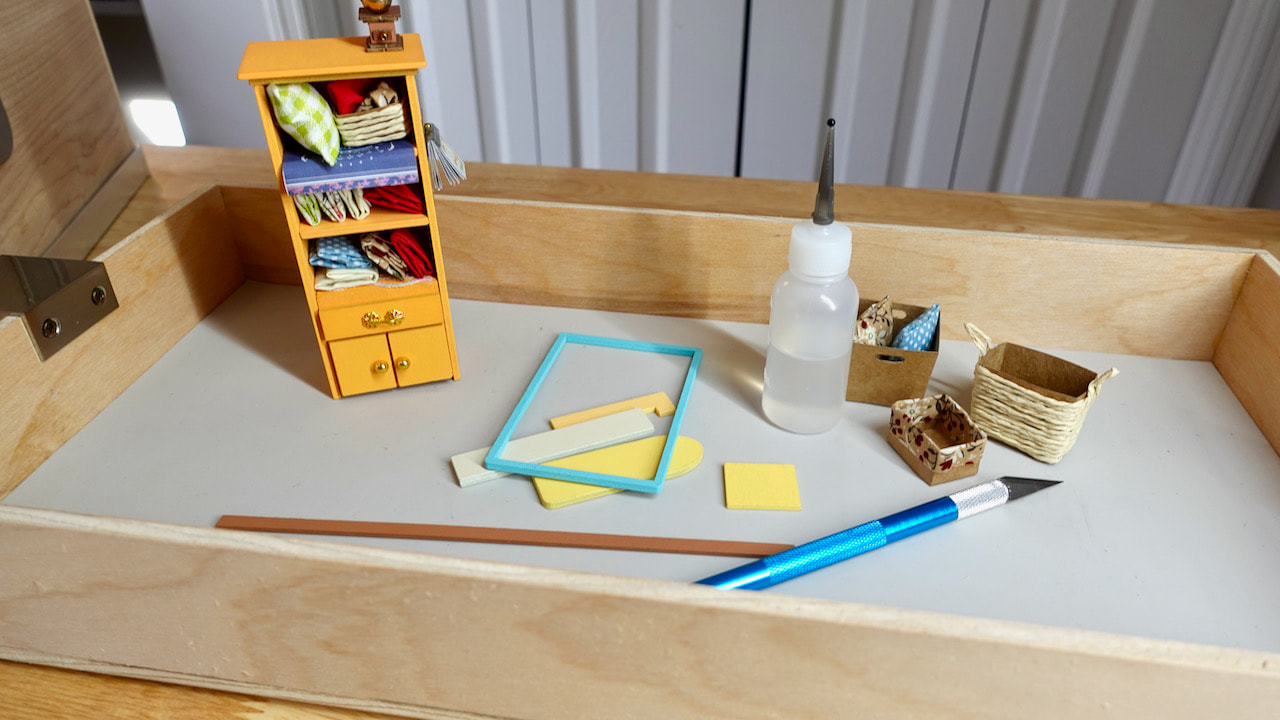
The top box is lifted out and is now an easy to clean work surface!
Having a dedicated place to store all the miniature DIY house kit parts and tools makes it easy to clean up. Everything goes back in the box and can be moved to its storage space.
If you have a messy hobby, a craft/supply box may be just what you need to get your things organized. It's a lot more fun and way less frustrating, if all your materials and tools are in one place. What would your hobby or craft box look like? What is the hardest thing to keep organized? Please note: This is not a sponsored post. FYI: We are not professionals, and we don't claim to be. This is what we found worked for our project. Yours may need a little different approach. Safety first! FYI: Affiliate links are being used on this page. Purchasing via these links help support MDP! Related Projects
1 Comment
Mary
2/11/2021 12:26:32 pm
my daughter and I are getting started on being able to work and "play with toys, I mean tools and I want to make this as a surprise for her instead of cardboard boxes and plastic bottles. Don't get me wrong, those items will still have a place in our work areas. Leave a Reply. |

Mother Daughter Projects
|