|
text by Vicki Sign up here to join our weekly email newsletter!
We've made several DIY projects based on inspiration from trips to Walt Disney World over the years. But for now, to get our theme park fix without an actual visit, we have been watching videos from a number of theme park content creators.
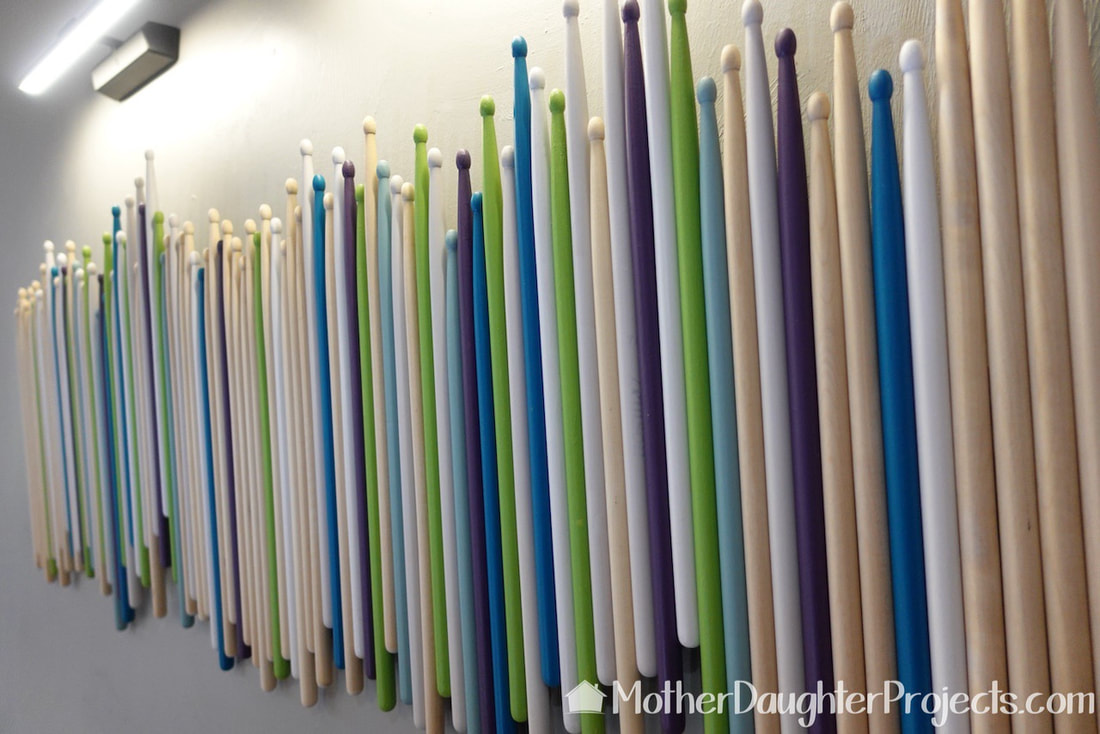
Recently, one of those YouTubers posted a room tour of the Universal Studios Florida Hard Rock Hotel. In it, we spotted the most intriguing wall art made out of drumsticks. We decided we needed to recreate it as we had the perfect wall for it to hang! Materials/Tools:
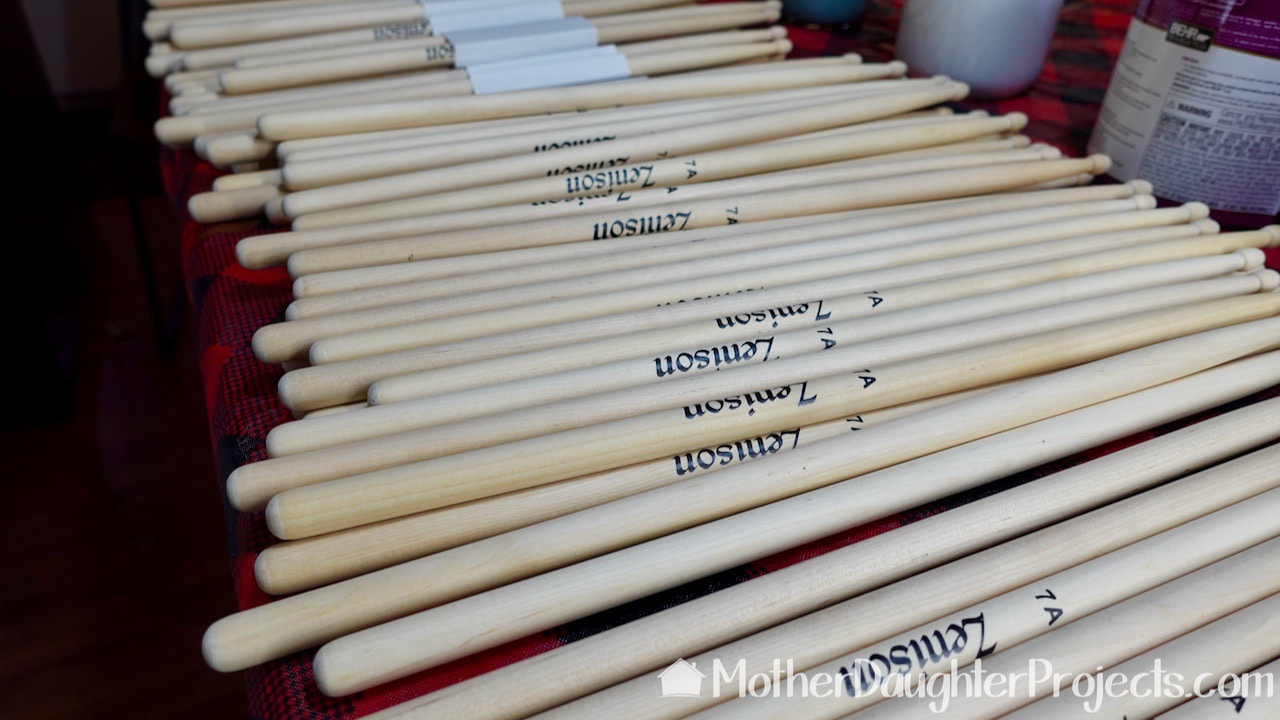
Since we didn't have 48 pairs of drumsticks laying around, Steph ordered what we needed online. We actually ordered twice as once we initially laid out the sticks, we decided we wanted to create a larger piece so we ordered an additional 24 sets after getting the first set of 24.
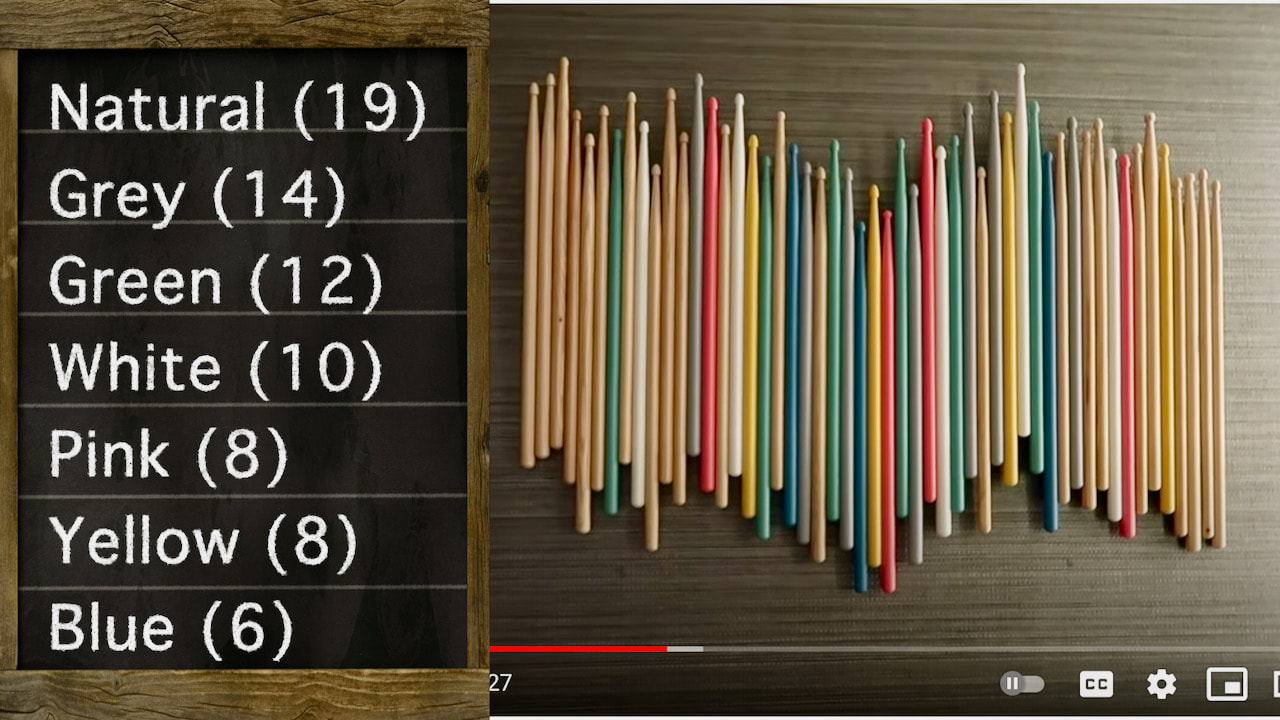
We took a screen shot of the art piece from the video for reference. From it we determined the number of total drumsticks needed and the number of the individual colors. Our numbers are based on doubling the inspiration for our version.
The inspiration came from the Super Enthused YouTube channel. Her video "Hard Rock Hotel at Universal Orlando | Full Room & Resort Tour + Dining, Water Taxi, Christmas Tree" has the clip at 14:54.
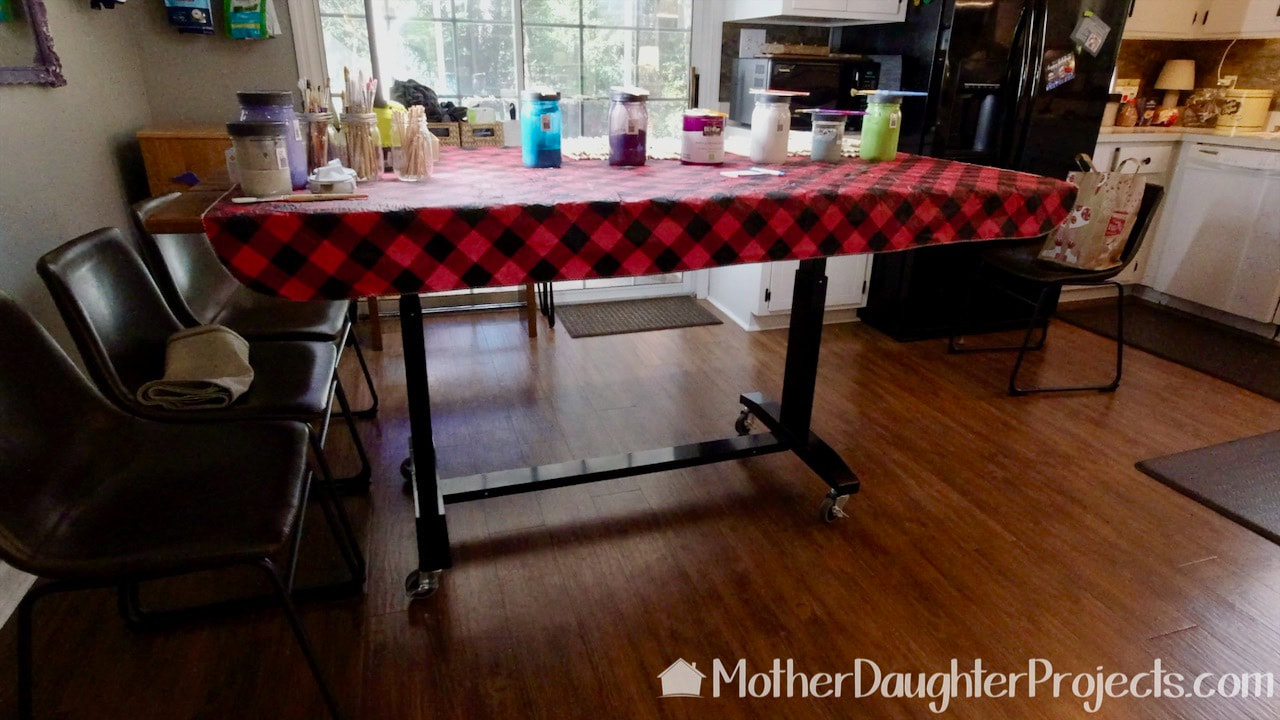
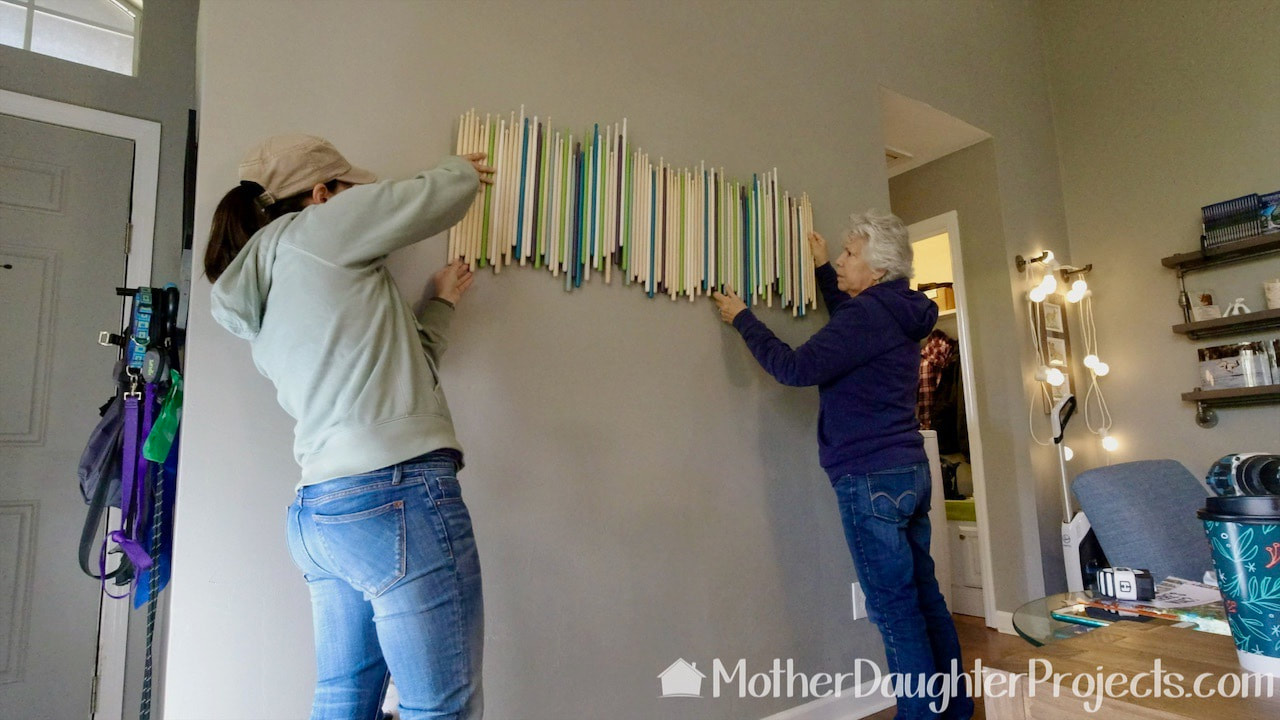
Once we had all the drumsticks in hand and had decided on the color combination, we went to work. We set up shop on Steph's dining room table because the garage was too cold for these Floridians! Her table is on a Husky work table base so the height can be adjust to a comfortable standing height.
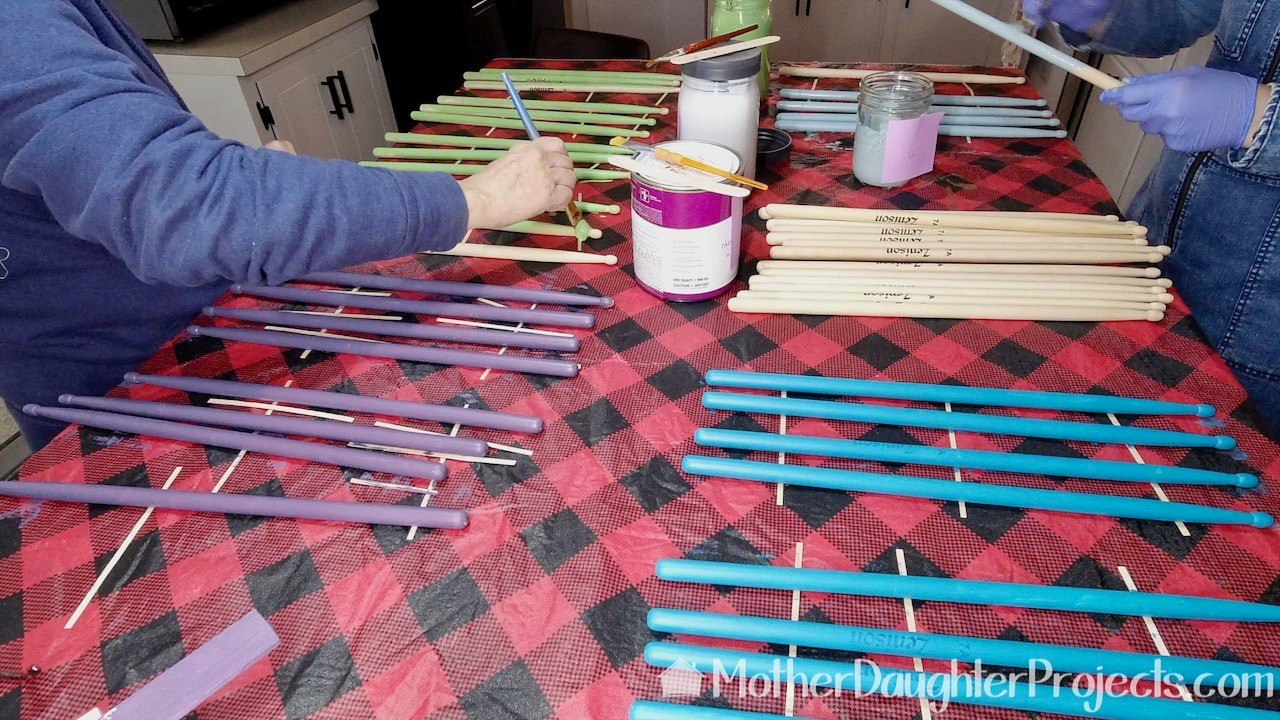
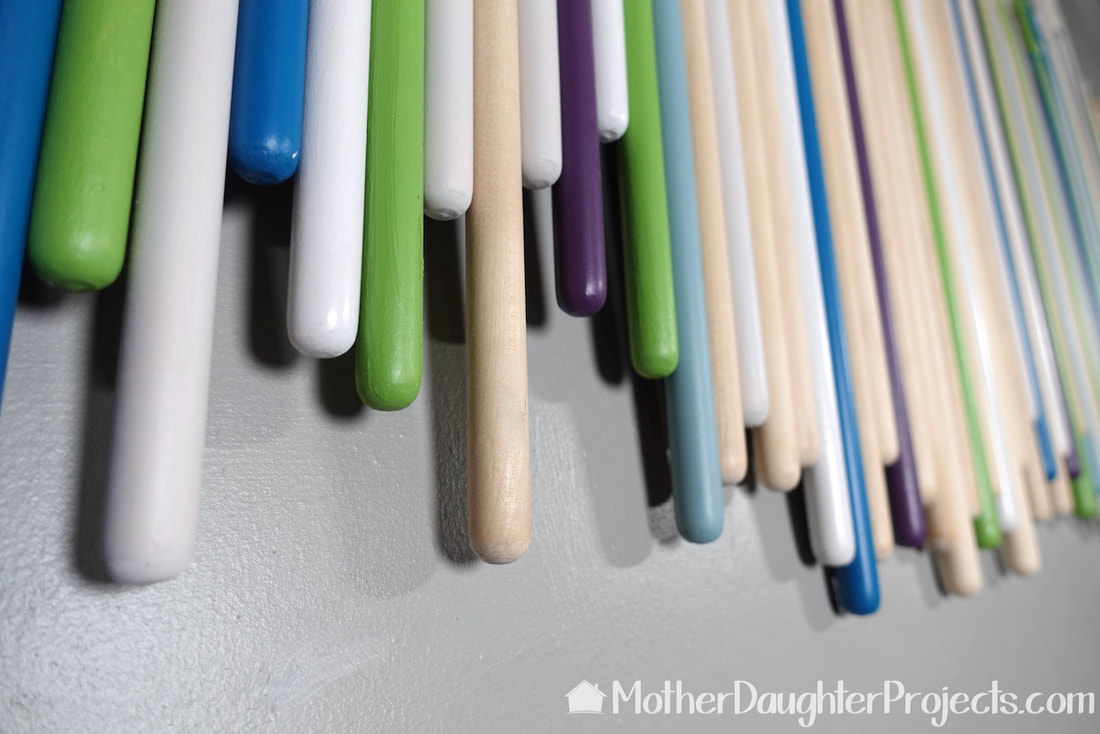
Each of us had three colors to paint. All the drumsticks got two coats of paint. The colors we chose are all paints that are used throughout Steph's house.
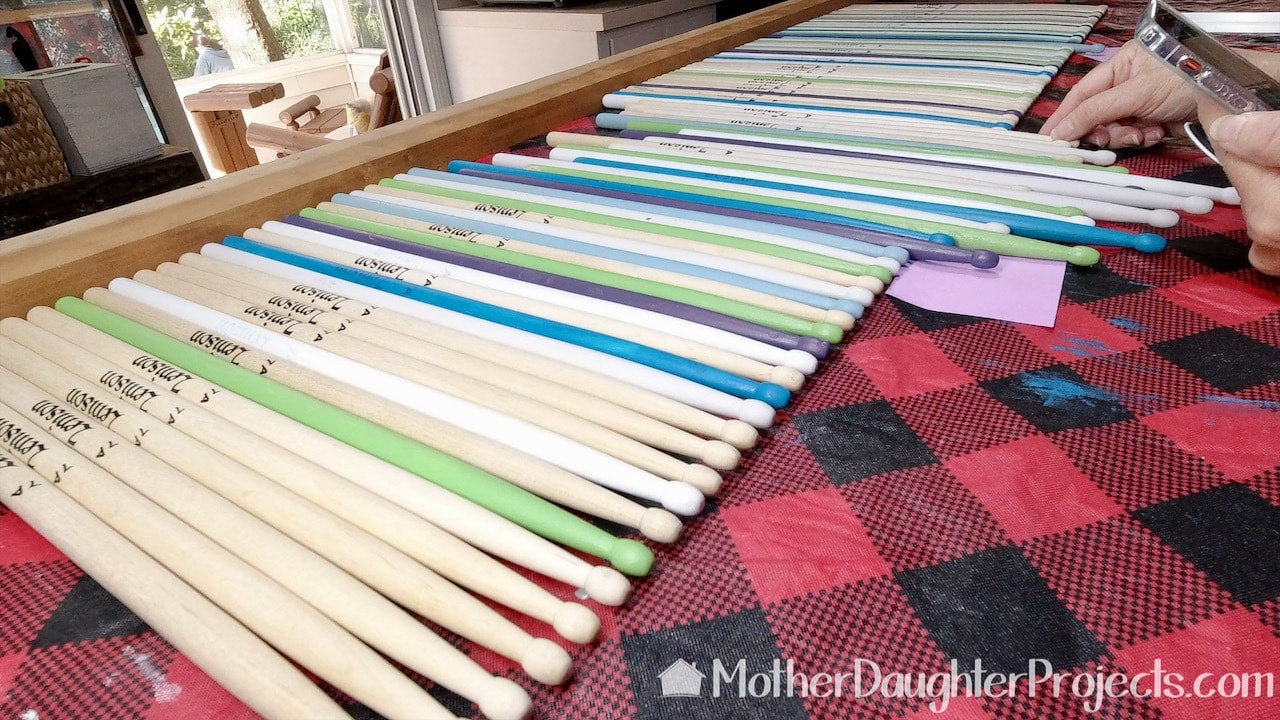
We decided to work with the backside of the piece up to make it easier to apply the support board. This made it a little more challenging while we consulted the reference photo. Please let us know in the comments below how you would tackle this step in the process. I feel like we made it more complicated than it needed to be!
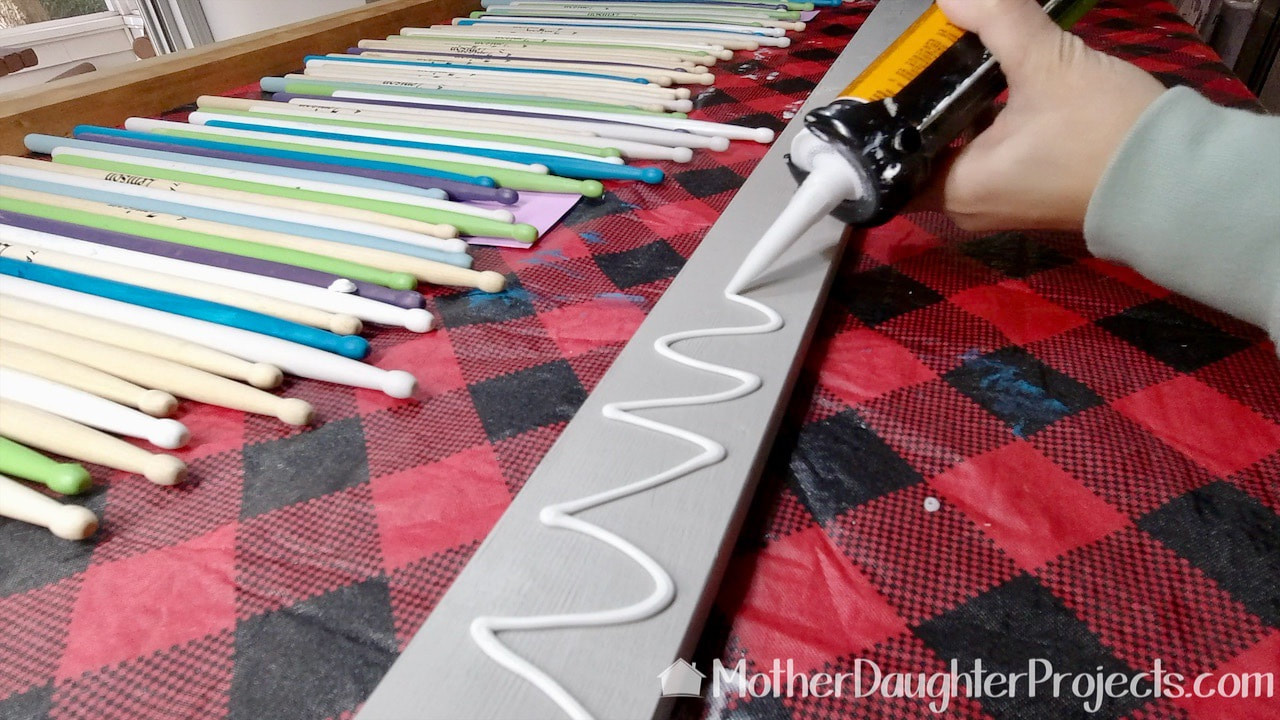
We cut a board the length of the art piece and painted it the same color as the wall where the art will be hung. We applied construction adhesive and then placed it over the drumsticks. Be sure to watch the video to see the airtight container we found to store tubes of leftover caulk and adhesive.
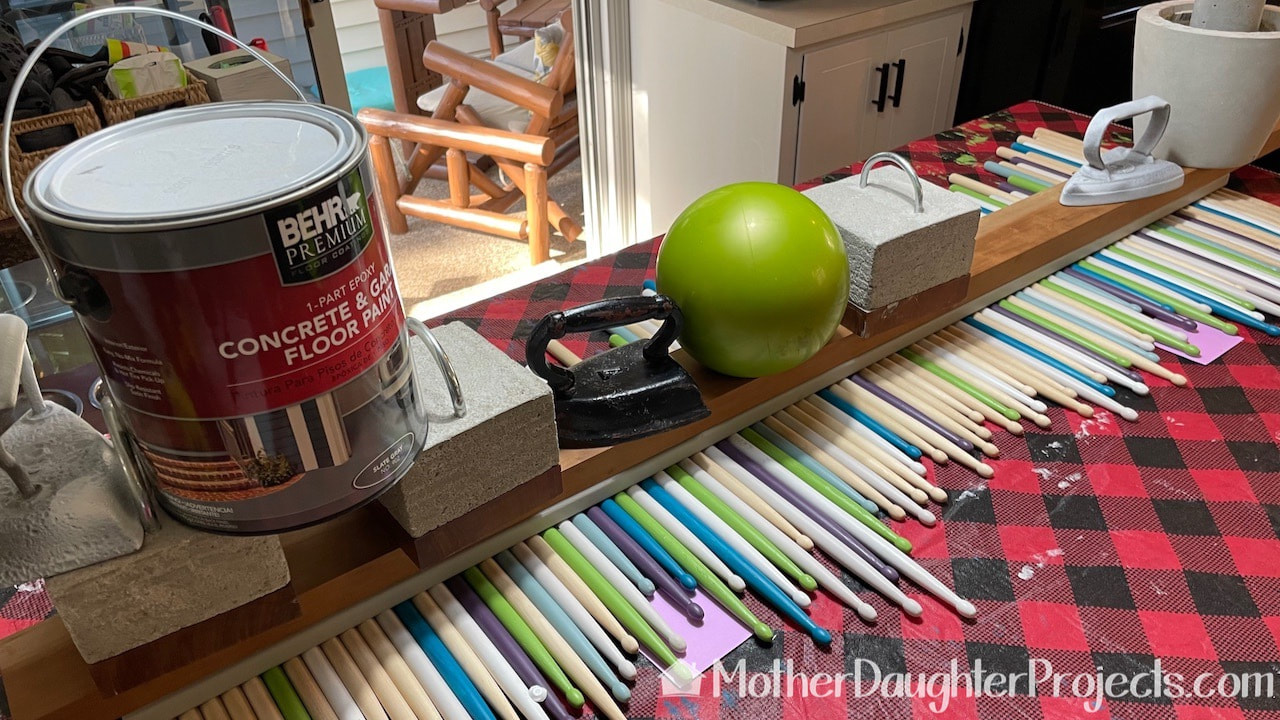
To keep the board tight to the drumsticks, we put all the heavy things on it to keep it in place! If you're curious, those are vintage irons, a weighted medicine ball, an almost full can of paint, and our concrete and wood doorstops from a previous project.
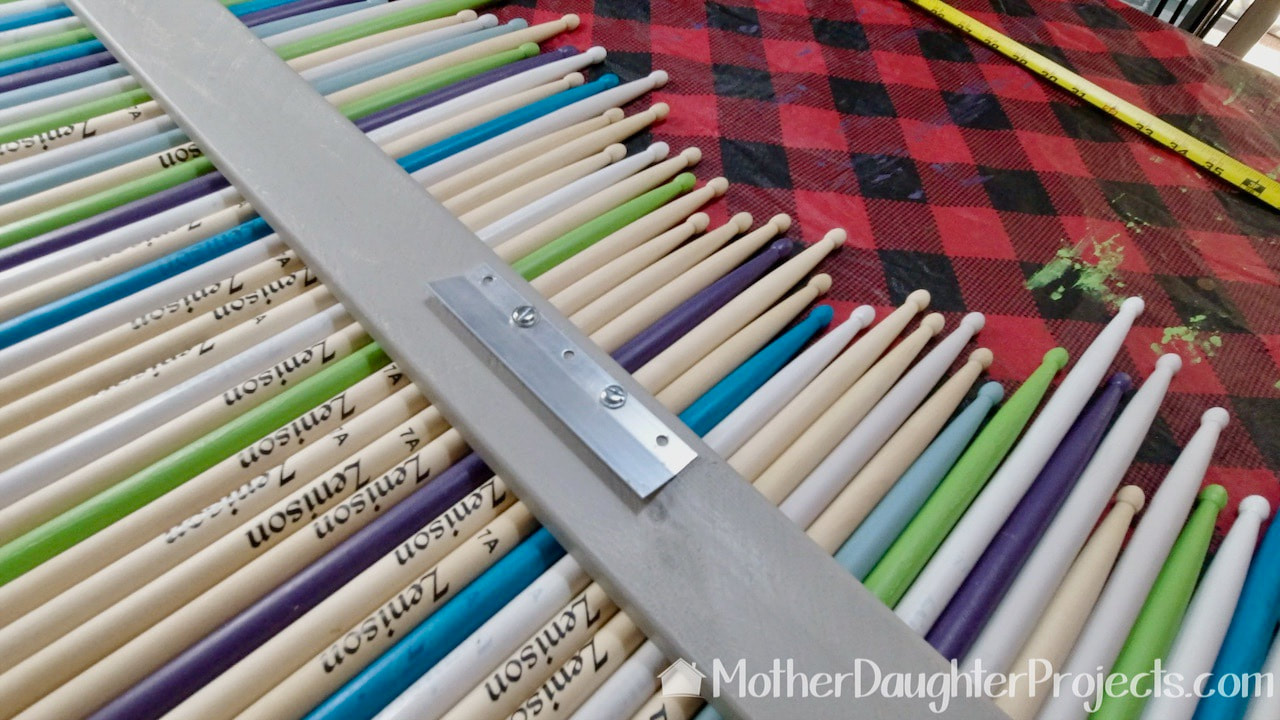
We added a Ook French cleat to the center back of the board.
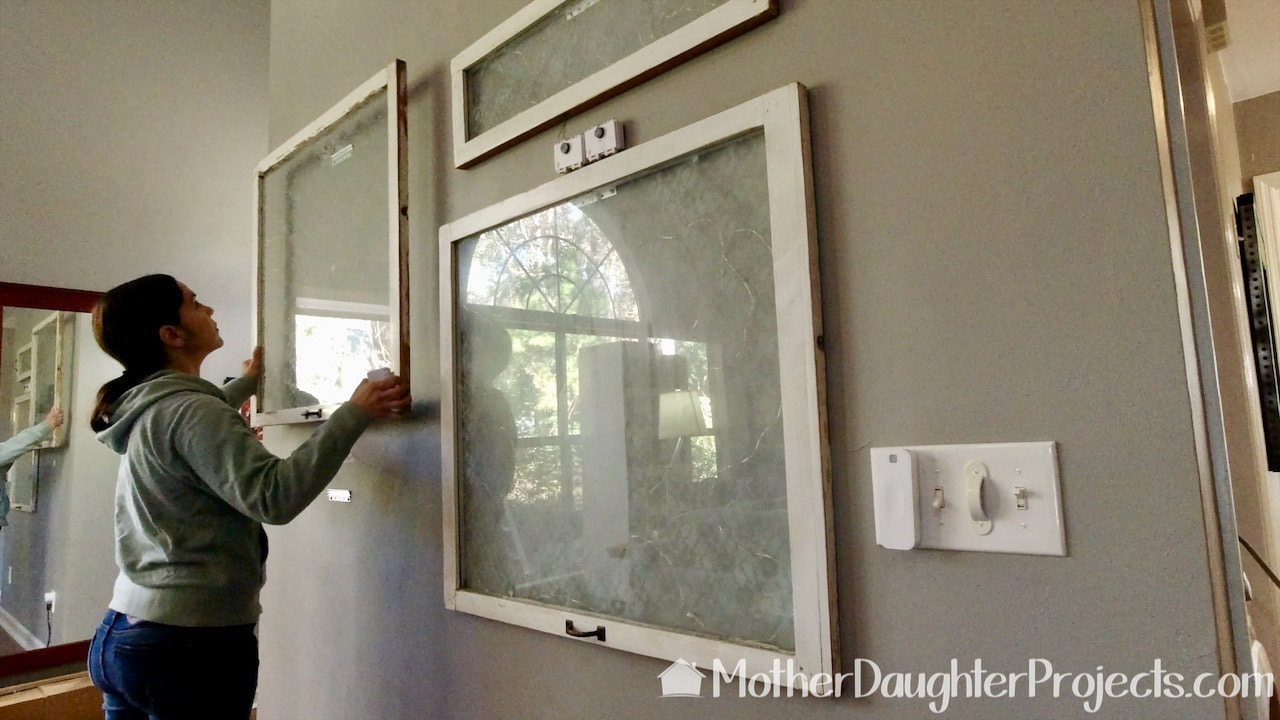
Before we could hang the new artwork, we had to remove these vintage windows and lights from the wall. I've been reading blog posts from LeadSafeMama.com where she writes about potential sources of lead in our everyday environments. It was an article she wrote in November, 2020, that convinced us that we should removed the vintage windows we were currently using as decor at Steph's house. I do remember when we got them that we needed to work safe around them, but looking back, I realized we should not have been working with them at all due to the potential that they probably were painted with lead paint. We'll share more in a future post about what we've learned about the lead hazards in our own homes.
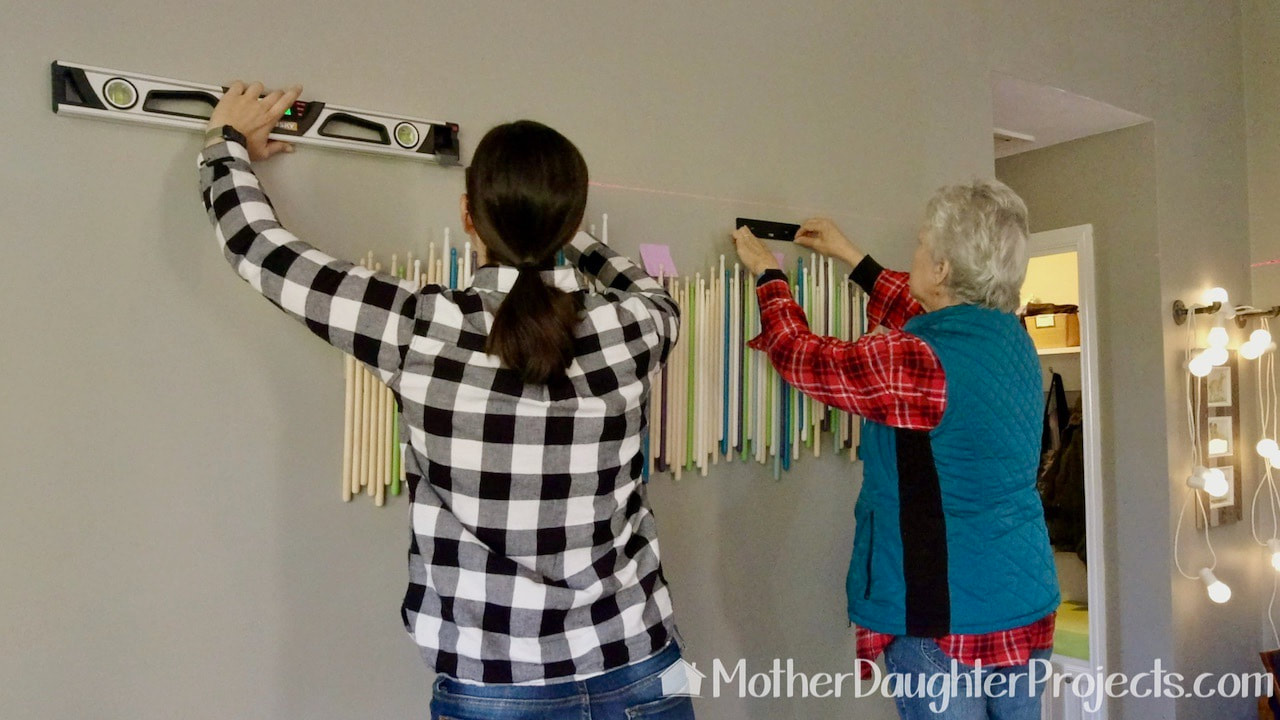
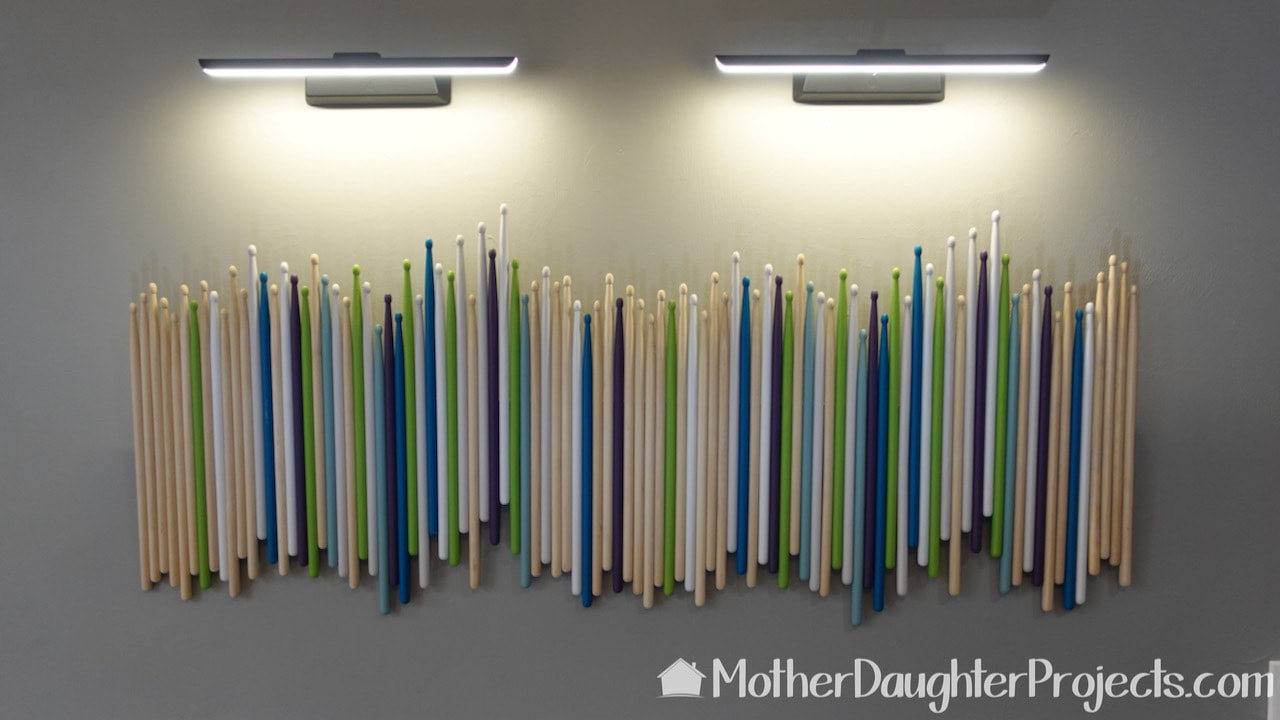
We attached the wall portion of the French cleat on the wall and added the wall art.
Steph found a couple of battery powered remote control picture lights online, which we installed over the top of the art.
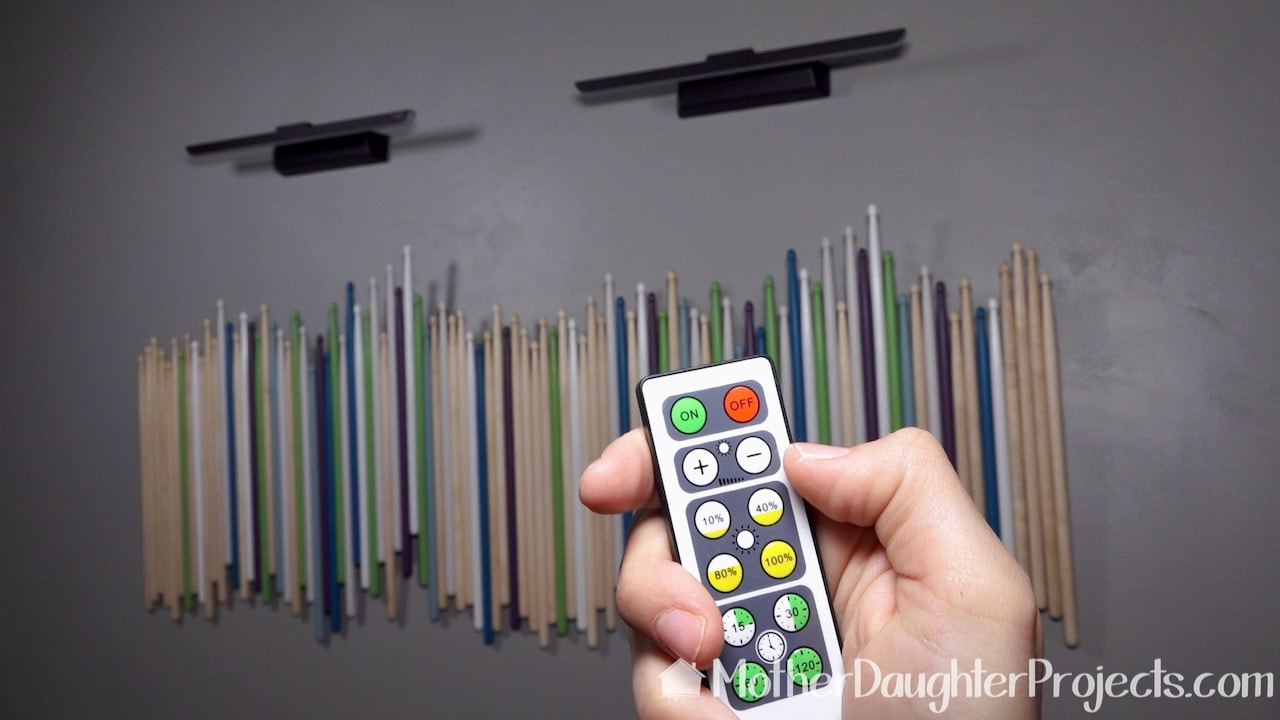
The lights have a switch or can be controlled remotely.
Inspiration for DIY can be found in so many places! Where do you find inspiration? Let us know in the comments below.
Please note: This is not a sponsored post. FYI: We are not professionals, and we don't claim to be. This is what we found worked for our project. Yours may need a little different approach. Safety first! FYI: Affiliate links are being used on this page. Purchasing via these links help support MDP! Related Projects
4 Comments
Steph
9/16/2021 10:02:41 am
Awesome! We would love to see it! You can email a pic if you like to [email protected]
Rebecca
11/30/2023 02:13:14 pm
Hi, this looks like an awesome project! Can't wait to make it for. Just curious, which paint brand did you buy and how much paint for each color?
Steph
11/30/2023 10:39:05 pm
The paint is all Behr paint from Home Depot. It's just left over paint from all the different rooms in my house. I'm not sure how much we used, but not a lot. Leave a Reply. |

Mother Daughter Projects
|