|
text by Vicki Sign up here to join our weekly email newsletter!
This bathroom was gutted and remodeled in 2012 and at that time I decided not to install cabinets on the back wall. It seemed like a good space to add a personal touch with a fun piece of furniture.
Early on I found the perfect mid-century modern cabinet for the space. It was the right length, fairly narrow, and the right height. Unfortunately, it was a MCM piece that looked nice, but was not made of solid wood. I used it many years, but over time, one of the legs quit holding making it unusable. I moved an old cedar chest into the space for a while, but is was really too large for the space. I was ready for something new that would better fit the space. Taking inspiration from a post from DIY Huntress, I decided a wall-hung cabinet would be perfect for the space. Materials/Tools:
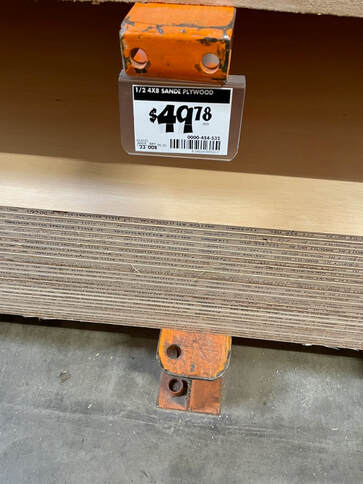
Options for various thicknesses of plywood were in short supply when we shopped. We decided this 1/2 inch thick plywood would work although I would have preferred something thicker. (Spoiler: this thickness was perfect in the final project!)
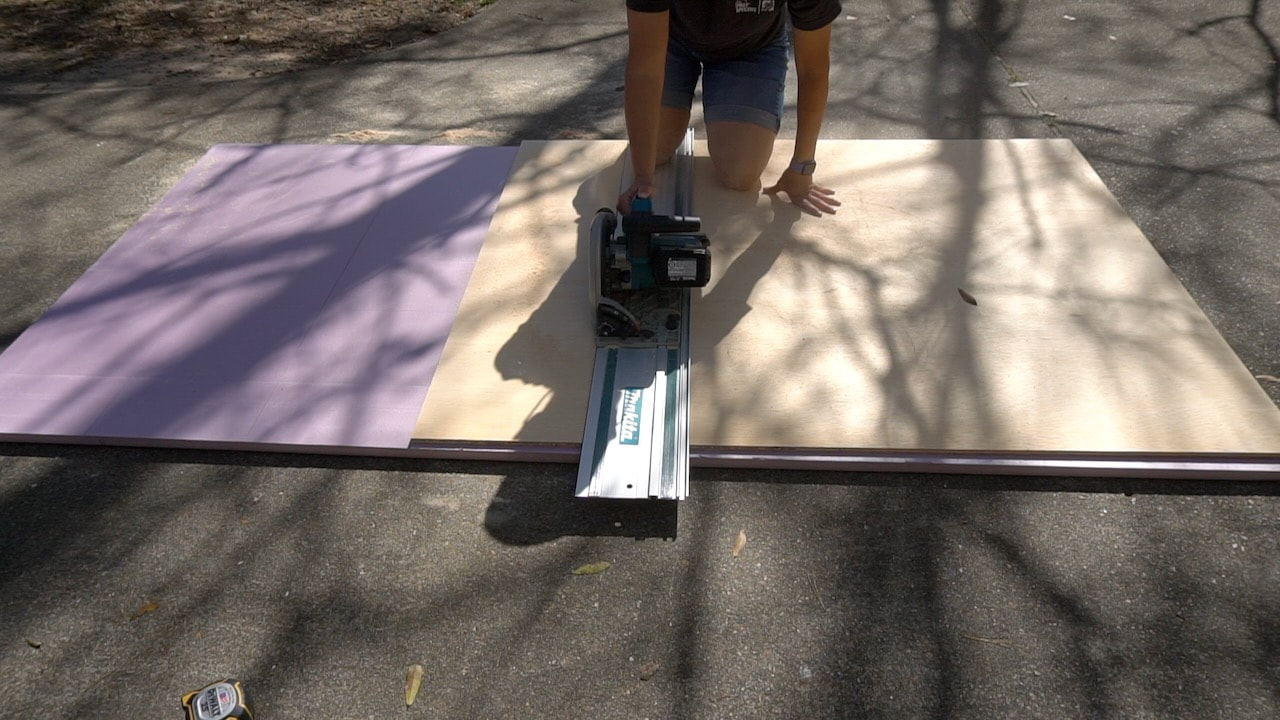
We decided the cabinet would be 4 feet wide by 12 inches. We used a Makita saw and track to cut all the pieces.
Cuts: 1/2” plywood
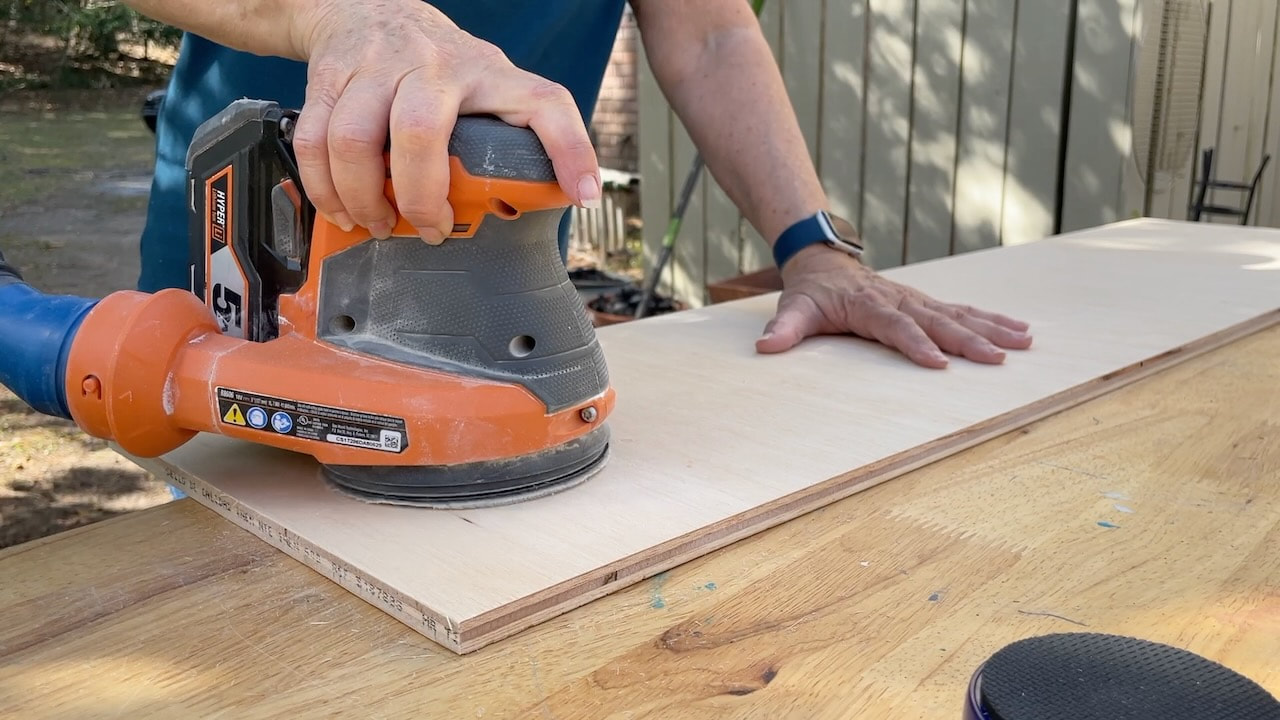
The plywood only needed a little sanding to prep for the next step.
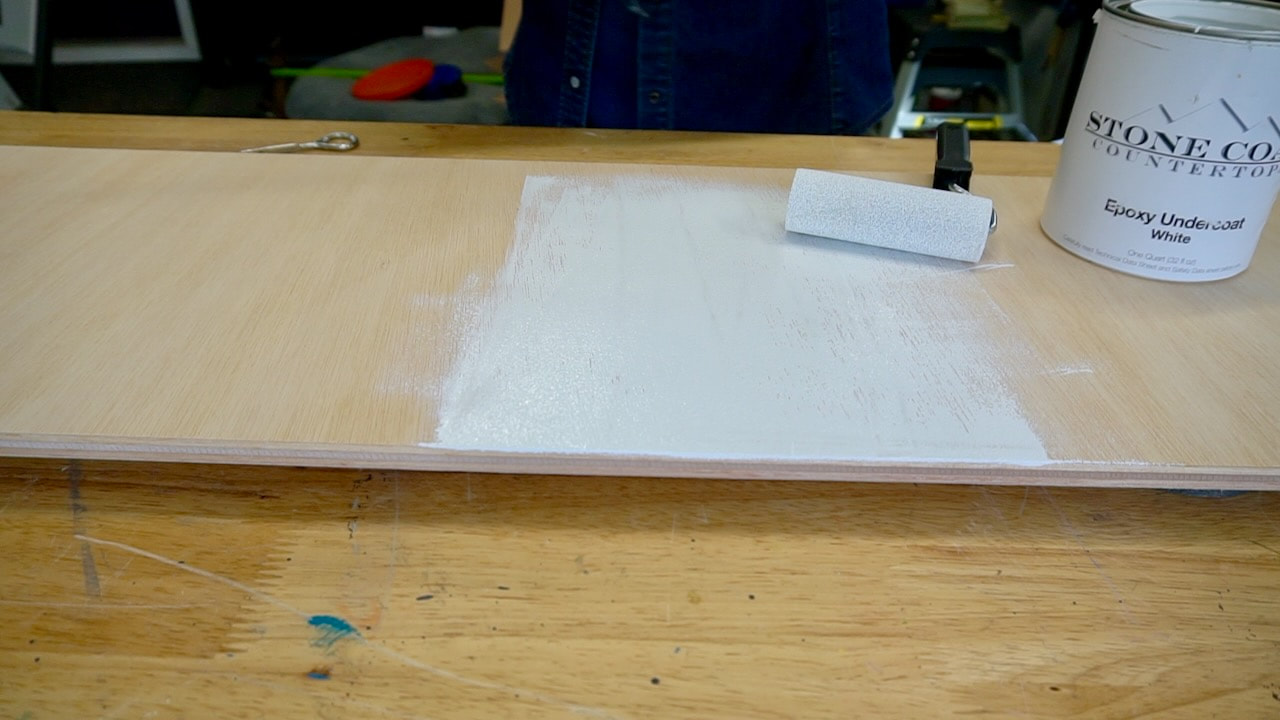
For the epoxy countertop, we are using a sample of Stone Coat Countertop epoxy that was sent to us to try. The first step is to paint the top with two coats of the epoxy undercoat.
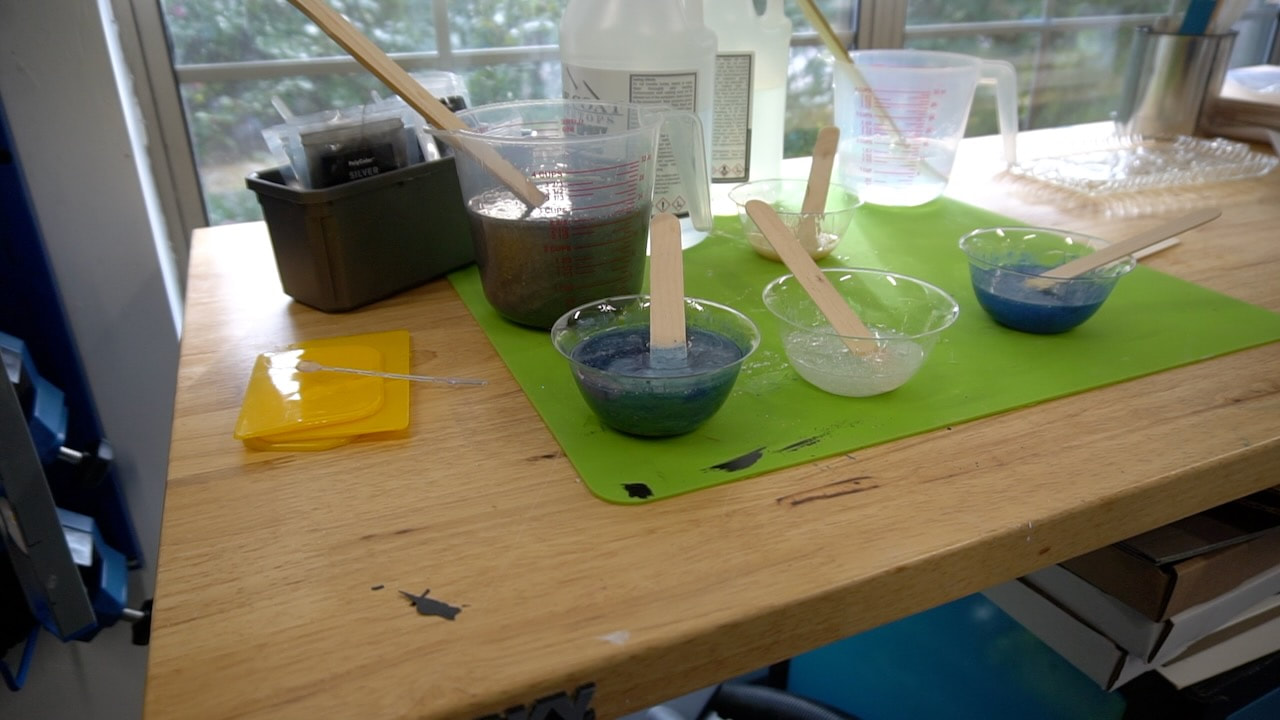
The epoxy is mixed in a one to one ratio. The pigments are included in the kit. The larger cup will be the base color.
Stonecoat Tropical Storm Epoxy Kit $123.30 (March, 2022)
Included in the Tropical Storm Epoxy Kit:
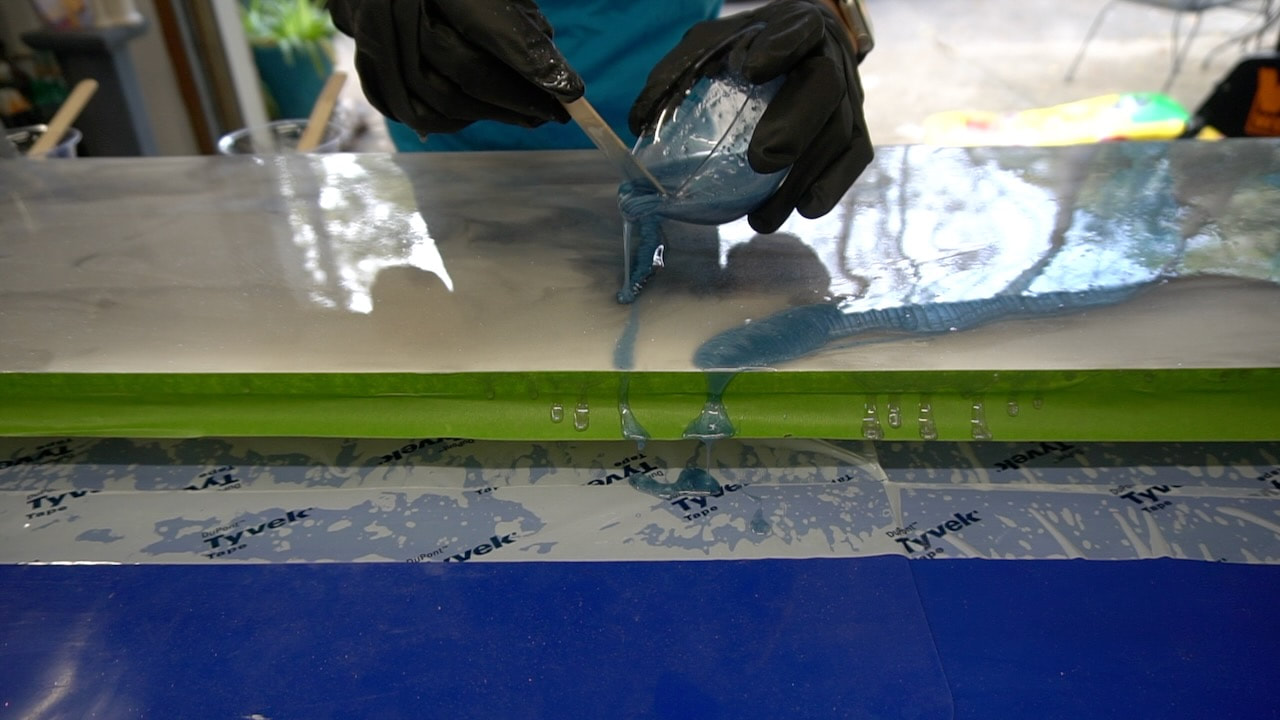
I taped off the edges with Frog Tape, as I didn't want epoxy on the edges. I first poured the base color and then added the other colors.
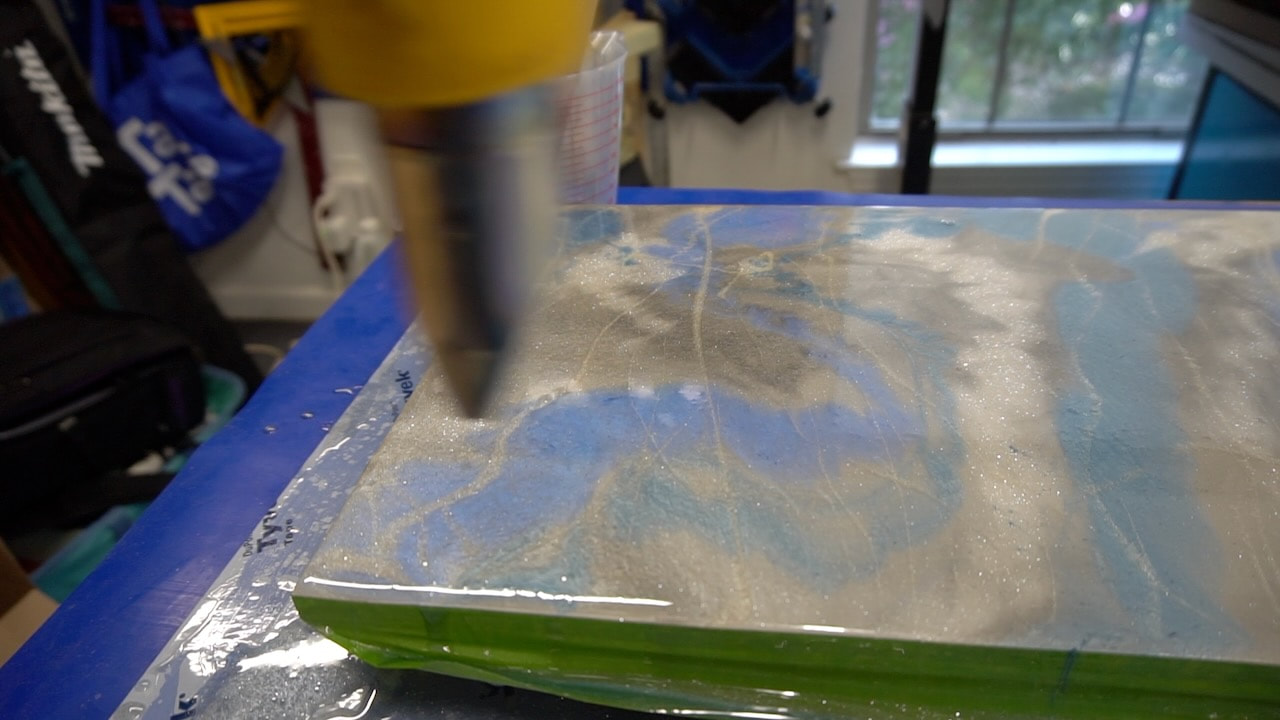
This epoxy produced lots of bubbles, more than I'm used to with the other epoxy products I've used. I was able to get rid of most of them with a heat gun. Keep it moving or you'll burn the epoxy which I did on a test sample.
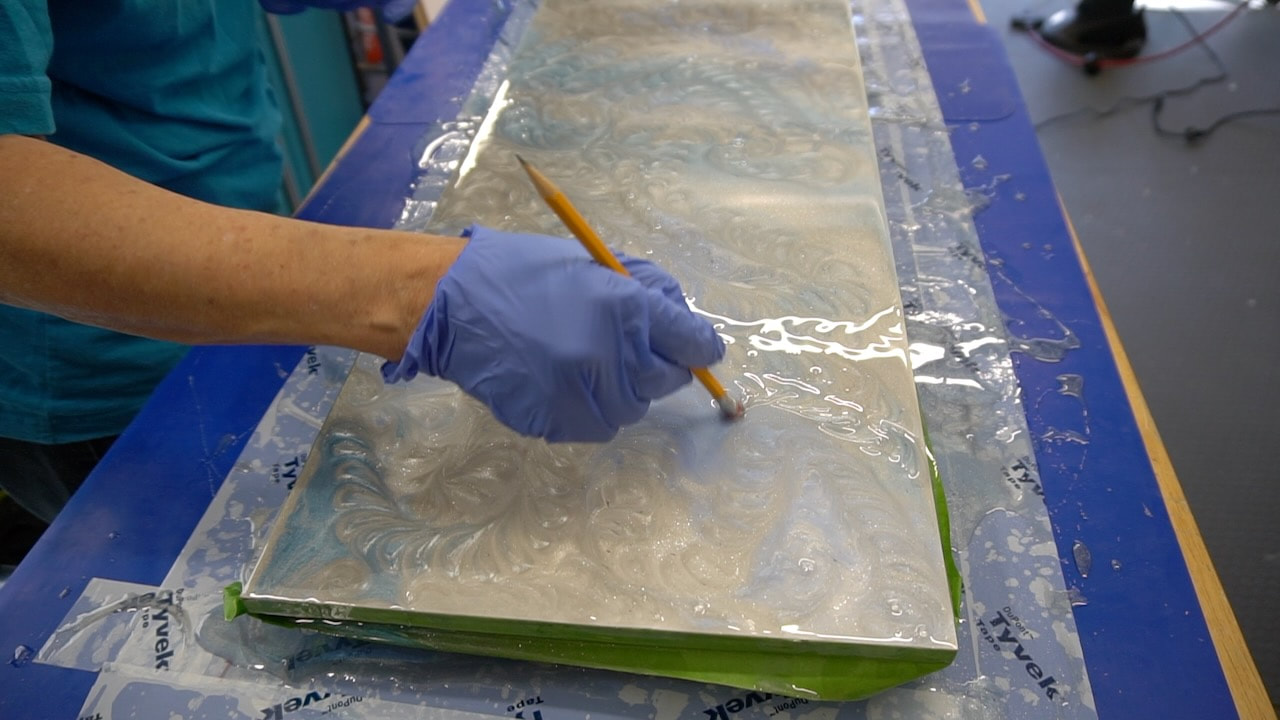
I wanted swirls in the finished epoxy, so I didn't try to make them until after I'd left the epoxy to sit undisturbed for about two hours. I simply used a pencil eraser to create the swirls.
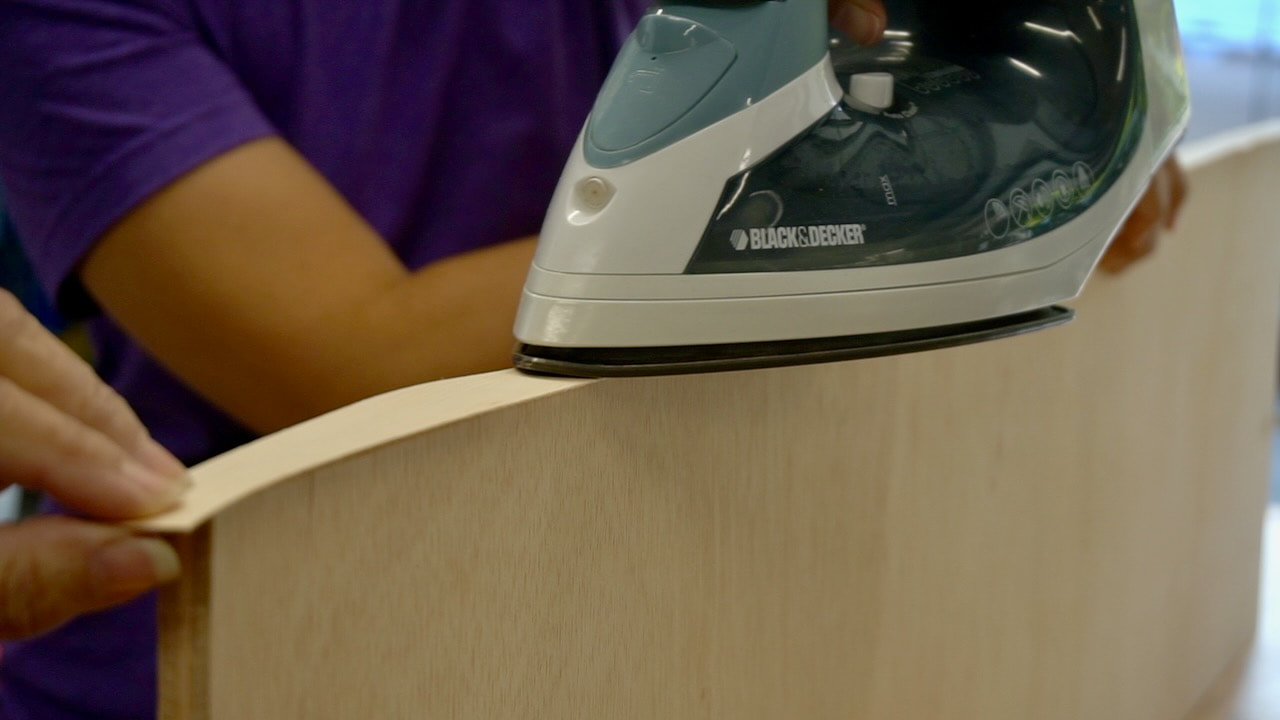
Before assembling the cabinet we edge banned all the exposed plywood edges. Use an iron and brayer for this step.
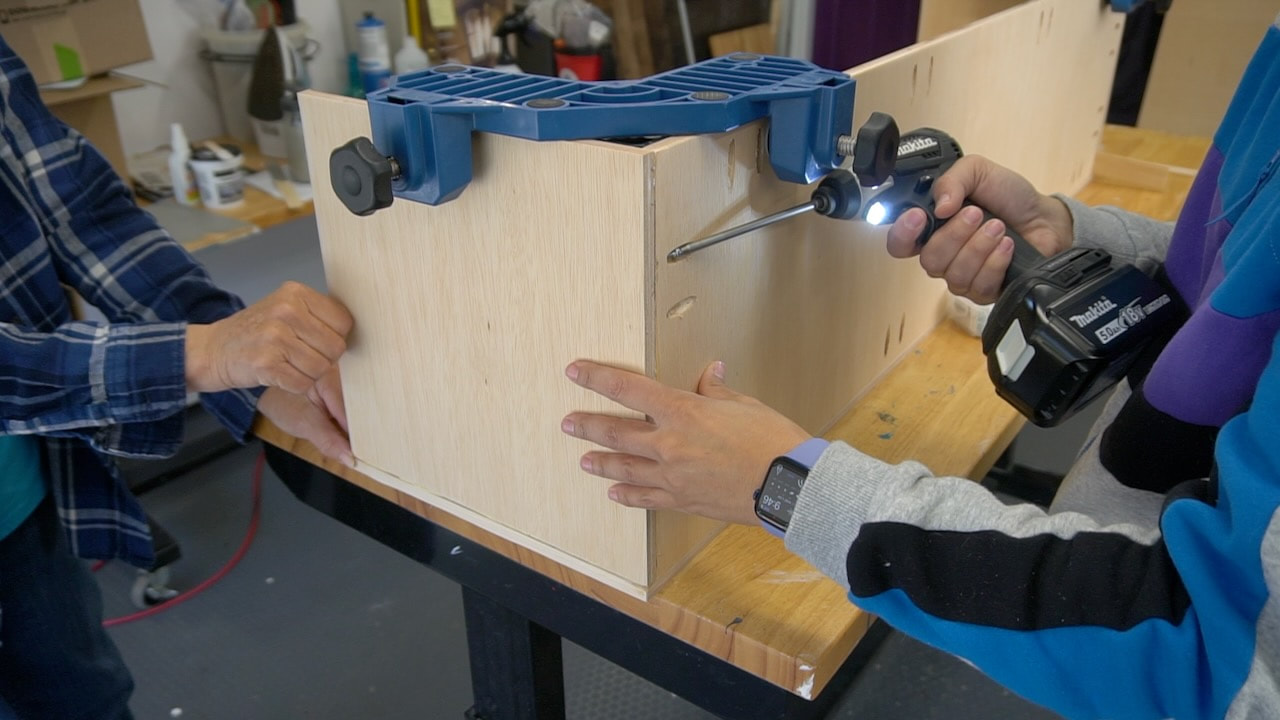
We assembled the cabinet with wood glue, screws, and brad nails.
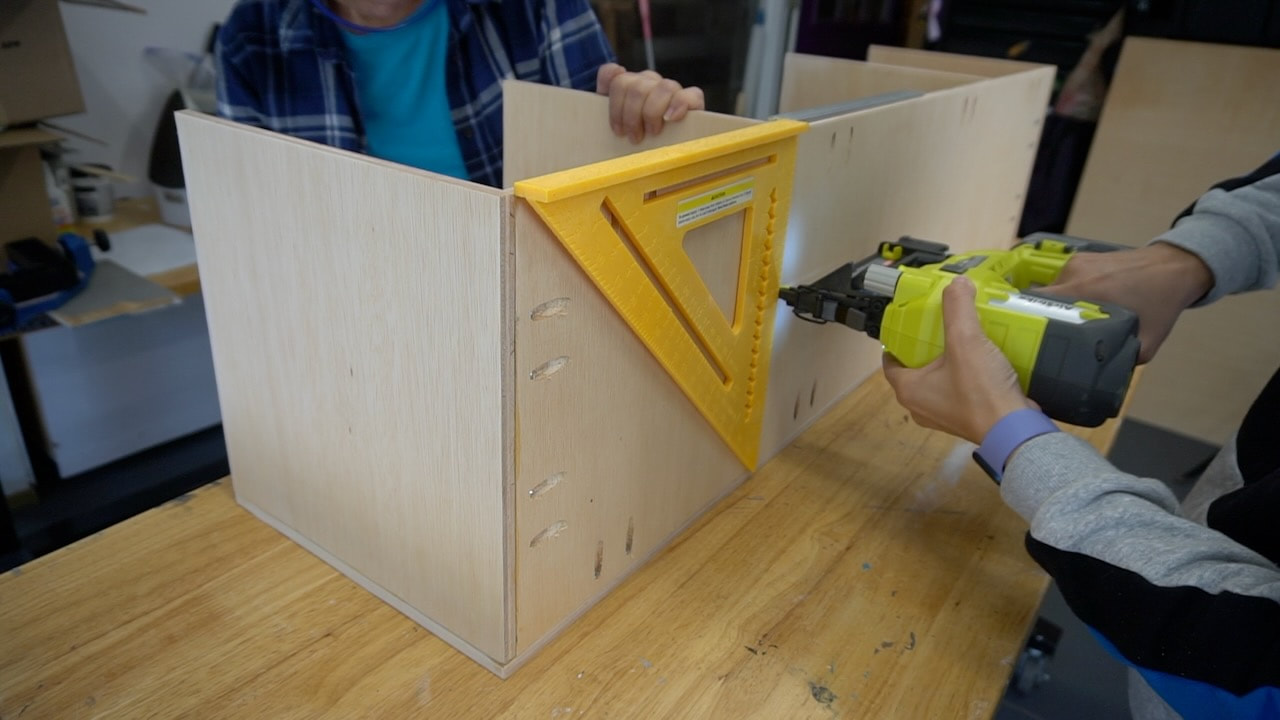
Brad nails were used to secure the sides and inner supports. We're using a Ryobi brad nailer.
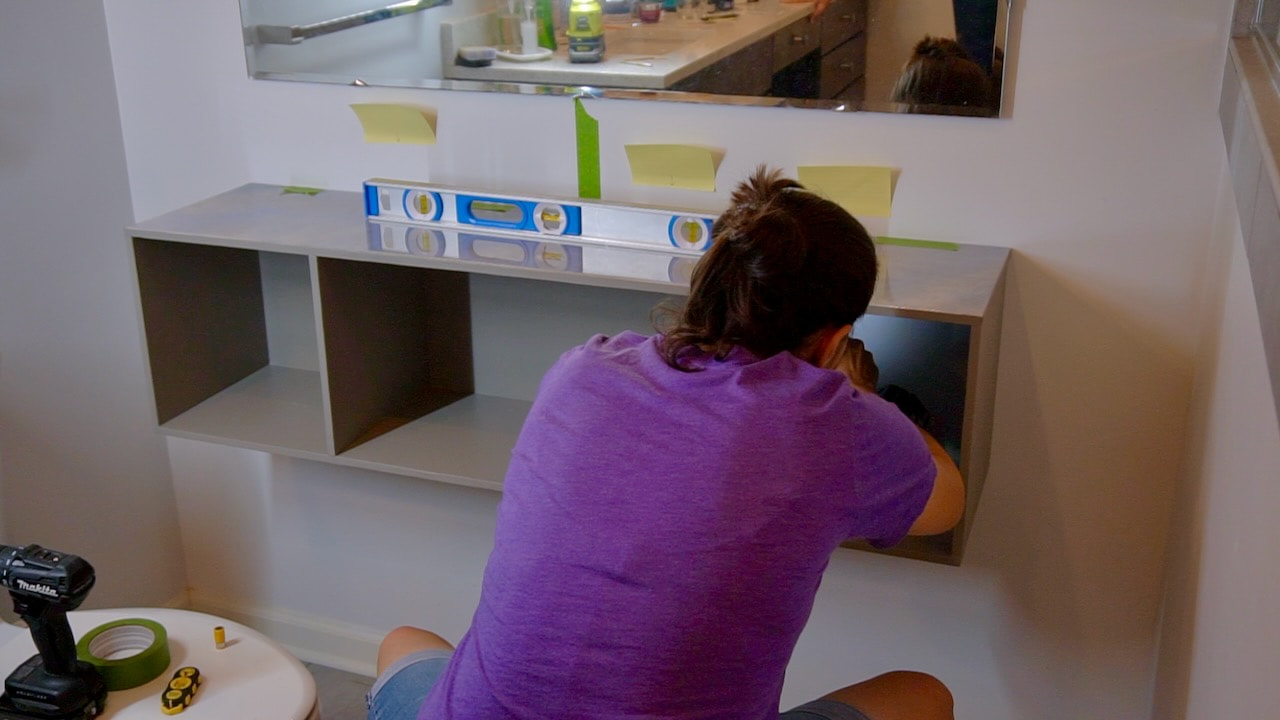
Here Steph is installing the cabinet in the bathroom.
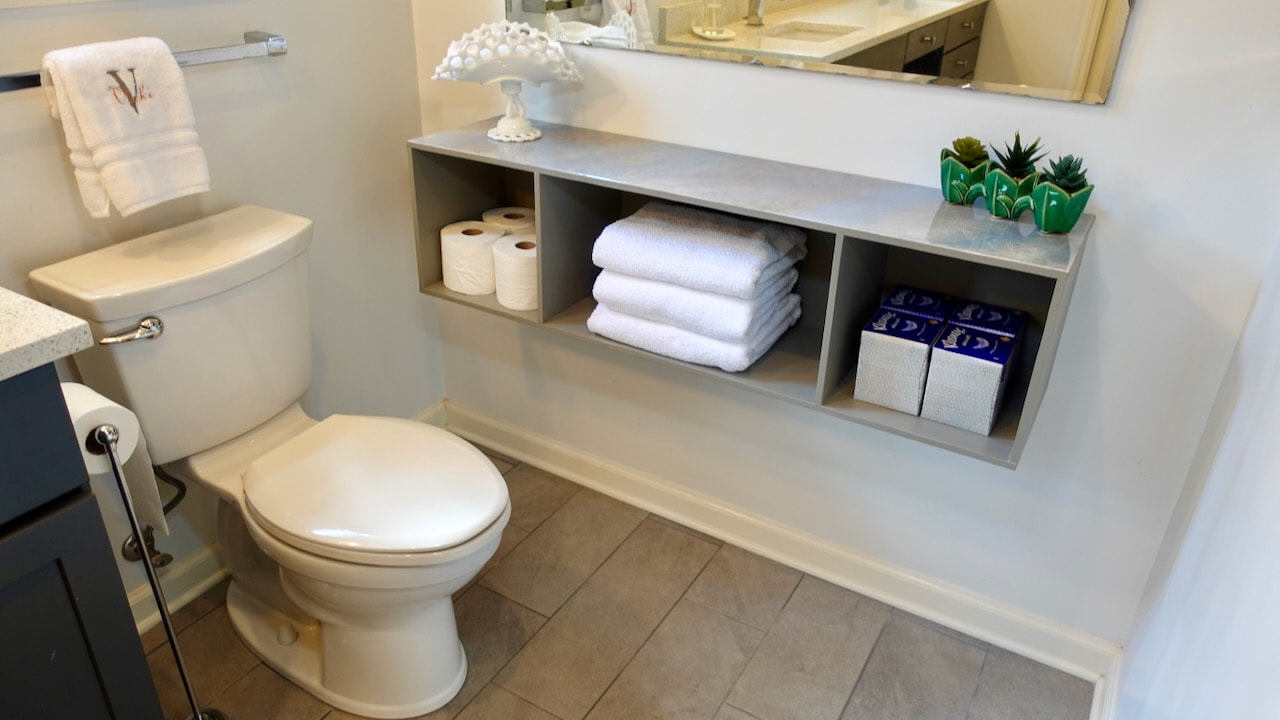
Here it is in the space.
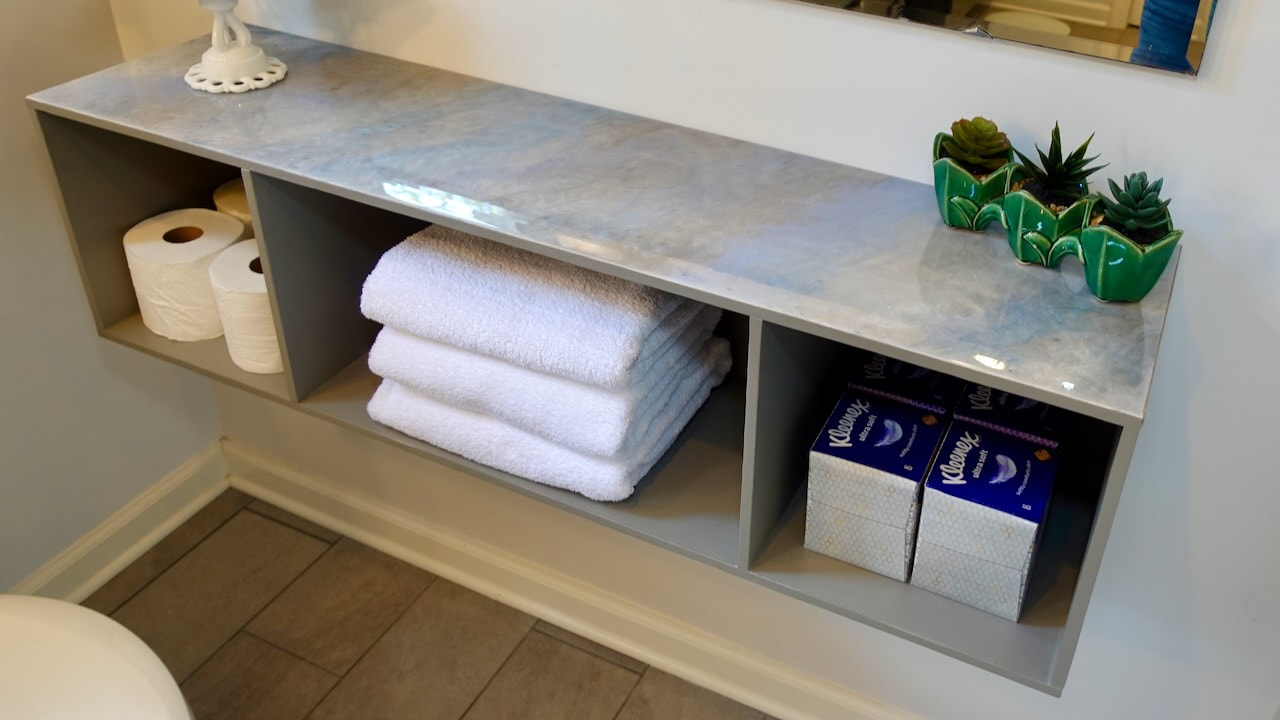
The cabinet doesn't take up a lot of space but provides easy access to supplies!
The only thing I would have done differently, is to have gone a little darker with the epoxy pigments, but I do like the subtle look of it. The piece looks perfect in the space and I'm very happy with it.
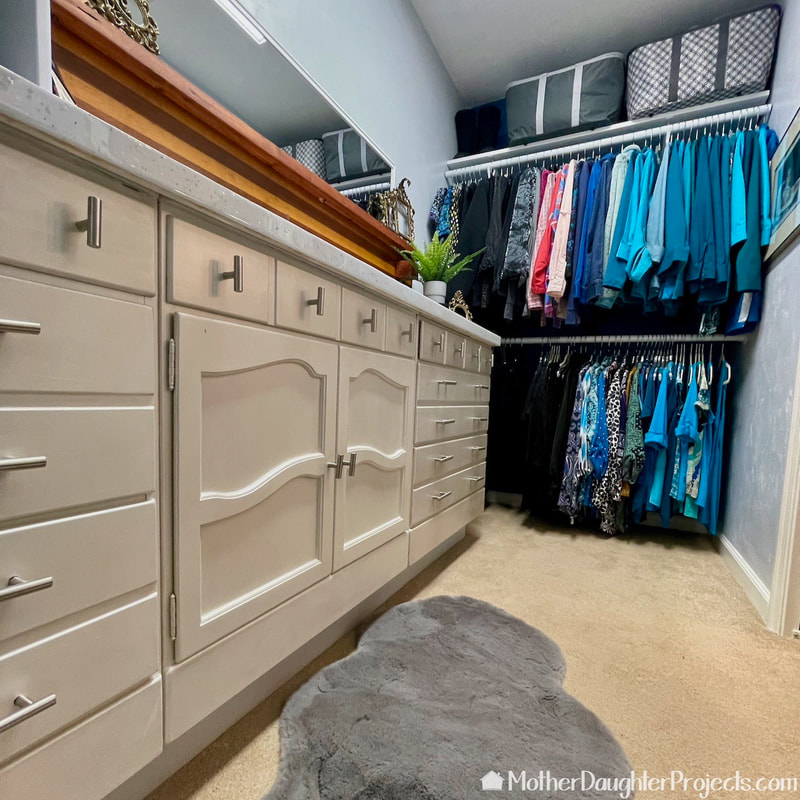
As I said earlier in the post, I did have a lot of air bubbles with this epoxy. I'm not sure why. I have previous experience with two different epoxy brands, most recently TotalBoat epoxy which I used on the closet countertop. That was much larger than this countertop, but didn't have any issue with excess air bubbles with the TotalBoat epoxy. Because Stone Coat Countertop sent us this product, I want to be thorough in my review. If you're a long time reader, you know that both Steph and I do a lot of research and study with new projects or tools. Using the Stone Coat epoxy was no exception. My first stop to find out how to use the epoxy, and especially the Tropical Epoxy Kit I was going to use, was to head to their website and YouTube page. The Stone Coat website left much to be desired. Even simple information was hard to find.There are a lot of pop ups and other “noise” making it frustrating to find information. There are a lot of Stone Coat videos, but in my opinion they are more entertaining than instructional. I was unable to find a basic “to the point” video or written instructions on how to use the Tropical Epoxy kit on the product page. In all the videos I watched, the epoxy is promoted as not having fumes so that it can be used indoors primarily on countertops. I never saw anyone in the videos use a respiratory type mask while mixing. (I did see PPE being used in their workshop when sanding.) That’s interesting as we have been made aware of epoxy dangers and the need for protective PPE. It was very telling that when I got the product, it clearly says on the label to NOT "breathe fumes, vapors or mists." It's important to read and follow warning labels on the product. Needless to say, I did use the appropriate PPE and kept the garage space well ventilated. With that said, I'd use this Stone Coat Countertop epoxy again, but because of the air bubble issue I probably would not use it for anything large. Please note: This is not a sponsored post. Stone Coat Countertops did provide the epoxy we used in this project. FYI: We are not professionals, and we don't claim to be. This is what we found worked for our project. Yours may need a little different approach. Safety first! FYI: Affiliate links are being used on this page. Purchasing via these links help support MDP. Related Projects
0 Comments
Leave a Reply. |

Mother Daughter Projects
|