|
text by Vicki Sign up here to join our weekly email newsletter!
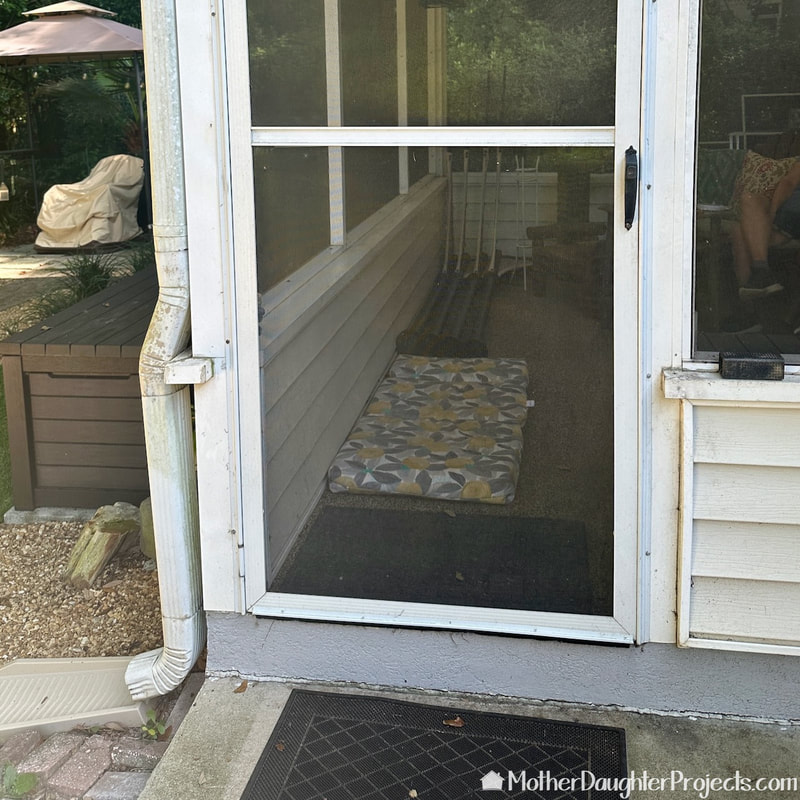
If you have a dog and it doesn't have free access to the outside, you find yourself making numerous trips during the day to open the door to let it out.
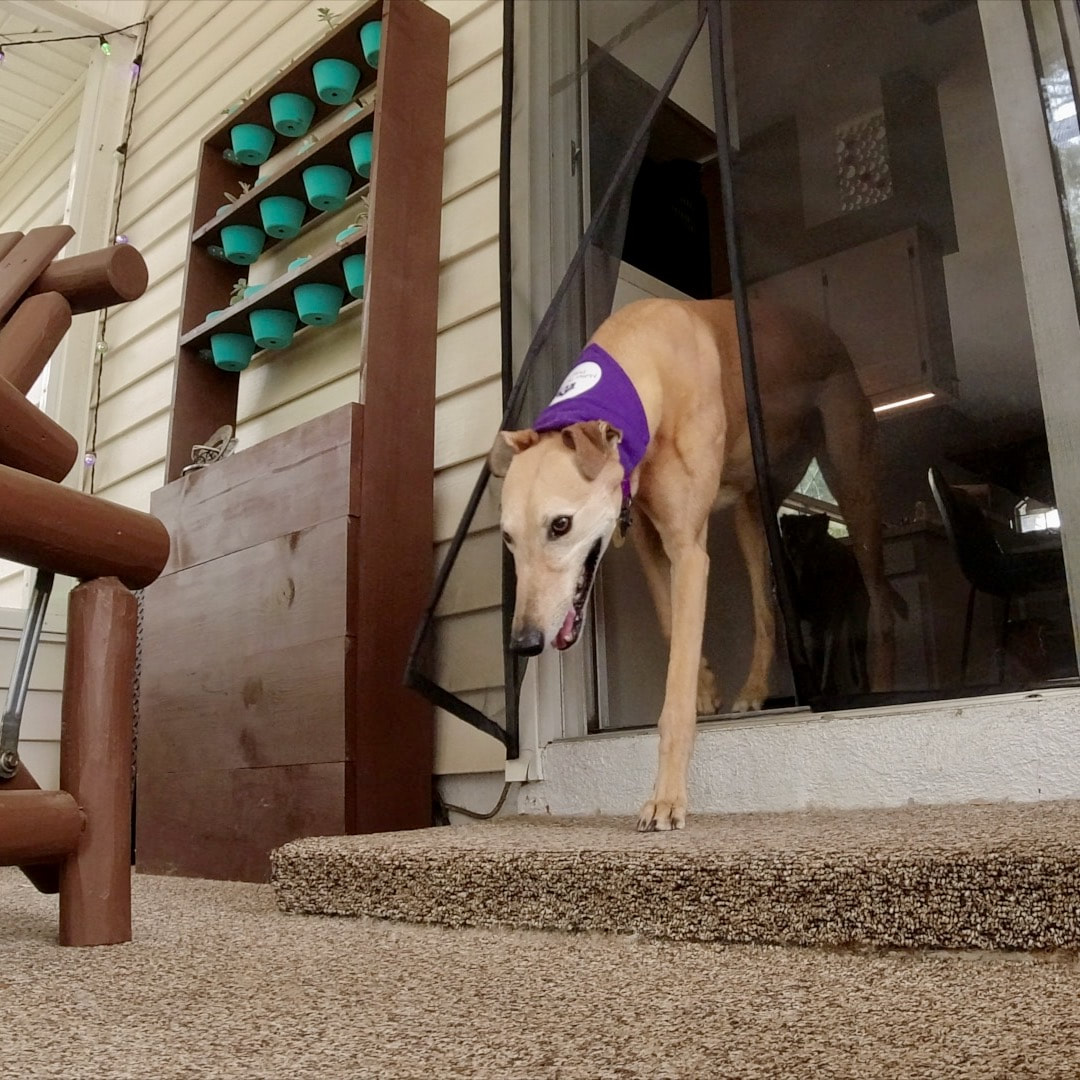
When Steph had one dog, it wasn't that big a deal, but when Tosh arrived it became a bigger deal. That's when she got a magnetic screen door to put over the sliding glass door opening so she could leave the porch door open so the dogs could come and go as they pleased. This worked really well until a big wind blew up unexpectedly and damaged the open porch door. Steph needed a way to provide access to the outside without continuing to add stress to the porch door and that's when she realized we should insert a screen door into the existing porch door. It certainly was one of those "duh" moments! Here's how we did it. Materials/Tools:
Our first thought was to purchase a magnetic screen door and cut it down to size to fit the insert. Upon test fitting it, I decided it would be probably be less work to just customize an insert from scratch. That's what we did. I sewed one replicating the one we purchased but in a size to fit perfectly in the door space.
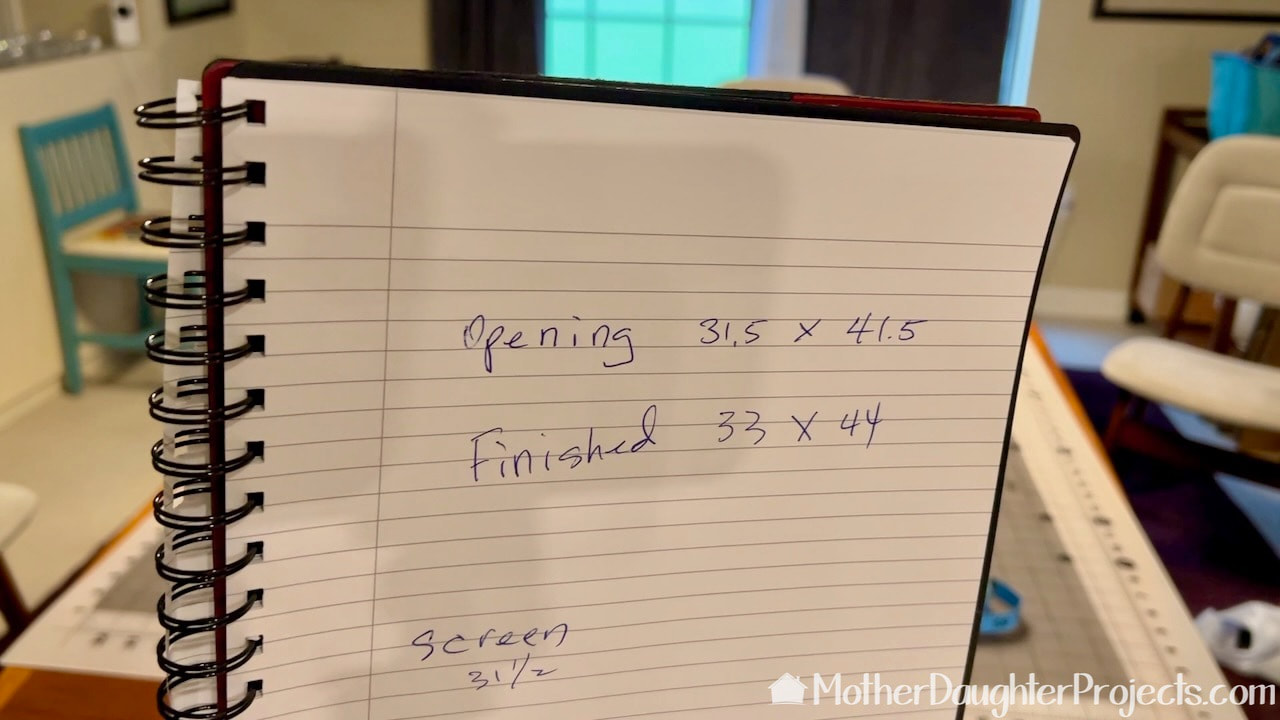
These are the measurements that our insert was based on.
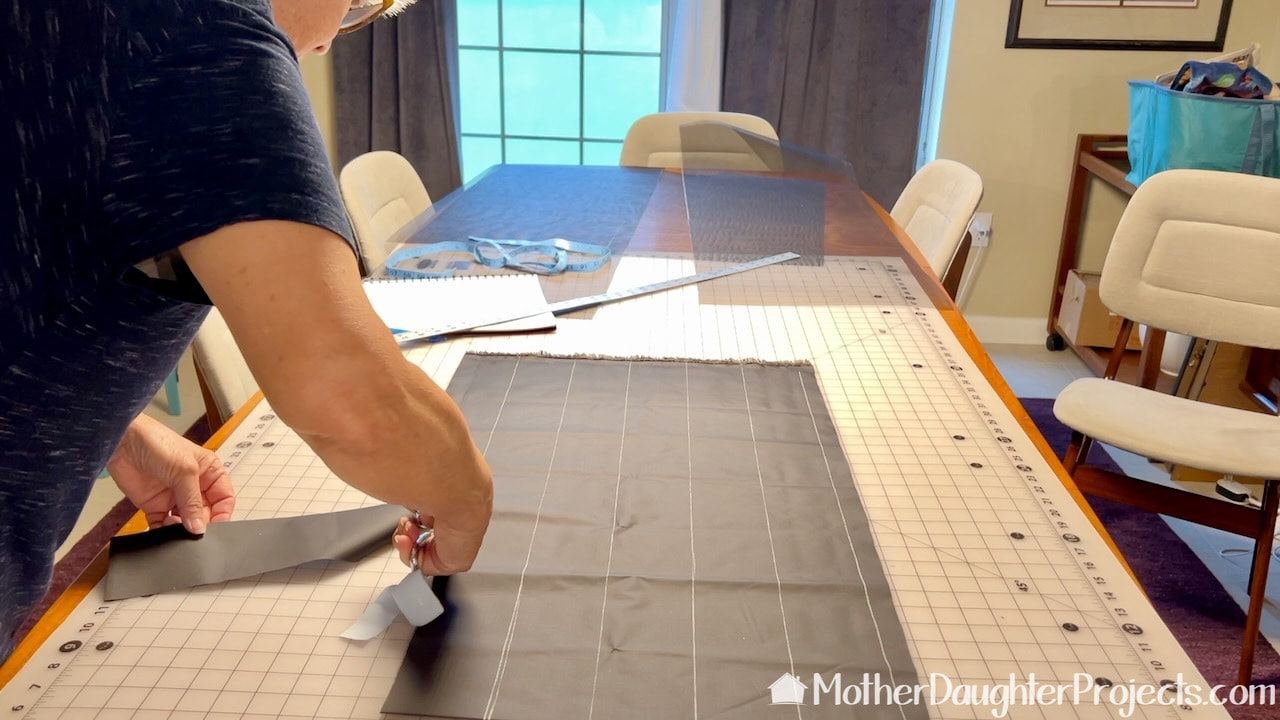
With the exception of the rip stop nylon I'm cutting into three-inch strips, all the other parts were up-cycled including the magnets and screening. If I had not had Velcro on hand, I would have had to purchased that.
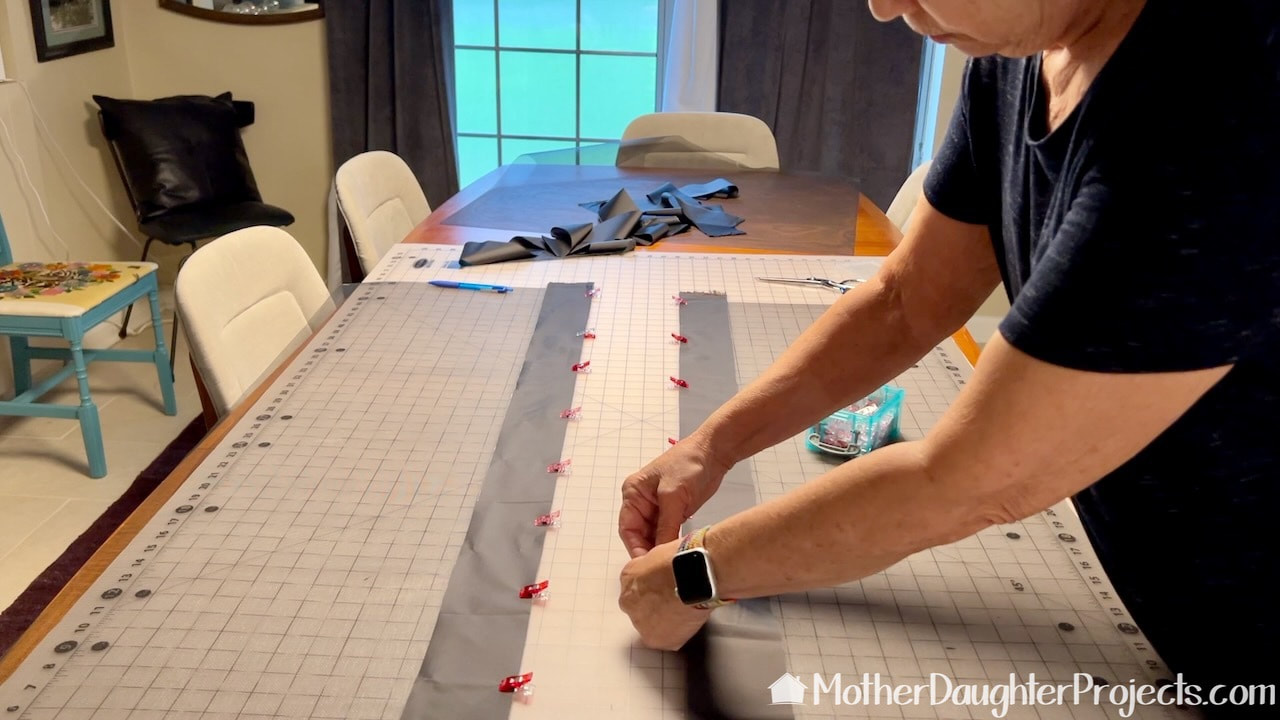
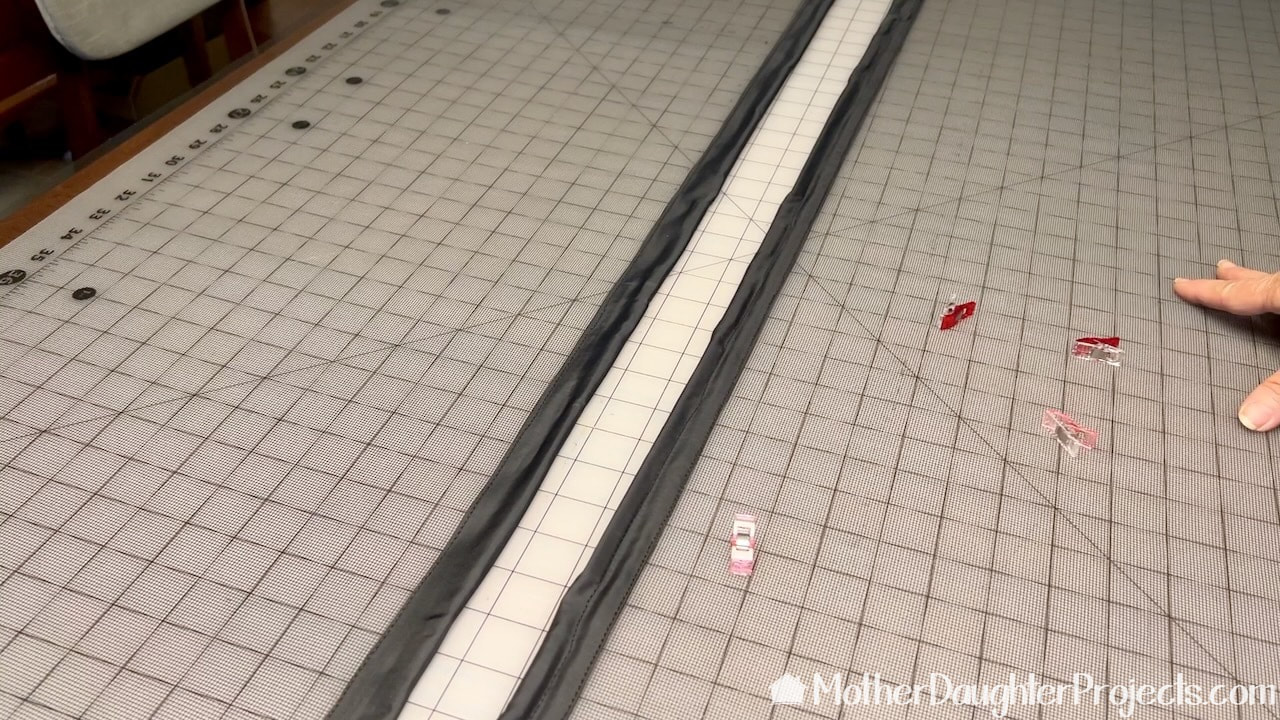
I'm using Wonder Clips to attach the binding to the center edges of the insert. This will be casing that holds the magnets.
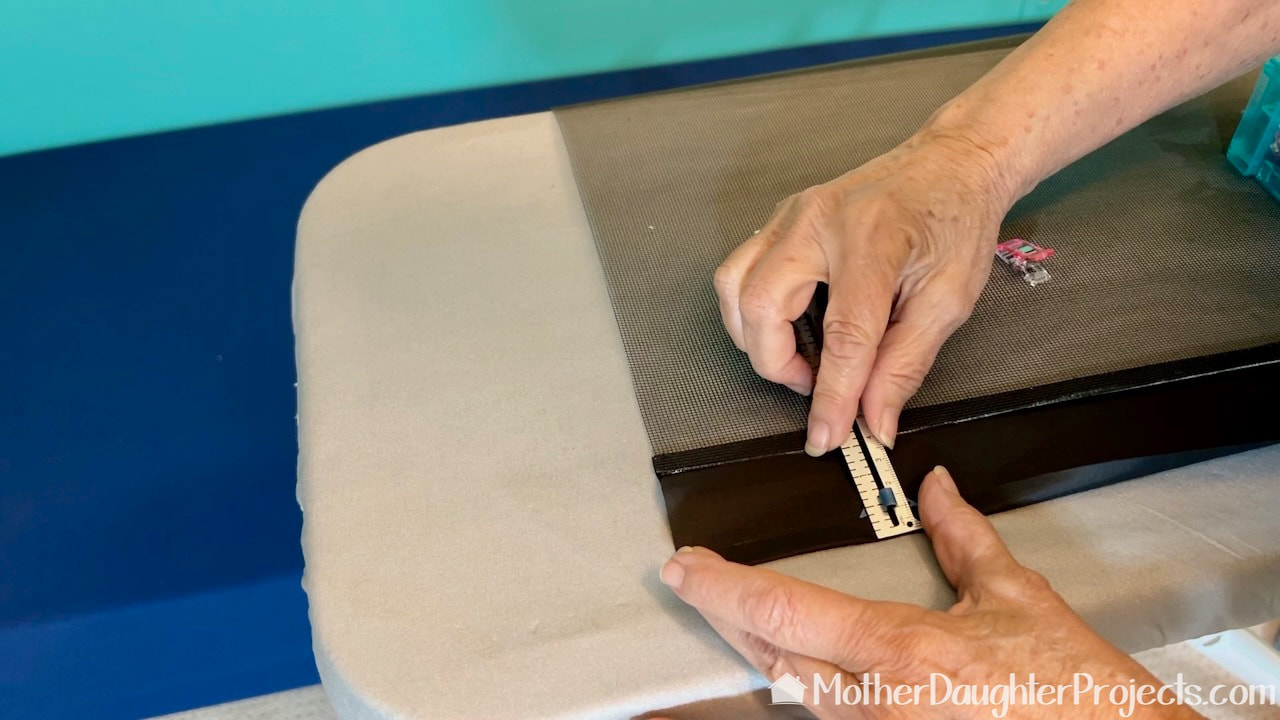
This edge is folded over 1/2 inch which will eventually meet up with the already stitched edge.
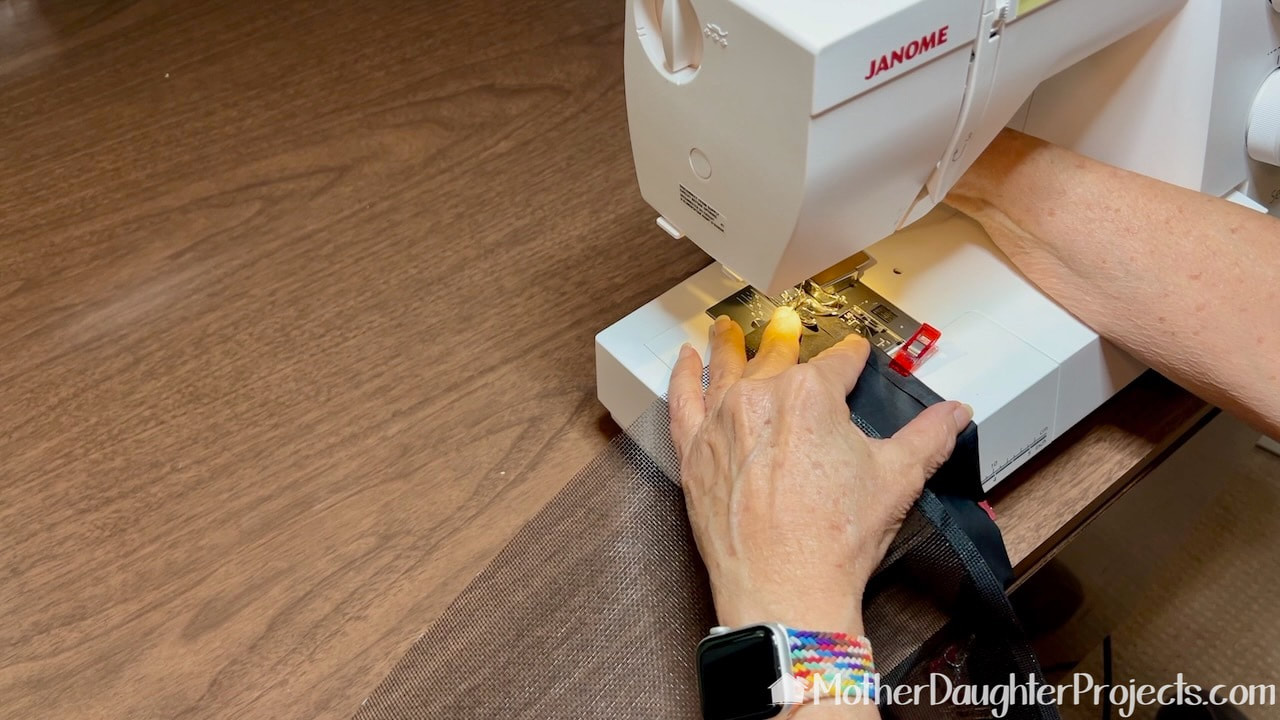
Here I'm stitching that folded edge into place. Next, I'll fold this to meet the other edge and stitch the binding closed.
Here's that step where the edges are clipped together before sewing. Every place you see a clip is where I placed a magnet. I did the same for the other center edge. Using a zipper foot, I stitched close to the magnetics hoping this would be enough to keep the magnets from sliding out of place. Spoiler: it was not!
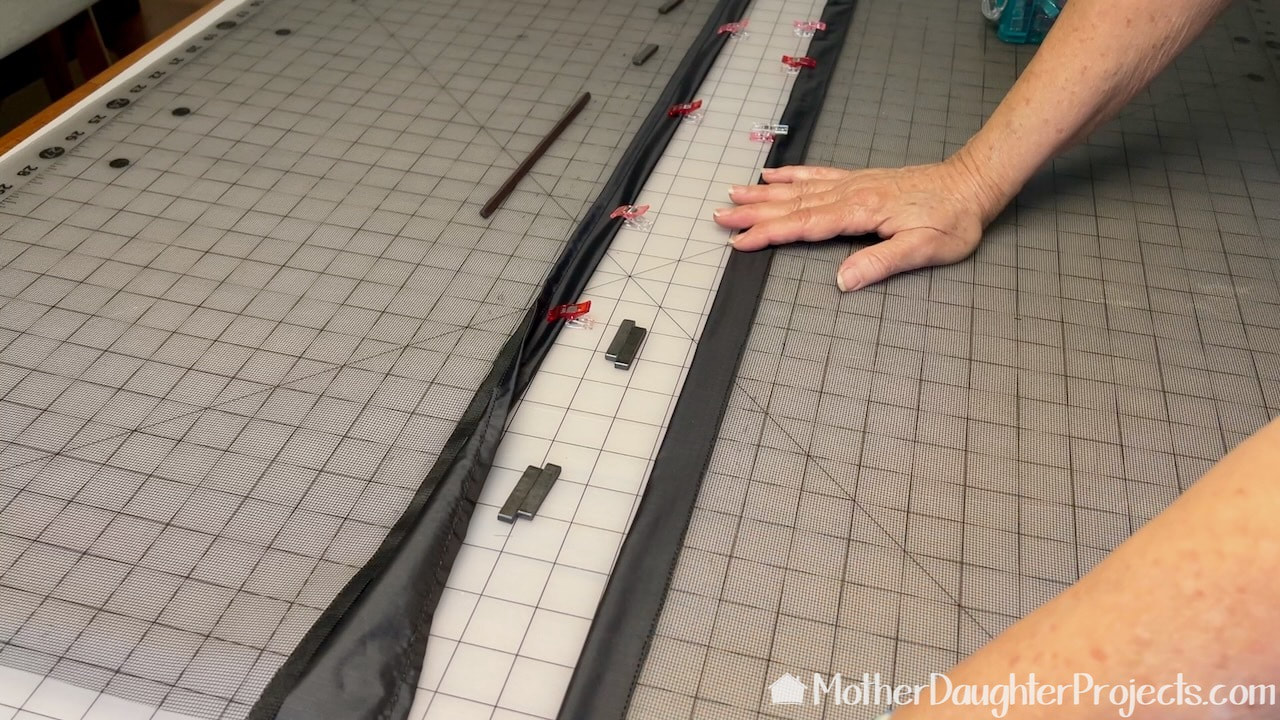
After stitching, I tested the front edges to see if they would line up AND they did!
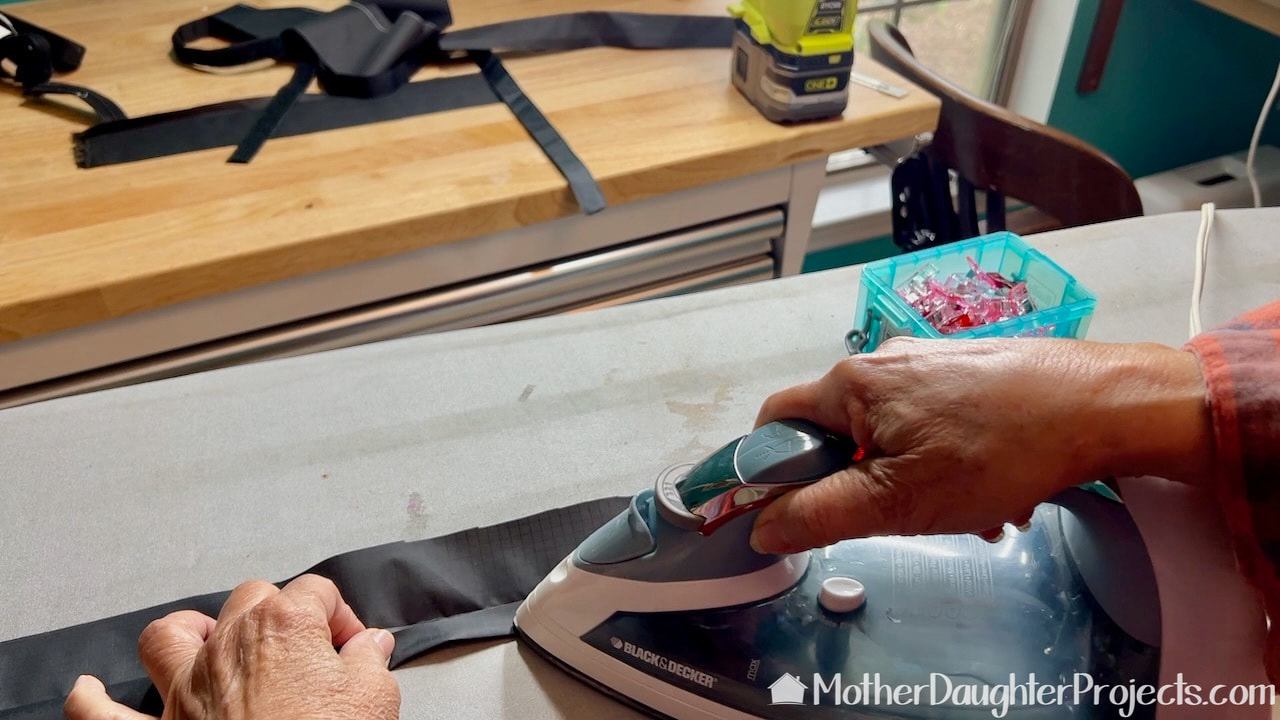
For the rest of the edges I folded over 1/2 inch on each side of the binding, then folded this in half again. (Sort of like a piece of bias tape without the bias.)
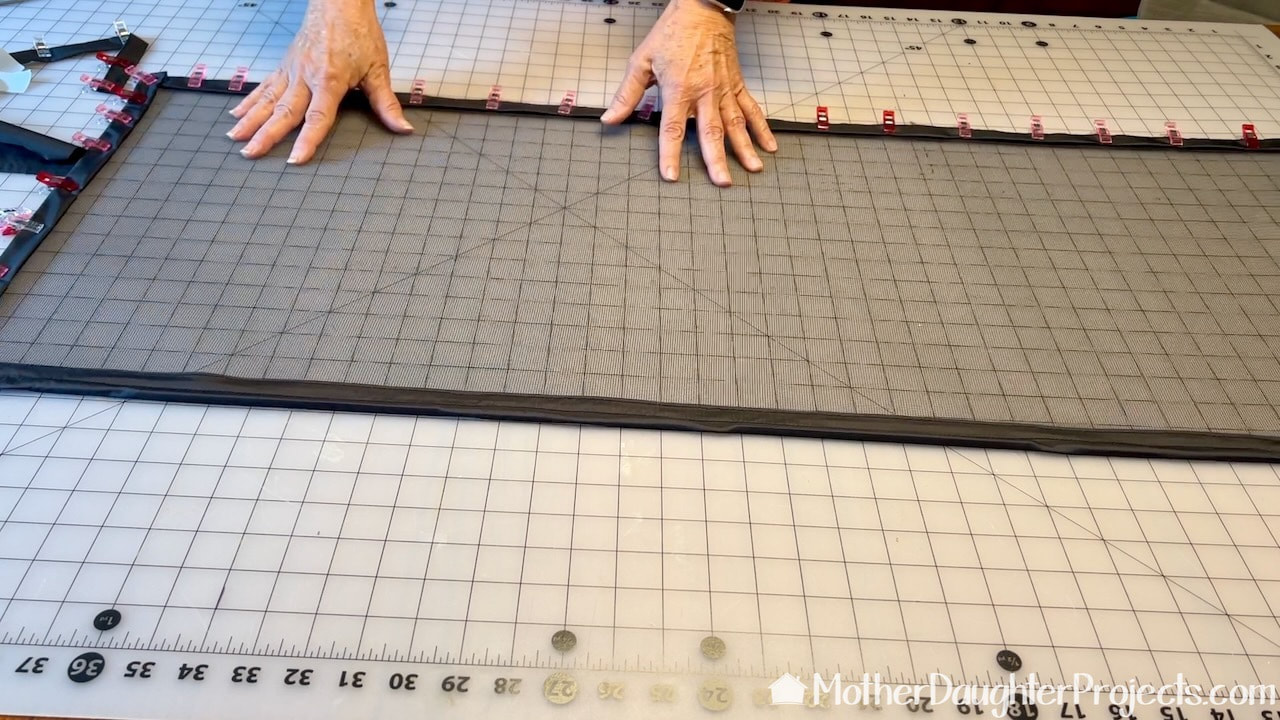
Again, the wonder clips are used to keep the binding in place to which covers the raw edges of the screen.
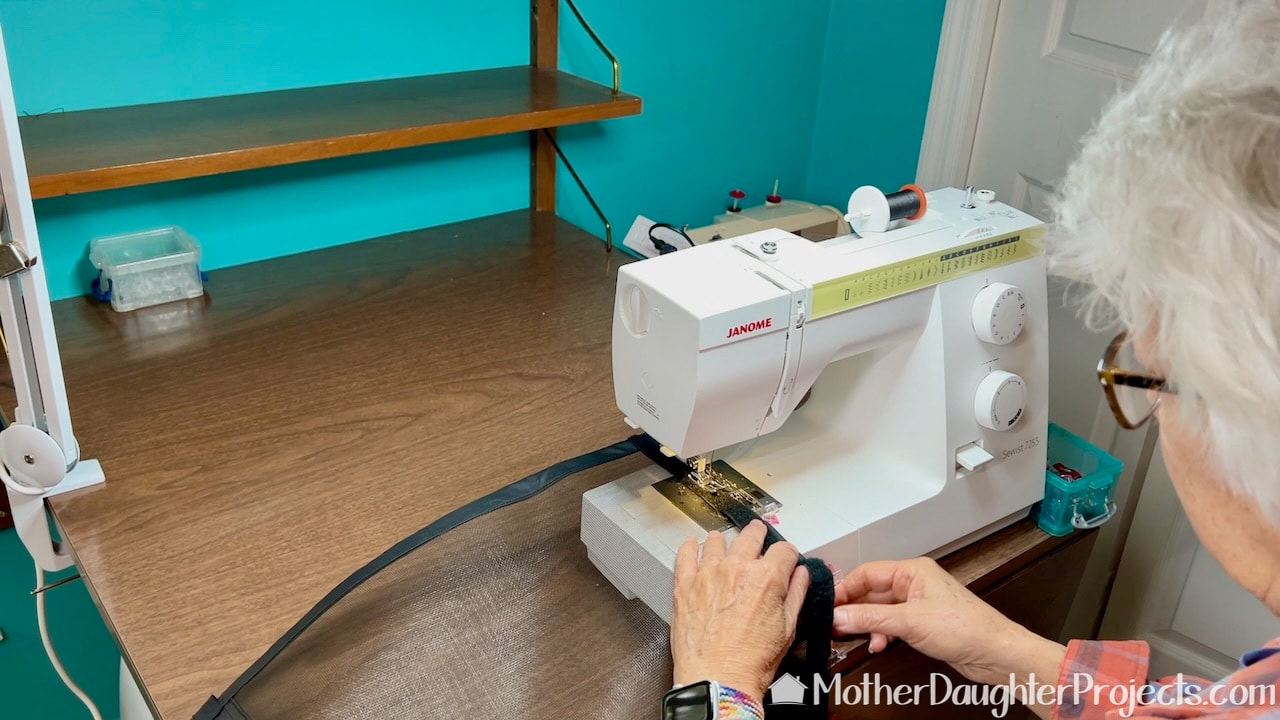
The binding is stitched in place with the Velcro added at the same time to the top and side pieces. The bottom edge is left free.
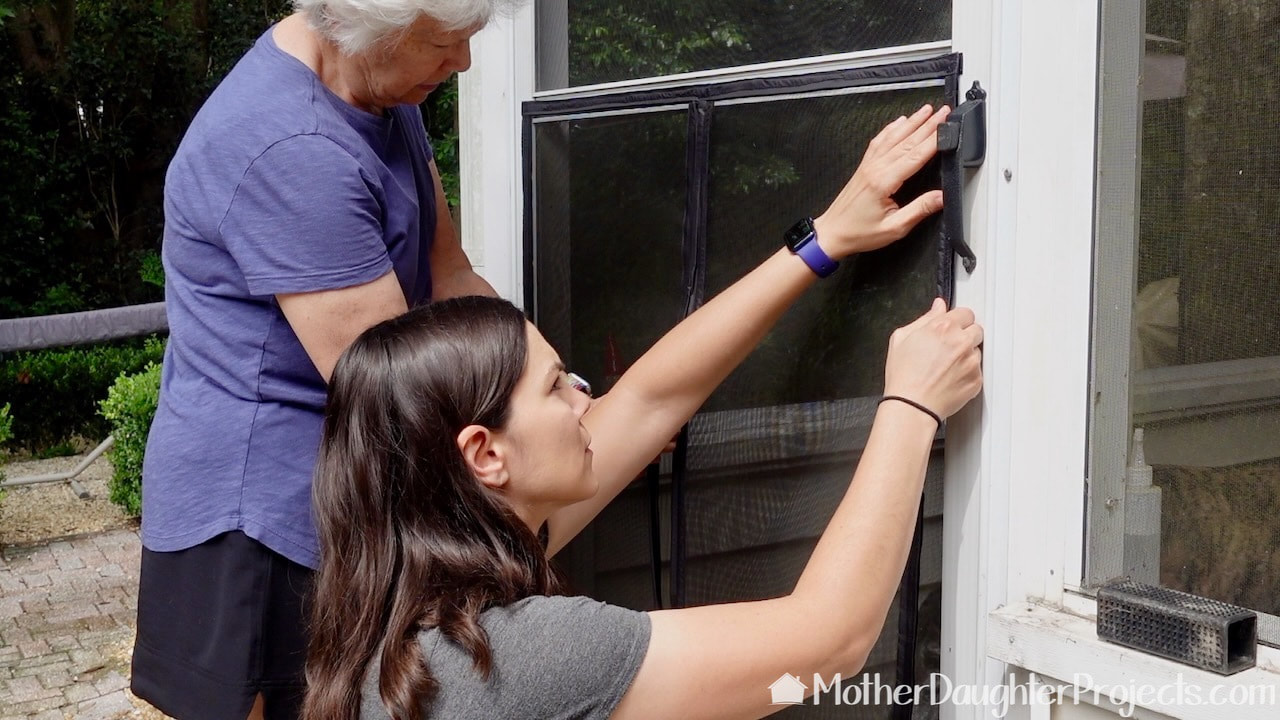
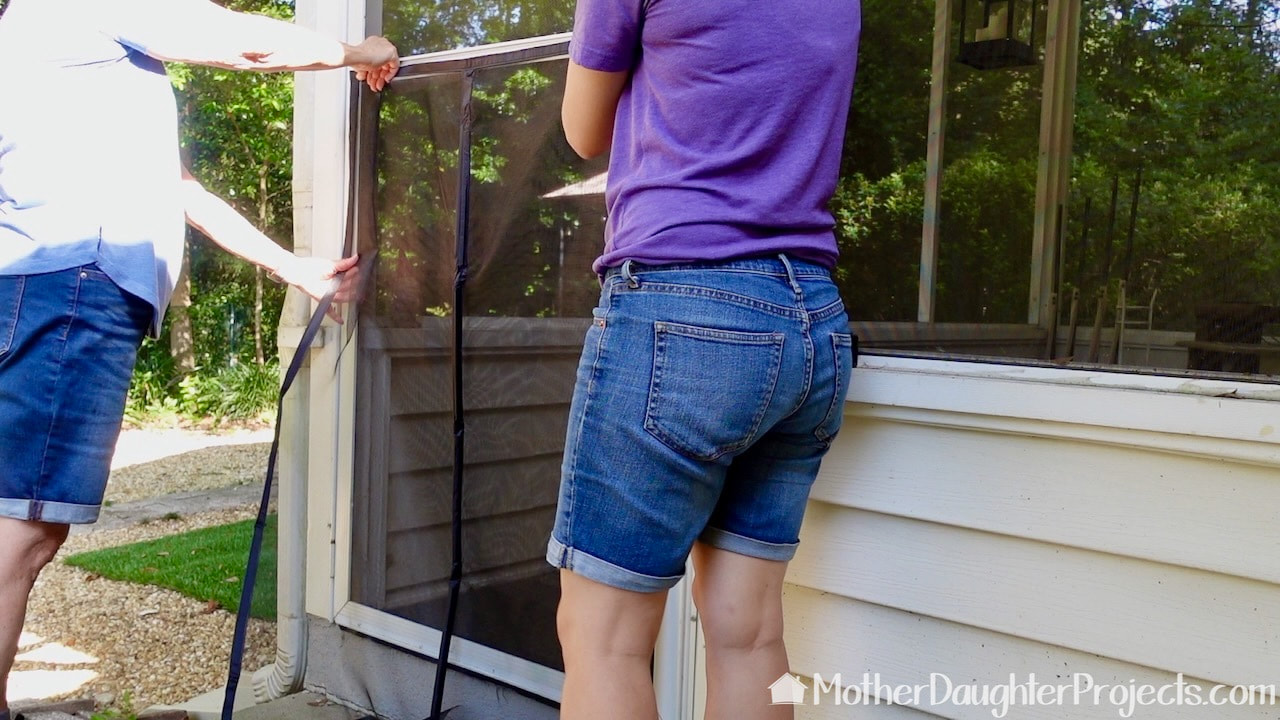
We added the self-stick velcro to the door and put the insert into place.
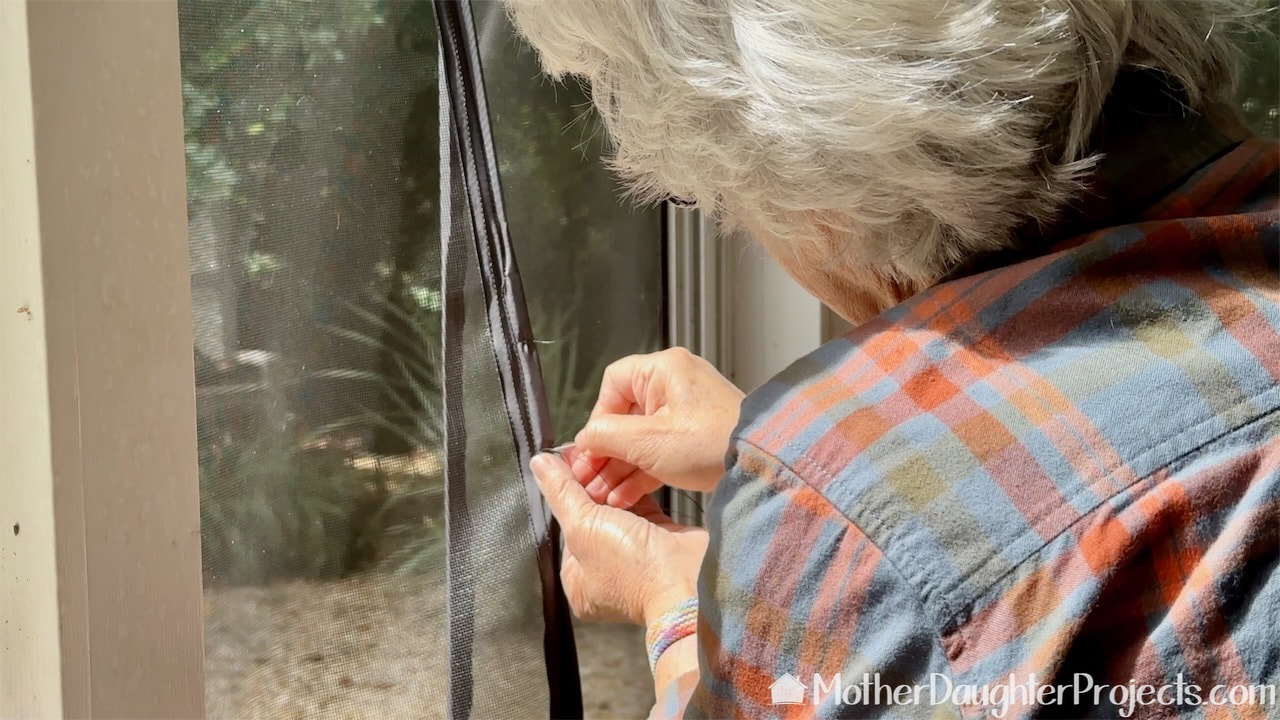
This is me fixing that magnet sliding problem. I put the magnets back into place and made a couple of stitches underneath each one to keep them from sliding.
Okay, was I right to make this from scratch? Well, yes and no. Yes, because we got exactly the size we needed and no, because it might have been easier to tailor an existing screen door.
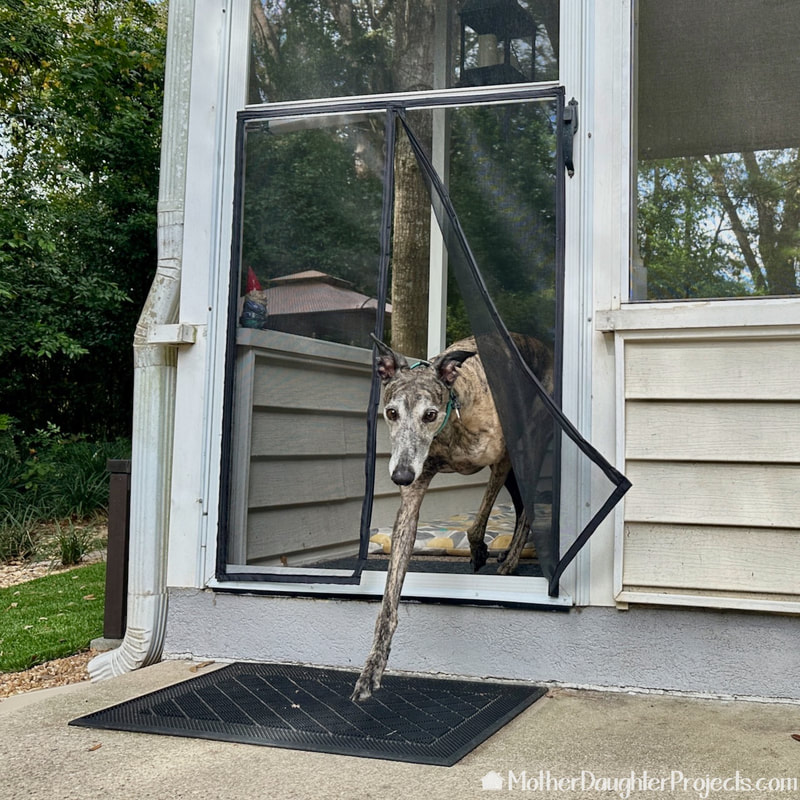
I think if you're going to do this I would suggest buying the cheapest of the premade screen doors you can find so you can use the screen, magnets and self-stick velcro. You could also pick out the velcro sewn to the insert itself and reuse that. (Grab that seam ripper and put it to good use!) It WAS worth the effort as we are now able to keep the screen door closed and Tosh can come and go as she pleases. She's such a smart dog as she learned how to maneuver the new door with ease. (Not all greyhounds can figure out how to go through!) Please note: This is not a sponsored post. We are not professionals, and we don't claim to be. This is what we found worked for our project. Yours may need a little different approach. Safety first! Affiliate links are being used on this page. Purchasing via these links help support MDP. Related Projects
0 Comments
Leave a Reply. |

Mother Daughter Projects
|