|
text by Vicki Sign up here to join our weekly email newsletter!
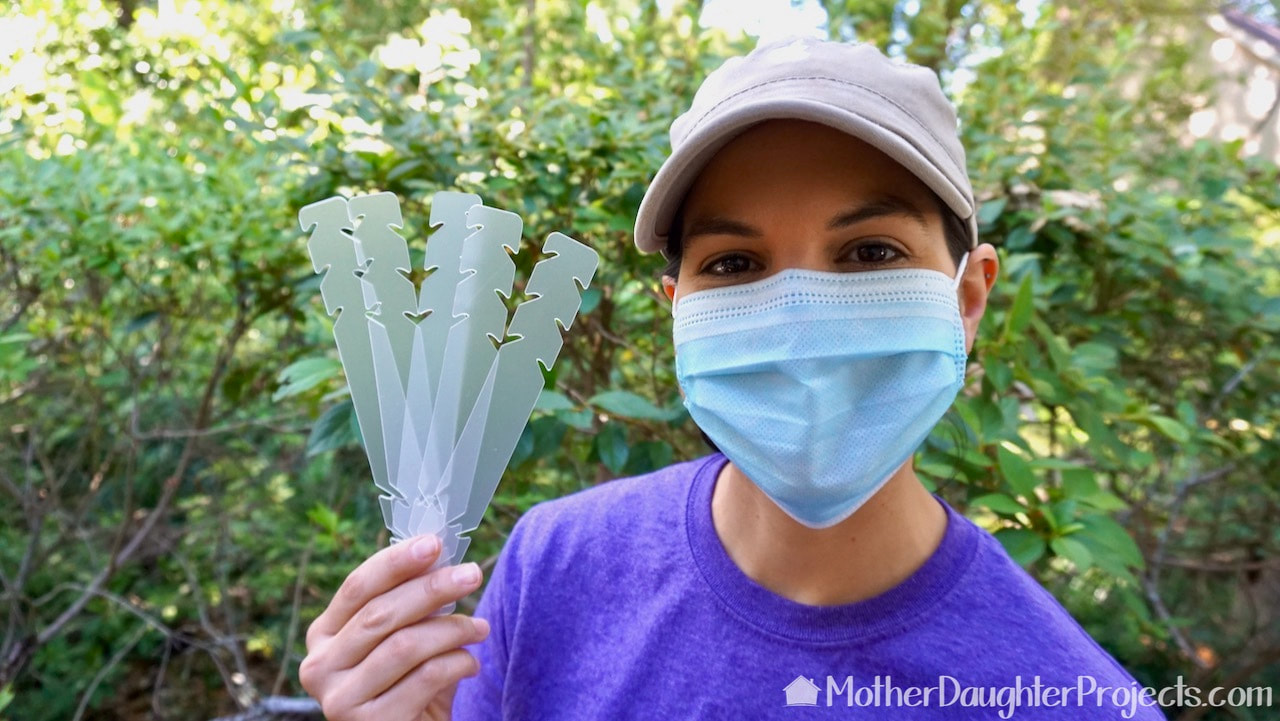
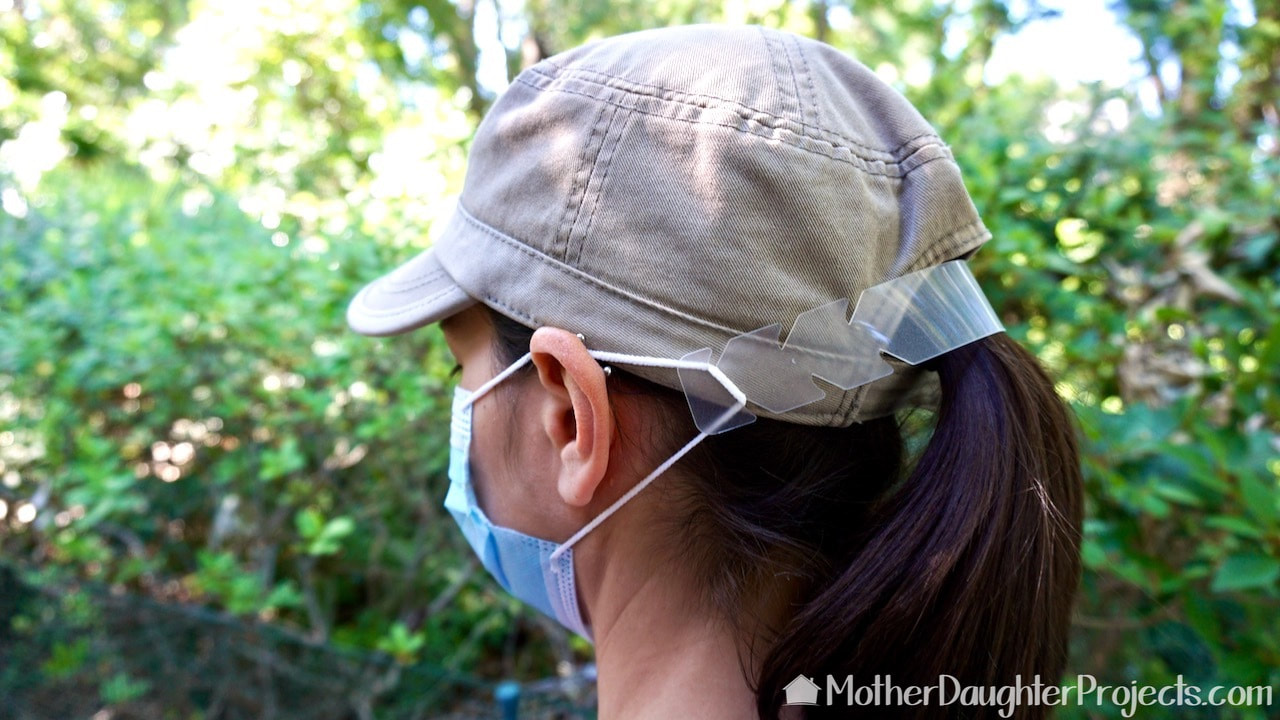
With the increased use of fabric and medical masks, the need for ear savers has grown. Ear savers are most often worn by health professionals to ease the discomfort of wearing a mask for a long time. As the general population adopts the use of masks for every day use, we all could benefit from these simple little devices.
In the workshop, we we've been wearing masks for years. We tend to take them off as soon as possible because they can be uncomfortable so we wanted a couple of these for ourselves and to giveaway. In April 2020, Cricut added three sizes of ear protectors to Cricut Design Space. They are free, but they did not offer up a tutorial on how to actually use the pattern. Steph found a way to use the file, and we found an inexpensive, readily available resource from which to make them. 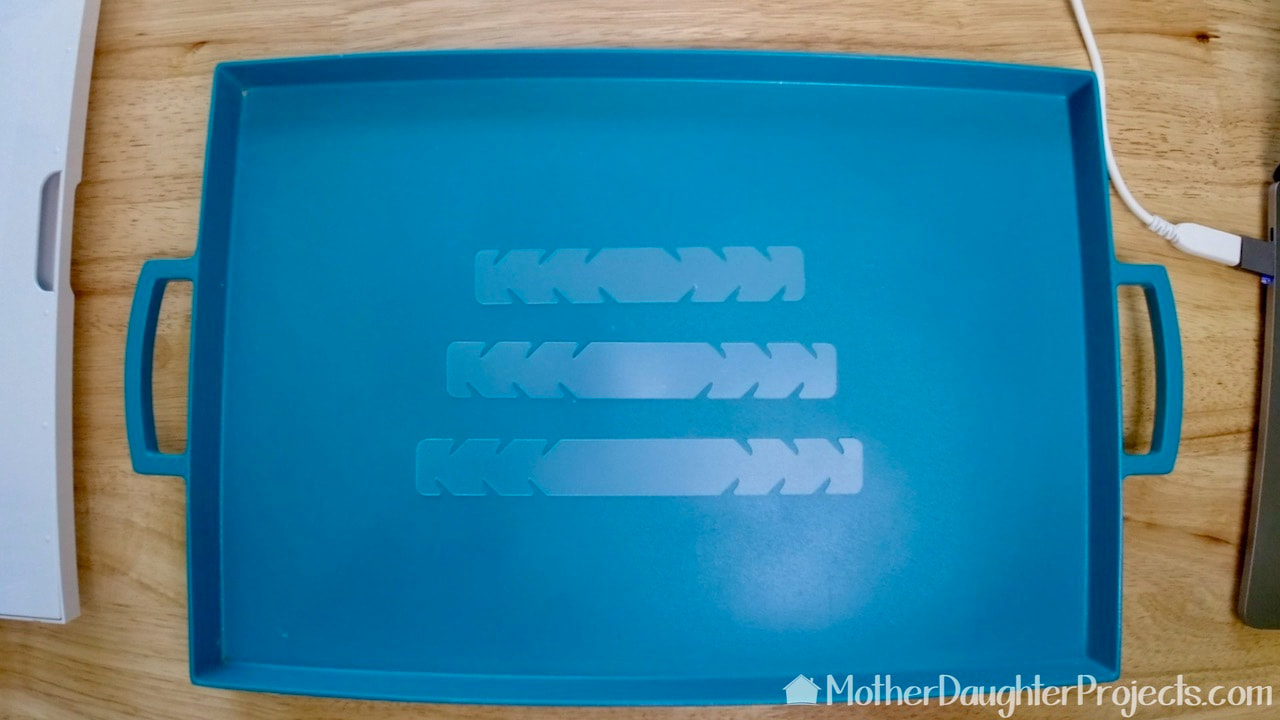
We made a sample of all three sizes to try out. We decided on the large because it seemed more efficient to make the larger size and then cut them down if the smaller was needed.
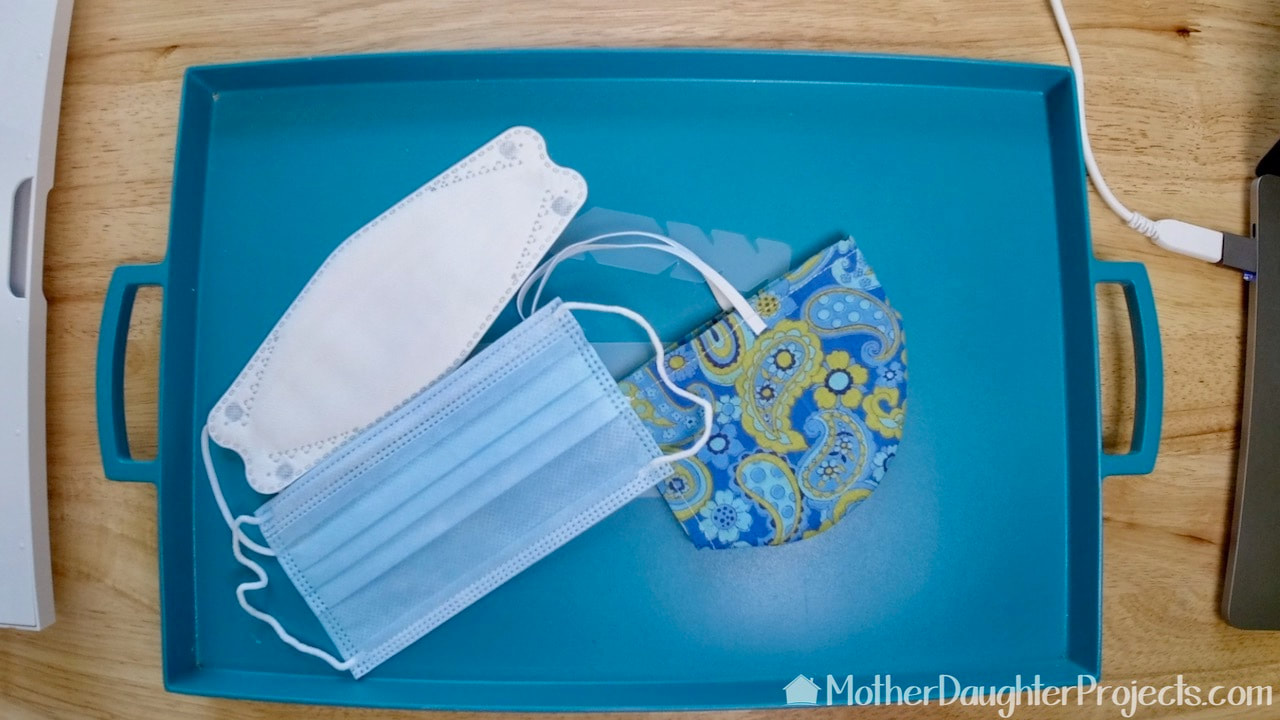
We tried them out with commercially made masks as well as a homemade cloth one. The homemade cloth mask is based on the pattern by ragmask.com. I've tried a lot of patterns and this one, by far, is the easiest! The pattern uses fabric ties, but I adapted this one to use elastic.
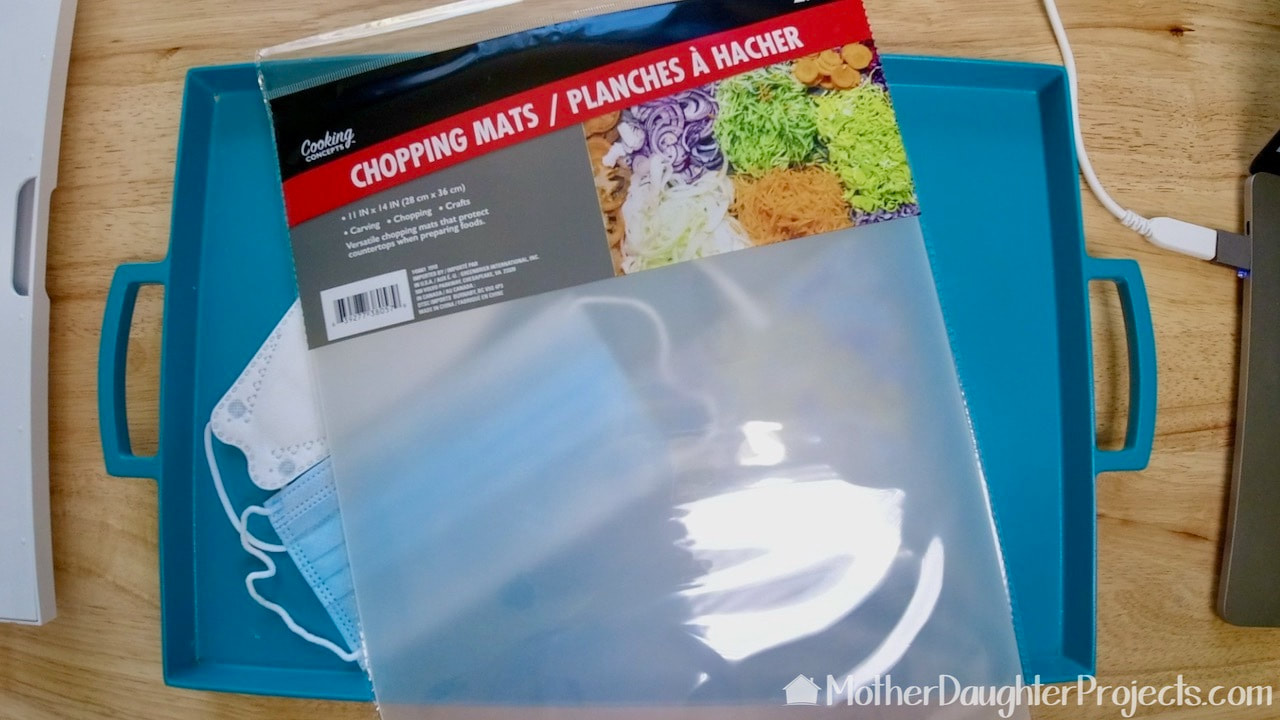
A trip to the Dollar Store yielded the perfect cutting materials. At $1.00 for two mats, you can make a lot of ear savers for very little money! It looks like you can order online as well for shipping to your home.
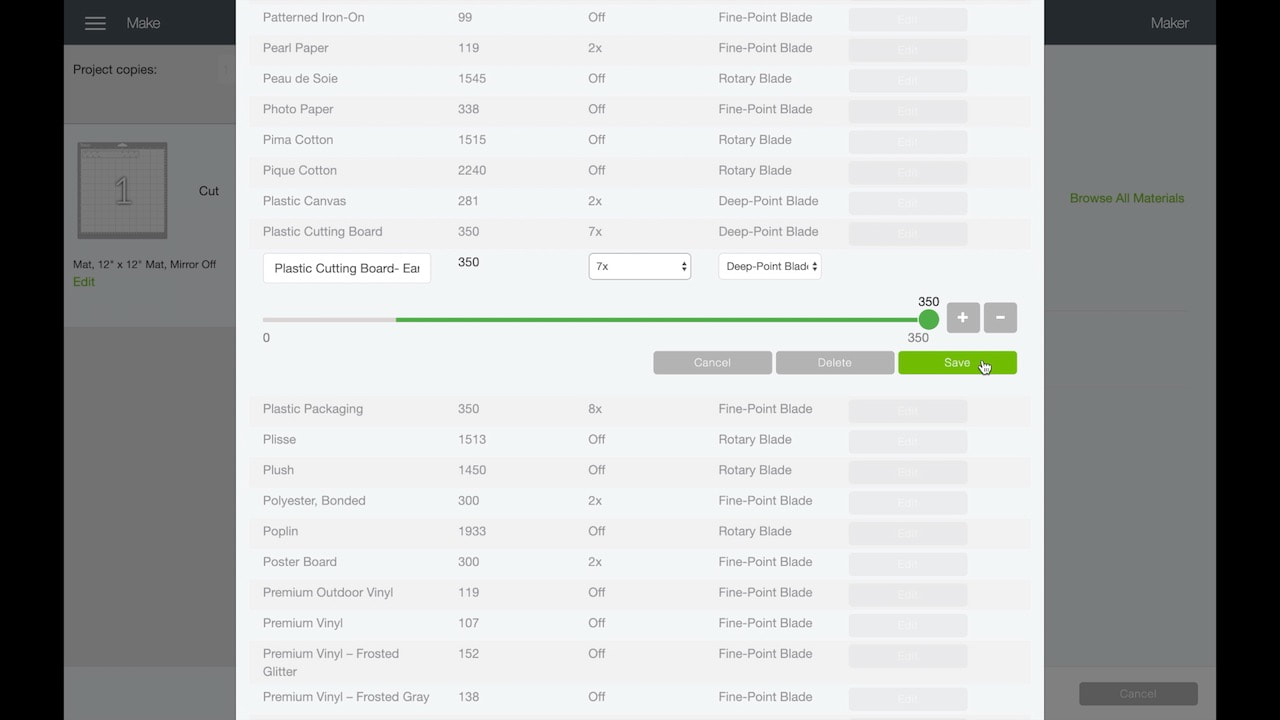
Steph figured out the settings needed for using the plastic cutting mats. In Design Space, she created a new setting for the mats. Steph goes through all the set-up steps in the video so be sure to watch.
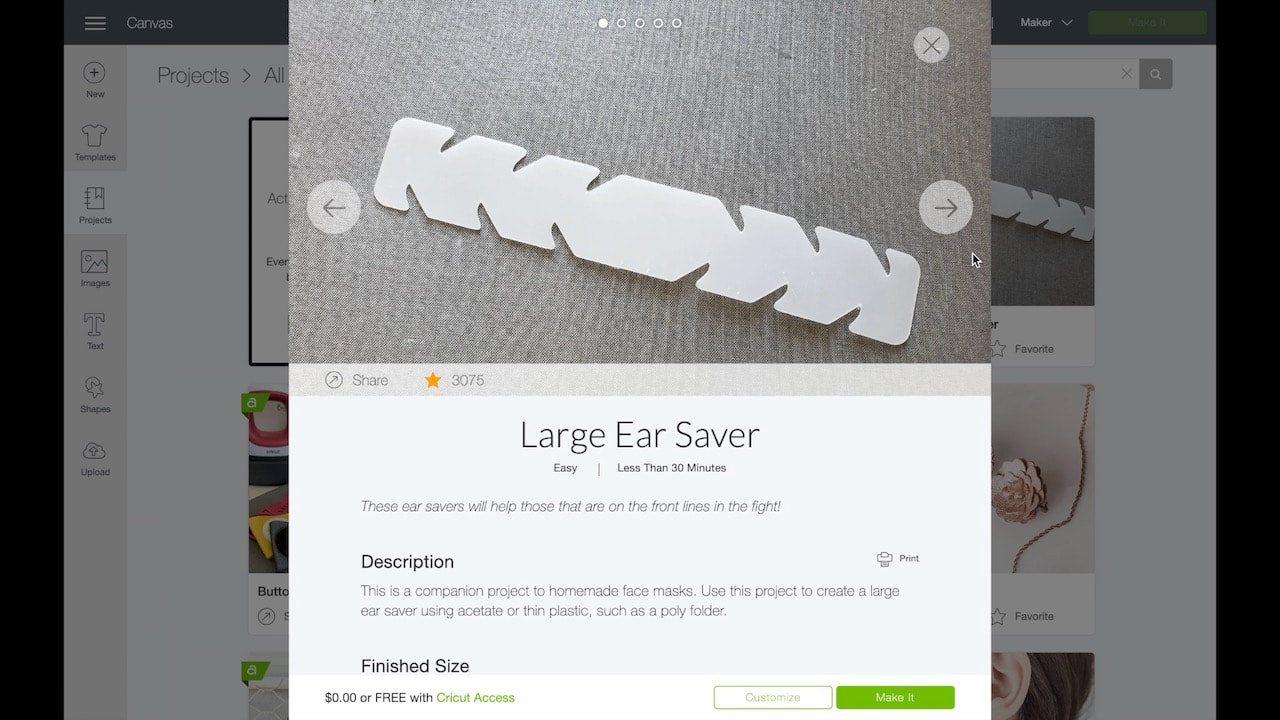
You can choose from three different ear savers. We chose the large.
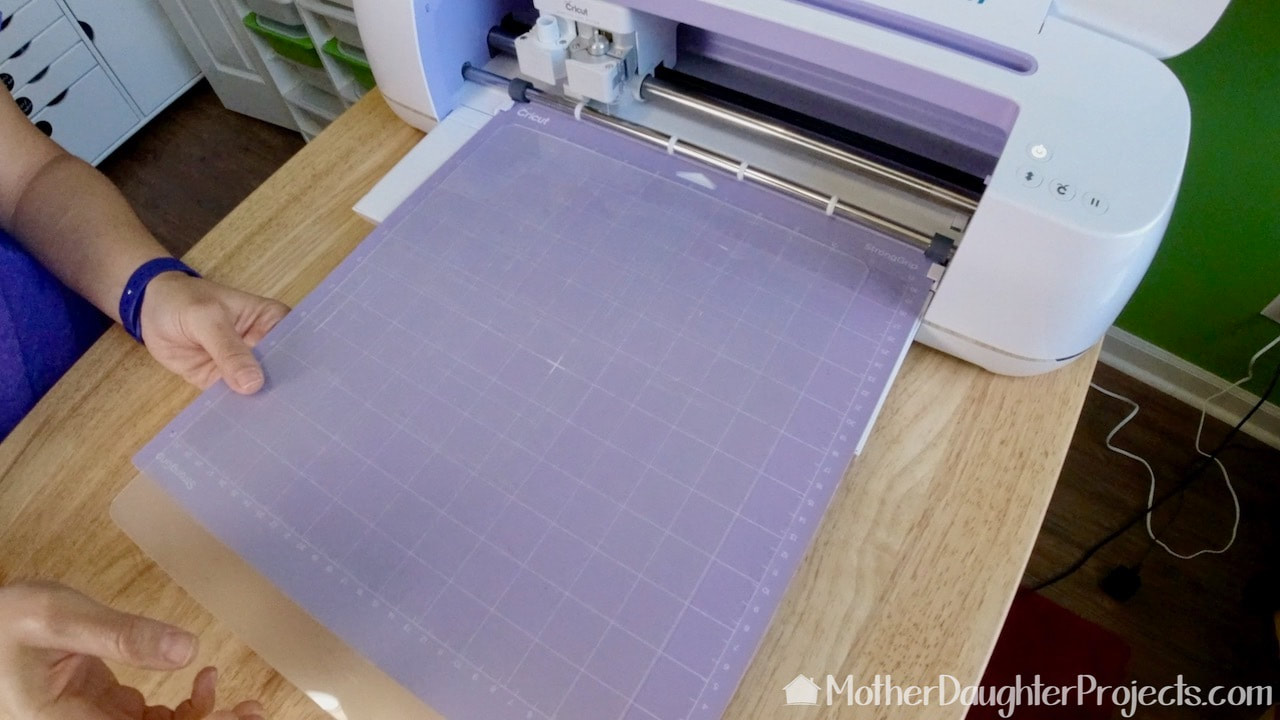
The plastic chopping mat is laid texture side down on the purple Cricut mat. We used a brayer to securely position the plastic on the purple mat.
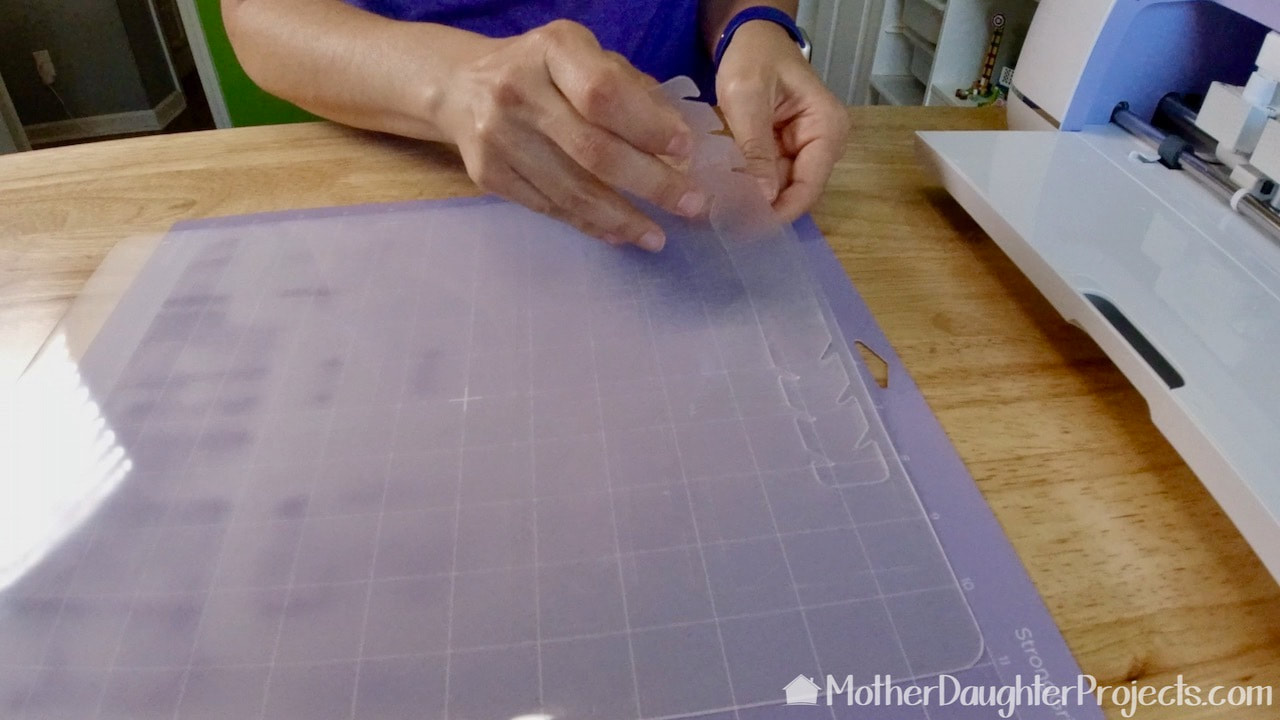
The cutting takes about one minute. It pulled off easily just like it was supposed to! Love when that happens!
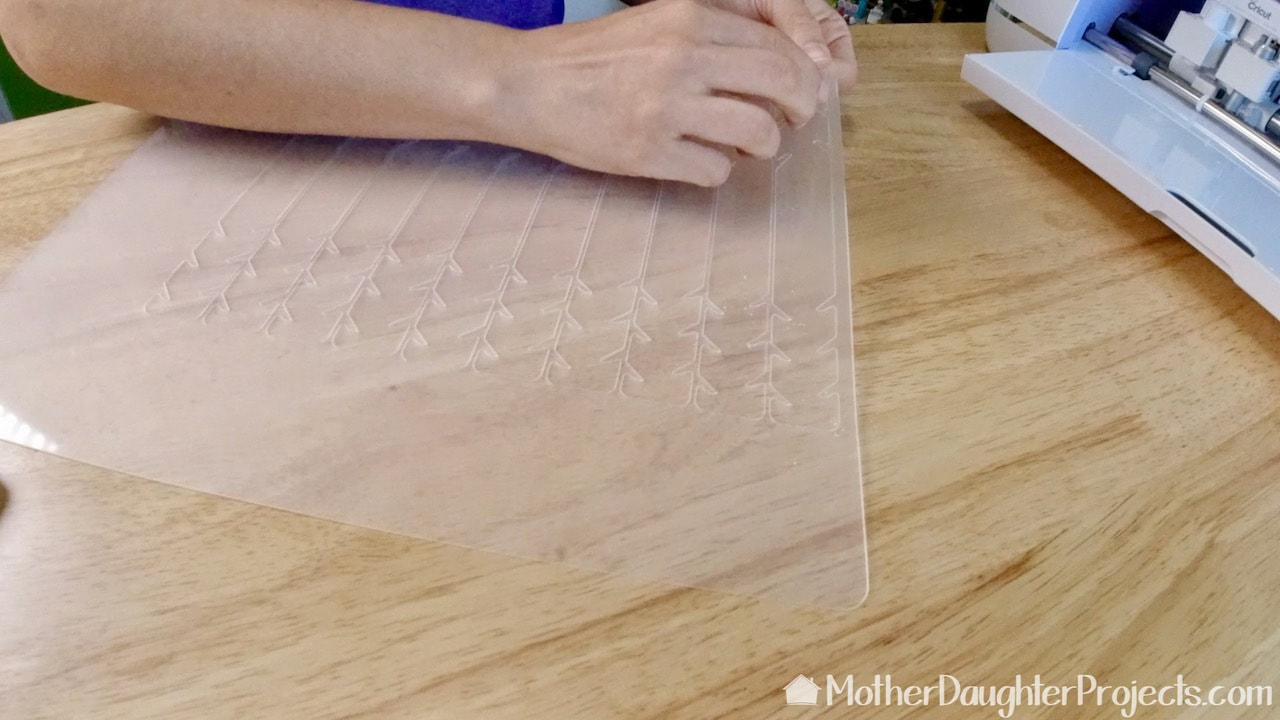
Duplicate the image and you can make a lot more at at time. It took about 20 minutes to fully cut this sheet of large ear savers.
Please note: This is not a sponsored post.
FYI: We are not professionals, and we don't claim to be. This is what we found worked for our project. Yours may need a little different approach. Safety first! FYI: Affiliate links are being used on this page. Purchasing via these links help support MDP! Related Projects
6 Comments
Terri Evans
5/30/2020 11:21:08 pm
Have you tried this using the knife blade?
Steph
5/31/2020 08:43:03 am
I didn't. When I picked a setting for cutting plastic, the cricut did not recommend the knife blade so I didn't try it.
Marie
7/1/2020 03:53:40 pm
Have you tried using just a regular blade for this project and not the deep cut blade?
Steph
7/1/2020 06:16:09 pm
I did. It didn't work for me.
Emery
9/2/2020 10:05:24 pm
Thanks so much for this post!
Steph
9/3/2020 05:25:26 pm
I think we cut 20 and didn't notice any issue with the blade. We started with a new blade too. Leave a Reply. |

Mother Daughter Projects
|