text by Vicki Sign up here to join our weekly email newsletter!
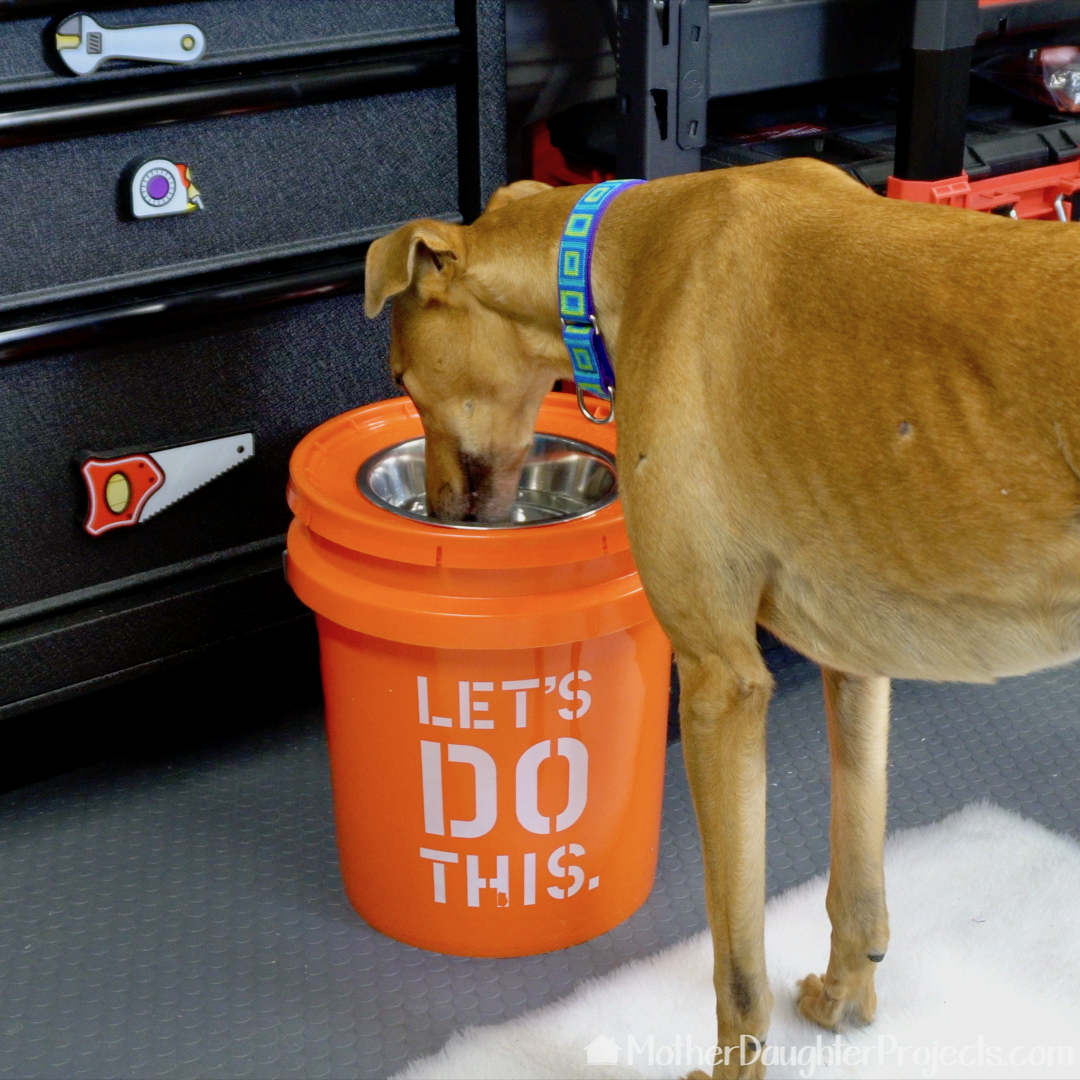
What's better than one greyhound? Two! Tosh is the second "dog daughter" to join the Mother Daughter Projects team so a new raised feeding stand was needed. Follow along as we share our DIY version.
Materials/Tools:
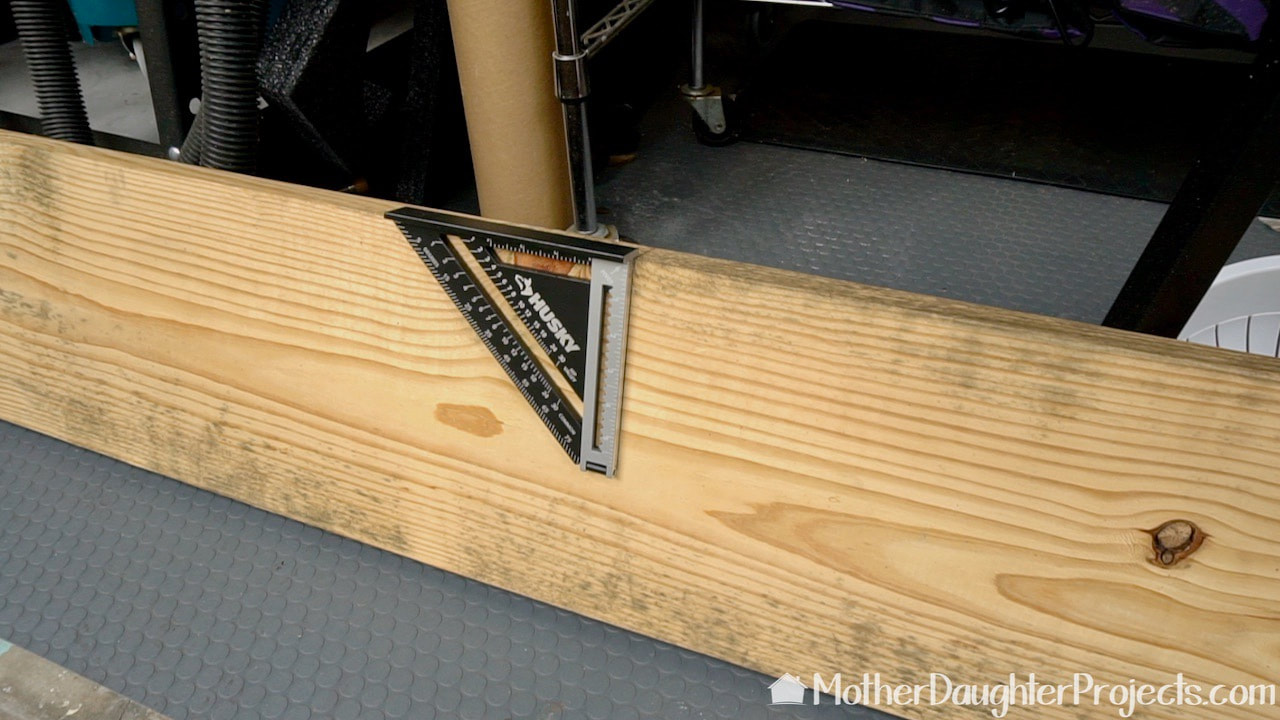
We wanted to use the lumber we had on hand and this board was perfect with the exception of how dirty it was. We decided to clean it to see if it could be used so we could avoid having to run to the store for another board.
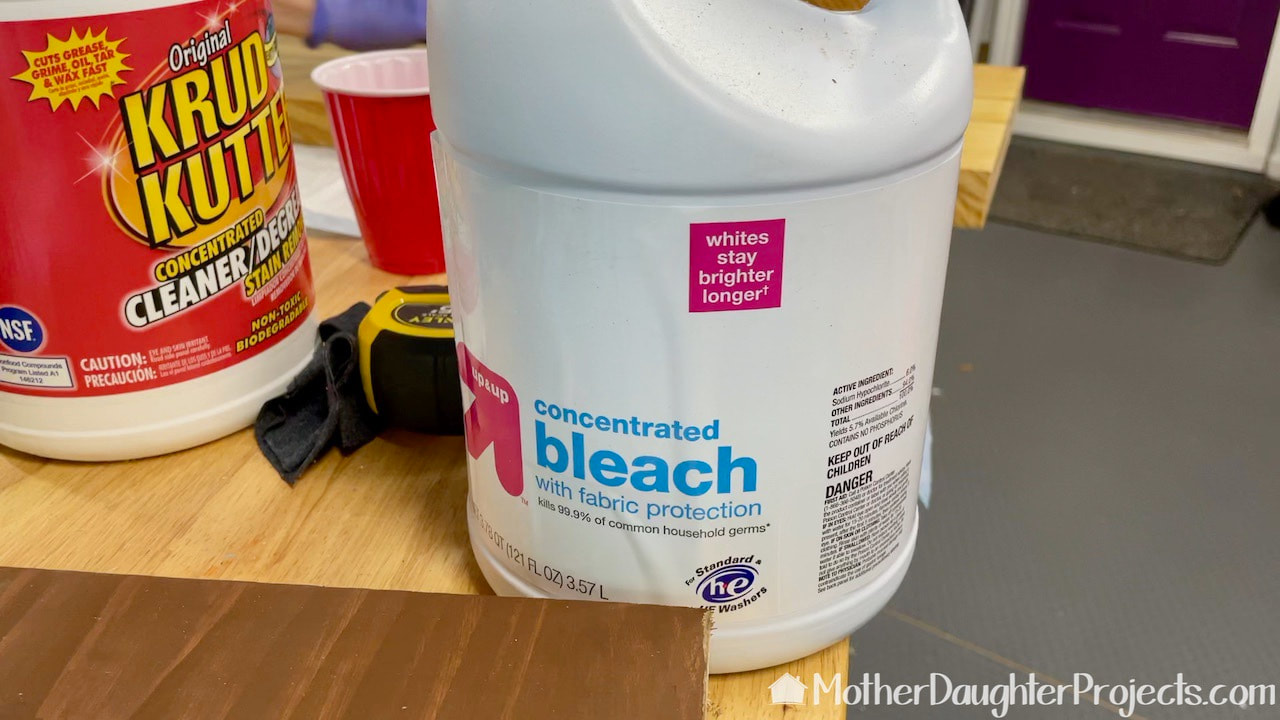
We used a variety of cleaning methods on the board including Krud Kutter to clean the obvious dirt and then a watered down bleach solution to further clean and lighten the stains. This process actually worked well enough that we could use the board.
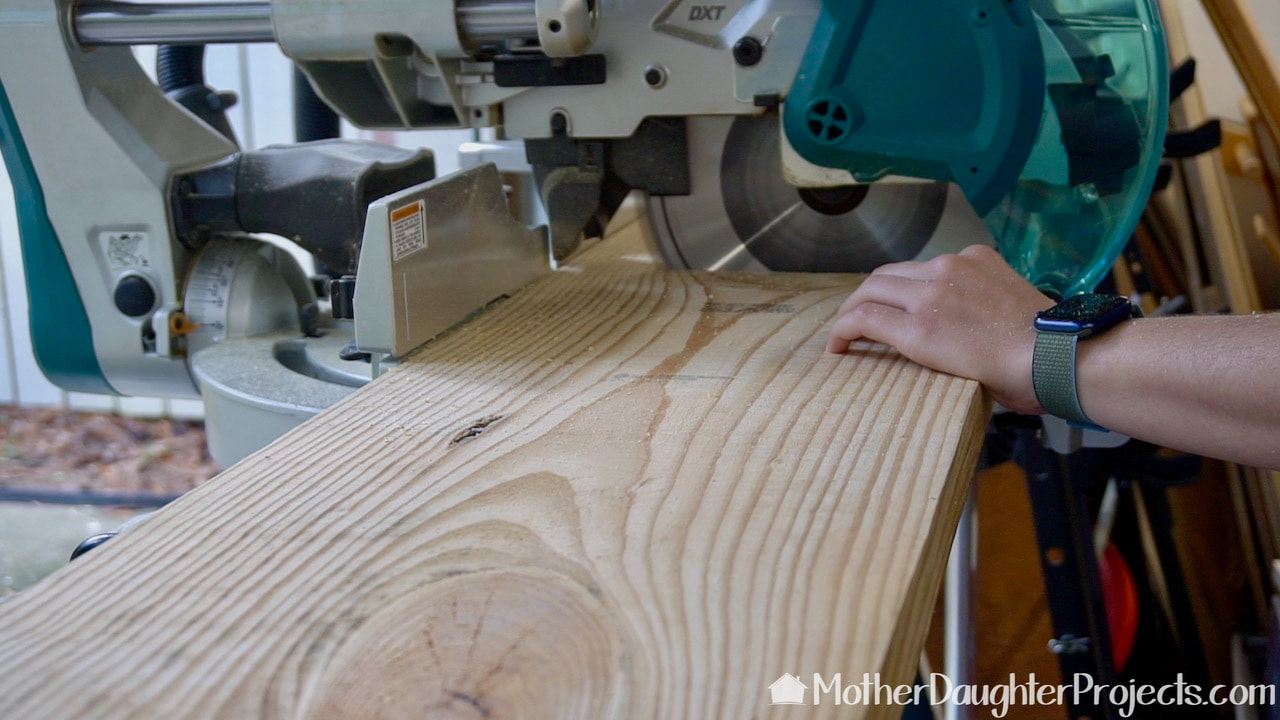
Steph used the sliding feature of the miter saw to cut the pieces. Our measurements are based on the space where the stand would live and the number of bowls we used. Base your measurements on your space and number of bowls you intend to use. (This is a Makita battery powered compound miter saw.) Our cut list was 28" piece for the top and (2) 13" pieces for the legs.
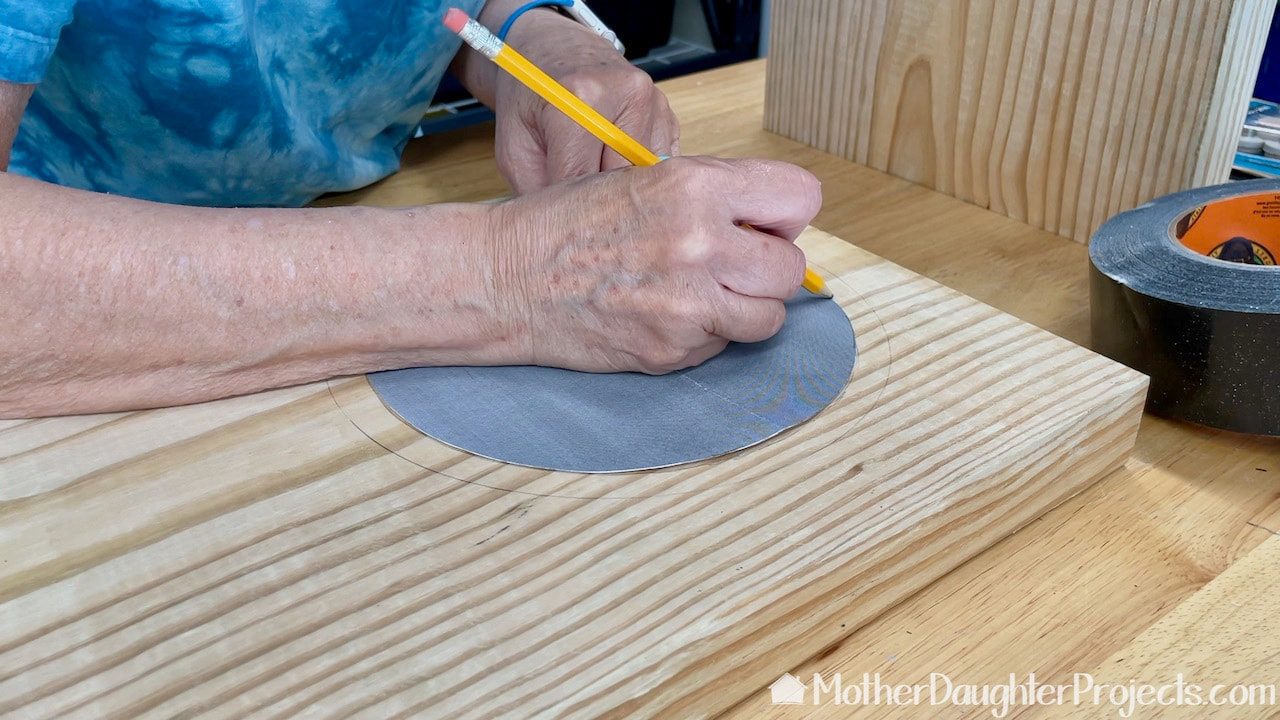
We marked the placement of the bowls and drew around the perimeter of the bowl. The cut needed to be about 1/4 of an inch inside this mark. We made a quick circle pattern the size we needed on the computer. We eyeballed the placement inside the larger circle and drew around it. We did end up using a black marker on this line to make it easier to see when cutting.
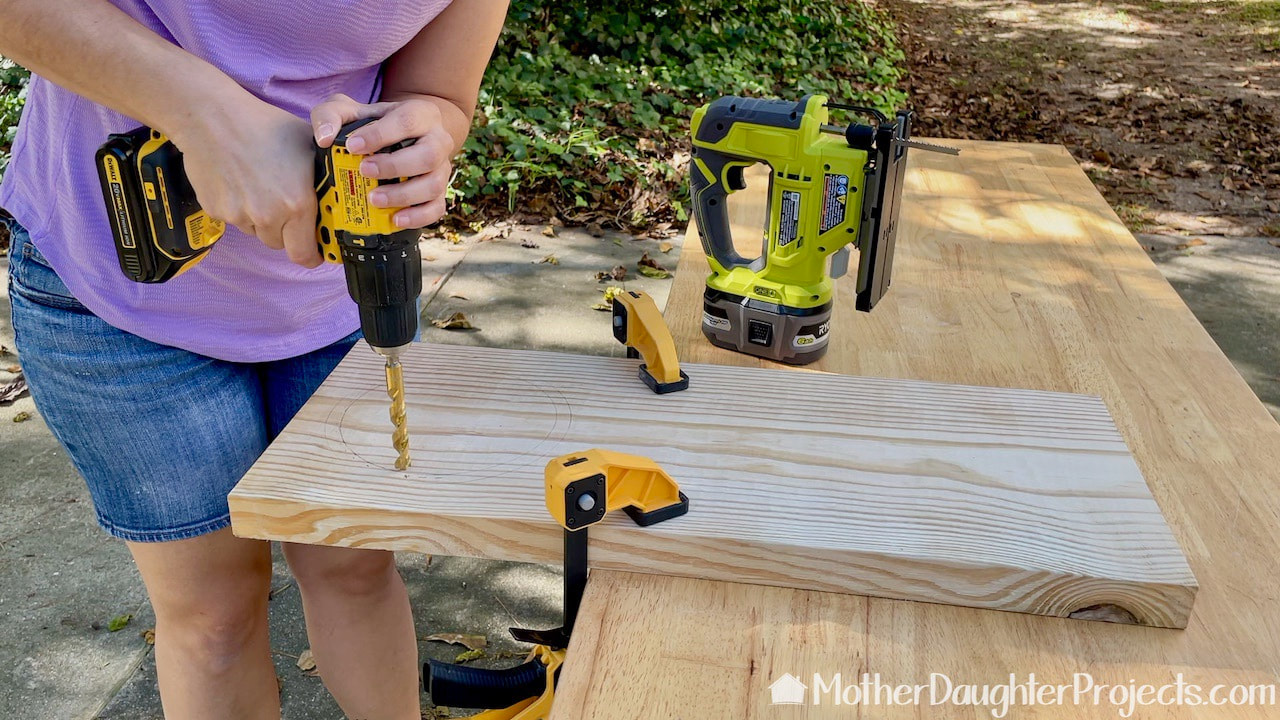
Steph used a drill to make a starting hole for the jig saw.
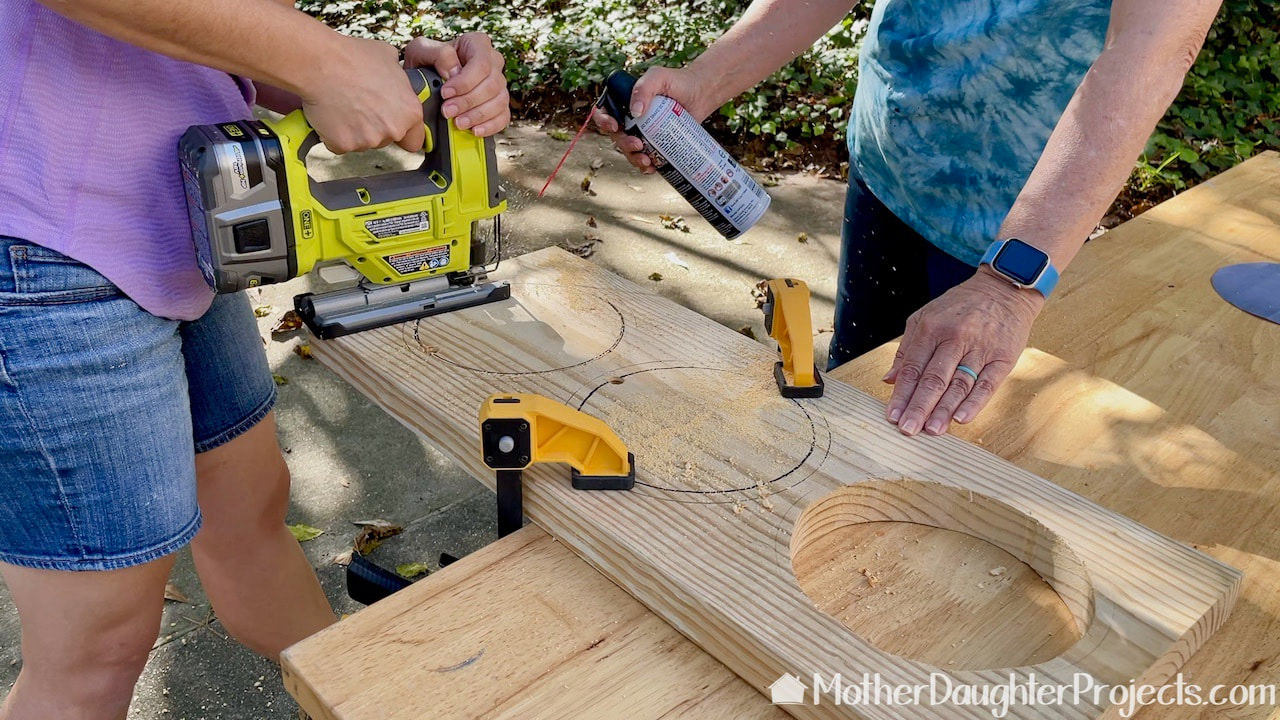
Cutting with a jig saw creates a lot of dust making it difficult to see the cut line. As Steph cut, I used canned air to blow away the cutting debris. Teamwork!!!
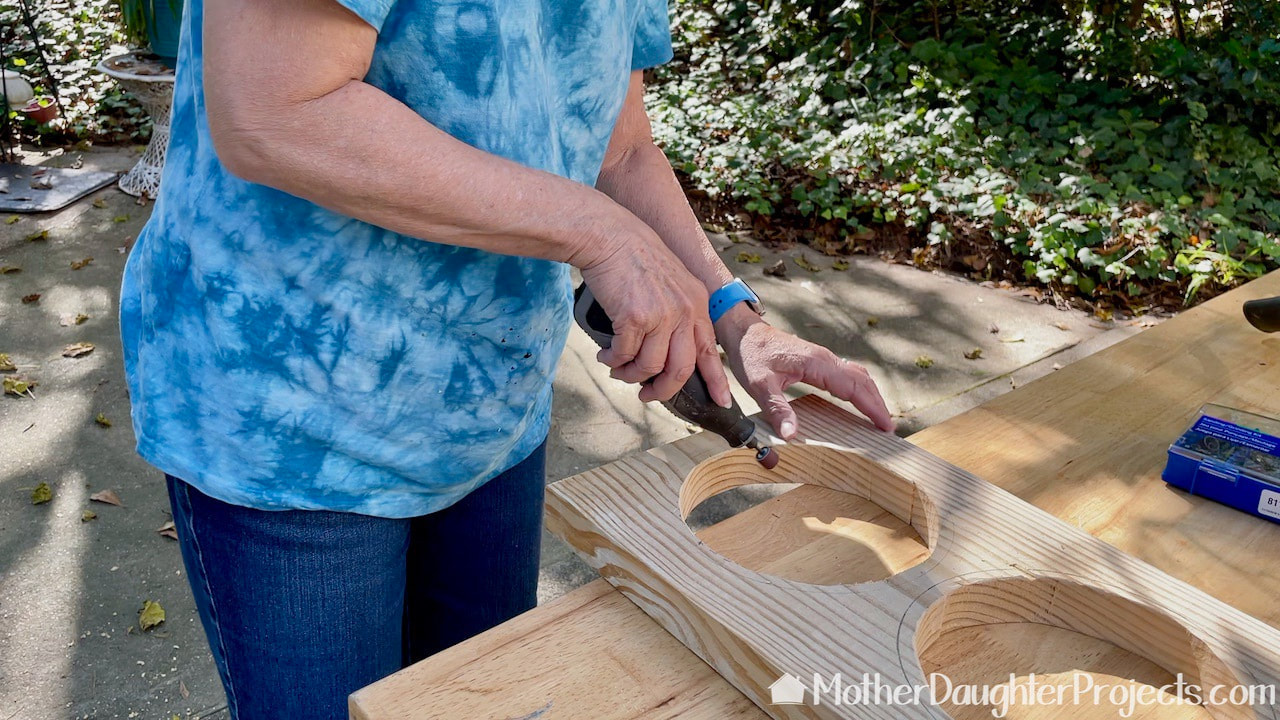
I used a sanding drum on a battery powered Dremel rotary tool to clean up the inside of the holes.
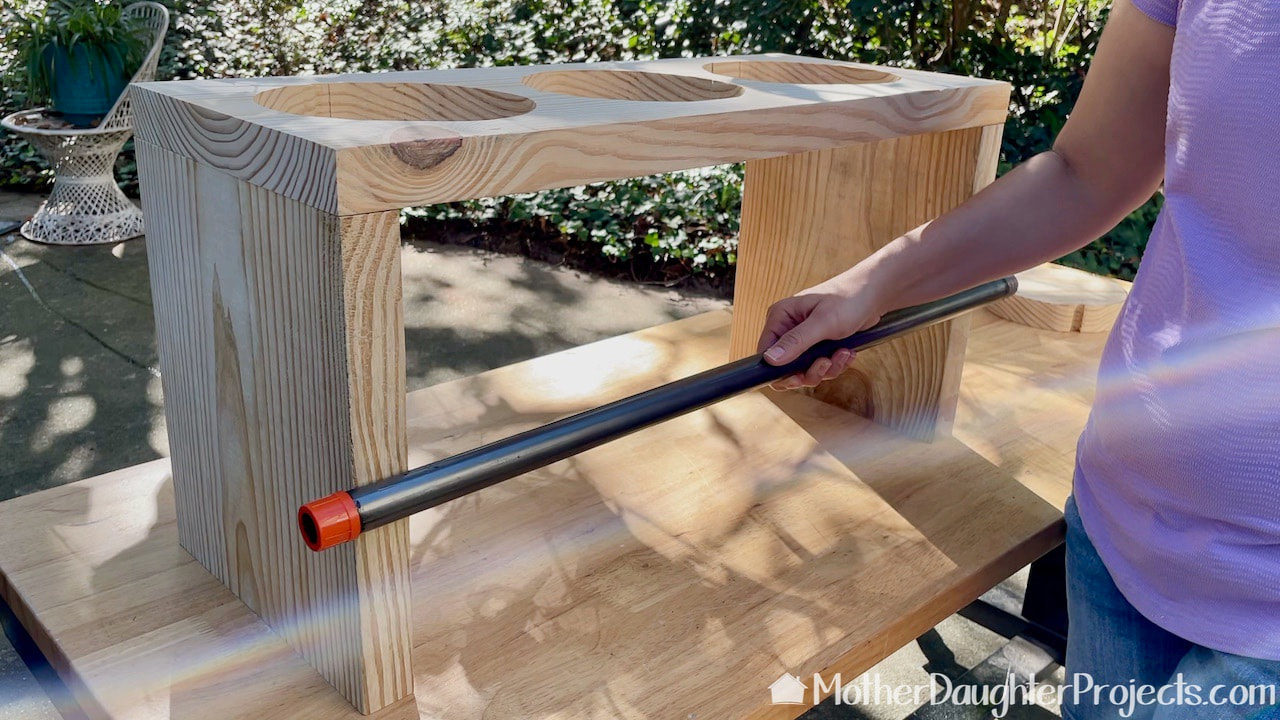
We wanted to add a purely decorative element to the stand with this black metal pipe. Here we are determining where it should. be placed.
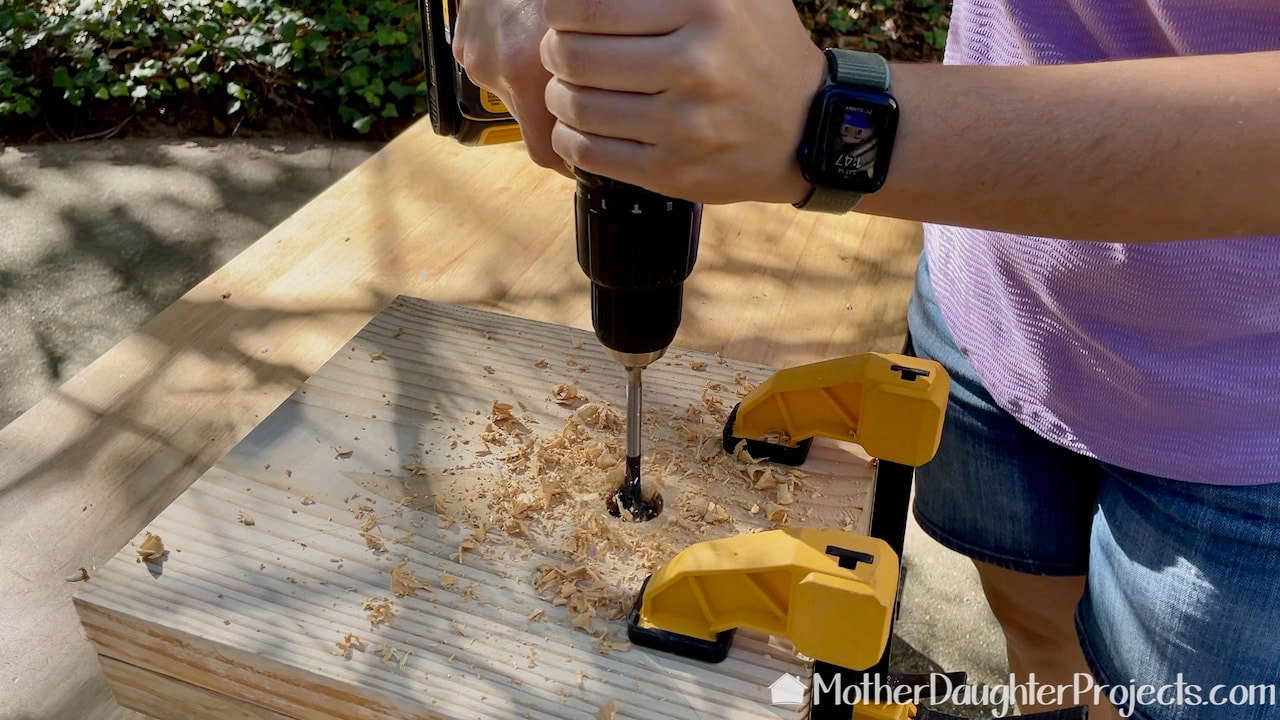
We marked the placement of the holes, Steph clamped the pieces together and used a spade bit to cut the hole. These are the legs and they are 13" long.
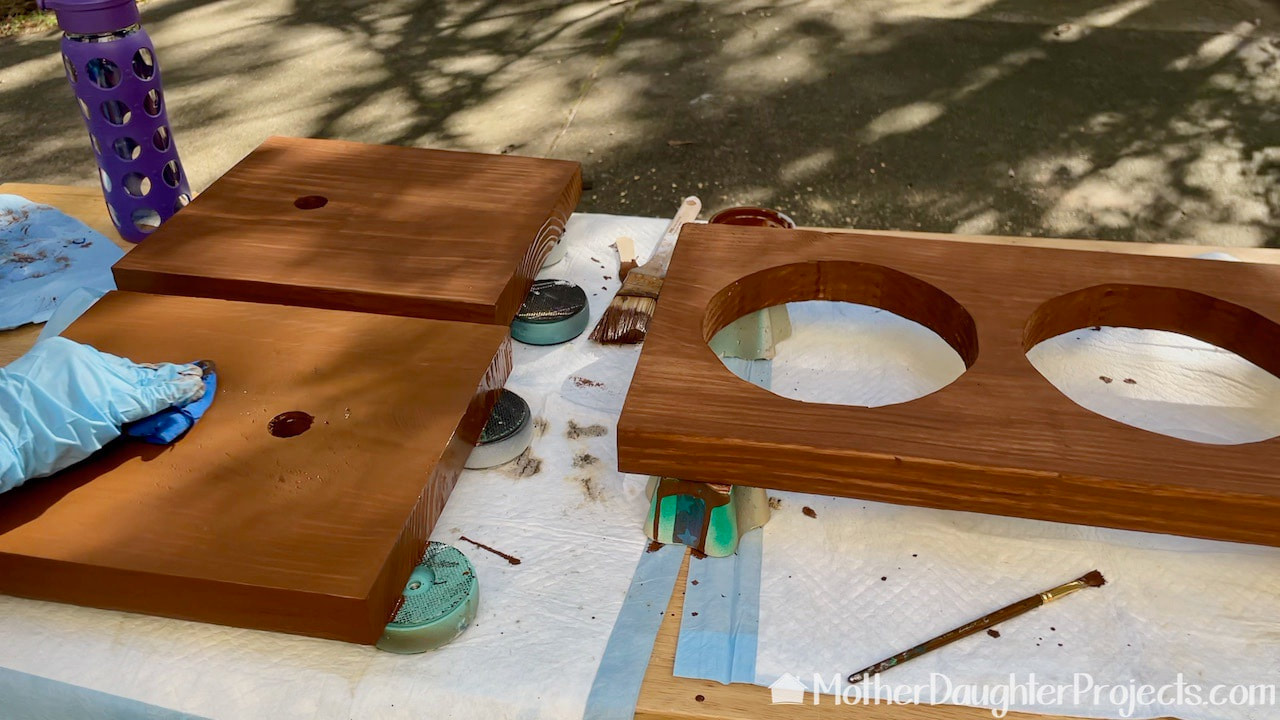
The stain we decided to use was leftover from another project. It's full coverage, but we were able to get the look we wanted by watering the stain down a bit, wiping it on and then wiping back to expose a bit of the grain. It worked perfectly! And, bonus, the beauty of this Olympic stain is the soap and water cleanup!
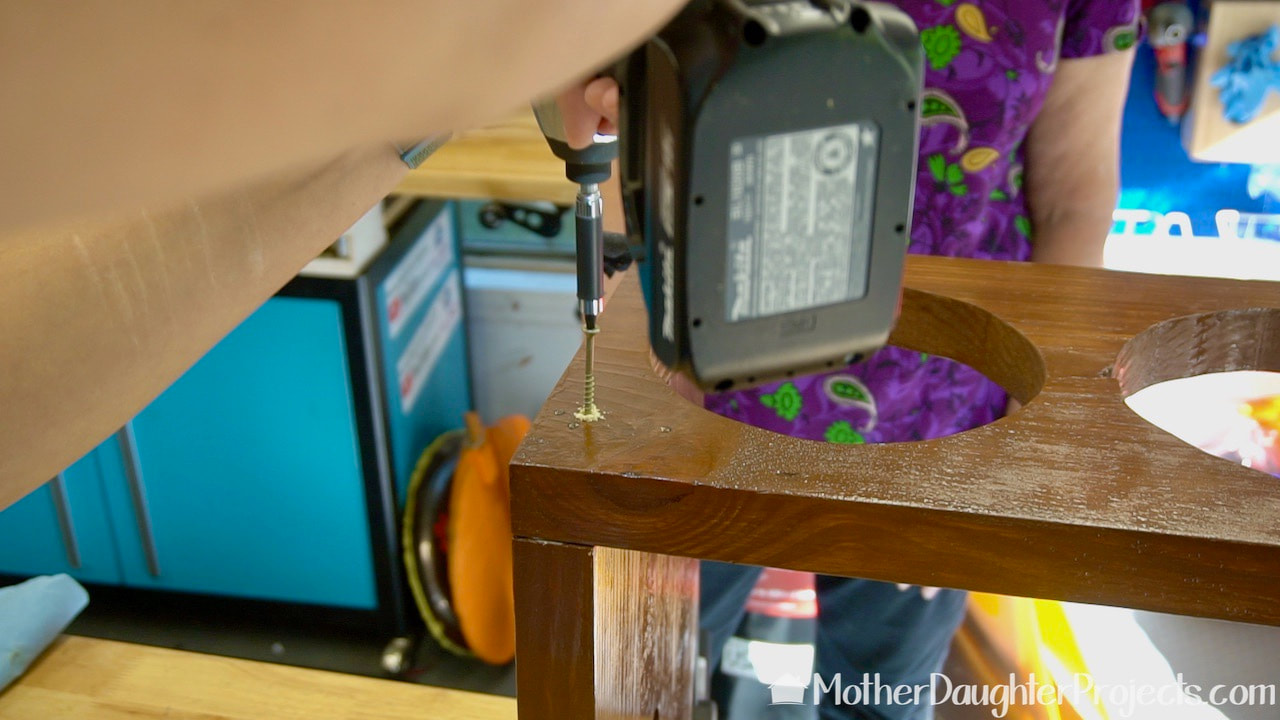
We glued and screwed the legs to the top.
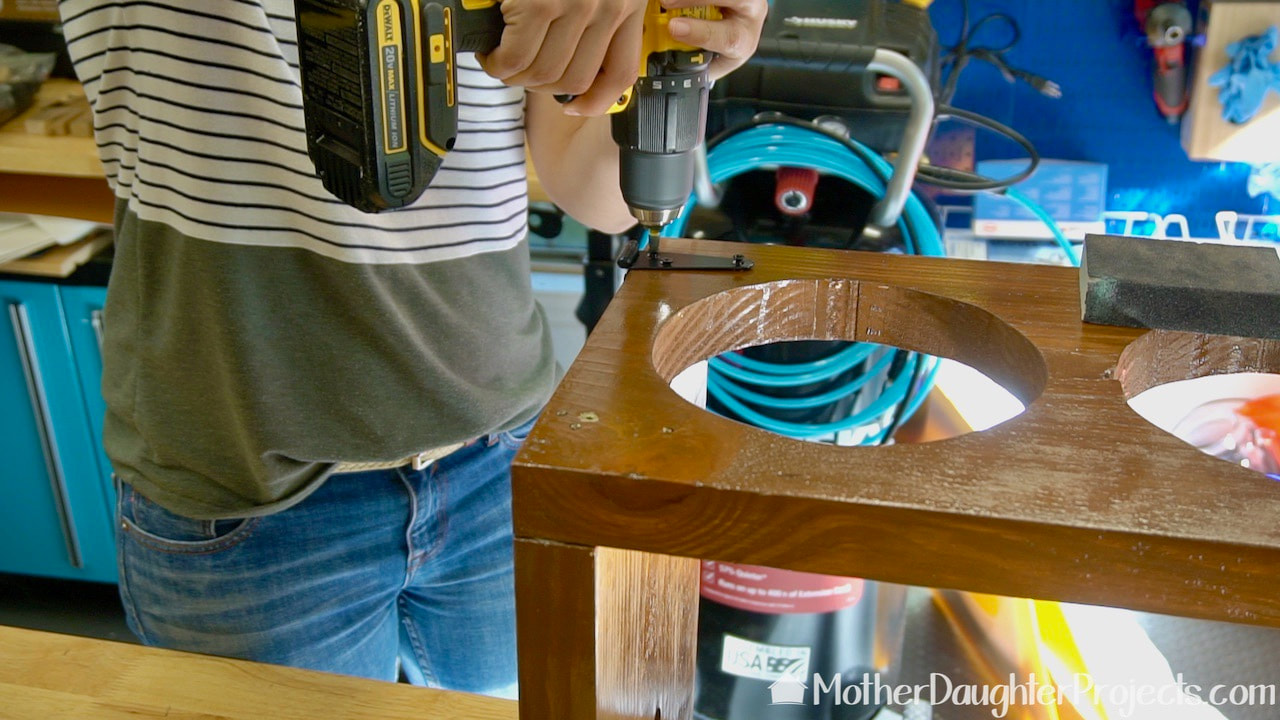
This was another decorative element that had a function as well. We used these strapping hinges to hide the screw used to attach the legs to the top.
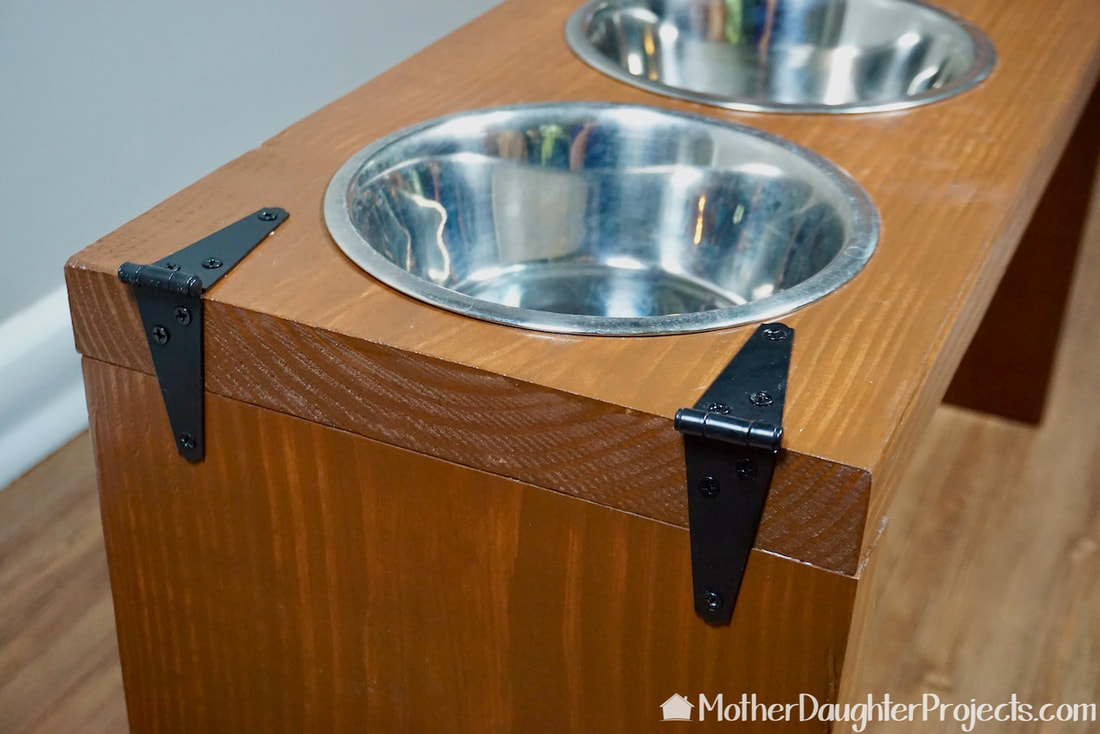
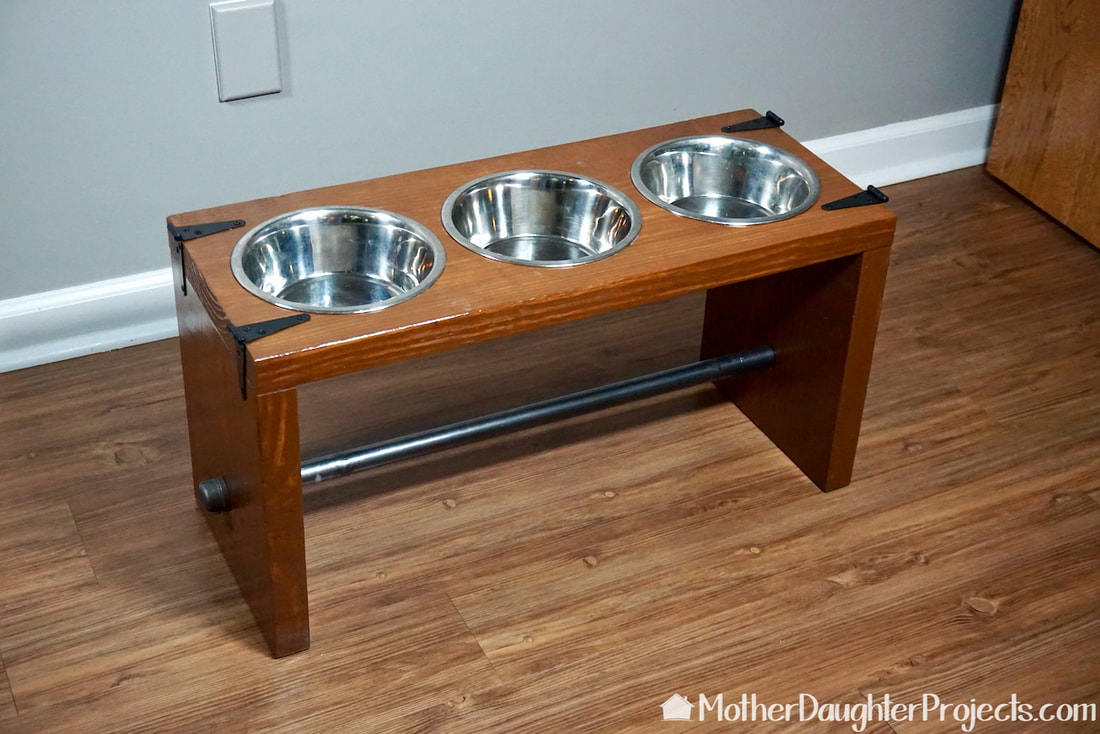
All done and ready for the greys. Hint: Steph bought six of these stainless steel bowls so a set could always be washed and ready when these others needed to be cleaned. These wash well in the dishwasher.
Do you have pets at home at this would be perfect for? Let us know about them in the comments below!
Please note: This is not a sponsored post. FYI: We are not professionals, and we don't claim to be. This is what we found worked for our project. Yours may need a little different approach. Safety first! FYI: Affiliate links are being used on this page. Purchasing via these links help support MDP! Related Projects
0 Comments
Leave a Reply. |

Mother Daughter Projects
|