|
text by Vicki Sign up here to join our weekly email newsletter!
This rectangular silicone mold from TotalBoat Epoxy is perfect for creating themed charcuterie boards for the holidays or for special occasions.
The key to this version is a child's toy bubble blower! Read on to see how I used it to create a unique background pattern. 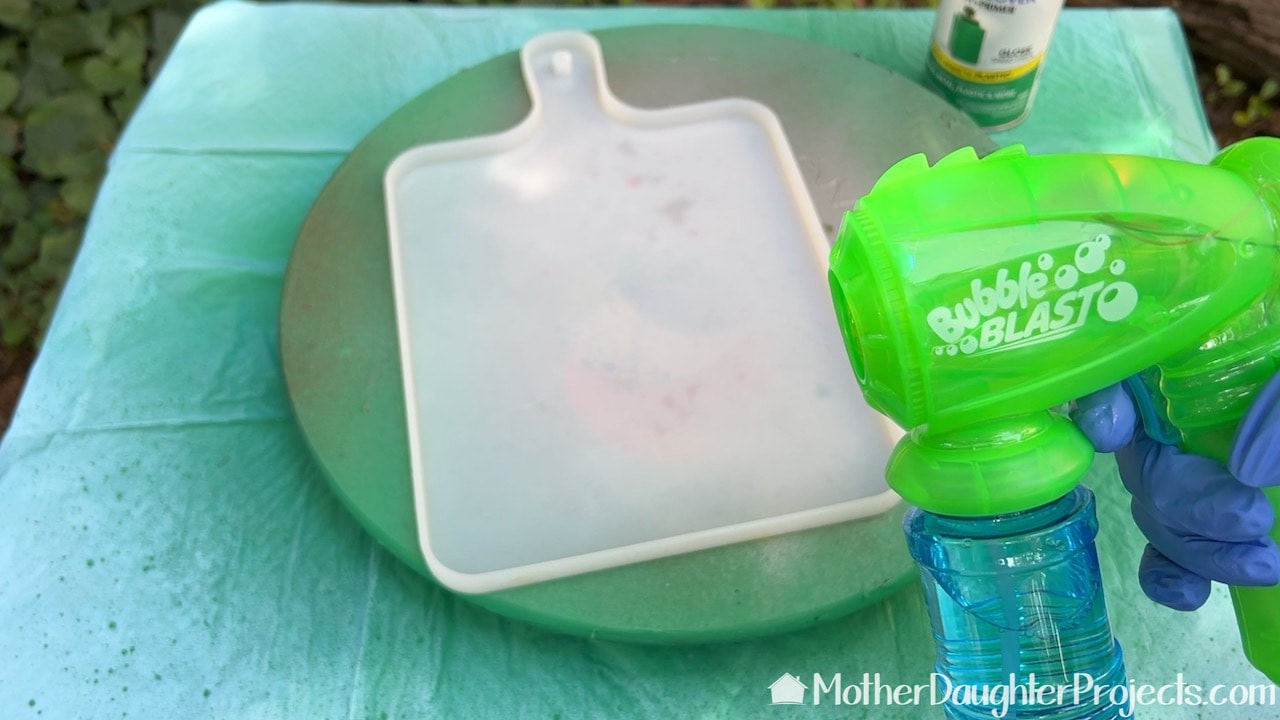
Bubbles! First, I filled the silicone mold to overflowing with bubbles. Work fast as the bubbles pop quickly!
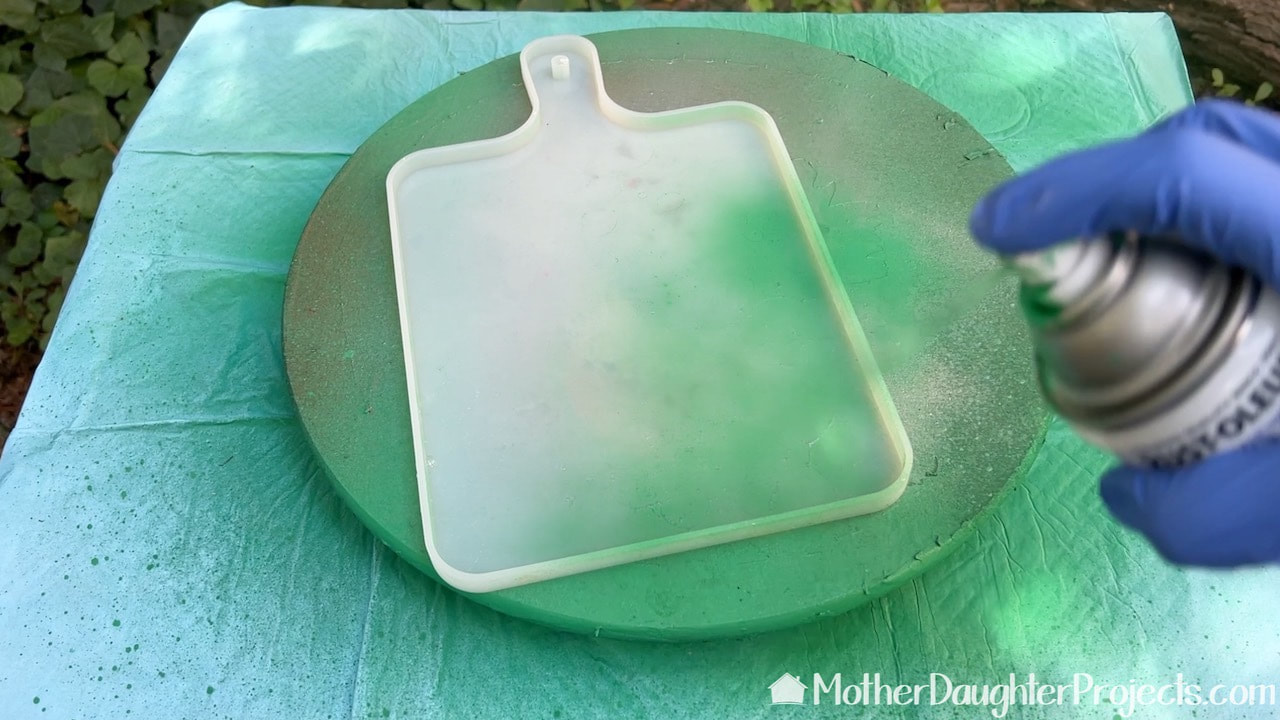
After filling with bubbles, IMMEDIATELY, spray with gloss spray paint. Don't worry, the paint will not make a mess of your mold. Any residue left after unmolding can be whisked away with a little common rubbing alcohol.
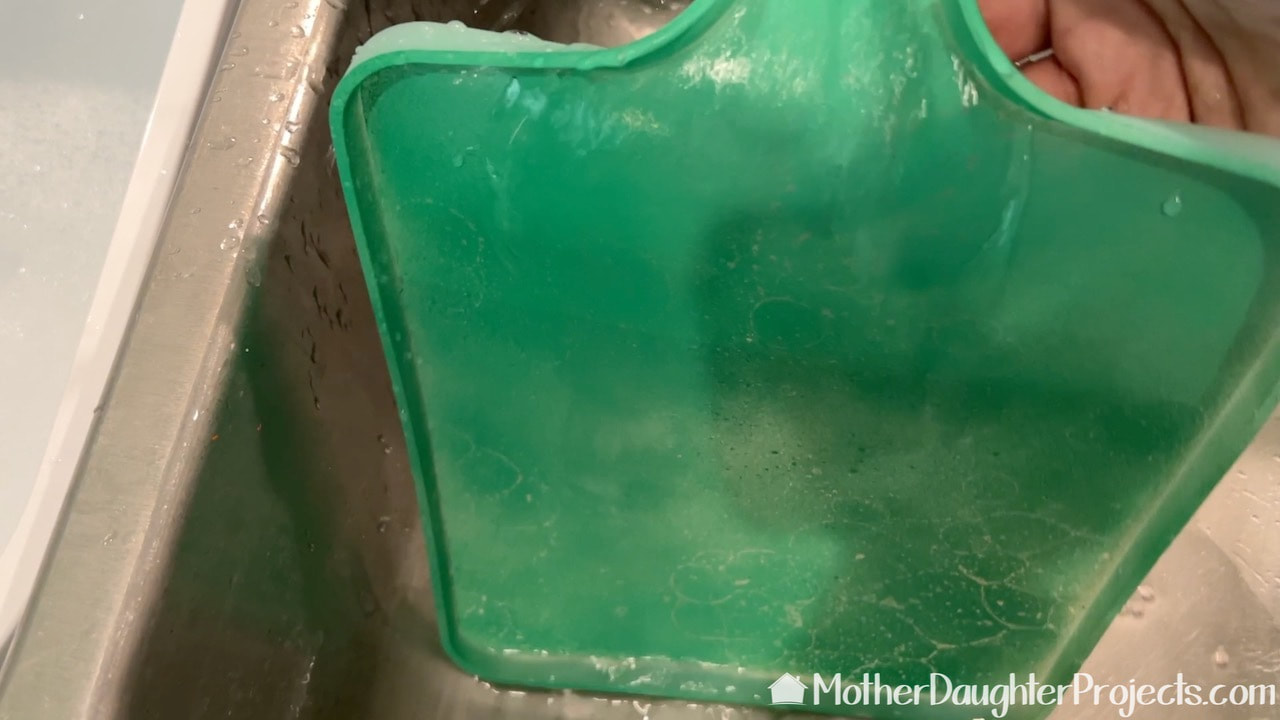
Let the paint dry for about 20 minutes then gently wash away the soapy bubble residue. Let it dry or gently pat dry.
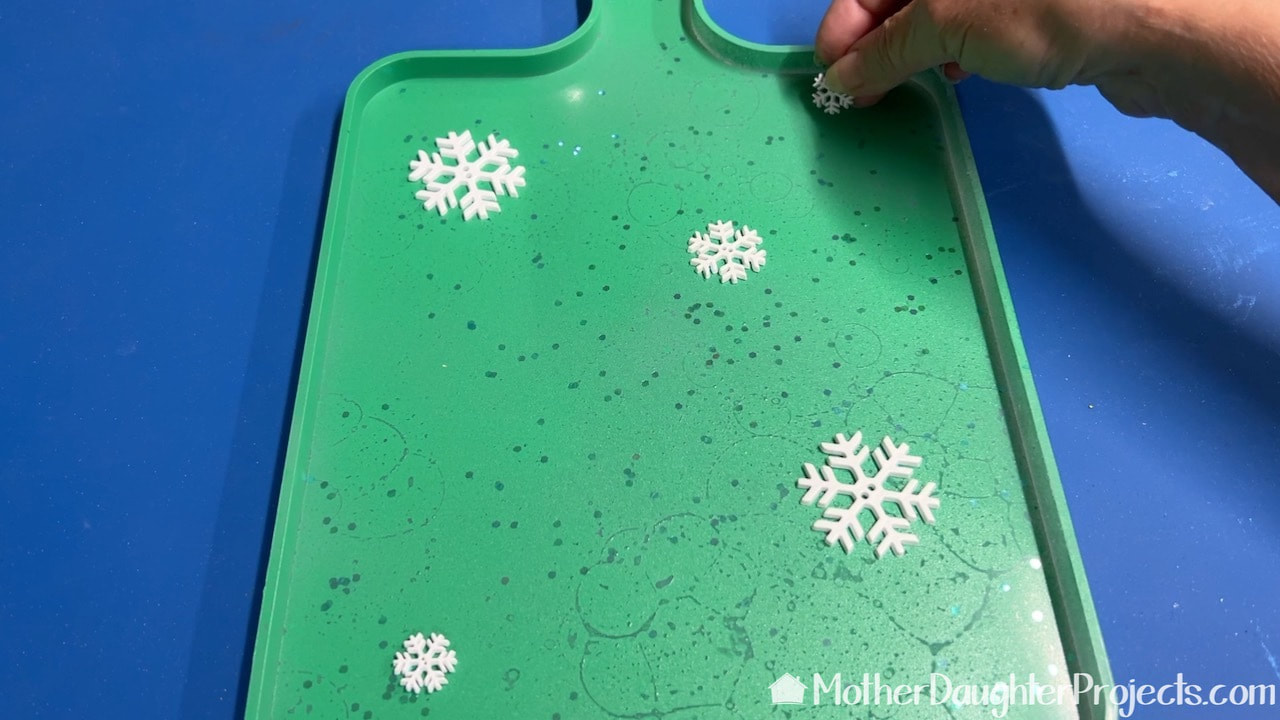
Now layer in chunky holographic glitter and assorted sizes of plastic snowflake buttons.
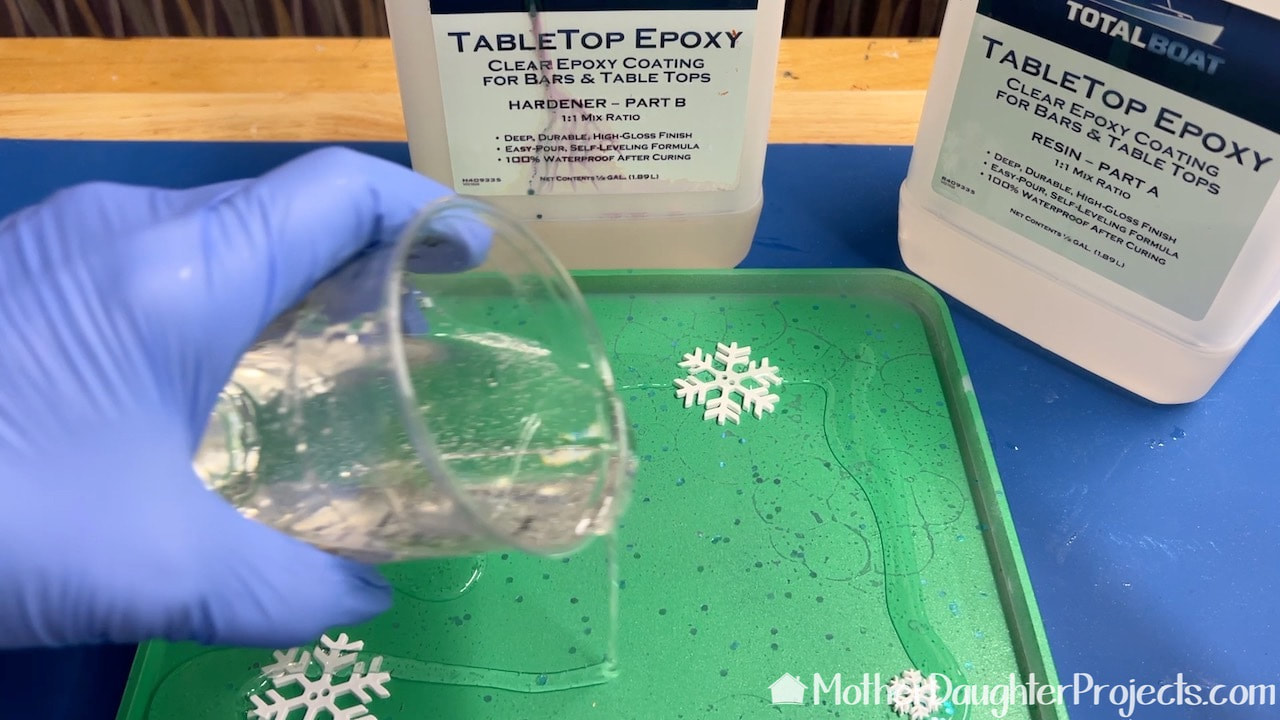
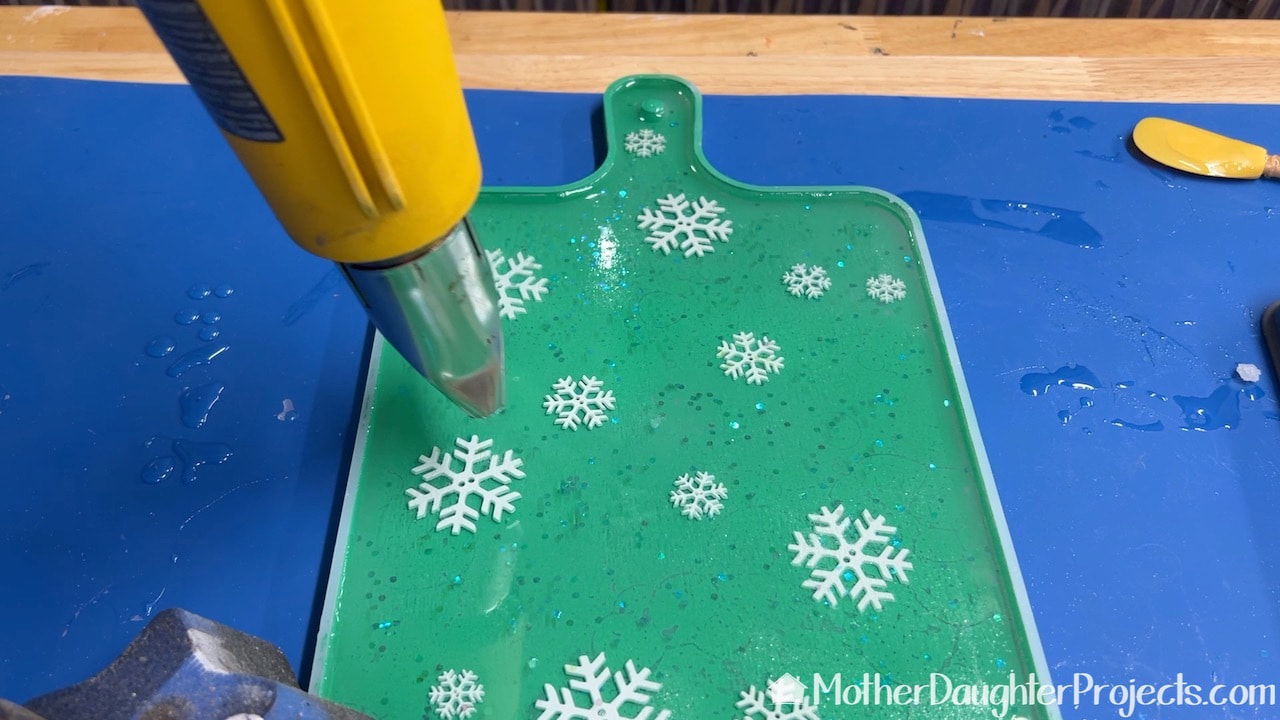
I mixed up some TotalBoat Tabletop epoxy and poured this into the mold, spreading it evenly and removing air bubbles with a Wagner heat gun.
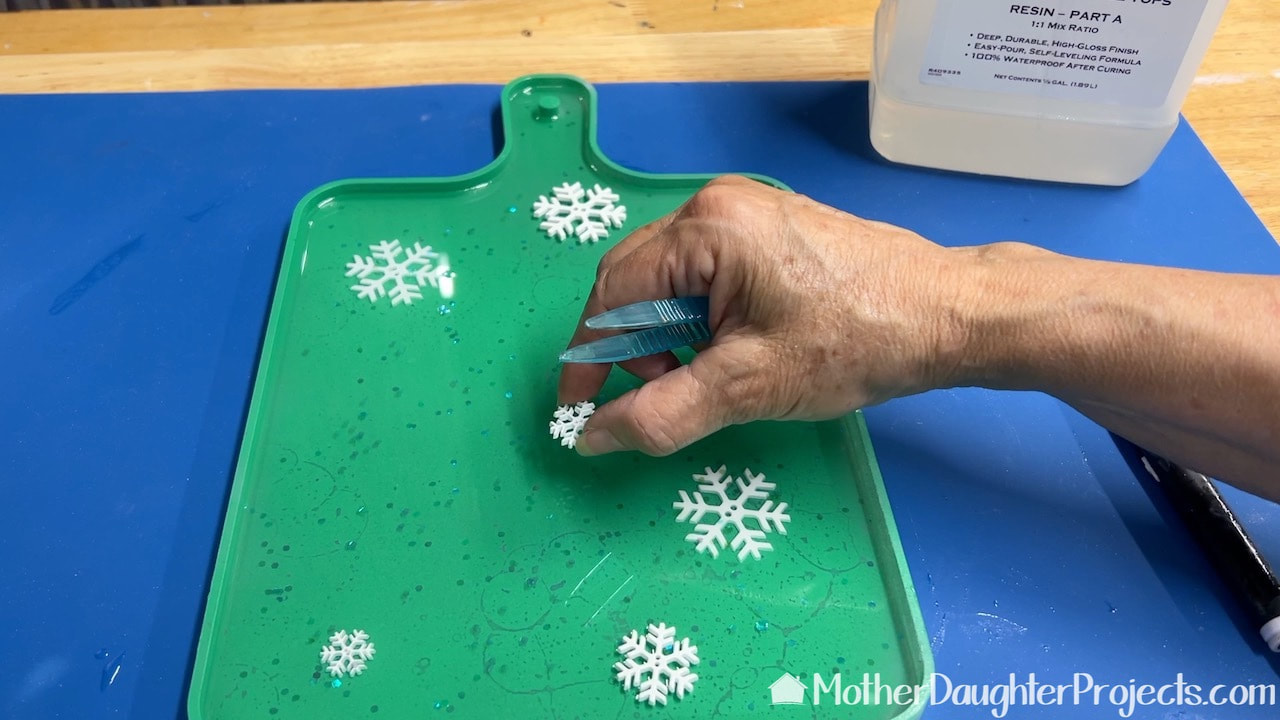
I added another layer of glitter and buttons on top of the wet epoxy. Don't press these into the epoxy. This will give the finished tray a 3D look.
A final layer of TotalBoat epoxy was added to completely fill the silicone mold.
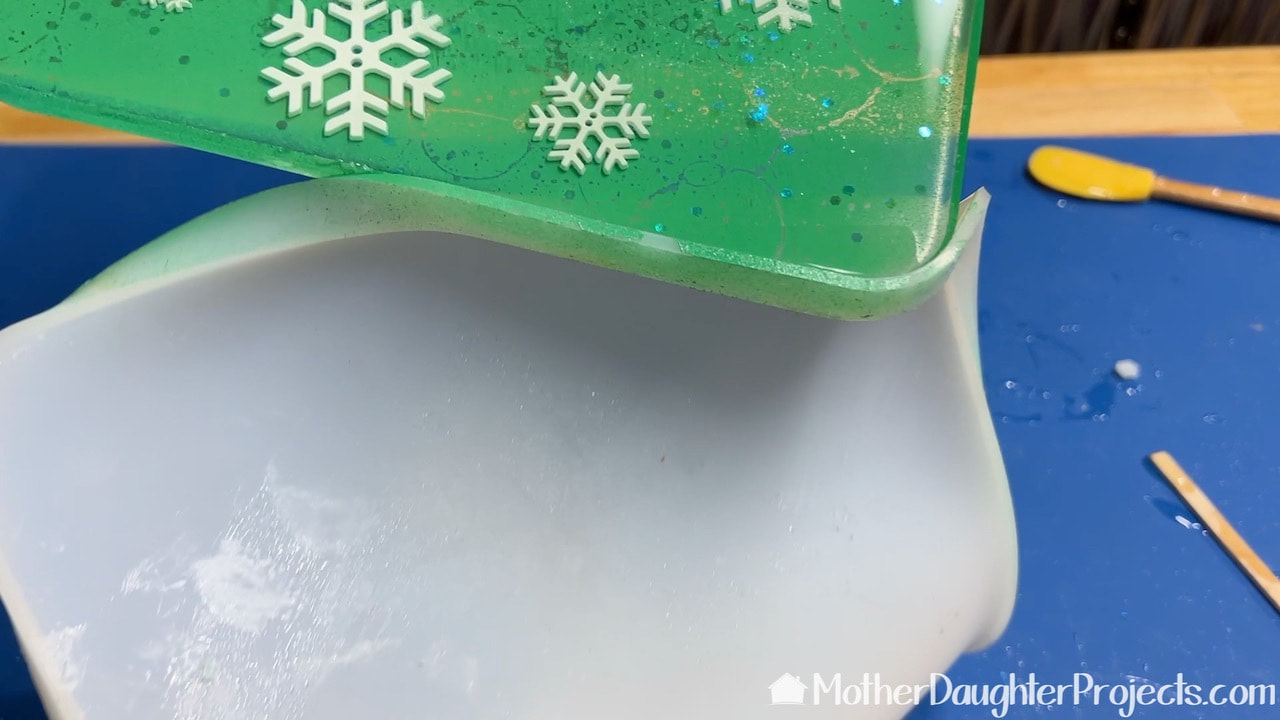
I let the epoxy cure overnight and then took it out of the mold.
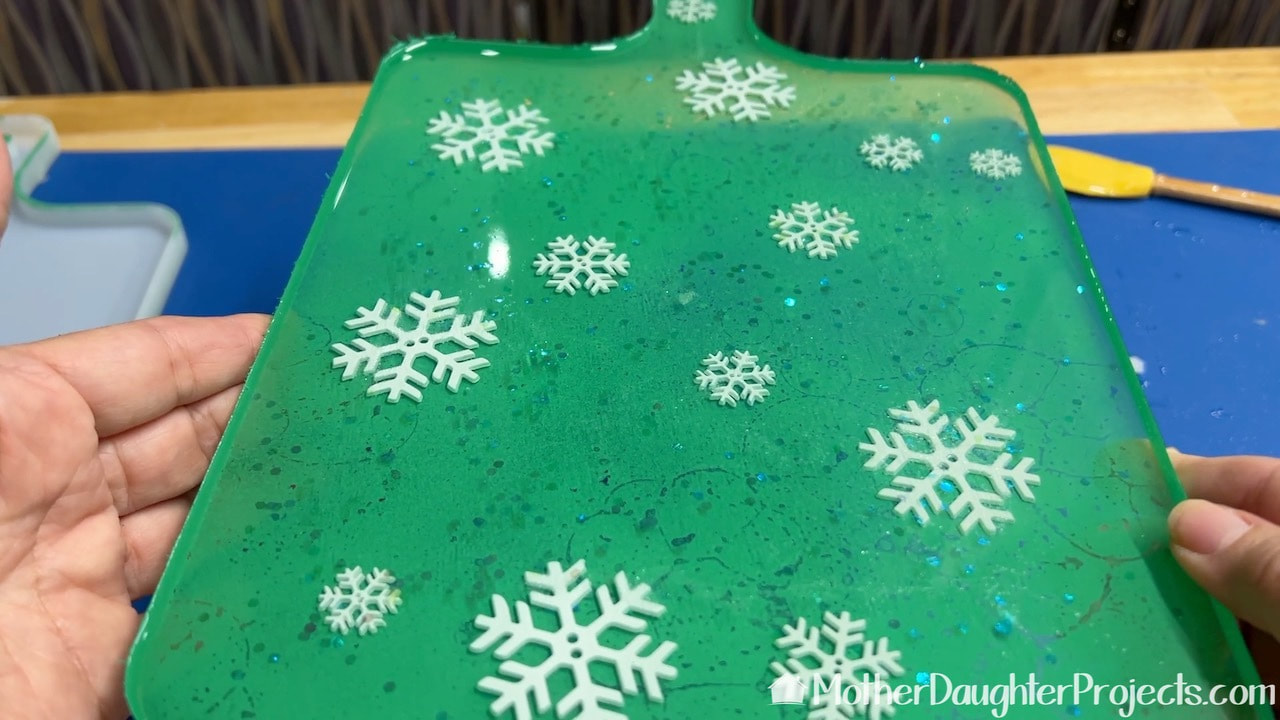
Finished. Notice the unique pattern the soap bubbles created.
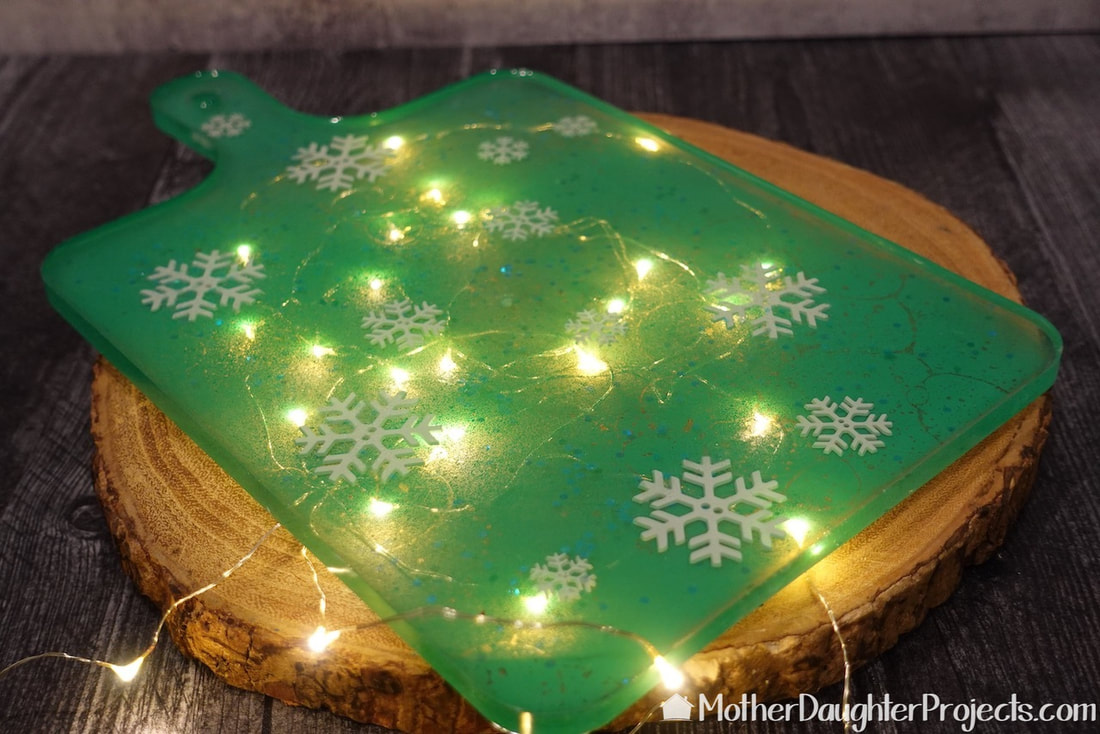
All ready for a party!
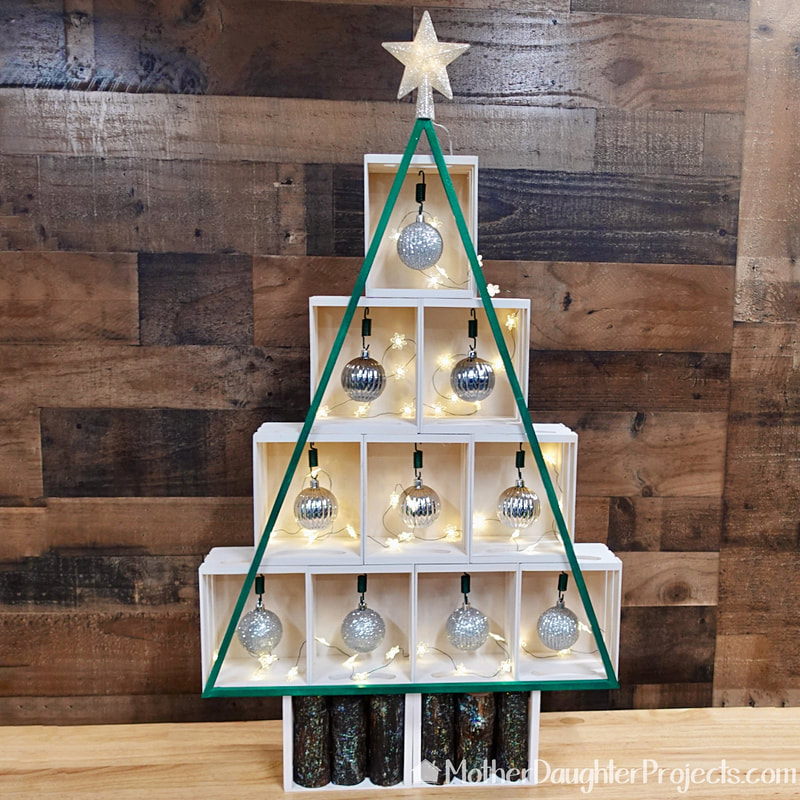
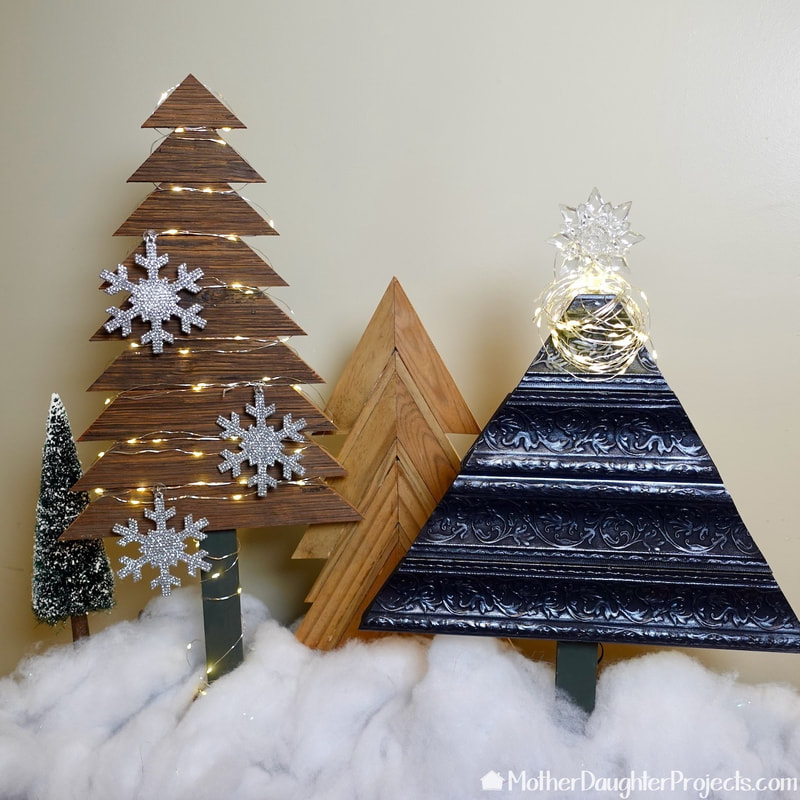
These customized charcuterie trays are a fun way to add personalized decor to your holiday celebrations. Once you make one, you'll want to make more!
Please note: This is not a sponsored post. Total Boat did provide the epoxy for free. FYI: We are not professionals, and we don't claim to be. This is what we found worked for our project. Yours may need a little different approach. Safety first! FYI: Affiliate links are being used on this page. Purchasing via these links help support MDP. Related Projects
0 Comments
Leave a Reply. |

Mother Daughter Projects
|