|
text by Vicki Sign up here to join our weekly email newsletter!
We had some very thoughtful and helpful comments posted our video about the resin shed assembly. We though a couple of the comments had merit so we decided to implement them.
Here's what we did to improve the shed based on viewer comments. Materials/Tools:
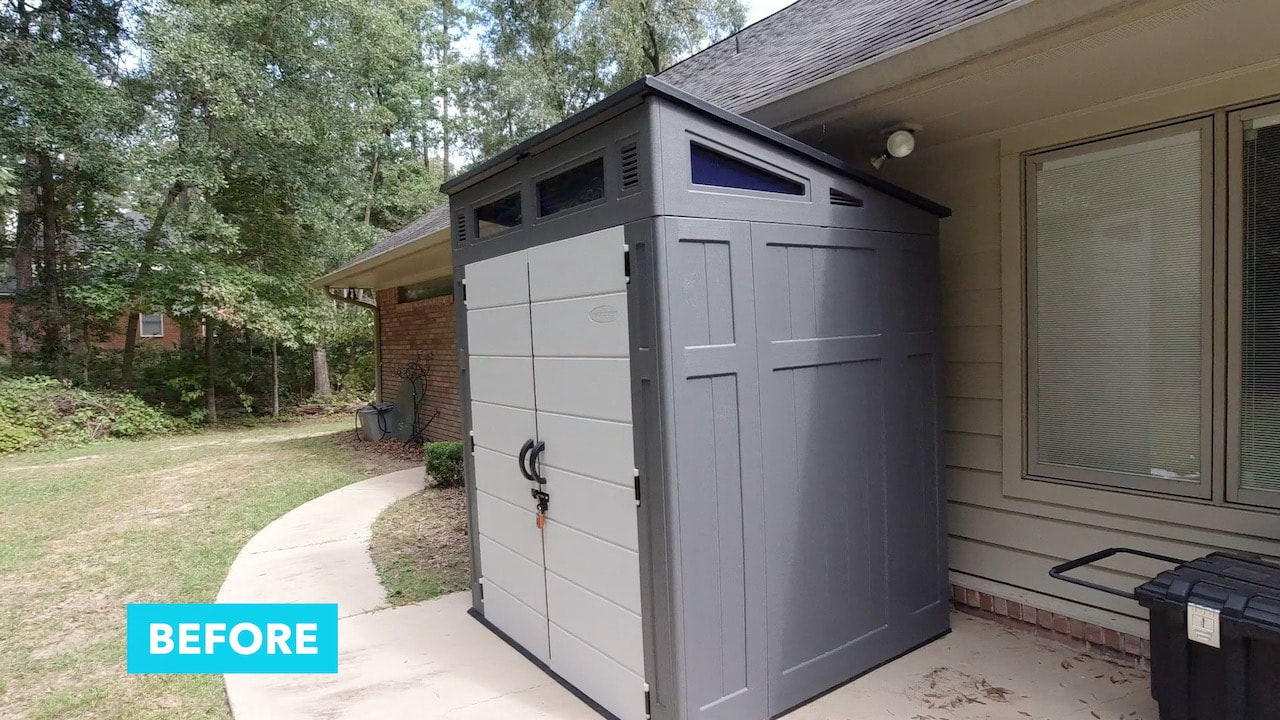
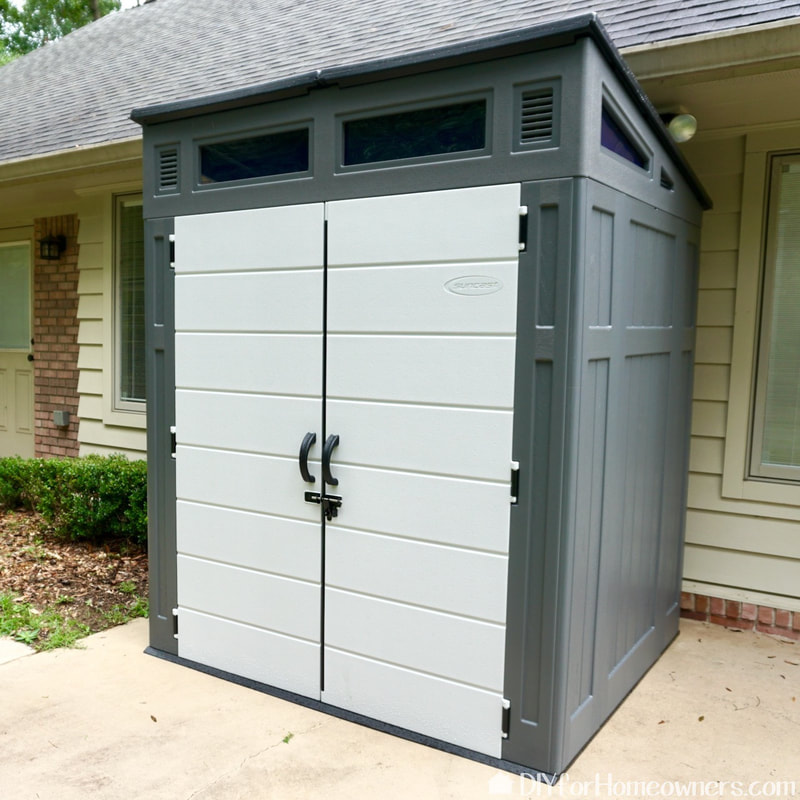
Many expressed concern that the position of the shed with the roof angled towards the house might eventually cause water damage to the house. Yes, the water traveled towards the house with no current issues, but we agreed, that a different orientation of the shed would be a better option in the long run.
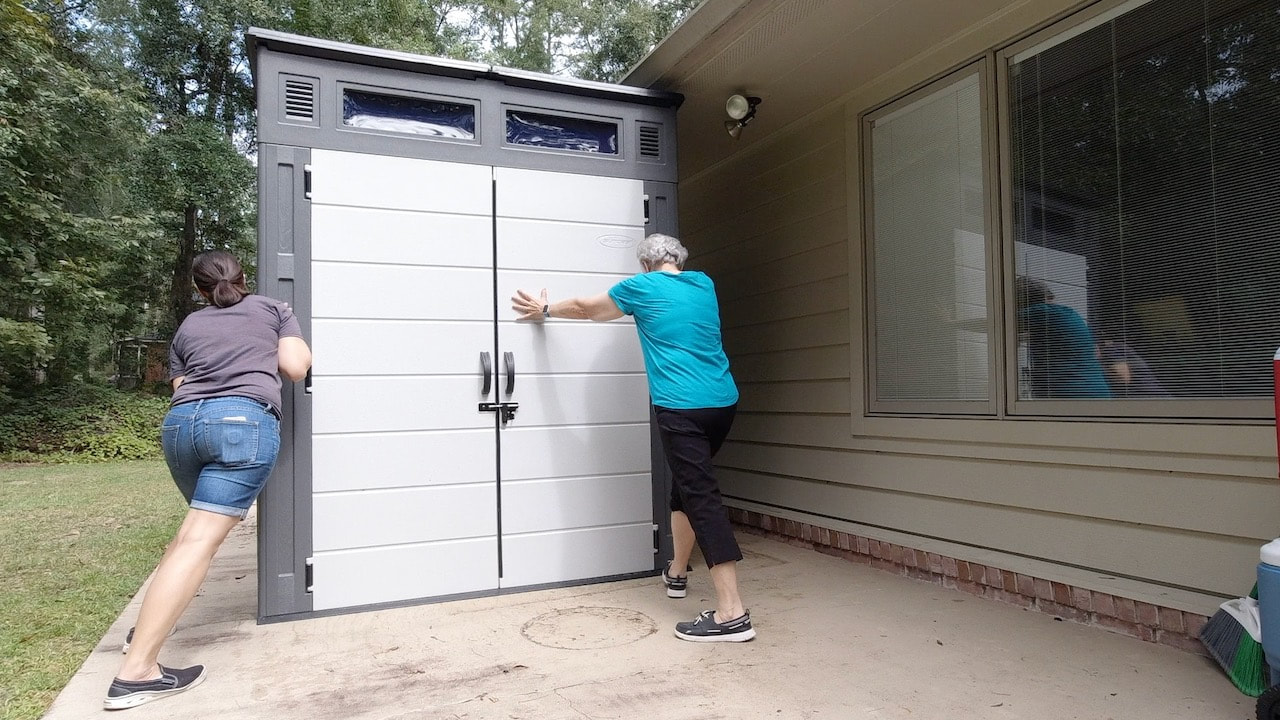
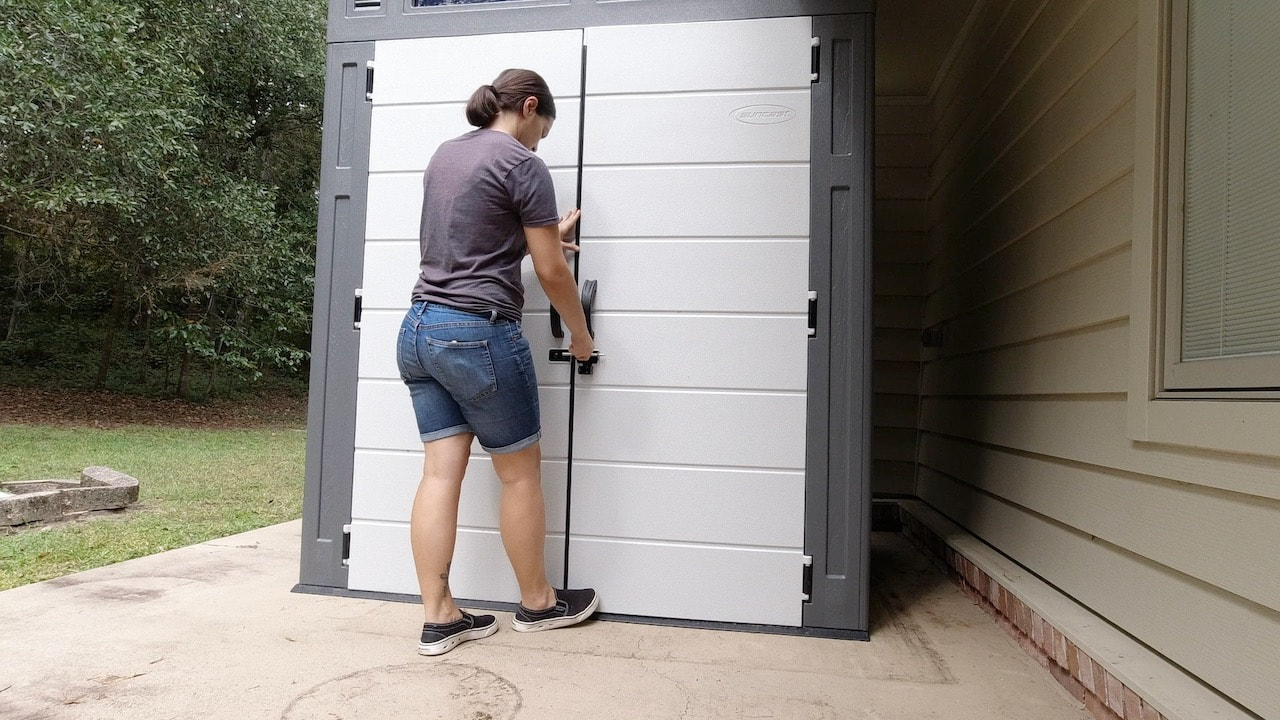
With the shed emptied, it was easy to move it into a new location. This orientation now gives us easier access to the electrical outlet as well as a sliver of protected space to store a ladder.
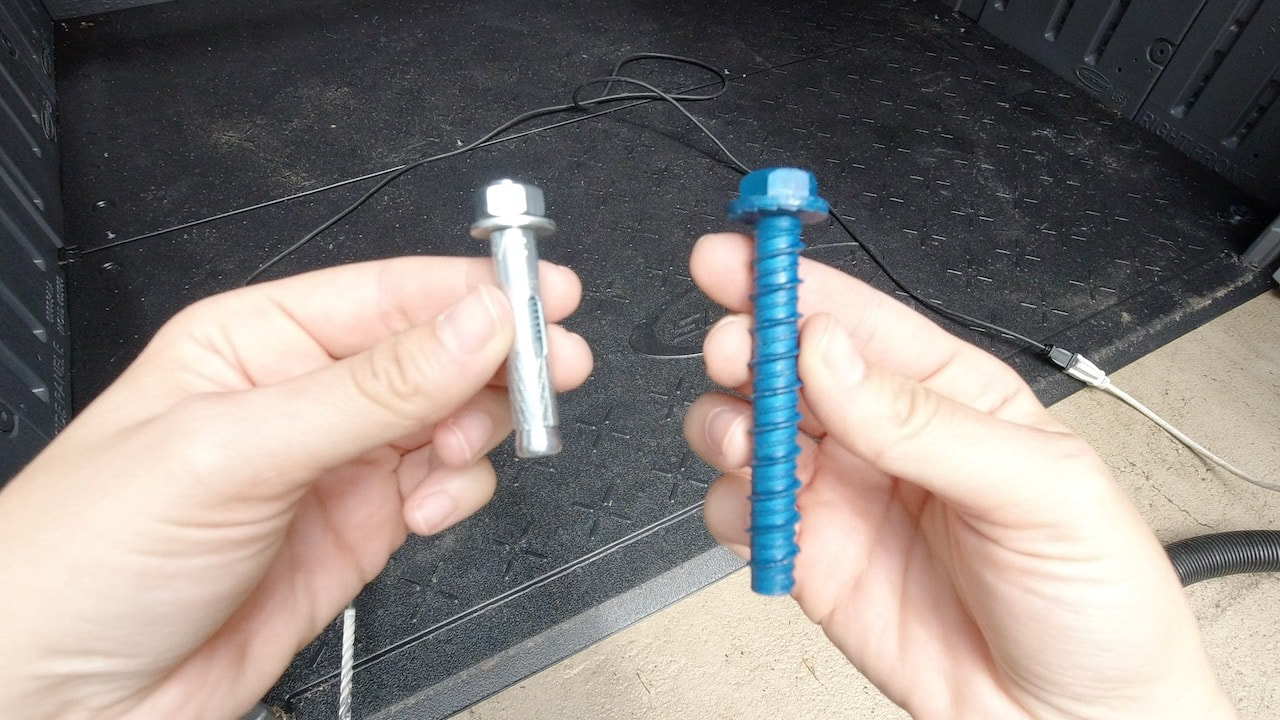
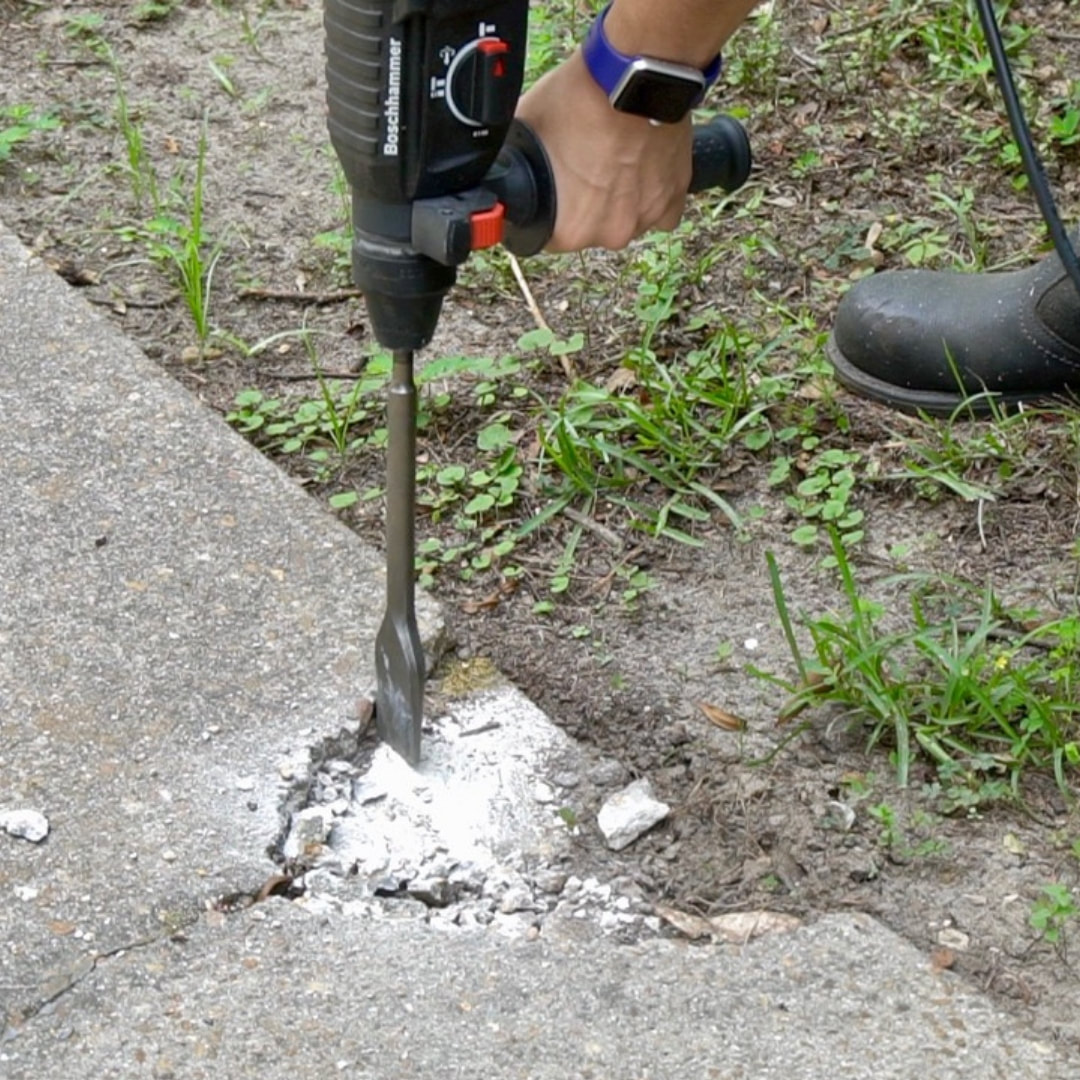
Another question/concern was that we had not secured the shed to the concrete. We thought it was a good idea to do so. Since we may want to remove the shed at some point, we decided to use the anchor on the right that is removable. The one on the left is permanent.
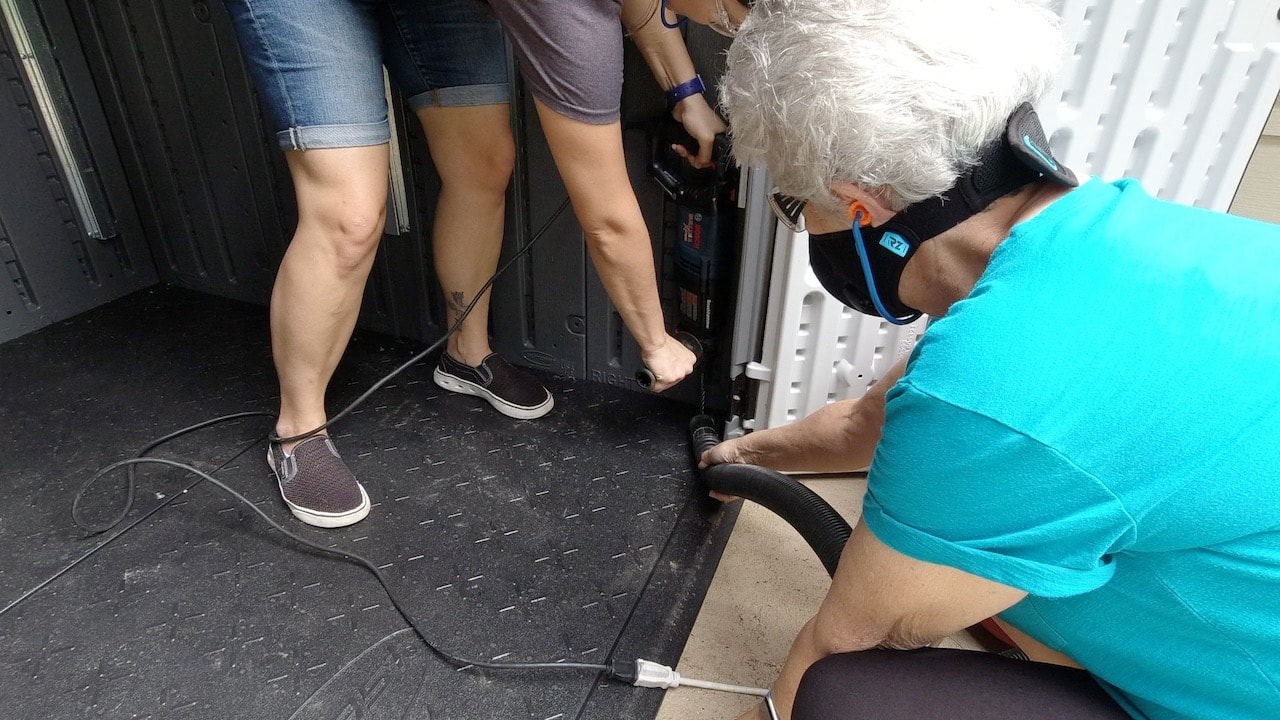
Since we were going to be drilling through concrete and releasing concrete dust, we wore masks and utilized a wet/dry vac to clean up the dust. Steph drilled while I used the vac.
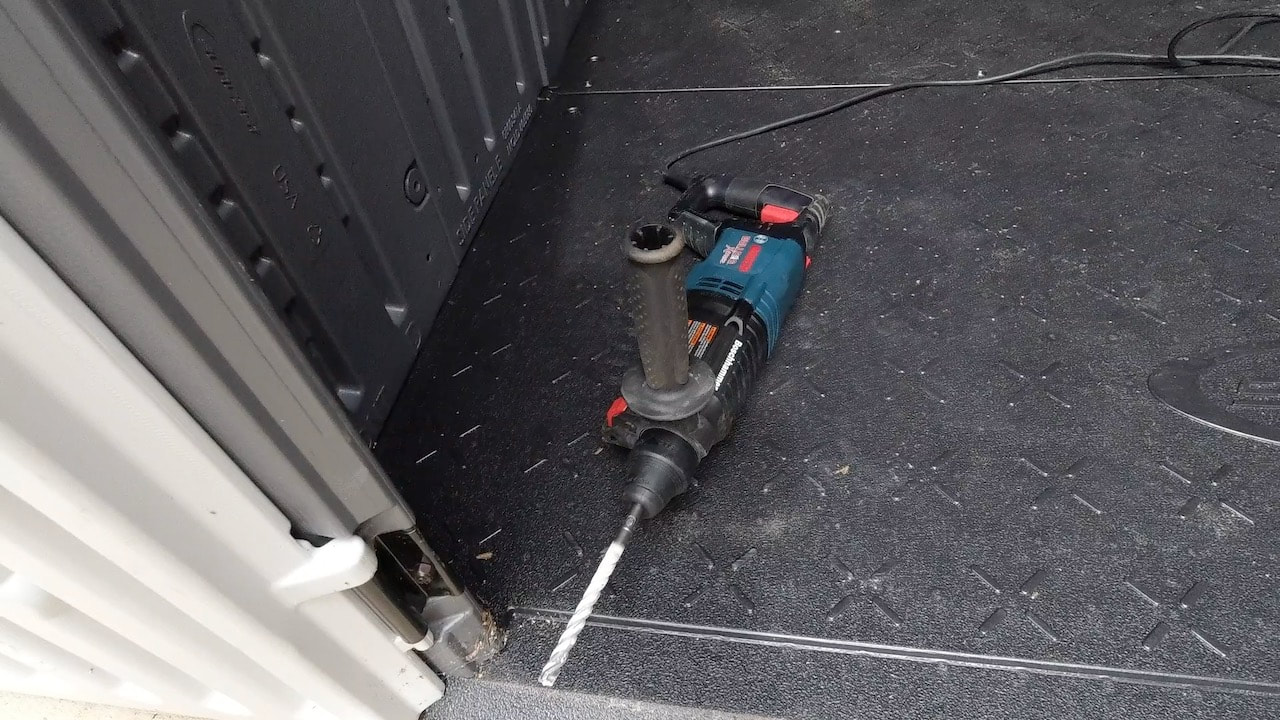
This is the Bosch Bulldog Xtreme 8 Amp 1 in. Corded Variable Speed SDS-Plus Concrete/Masonry Rotary Hammer Drill we used to drill the holes for the Tapcon anchors.
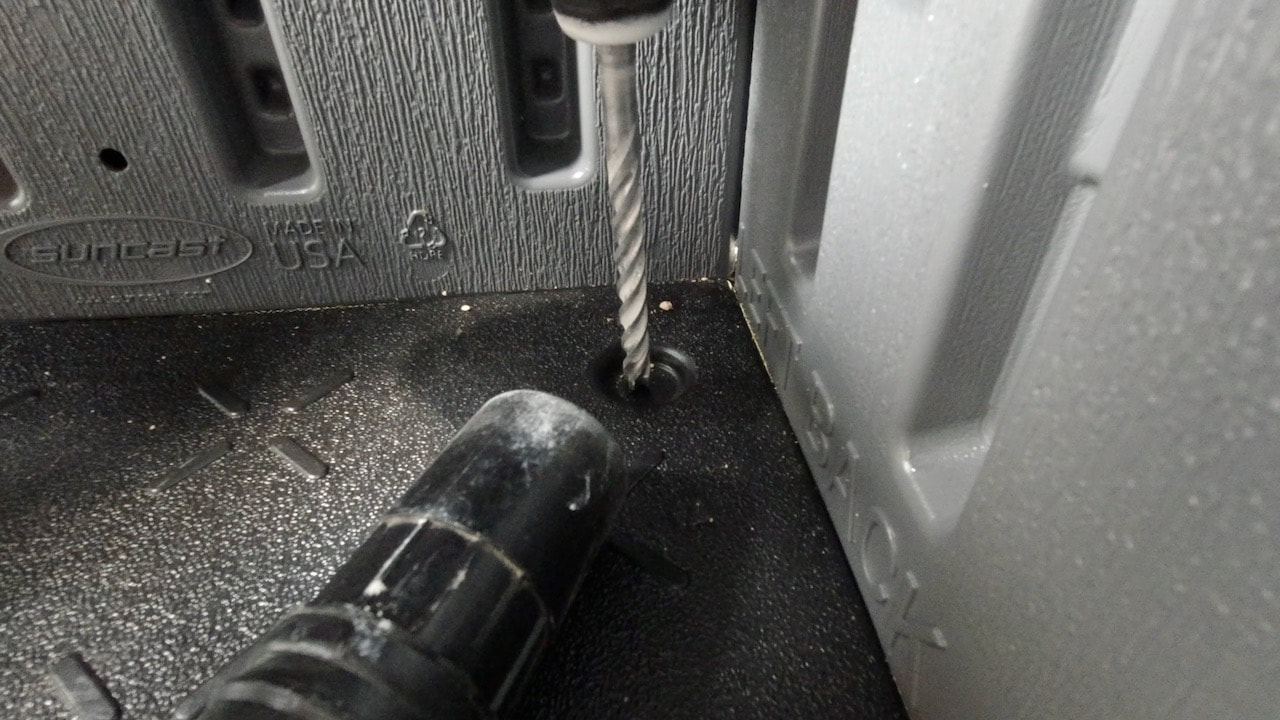
We used a Bosch Bulldog SDS-Plus Carbide Tipped Rotary Hammer Bit to drill the holes.
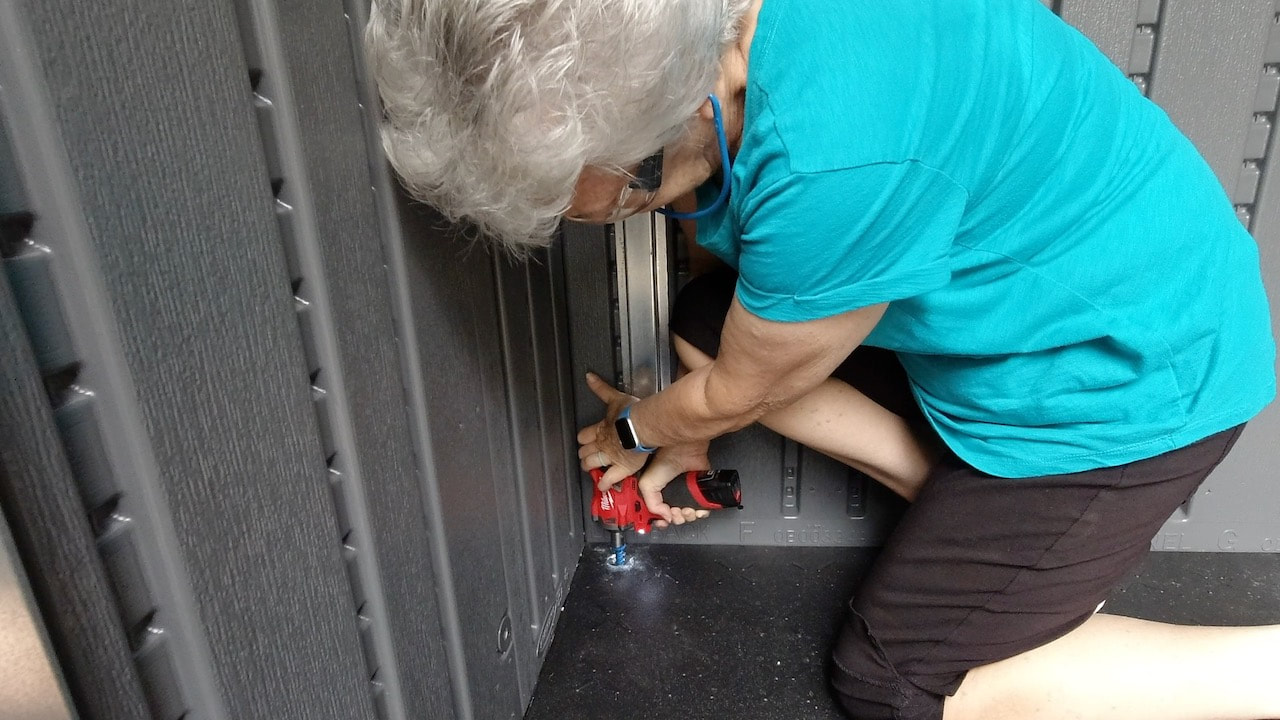
And this handy little tool drove in the anchors with ease! It's the Milwaukee Stubby, a cordless impact wrench--it's one of those tools you don't know you need until you do!
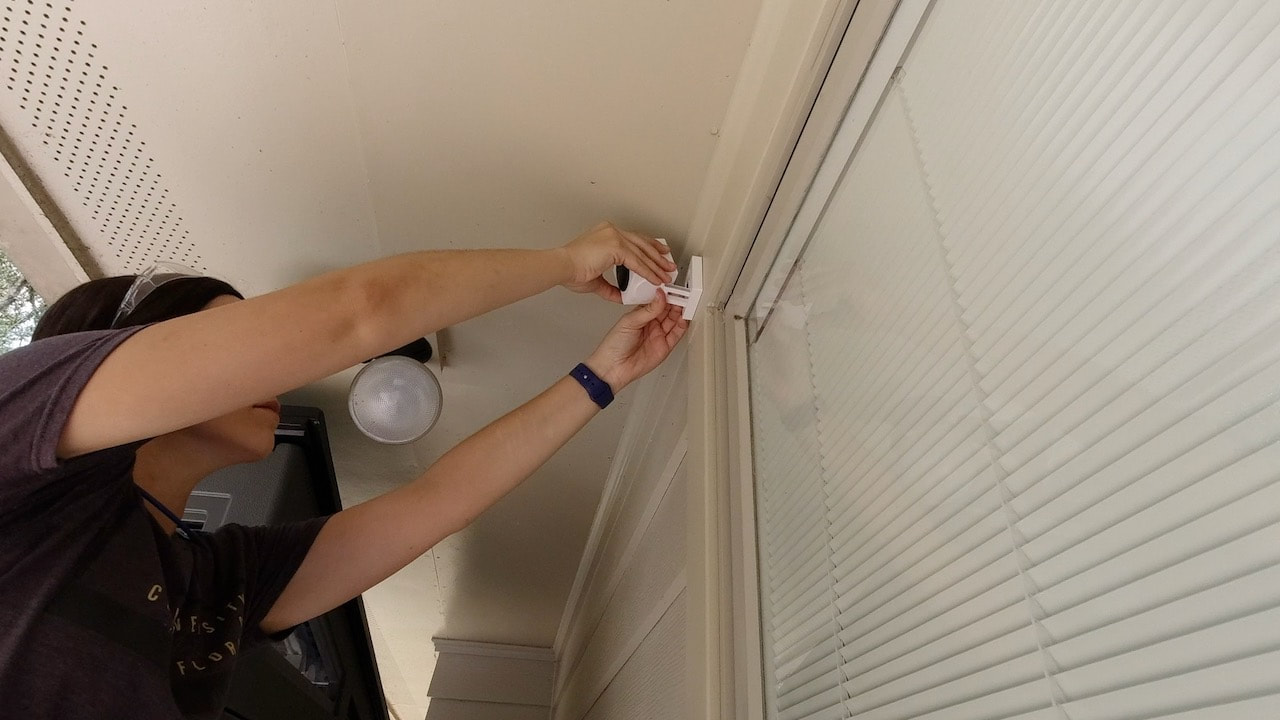
To address concerns about security, we installed one the Wyze battery powered outdoor cameras. Really, it's more so I can see the wildlife that roams through my yard on a regular basis!
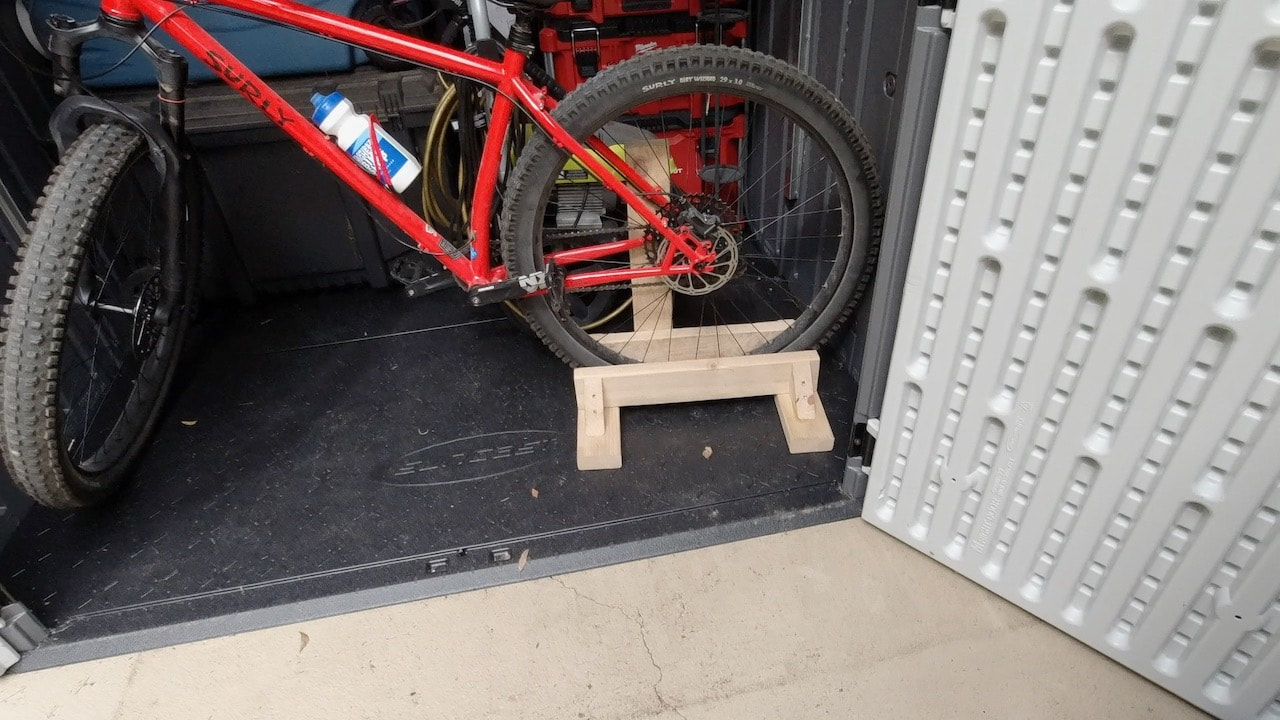
The main reason we got a shed was to store this bicycle. Steph made this handy bike stand from 2x4s because for some reason, bikes don't come with kickstands anymore! We're able to store the bike and a lot more due to our awesome Tetris skills!
An unexpected benefit of turning the direction of the shed, is now everything can be loaded and unloaded from the concrete rather than the grass. That makes things stay a bit cleaner.
Please note: This is not a sponsored post.
FYI: We are not professionals, and we don't claim to be. This is what we found worked for our project. Yours may need a little different approach. Safety first! FYI: Affiliate links are being used on this page. Purchasing via these links help support MDP! Related Projects
4 Comments
Gary Stout
11/12/2020 08:09:16 pm
Since those sheds are mostly “plastic” you might have considered a larger washer under the head of the Tapcon fastener. This would give more holding strength, dispersing the load over more area, in fact a “fender” washer would have been a good suggestion. The wedge anchor is a good anchor, but if you wanted to relocate the shed those anchors are hard to remove.
Steph
11/16/2020 07:26:45 am
Thanks Gary! 10/30/2021 10:53:12 am
What size tapcon bolts did you use to secure the resin shed to the concrete?
Steph
10/30/2021 01:45:37 pm
Tapcon 3/8 in. x 3 in. Leave a Reply. |

Mother Daughter Projects
|