|
text by Vicki Sign up here to join our weekly email newsletter!
Steph wanted a new bench for outside her front door. The design needed to be easy to build, easy to move, as well as something that would not collect rain.
This simple design is not original as you can find many iteration all over the internet. Ours is based on a design by our blogger friend, Home Jelly, who was inspired by Ana White. Materials/Tools:

Overall dimensions

We got all our supplies at Home Depot. The bench uses common lumber that is easy to find and not overly expensive.

All the repetitive cuts were made on the miter saw. Stop blocks for the long pieces and legs made it an easy process.

Here's a close up of the stop block that was attached to the miter saw for the legs.

Steph sanded the slats and I sanded the legs.

The dry fit looks good so now it's time to assemble!

I'm using Olympic Elite Outdoor stain to paint the insides of the slats which will be much easier to do now than after assembling.

To avoid having to make pilot holes, we are using an impact driver and star tip outdoor screws.

Now, we just glue and screw each layer until we are finished. Doesn't get much easier than that! We have this laid out on two Husky worktables so we don't have to work on the floor.

Before we started, we clamped the first layer onto the tables. That red silicone square is where we used a track saw clamp. We used it so the clamp would not mar the painted surface.

The screws were randomly screwed into each layer of the legs so we didn't accidentally screw one in on top of another. The screws were recessed into the wood slightly.

Assembly complete. Now it's time for the Olympic stain.

I used a foam roller as well as a brush, and very small craft brush to get the paint into all the grooves.

Since this will be exposed to rain, we decided to further seal the bottoms of the legs with spray on Plasti Dip,

We taped off everything but the bottoms, took it outside, and gave it a couple of coats of Plasti Dip. Follow the instructions on the product.

This is the bench Steph made 11 years ago. It served its purpose, but it was time for something new.

The new bench in place.

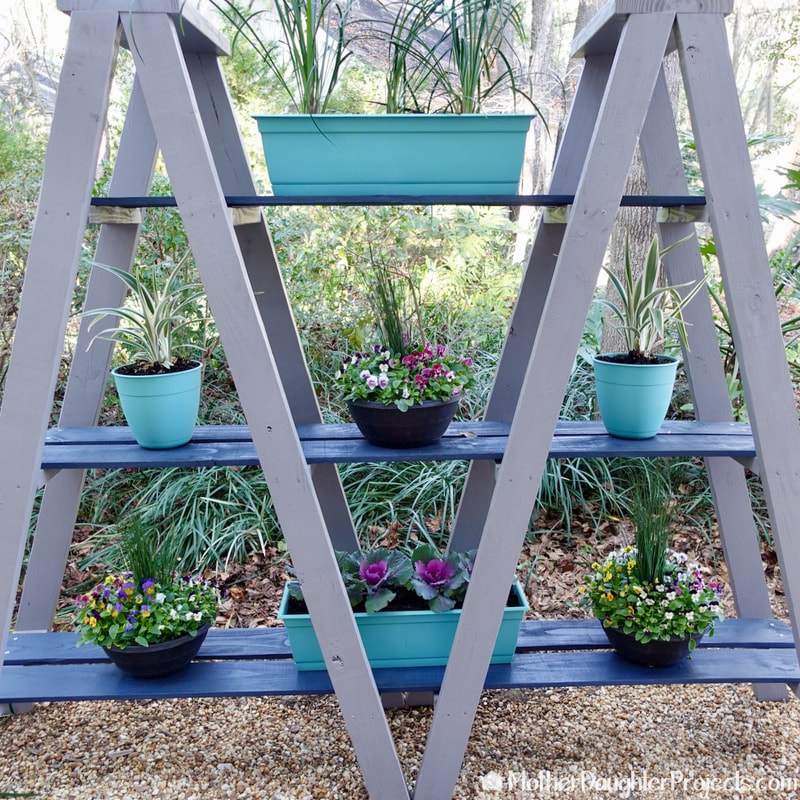
It's perfect for the space and coordinates with the ladder plant stand just out of view.
A bench outside a front door, if you have room, is a must! It's a great place to drop stuff going to and from the car as well as place to take off your muddy shoes.
Steph's old bench got a lot of use and I'm sure this one will too. It's already been a great place to tuck things out of the way for a friend to pick up. Please note: This is not a sponsored post. FYI: We are not professionals, and we don't claim to be. This is what we found worked for our project. Yours may need a little different approach. Safety first! FYI: Affiliate links are being used on this page. Purchasing via these links help support MDP. Related Projects
0 Comments
Leave a Reply. |

Mother Daughter Projects
|