|
text by Vicki Sign up here to join our weekly email newsletter!
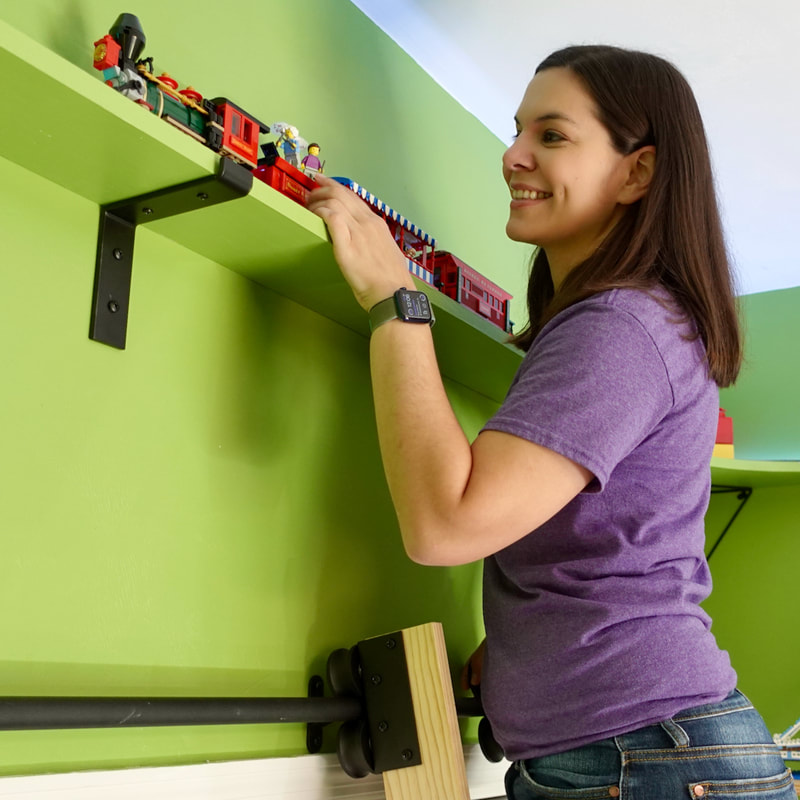
Part of the plan when installing the elevated toy train train was a way to reach the train to turn it on. Although the LEGO train operates via a phone app, it has to be manually turned on, hence the need for a ladder to reach it!
On Steph's list of "making childhood dreams come true" was a rolling library ladder. She decided that this type of ladder would be perfect for reaching the train. Here's how it all came together and with it, how she got to have her Belle, Beauty and the Beast, moment! 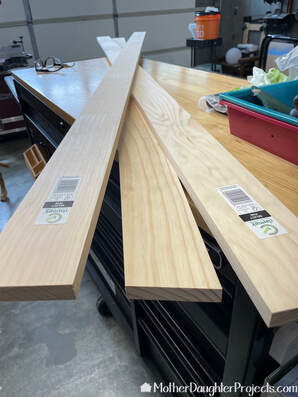
We used standard lumber for the build and hardware we ordered online.
Materials/Tools:

The first step was to connect the rails to each other. Not going to sugar coated it, but these rails were a pain to try to get together. We almost sent them back it was so bad, but once they were secured to the wall, the poor connections were not a problem. We were able to screw the rails directly into wall studs so no additional header board was needed.
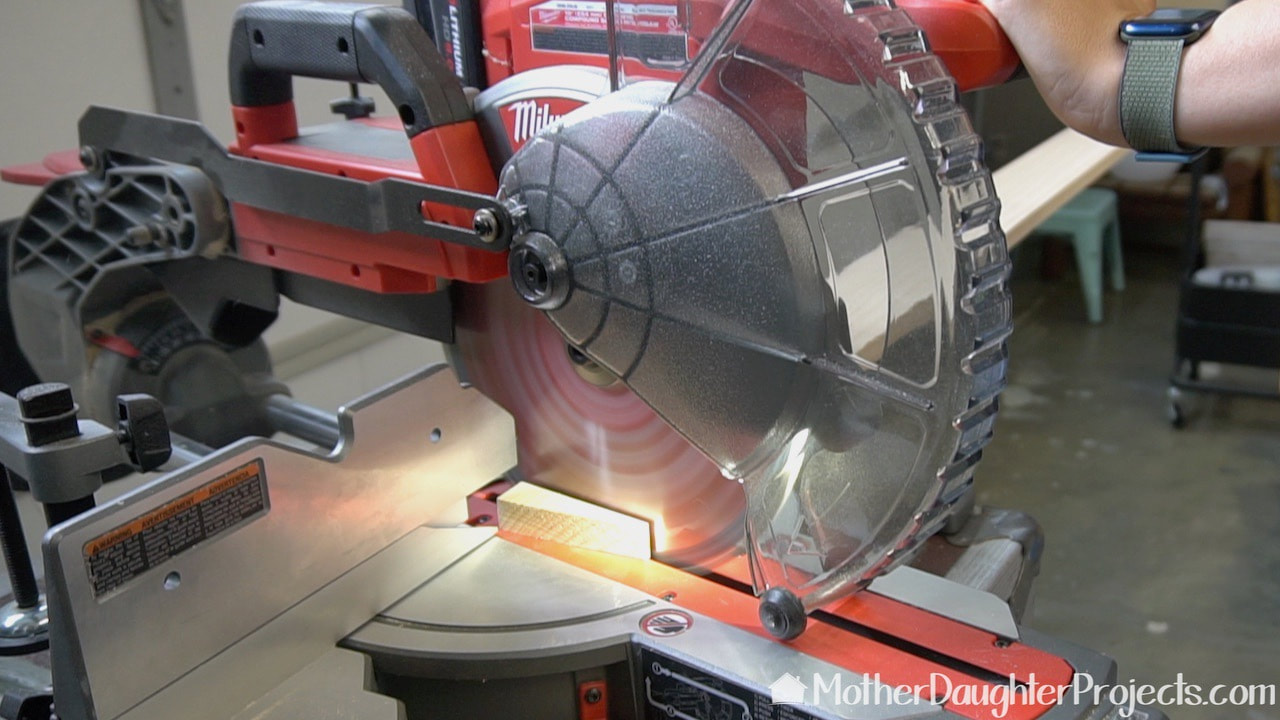
For the ladder we cut the two bottom legs at at 12 degree angle. Save that little cut off piece which will be used as a jig for the step/rung placement.
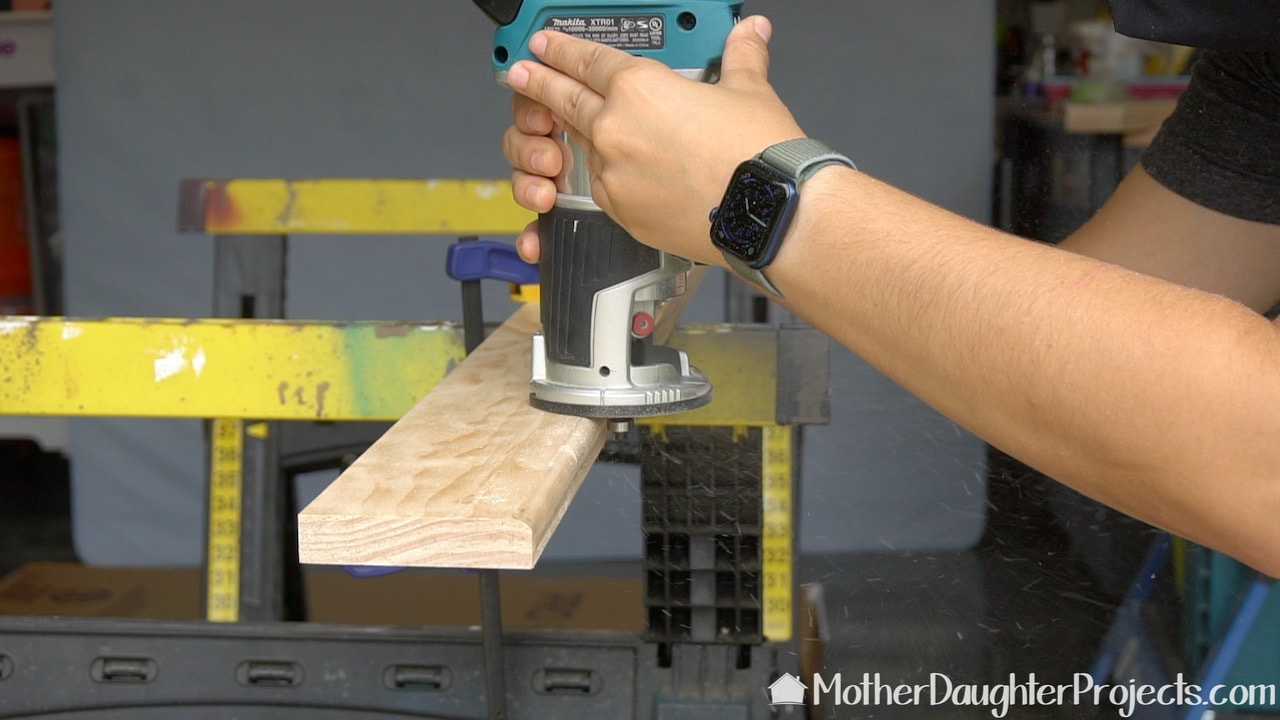
For comfort when using the ladder, Steph routed a curve onto the edge of the step. Once routed the curve was sanded.
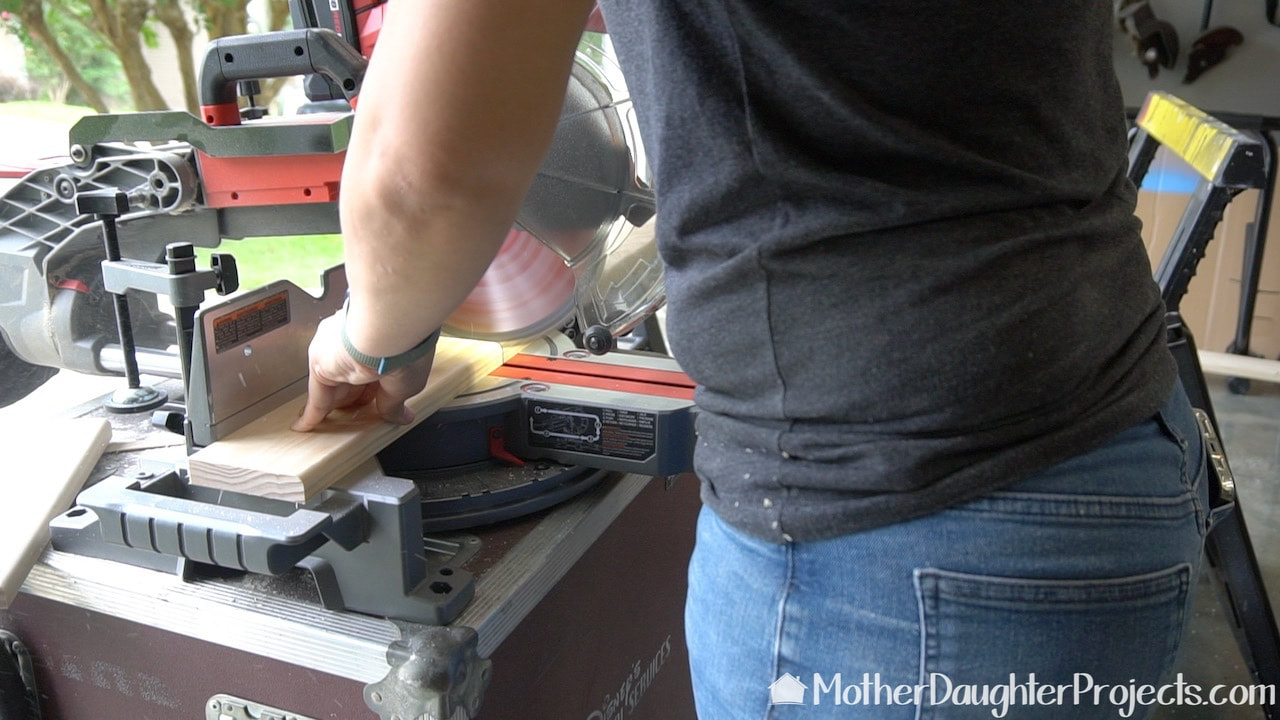
The board was cut into seven 12 inch lengths for the steps.
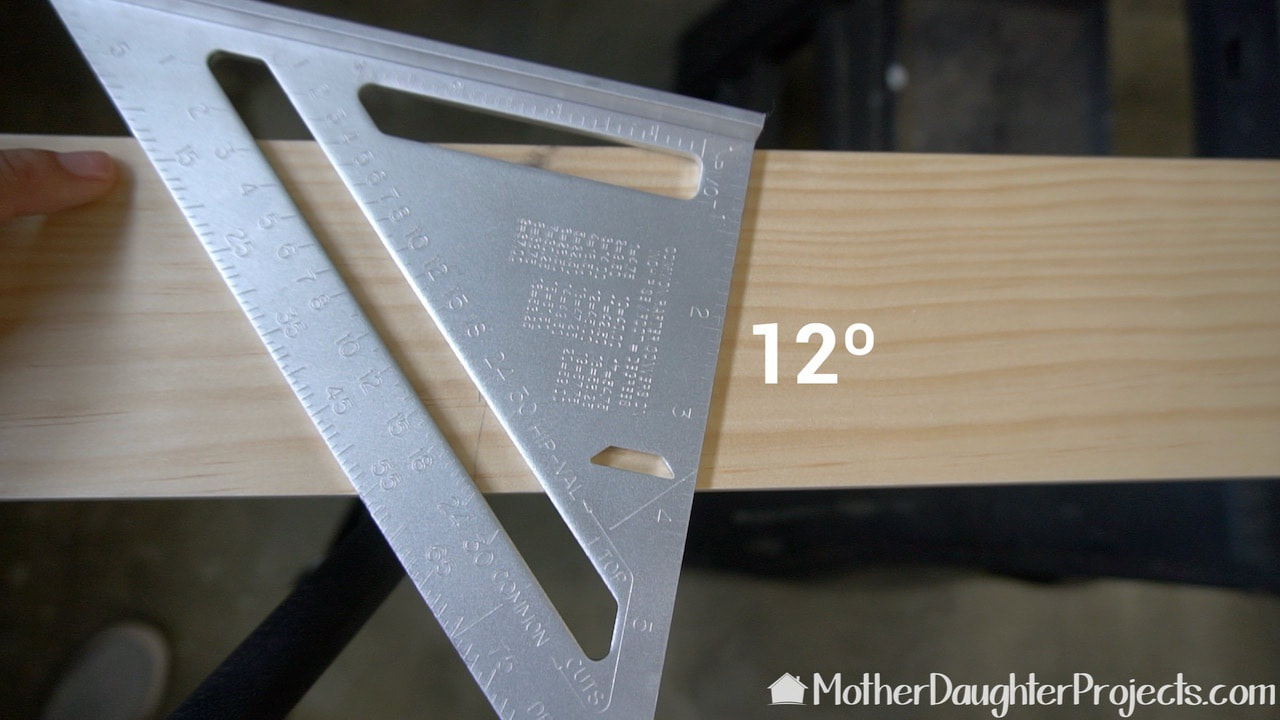
Steph started marking the legs for the step placement using a carpenter's square, but then we realized we could use that cut off piece from the bottom as a jig to do this. No math required!
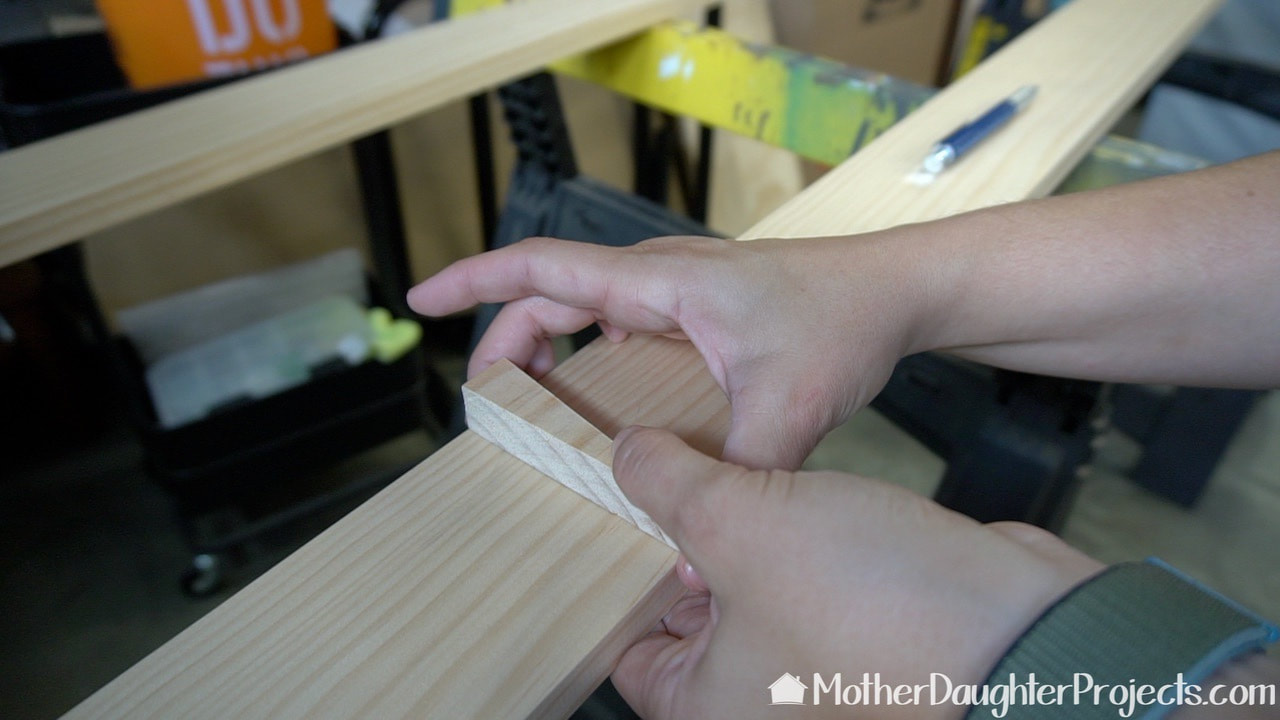
The steps are placed eleven inches apart which we marked onto both legs of the ladder. Steph used the "jig" on these marks to get the correct angle for the steps.

The steps were glued and screwed into place.
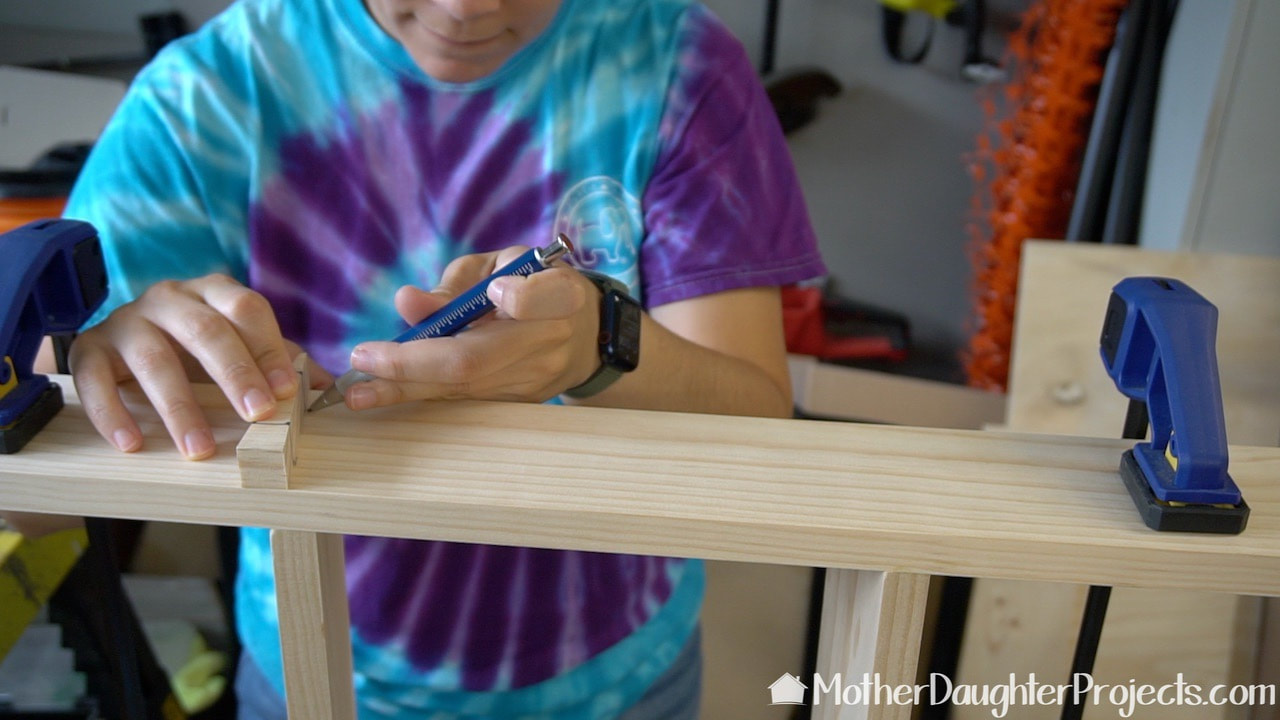
Steph once again used the jig to mark the placement of the screws for each step.
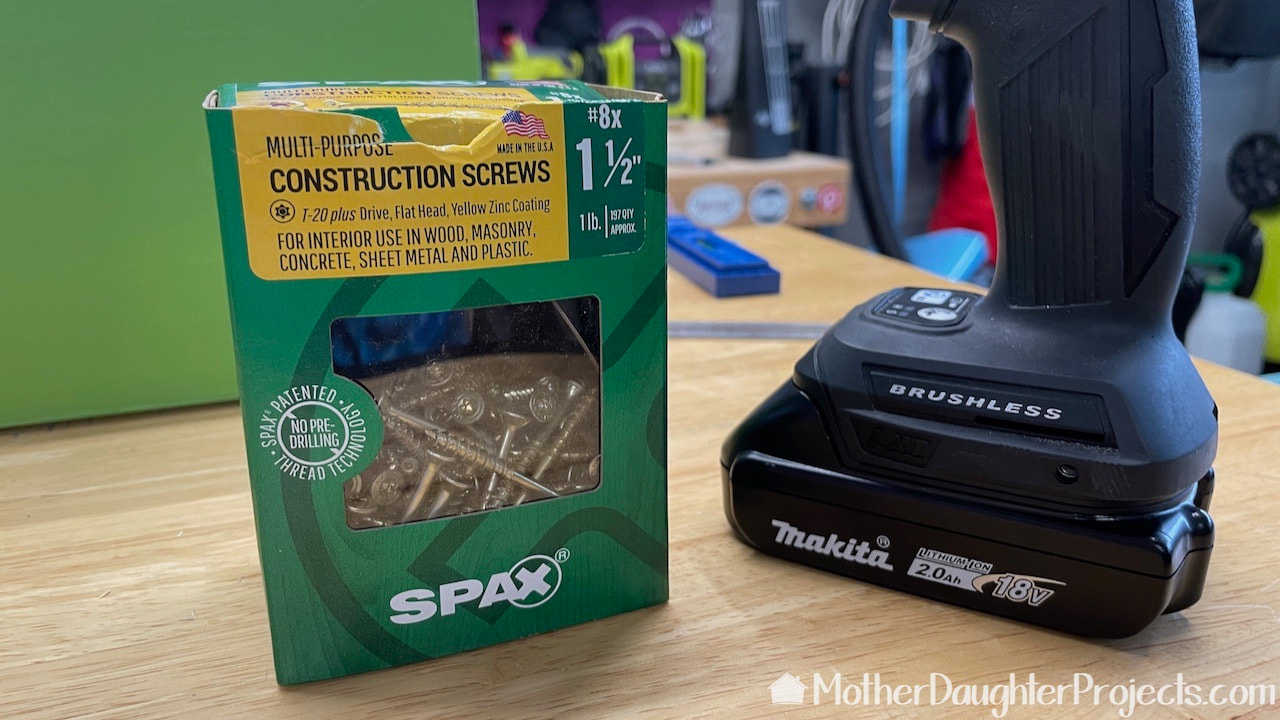
Steph used these Spax screws because they are easy to use and we like the look of the exposed screw head which would be part of the final look of the ladder.

This Rockler portable drill press is one of the best tools we've recently purchased. With it, Steph was able to precisely screw the screws into place.

The rolling hardware was screwed into place 3/4 of an inch from the bottom of the legs and at that same 12 degree angle.

A couple of coats of Danish oil was used to give the wood a natural finish. This oil is smelly so we left the ladder in the garage to off-gas for a few days.
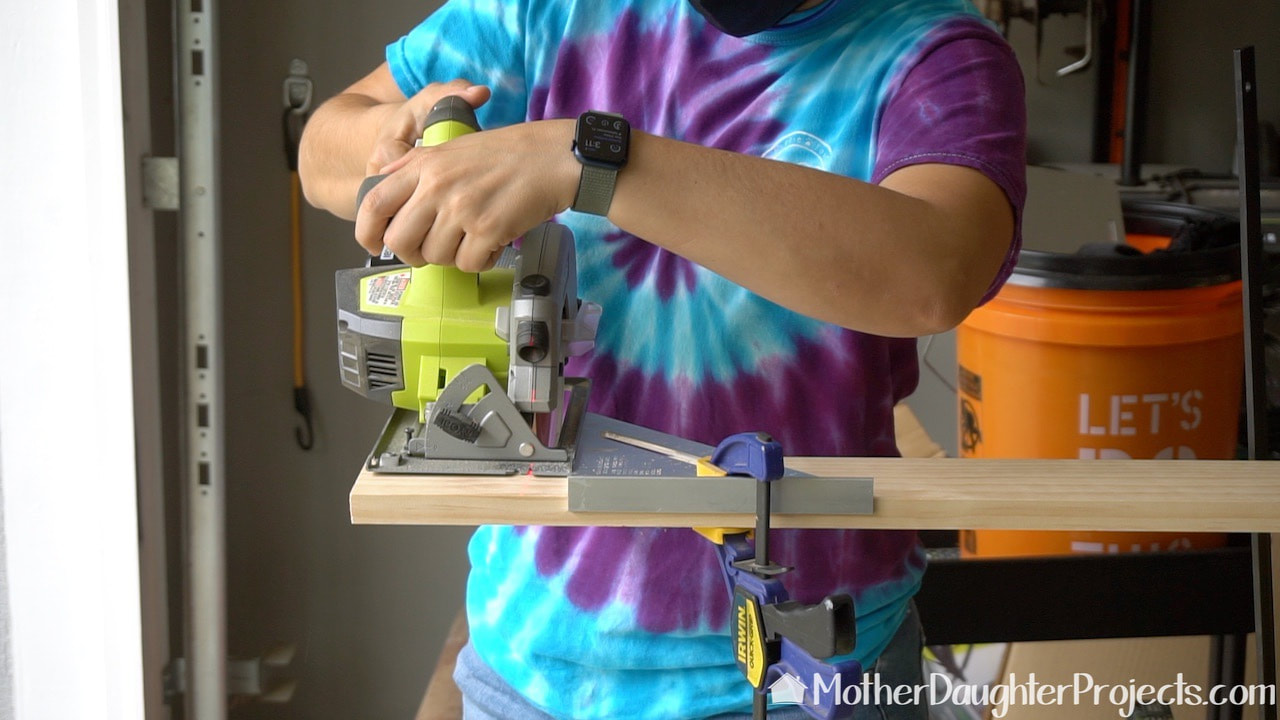
The last thing we needed to do before attaching the rollers at the top, was to trim off the excess.
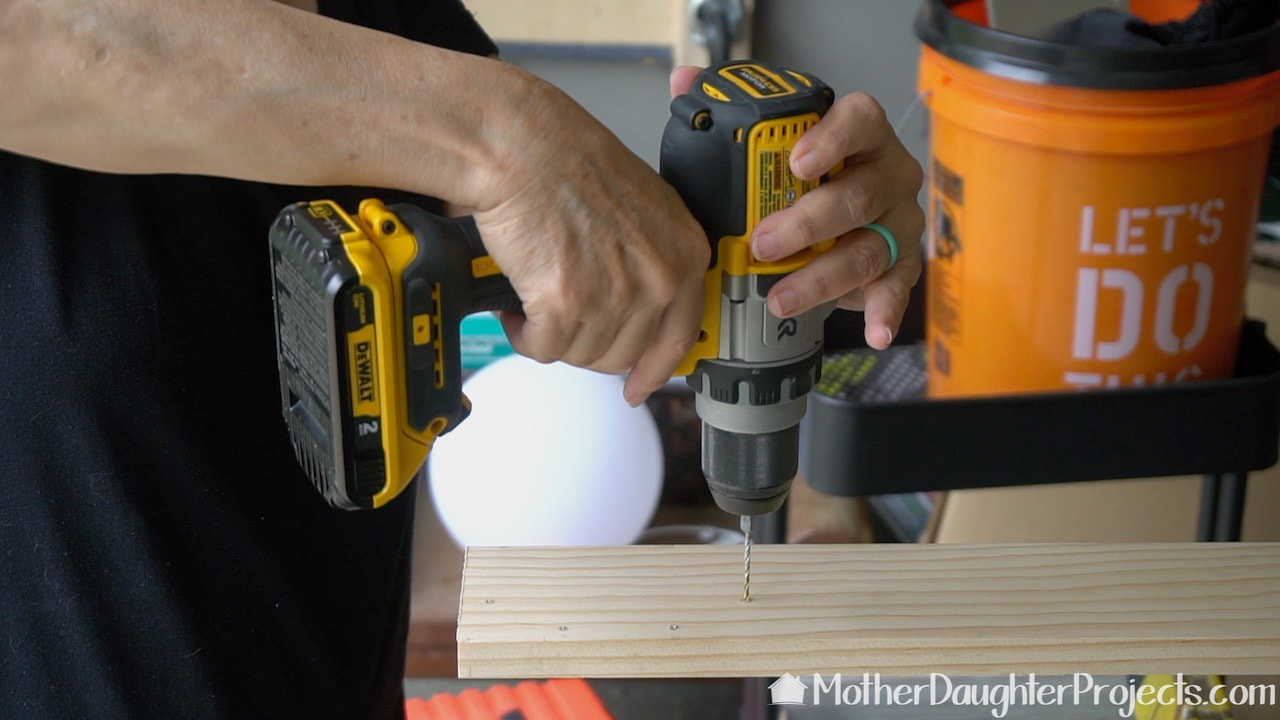
Here I'm drilling pilot holes where the roller hardware will be attached at the top of the ladder.
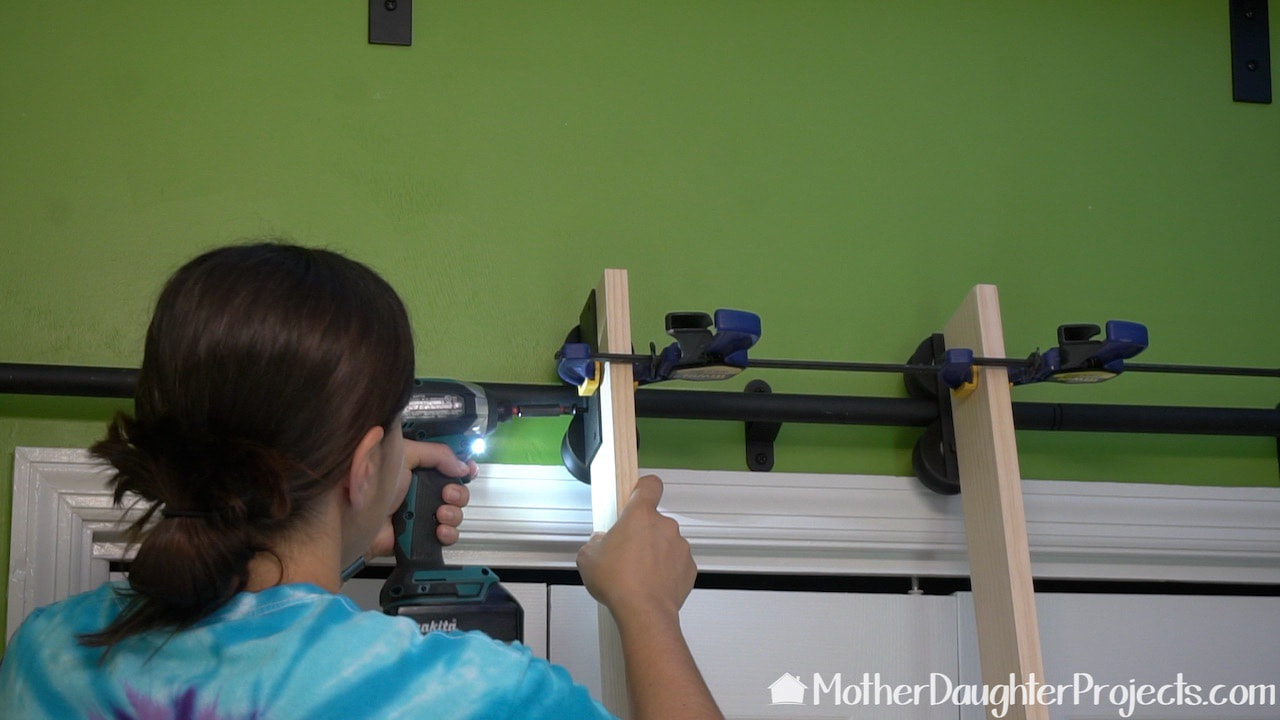
Steph clamped the roller hardware to the ladder and screwed the hardware into place.

And now, Steph's Belle moment!
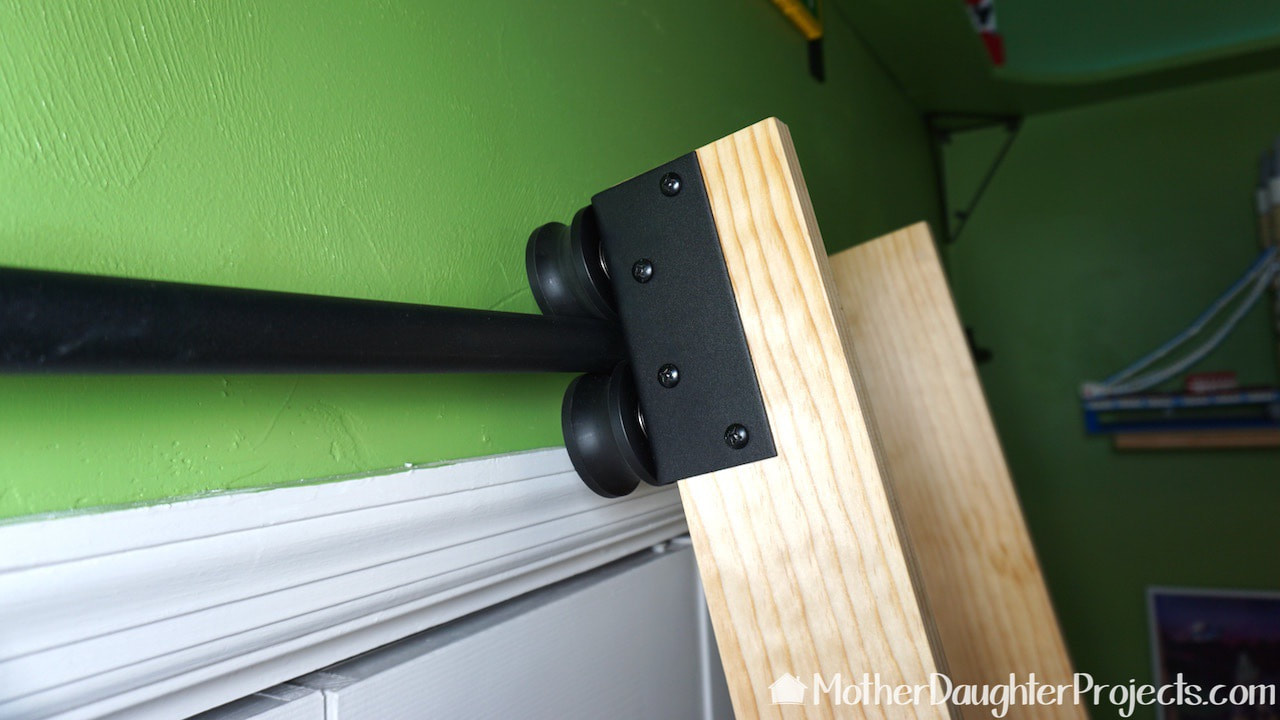
Here's a closer look at the hardware at the top of the ladder.

All finished! It works perfectly in the space. When not in use, the ladder can be moved between the doors so that both the room door and closet doors can be fully used.
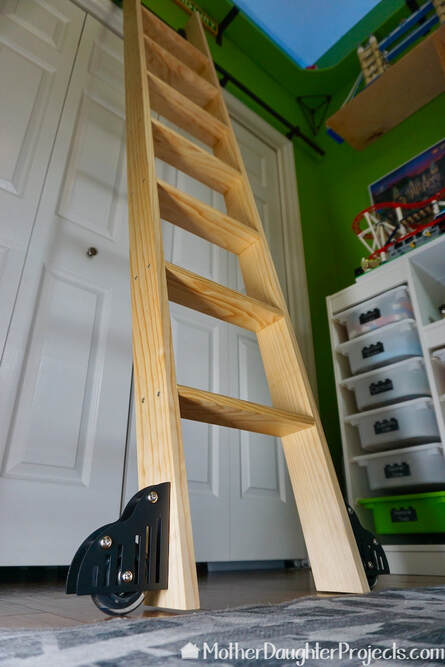
This is such a fun addition to the LEGO room. It's functional, yet still allows for access to the doors.
There are kits available for rolling library ladders that include everything you need including the ladder. It was actually a lot easier to build the ladder than we thought it would be. Once we realized all the angle were the same, it was a pretty quick build. Where would you use a library ladder? I've seen pictures of them in kitchen to access high cabinets. I think that's a pretty good use. Please note: This is not a sponsored post. FYI: We are not professionals, and we don't claim to be. This is what we found worked for our project. Yours may need a little different approach. Safety first! FYI: Affiliate links are being used on this page. Purchasing via these links help support MDP! Related Projects
0 Comments
Leave a Reply. |

Mother Daughter Projects
|