|
text by Vicki Sign up here to join our weekly email newsletter!
She said she was going to do it and she did it...repack the bearings on the trailer!
I (Vicki) had no clue as to what was involved in this process which made it fascinating to watch! After watching her and seeing the video, I think I could actually repack bearings as well. My dad was an auto mechanic all of his life. As many of you know, he passed away in May, 2020. Both Steph and I, during the trailer maintenance process, commented on just how proud he would be of his granddaughter! That thought makes me happy... 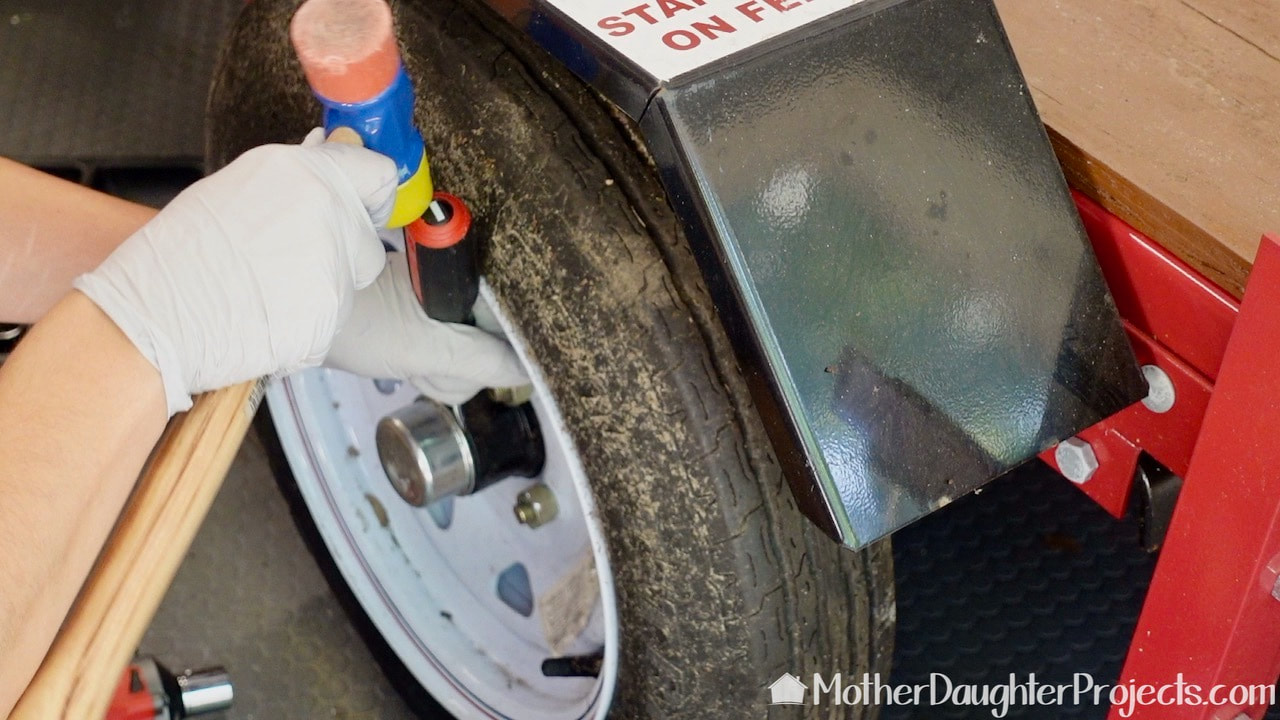
Before starting any work, we moved the trailer into the garage where it was a bit cooler. Then we raised up one side so the wheel would freely move and then pulled off the dust cap on the wheel. A flathead screwdriver and rubber mallet makes quick work of this.
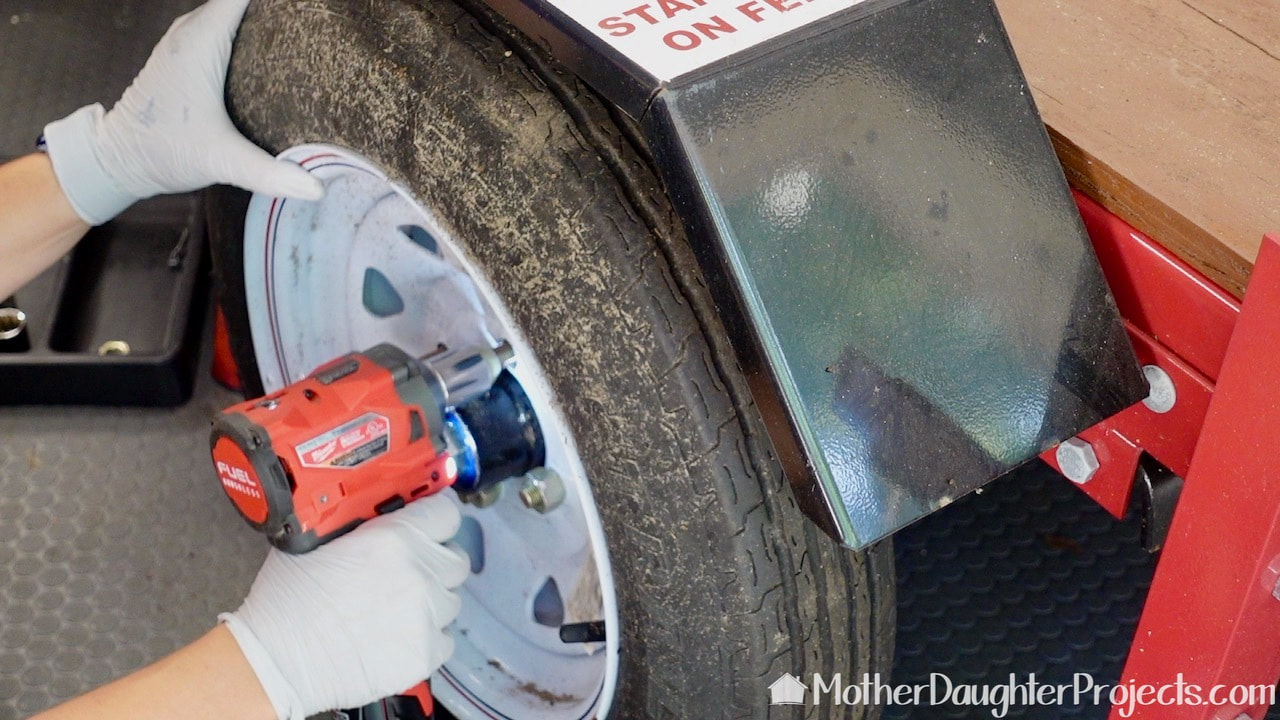
Remove the lug nuts. We're using a Milwaukee M12 FUEL 12V Lithium-Ion Brushless Cordless Stubby 3/8 in. Impact Wrench with 13/16in socket.
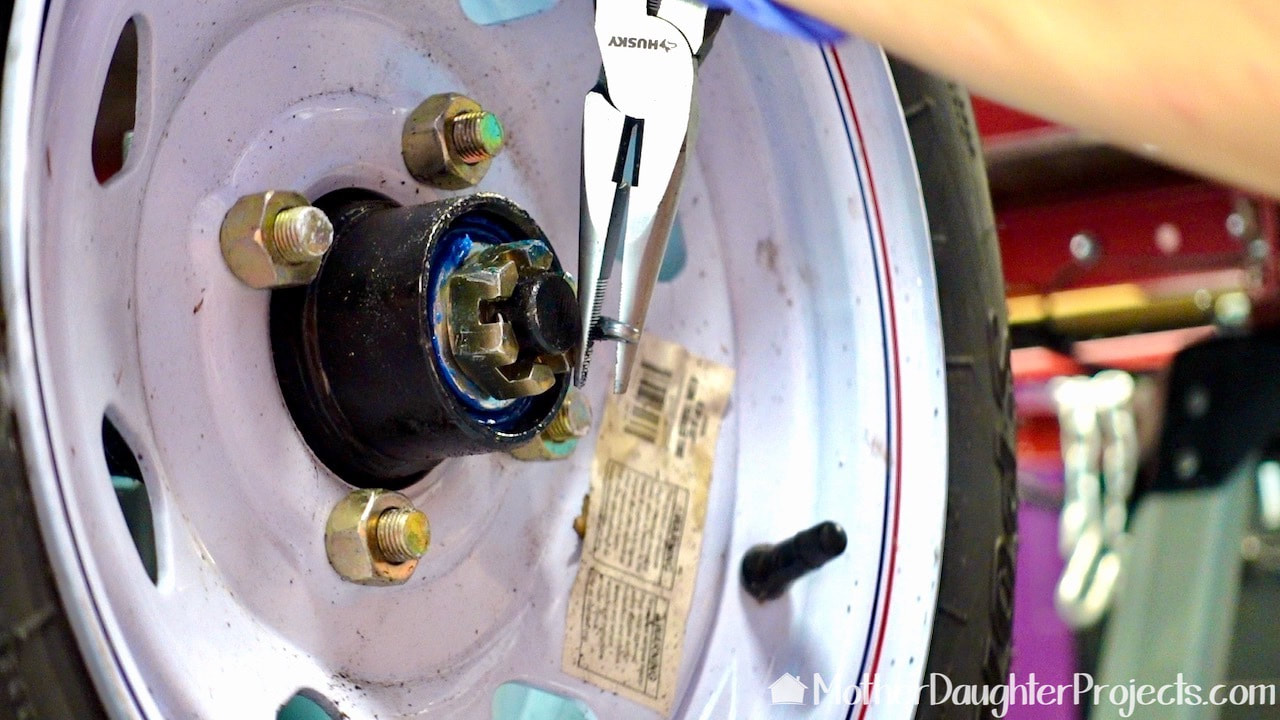
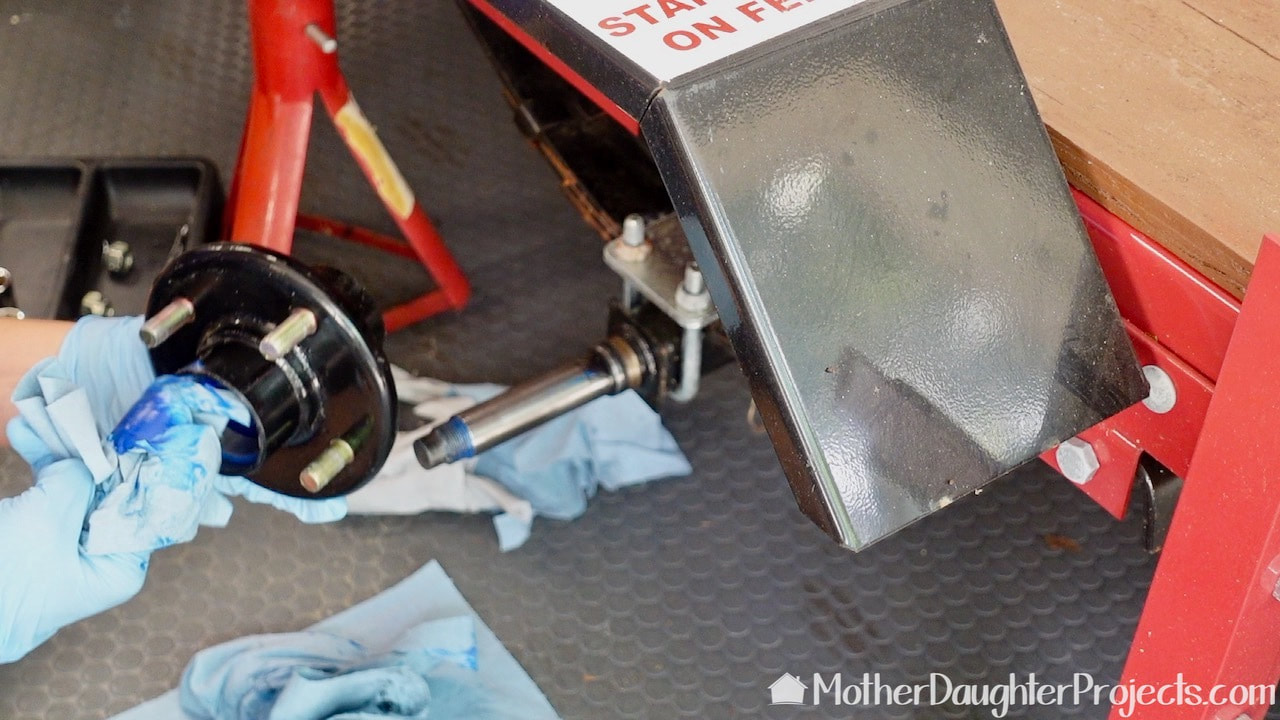
Remove the cotter pin using needle nose pliers, unscrew the castle nut and remove the wheel.
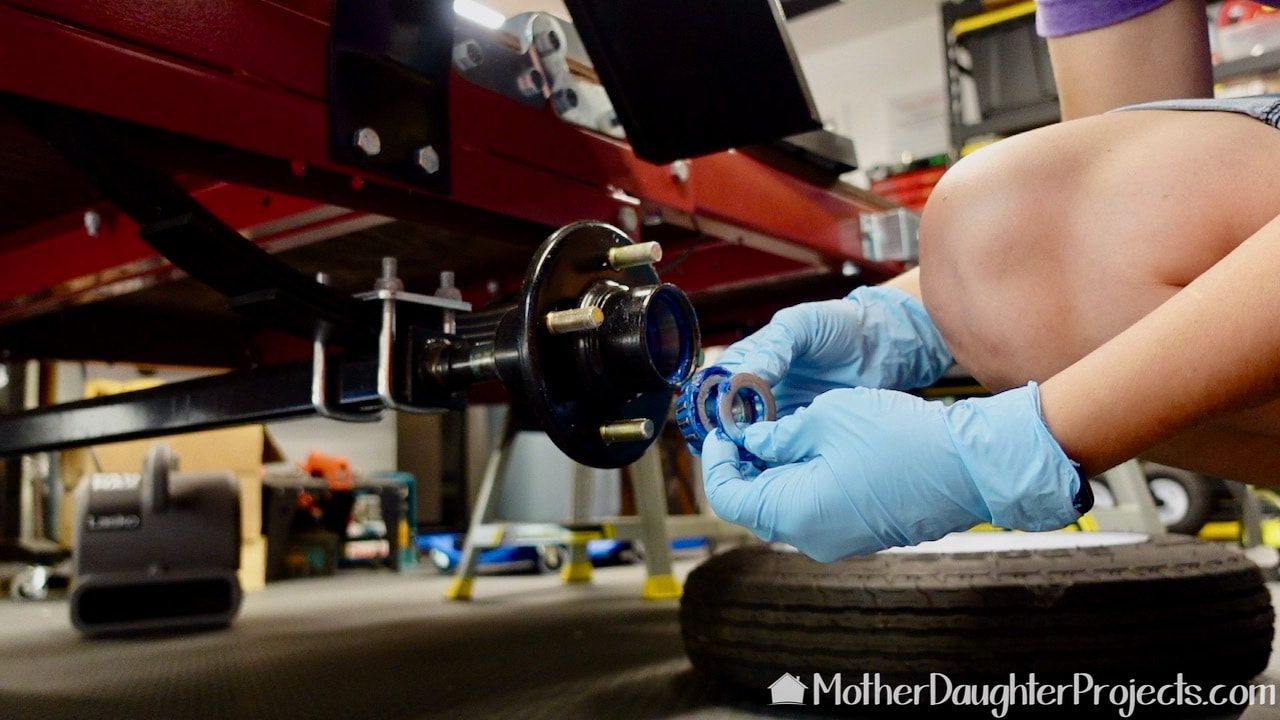
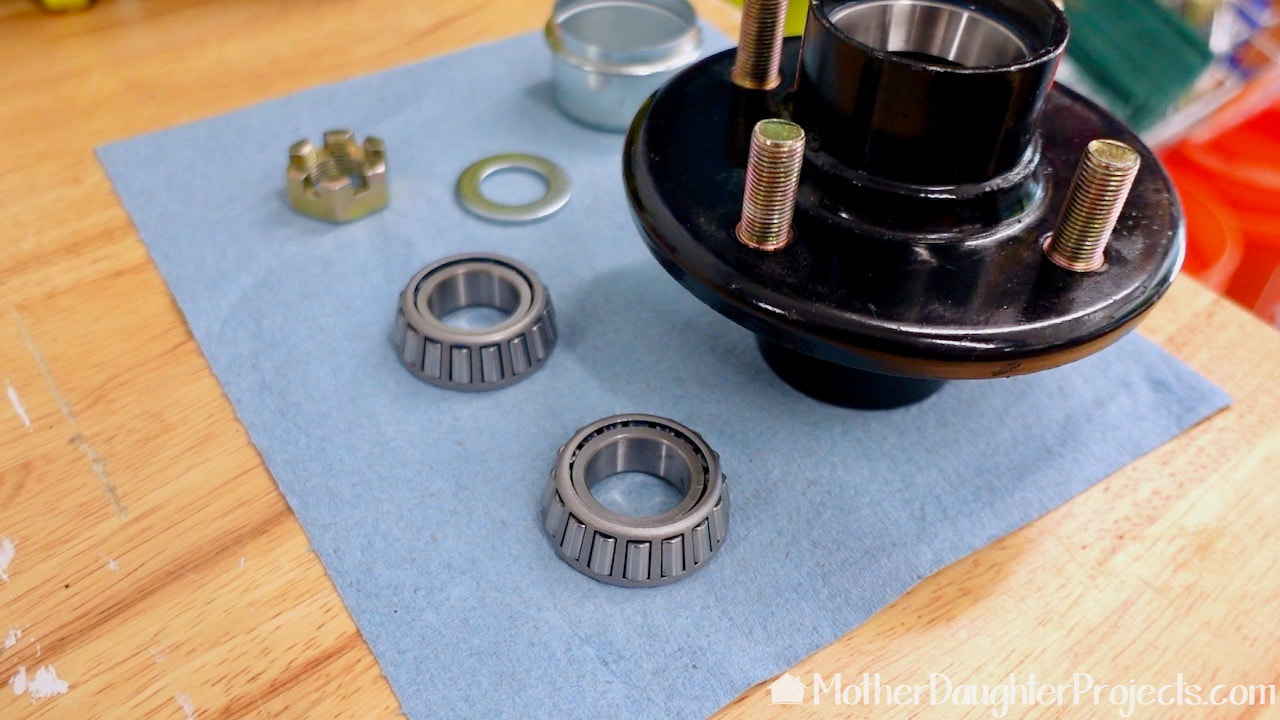
The hub assembly is now free and the flat washer and front bearing will come out.
Wipe off any grease that you can and return the hub assembly back onto the axel.
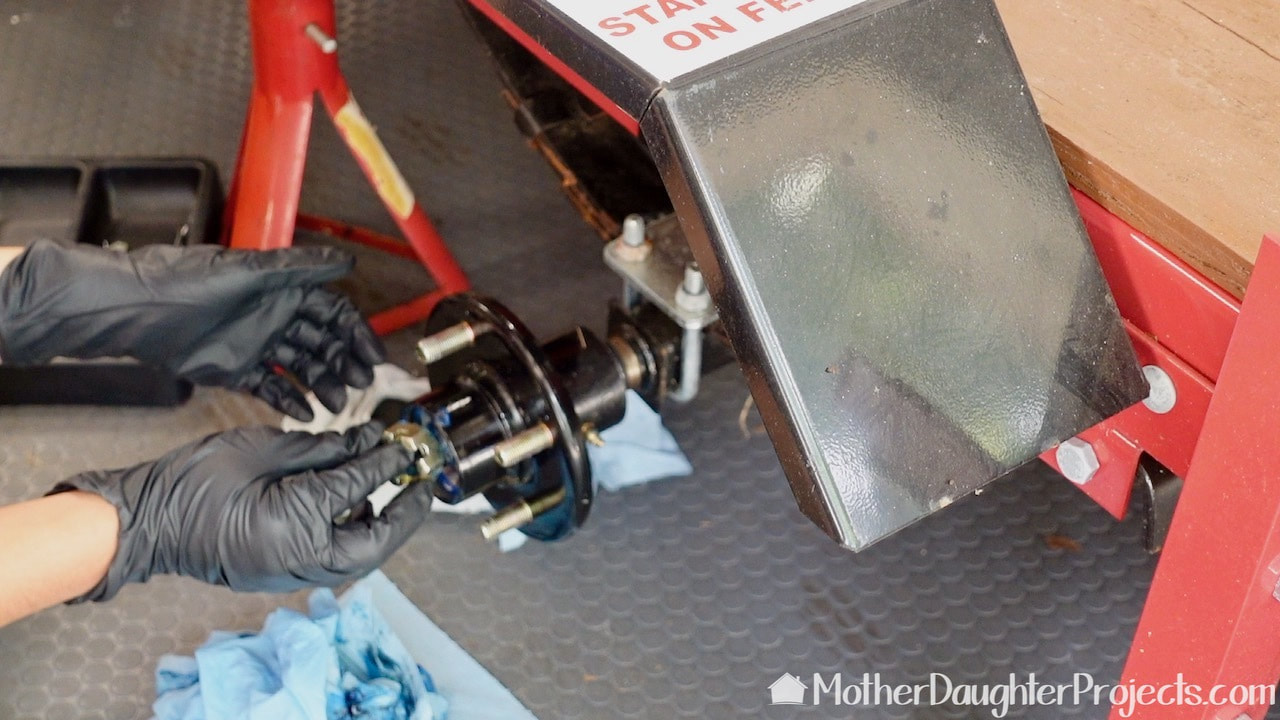
Put the flat washer and the castle nut back on. These parts are what is going to push the back bearing and grease seal out.
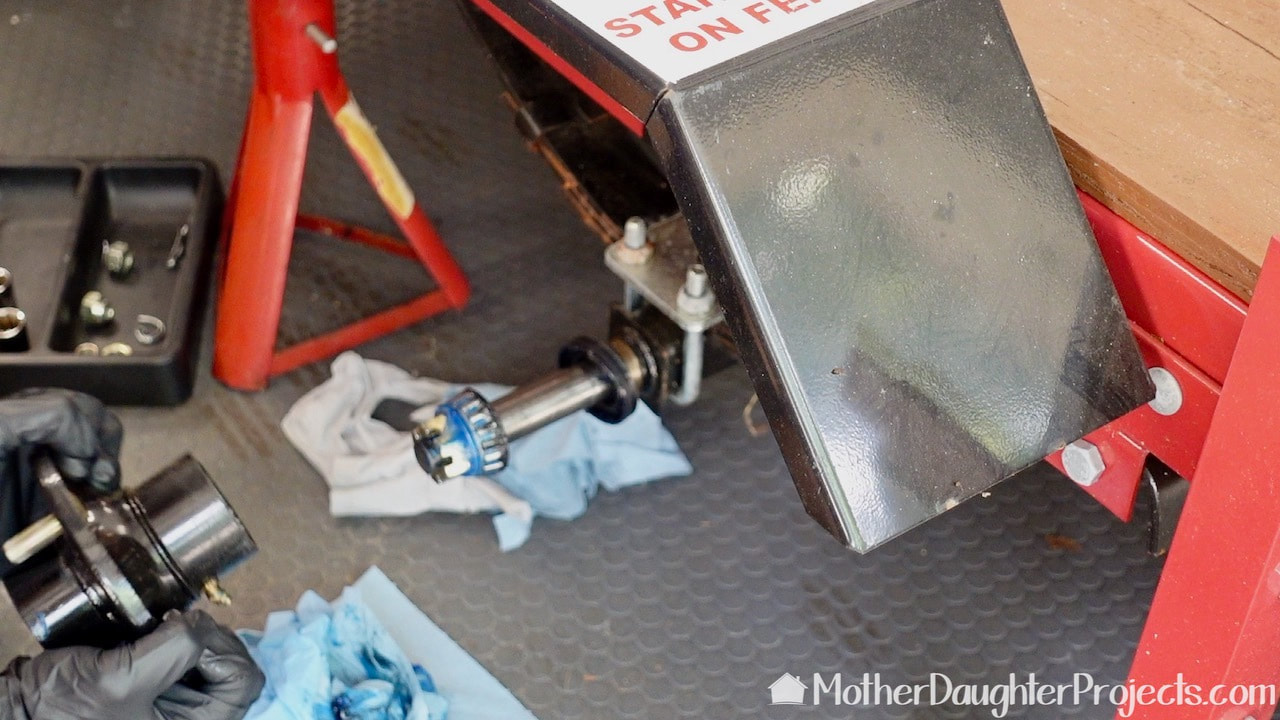
Forcefully pull the hub assembly forward a few times to release the back bearing and seal.
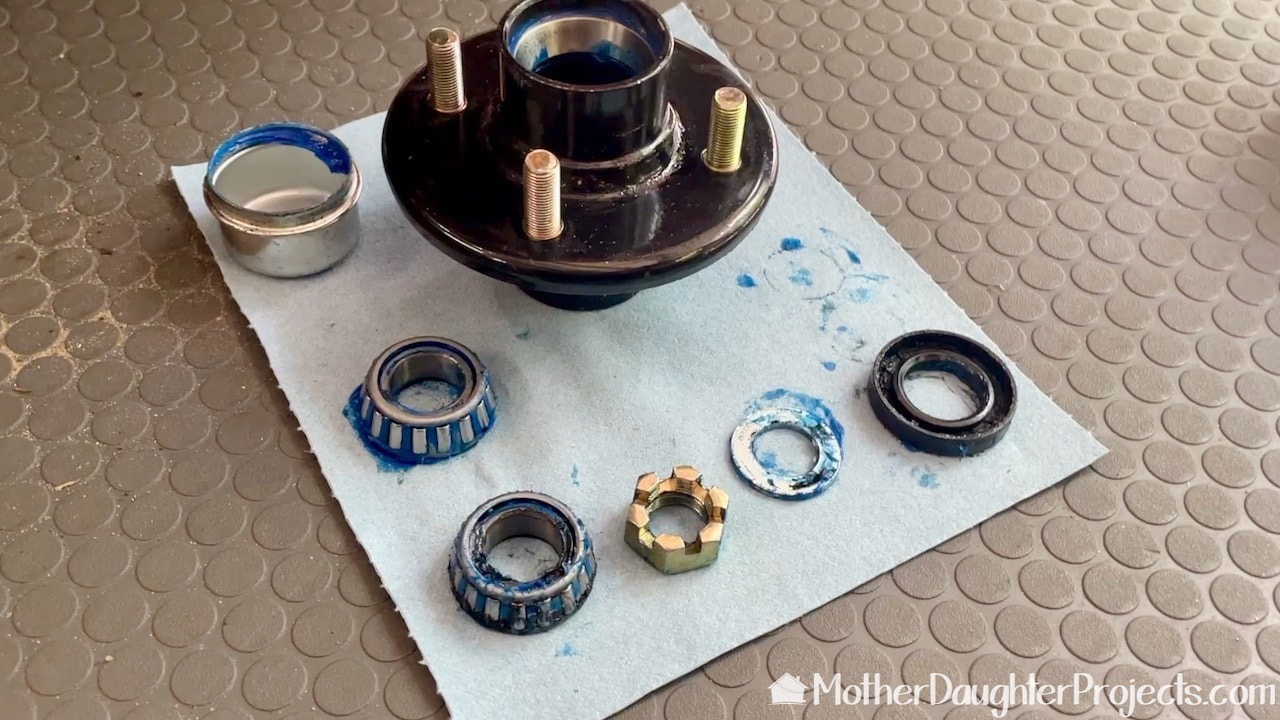
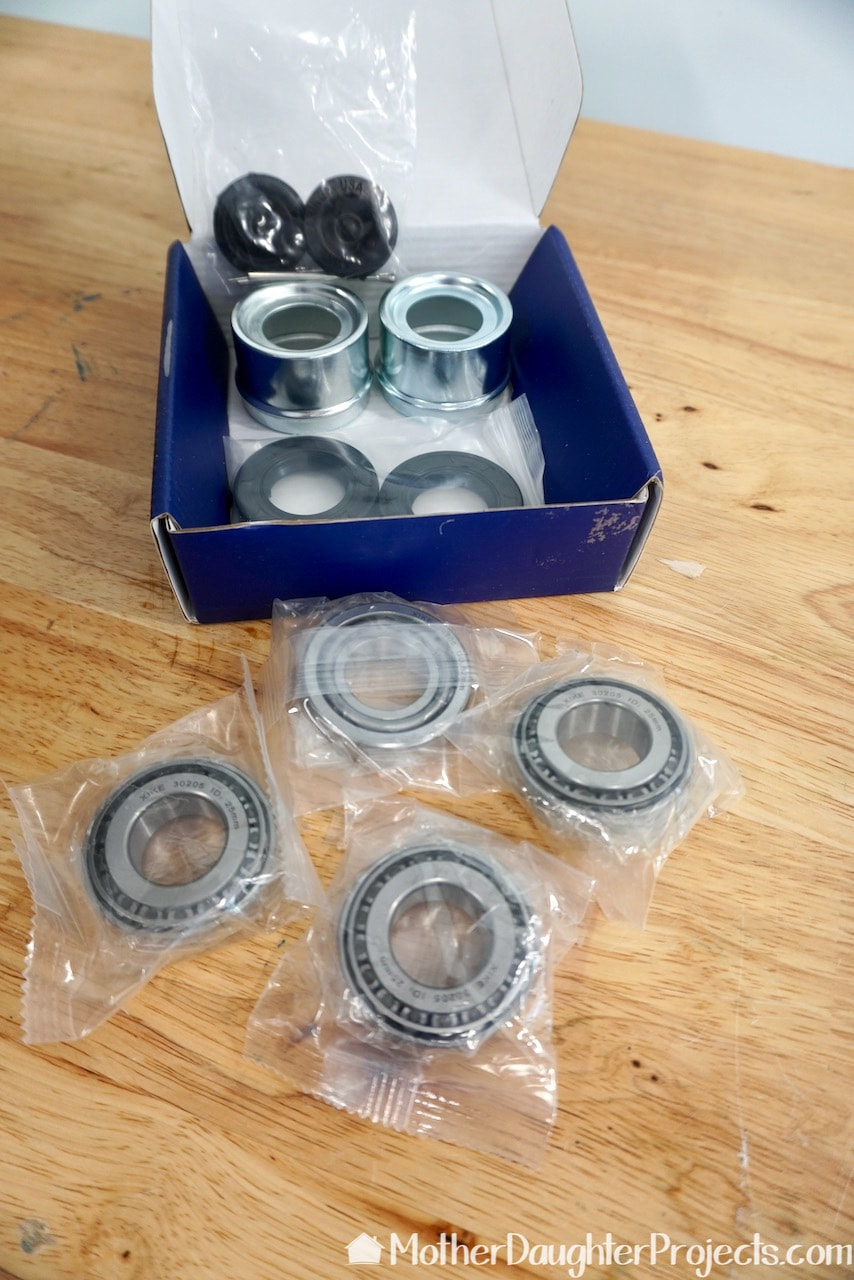
These are all the parts that will need to be cleaned before adding the new grease.
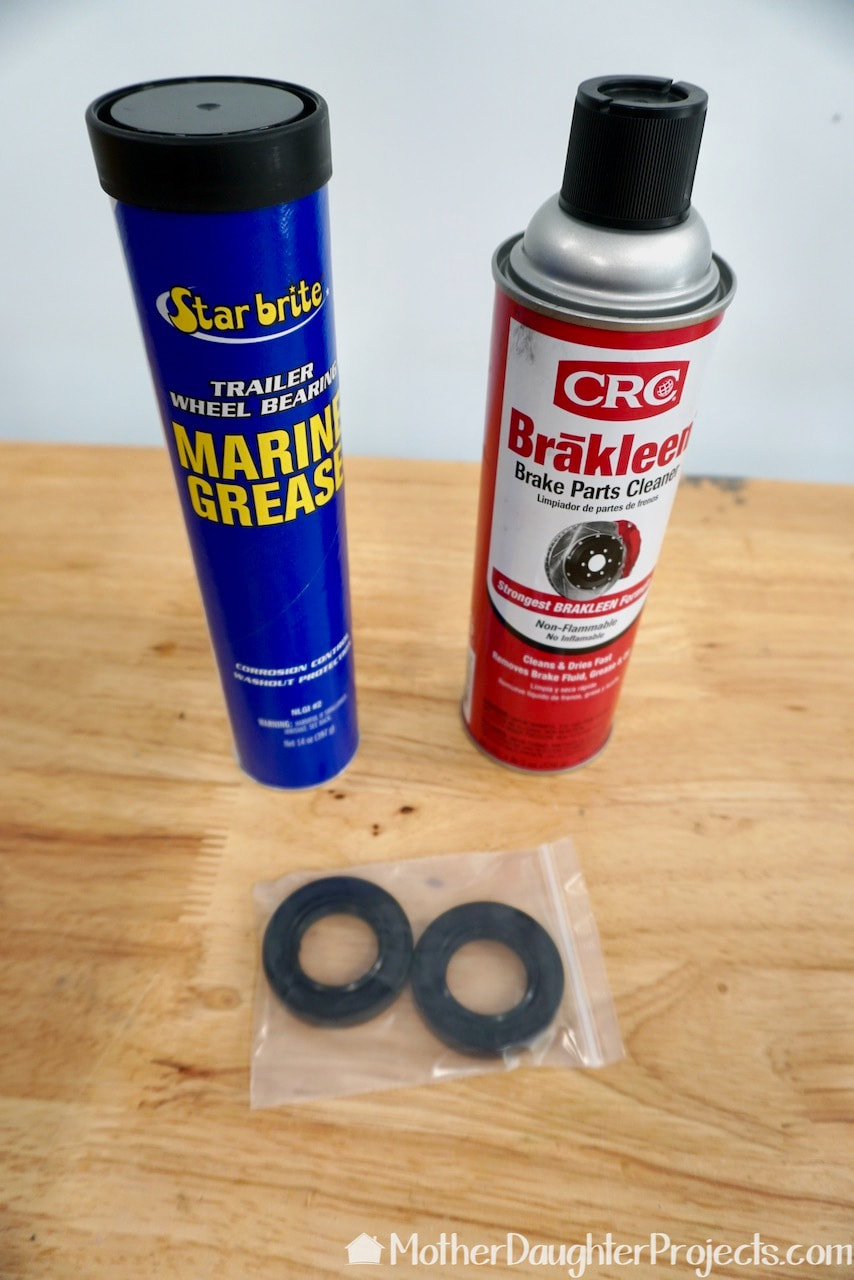
All clean! Steph used shop towels and t-shirt rags to remove the grease that she could and then used brake parts cleaner to remove the rest. Use brake cleaner in a well ventilated area.
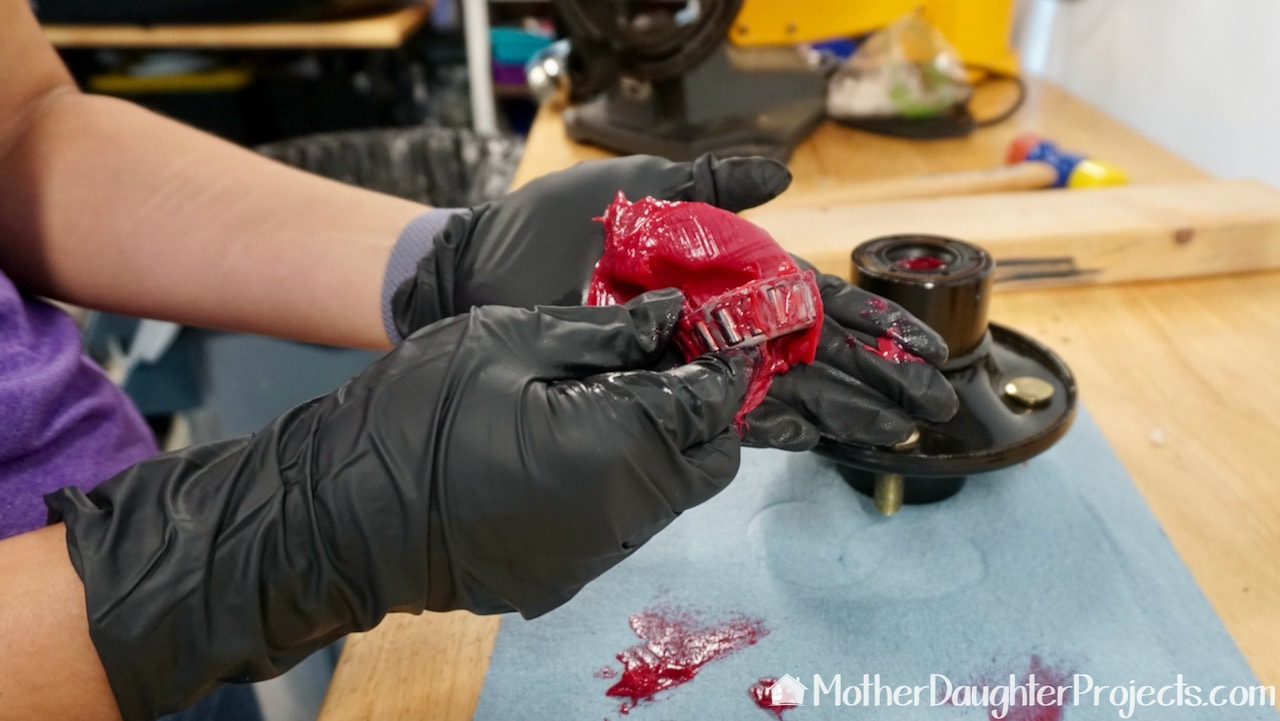
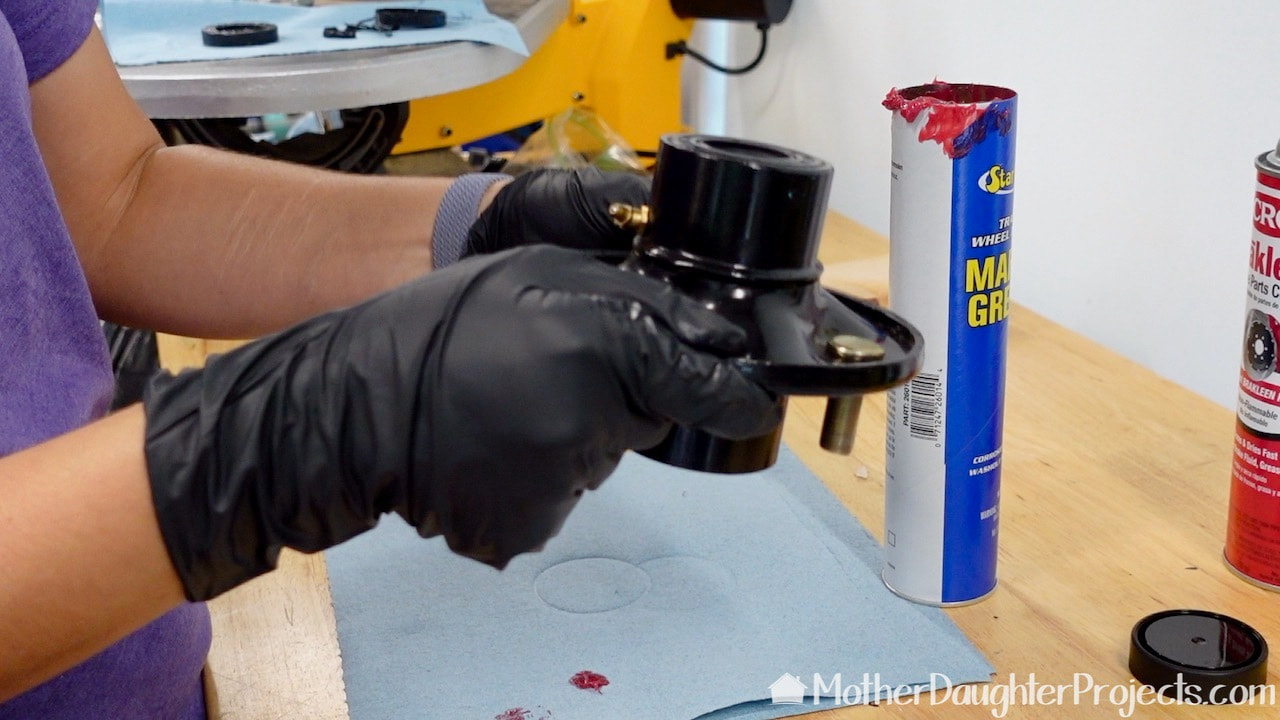
Whoa! The new grease is red! Now, just slather on, making sure to get the grease into all nooks and crannies.
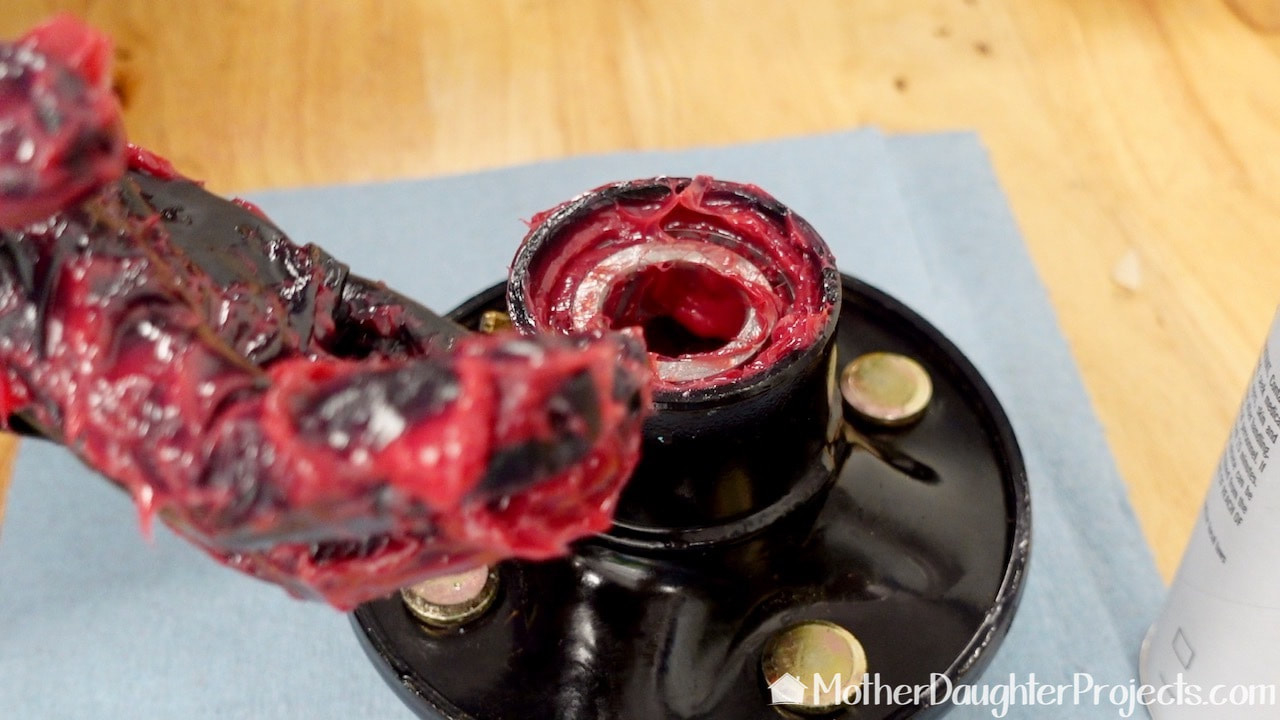
Place the back bearing into the back of the hub.
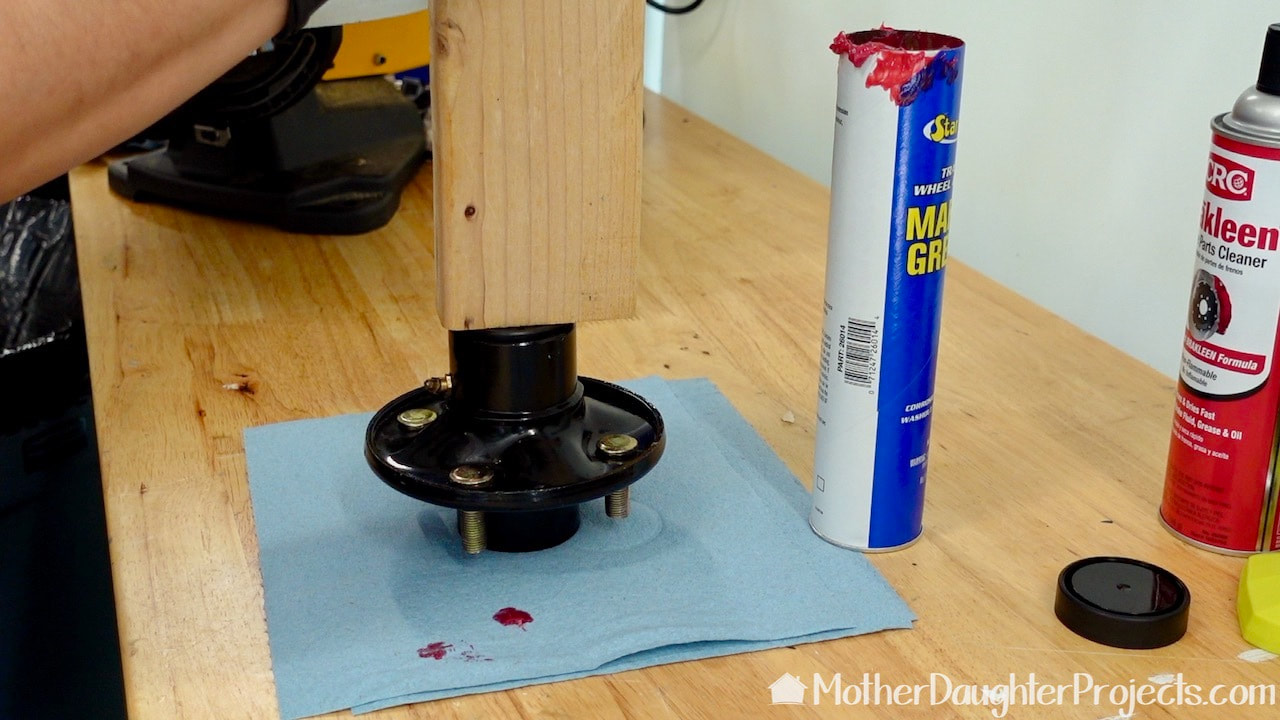
To be sure that seal fits correctly into the wheel assembly, place a 2x4 on top and gentle tap with a rubber mallet until it seats fully.
You can see the back grease seal is completely flat and in place.
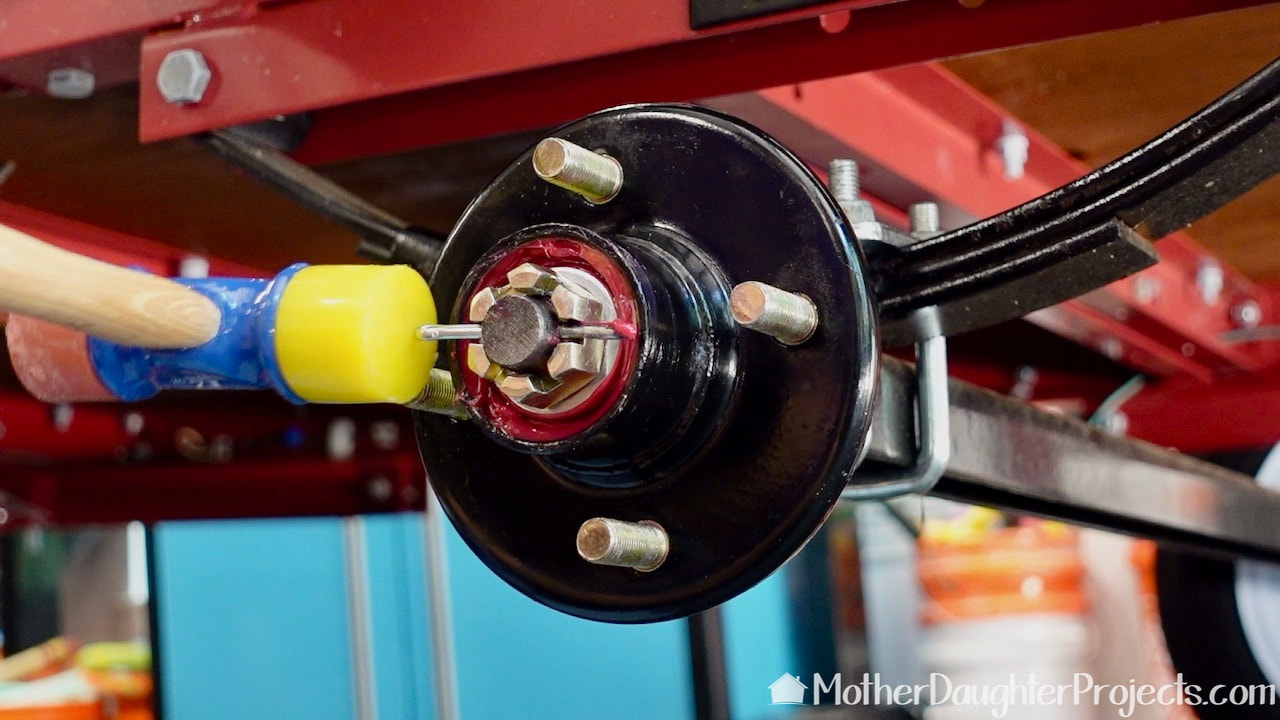
The disassembly steps are reversed ending with the positioning of a new cotter pin. A rubber mallet makes this effortless.
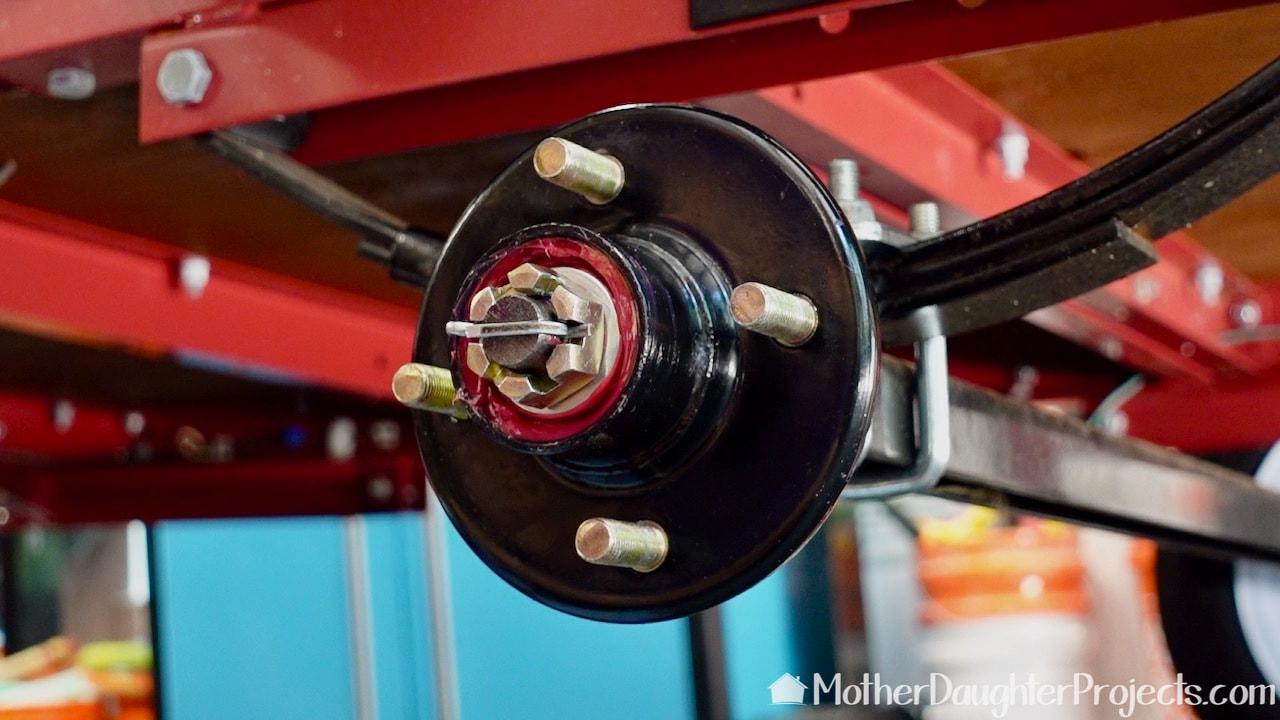
Bend one end of the cotter pin over the top of the castle nut and cut off the other end.
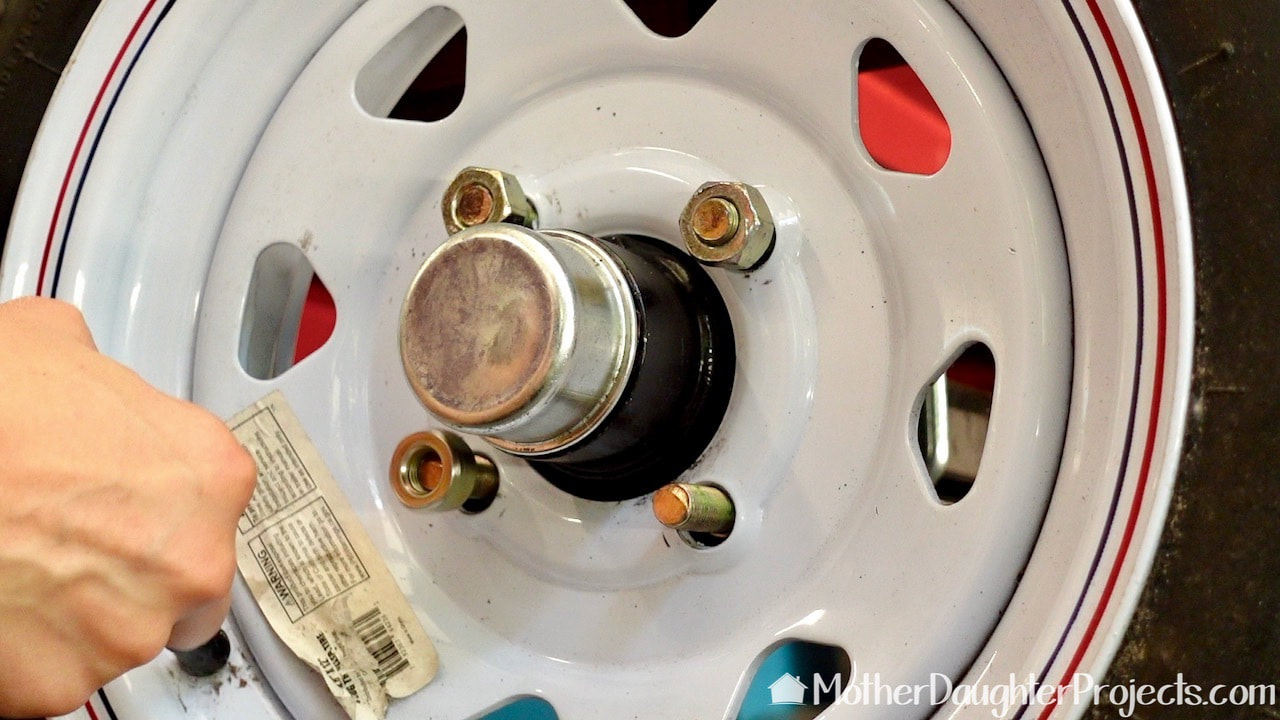
Add the wheel back along with the lug nuts and dust cap.
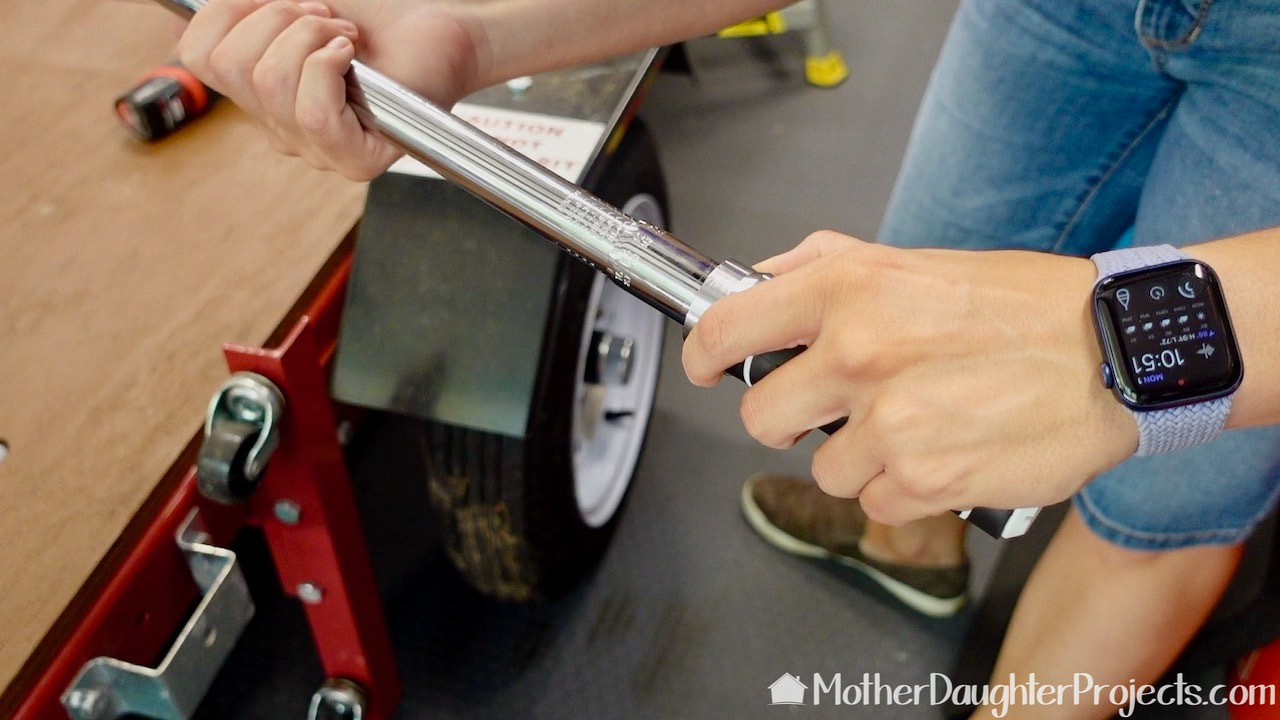
We're using our new Husky torque wrench to torque the lug nuts to between 85 and 90 foot pounds.
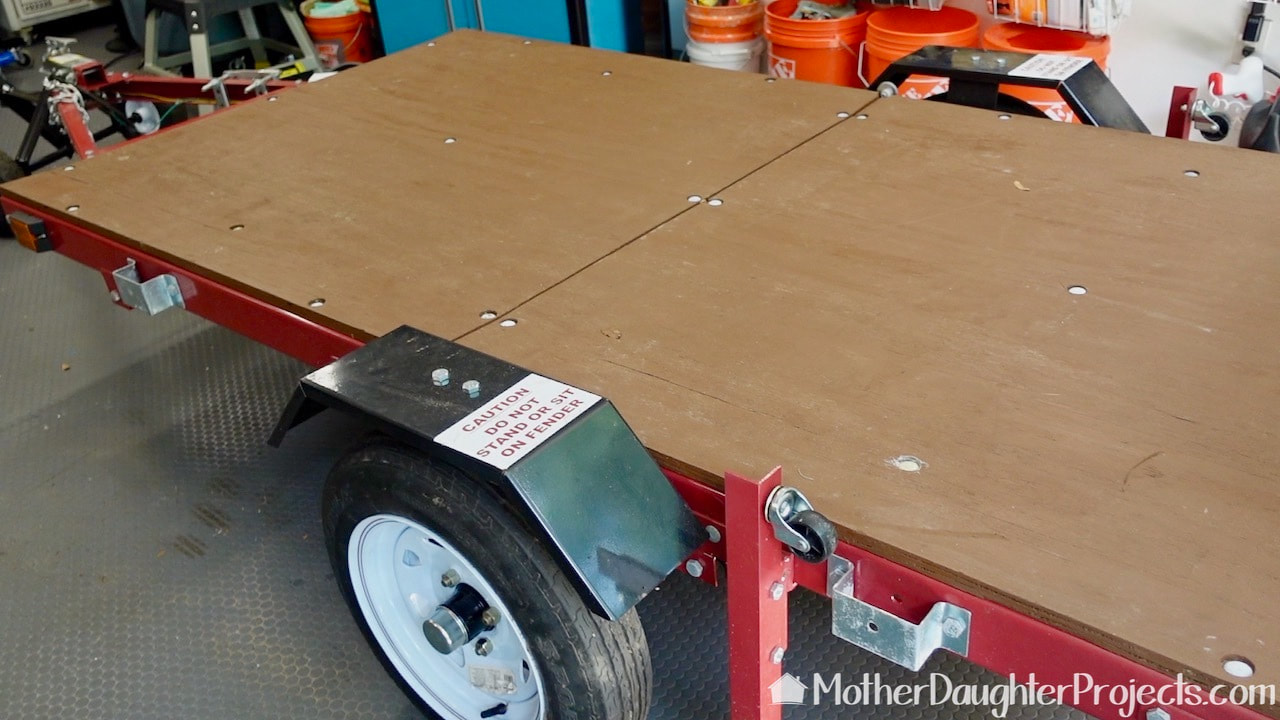
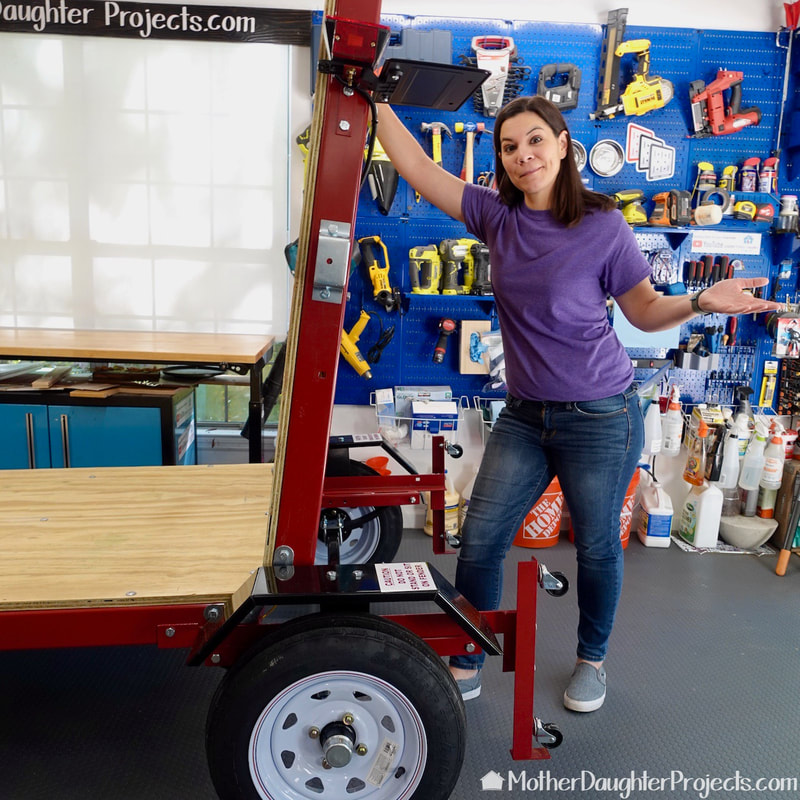
With both wheels finished it was time to roll the trailer out of the garage. Everything worked as it should.
Once Steph removed all the parts, it was obvious that the bearings did not need repacking, but she wanted to go through the process anyway. It was a real learning experience. Once she learned from doing the first wheel, the second was a breeze!
Please note: This is not a sponsored post. FYI: We are not professionals, and we don't claim to be. This is what we found worked for our project. Yours may need a little different approach. Safety first! FYI: Affiliate links are being used on this page. Purchasing via these links help support MDP Related Projects
0 Comments
Leave a Reply. |

Mother Daughter Projects
|