|
text by Vicki Sign up here to join our weekly email newsletter!
After nine years of use, the handle on Steph's front door was starting to show wear on the finish. It wasn't looking so good and Steph was ready to replace it!
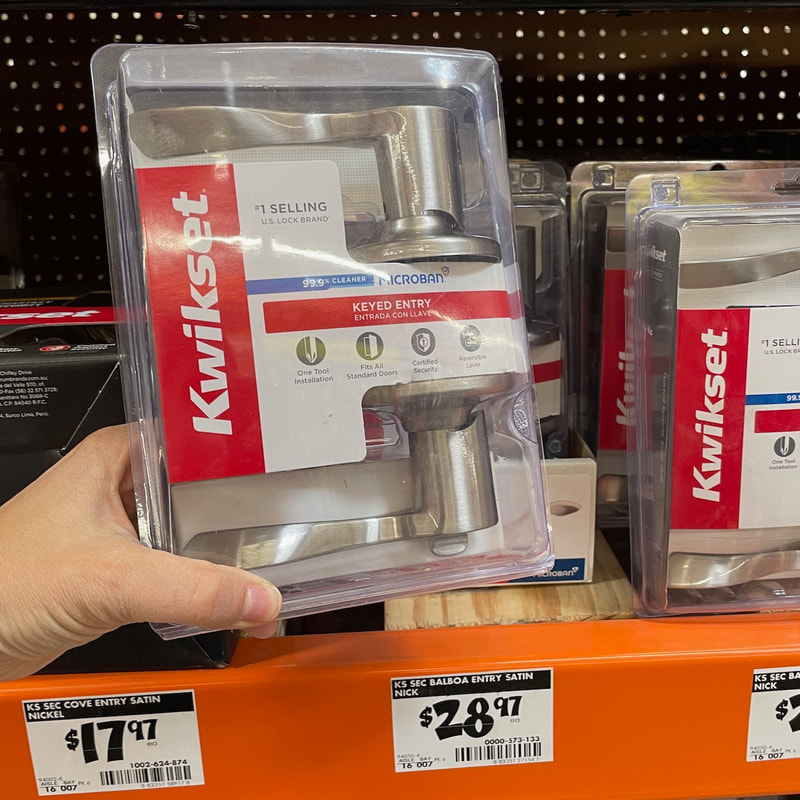
Products:
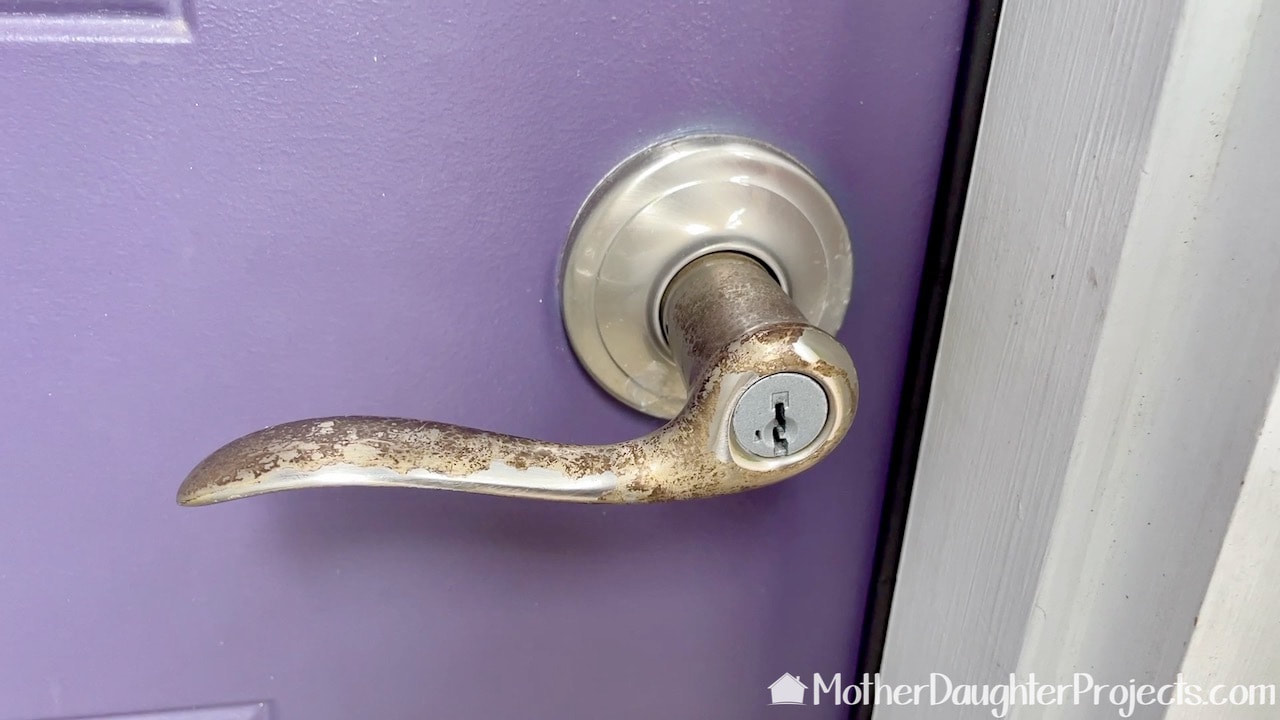
The handle wasn't just dirty, it appeared the finished had started to peel as well.
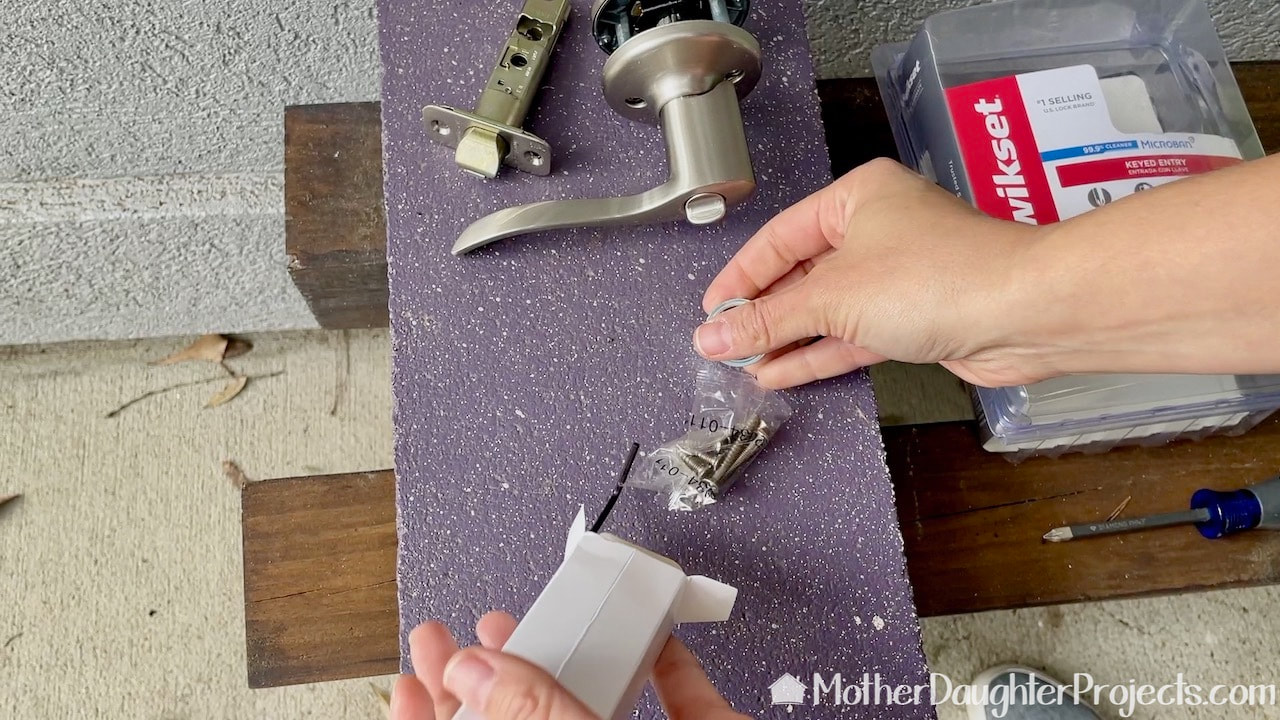
First thing Steph did was removed all the new hardware from the packaging and read over the instructions.
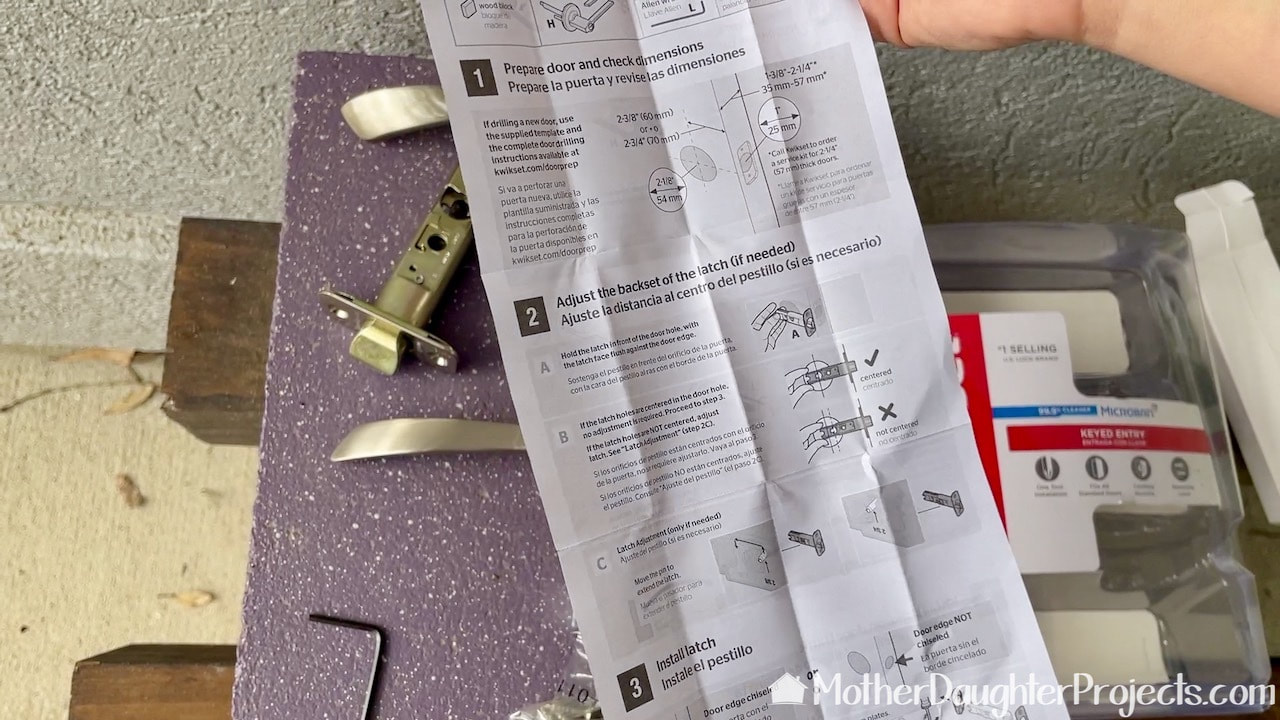
Steph has replaced door hardware before, but it's always a good idea to read over the installation instructions just to be sure you know what you're doing!
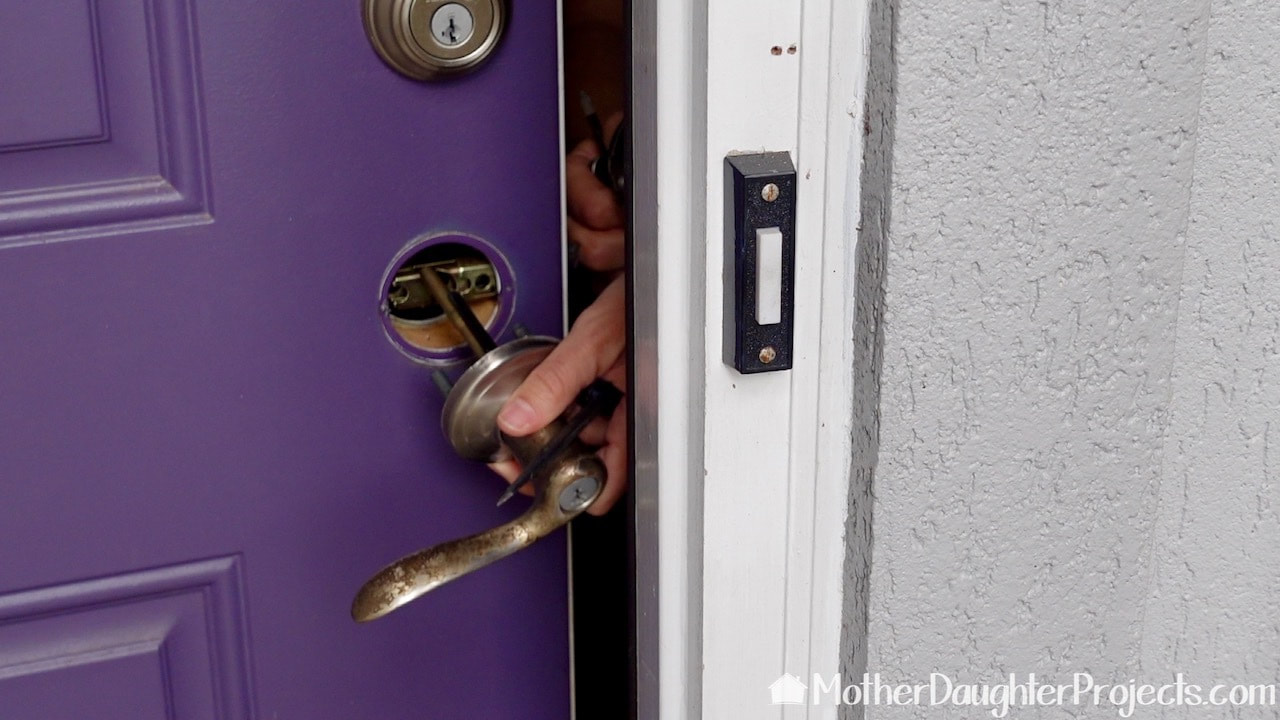
She started by removing the old hardware. She had to use an Allen wrench (also know as hex key) to first remove the cover which revealed the screws holding them all together.
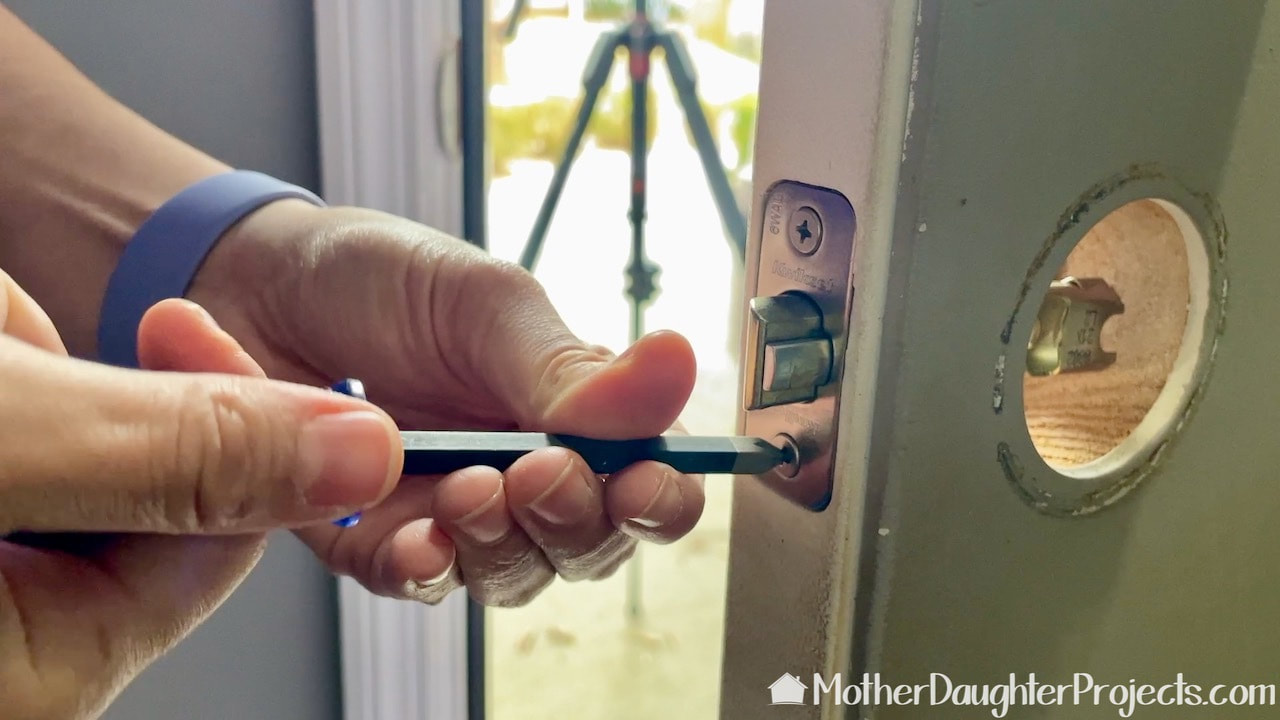
Once all the old hardware is removed it's time to install the new starting with the latch. By the way, this is a good time to clean up around the door handle or paint the door. Steph failed to do either!

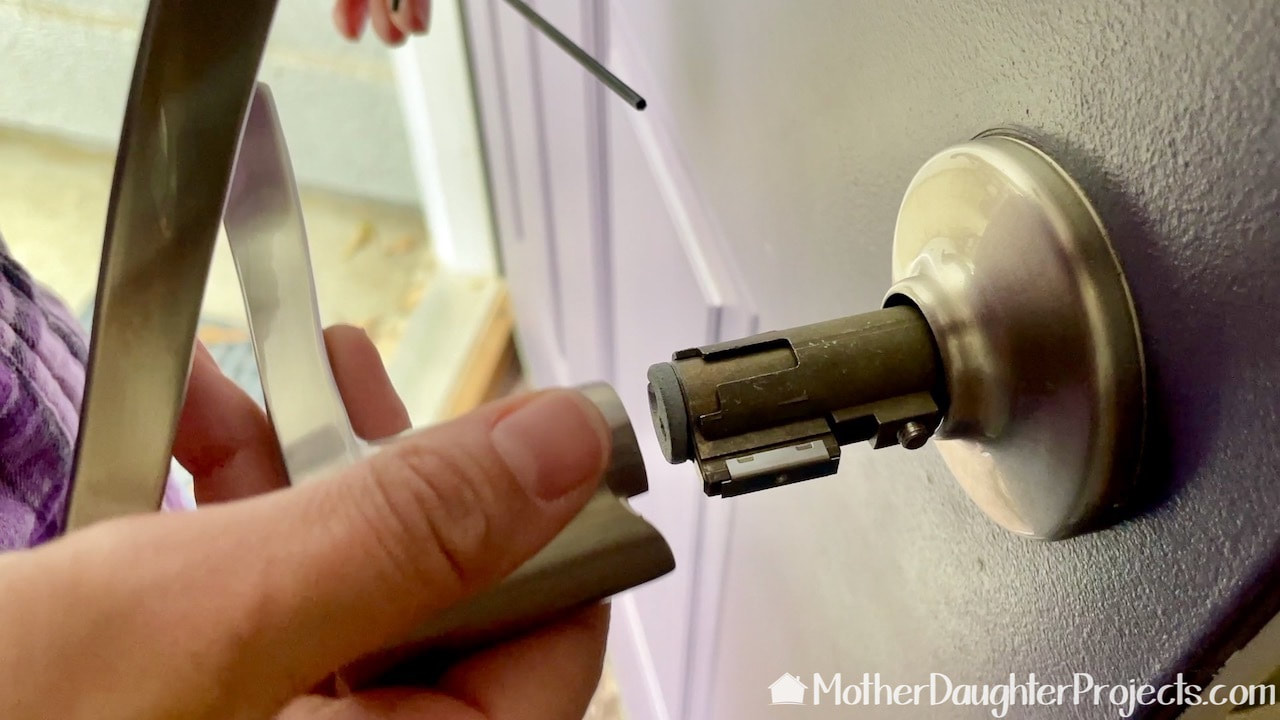
The handle is taken off before attaching the hardware to the door. See that tiny circle on the handle? That's wear a Allen wrench will be used to secure the handle to the base.
Make sure the base fits through the latch bolt and sits flush to the door before tightening those two screws.
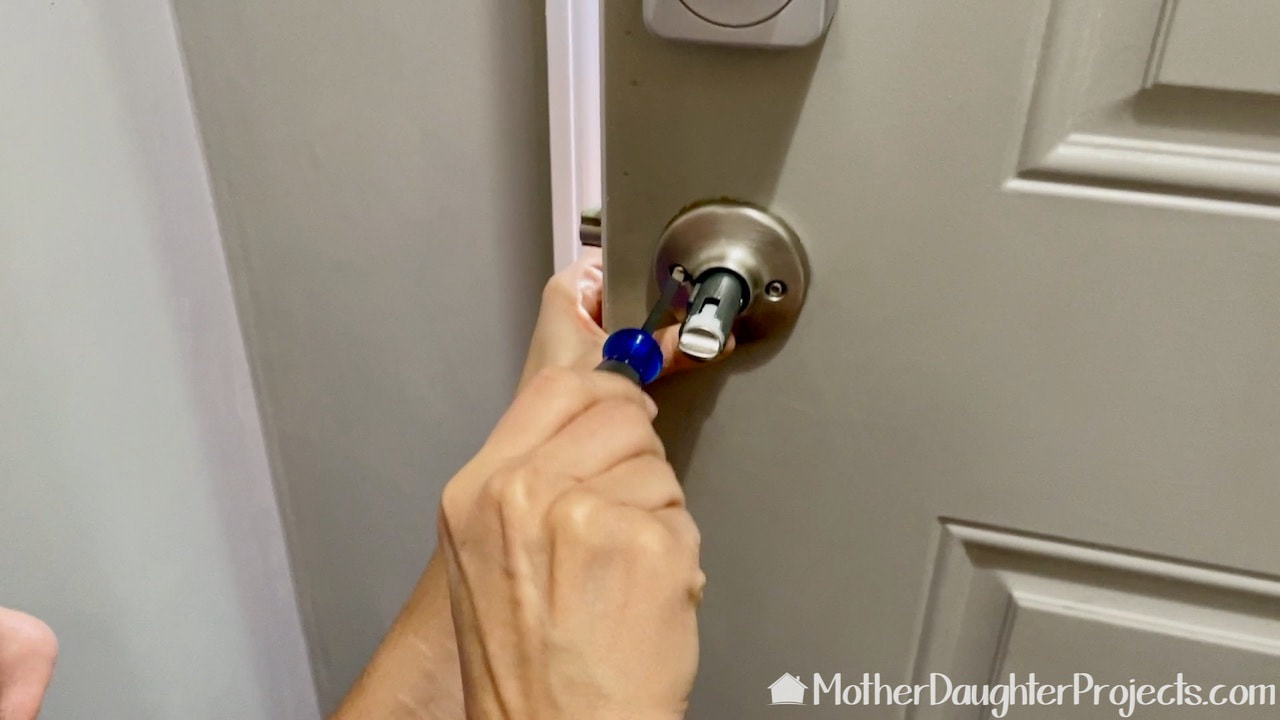
On the outside of the door, Steph is now adding the handle.
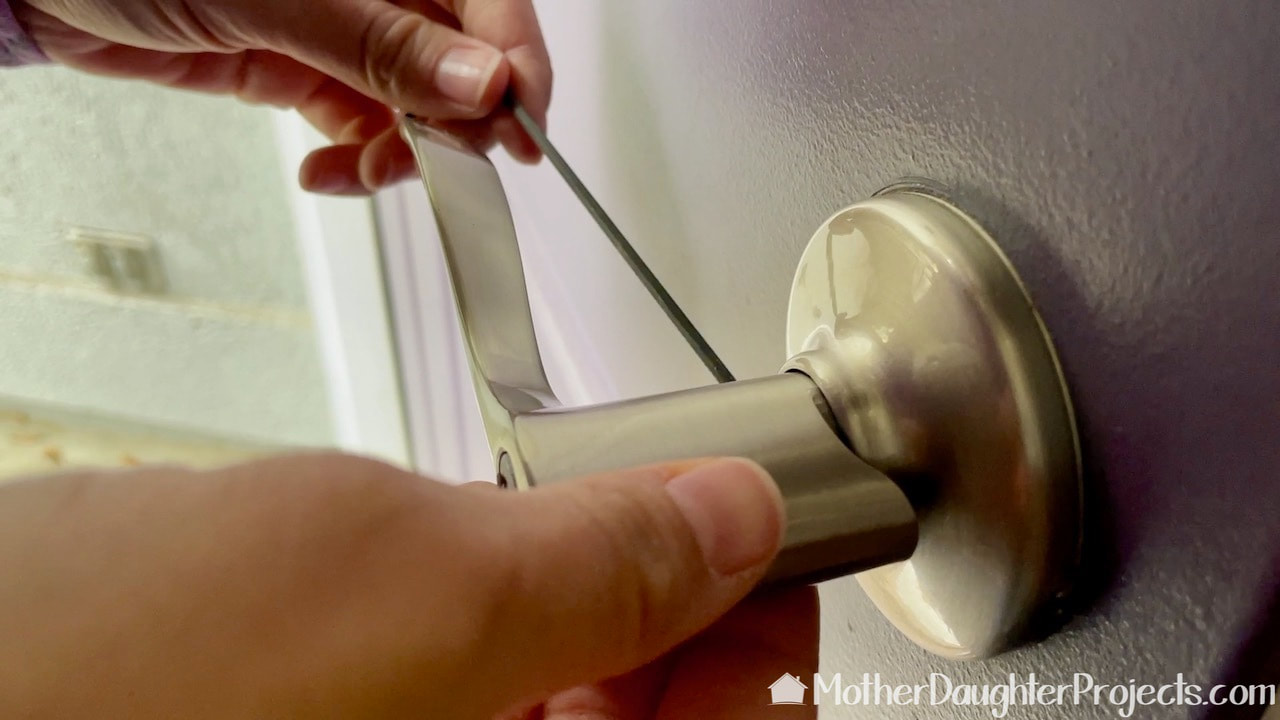
Here she is using the Allen wrench (which is provided with the door hardware) to securely fasten the handle.
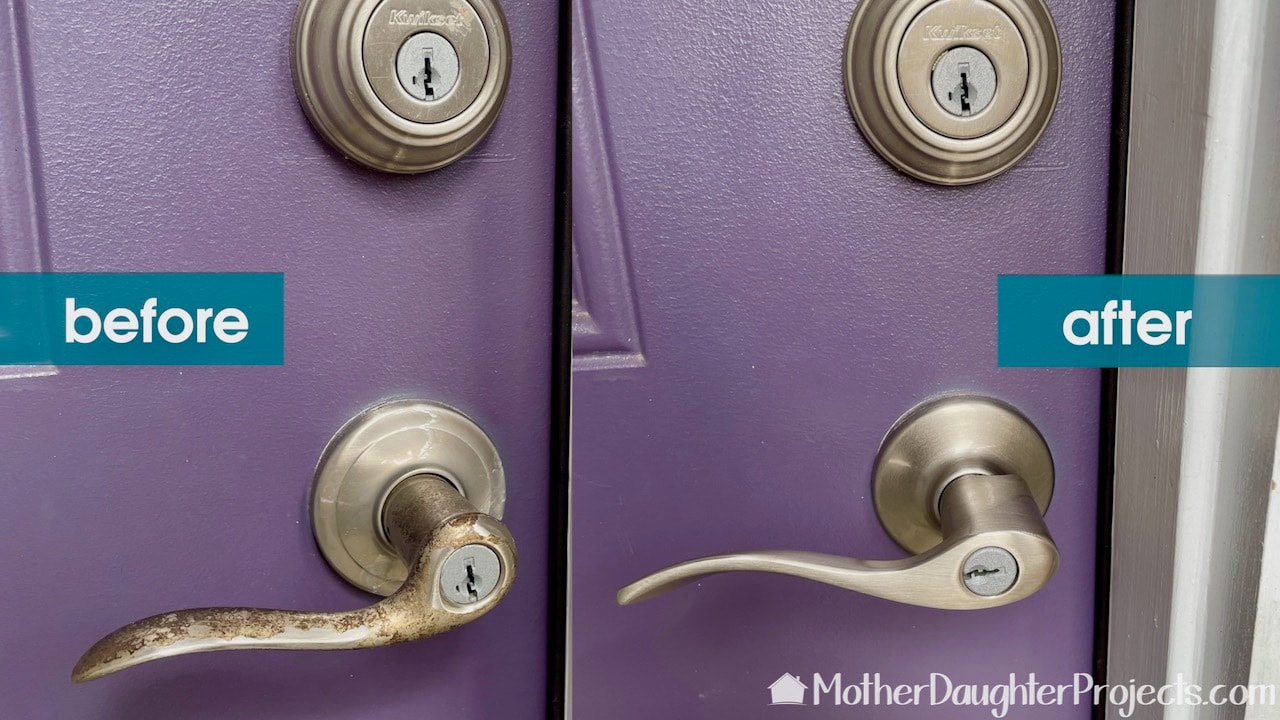
Here is the BEFORE and AFTER--it's a nice improvement.
There was nothing cosmetically or functionally wrong with the deadbolt so we didn't change out that. It's still looks good and looks great with the new handle.
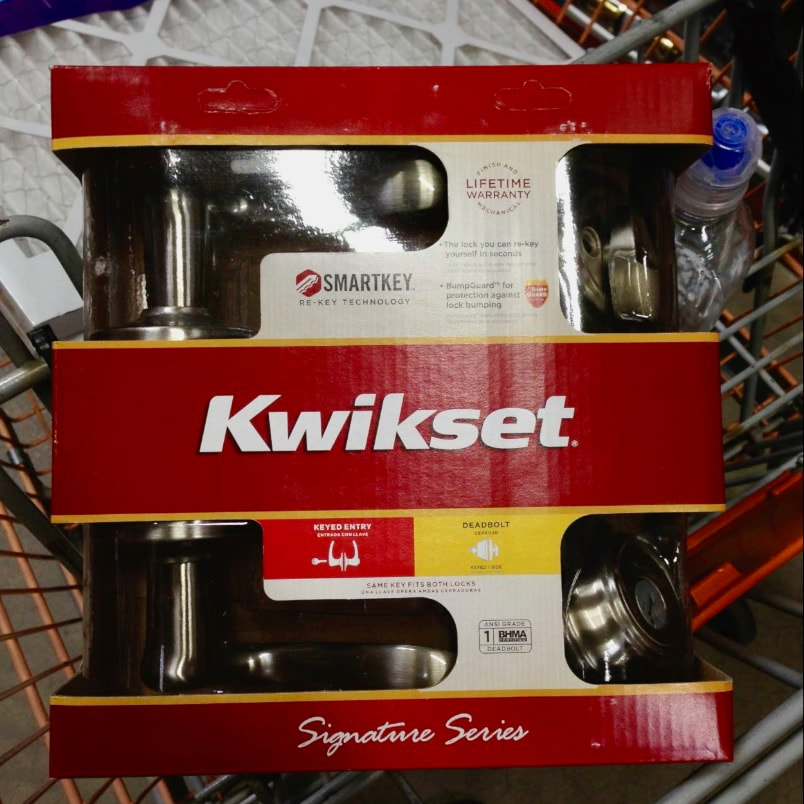
Changing out a door handle or doorknob is a DIY friendly project. Just be sure to give yourself some time just in case there is a surprise you were not expecting. And do plan on cleaning the door or touching up the paint once the old hardware is off. We really should have done this while we had the opportunity! *After we finished the project, Steph realized there is a lifetime guarantee on the finish of the old handle. We are going to see if that is true. *Two things about this picture. (1). Steph took it nine years ago in The Home Depot (you can see the orange of the shopping buggy). Why did she take a picture of the things she bought that day? This was way before we started documenting our work for Mother Daughter Projects! and (2). How in the world did she happen to find the picture after nine years?! Please note: This is not a sponsored post. FYI: We are not professionals, and we don't claim to be. This is what we found worked for our project. Yours may need a little different approach. Safety first! FYI: Affiliate links are being used on this page. Purchasing via these links help support MDP Related Projects
0 Comments
Leave a Reply. |

Mother Daughter Projects
|