Mother Daughter Projects

  • Blog
  • About
    • Contact
    • Privacy Policy
  • Tools
    • Tool Tuesday
  • Maintenance
  • Improvement
  • Decor
  • Tech
  • Blog
  • About
    • Contact
    • Privacy Policy
  • Tools
    • Tool Tuesday
  • Maintenance
  • Improvement
  • Decor
  • Tech

DIY for Homeowners

How to Use a Sharpie to Make Professional Labels

7/20/2022

0 Comments

 
text by Steph     Sign up here to join our weekly email newsletter!
We bought a Cricut Maker cutting machine a few years ago, and have really loved creating with it. I have found many use for it especially as a way to make professional looking stick-on labels for storage and organization for my garage and home.

I just did some cleaning in my garage and needed to label some bins, so I thought this was the perfect time to share how I make labels using a sharpie on the Cricut Maker!

Product:


  • Adapter Replacement for Sharpie Adapter Set 3PCS for Cricut (Amazon)

  • Cricut Vinyl, Chalkboard (Amazon)

  • Cricut Premium Vinyl - Removable, 12” x 180” Adhesive Decal Bulk Roll - Black (Amazon)

  • Cricut Premium Vinyl - Removable, 12” x 180” Adhesive Decal Bulk Roll - White (Amazon)

  • Cricut Maker (Amazon)

To make labels using a Cricuit Maker start with textured vinyl and a fine point sharpie.
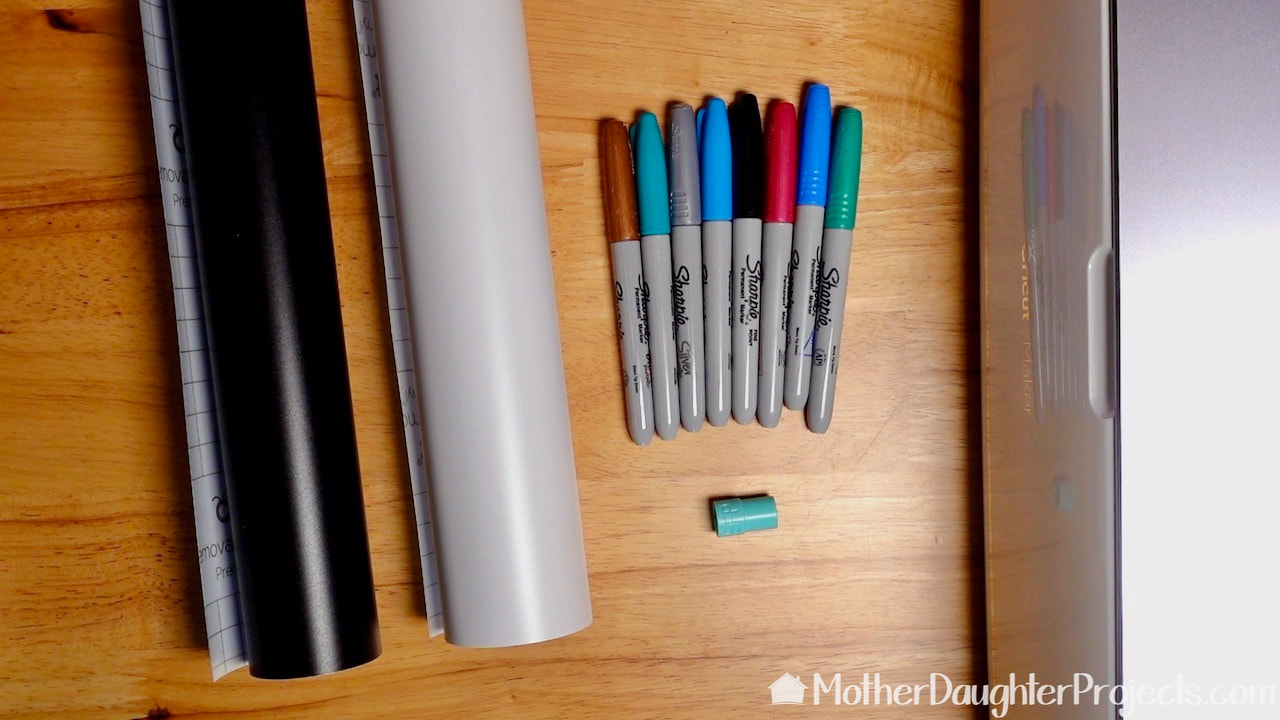
Here are the supplies. I found vinyl with a little texture works best along with any fine point sharpie. The best part is the sharpie dries right away and doesn't smudge!
The Cricut chalkboard and removable vinyl work well when using a Sharpie for making labels.
Cricut chalkboard and removable vinyl work well.
Here's a photo of various colors of Sharpie on the black Cricut chalkboard vinyl.
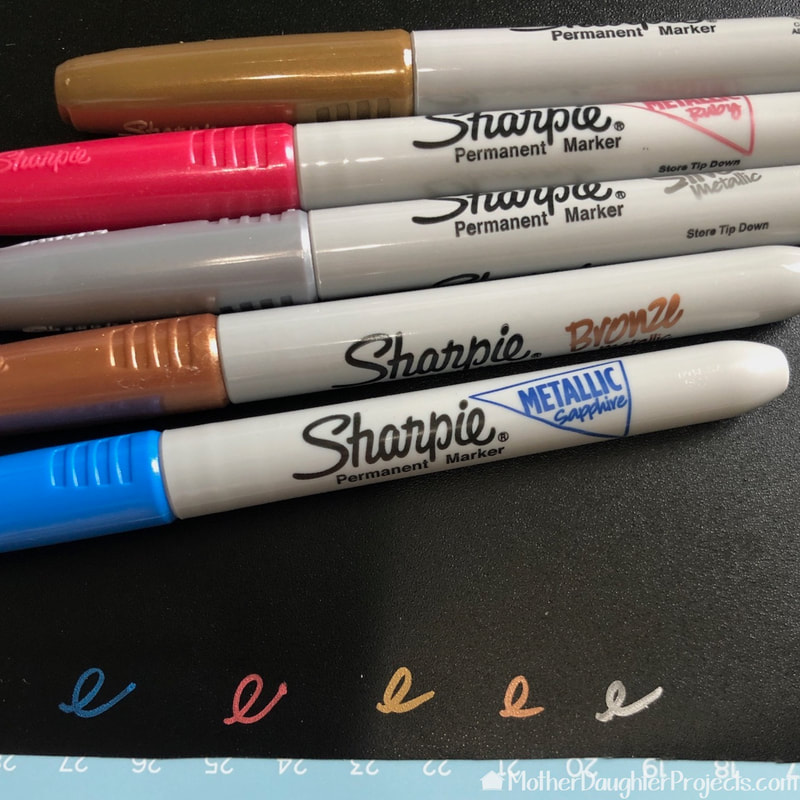
Here you can see how the different colors show on the vinyl. Once you've selected the color you want to use, you're ready to start creating your labels using a computer and Cricut Maker.
Step one in making labels with a Cricut Maker is to plug your computer into the Circuit.
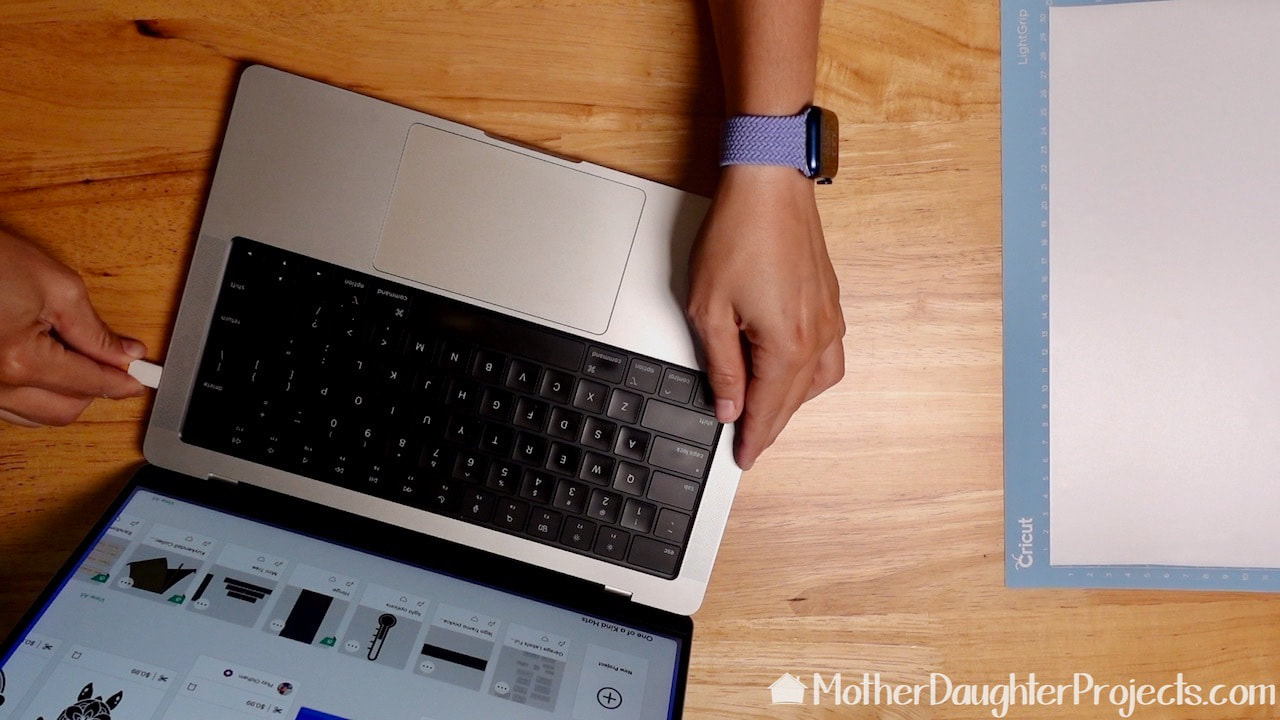
1. Plug in computer to Cricut machine
Open Cricut design space software and get started by adding a shape first.
2. Open Cricut design space software
3. Add shape
4. Add text
5. Change font style to writing
Continue in Cricut Design Space to design your Sharpie labels.
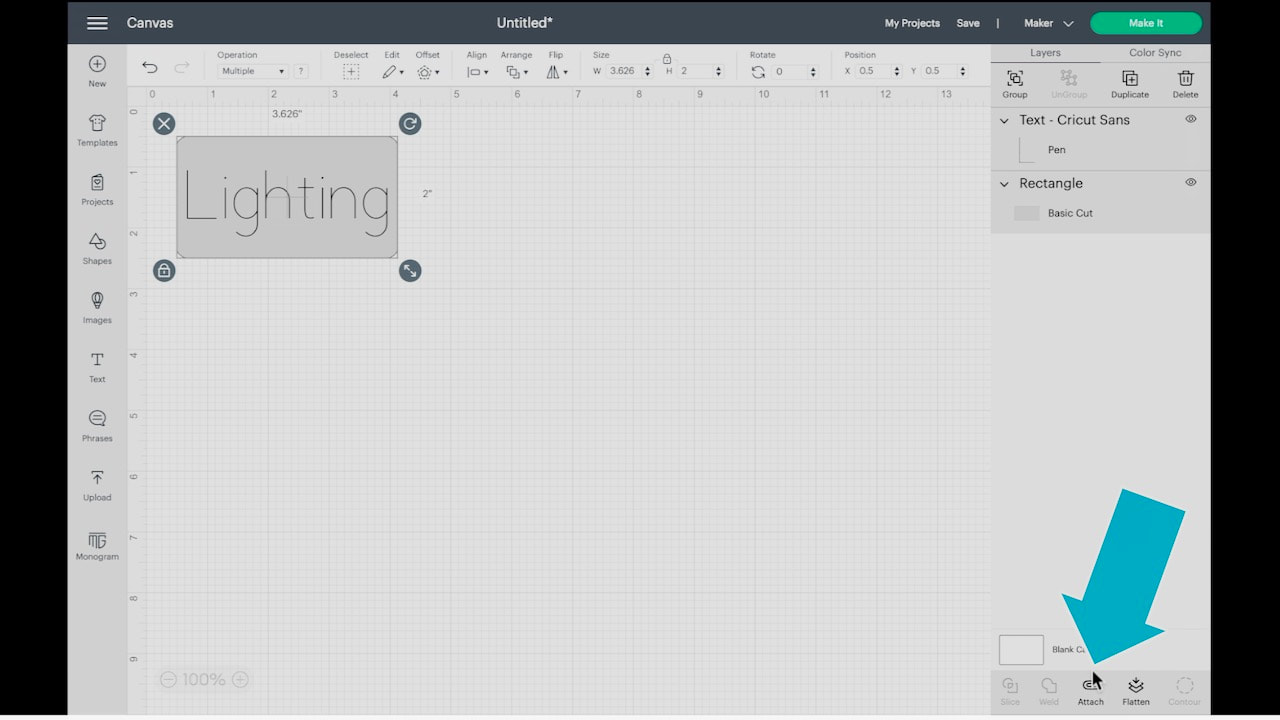
6. Select shape and text and align and attach
7. Click make it
Place your chosen vinyl on the circuit cutting mat.
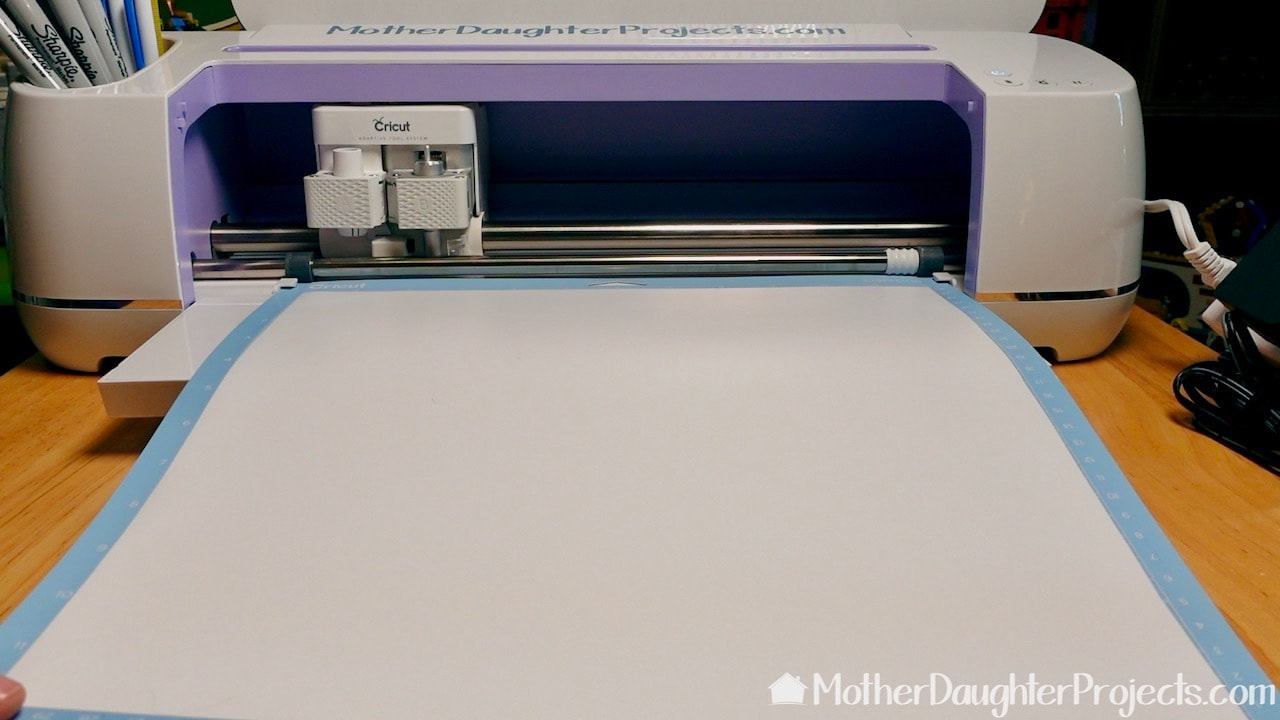
Place cutting mat with vinyl in machine
Remove the pin in adapter clip A.
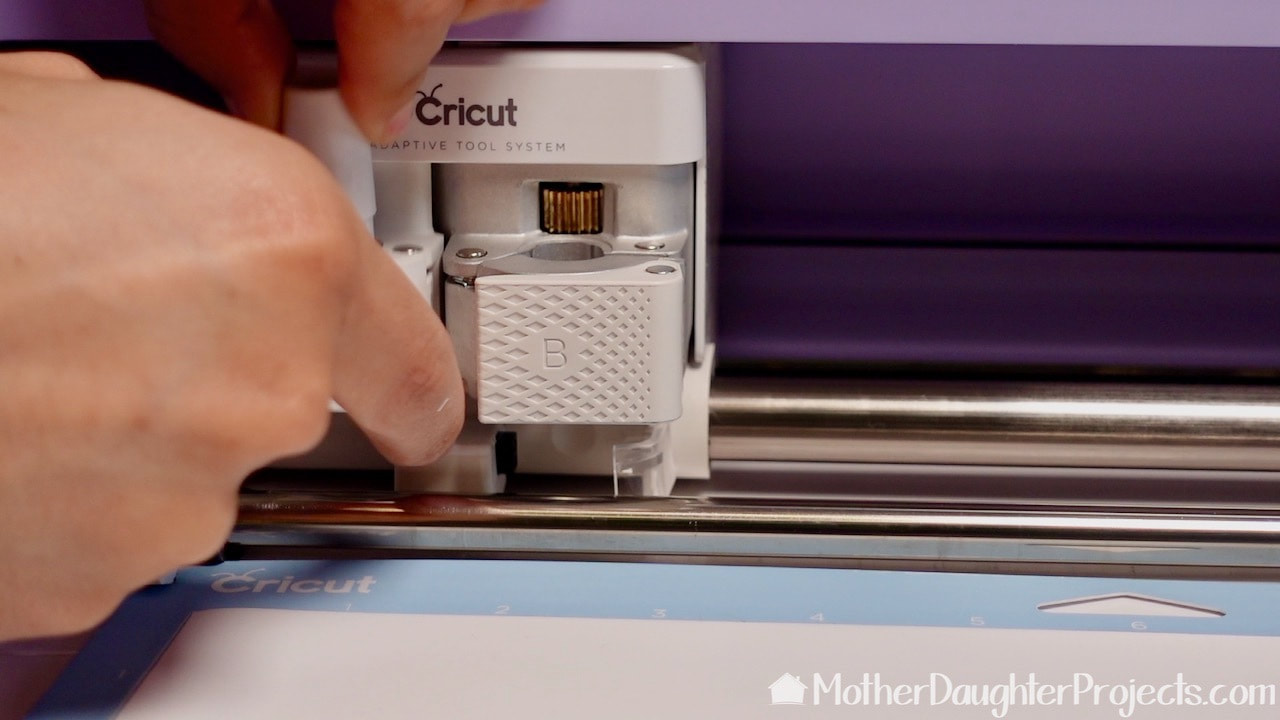
Pop out the pin adapter in clip A. Just push it from the bottom and it will pop out.
Add the sharpie adapter and sharpie and place it in Clip A.
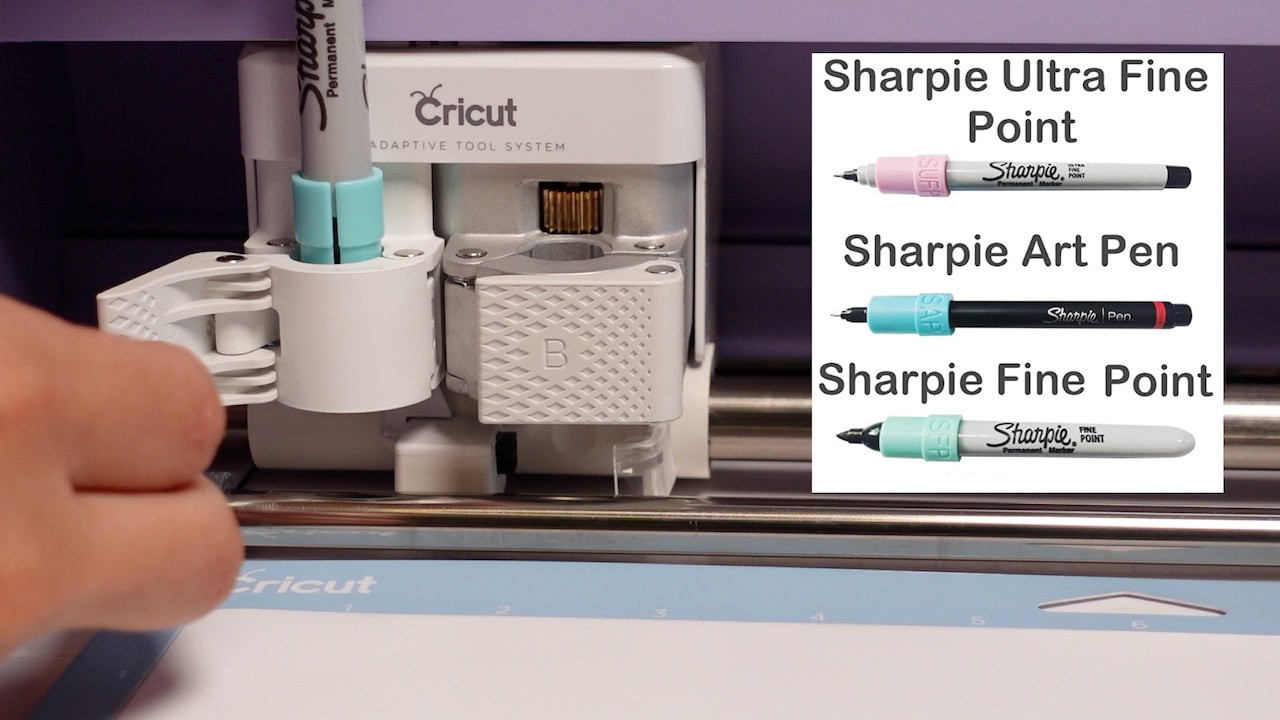
Add the sharpie adapter to the sharpie, then place it in clip A. Add the Cricut fine point blade in clip B so it can cut the vinyl.
The Cricut will write the labels and cut them at thee same time!
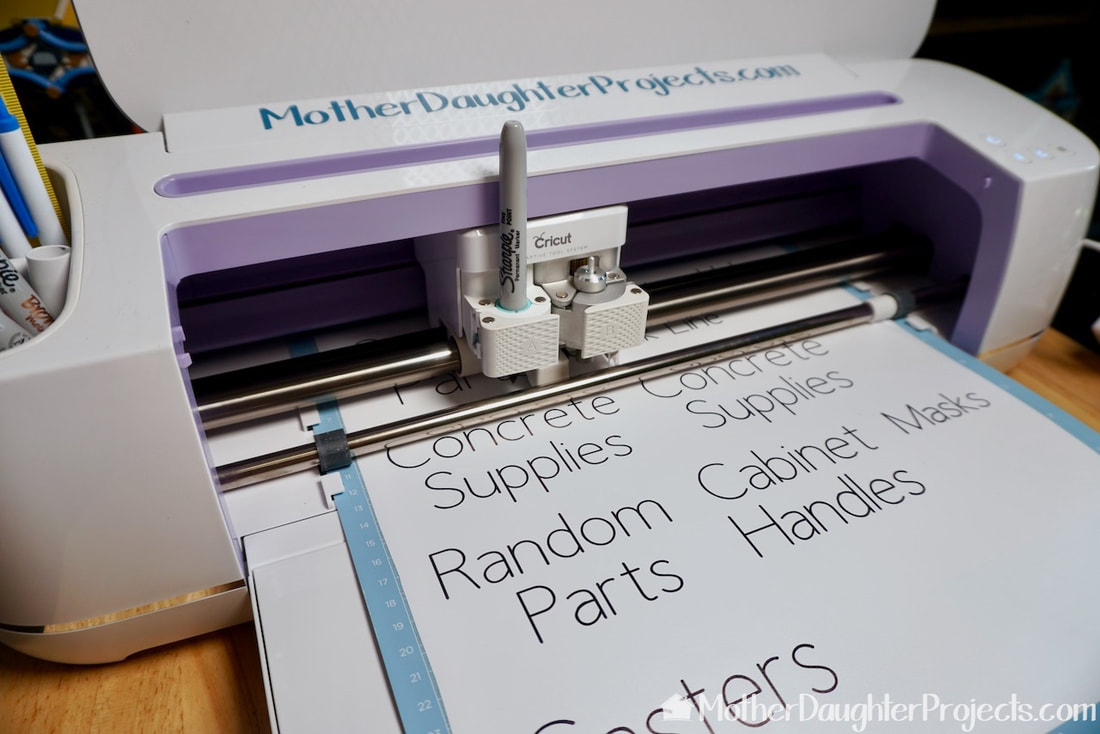
...and watch it work!
Now, just apply the circuit labels and see how quick it is to get organized!
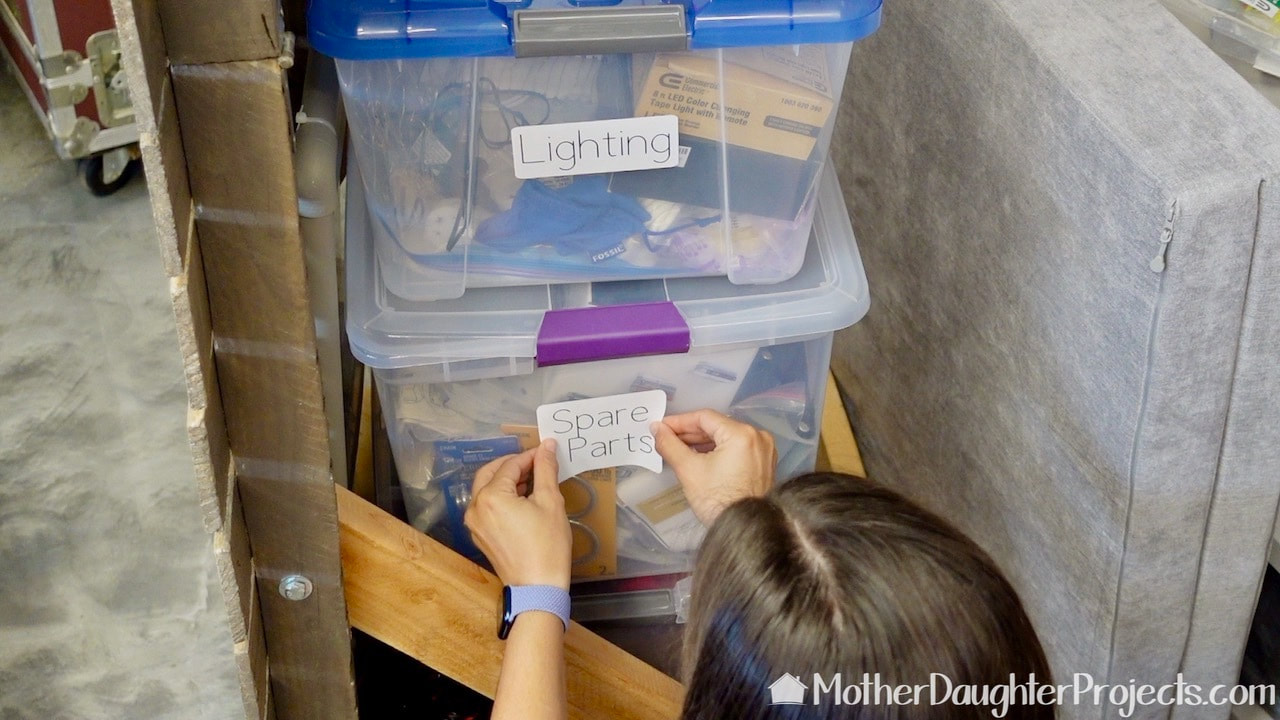
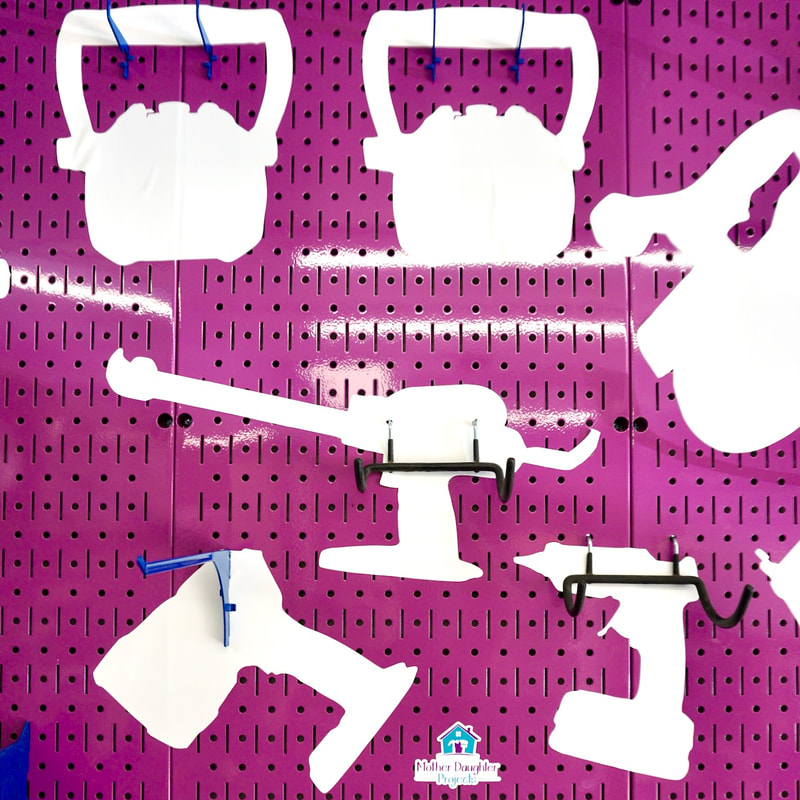
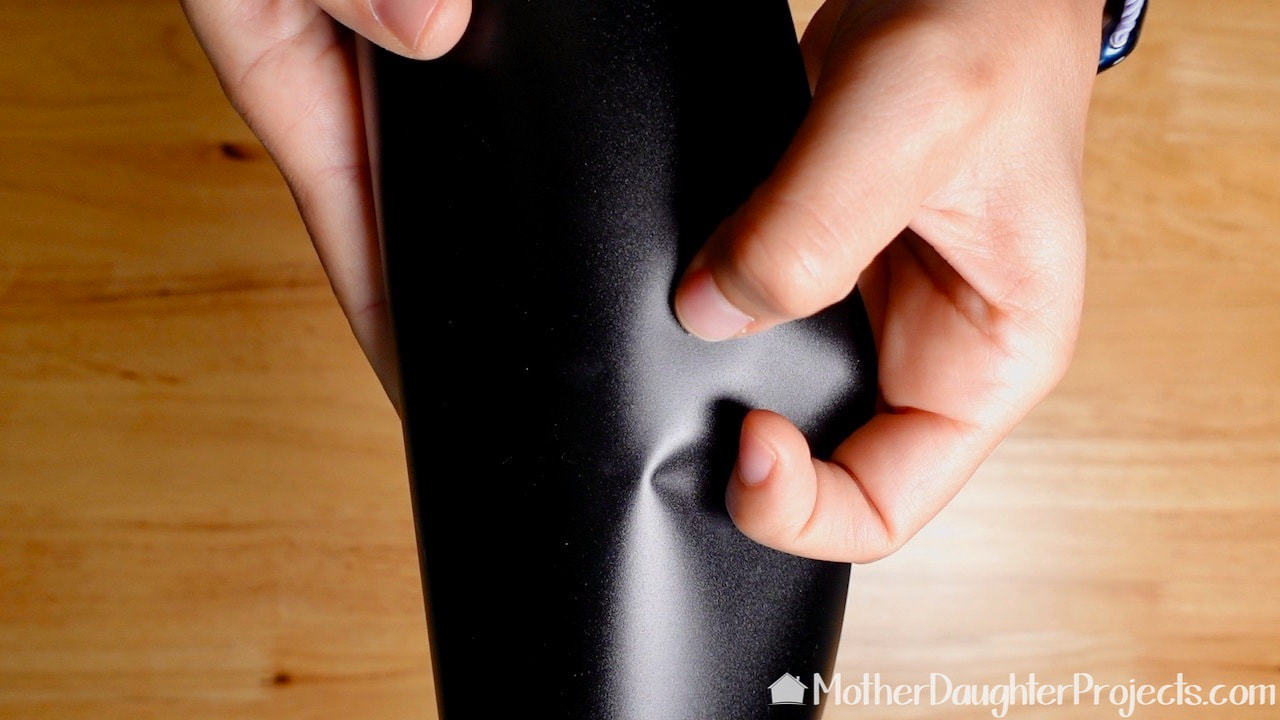
These labels are a fast way to get organized in any room, especially the garage! We placed the labels on our storage bins.
The Cricut cut and written labels add organization to all the storage in the garage.
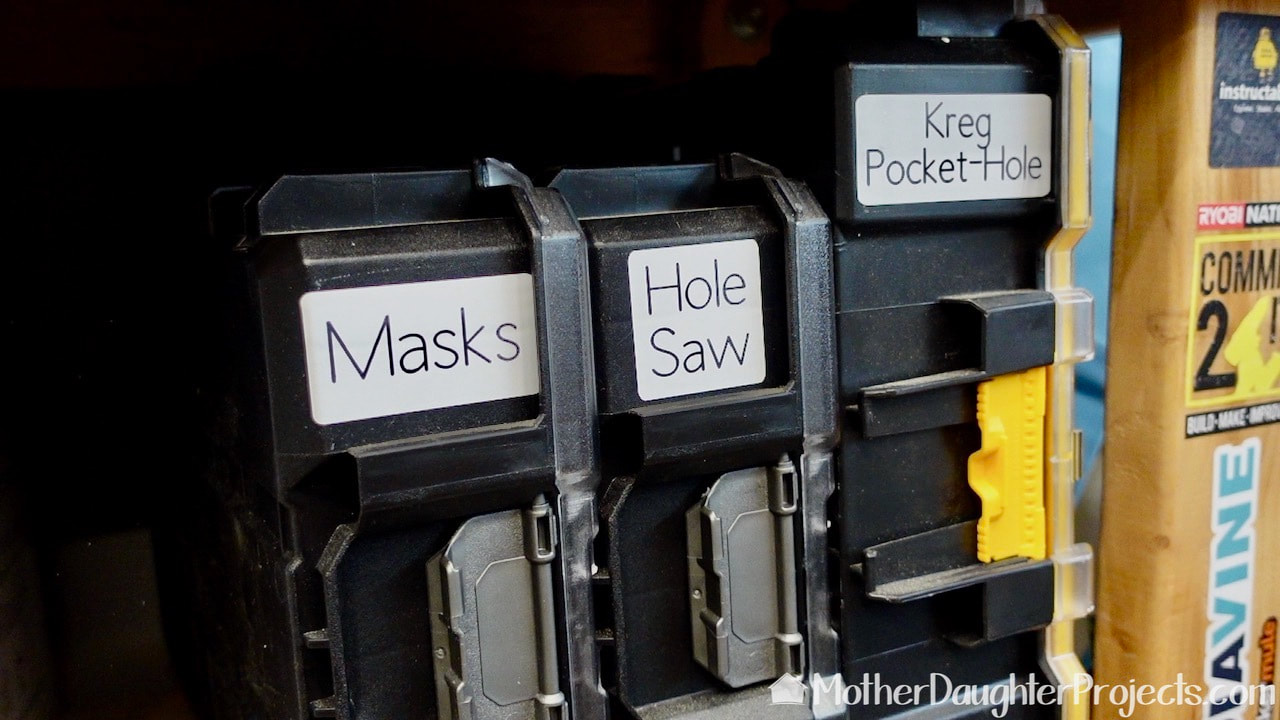
As someone with bad handwriting, this is worth the little bit of time to get professional results! And a great way to stay organized!

Please note: This is not a sponsored post. 


FYI: We are not professionals, and we don't claim to be. This is what we found worked for our project. Yours may need a little different approach. Safety first!

FYI: Affiliate links are being used on this page. Purchasing via these links help support MDP

Related Projects

Picture
Why Cricut Maker?
Picture
Tool Shadow Board
Picture
Drywall Repair Sticker?!
0 Comments


Leave a Reply.

    MotherDaughterProjects.com

    Mother Daughter Projects
    ​
    Steph & Vicki

    We're homeowners sharing our DIY adventures as we learn to maintain, improve, decorate, and ​use tech in our homes.
    Share your projects with us here:  
    ​#trylearnshare
    MotherDaughterProjects.com
Mother Daughter Projects, LLC ∙ est. 2015 ∙ Tallahassee, FL by Vicki & Steph ∙ Privacy Policy