|
text by Vicki Sign up to get Mother Daughter Projects updates in your email!
This post is sponsored by The Home Depot.
My very first smart home product was the Philips Hue Go, that I use as a nightlight as well as an alarm clock. I've added several Hue bulbs since then and enjoy the app enabled features, to be able turn the bulbs off and on automatically. I was thrilled to see this Hue Pendant lights on the Philips website.
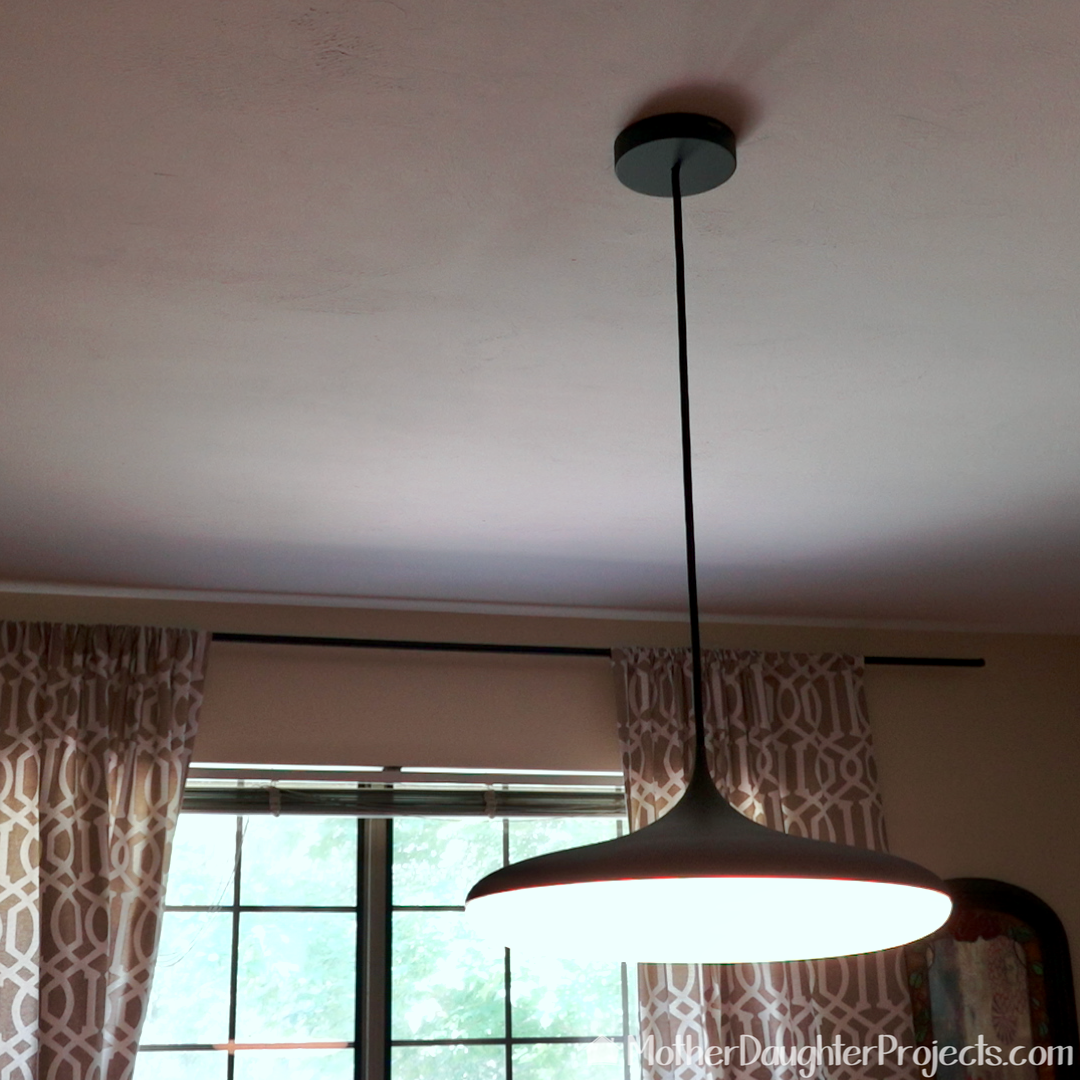
As part of the Home Depot #smarthome campaign, we are able to request additional items to install and review. I knew when I saw this pendant light that it had to be installed at my home! I love the clean lines and the mid-century look of it, and knew it would be perfect above my 1967 Norwegian teak mid-century table. 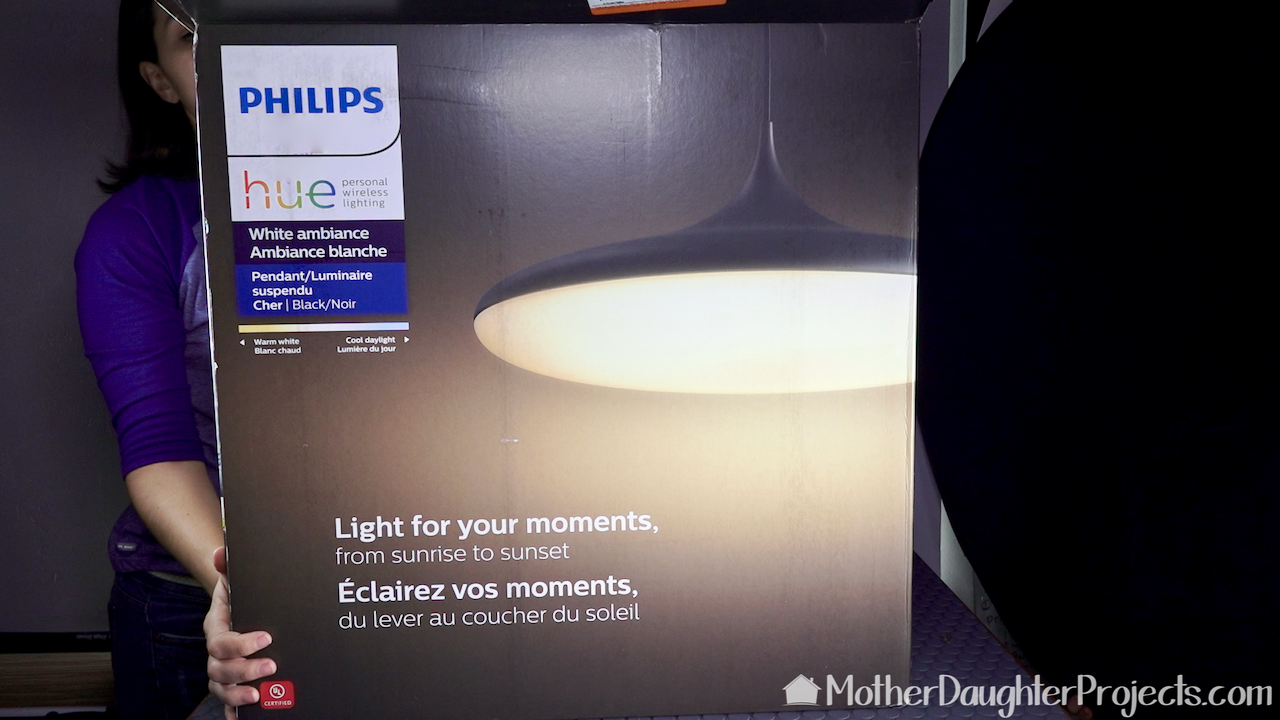
The light comes well packaged in a really big box, but it is extremely lightweight.
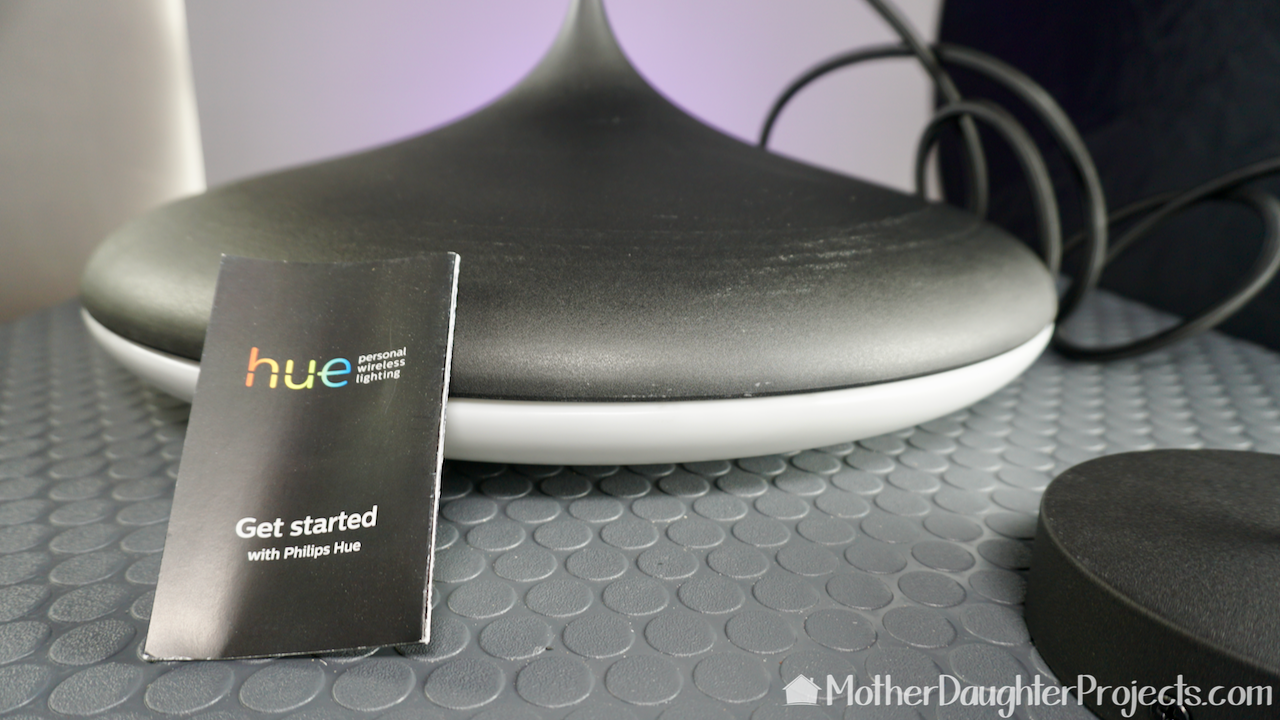
The light is all one-piece. The light bulbs inside should last for up to 25,000 hours of use according to the website.
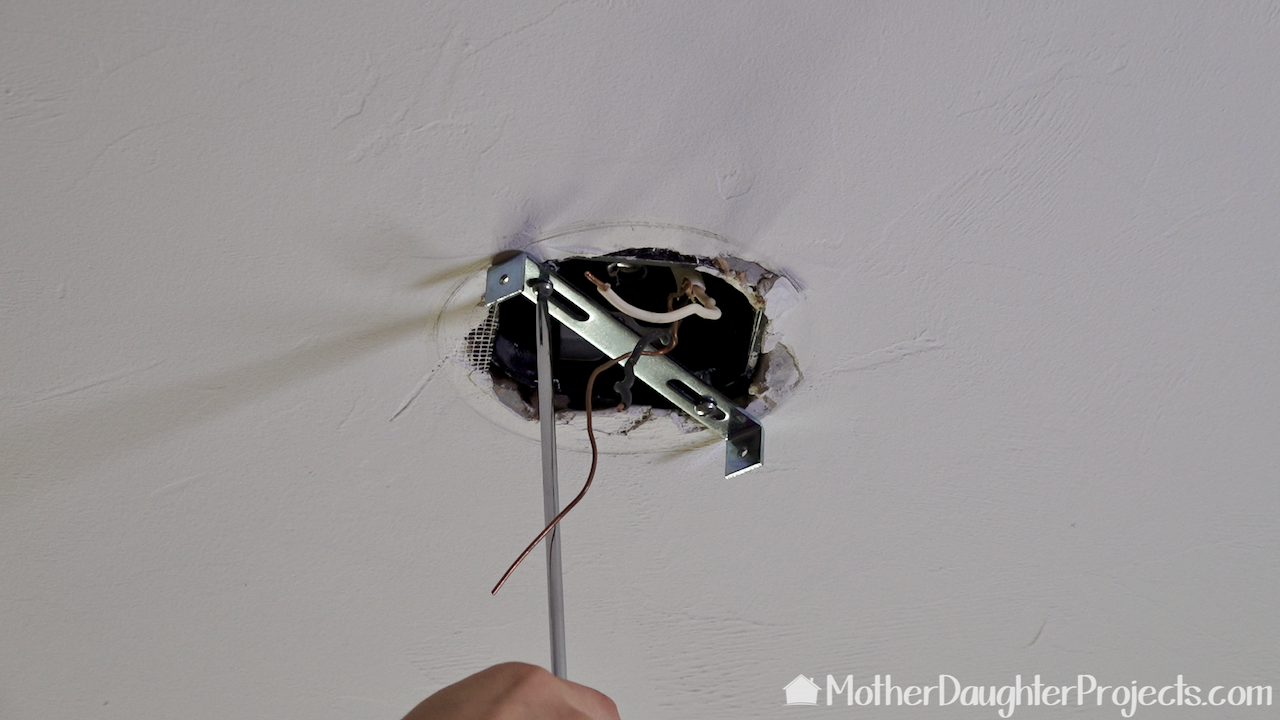
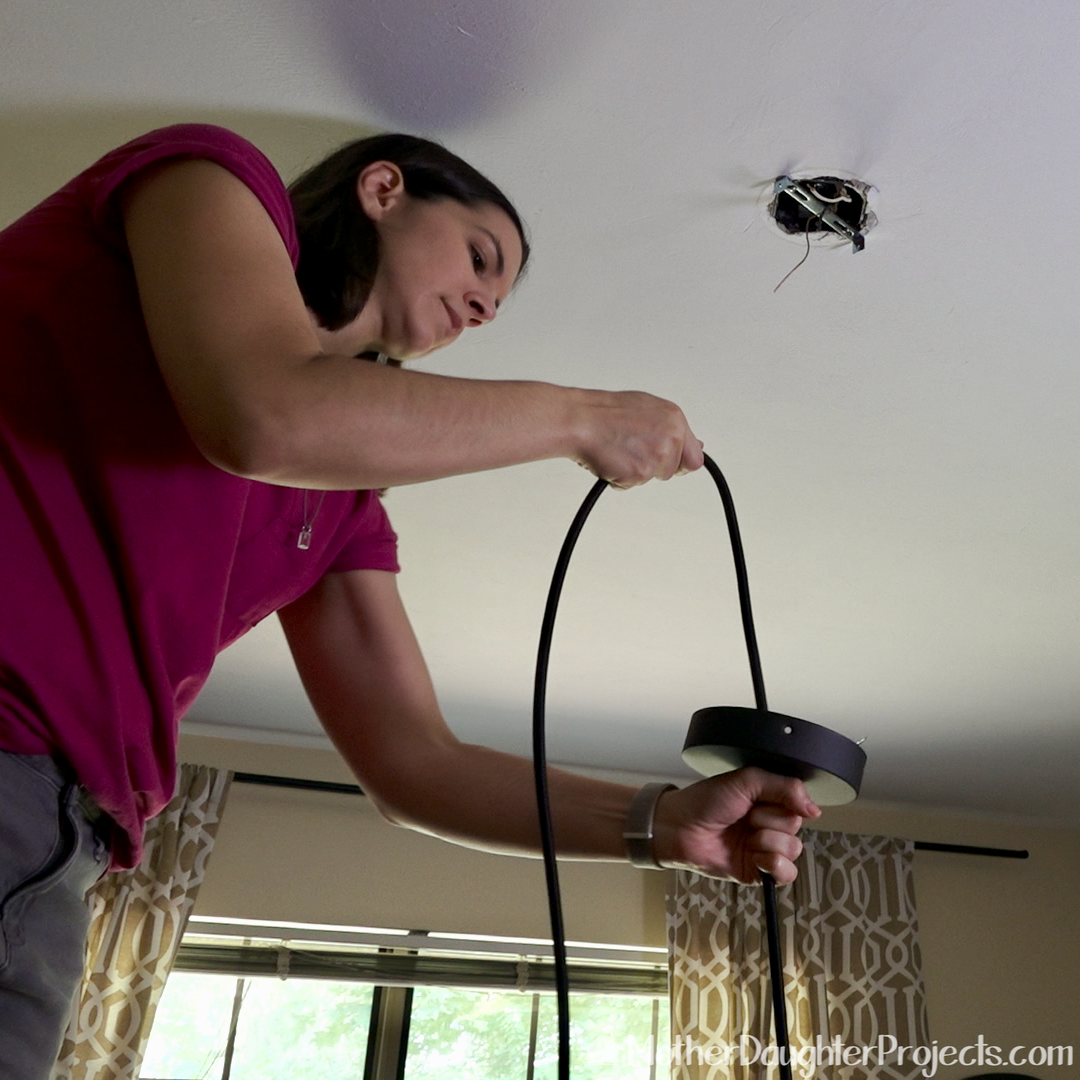
Start by turning off power at the circuit box to the existing fixture. Remove the old fixture from the ceiling. We also removed the existing support as we needed to use the one that was included with the new light.
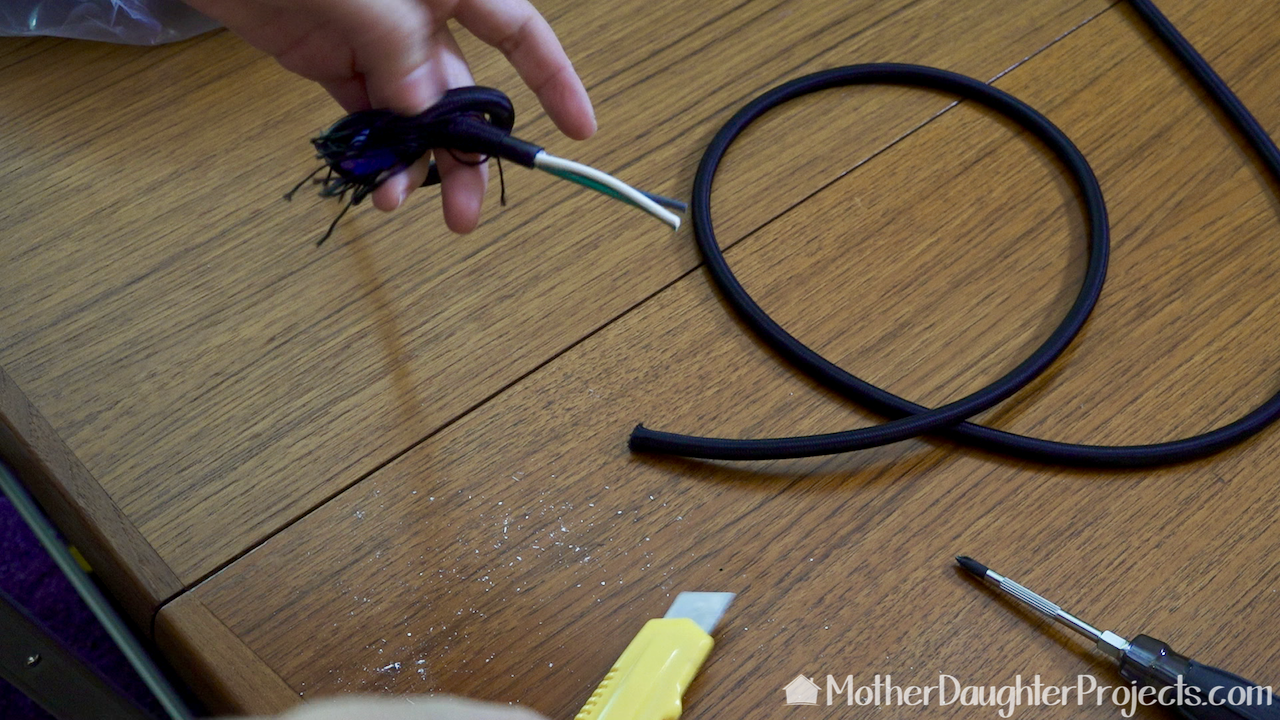
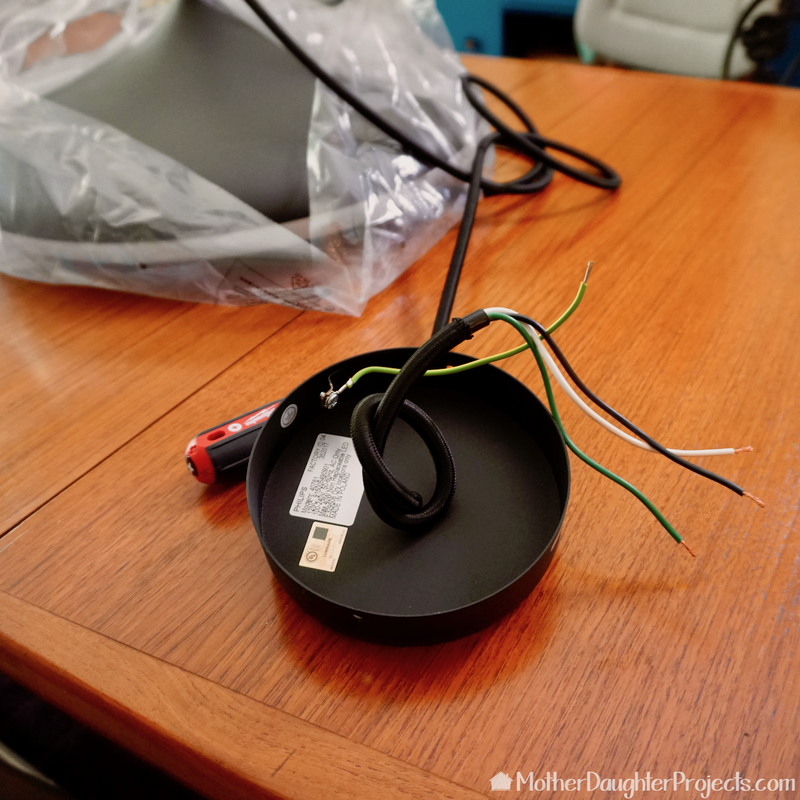
We cut off the excess cord and started to prep it for wiring.
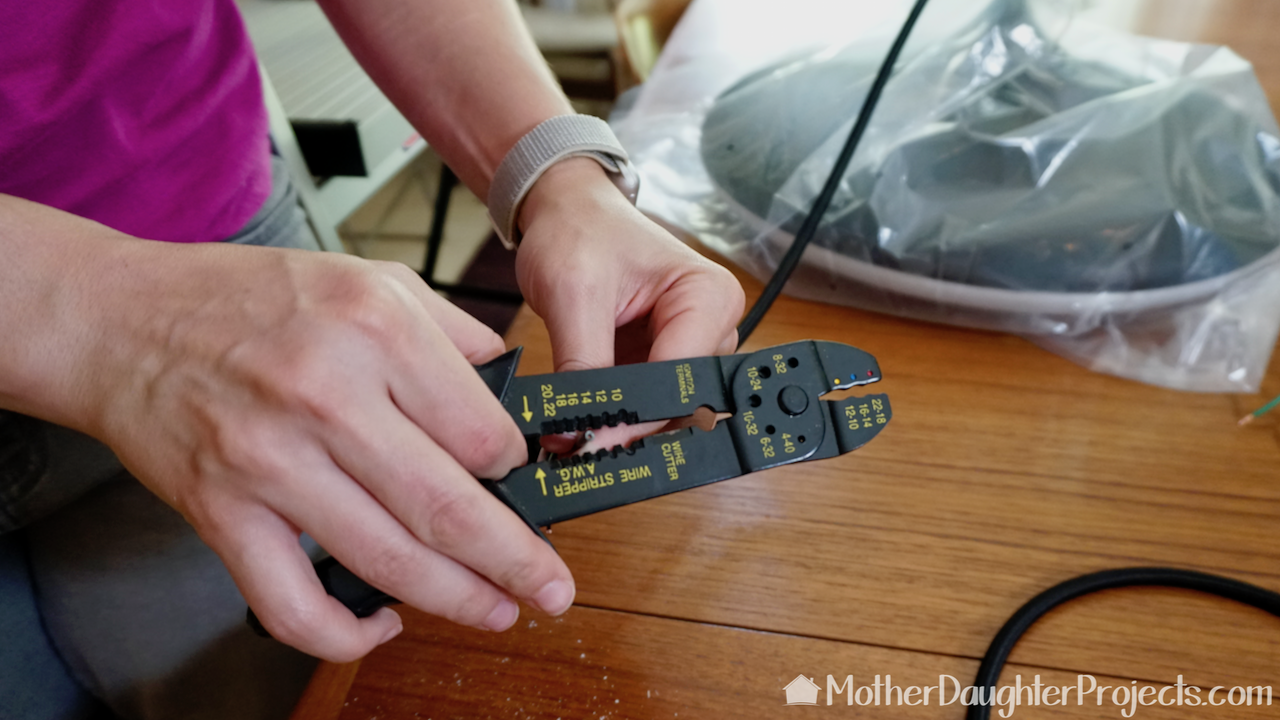
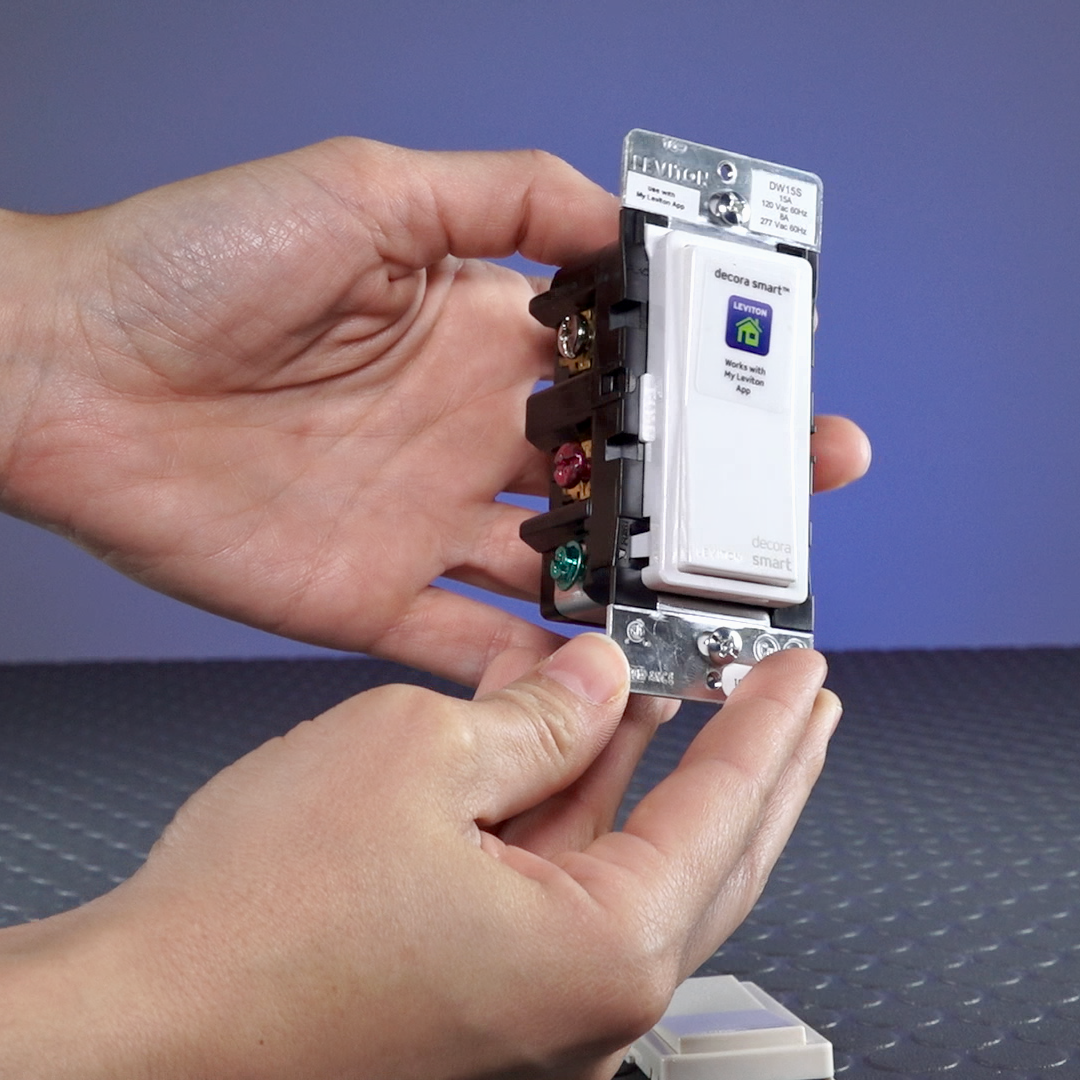
We removed the outside insulation to expose the three inner wires. We used wire strippers to take off about half an inch of insulation on each of the three wires.
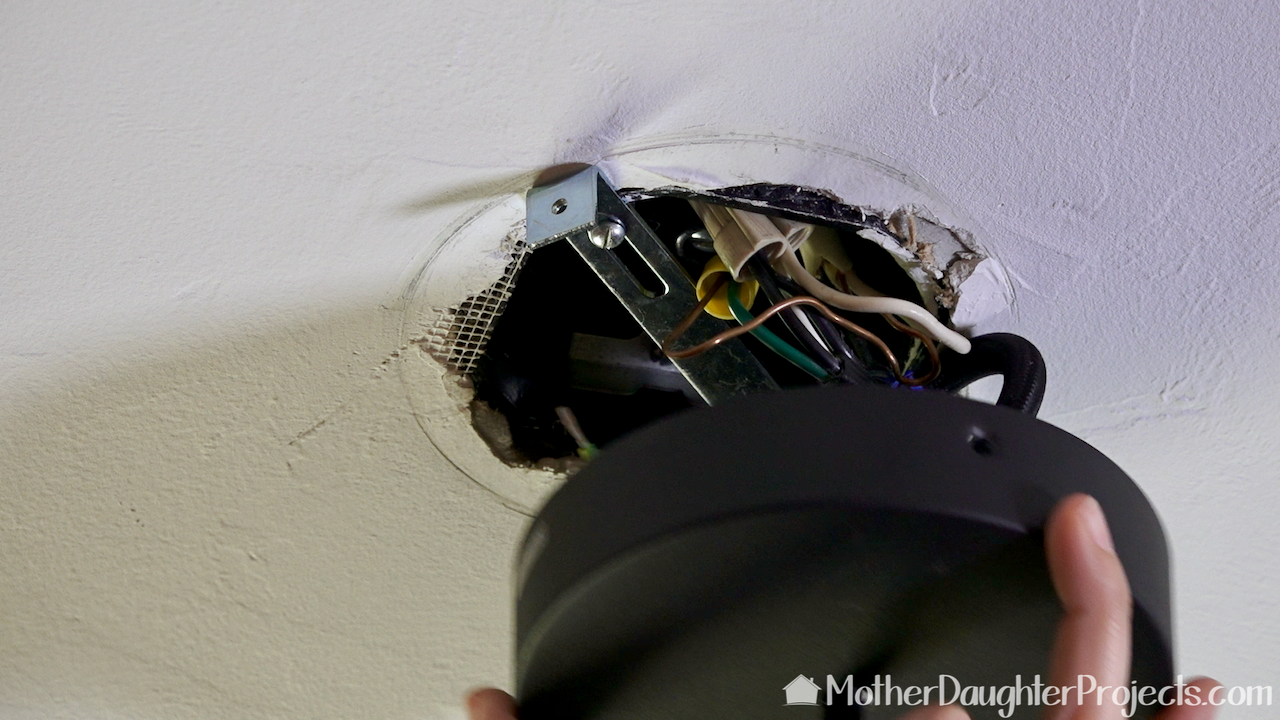
The pendant wiring matches up, and is secured with plastic wire nuts, to the corresponding colored ceiling wires.
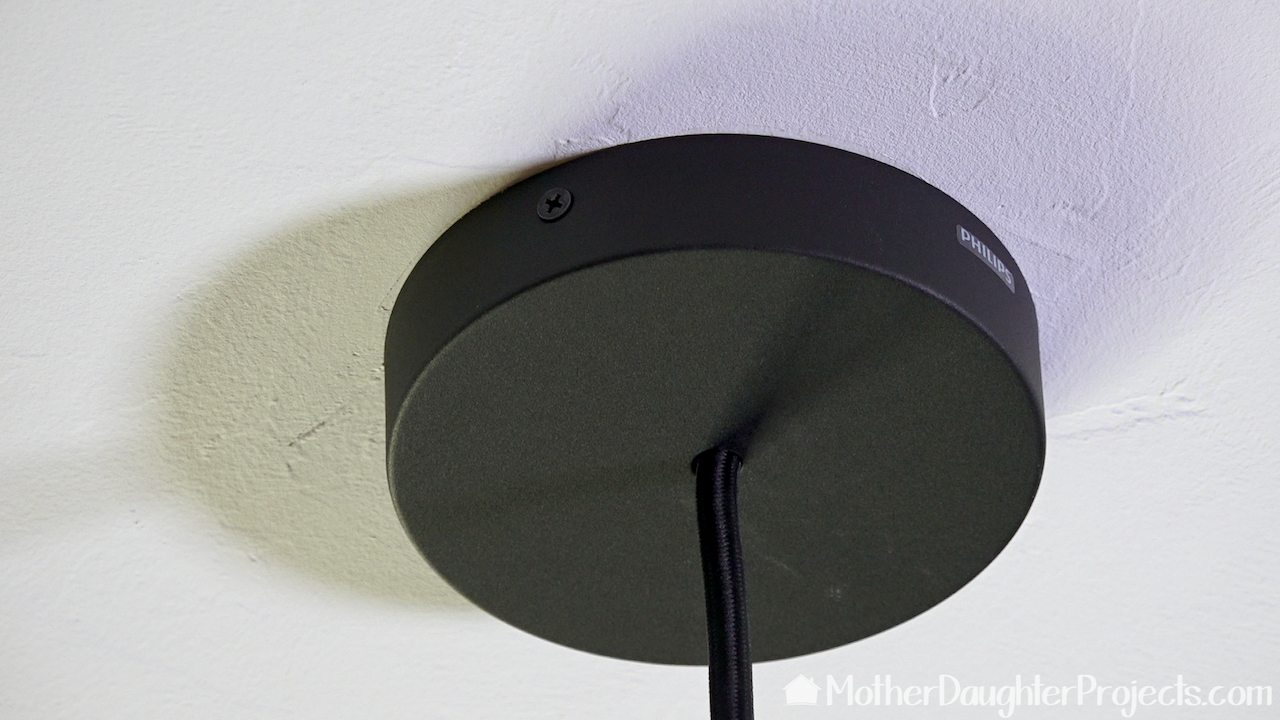
The last step is to add screws to either side of the canopy to secure the fixture in place.

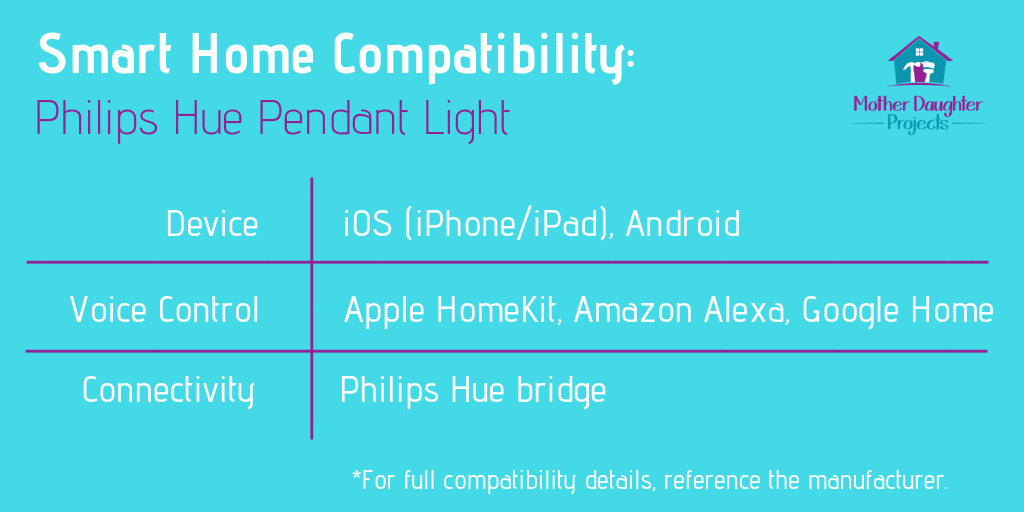
Download the free Hue app. In order to use the smart features, you must have a Hue bridge, which is sold separately. I already have a bridge so it was seamless to add this light to my other lights.
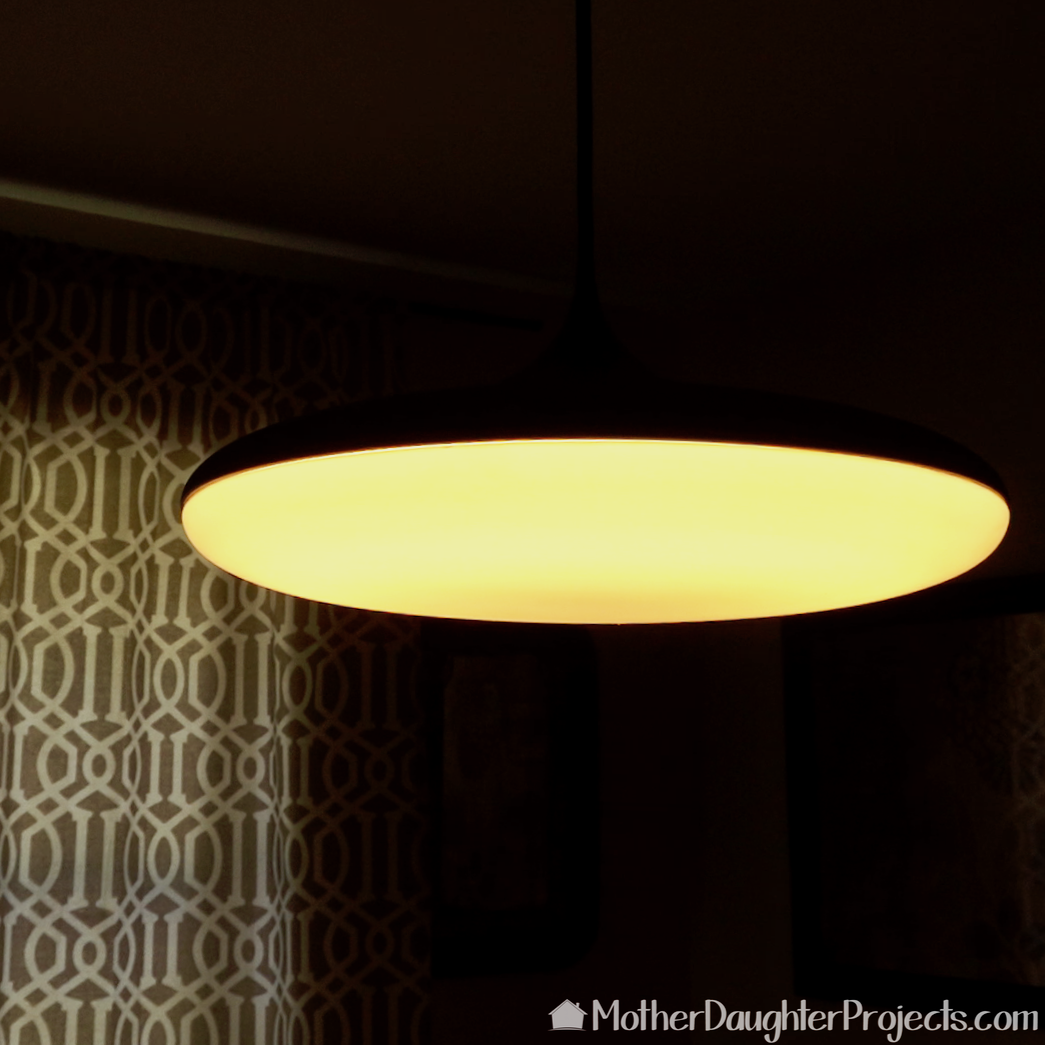
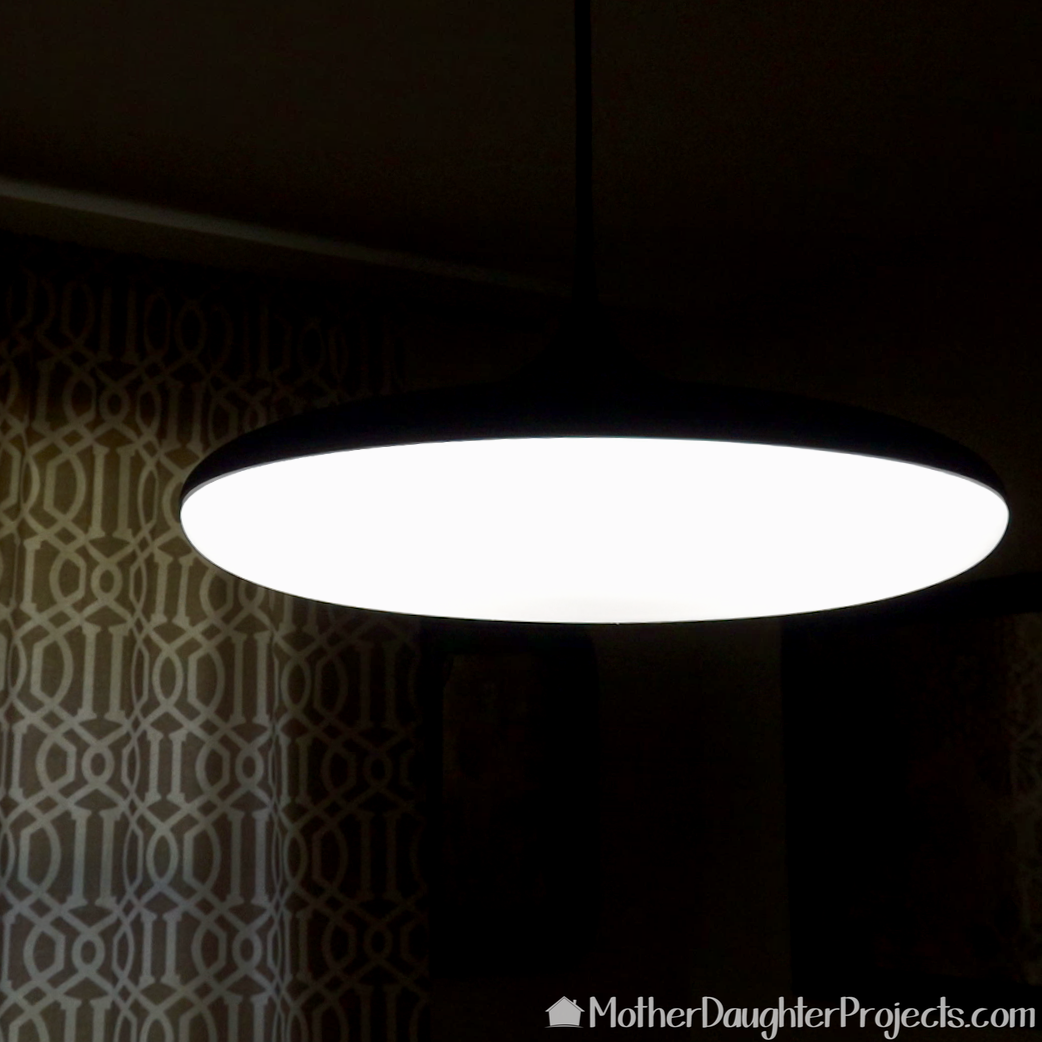
I couldn't be happier with this new pendant light in my dining room. It's the perfect choice above my mid-century table.
I've been happy with all the Philips Hue products I have in my home. All the devices show up on one screen in the app, so it's easy to see the status of each. I especially like that I can turn them on from anywhere, assuring I never have to enter a dark house. If you're thinking about investing in the Philips Hue system and are on the fence, just think about the convenience of not having to get out of bed to turn off your bedroom light! I just recently replaced the bulb in my ceiling light with a Hue bulb just so I could do that! It's a great feature! We acknowledge that The Home Depot is partnering with us to participate in the Smart Home Campaign 2018. As a part of the Program, we are receiving compensation in the form of products and services, for the purpose of promoting The Home Depot. All expressed opinions and experiences are our own words. Our post complies with the Word Of Mouth Marketing Association (WOMMA) Ethics Code and applicable Federal Trade Commission guidelines. FYI: We are not professionals, and we don’t claim to be. This is what we found worked for our project. Yours may need a little different approach. Safety first! FYI: Affiliate links are being used on this page. Purchasing via these links help support MDP! Related Projects
0 Comments
Leave a Reply. |

Mother Daughter Projects
|