|
text by Vicki Sign up to get Mother Daughter Projects updates in your email!
This post is sponsored by The Home Depot.
Today, arriving home after dark, I was met with the welcoming lights from my newly installed smart garage door opener! Needless to say, since the lights in my old garage door opener have not been working in years, it was nice (and safer) not to have to stumble my way through a dark garage.
Back in 2001, Steph and I installed an opener. The install took a good three days, as we hit problem after problem. We were a little hesitant about tackling the install on the new Genie opener, considering our history. But after getting started, we couldn't have been more pleased with the ease of installation! The online video and written instructions walked us seamlessly through the installation process. What problems we did encounter, were easily solved. Genie has made the installation of garage door openers a very DIY friendly process. As long as you have the right tools, a bit of patience, a clear understanding of the process, and a buddy to help- this is a project is for you! 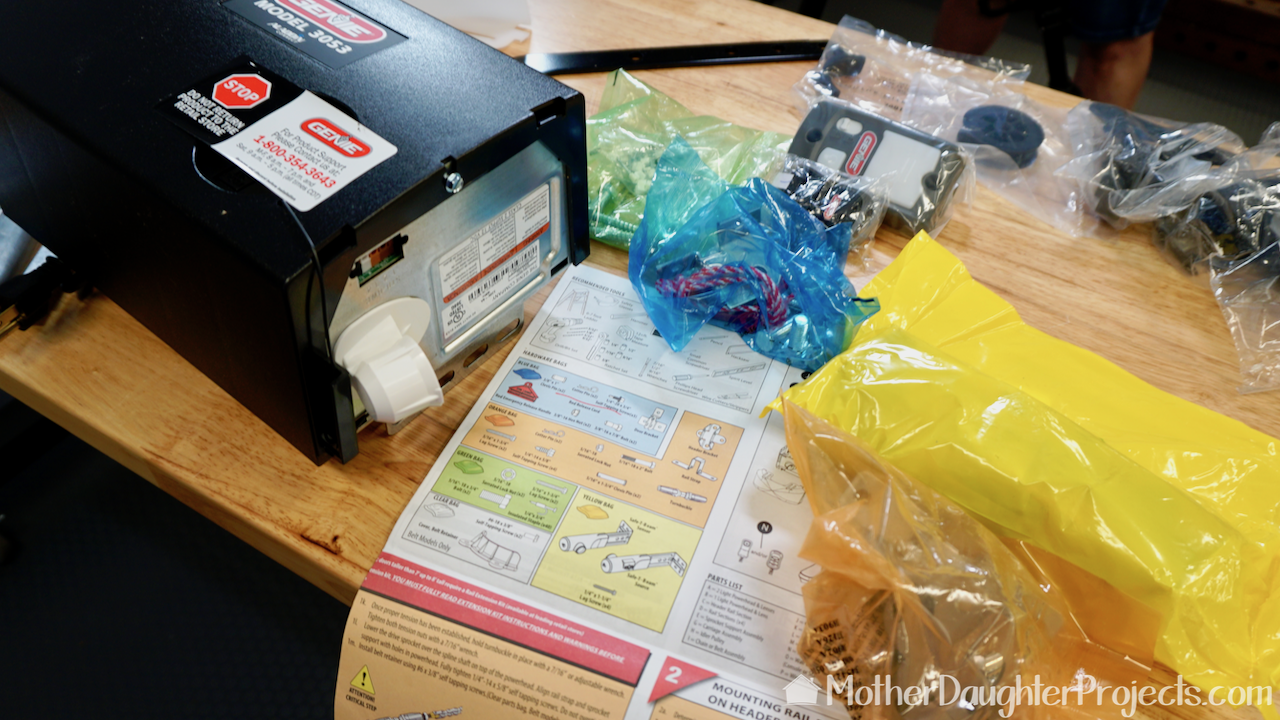
Genie has very good installation videos and written materials, so we will NOT attempt a step by step tutorial. We are sharing our experience. One of the best features of the installation was the color coding of the small parts! It was very easy to find the parts needed for each step by just looking for the correct color bag.
Products:
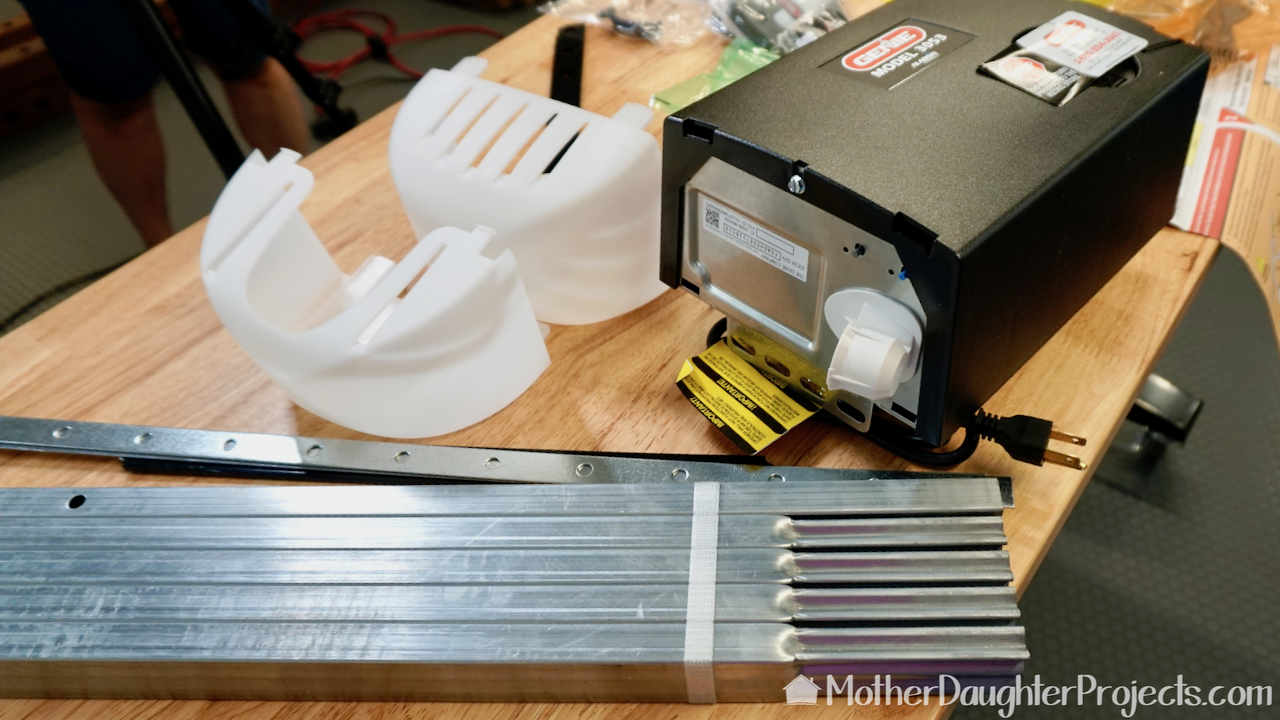
Before starting, we throughly reviewed the written installation guide and watch the online install video. We laid out all the parts in roughly the same order they were to be used as shown in the installation guide.
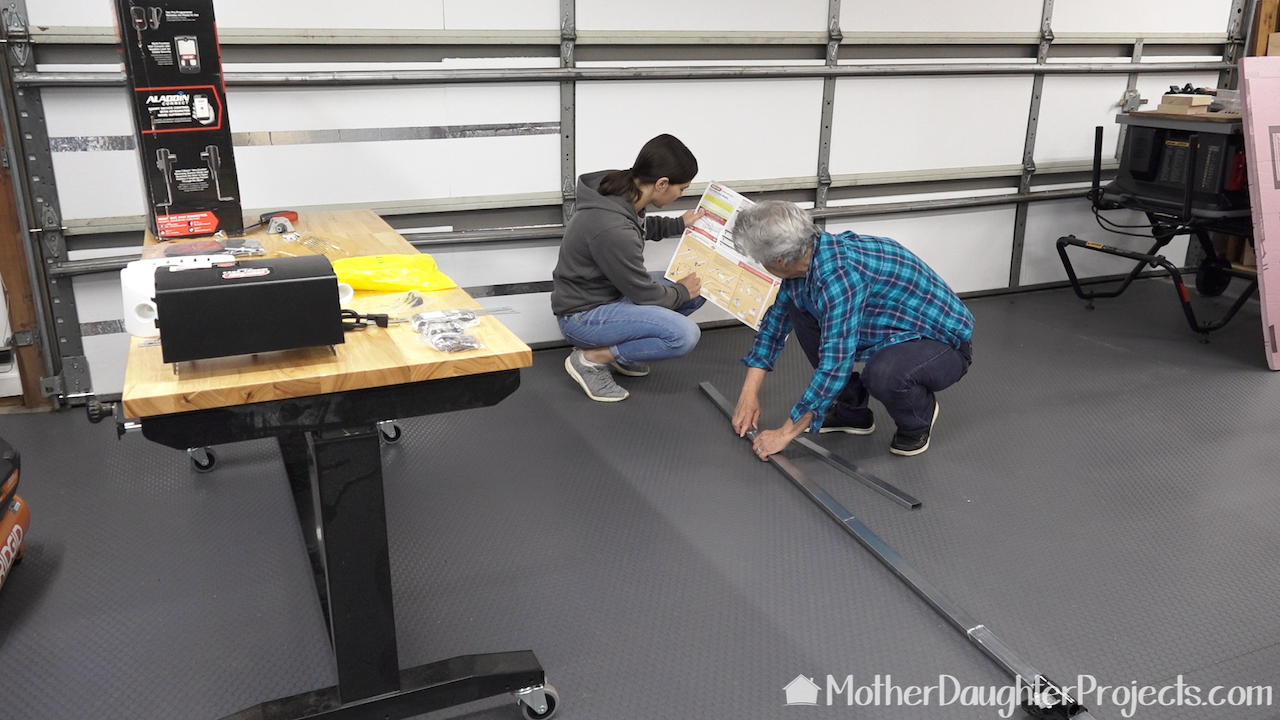
The first step was to put together the rail. There's a bit of grease involved in this part, but really, it's not overly messy.
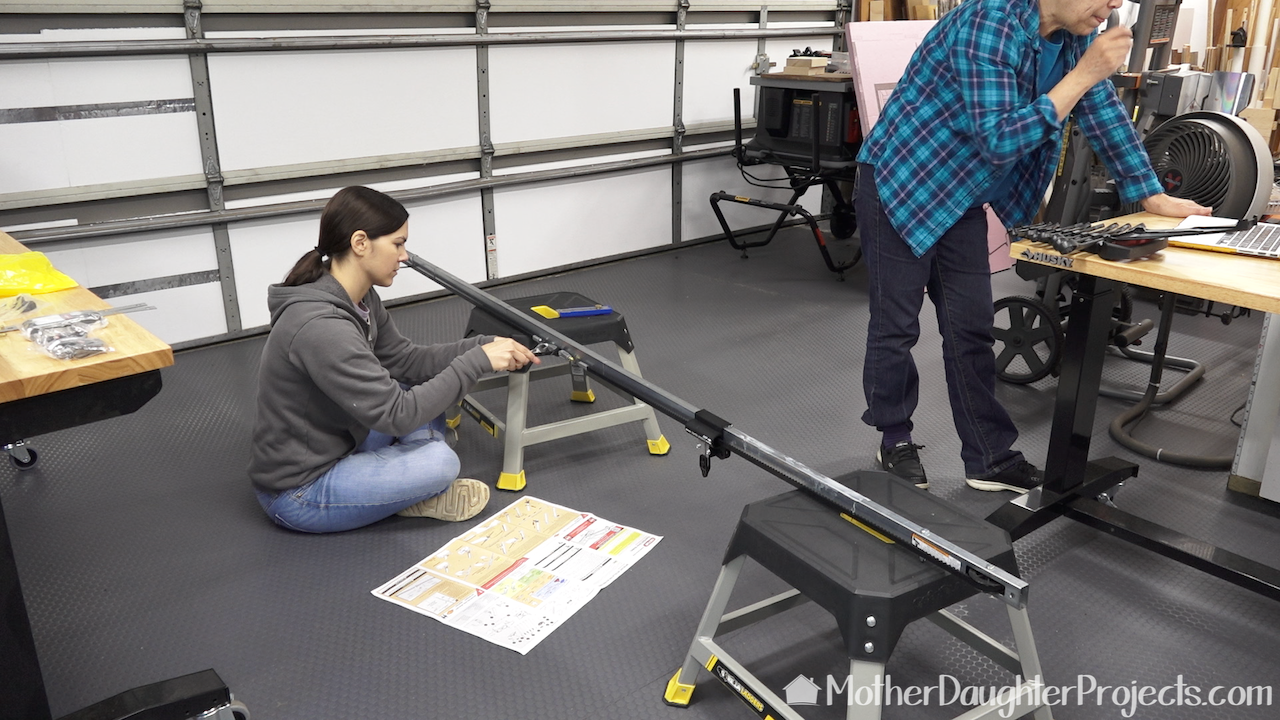
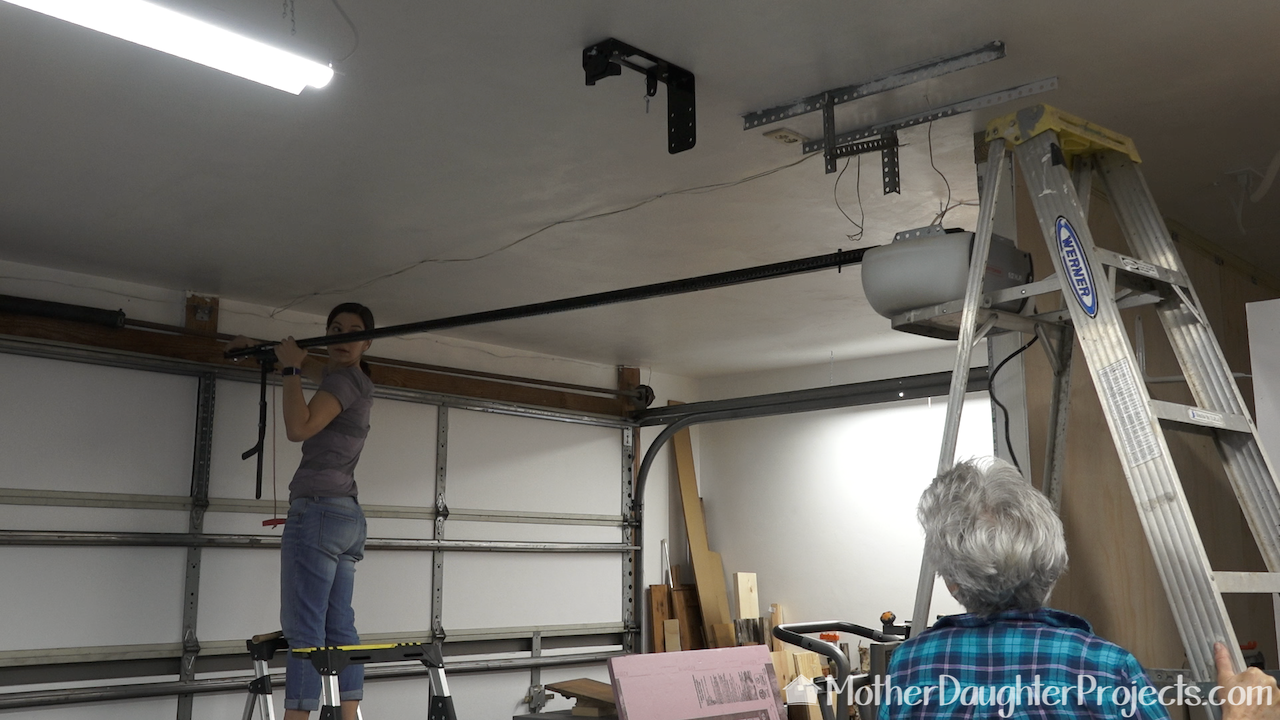
The stools are not necessary, but we found it easier to work on the rail with it raised a bit. Here Steph is tightening the belt assembly, while I check the video for the next step.
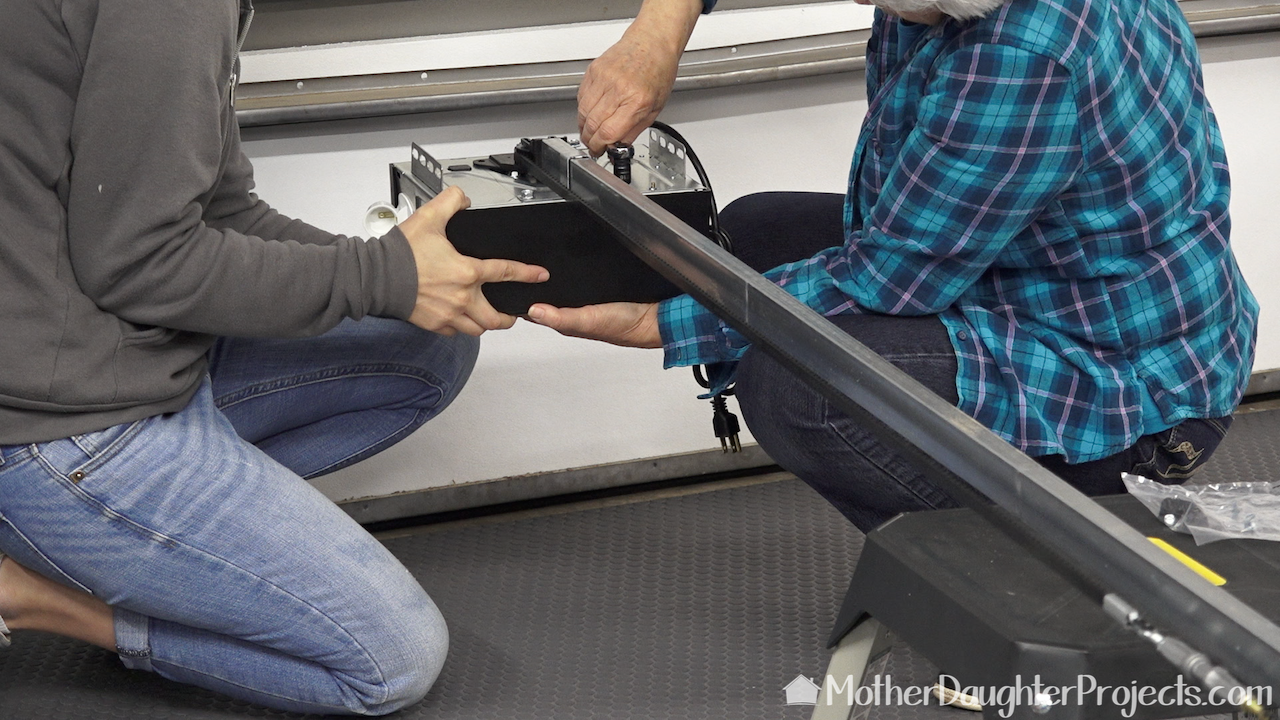
With the belt in place, it was time to connect the power head to the rail.
Now, before we could continue further, we needed to take down the old unit. We very carefully removed the bolts and worked as a team to safely remove and lower the old unit.
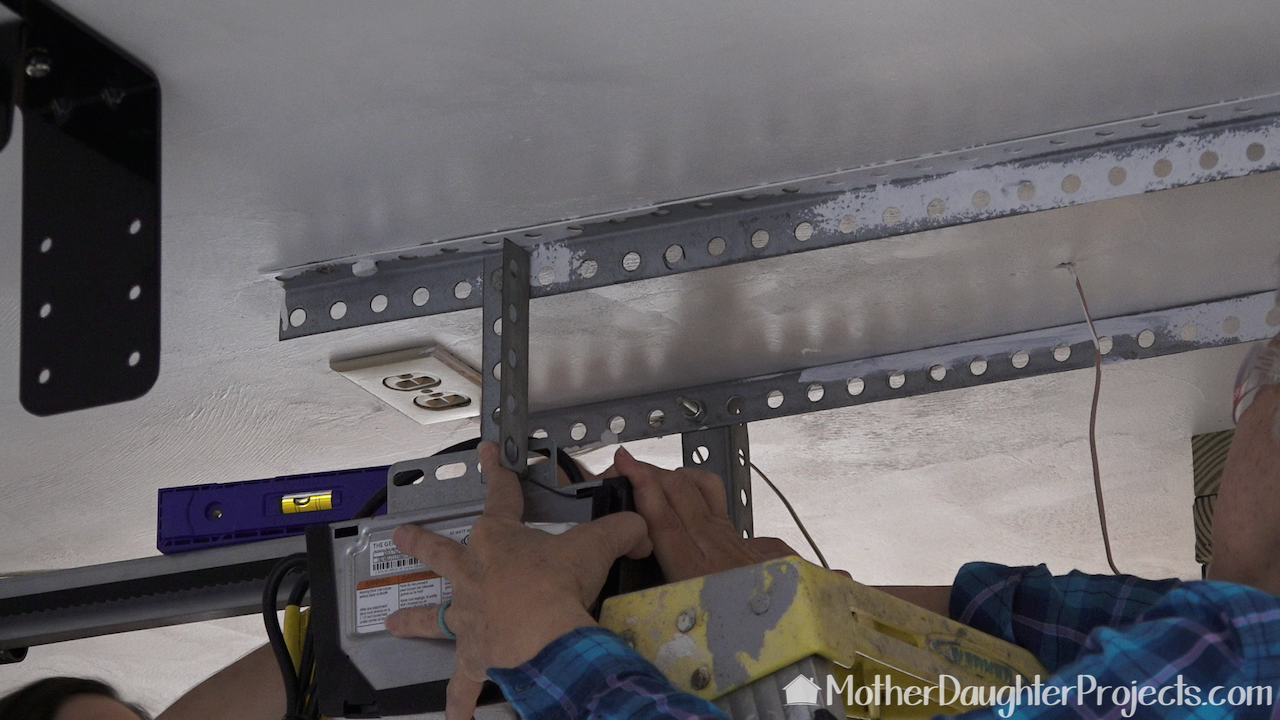
We had to make some adjustments to the length of those vertical pieces of angle. We used the DeWalt reciprocating saw with metal cutting blade to easily cut them to size. Once all the angle iron was back in place, we secured the powerhead to the angle iron with the provided bolts.
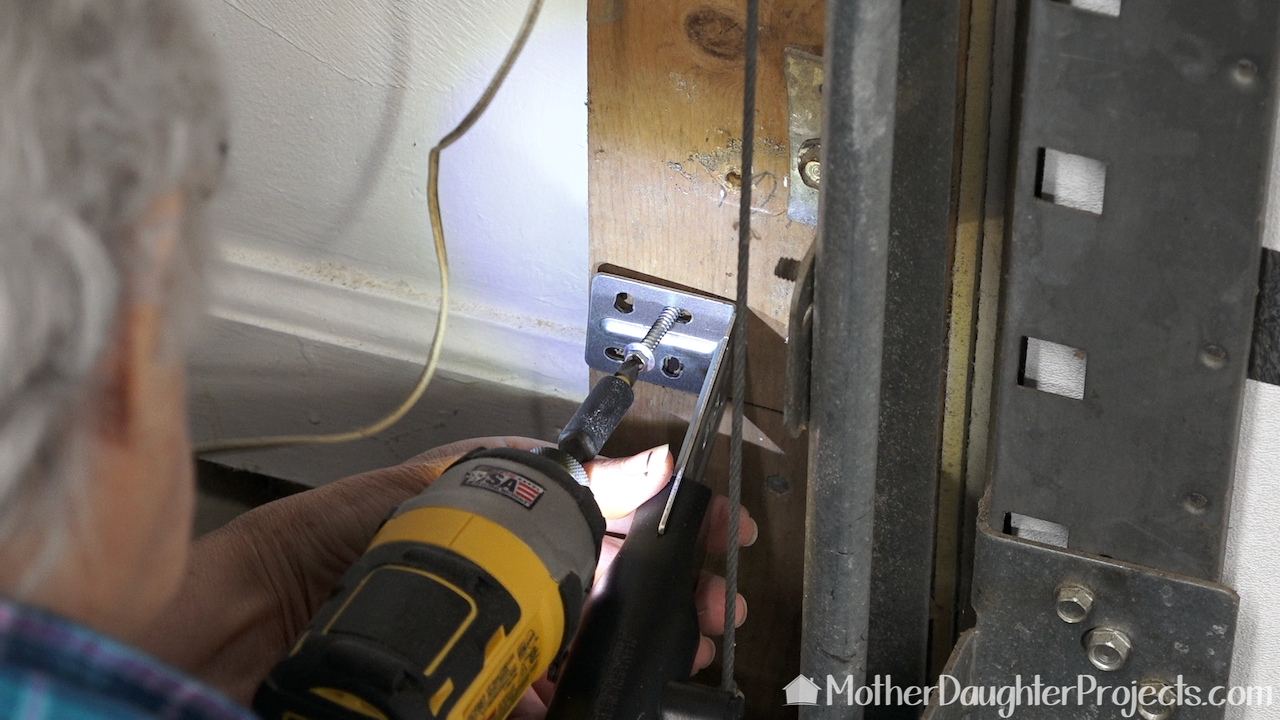
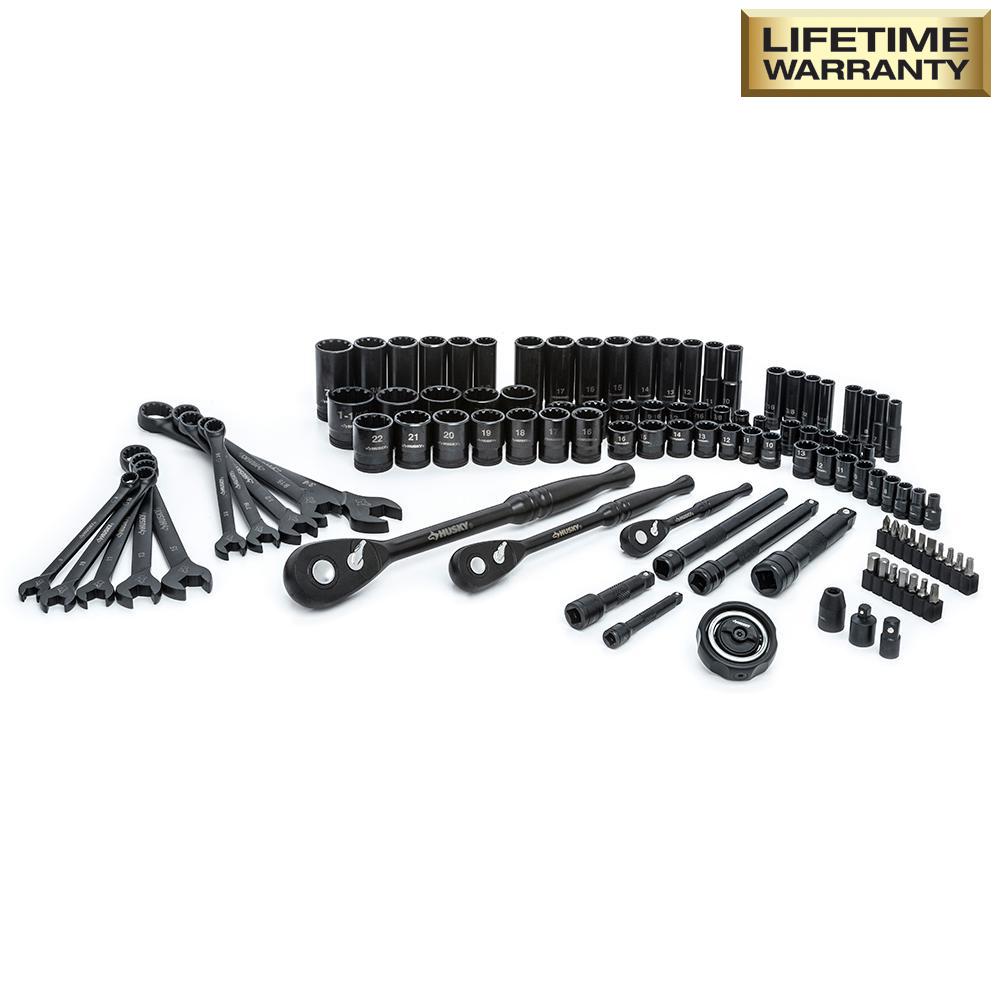
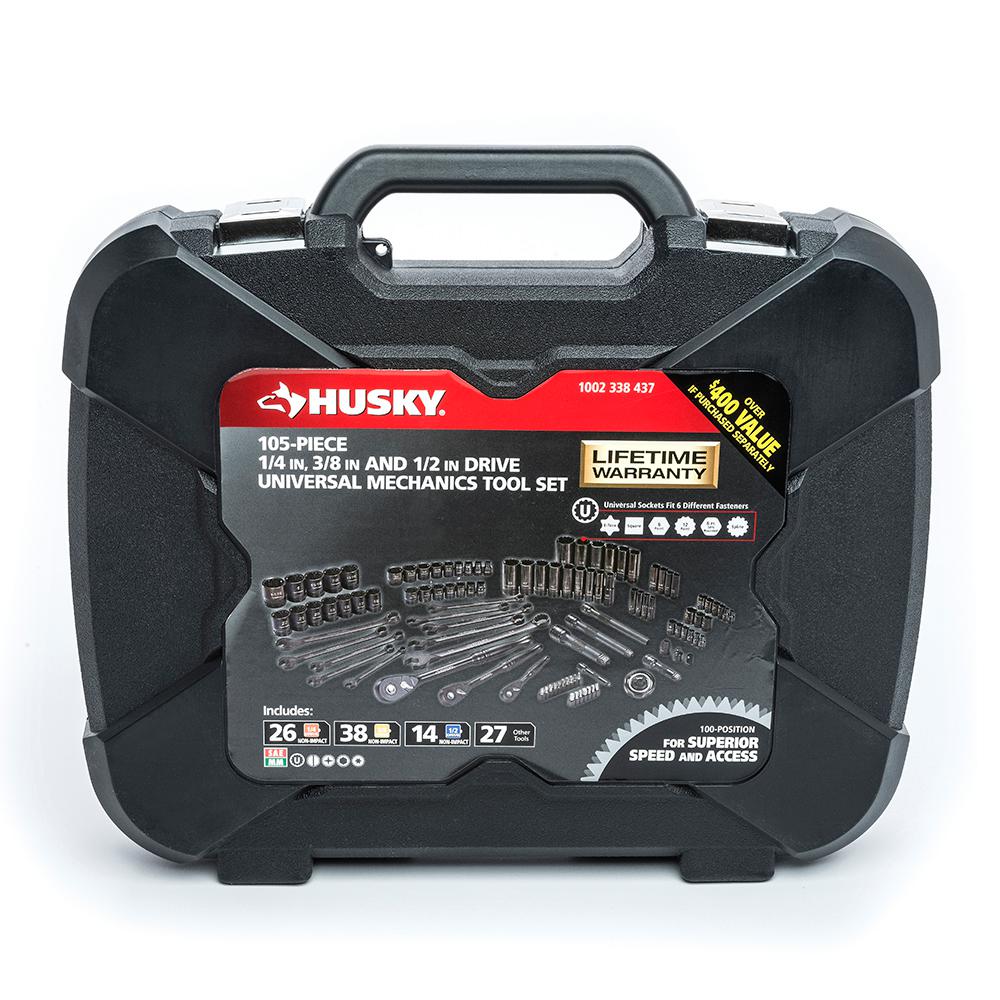
This was probably the hardest part of the install because the working space was so tight. Those little screws proved to be a little stubborn. We were able to fully tighten them with a small ratcheting socket from a Husky Mechanics Tool Set. The right tools make all the difference in the success of a project! Make sure, if you attempt a project like this, that you have the proper sized sockets and wrenches.
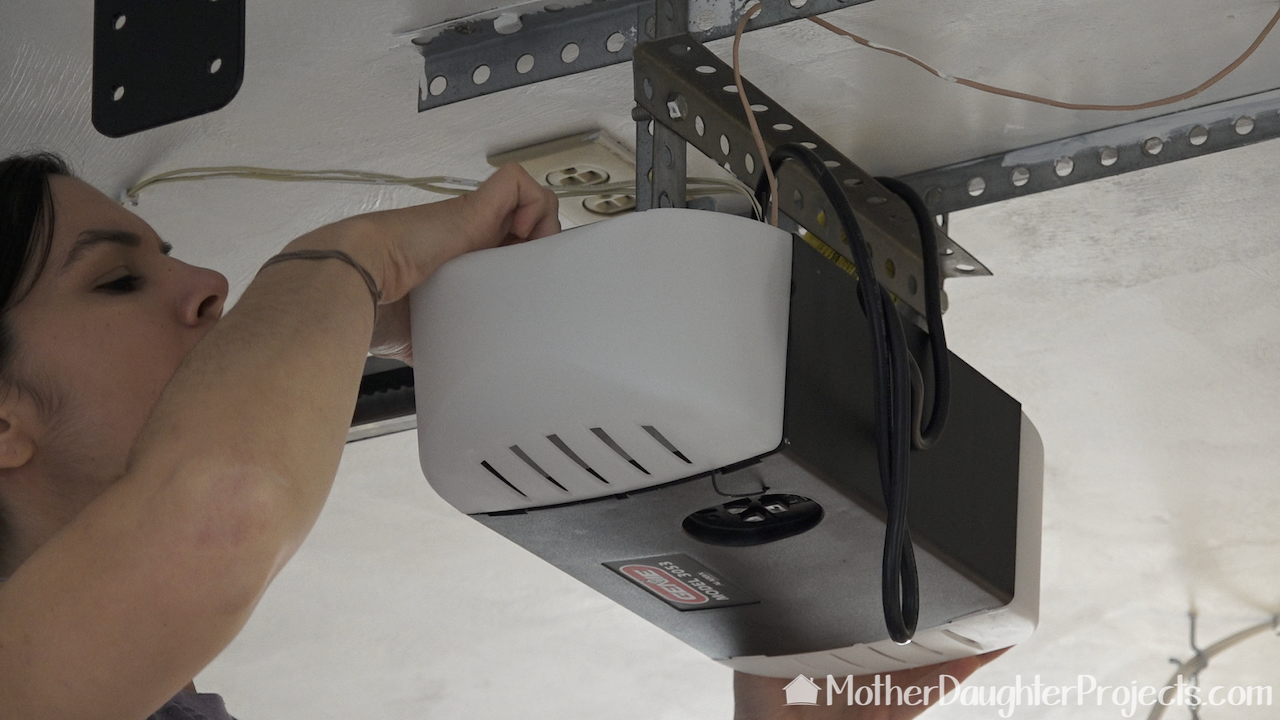
We were able to skip having to add new wiring as the existing wiring was usable. Steph easily attached the wires for the sensors and wall control button to the powerhead. Here she's just added the bulbs and covers--it's almost time to test it! Fingers crossed it all works!
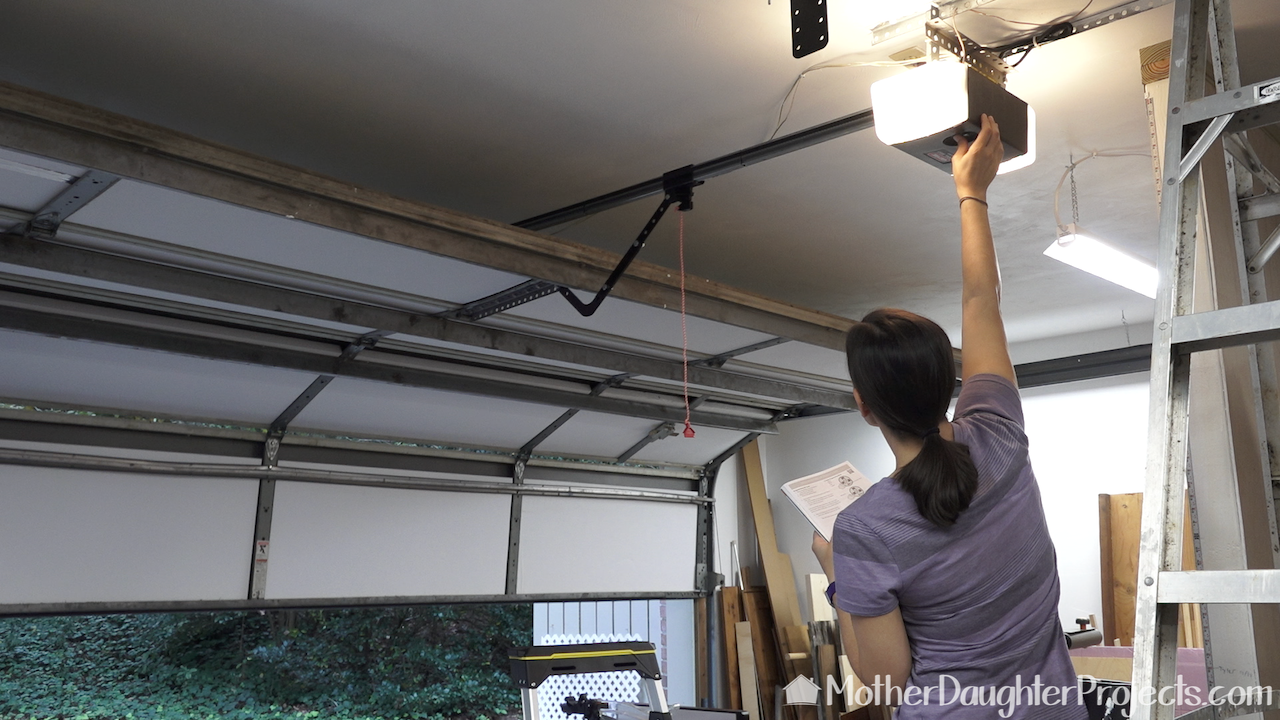
Before the unit can be used, the travel limits and force control programming must be performed. There is a video that walks you through the process. Once these have been set, you're good to go!
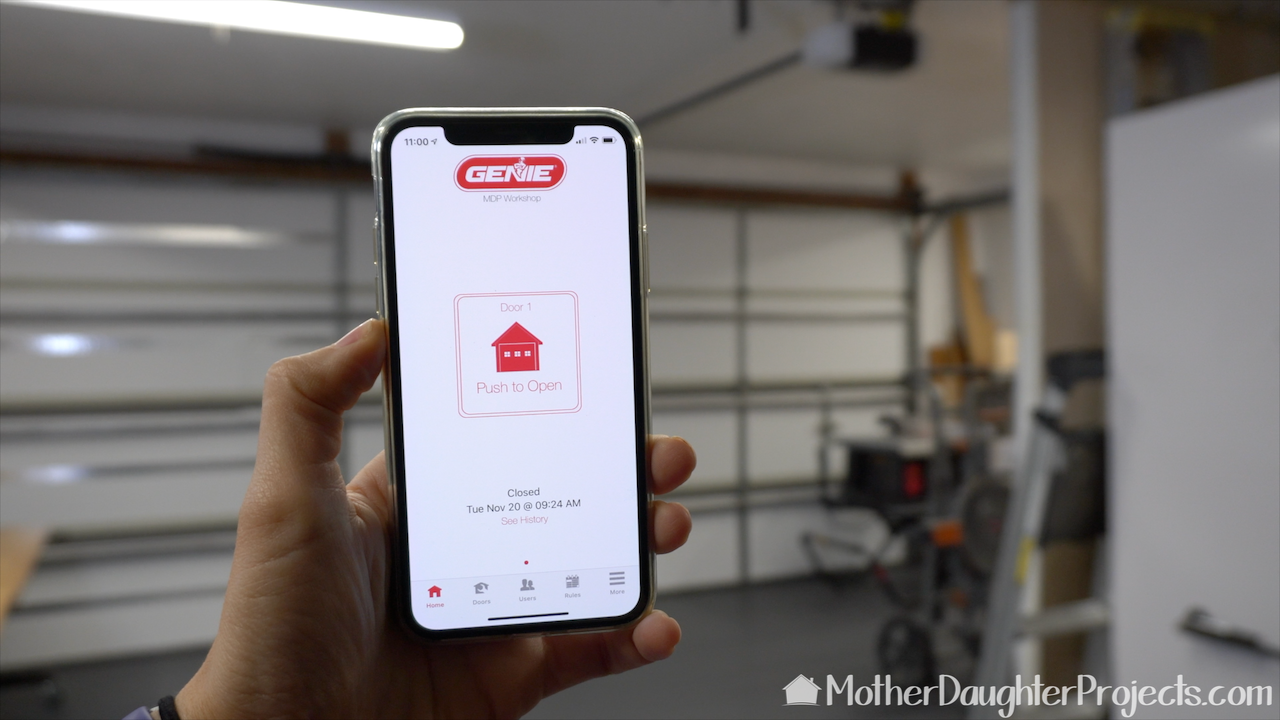
Now for the smart features! Steph downloaded the app to both her phone and mine. It was simple to get it set up. Instead of giving her one of the two included remotes, she can easily open the garage from her phone when she comes over.
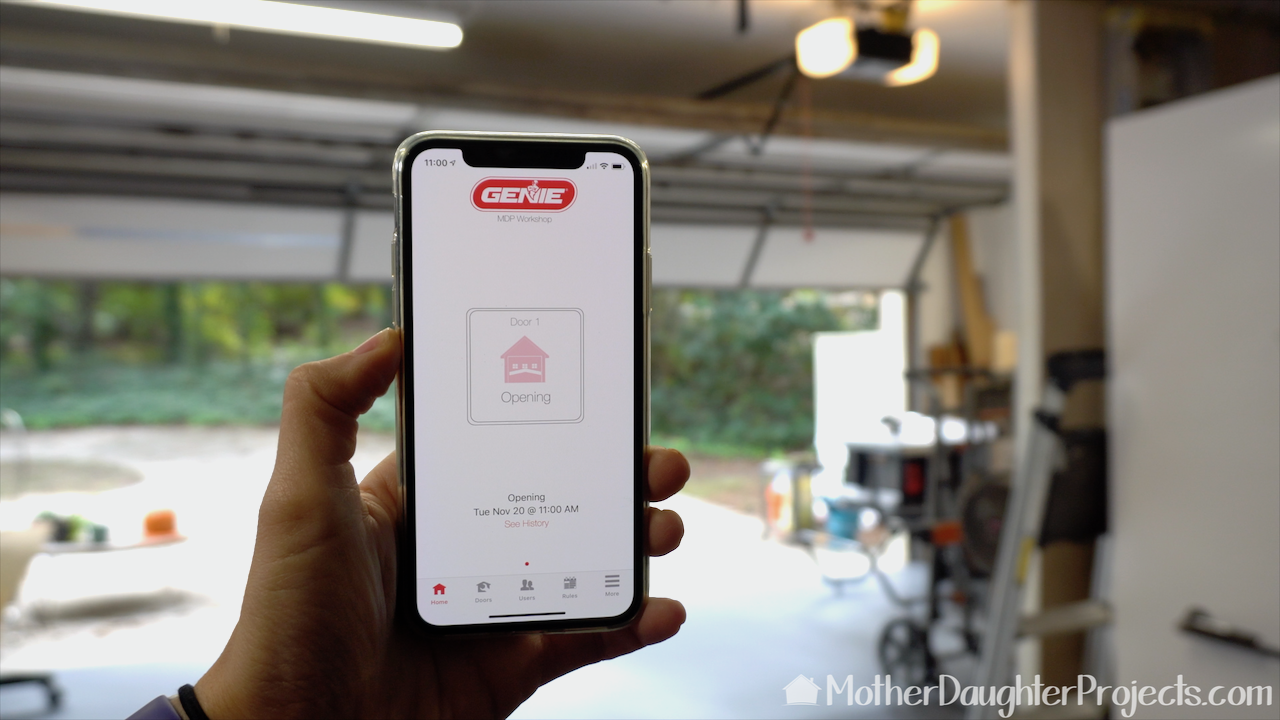
When the garage is controlled via the app, the light will flash and there will be an audible sound. This is a safety feature to alert anyone who may be in the vicinity that the door is about to open or close. Steph actually remotely opened the door from her house to test it out! It works, and bonus I get an alert on my phone when the door is opened or closed.
We acknowledge that The Home Depot is partnering with us to participate in the Smart Home Campaign 2018. As a part of the Program, we are receiving compensation in the form of products and services, for the purpose of promoting The Home Depot. All expressed opinions and experiences are our own words. Our post complies with the Word Of Mouth Marketing Association (WOMMA) Ethics Code and applicable Federal Trade Commission guidelines.
FYI: We are not professionals, and we don’t claim to be. This is what we found worked for our project. Yours may need a little different approach. Safety first! FYI: Affiliate links are being used on this page. Purchasing via these links help support MDP! Related Projects
0 Comments
Leave a Reply. |

Mother Daughter Projects
|