|
text by Vicki Sign up here to join our weekly email newsletter!
It's been a while since we've changed out faucets and in that time, changes to sink stoppers have occurred!
Most likely, you have the standard sink stopper mechanism. You reach round the back of the faucet to pull up the rod that opens and closes the actual sink stopper. On this faucet install, we were introduced to new and improved sink stopper technology! Well, time will tell whether this is improved technology!
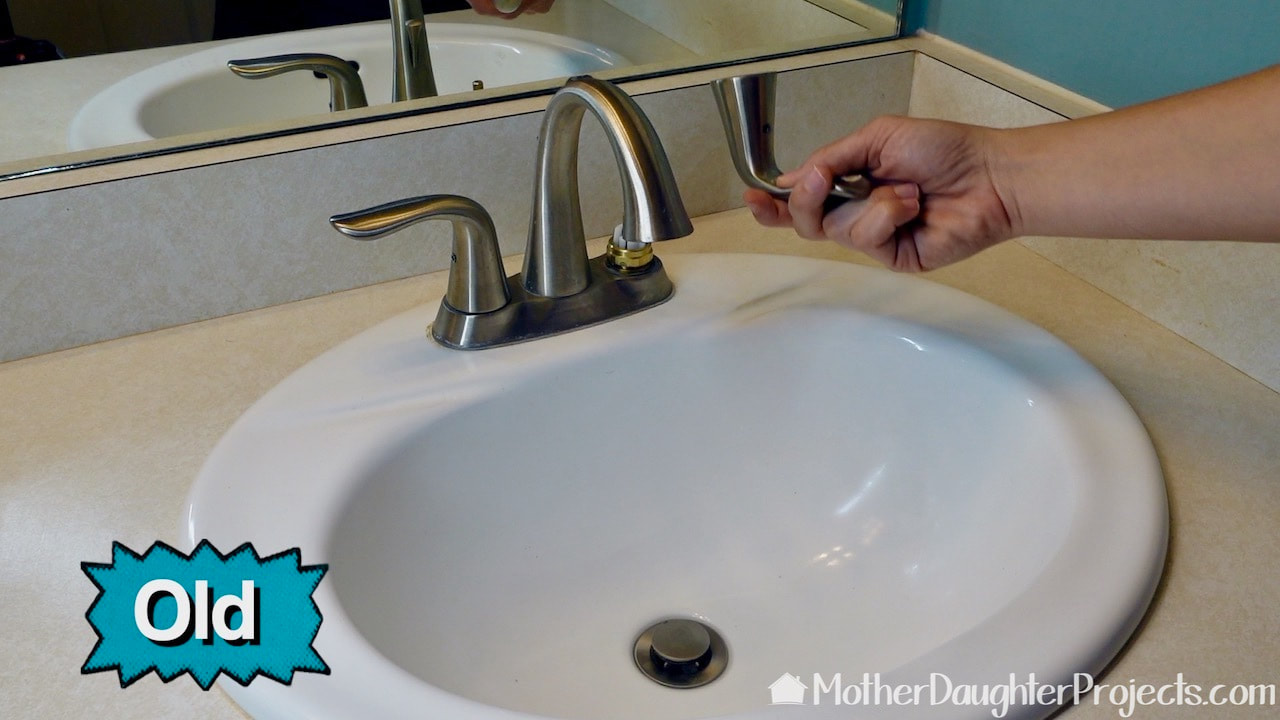
Steph needed to replace this faucet cause this kept happening! No amount of tightening the screws would keep these handles secure!
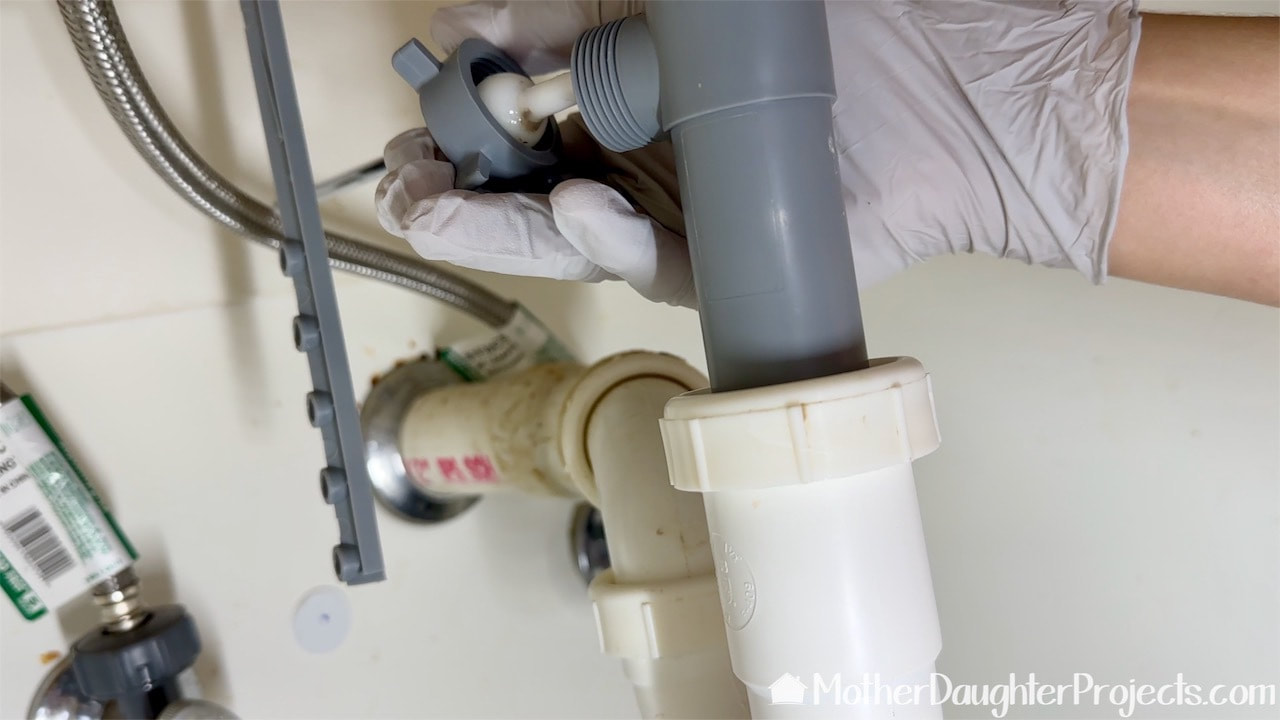
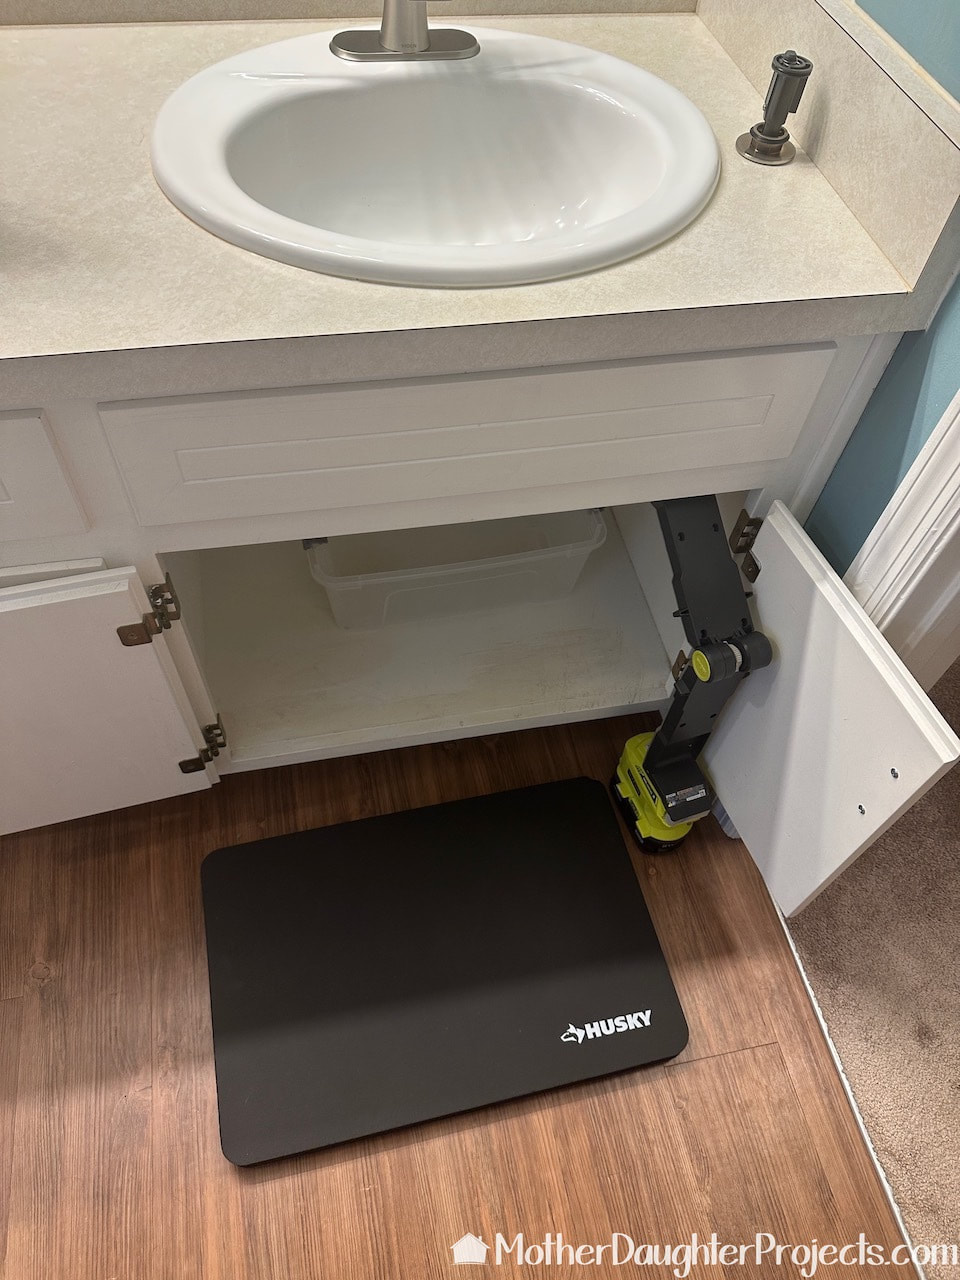
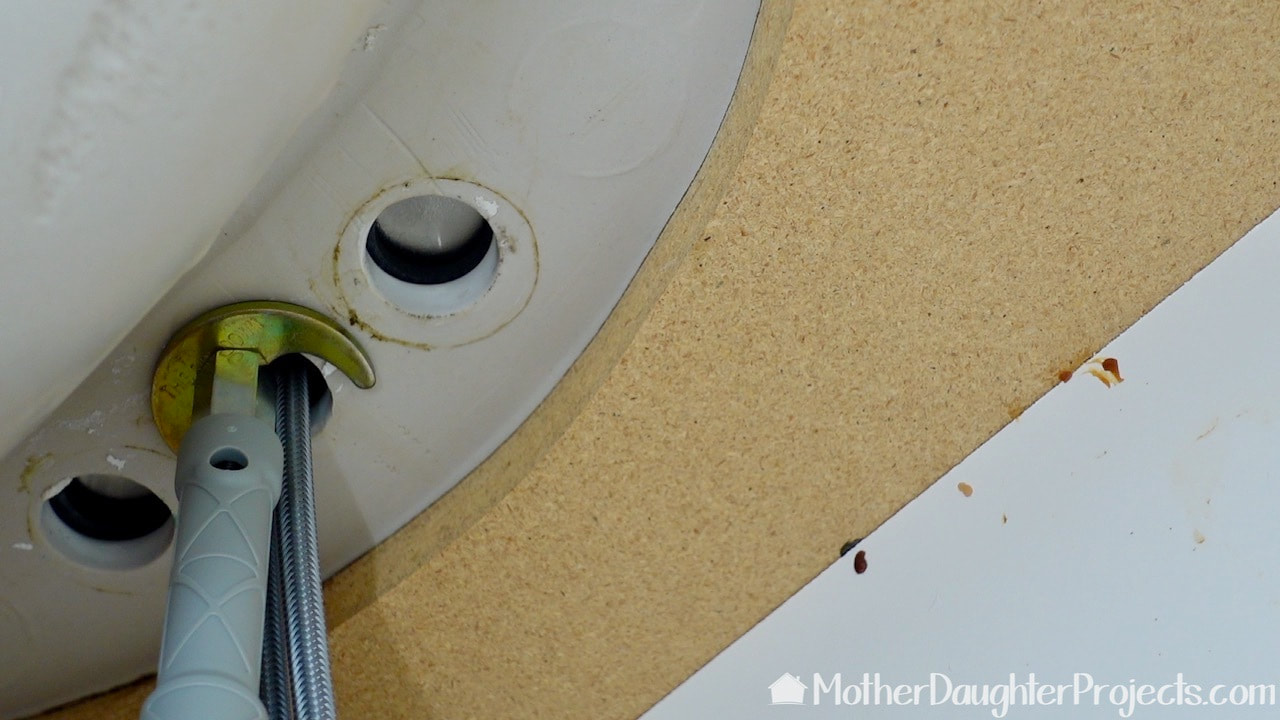
Here Steph is removing the old lift mechanism to the sink stopper. It's a lot of parts which makes it a whole thing when you need to remove it when you need to unstop a sink.
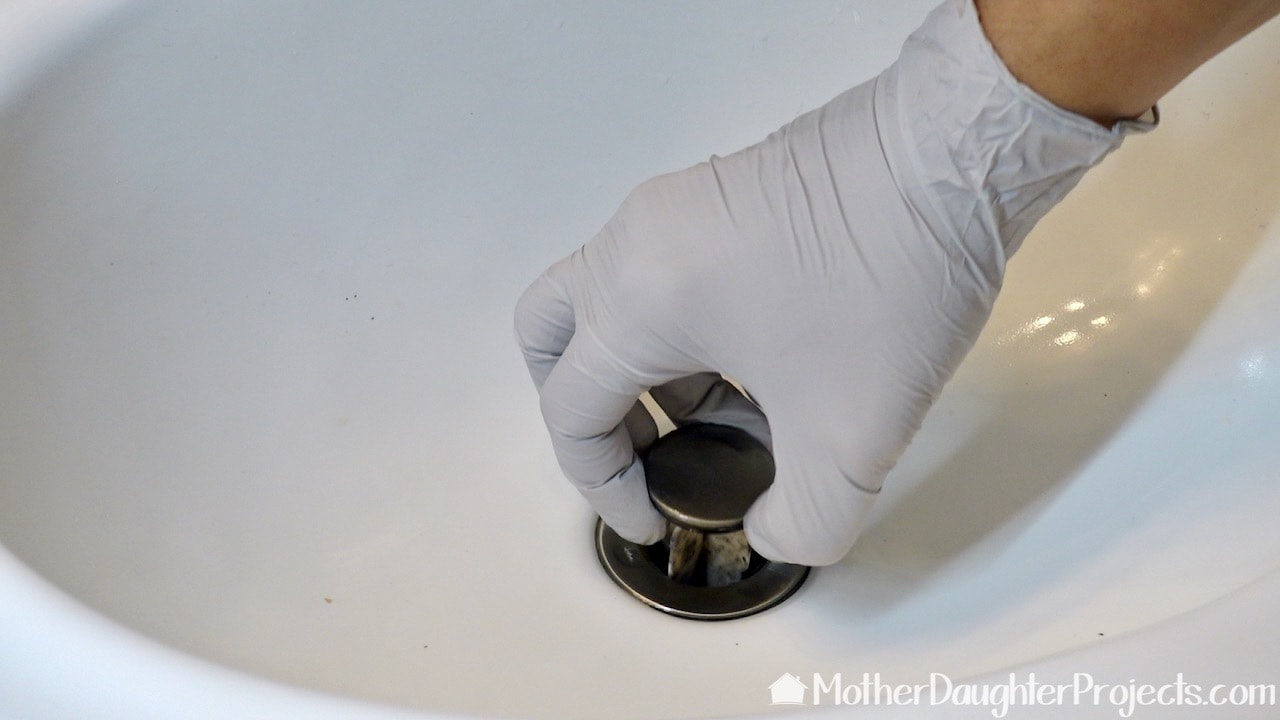
With all the stuff under the sink removed, NOW you can lift out the stopper!
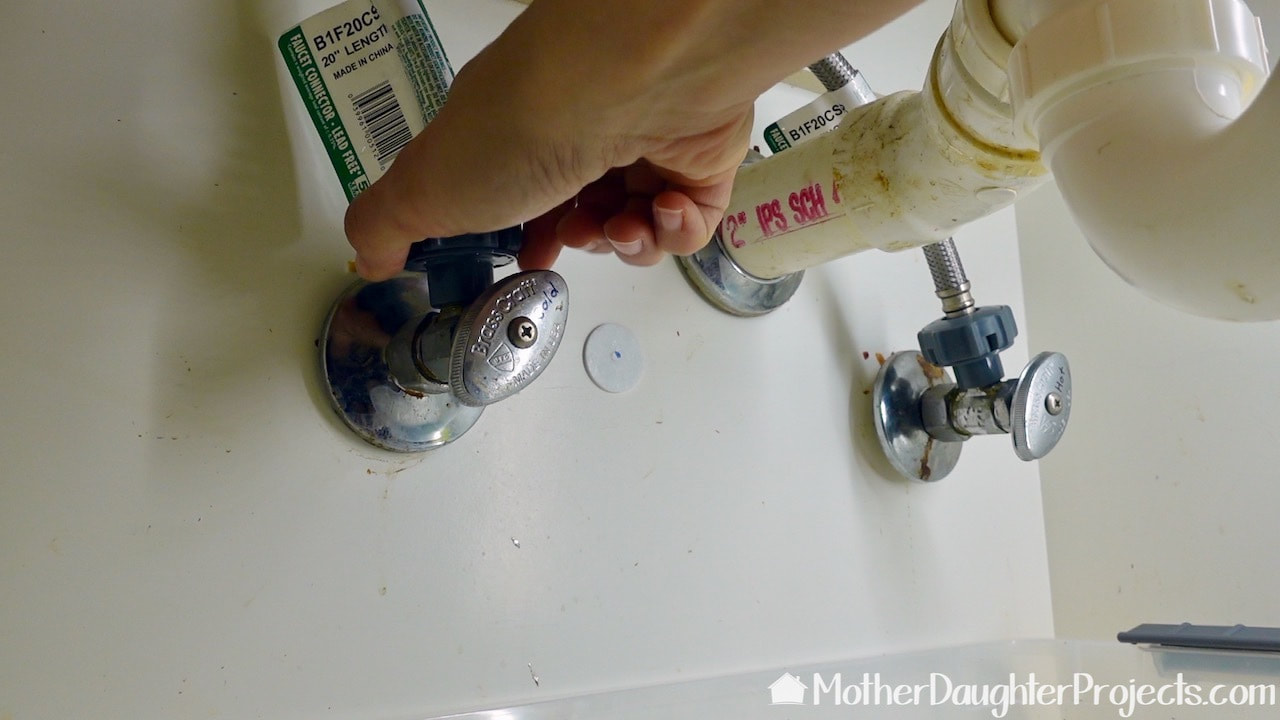
Before proceeding, place a catch basin under the sink and turn off and remove the water lines.
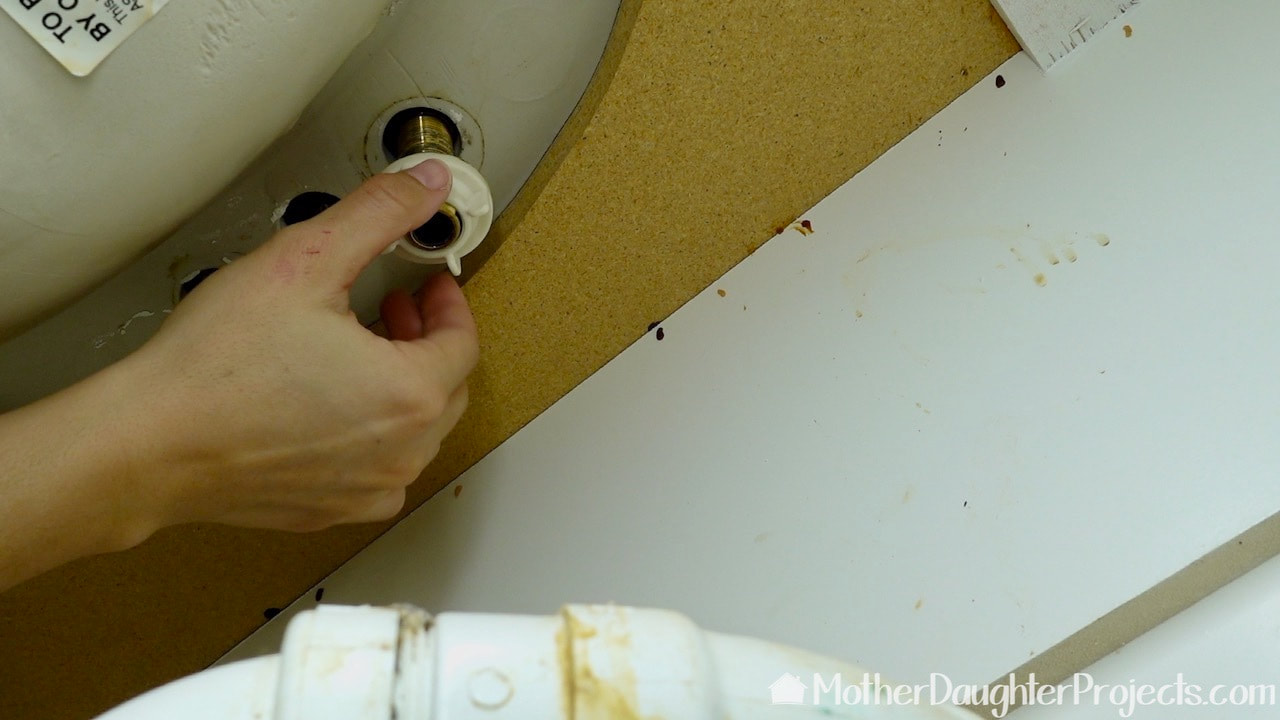
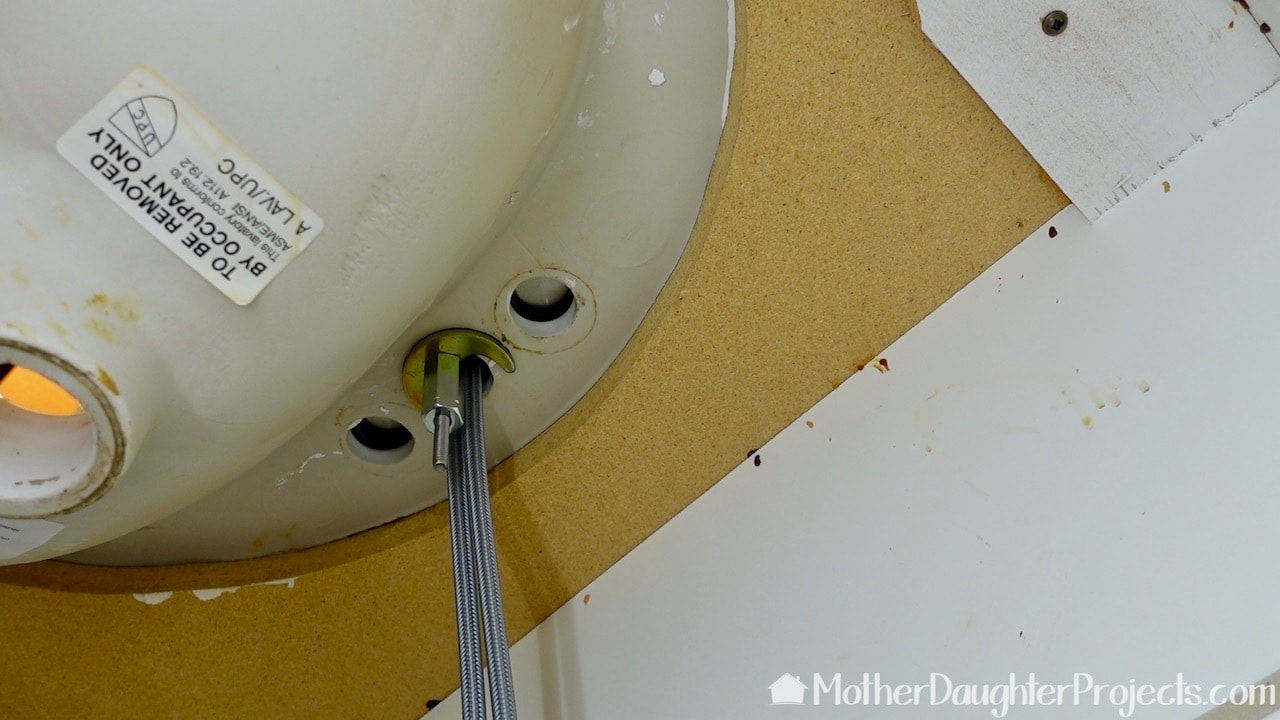
This nut is the last to be removed before the old faucet can be lifted out.
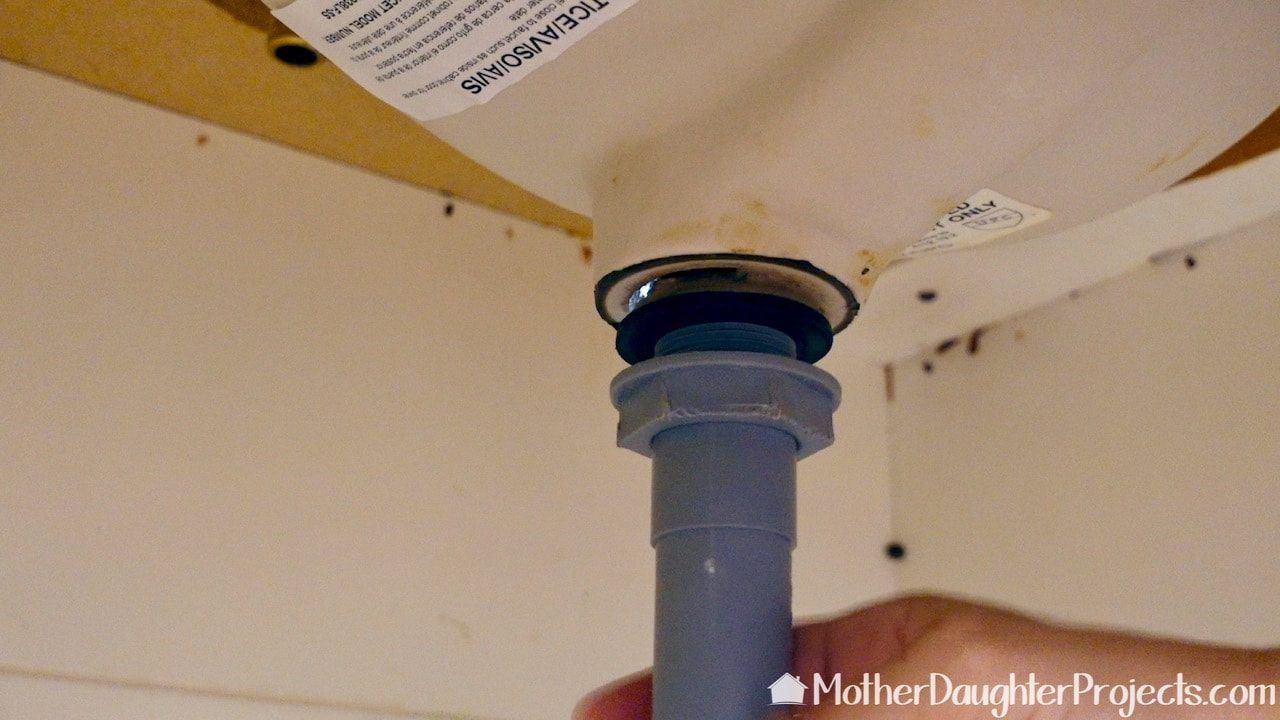
Make sure that catch basin is still in place as you removed the parts to the drain. Save these as you'll reuse them.
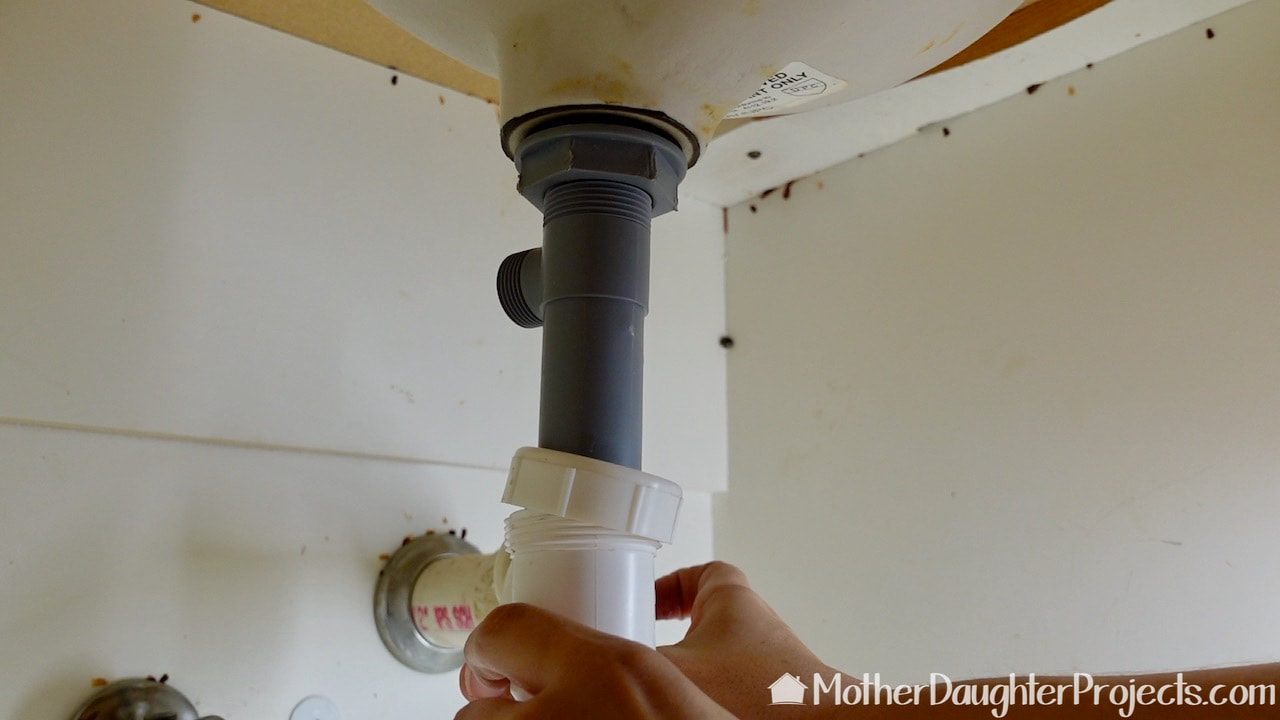
Fully remove this large nut so that the drain can be removed.
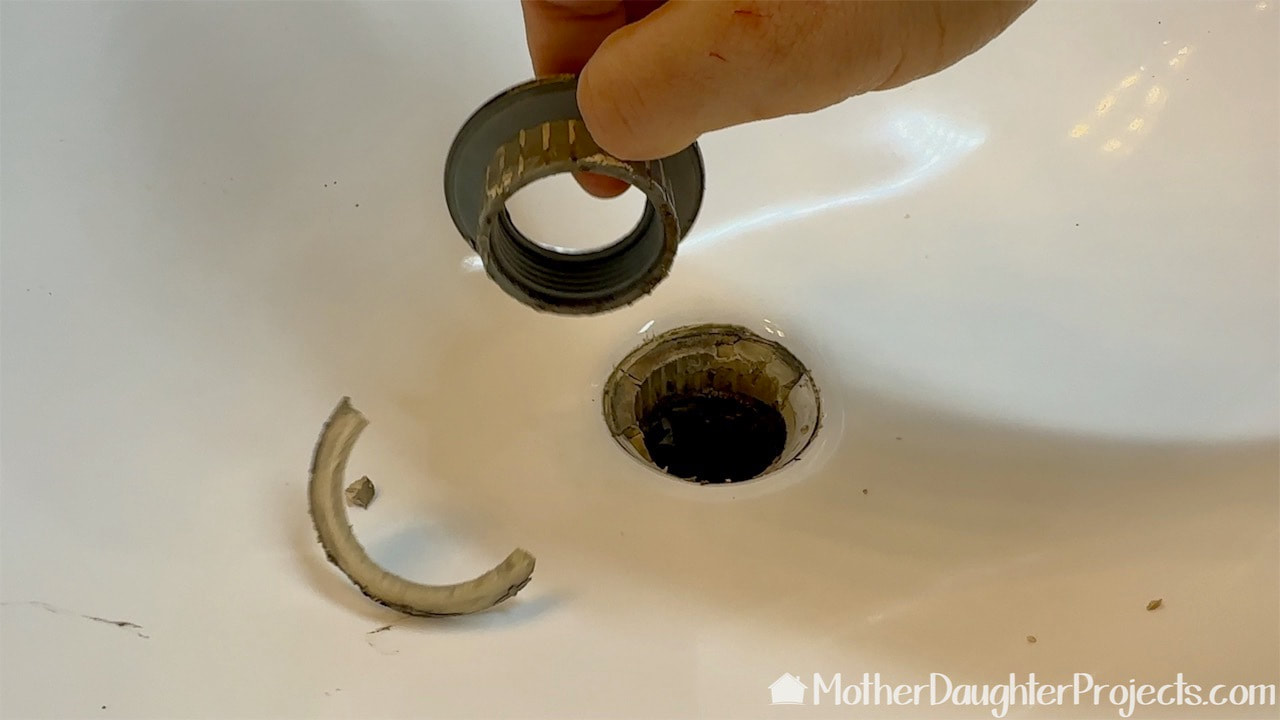
You may have to jiggle this piece to get it out. Clean out that old plumber's putty before installing the new sink drain parts.
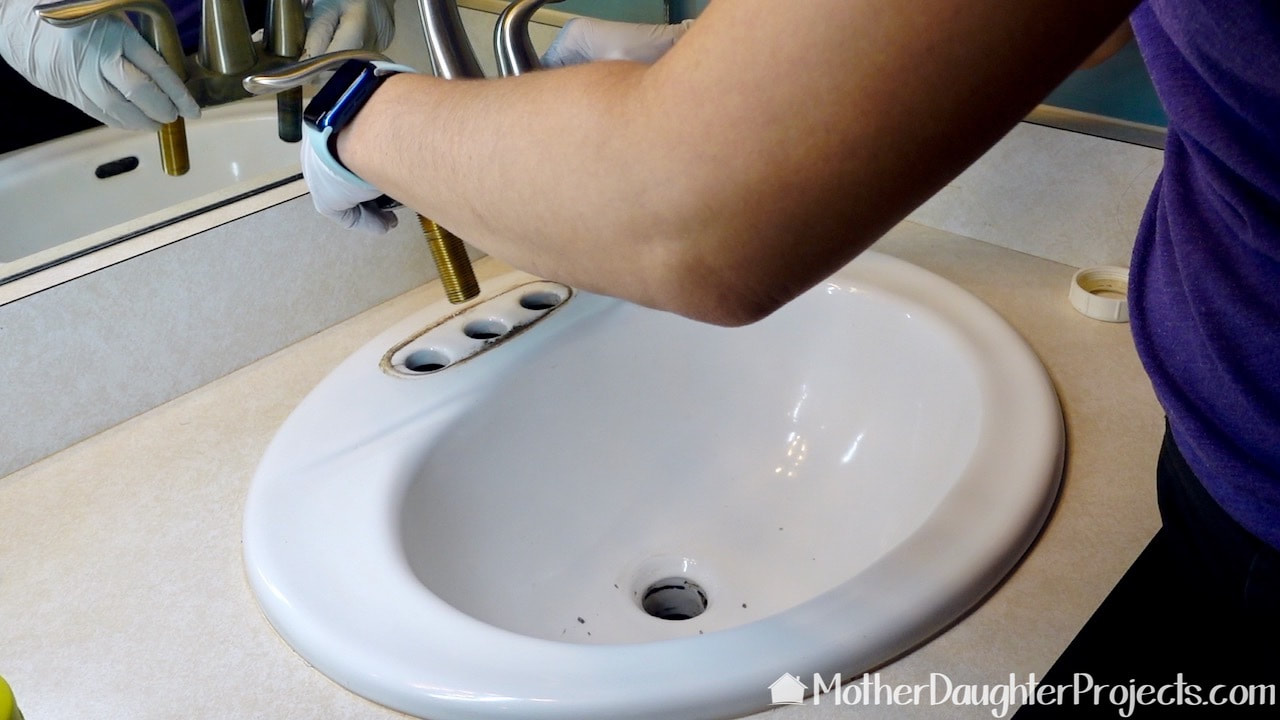
With everything removed from under the sink, the old faucet easily lifts out. Time to clean up that "ring!"
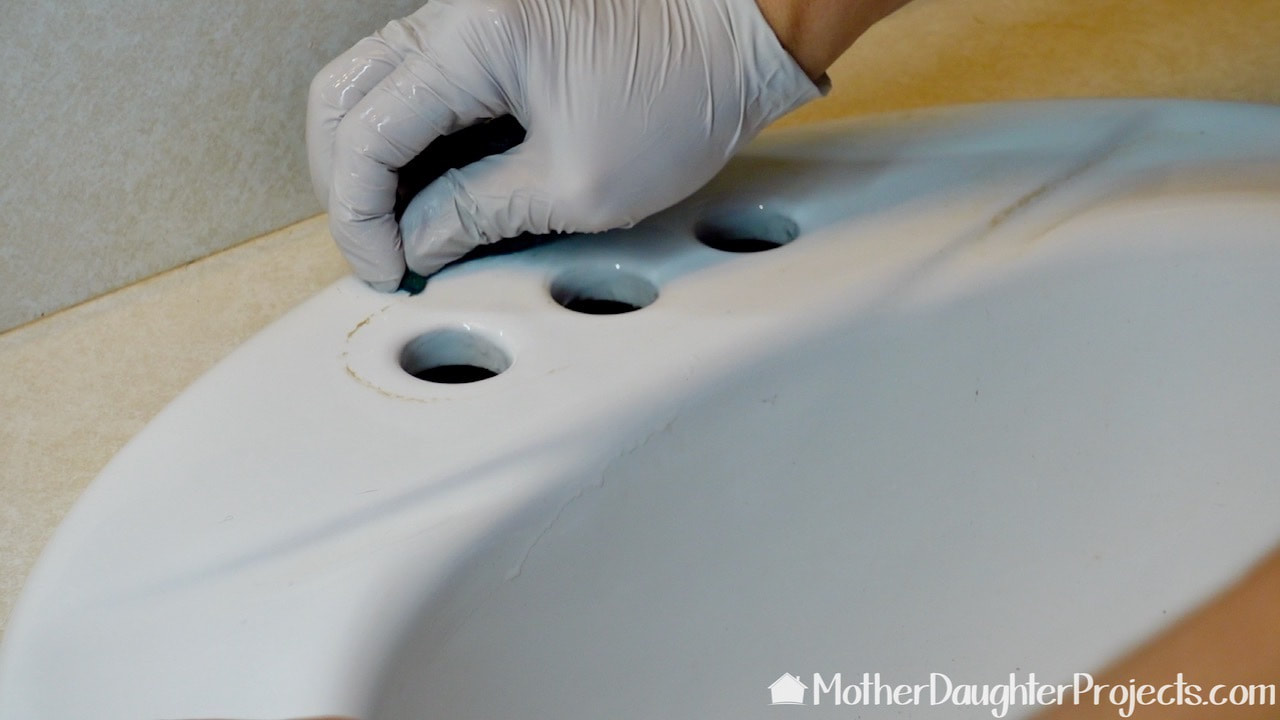
A Scotch Brite green pad is the perfect clean up tool!
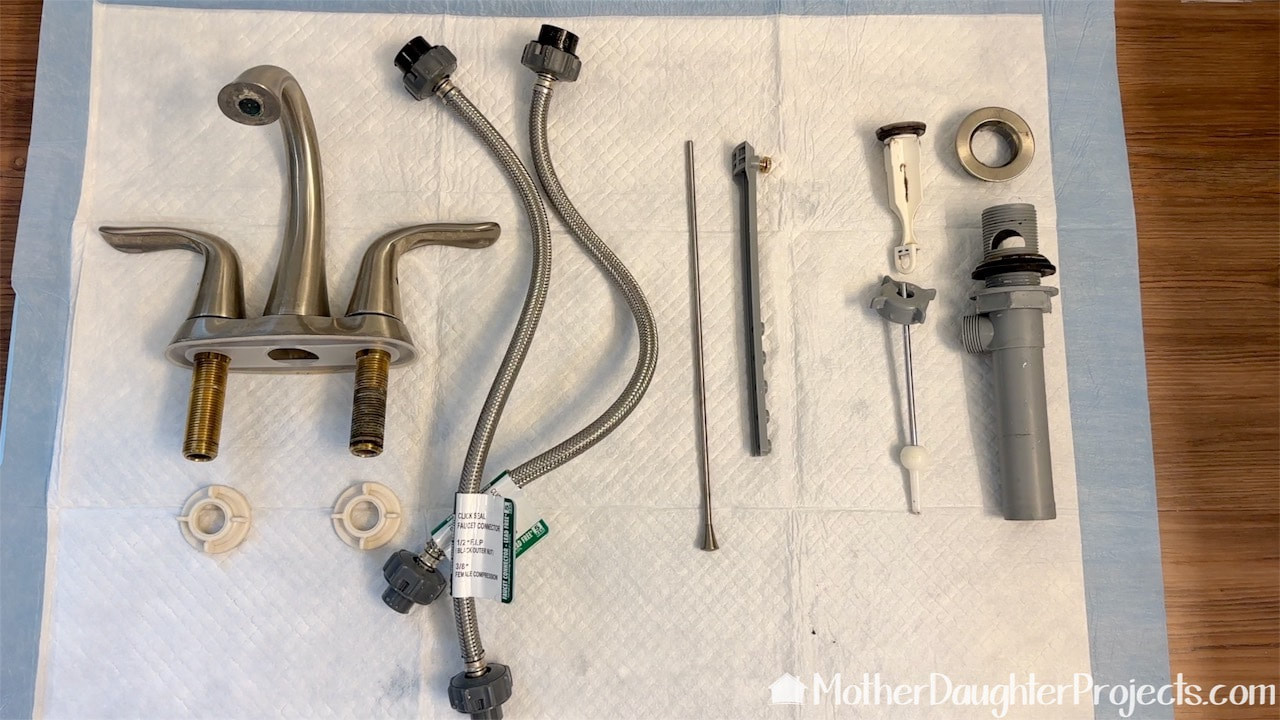
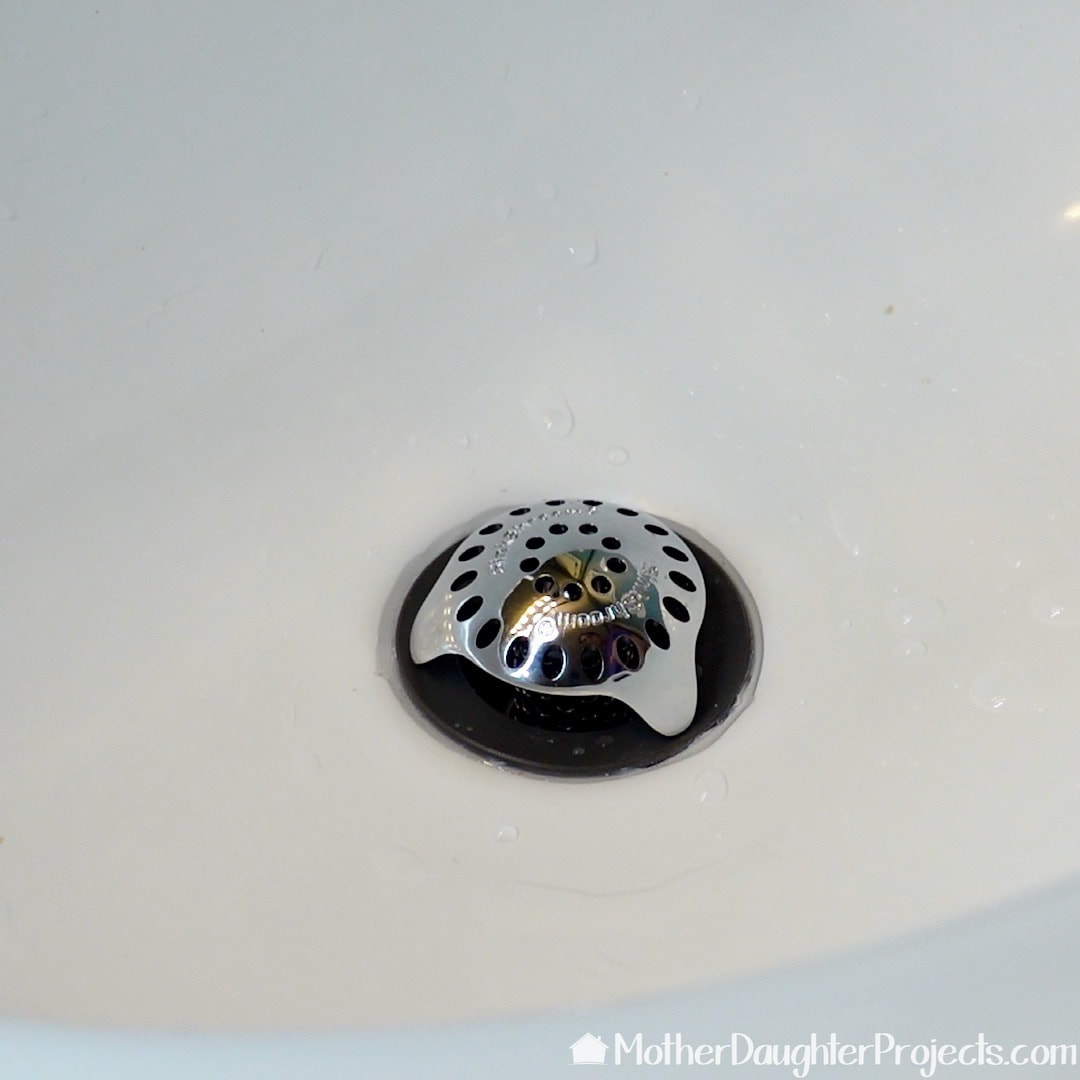
These are all the old parts, and...
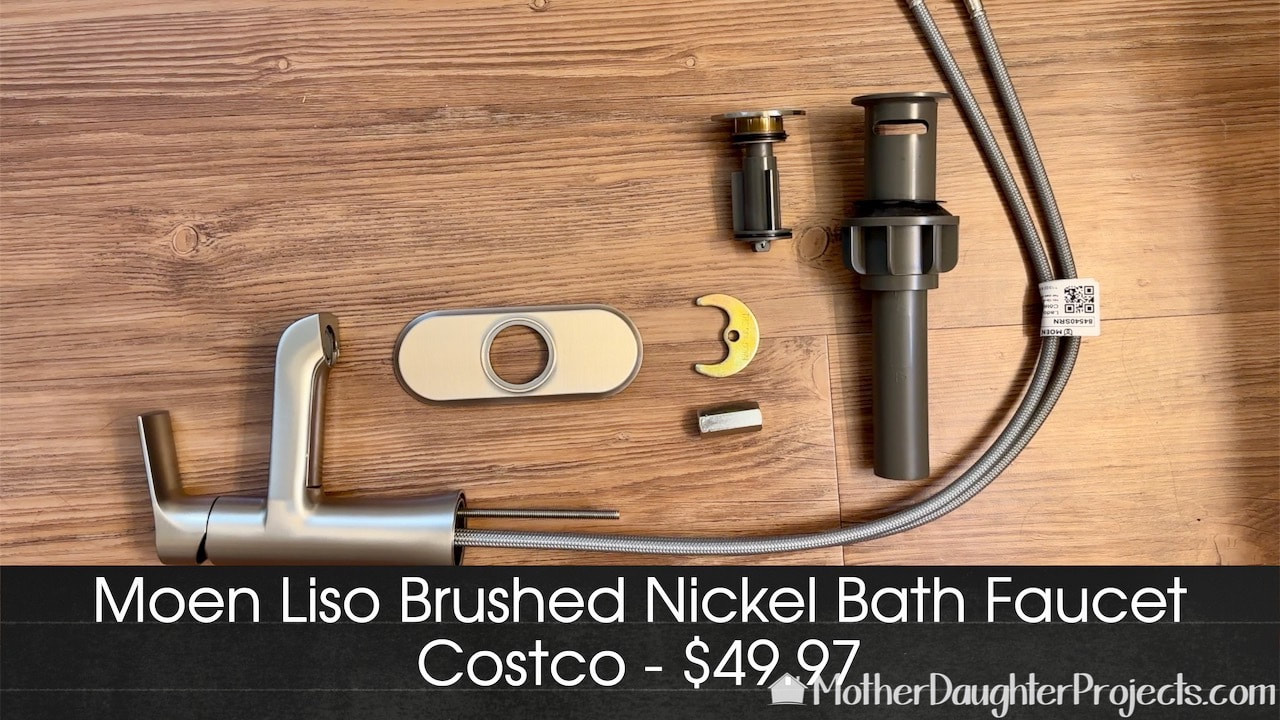
...here is what you install with the new faucet. A lot fewer moving parts!
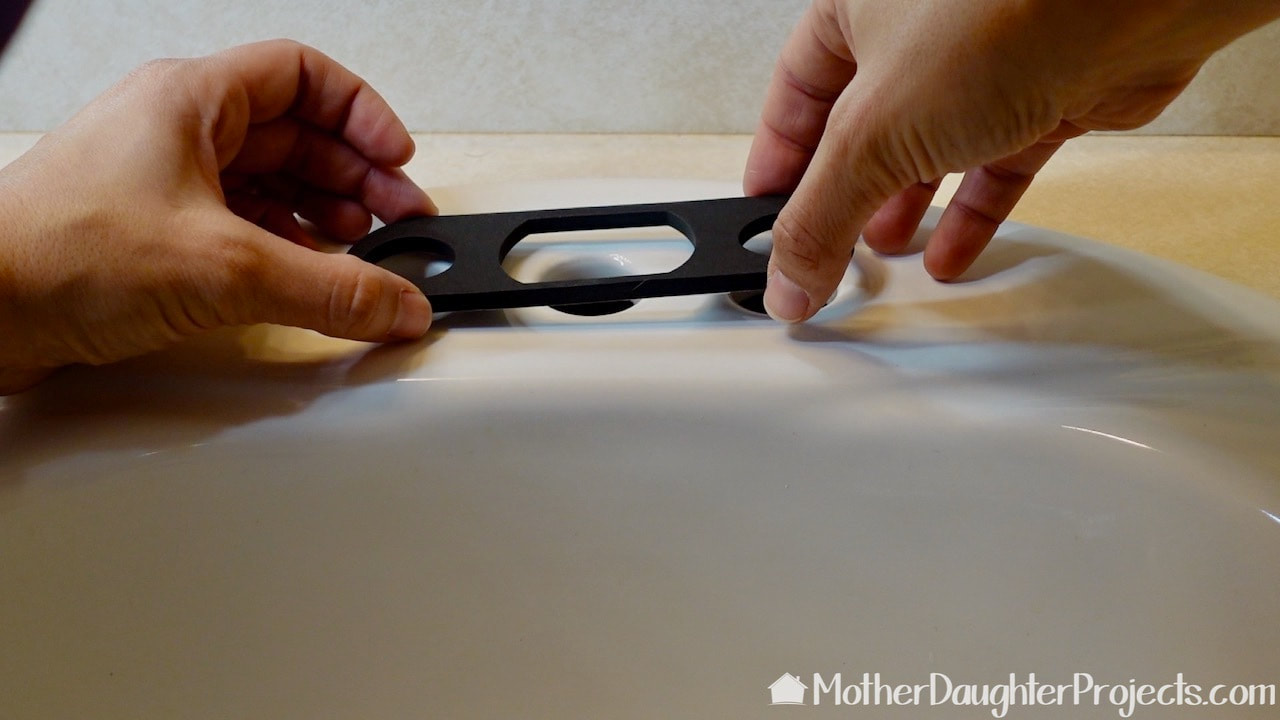
This adhesive foam gasket goes over the three holes in the sink.
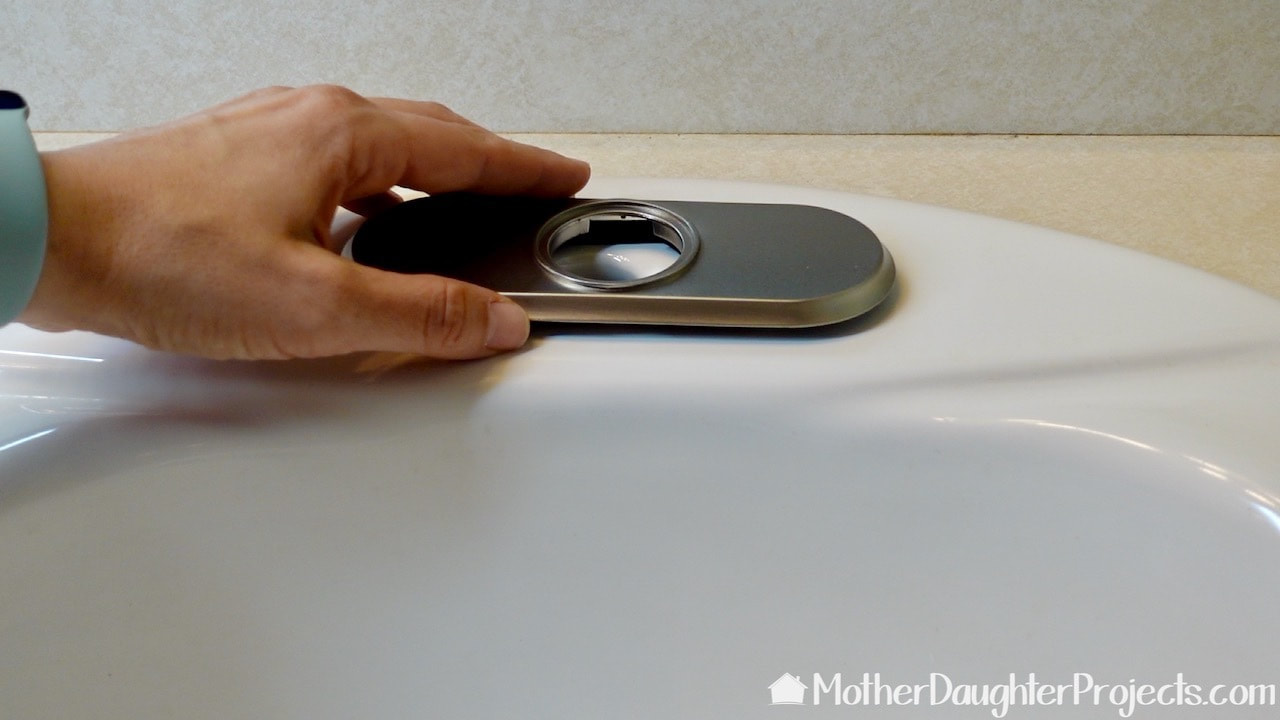
Next the cover is put into place.
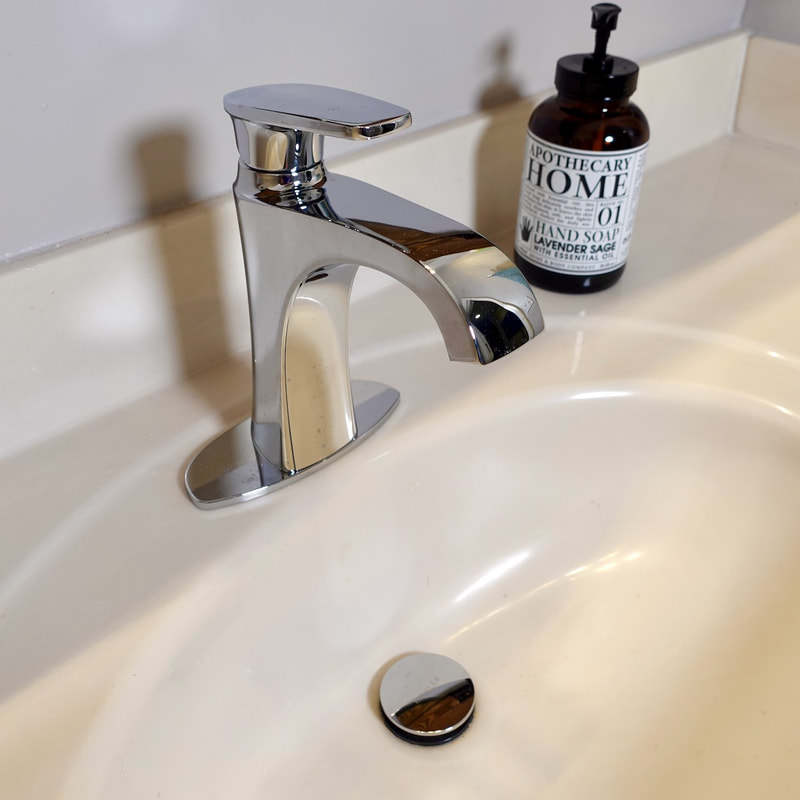
Putting the new faucet into place. It already is a 100% improvement to the space!
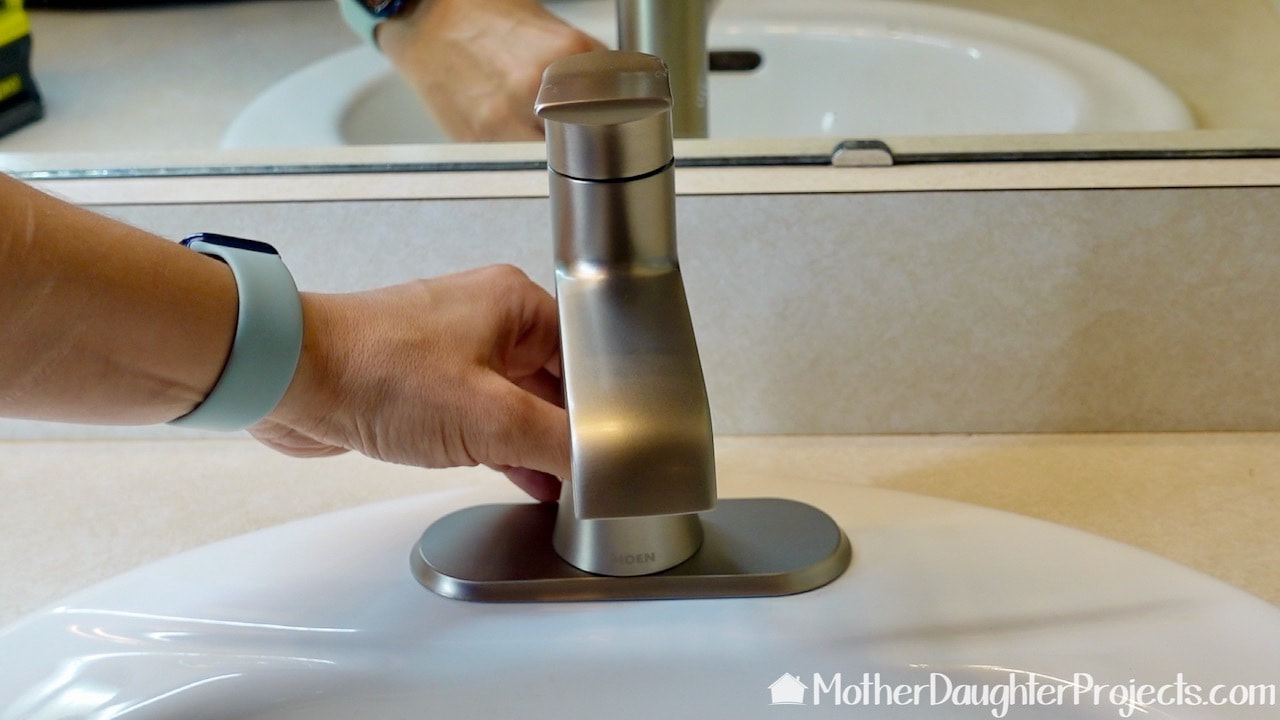
The faucet is tightened with a tool that comes with the faucet. Save this someplace secure should you ever need to retighten the faucet. Label it so you know what it is for.
This is what the faucet looks like with the nut tightened. Time to reinstall the water lines.
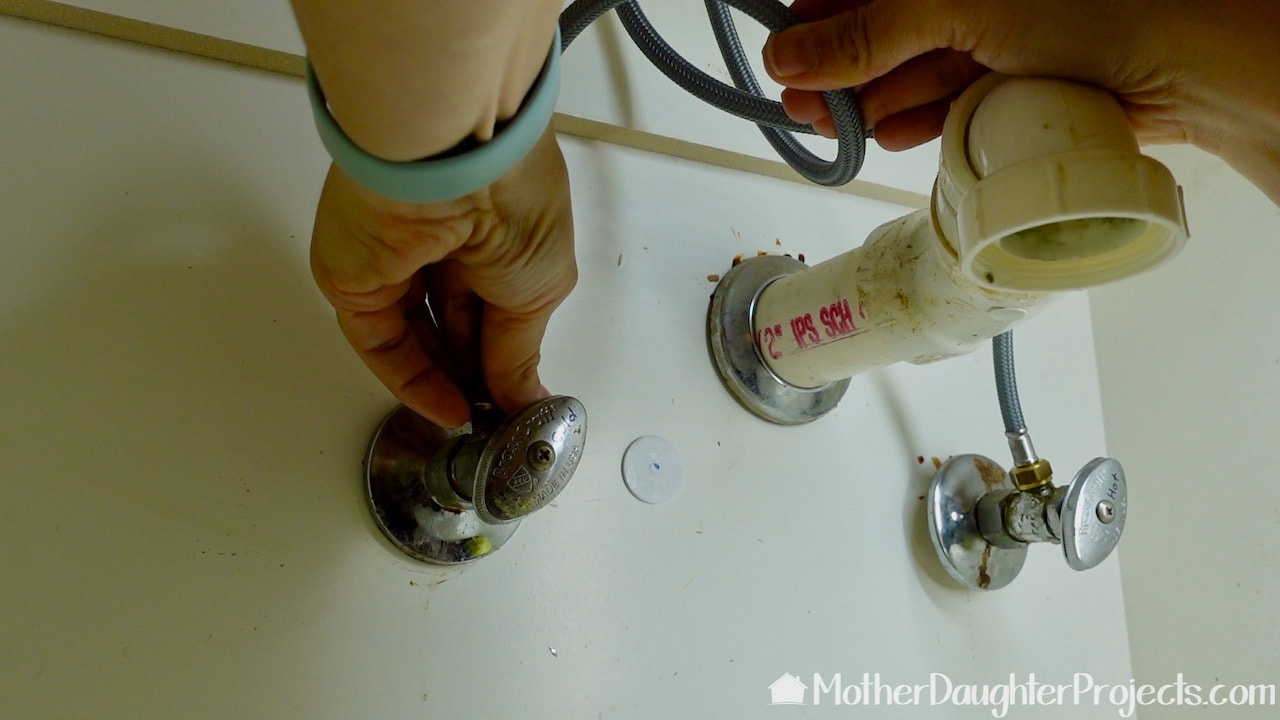
Reattach the water lines. Cold is on the right and hot on the left--UNLESS, the plumber who originally installed this sink was having a bad day and reversed the two water lines! On this sink the hot is on the right and cold on the left!
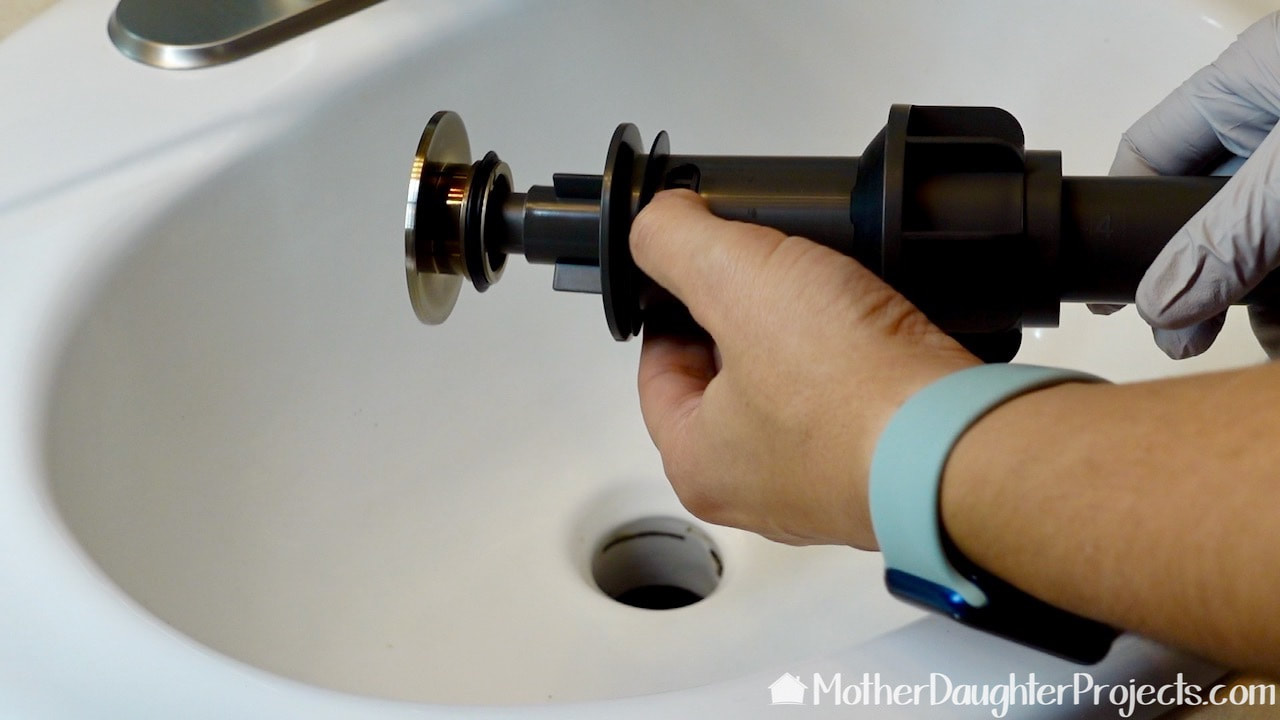
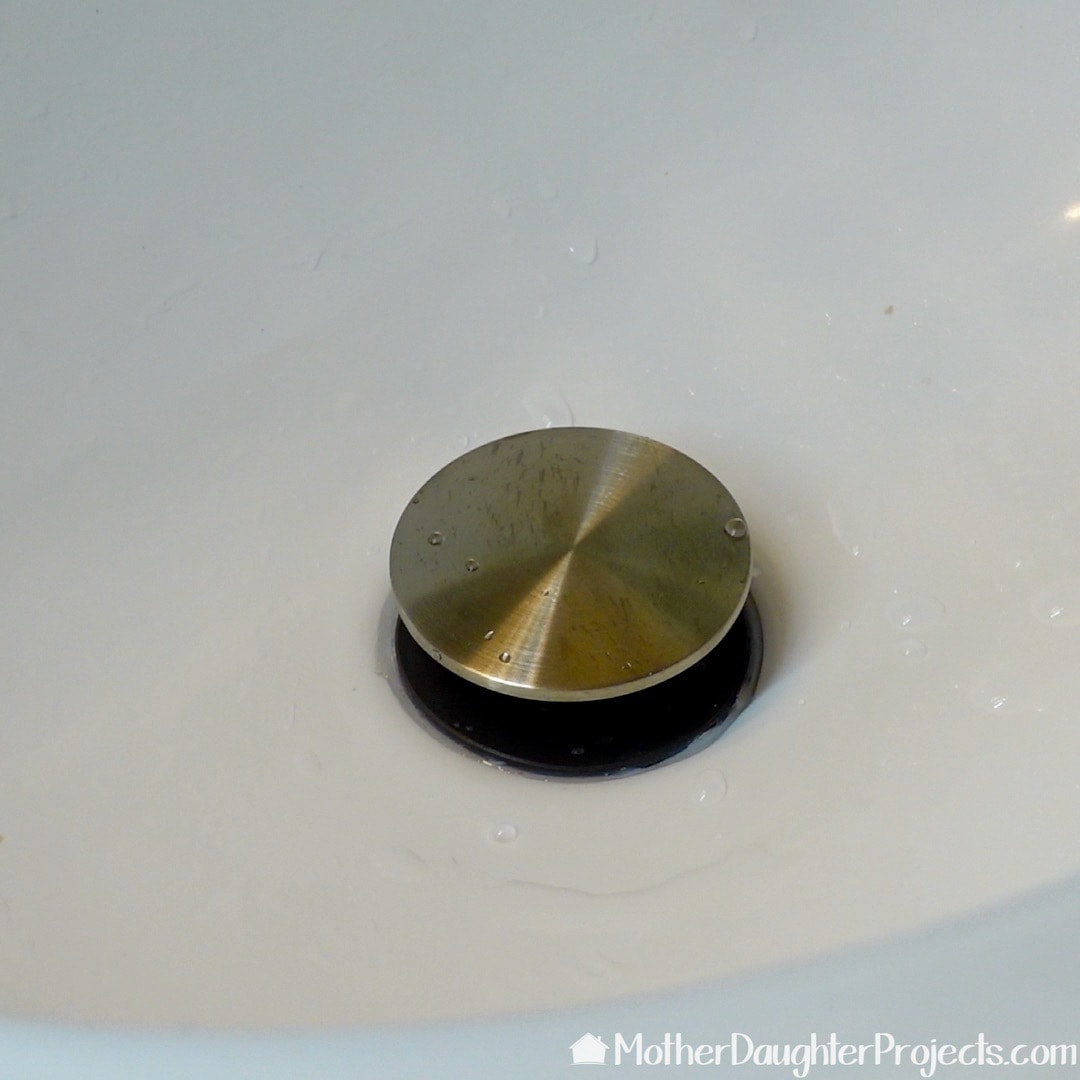
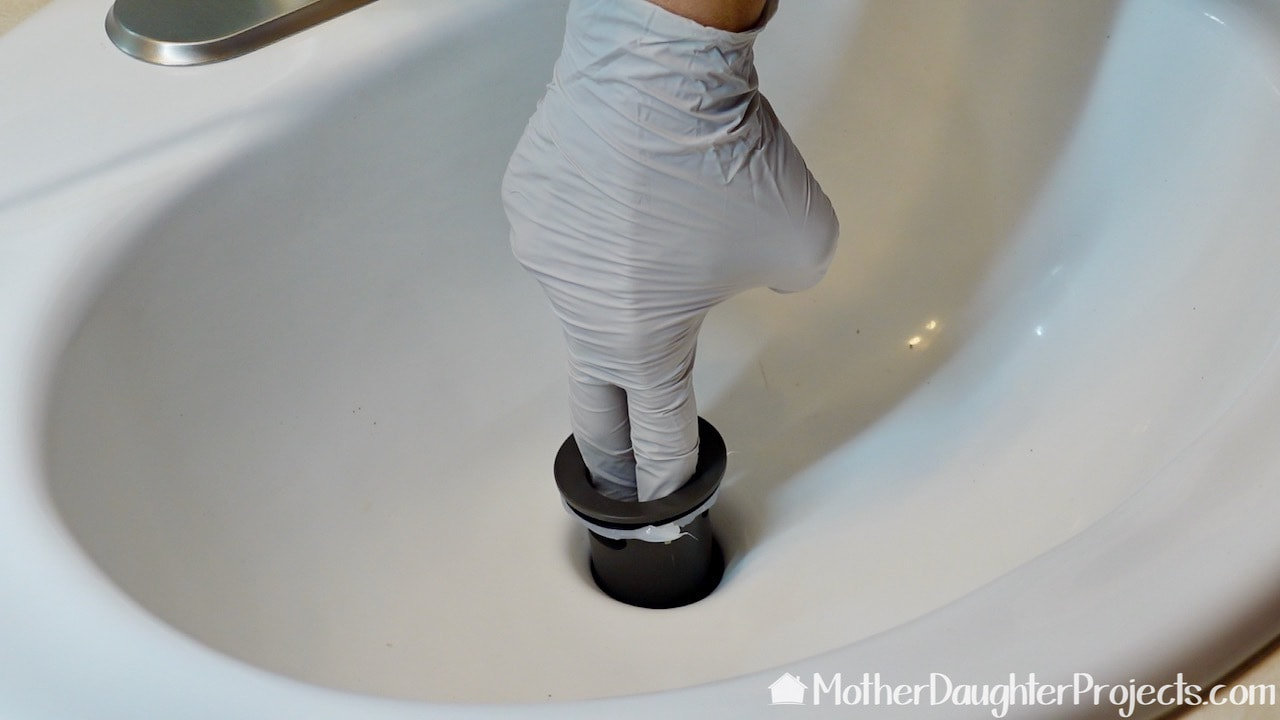
Here's that new fancy pop-up sink stopper and drain line. Let's get it installed!
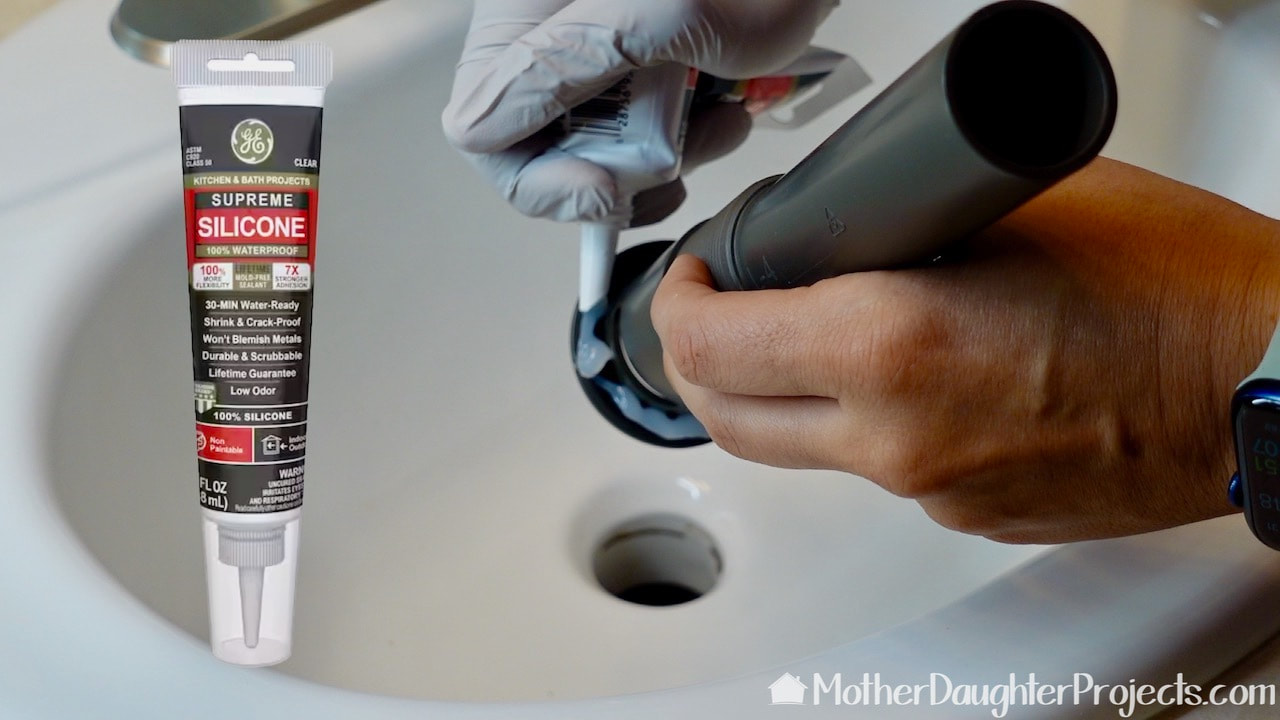
Before proceeding, add clear silicone to the underside. Use silicone on plastic parts and plumber's putty on metal parts. Let the silicone dry thoroughly.
With the silicone in place, push the new drain part into the sink. Clean up any silicone that squeezes out.
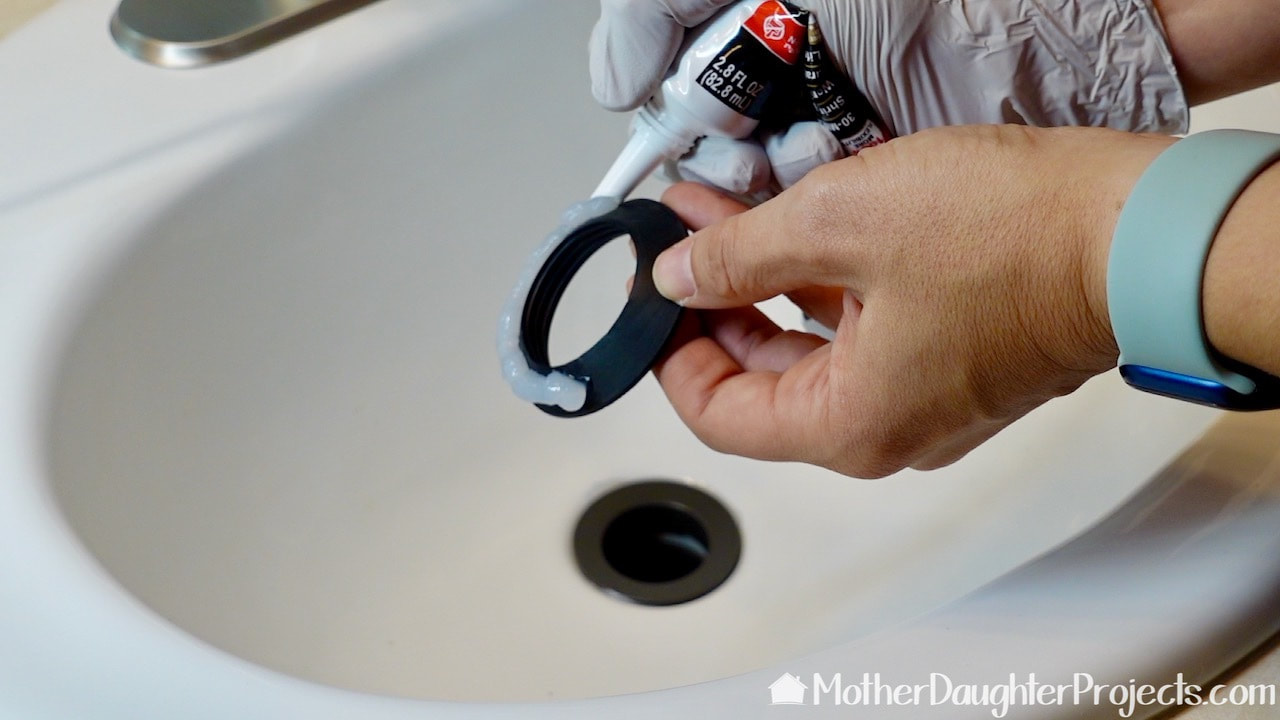
This is going on the underside of the sink and it also gets a ring of silicone to prevent leaks.
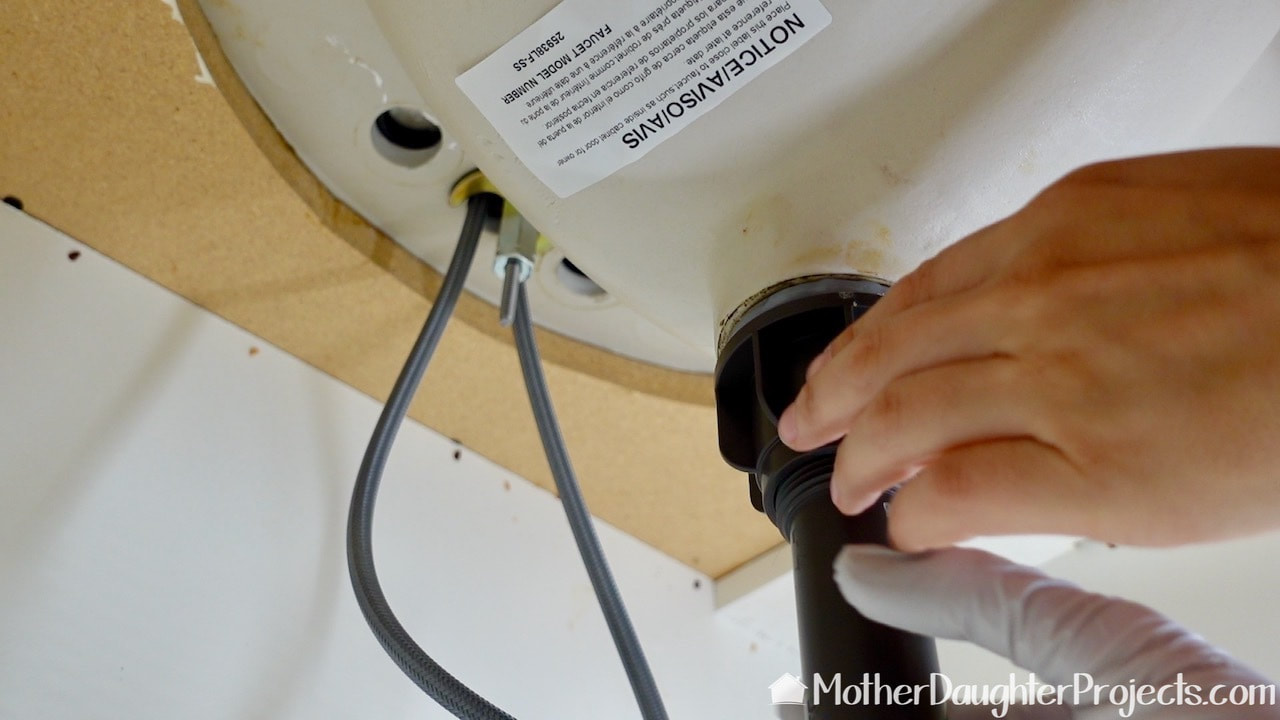
Add the nut and screw into place. Clean up any silicone that squeezes out.
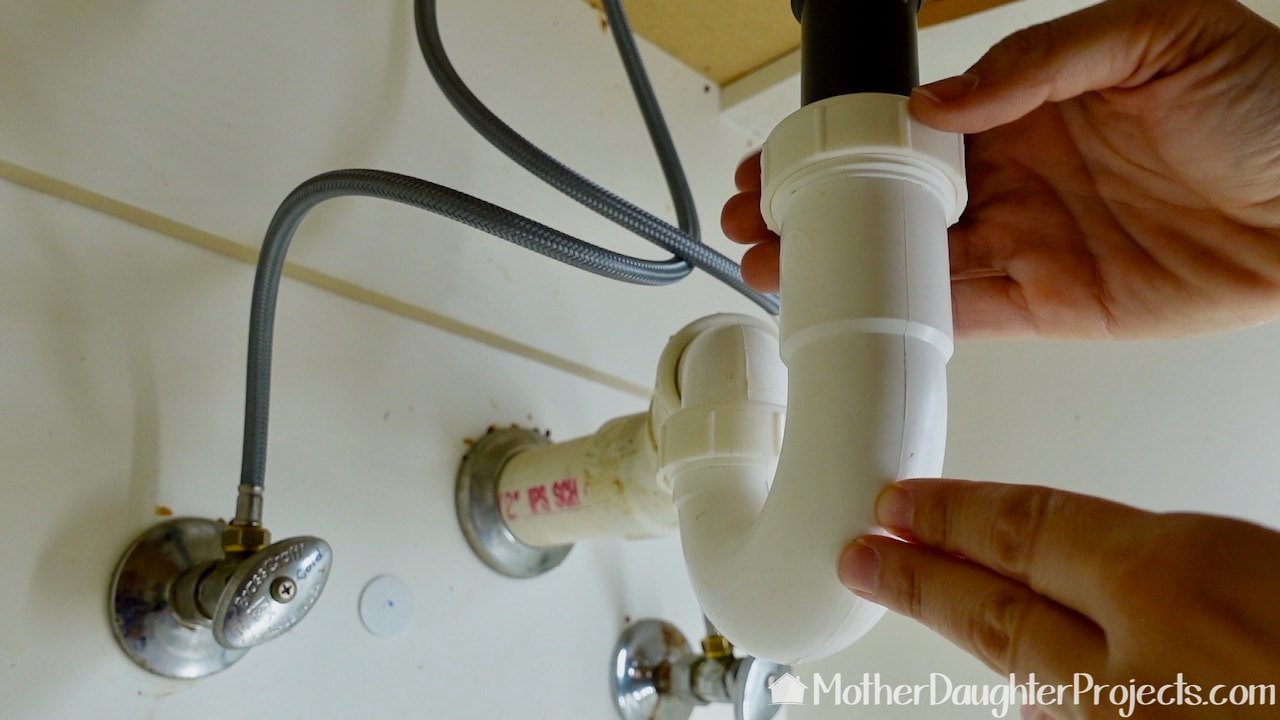
Before you add back the old trap parts, take a minute to clean them. Screw them into place and you are done!
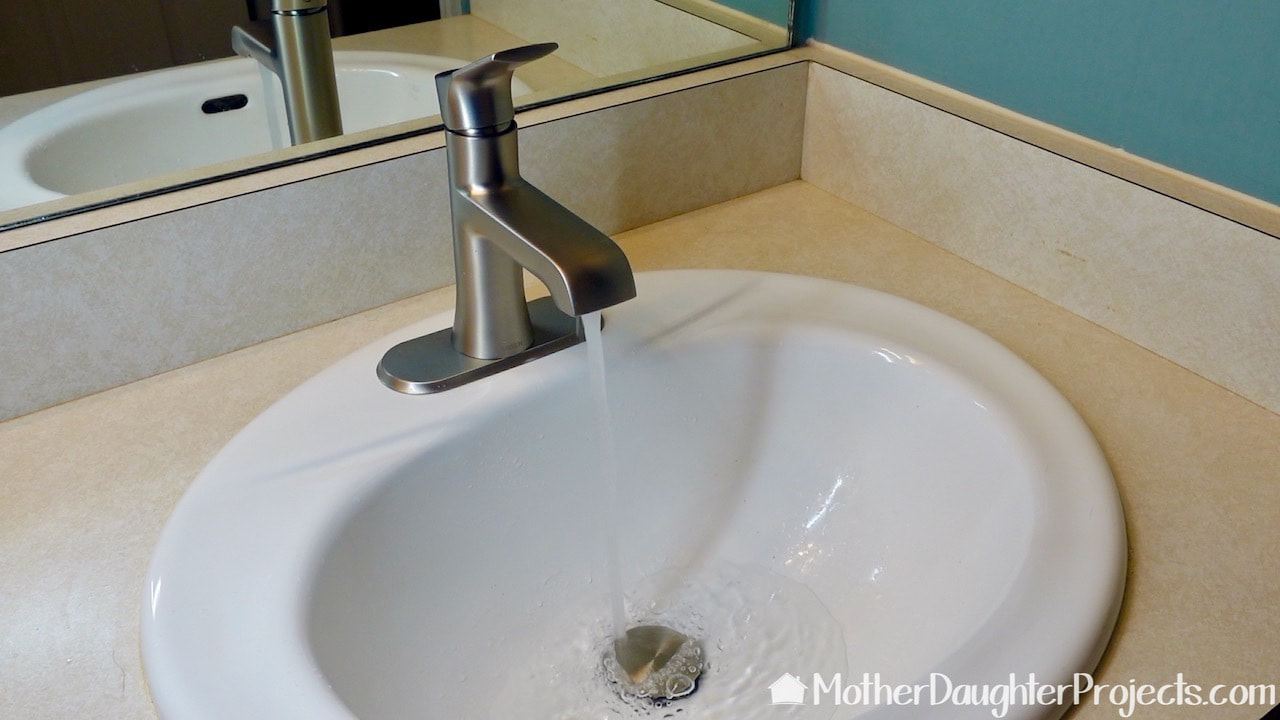
After the silicone is dry, turn on the water and test out the new faucet and stopper!
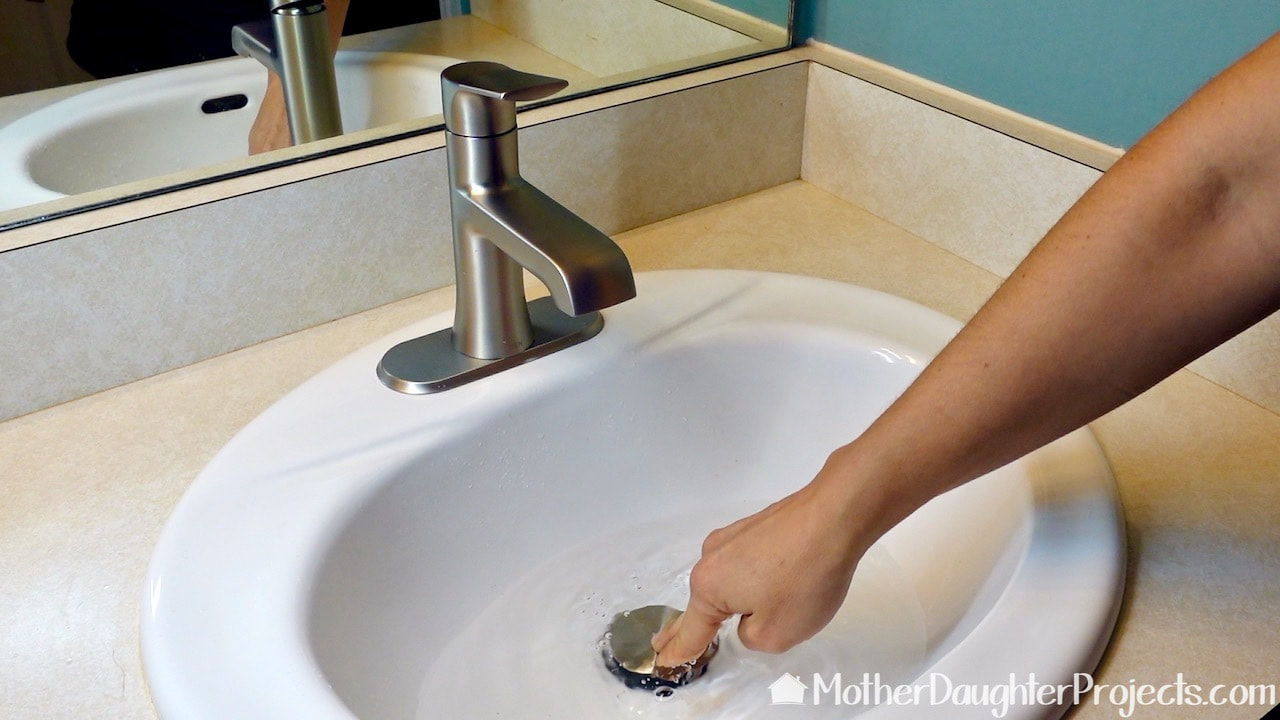
The new push button stopper is easy to close and open.
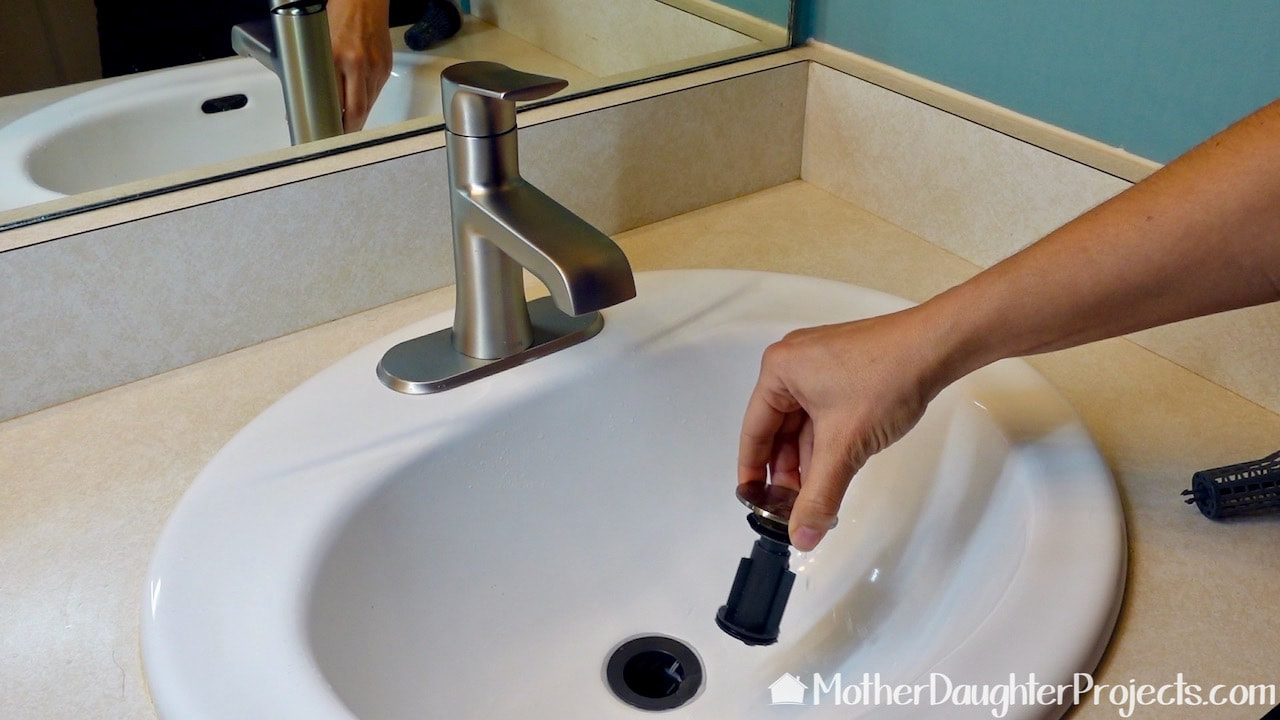
And the best feature of this new technology is the sink stopper can be pulled out to easily clean the drain. No more having to head under the sink to get the stopper out for cleaning.
This new faucet is such a nice improvement over what was there.
One of the issues Steph has with her drain is her long hair getting caught up in there creating clogs. With this new pop-up stopper it should be much easier to clean the inevitable clogs. She's going one step further to try to prevent clogs by trying the SinkShroom which is designed to capture the hair before it creates a clog. We'll keep you posted on whether this will solve her long hair clog problem! Please note: This is not a sponsored post. We are not professionals, and we don't claim to be. This is what we found worked for our project. Yours may need a little different approach. Safety first! Affiliate links are being used on this page. Purchasing via these links help support MDP. Related Projects
0 Comments
Leave a Reply. |

Mother Daughter Projects
|