|
text by Vicki Sign up to get Mother Daughter Projects updates in your email!
This post is sponsored by The Home Depot.
Since we've recently completed some rather large and on-going projects, we were ready for a little simple DIY. Recently our friend, Chris, gifted us a beautiful piece of 30 year old redwood. We thought it would make a great rustic tray or shelf, both simple and fast to complete projects.
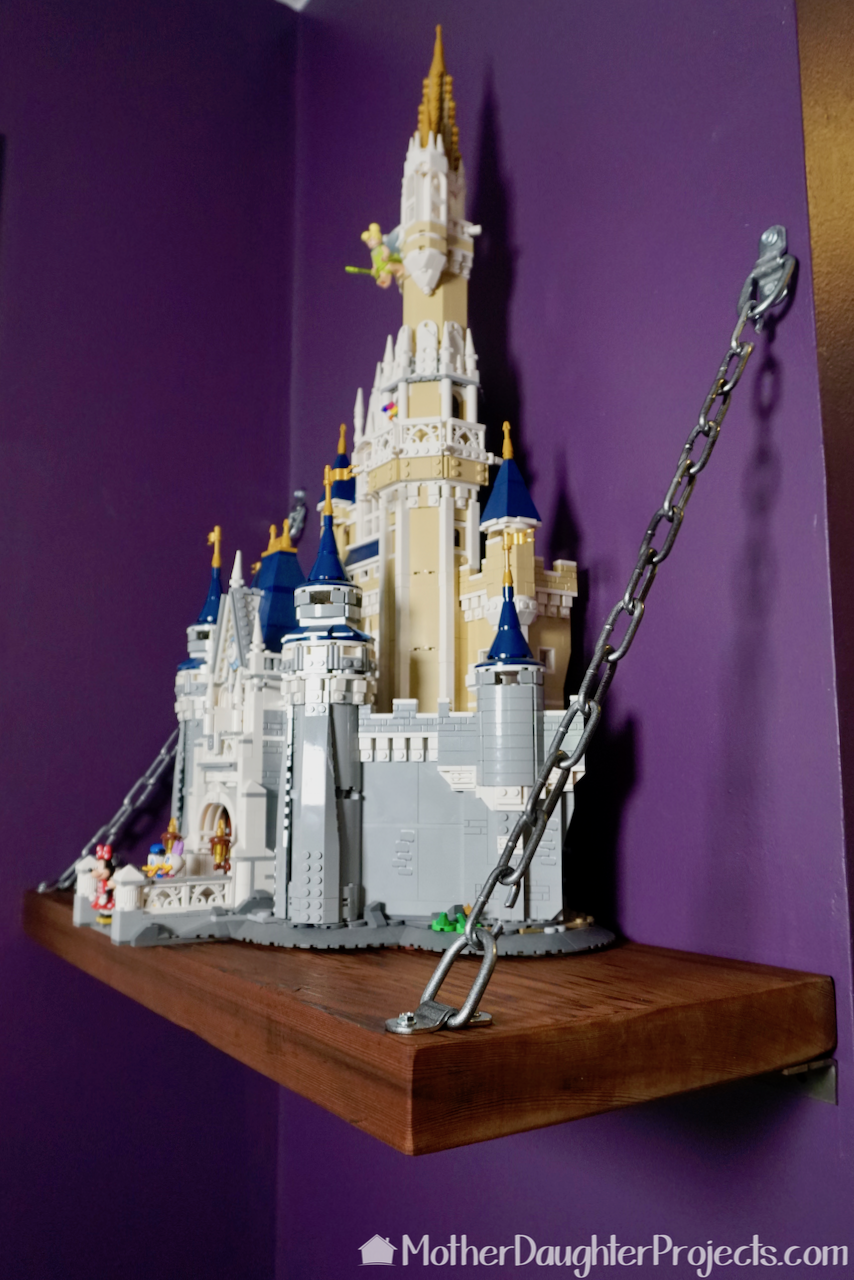
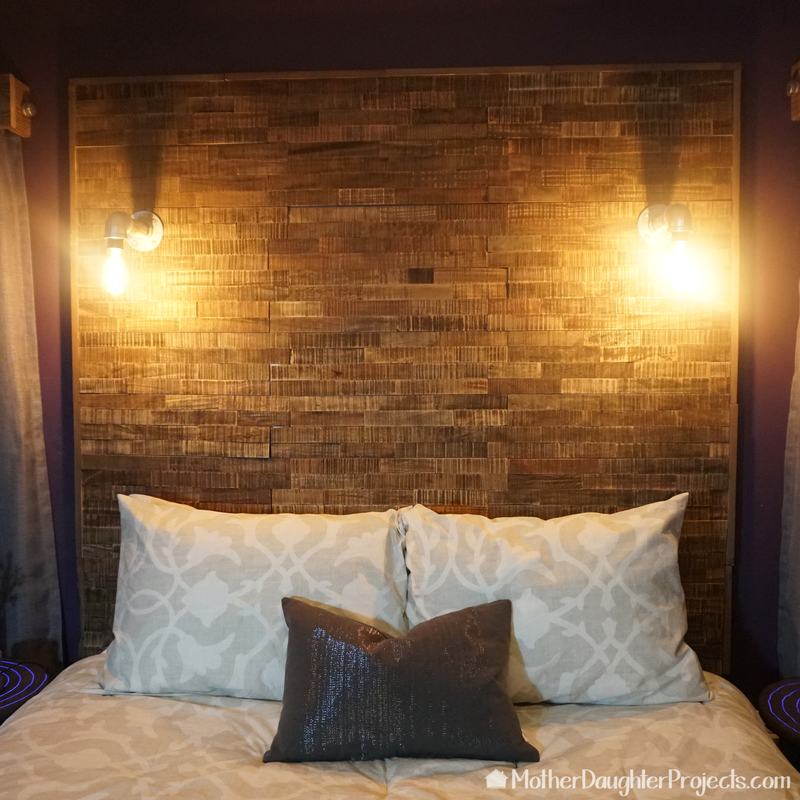
The shelf idea won out since we found the perfect place for it. We decided on a rustic shelf with industrial elements that would fit in well with the decor in Steph's bedroom. Take a look at the video to see how it all came together or read on for the tutorial. 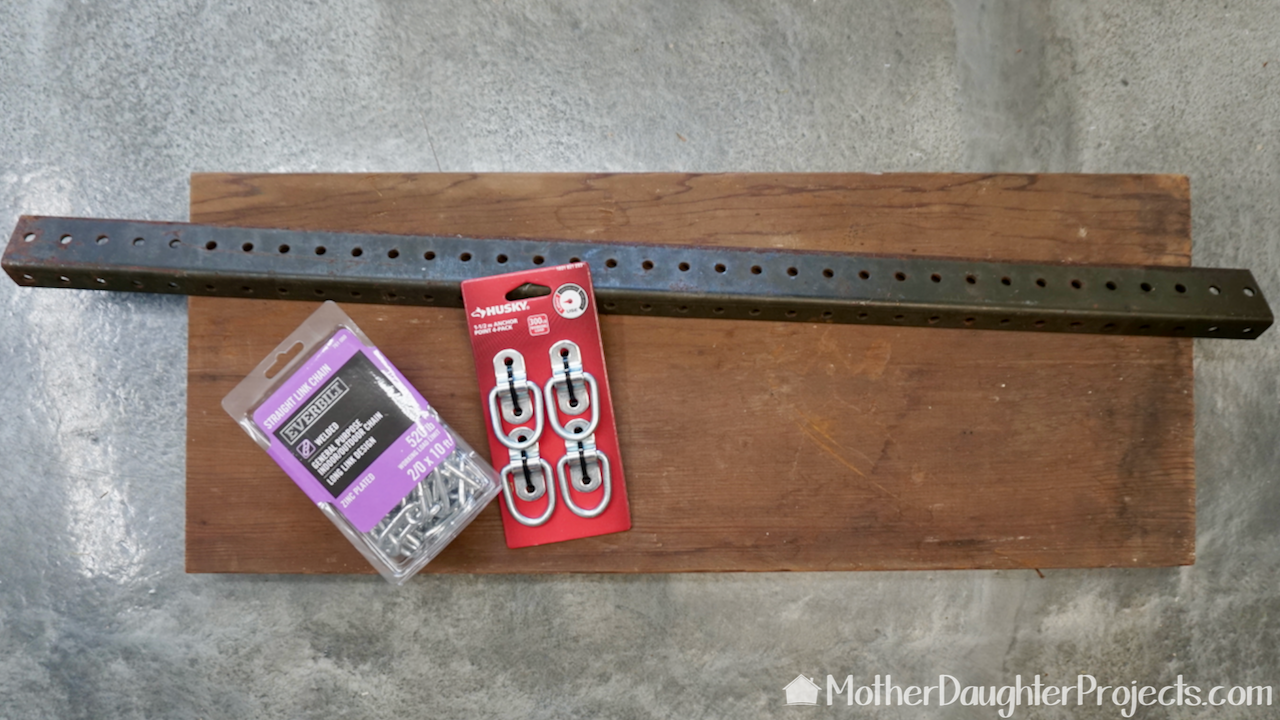
Besides the piece of wood, we used a piece of angle iron, chain, and light duty anchor points.
Materials:
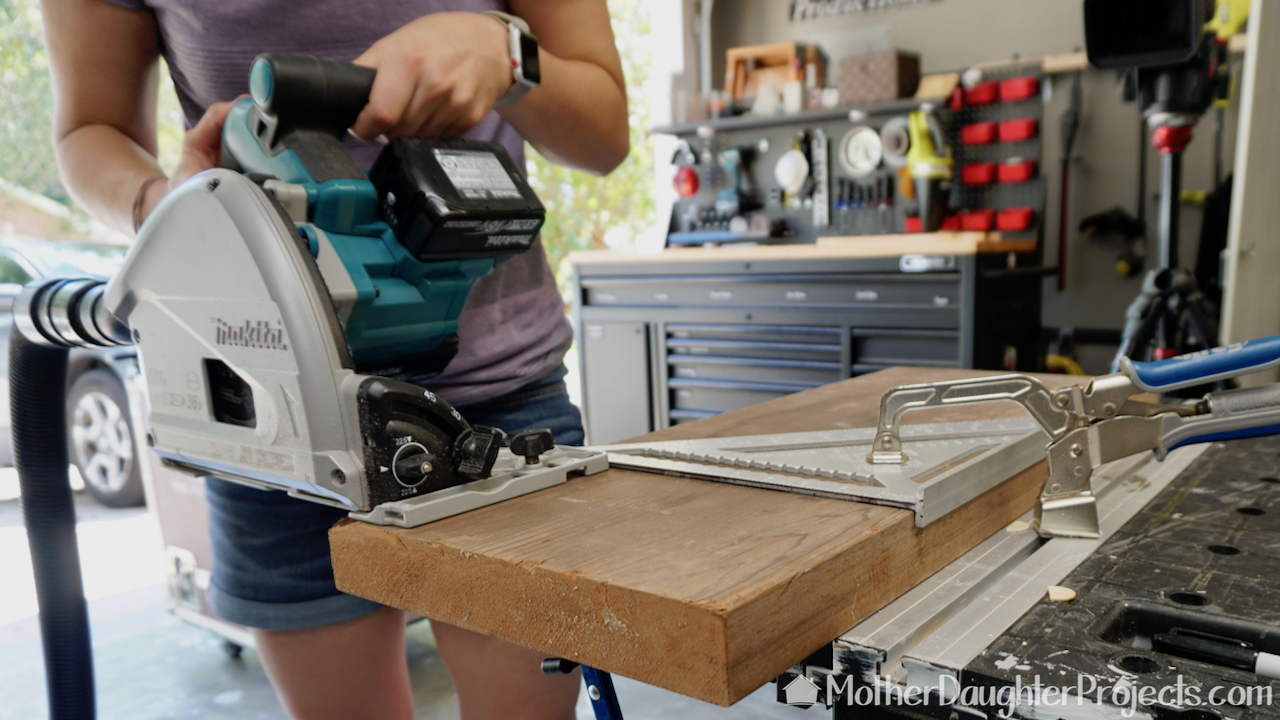
We started by cutting the board to the length we needed. We cut from both sides to trim up the slightly ragged edges.
We laid the board on the angle iron, marked the cut line, and used a DeWalt portable band saw to cut it. There are many ways to cut metal including using a circular saw or miter saw with metal cutting blade, Dremel, and a reciprocating saw with a metal cutting blade. Use what works for you. Many different styles of angle iron can be purchased. If you don't have the tools to cut the metal yourself, you could buy a piece that is a standard length that would work for your project. That way you would not have to cut it. Just center the piece under the shelf board you are using. The piece we are using was a curbside find!
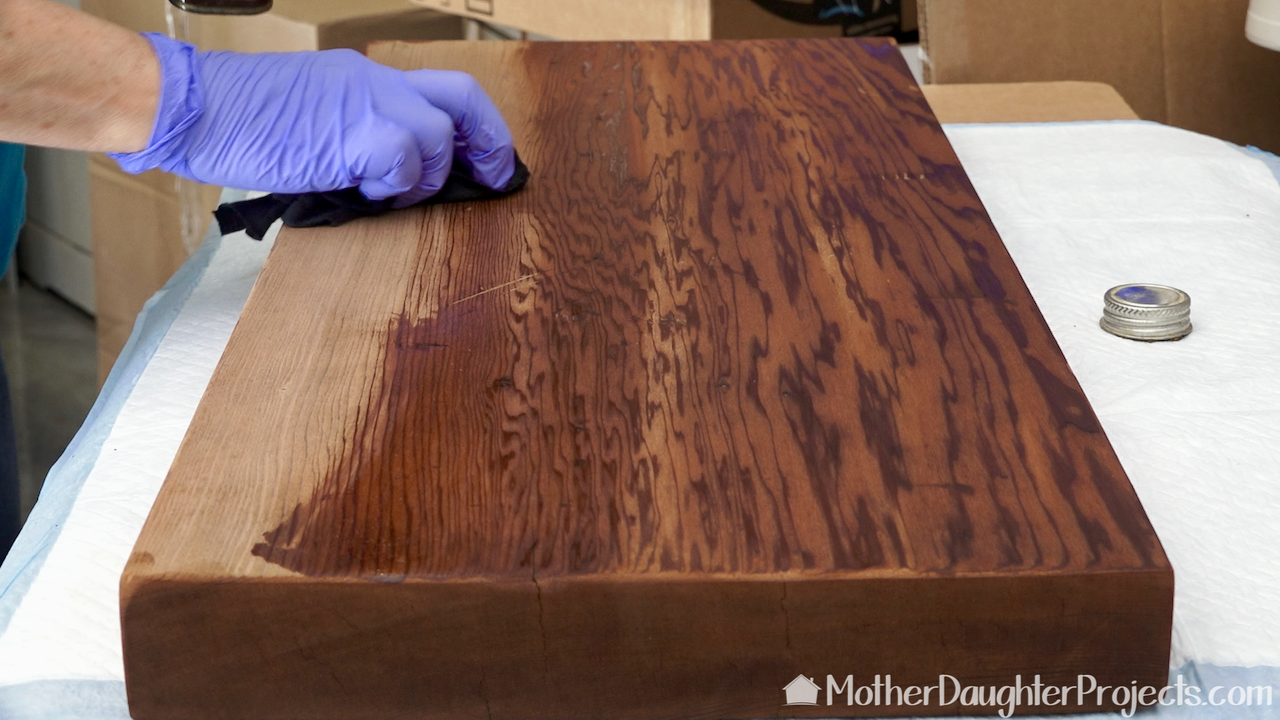
Considering the age of this board, it was in really good shape. We gave it a light sanding and then finished it with a coat of Danish oil to bring out the natural grain.
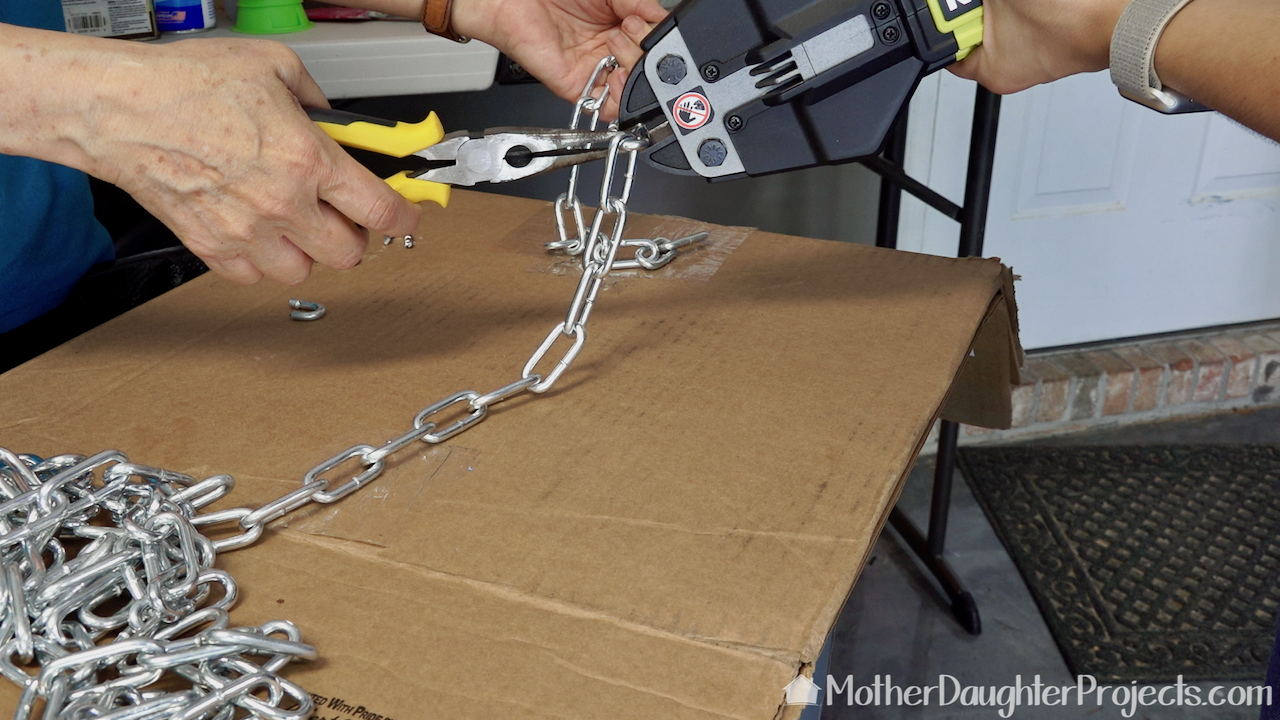
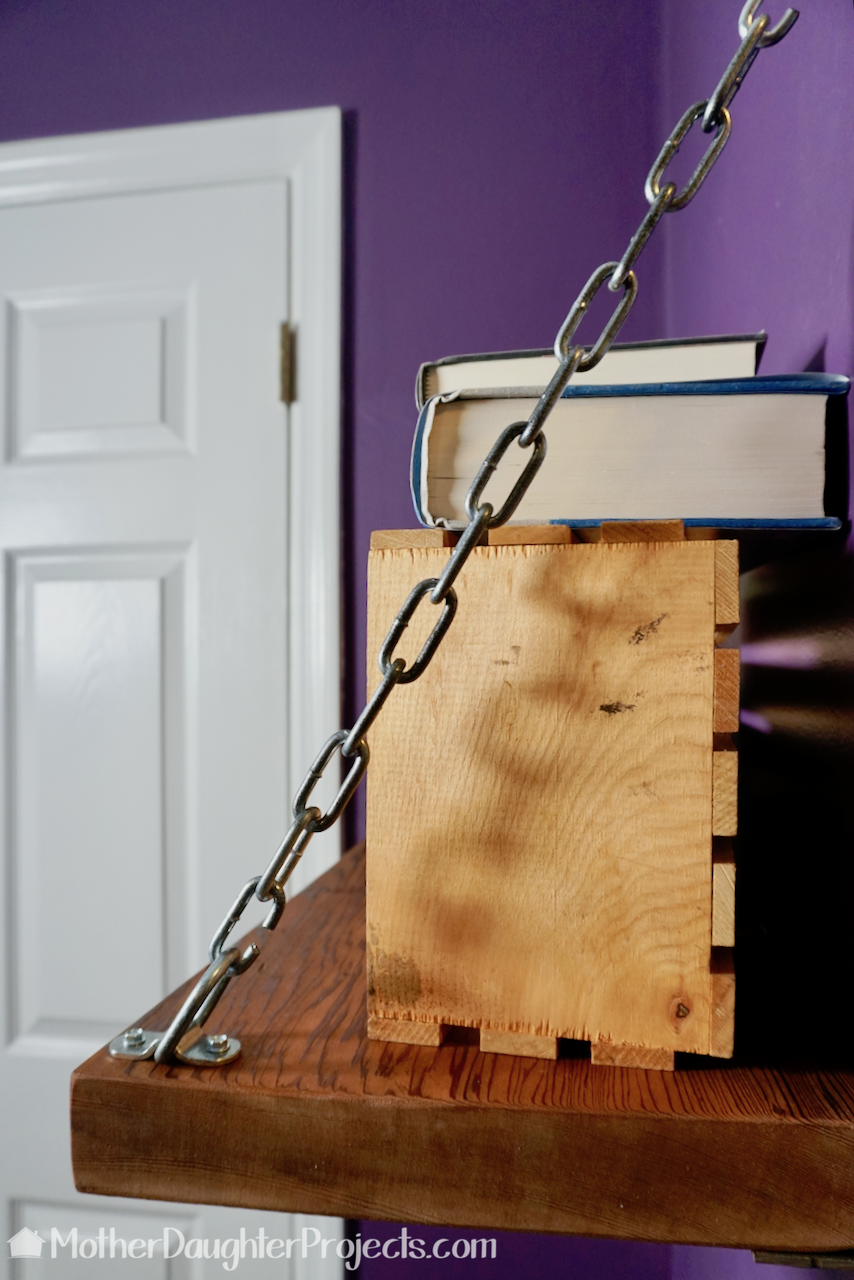
We cut the chain to length with the Ryobi Bolt cutters. When buying chain, you can have it cut to length where you buy it if you don't have manual or battery operated bolt cutters.

The chain and anchor points were a little too shiny and new looking so we gave them a light spray of oil rubbed bronze.
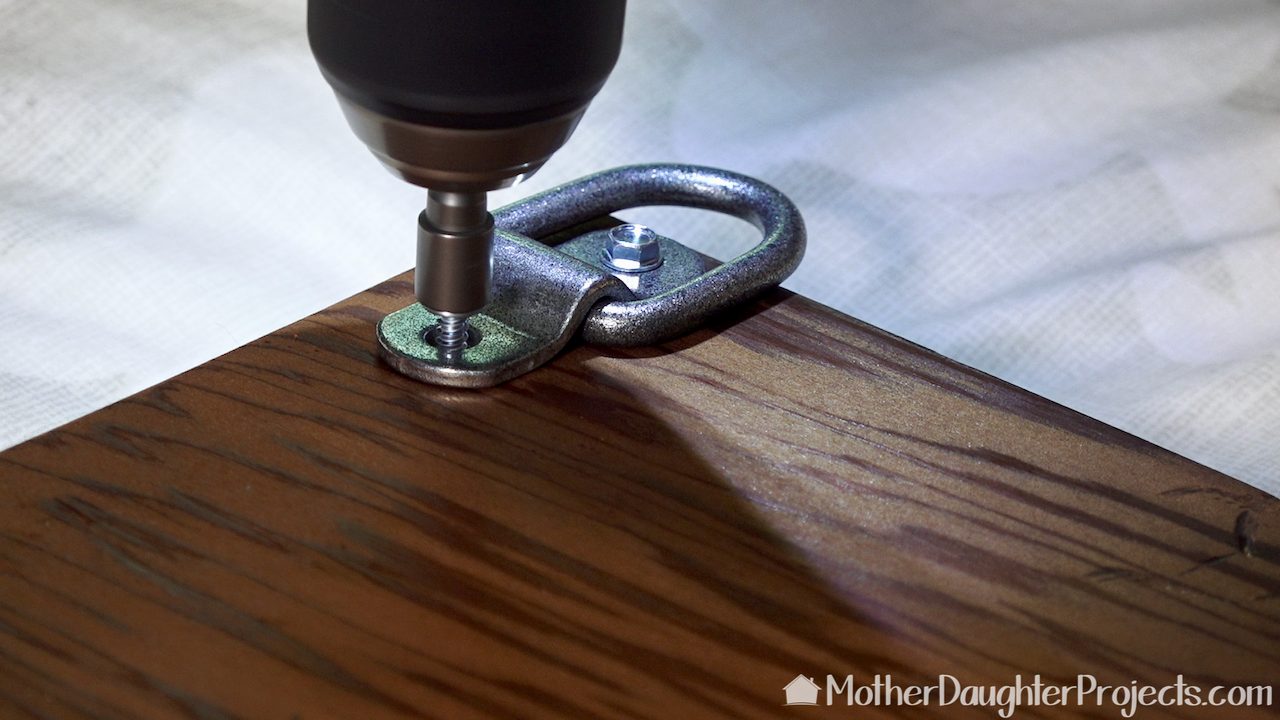
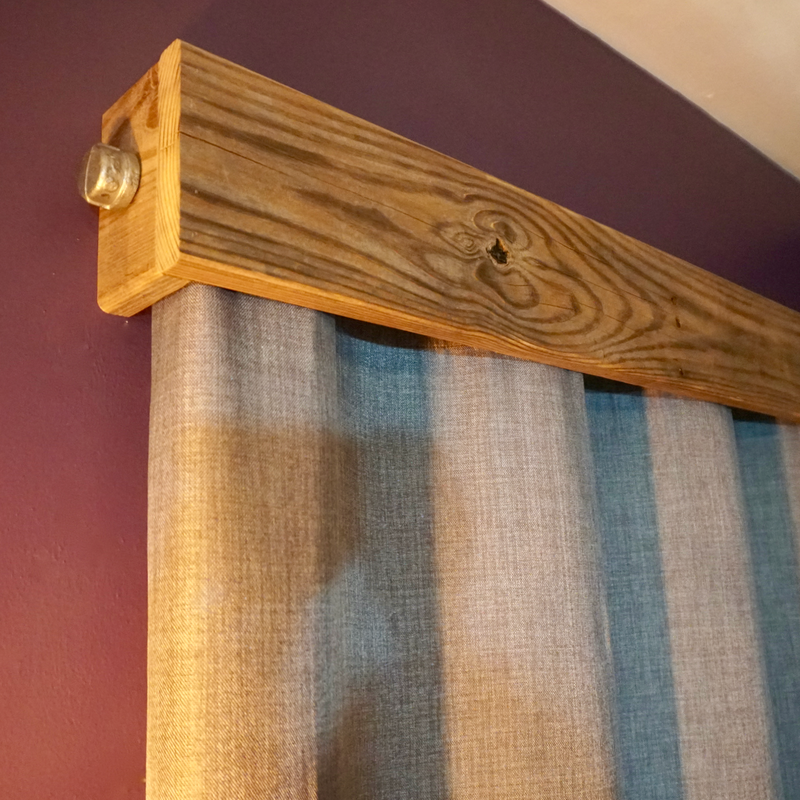
Two of the anchor points were screwed onto the corners of the shelf. Note: the screws don't come included with the anchor points so be sure to pick them up. We liked the look of these hex head screws so that's what we bought.
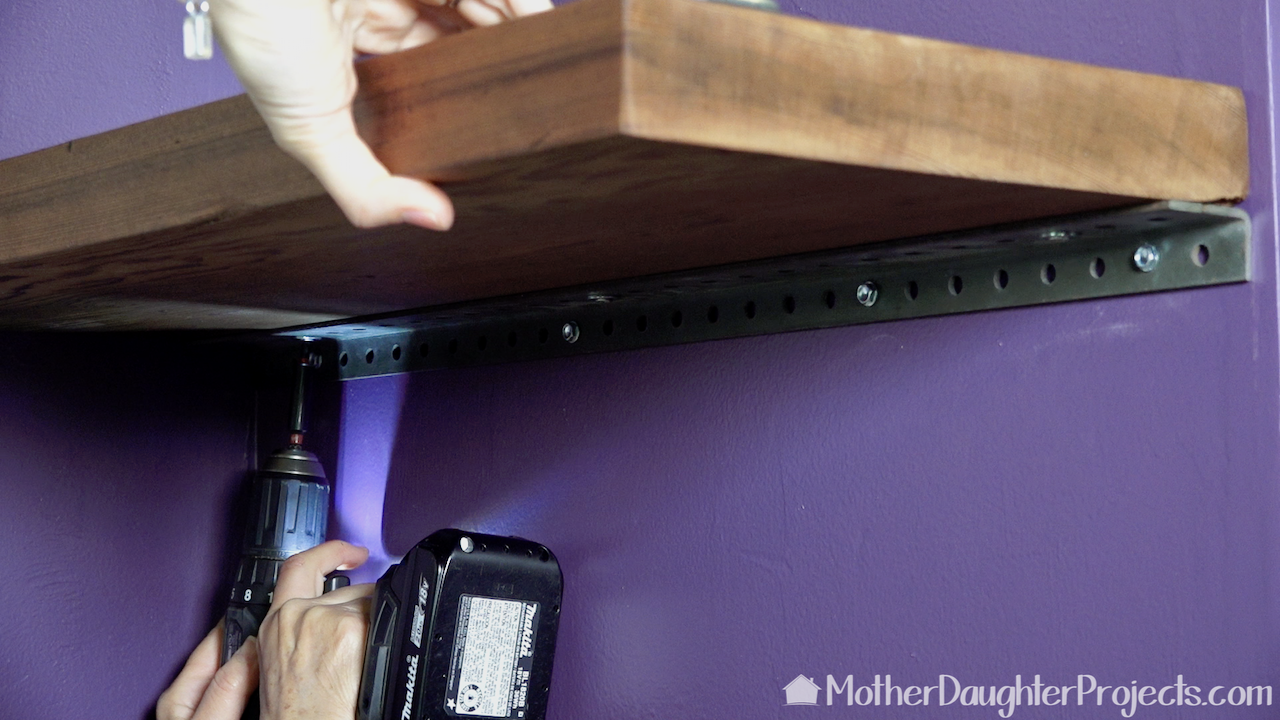
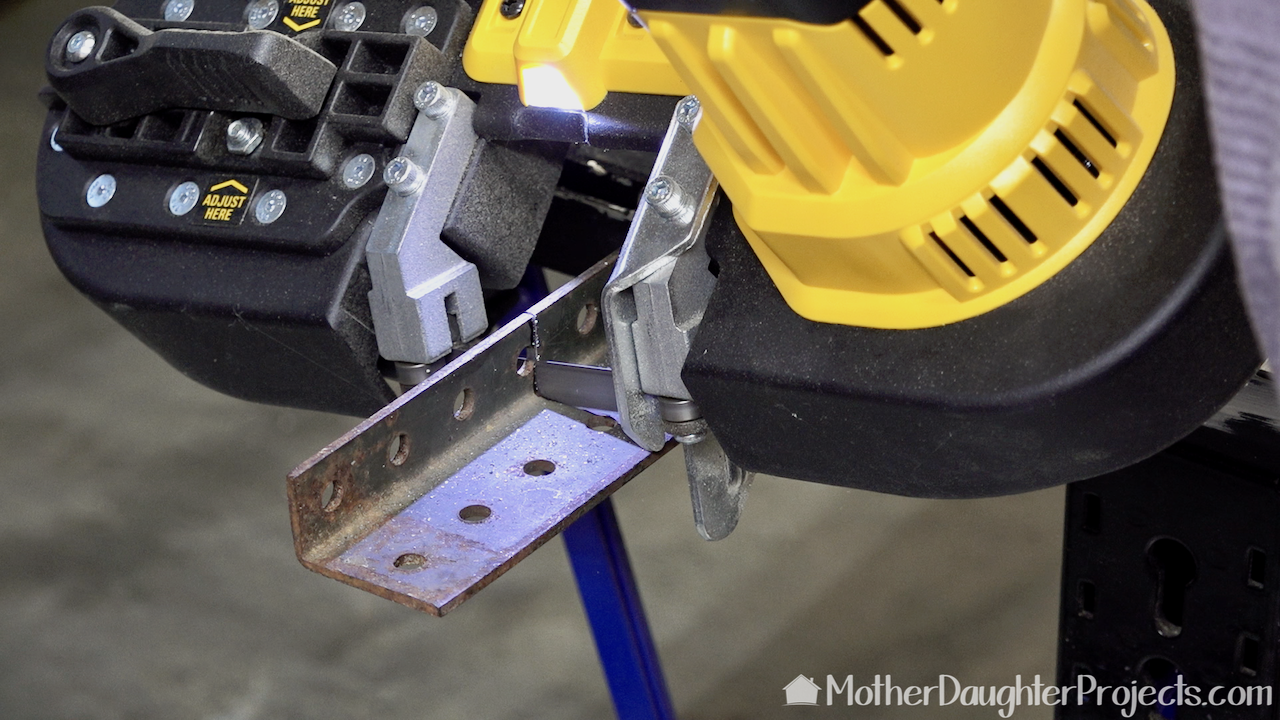
The angle iron was first attached to the wall with more hex head screws and wall anchors where needed. The board was screwed onto the top of the angle iron with the same type of screws. Note: use a level to get the angel iron level before screwing it into place.
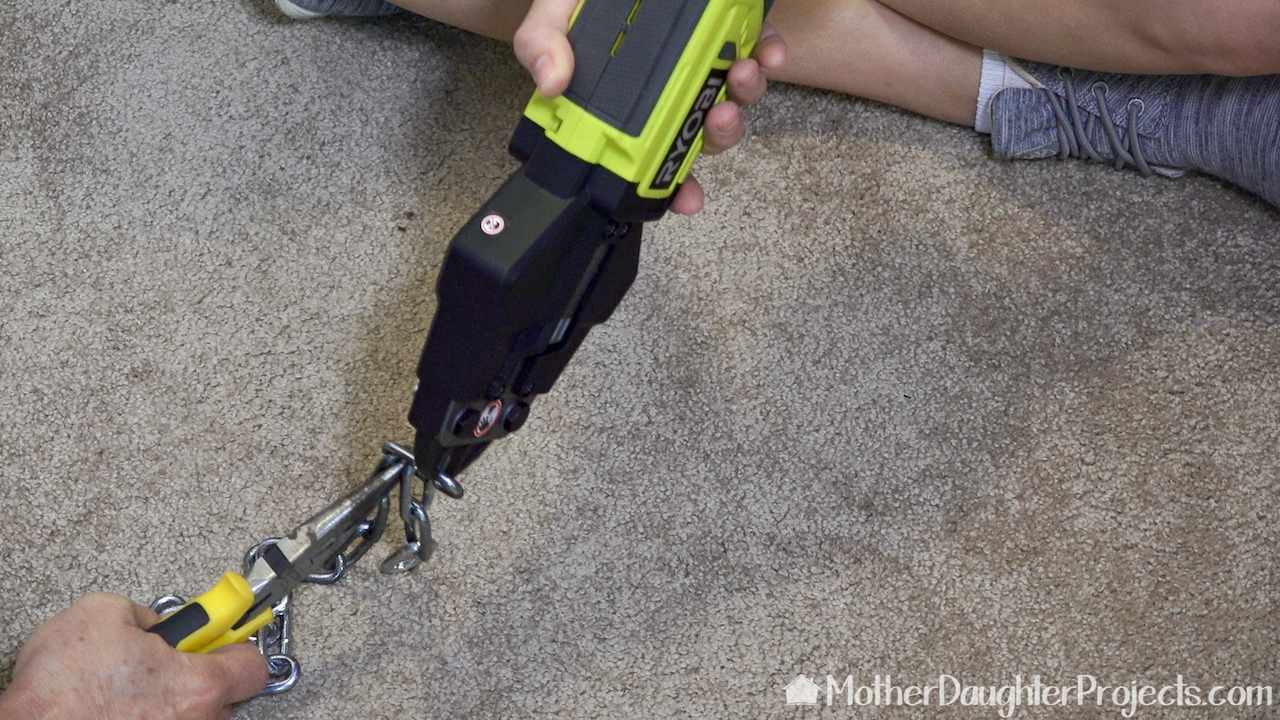
Once the shelf was in place, we had to cut the chain a little shorter. We also cut sections out of four links that we could use to hook onto the anchor points. If you don't have tools to do this, you can purchase 's' hooks or quick links.

We added the chain to the anchor point BEFORE screwing the anchor point into the wall.
All finished!
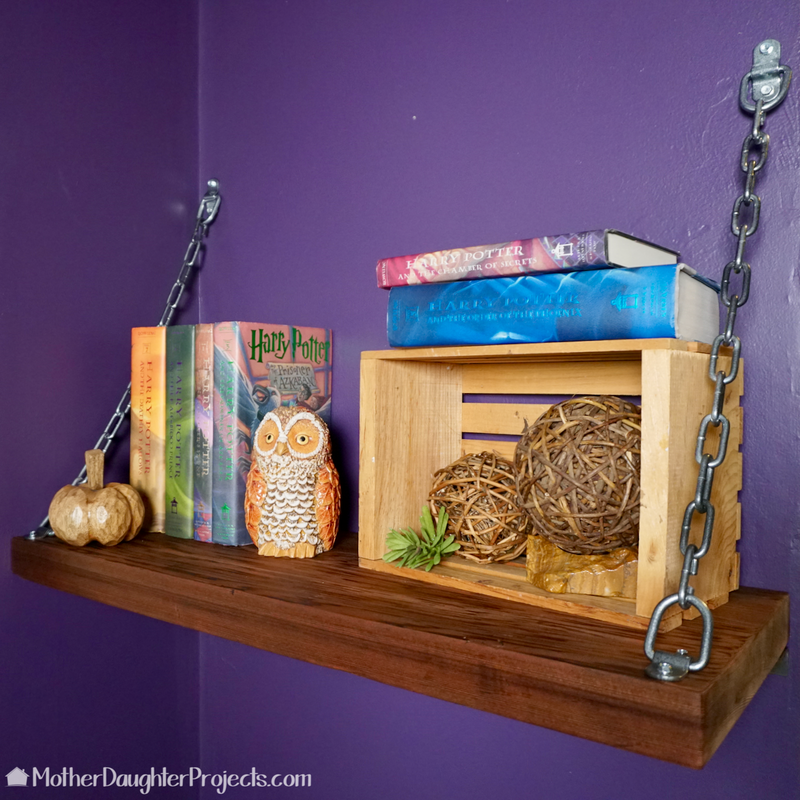
Now, do we leave the Harry Potter decor or the castle? So many decisions. Steph likes them both.
This was a quick project that really surprised us at how well it turned out! We love to be inspired by materials, and this redwood from Chris was this projects inspiration!
Have you created a project after being inspired by a material? Let us know here! We acknowledge that The Home Depot is partnering with us to participate in the ProSpective 2018 Campaign. As a part of the Program, we are receiving compensation in the form of products and services, for the purpose of promoting The Home Depot. All expressed opinions and experiences are our own words. Our post complies with the Word Of Mouth Marketing Association (WOMMA) Ethics Code and applicable Federal Trade Commission guidelines. FYI: We are not professionals, and we don’t claim to be. This is what we found worked for our project. Yours may need a little different approach. Safety first! FYI: Affiliate links are being used on this page. Purchasing via these links help support MDP! Related Projects
0 Comments
Leave a Reply. |

Mother Daughter Projects
|