|
text by Steph Sign up to get Mother Daughter Projects updates in your email!
This post is sponsored by The Home Depot as a part of The Home Depot’s ProSpective Campaign. 
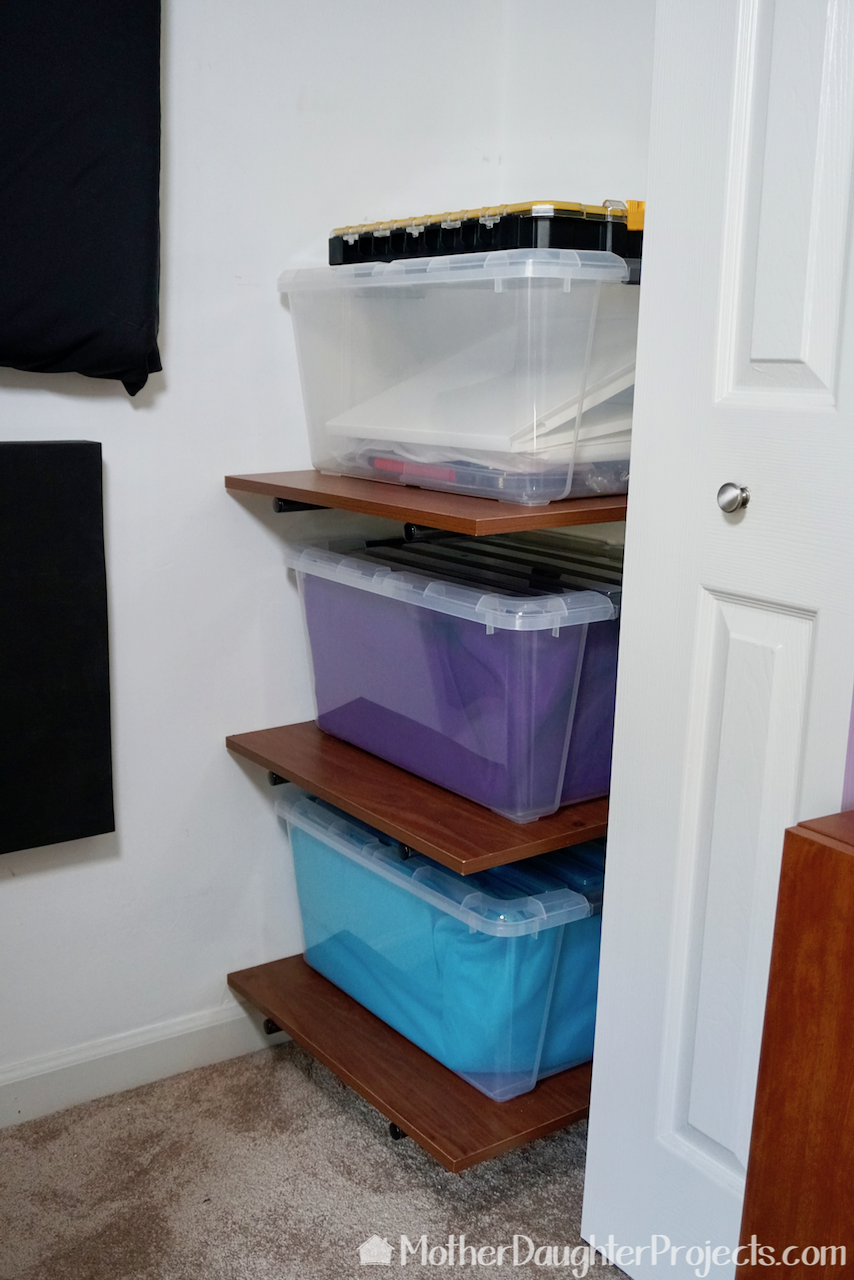
A while back I turned my office closet into an audio recording booth. It's been great to have the mic setup and ready to go when I need to record narration for our videos. Even with the recording setup I still had a little space left in the closet for storage. I've been storing plastic bins on the side, one on top of the other.
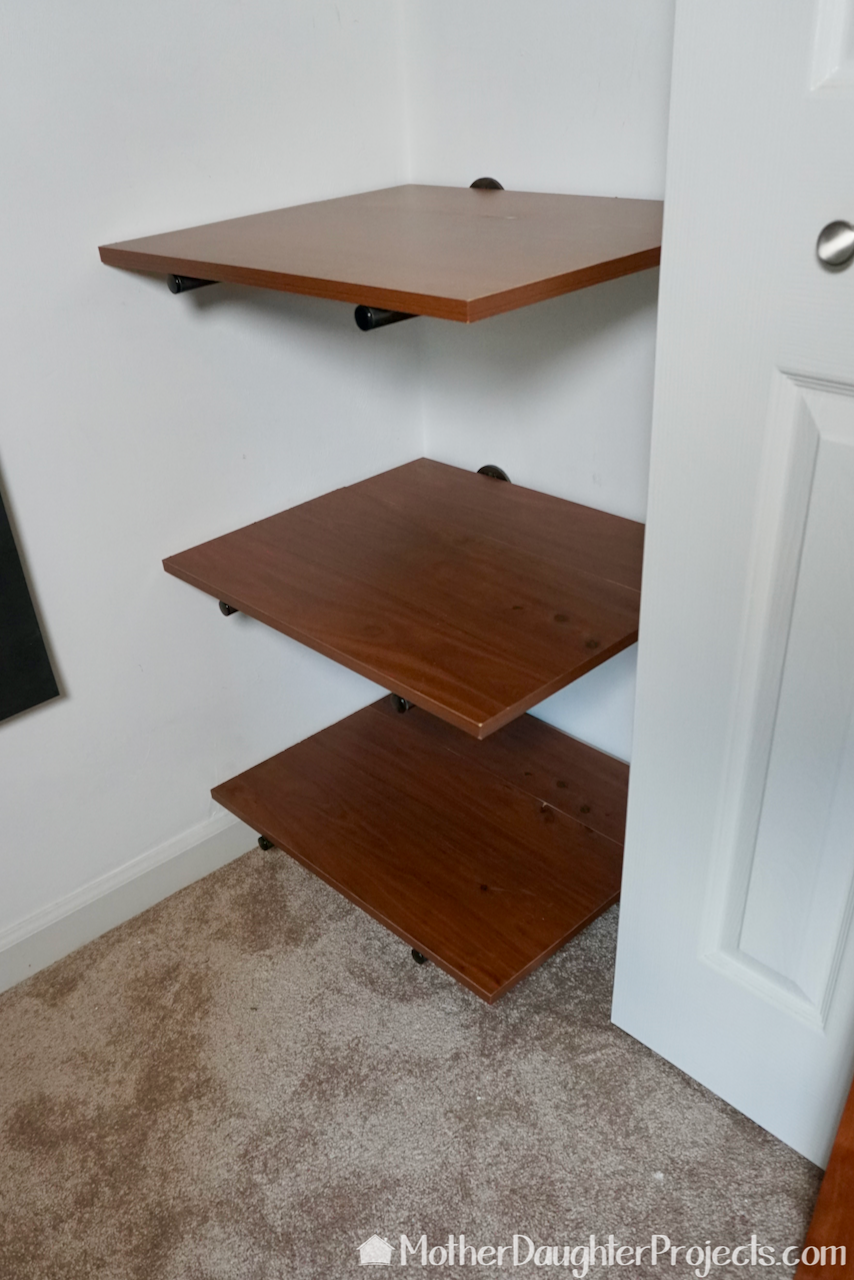
It worked for a while, but I got tired of having to move each bin, especially when I need to get to the bottom one. I decided to build some simple shelves to hold the bins and keep them out of the way when recording. Here’s the plan I came up with. I made three shelves, but I might add one more in the future. 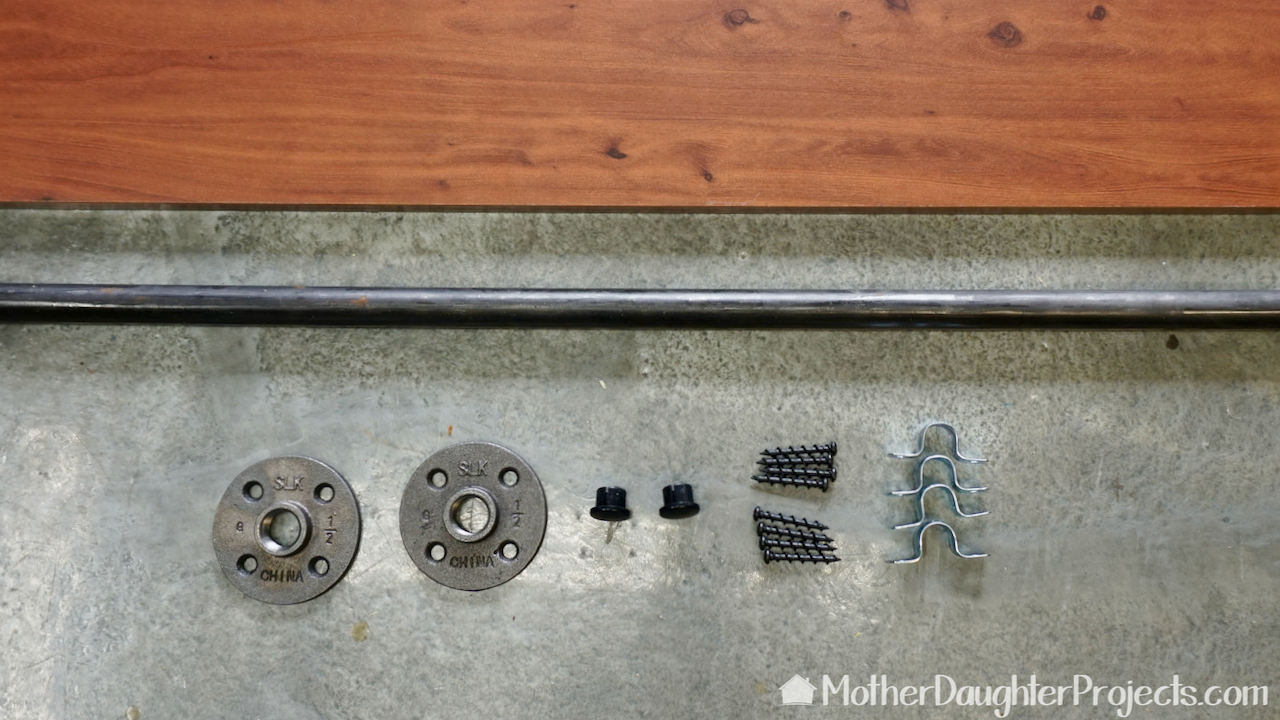
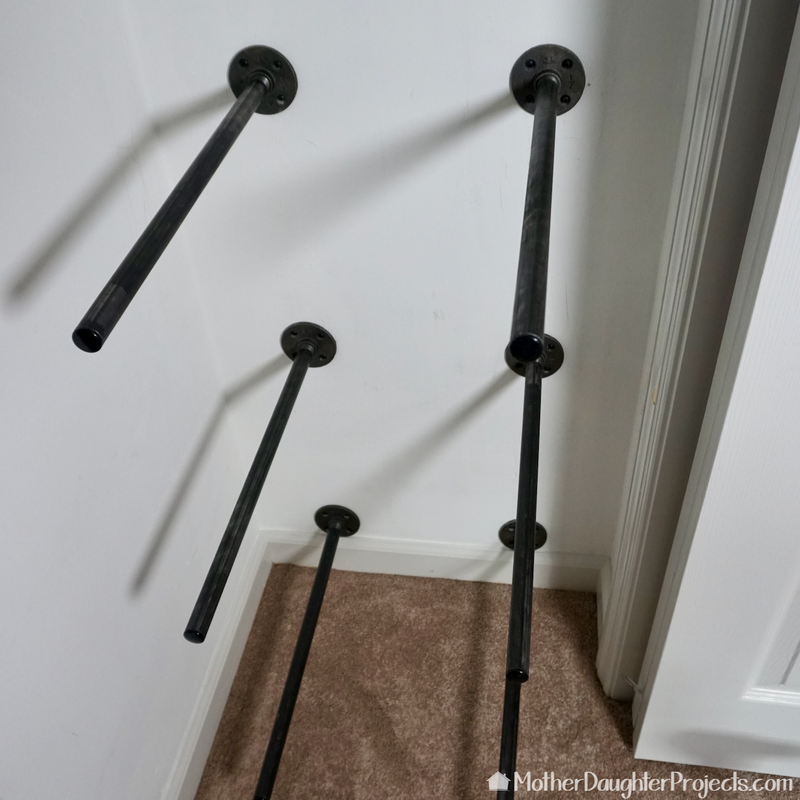
I decided on pipe to hold up the shelves since they stick straight out from the wall and I can put the shelves close together. I bought a 36” pipe because it was way cheaper then buying (2) 18” pieces to hold up each shelf.
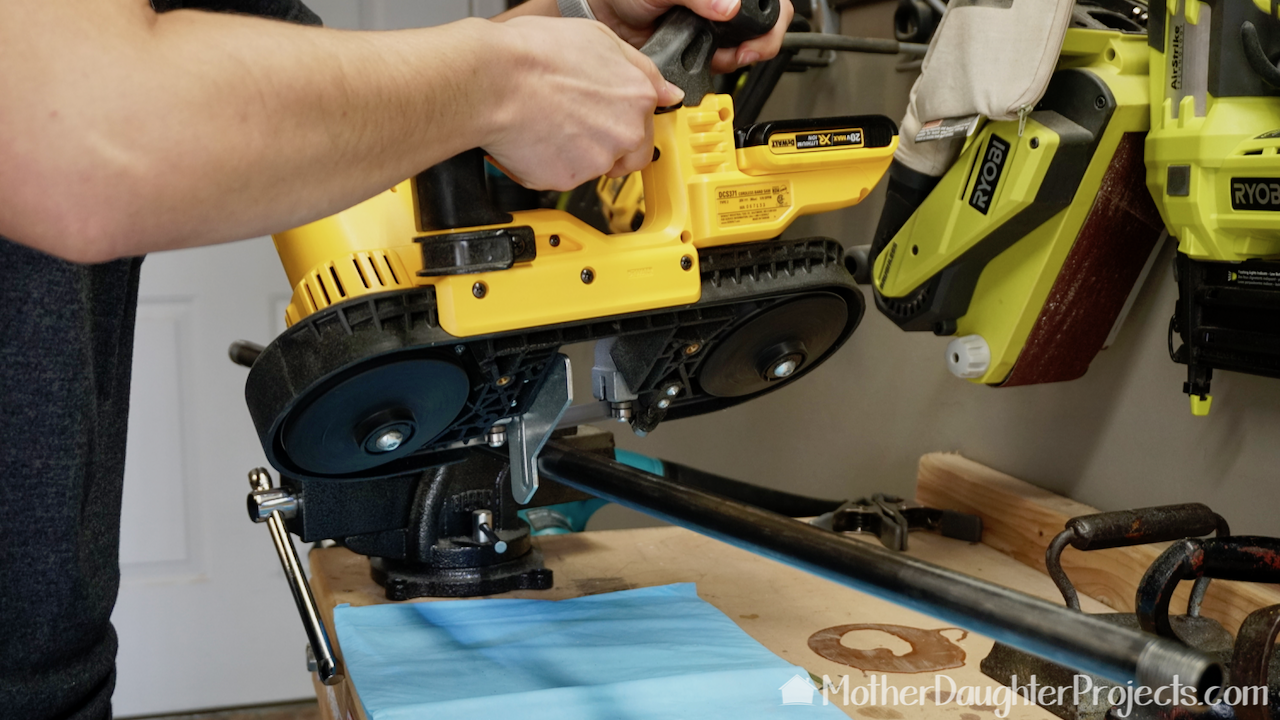
I was able to easily cut the pipe with our portable band saw, but there are many tools that can do this.
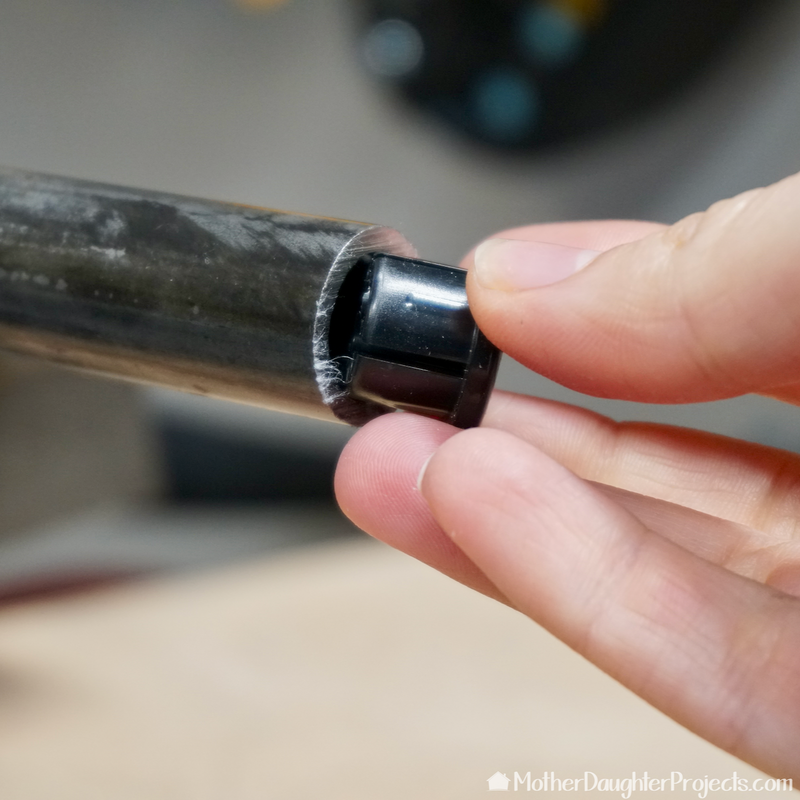
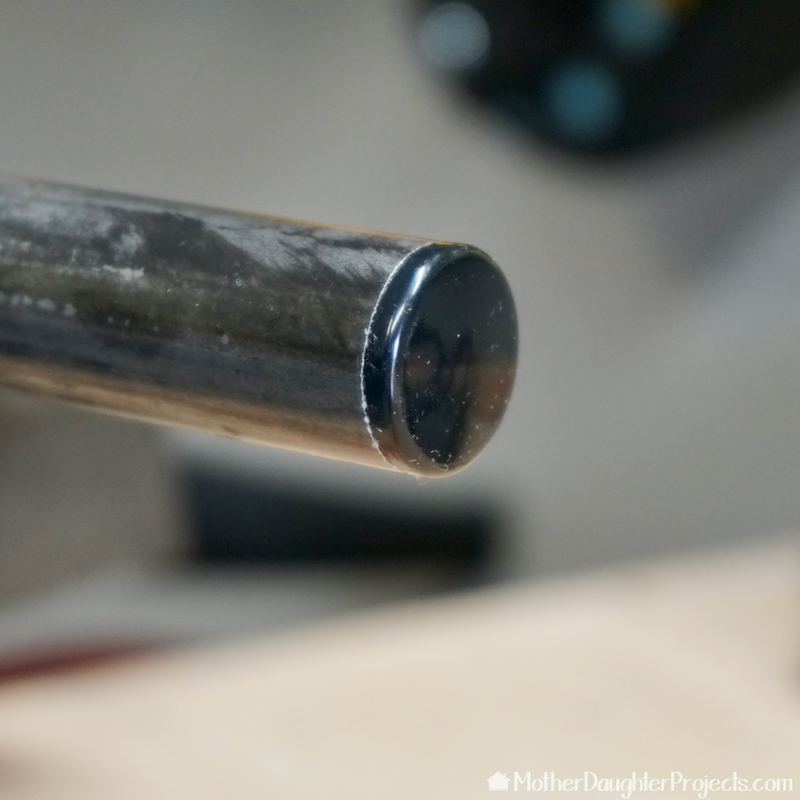
Since I cut the pipe, I couldn’t cap the end of the pipe with a threaded end cap. I found PVC caps that fit perfectly into the end of the cut pipe and finish it nicely.
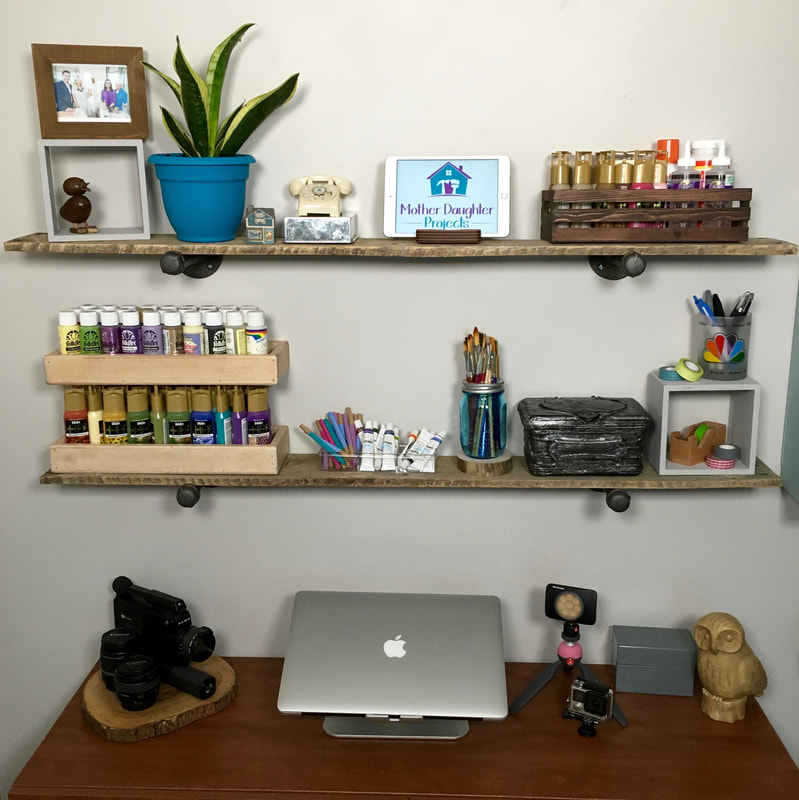
I was going to buy some plywood to use as the shelf, decided to reuse the old melamine shelves that we just took down after replacing them with the floating plywood shelf we built.
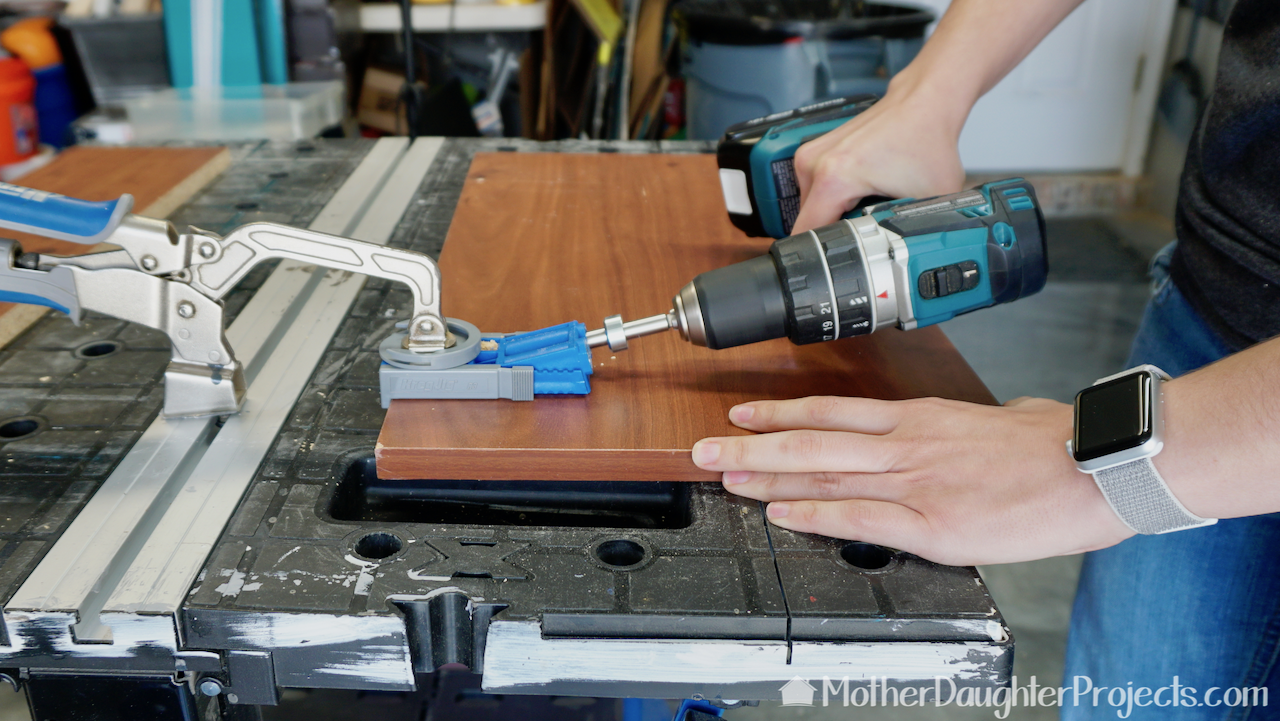
As the depth of the old shelves was only 12” and I needed 18” for my new pipe shelves, I decided to add on 6” by joining the wood together with pocket-holes.
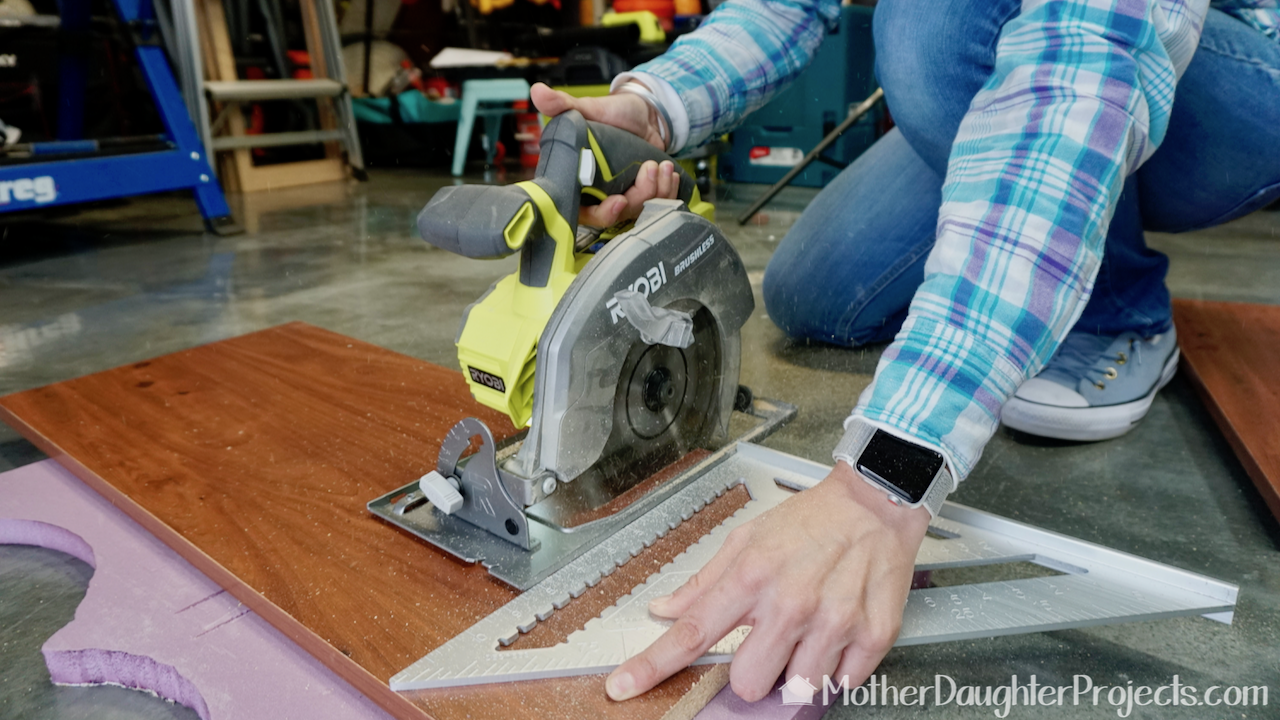
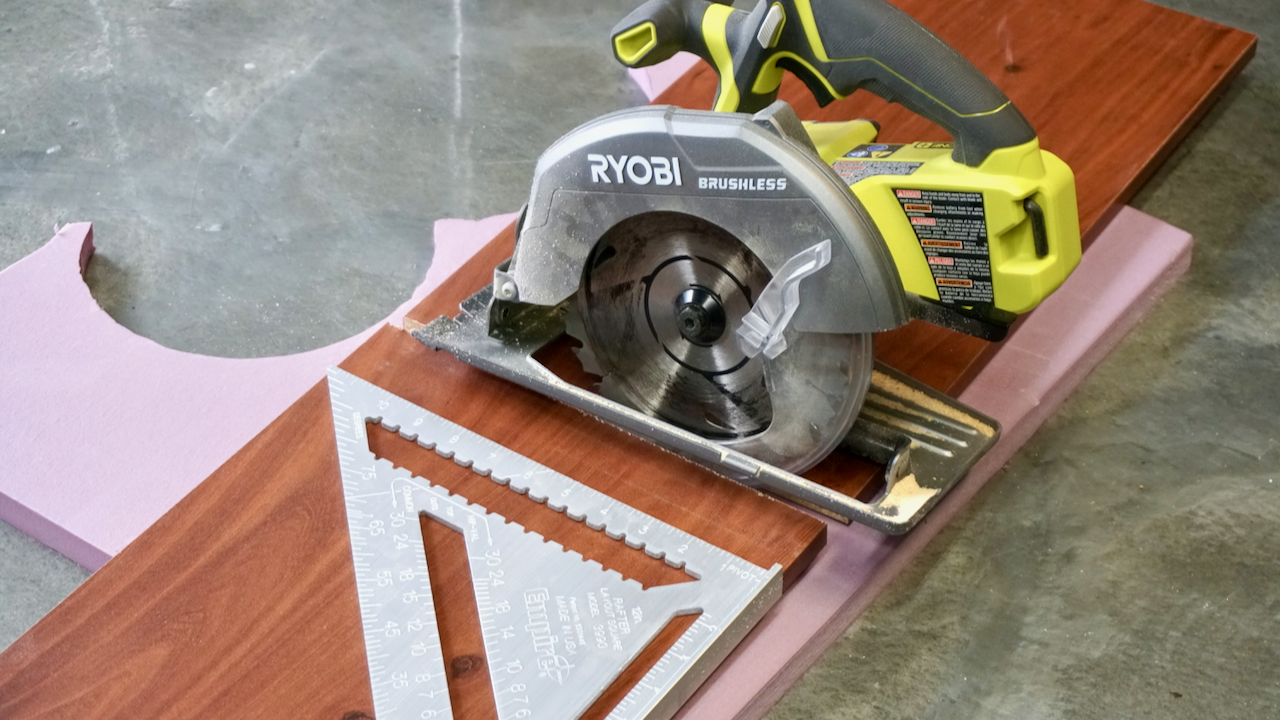
I cut the wood with our new Ryobi Brushless Circular saw. We have used this in a few projects now and are really impressed with its power and performance. Brushless means it has longer runtime, more power and a longer motor life without maintenance.
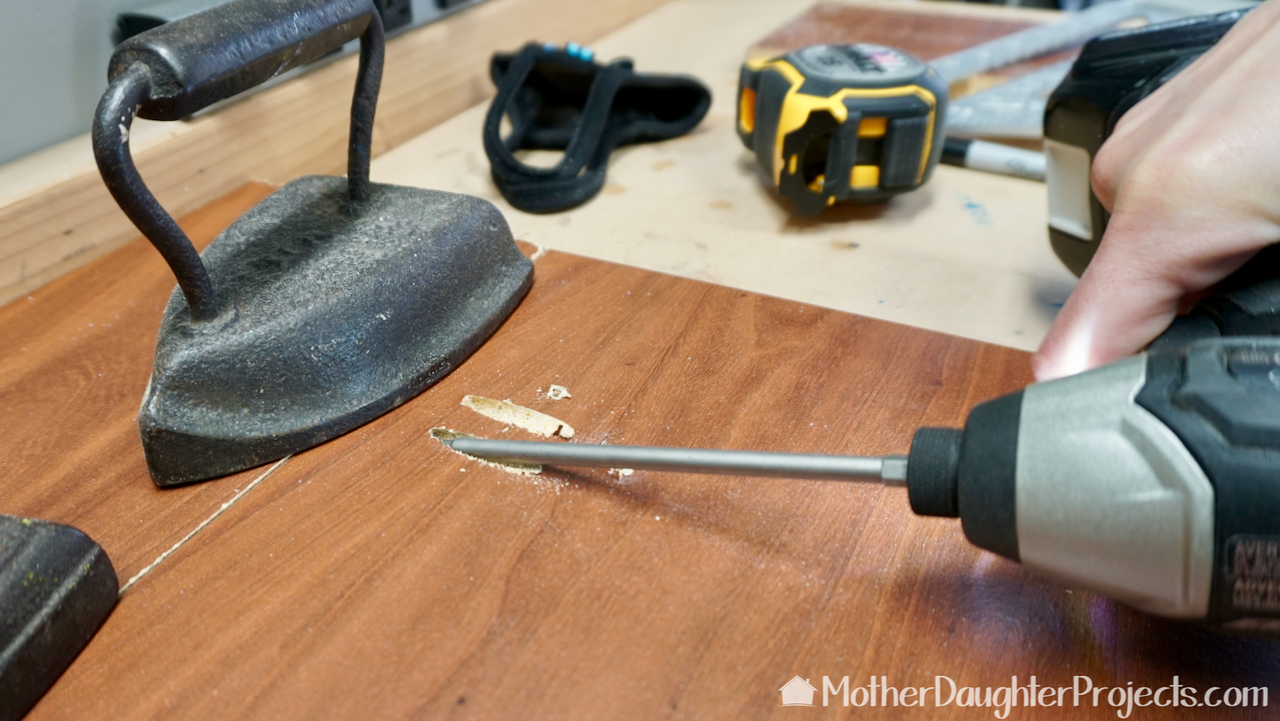
Attaching the 12" and 6" boards together with kreg screws.
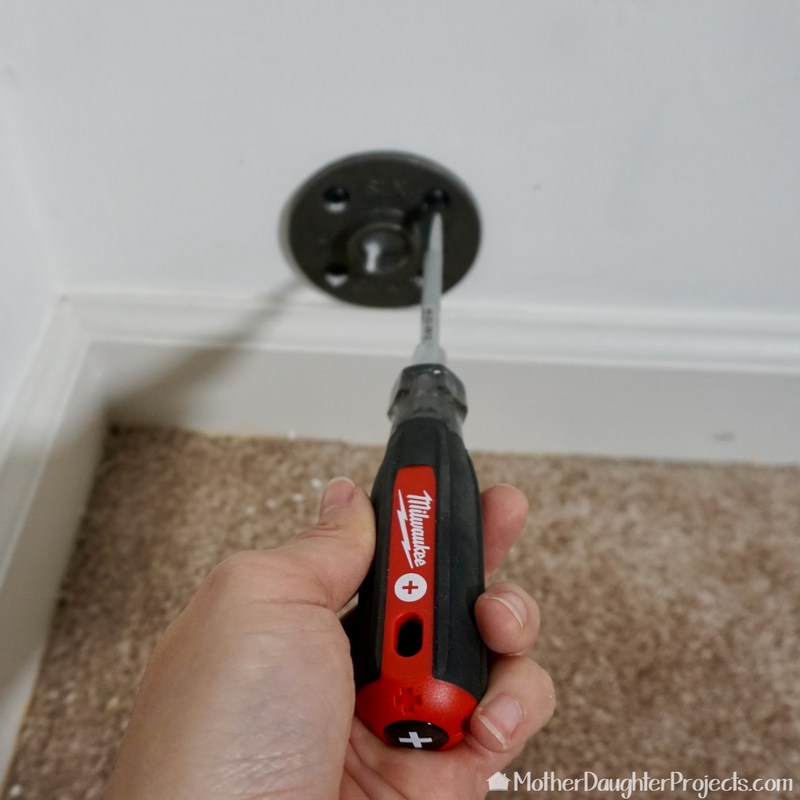
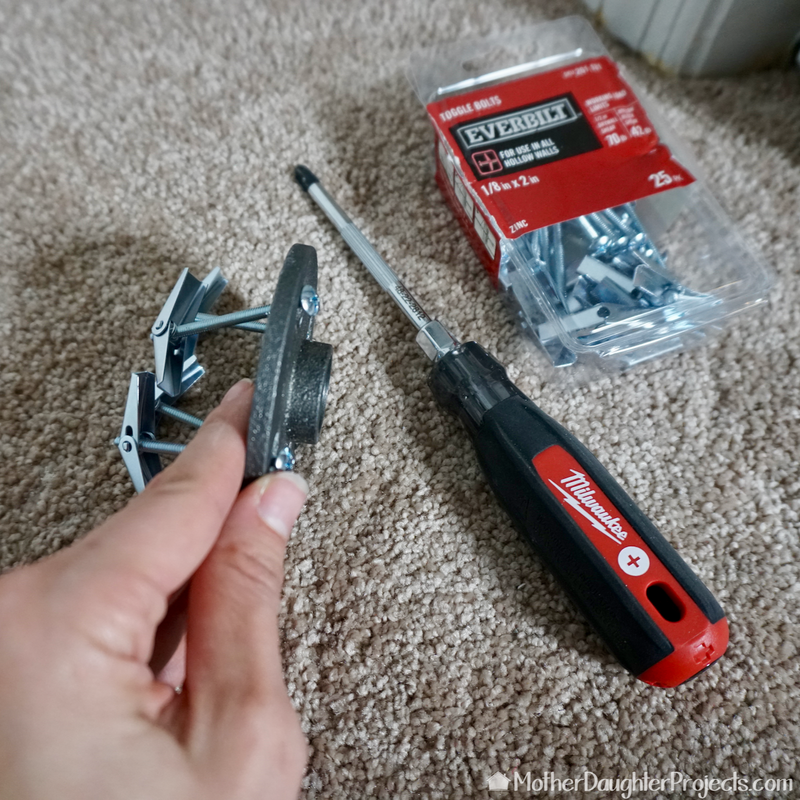
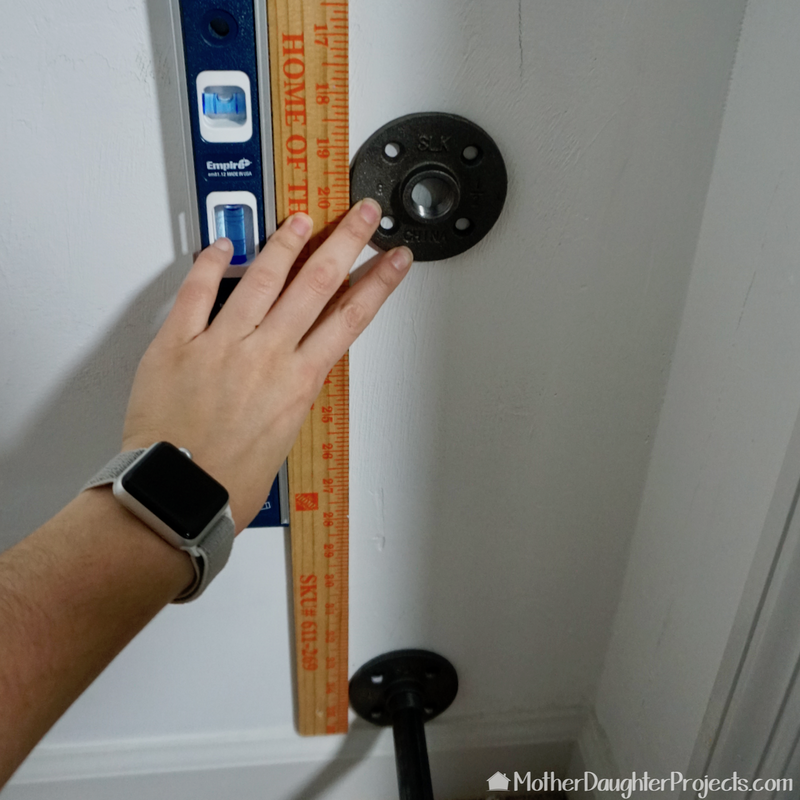
We used two different screws in this project. Only two of the holes on one set of the flanges hit a stud, so we were mostly looking at wall anchors. We used wall dog screws originally, which is an anchor and screw in one. It worked well, but I put a very heavy bin on the bottom shelf and it didn’t hold. I found a toggle bolt worked really well for the bottom shelves.
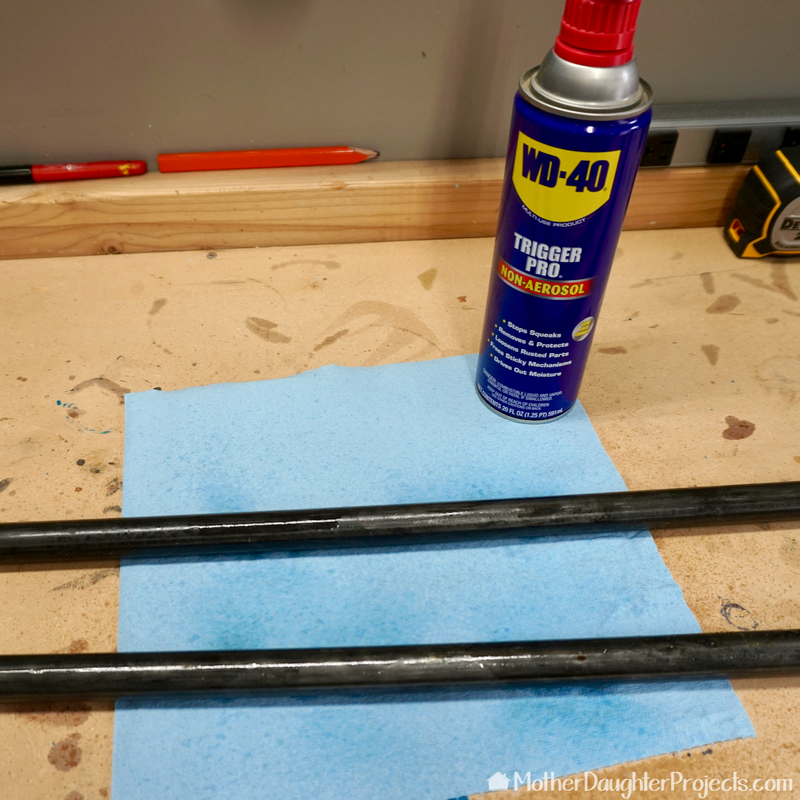
I cleaned the pipes with WD-40 and screwed them into place. I added a shelf across each set of pipes. I was going to add pipe straps (see the top pic, the 4 silver U shaped items) to secure the pipe to the bottom of the shelf, but I didn’t feel it was necessary. If you have kids or they feel unbalanced, you might want to add this so they are extra secure.
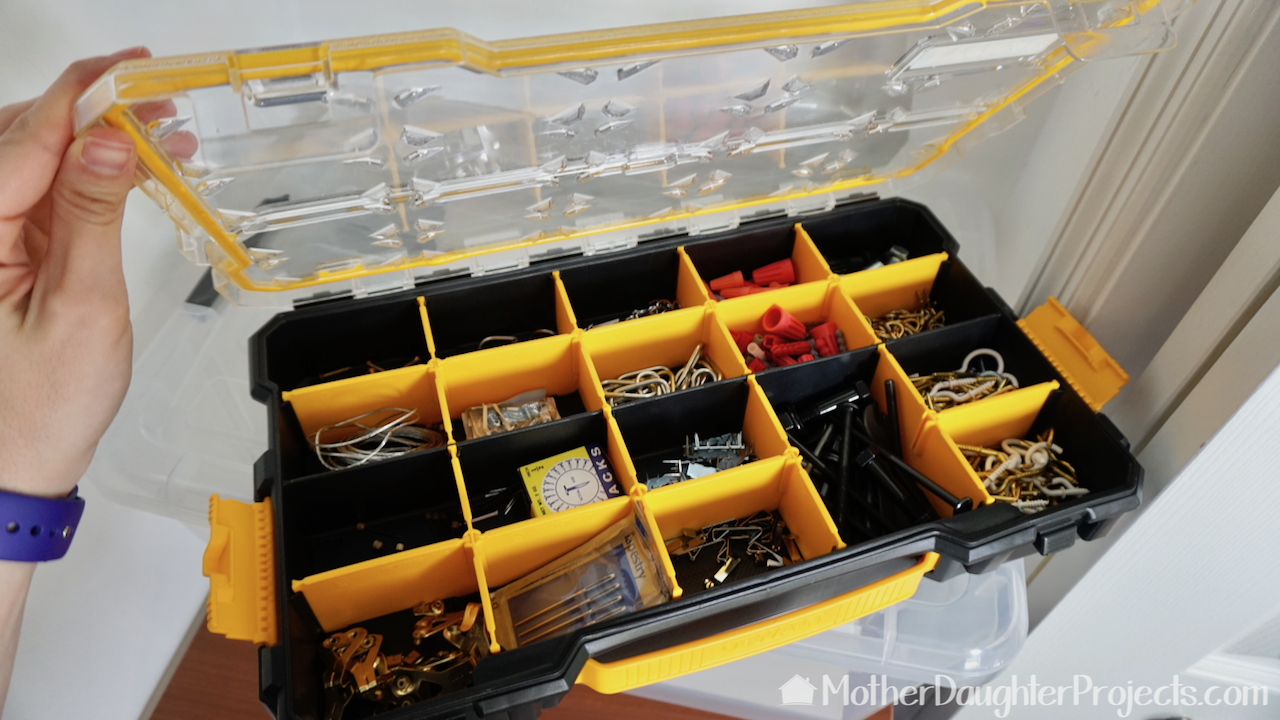
This project was about function not looks, but I think they look pretty nice and clean. With the bins added, it makes the closet look neat and tidy. We also added our DeWalt small compartment organizer, which is where we keep picture hanging hardware. This organizer is nice because it has side latches that we could attach to other stacking units in the DeWalt pro organizer system.
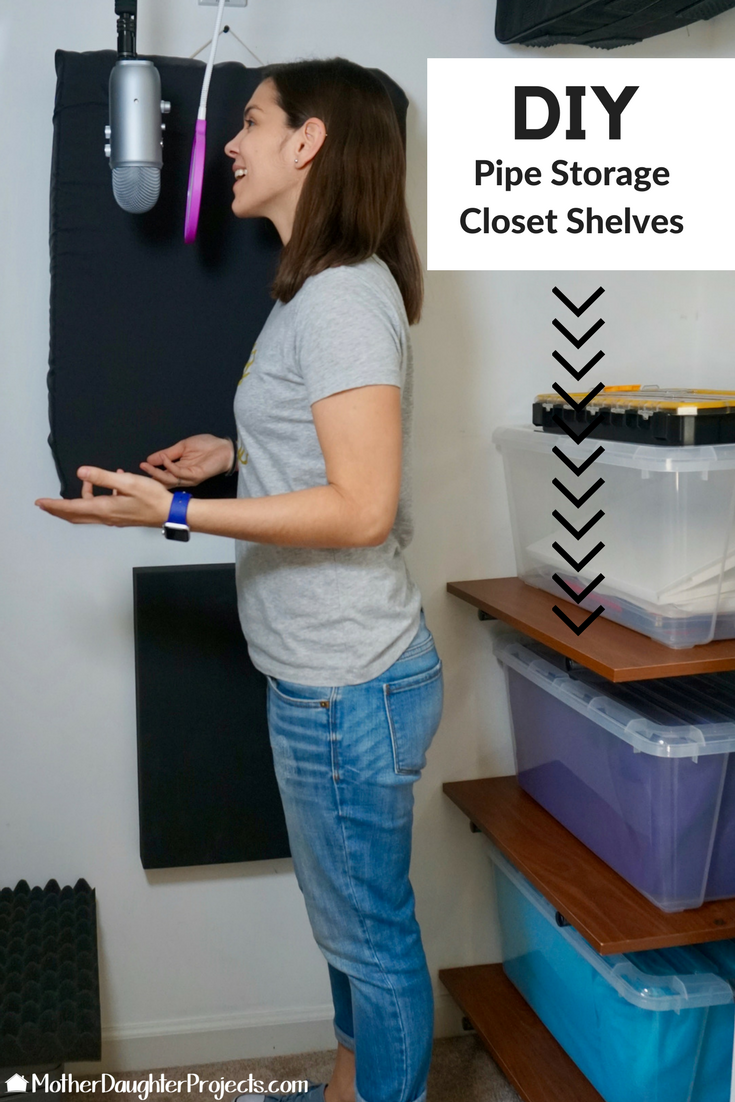
Here you can see the shelves fit perfectly in the closet, even when I'm at the mic in the vocal booth. It's so nice to have a place for everything, and I love when we can reuse old items in our projects!
Do you have a place you need extra shelving? Would you use pipe or a different bracket? Let us know in the comments below! We acknowledge that The Home Depot is partnering with us to participate in the The Home Depot ProSpective Campaign. As a part of the Program, we are receiving compensation in the form of products and services, for the purpose of promoting The Home Depot. All expressed opinions and experiences are our own words. Our post complies with the Word Of Mouth Marketing Association (WOMMA) Ethics Code and applicable Federal Trade Commission guidelines. FYI: We are not professionals, and we don’t claim to be. This is what we found worked for our project. Yours may need a little different approach. Safety first! FYI: Affiliate links are being used on this page. Purchasing via these links help support MDP! Related Projects
4 Comments
Mary
2/23/2018 05:58:20 am
Do you have this posted on YouTube?
Steph
2/26/2018 08:10:09 am
Hi Mary- we didn't make a video for this one, just the written.
Sharon
11/26/2020 09:37:40 am
THANK YOU for the instructions. I think this is such a wonderfully ingenious idea. Much more affordable than using full wood or metal shelves. I may try this in my basement for my craft storage.
Steph
11/29/2020 08:16:25 am
You're welcome! Good luck with the project! Leave a Reply. |

Mother Daughter Projects
|