|
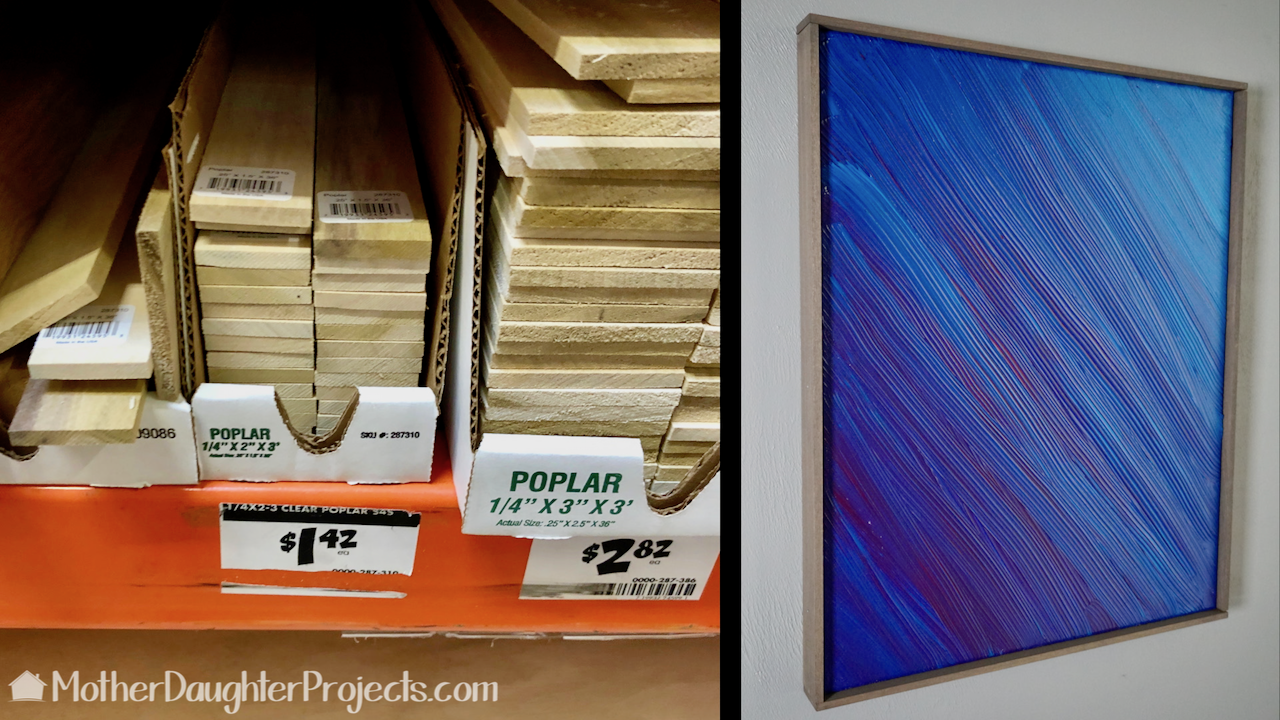
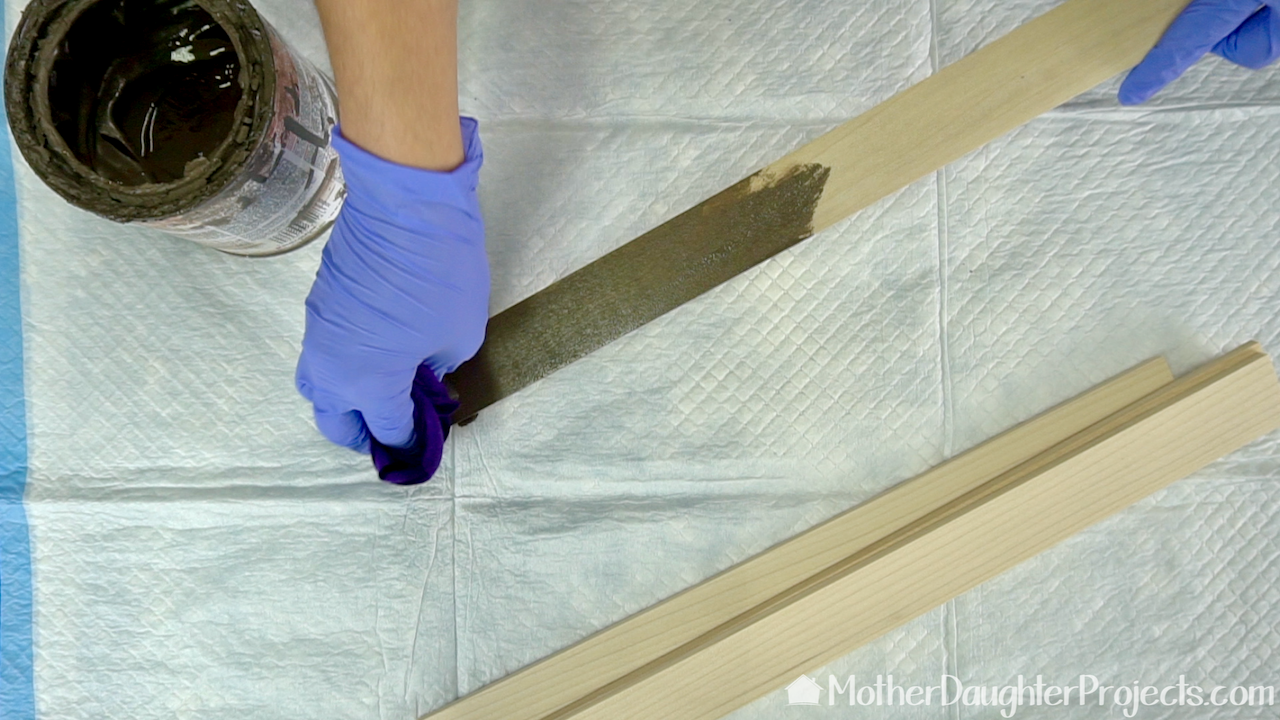
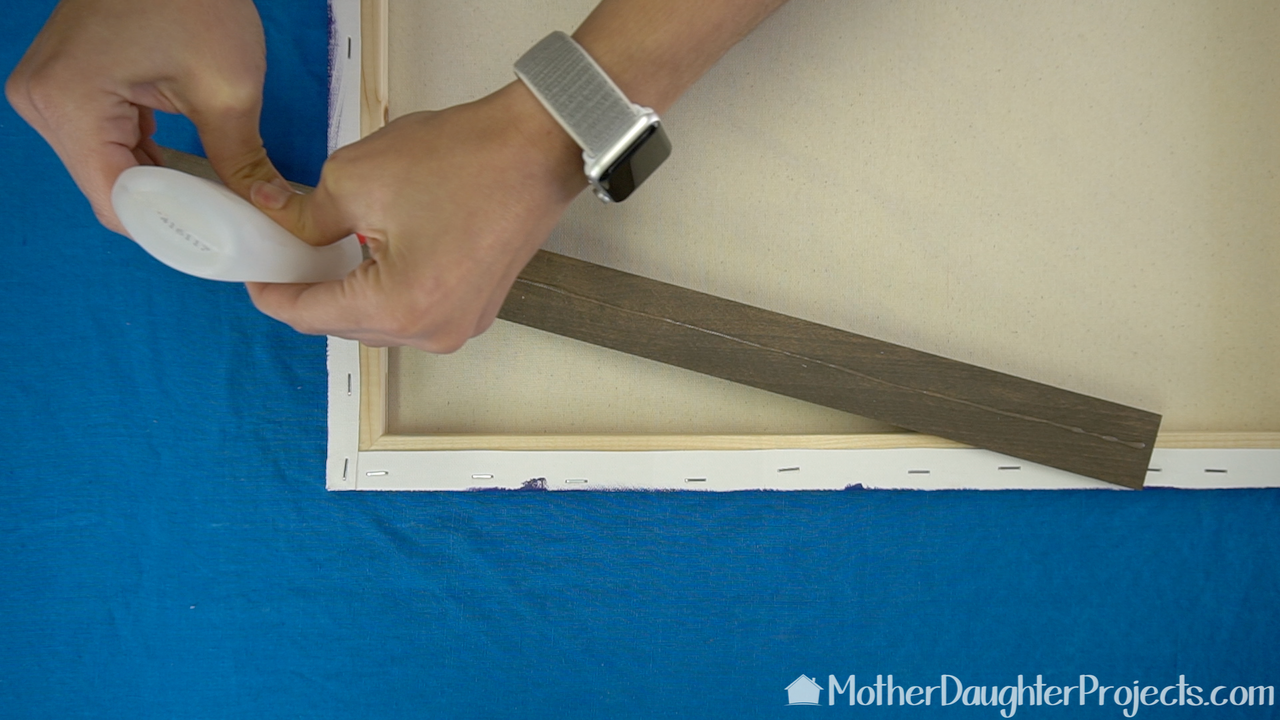
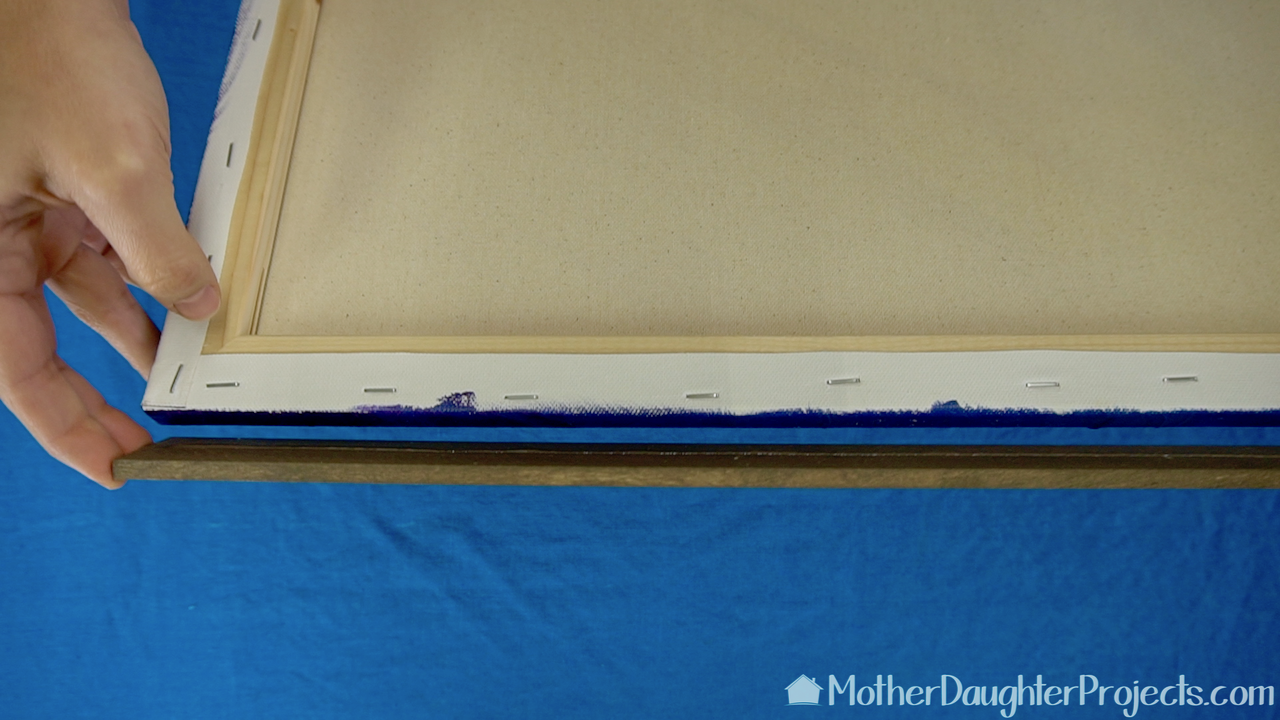
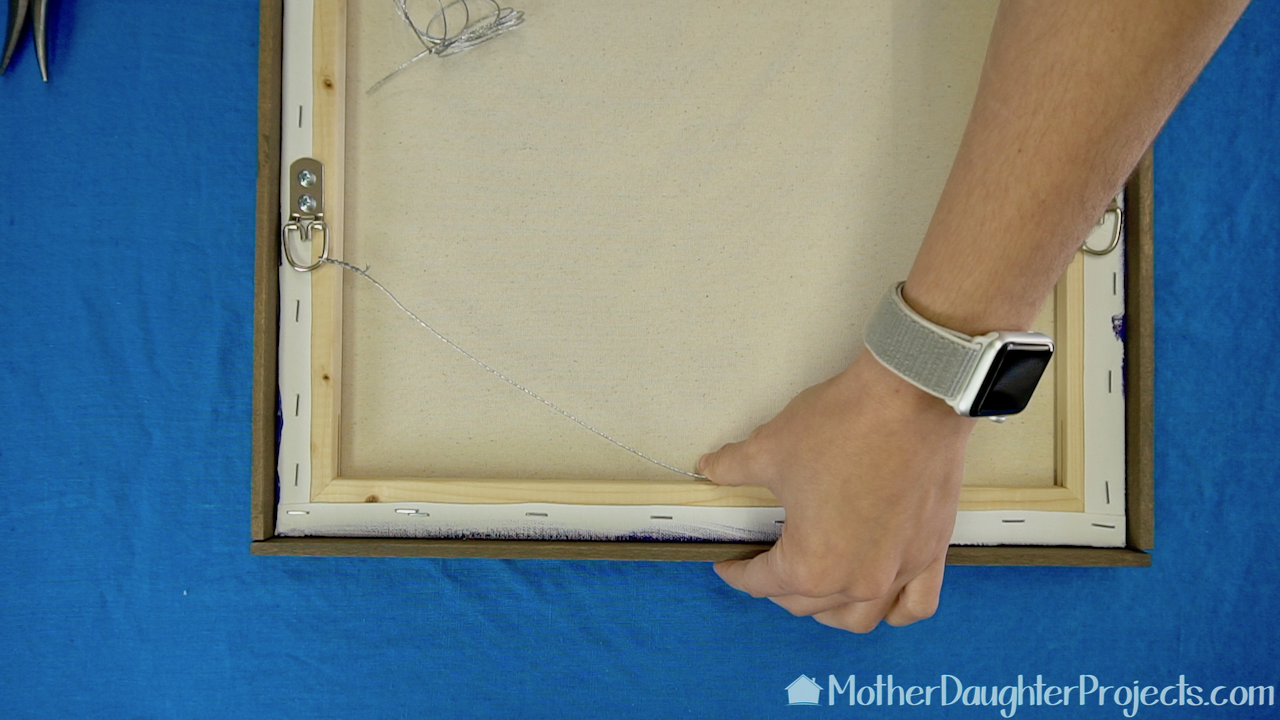
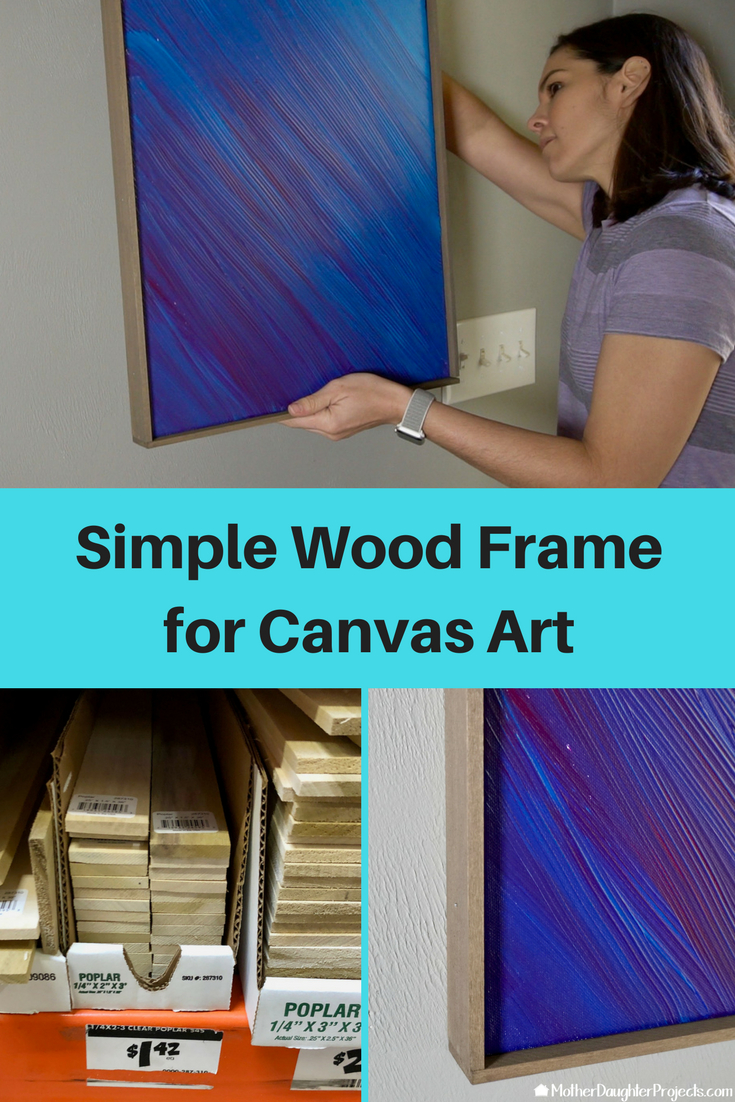
Every time we go to a local restaurant here in Tallahassee Florida, I notice something. I always notice the really large canvas artwork they have on the wall and the very simple frame around it. I quickly determined a way to mimic the look with simple materials from the hardware store. Well, two weeks ago, I made a piece of artwork and thought, hey, I have the perfect frame idea for that! Take a look at how it all came together for under $10.
Materials:
Tools:
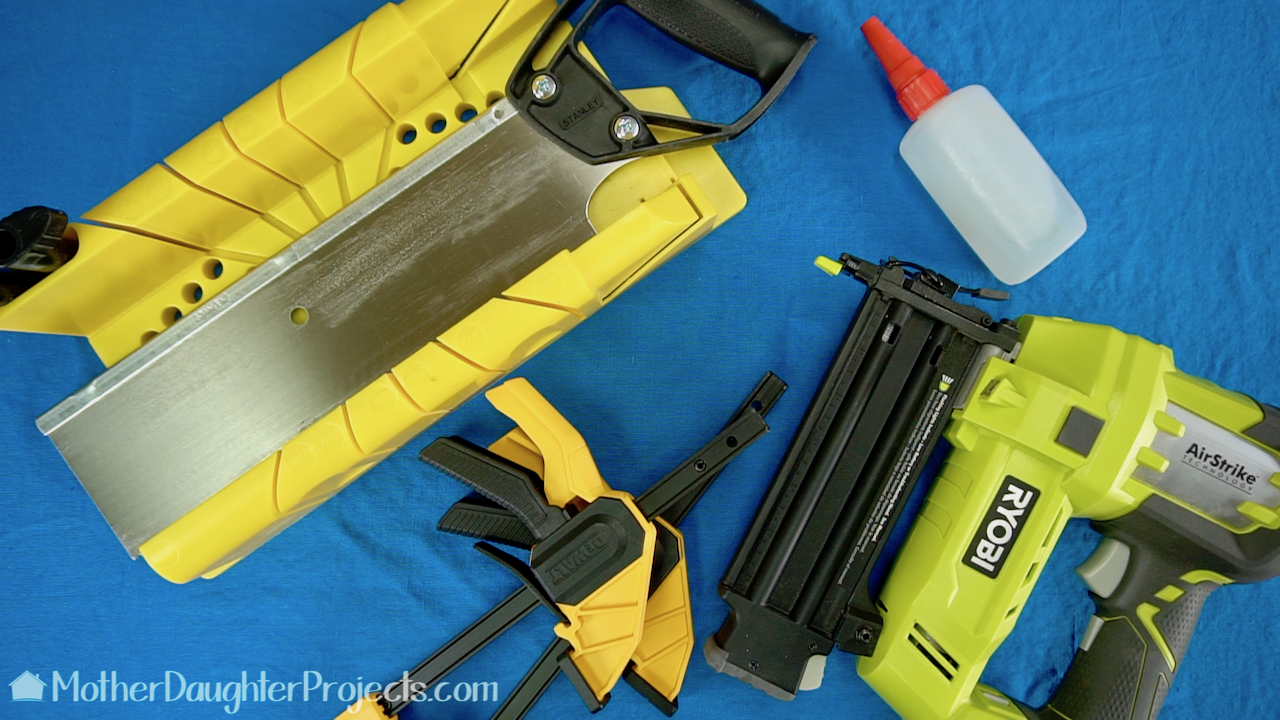
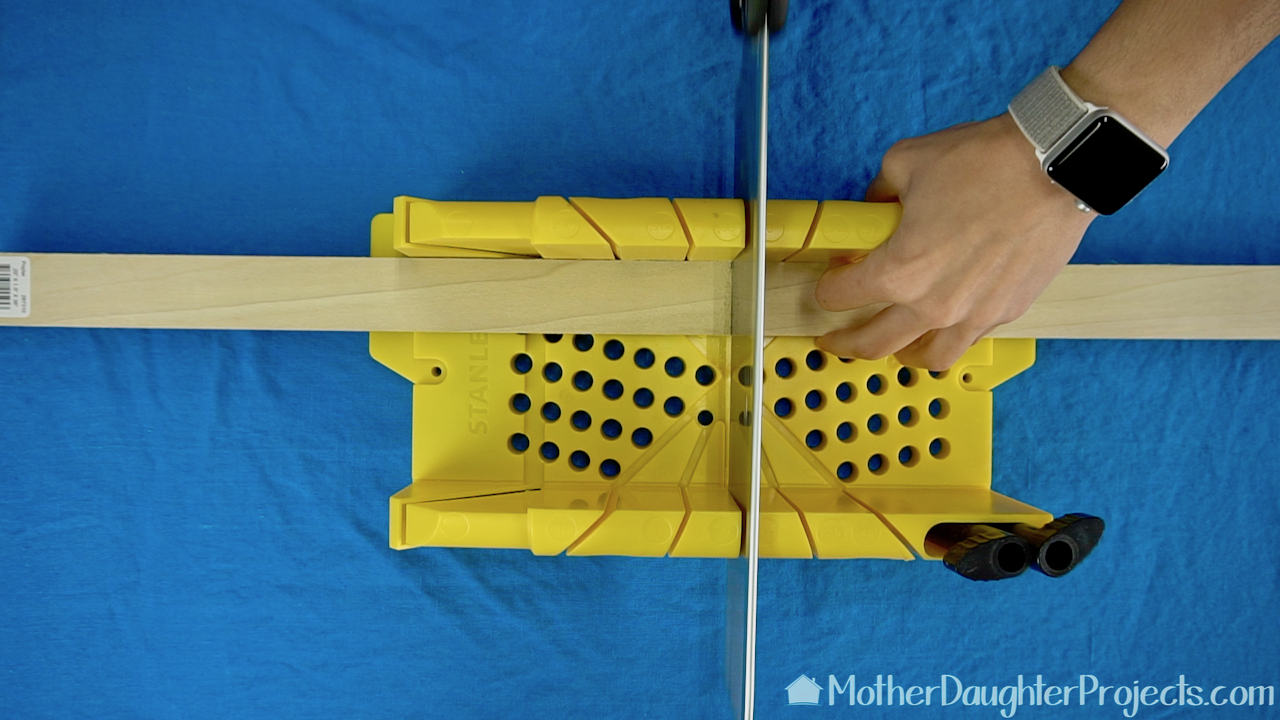
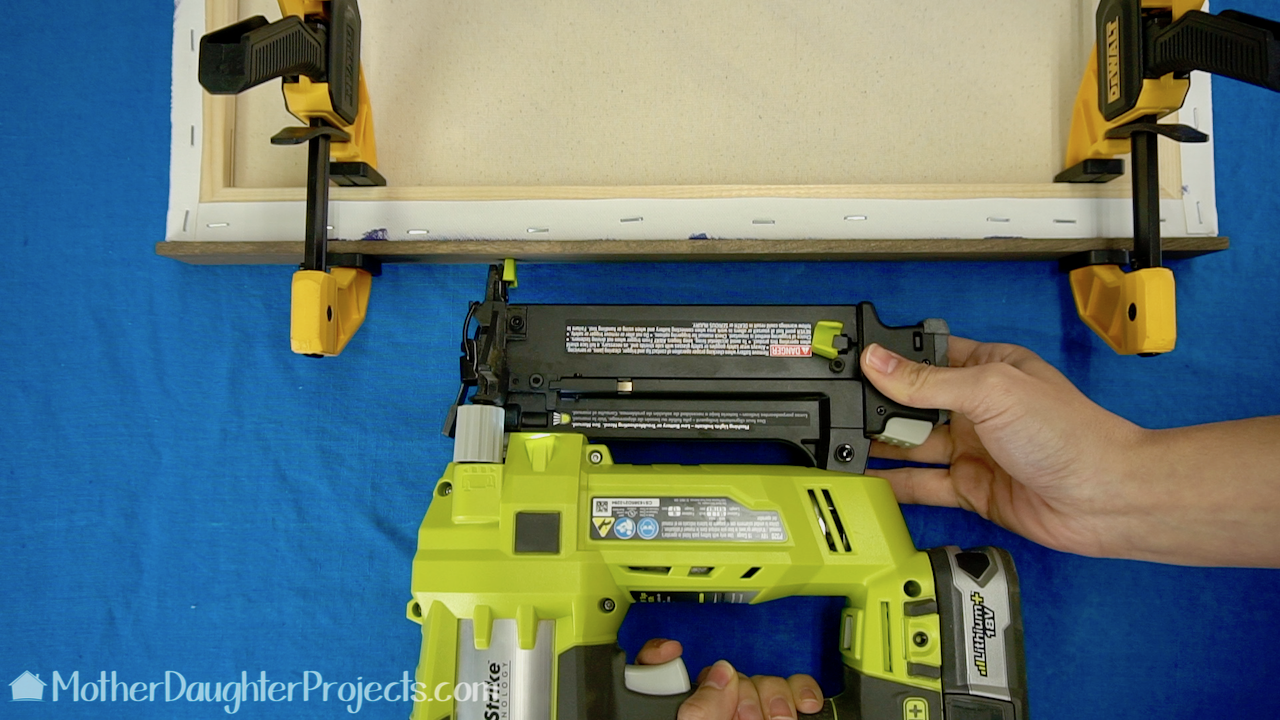
You'll need a way to cut the wood boards. A miter box will do nicely or you can use a miter saw. The brad nailer is not necessary but we used it to hold the boards in place while the glue dried. Clamps are handy to have although you could easily use painters tape to keep the boards in place while they dry.
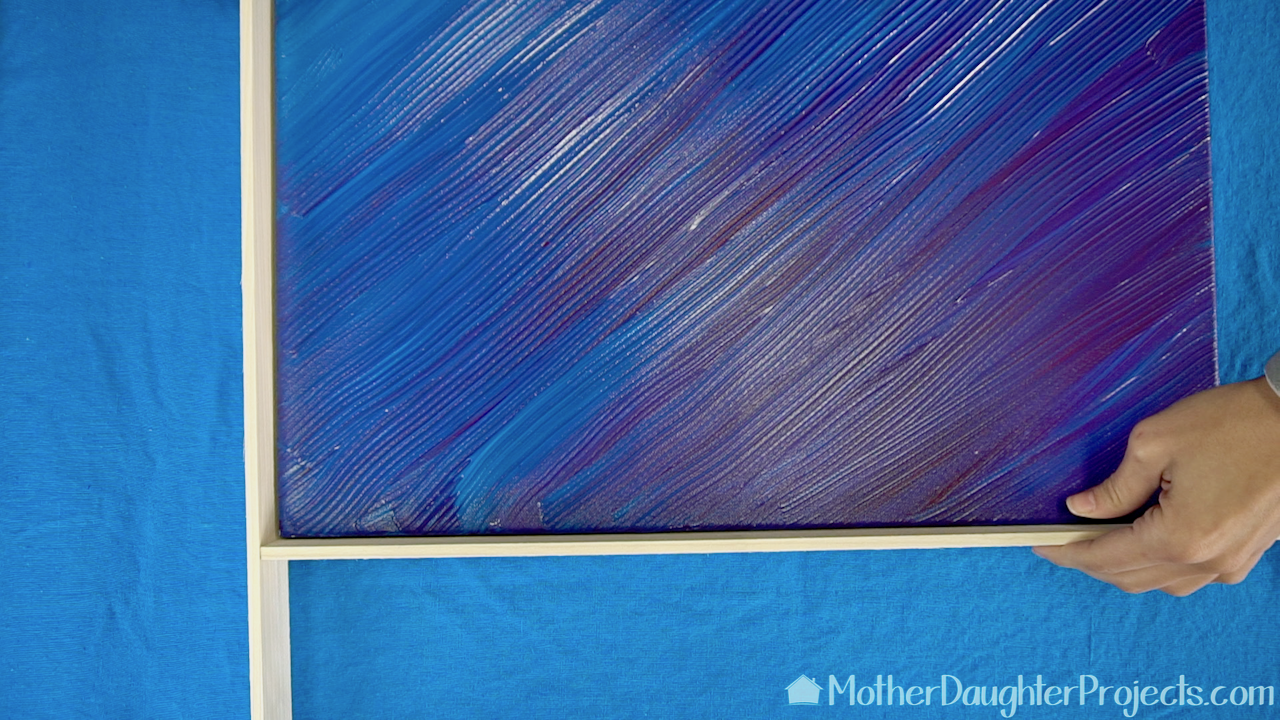
I did a test of this frame a few weeks ago with the artwork I made. It turned out so well, that is why I wanted to share it with all of you. I really like that the frame doesn't add extra weight to the artwork and it's part of it, so it stays with the canvas making it easy to move or store. This is a great idea for kids' art, personal artwork, or starter prints.
Please note: We are not sponsored by any of the companies/products that we used. These products were picked and bought by us. FYI: We are not professionals, and we don’t claim to be. This is what we found worked for our project. Yours may need a little different approach. Safety first! FYI: Affiliate links are being used on this page. Purchasing via these links help support MDP! Related Projects
3 Comments
Esther
2/5/2018 08:57:36 pm
Exactly the project I've been looking for! I have a 3'x5' tapestry that needs framing, & I sure as heck won't pay big bucks to get it done! Thanks for the tutorial!
Reply
Steph
2/7/2018 09:00:33 am
You're welcome Esther!
Reply
Rafael
12/13/2020 06:37:16 am
Wow amazed how simple and easy u made it look
Reply
Leave a Reply. |

