|
text by Vicki Sign up here to join our weekly email newsletter!
Steph has always loved snow cones and decided 2020 was the year she needed to treat herself to a professional snow cone machine. She got it and has been making lots and lots of snow cone treats!
Not knowing what flavors she wanted, she started with two, but the collection has grown as others have requested their favorites. Mine is cherry, which ironically is Steph's least favorite! Anyway, after her collection of flavors grew so big, I suggested that it would be fun to create a tray in order to present a "flight" of snow cone flavors to guests. So, that's what we did. Watch the video or read about how we made it. Materials/ Tools:
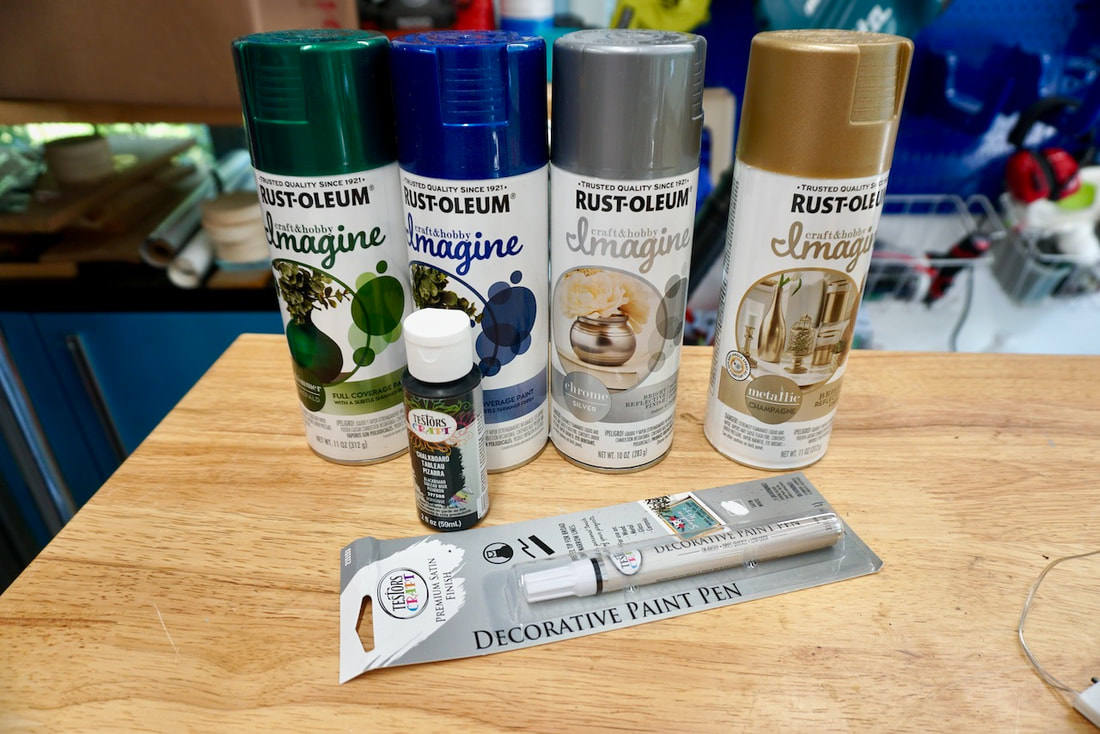
We were sent these new Rust-Oleum products to try out, which is what inspired the colors we used in this build. We had fun with the choices. These new shimmery spray paints are especially beautiful when used on metal. It looks like enamel!
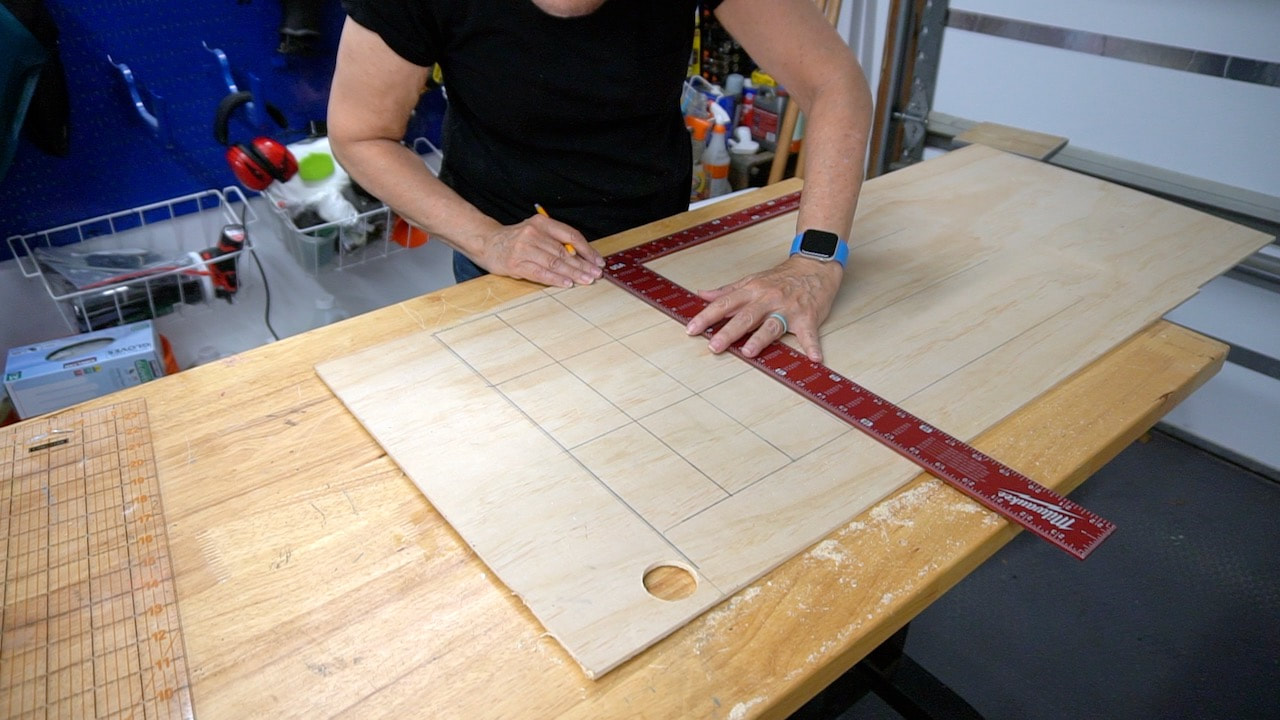
The project size was based on the cups we used. Ours, from the dollar store, were the perfect size and shape we wanted. We decided to create 15 flavor marker panels that can be easily switched in and out of the flight tray. Here I'm marking the panels so Steph can cut them out.
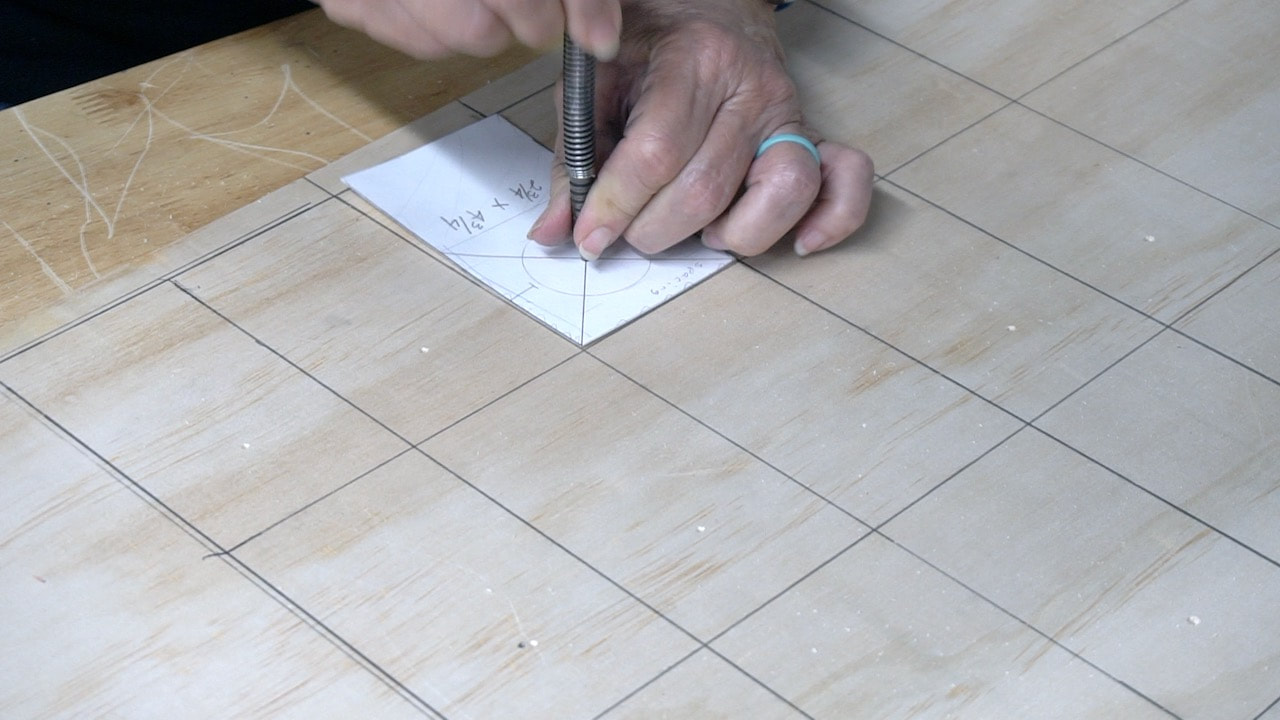
I made a paper template so that I could mark the placement of the cup holes in each panel. I'm using a spring loaded nail set by Rockler. It's a pretty handy little tool. It makes a perfect little divot in the wood.

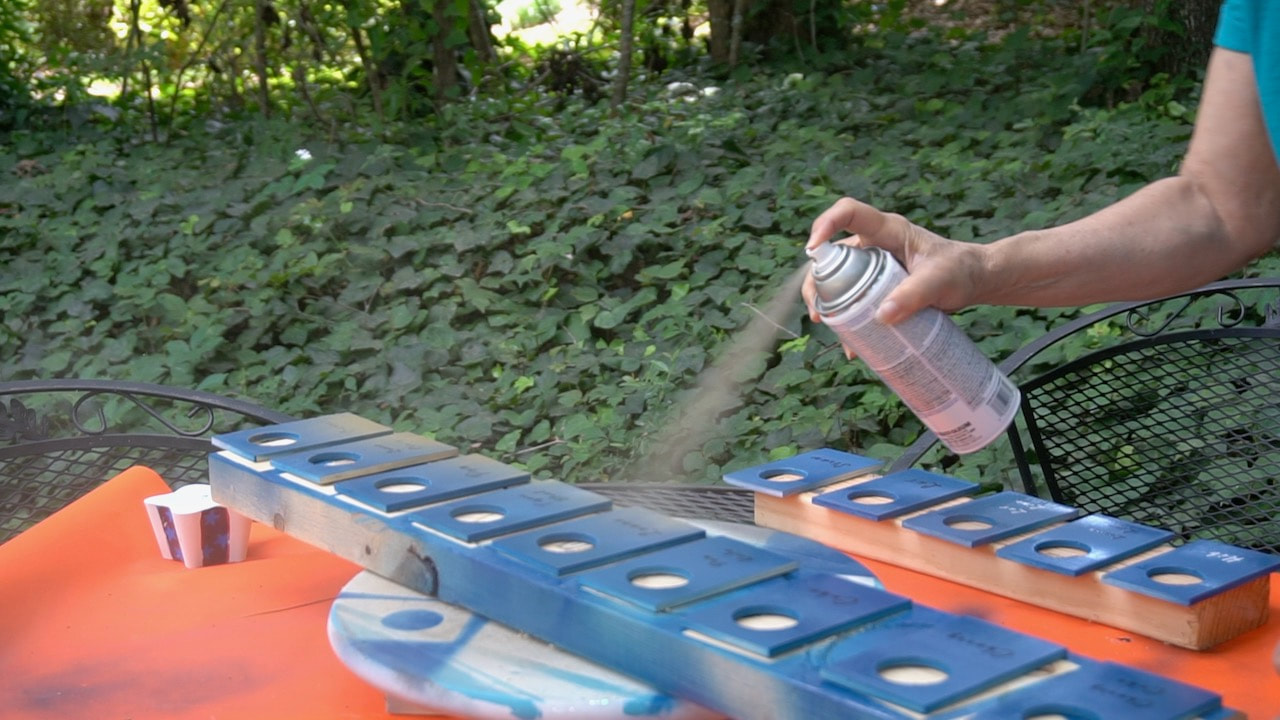
We thought it would be easier to spray paint the panels before cutting. In retrospect, I think it would have been easy to spray paint after. The blue covered very well.
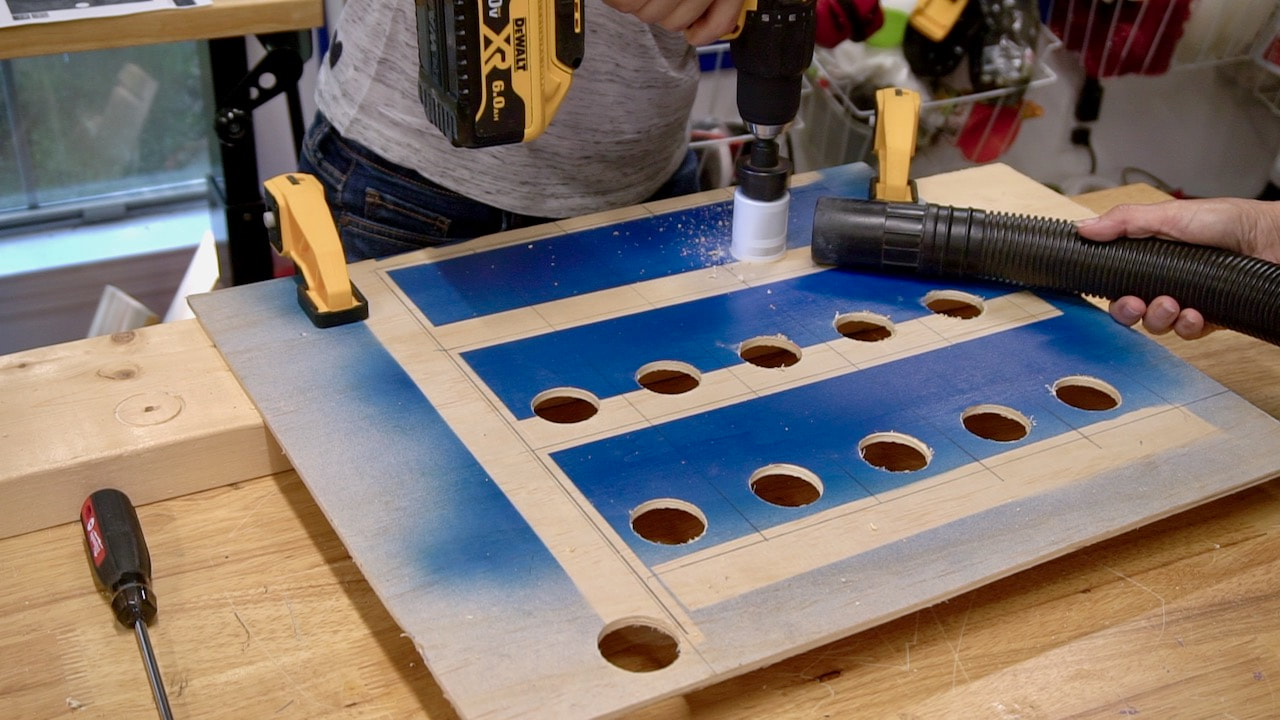
Using a hole saw, Steph cut a hole in each panel while I used a wet/dry vac to help collect the dust. The team approached worked very well!
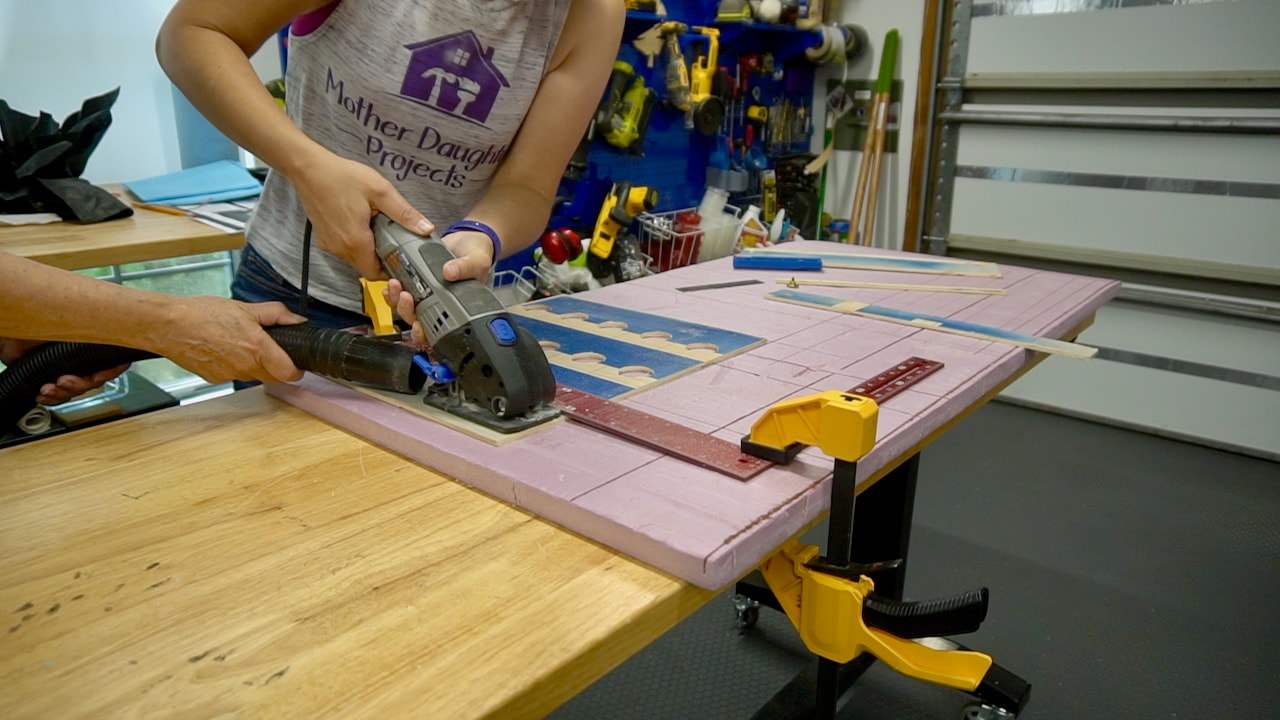
This small Dremel SawMax was perfect for cutting out the panels. Steph set up a fence with the ruler to get a nice straight cut. Again, I was on sawdust collection!
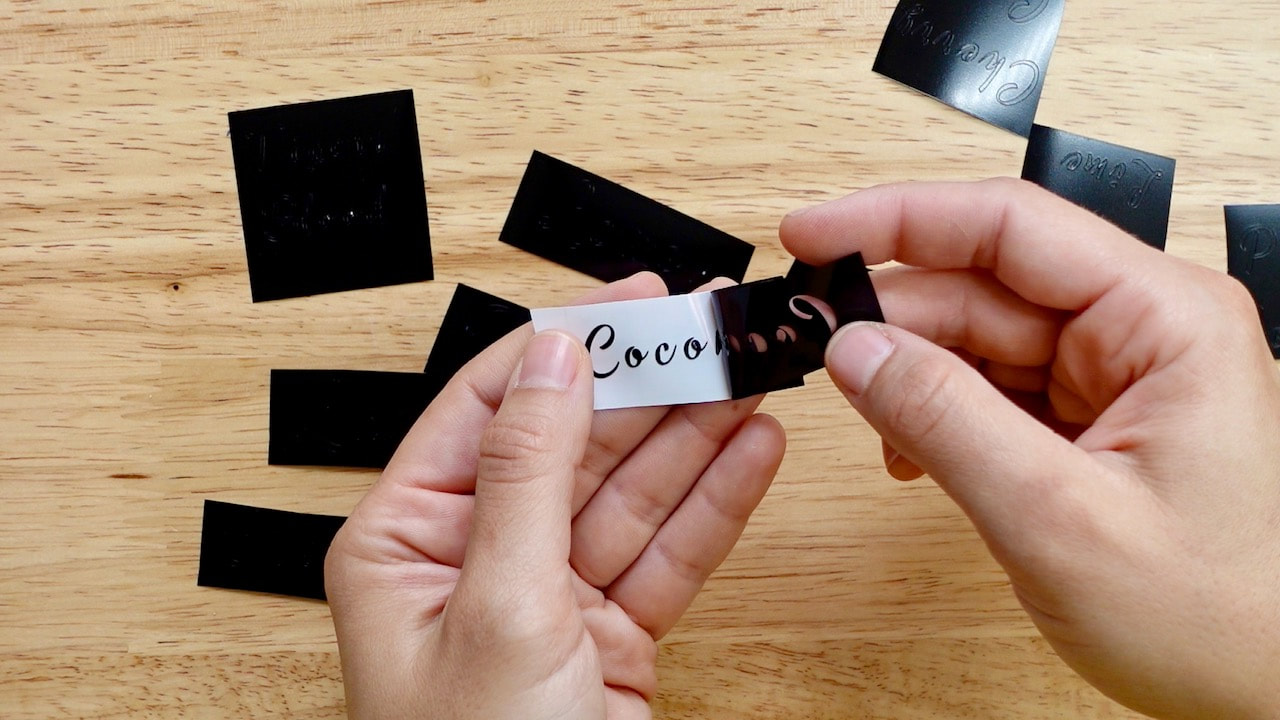
Steph created stencils with the 15 different flavors/combinations we wanted to feature. She used a Cricut Maker.
Once the stencils were applied, all the panels got a coat of Rust-Oleum Imagine gold.
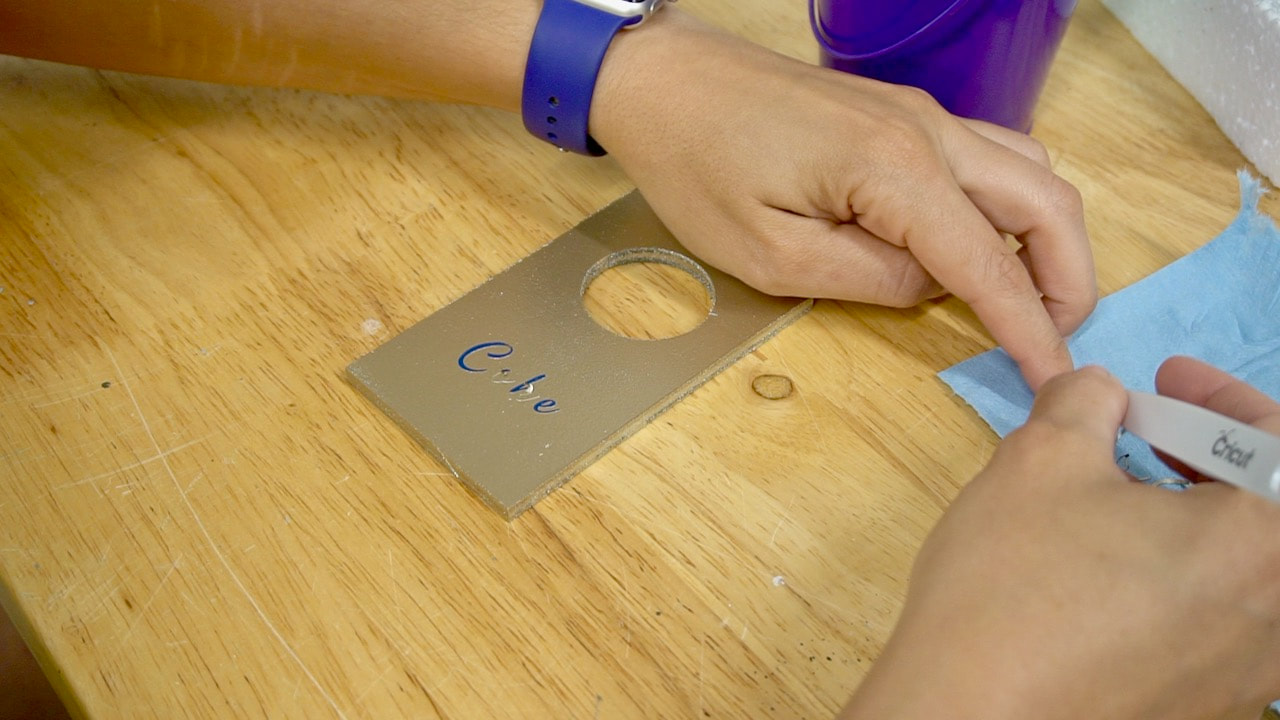
Steph removed the stencil revealing the beautiful blue spray paint underneath.
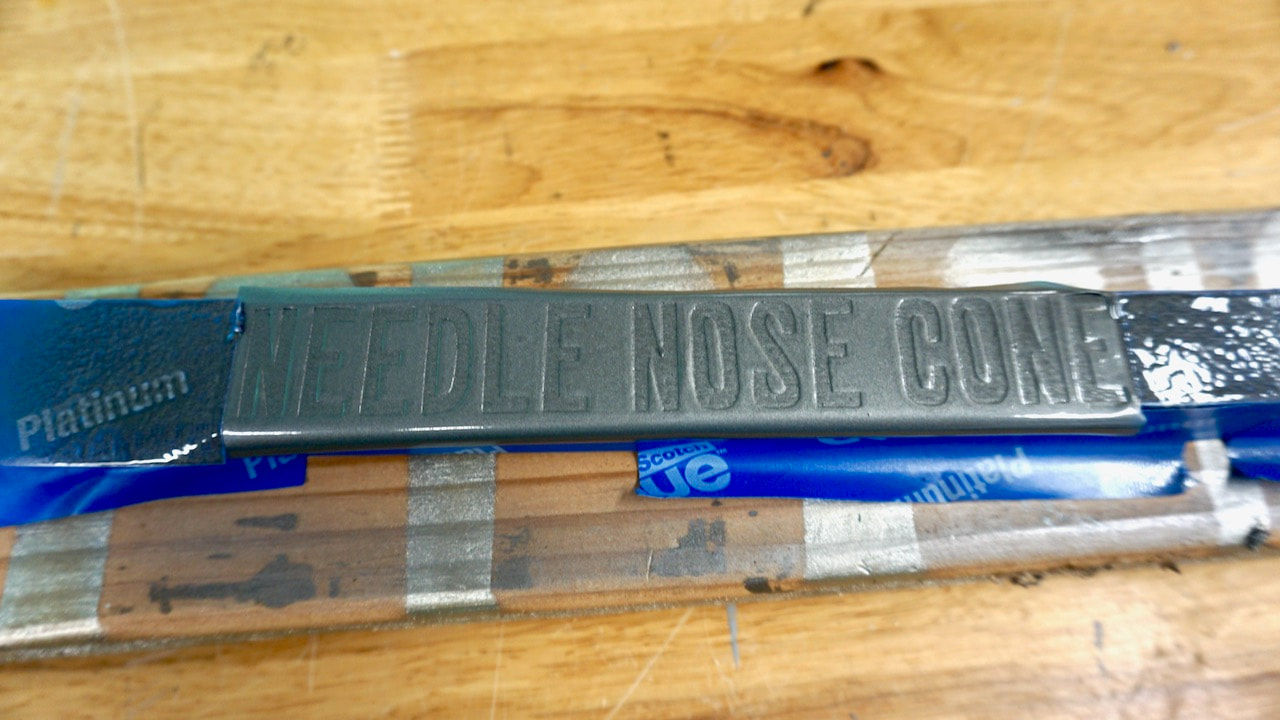
We used a one inch square wood dowel on three sides of the tray. On the top one we stenciled the name "Needle Nose Cone" in the Rust-Oleum Imagine silver. Again, Steph used the Cricut Maker to create the stencil.
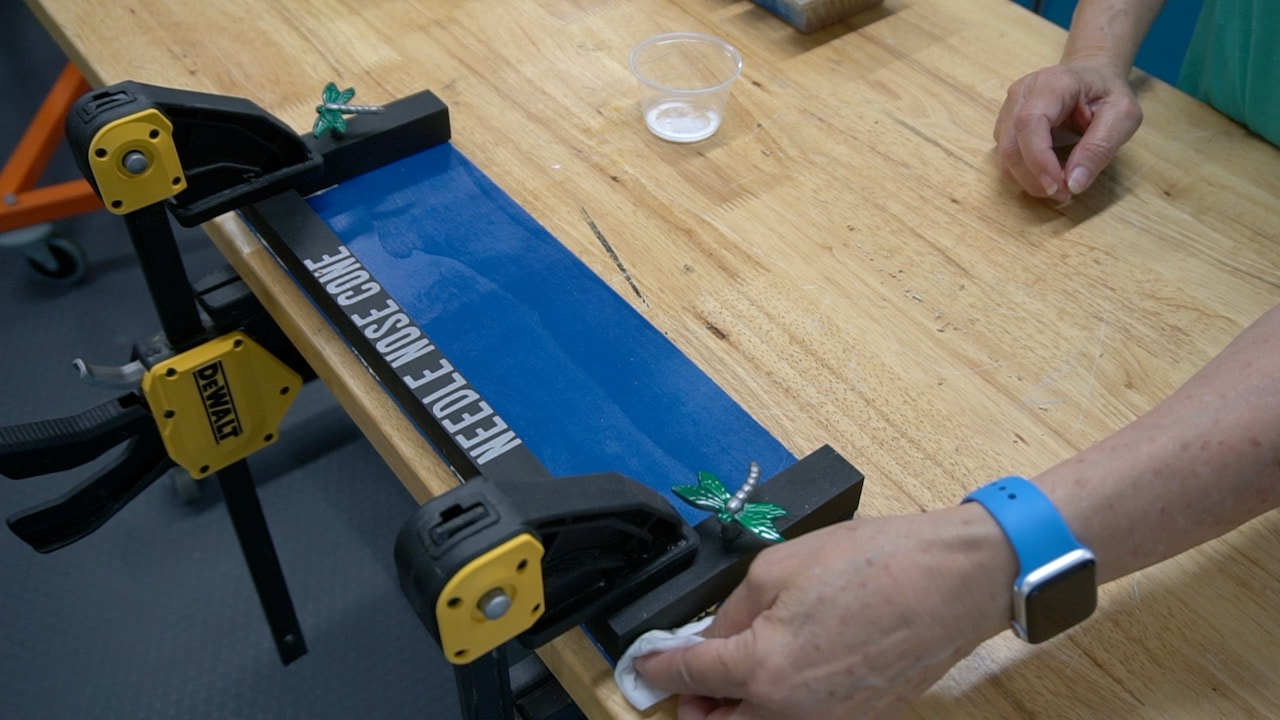
The square dowels were attached with glue, clamped in place and left to dry. Before gluing the sides down, we attached the dragonfly handles which were painted in the Imagine green and silver.
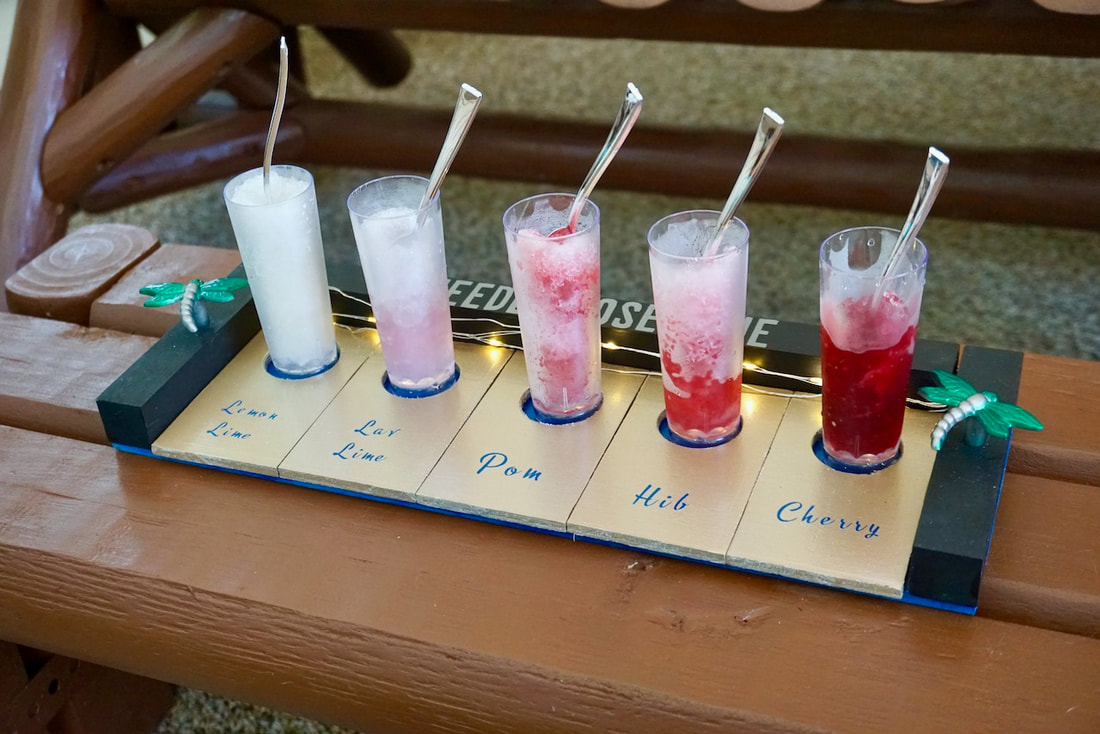
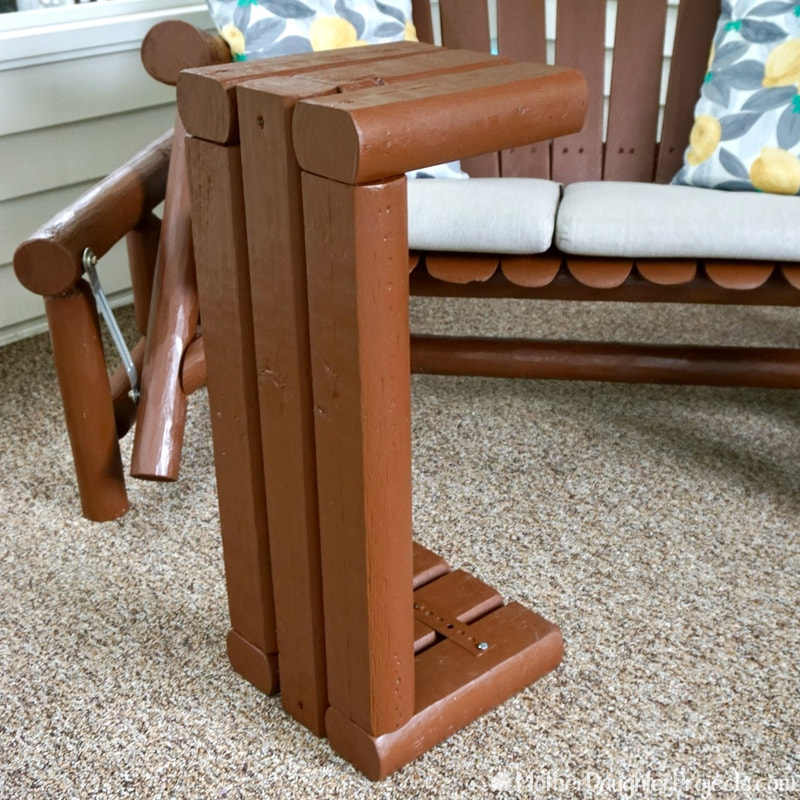
Here it is with the panels and snow cones in place! All ready for our first guest to sample!
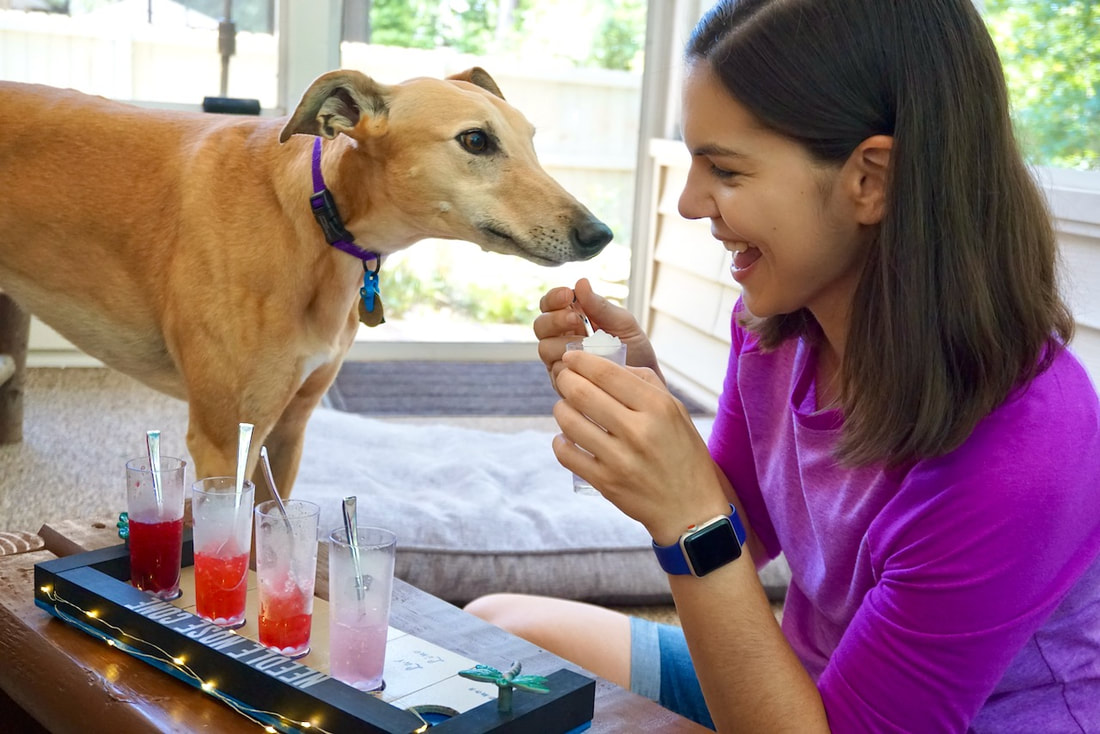
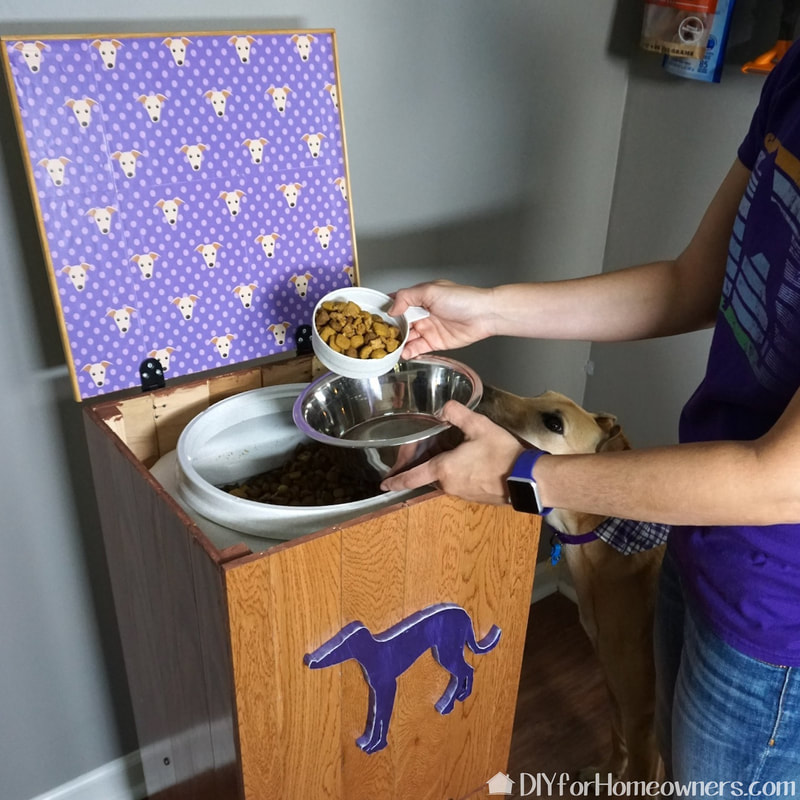
Wonder about the "Needle Nose Cone" name for our flight? Well, one of the nicknames for a greyhound is needle nose and since Mac is a greyhound, we thought it would be a fun name! Mac is not a snow cone fan but does like to get all up in our business!
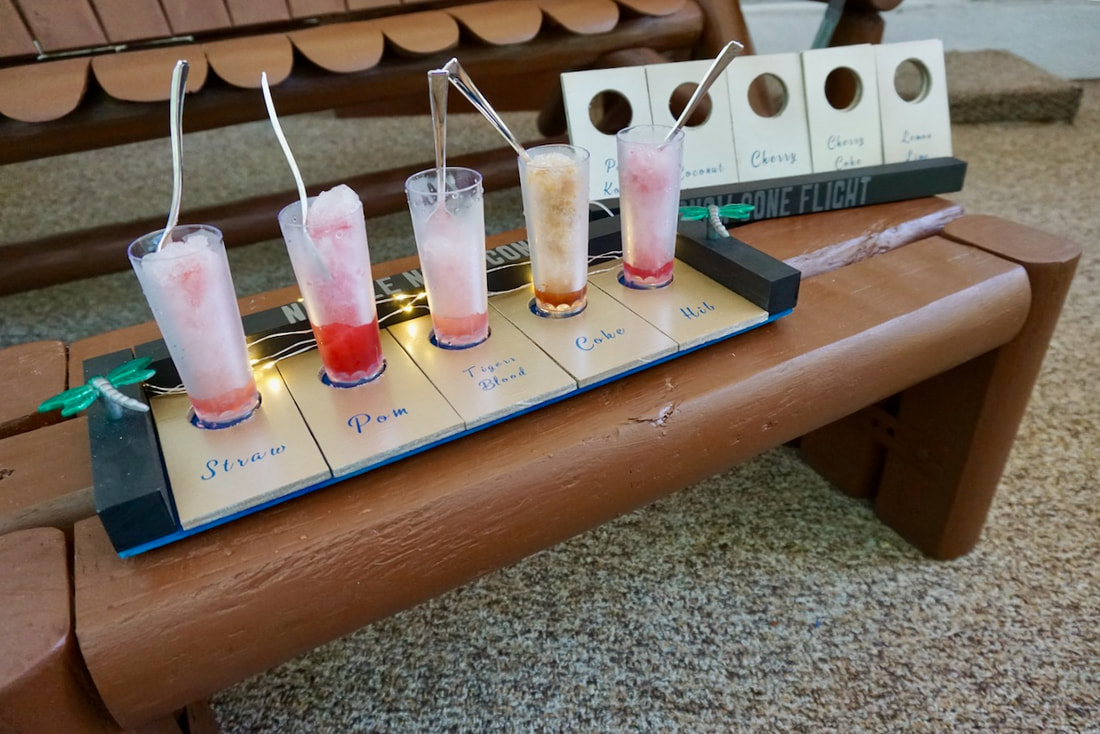
Steph even made a great little holder for the panels and tray to keep it handy but out of the way. Those lights are a fun added touch.
Please note: This is not a sponsored post.
FYI: We are not professionals, and we don't claim to be. This is what we found worked for our project. Yours may need a little different approach. Safety first! FYI: Affiliate links are being used on this page. Purchasing via these links help support MDP! Related Projects
0 Comments
Leave a Reply. |

Mother Daughter Projects
|