Mother Daughter Projects

  • Blog
  • About
    • Contact
    • Privacy Policy
  • Tools
    • Tool Tuesday
  • Maintenance
  • Improvement
  • Decor
  • Tech
  • Blog
  • About
    • Contact
    • Privacy Policy
  • Tools
    • Tool Tuesday
  • Maintenance
  • Improvement
  • Decor
  • Tech

DIY for Homeowners

We Made a Custom Center Console for Our Van

1/18/2023

0 Comments

 
text by Vicki     Sign up here to join our weekly email newsletter!
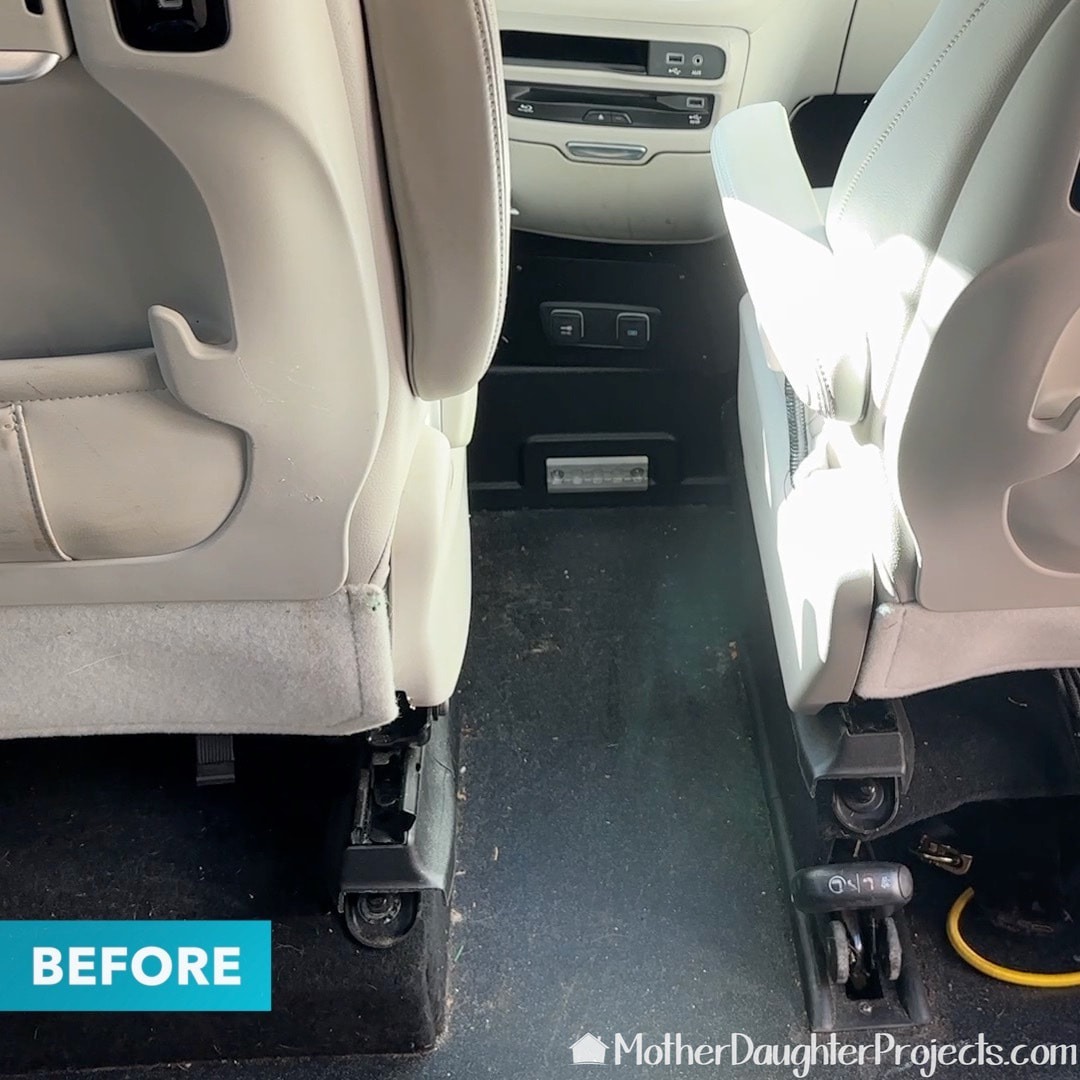
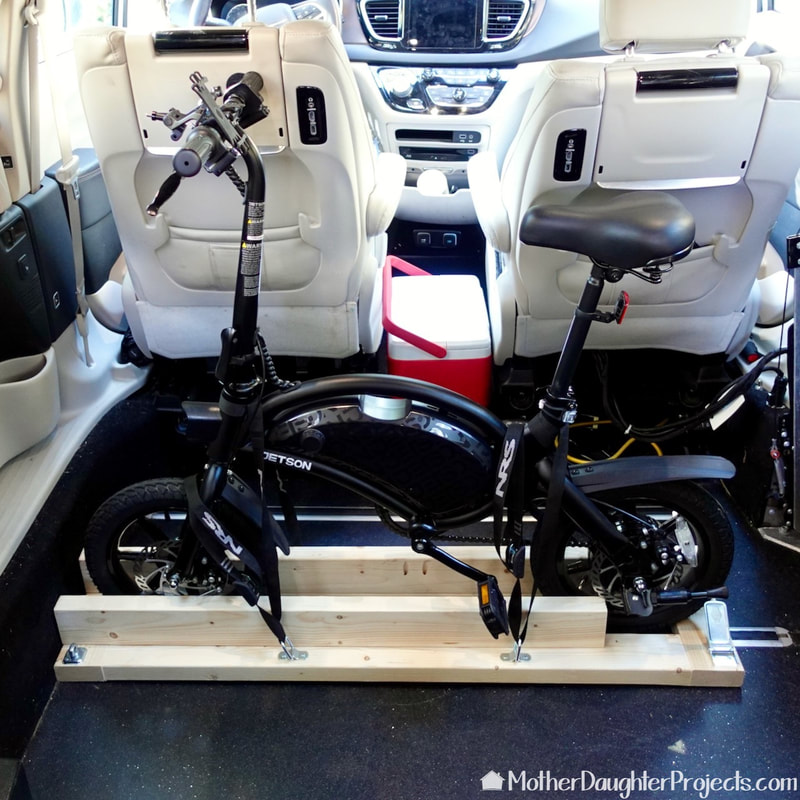
The MDP van has been great to haul furniture, boxes, full sheets of plywood, as well as our bikes and the greyhounds. What it lacks is a center console with cupholders. 

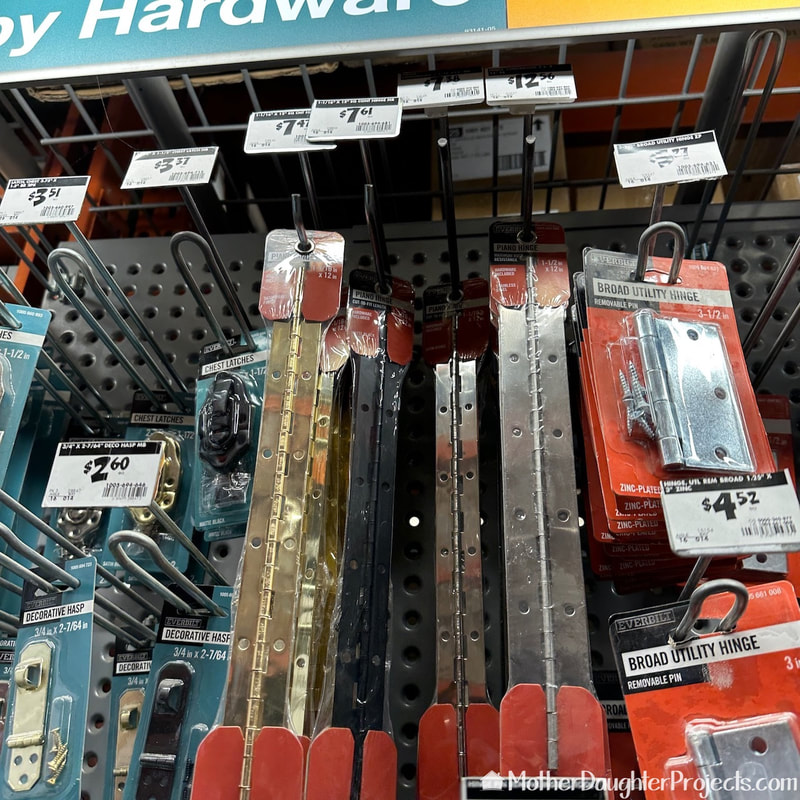
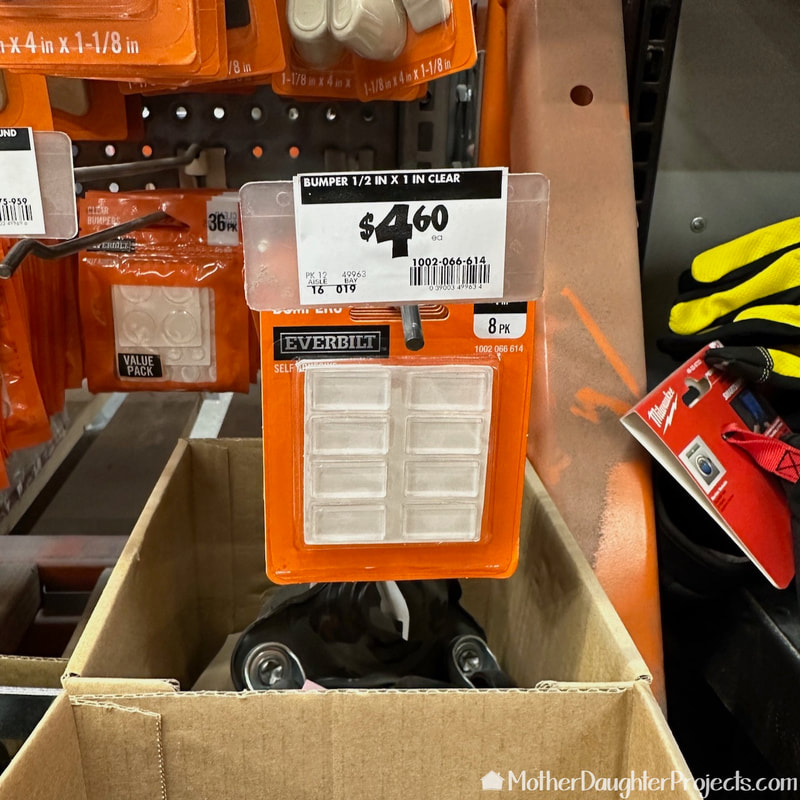
It's a small thing, but after spilling full cups of liquid including hot coffee and water, it was time to fix the cupholder situation!

This project is very unique to this vehicle, but it might spark your imagination as to how you can customize your own car or truck to make it function better for you.

Plus, this build features some really cool adjustable cupholders that you just may want to get for your own beverage transportation. 

Materials/Tools:


  • 1/2in Plywood (Home Depot)

  • Makita 18V X2 LXT Lithium-Ion (36V) Brushless Cordless 6-1/2 in. Plunge Circular Saw (Home Depot)

  • Makita 55 in. Plunge Saw Guide Rail (Home Depot)

  • Makita 39 in. Plunge Saw Guide Rail (Home Depot)

  • Makita Protective Guide Rail Bag for Track Saw Guide Rails (Home Depot)

  • DIABLO 3 in. Bi-Metal Hole Saw with 2-3/8 in. Cutting Depth (Home Depot)

  • Continuous Hinge (Home Depot)

  • Everbilt 1/2 in. x 1 in. Clear Soft Rubber Like Plastic Self-Adhesive Rectangular Bumpers (Home Depot)

  • RYOBI ONE+ HP 18V Brushless Cordless Jig Saw (Home Depot)

  • Jig Saw Blades (Home Depot)

  • DEWALT 20 in. Variable-Speed Scroll Saw (Home Depot)

  • Shellac-Based White Interior Primer (Home Depot)

  • Rockler Clamp-It Clips, 4-Pack (Rockler)

  • Expander Car Cup Holder (Amazon)

Cutting the plywood we got at The Home Depot with our Makita track saw and track.
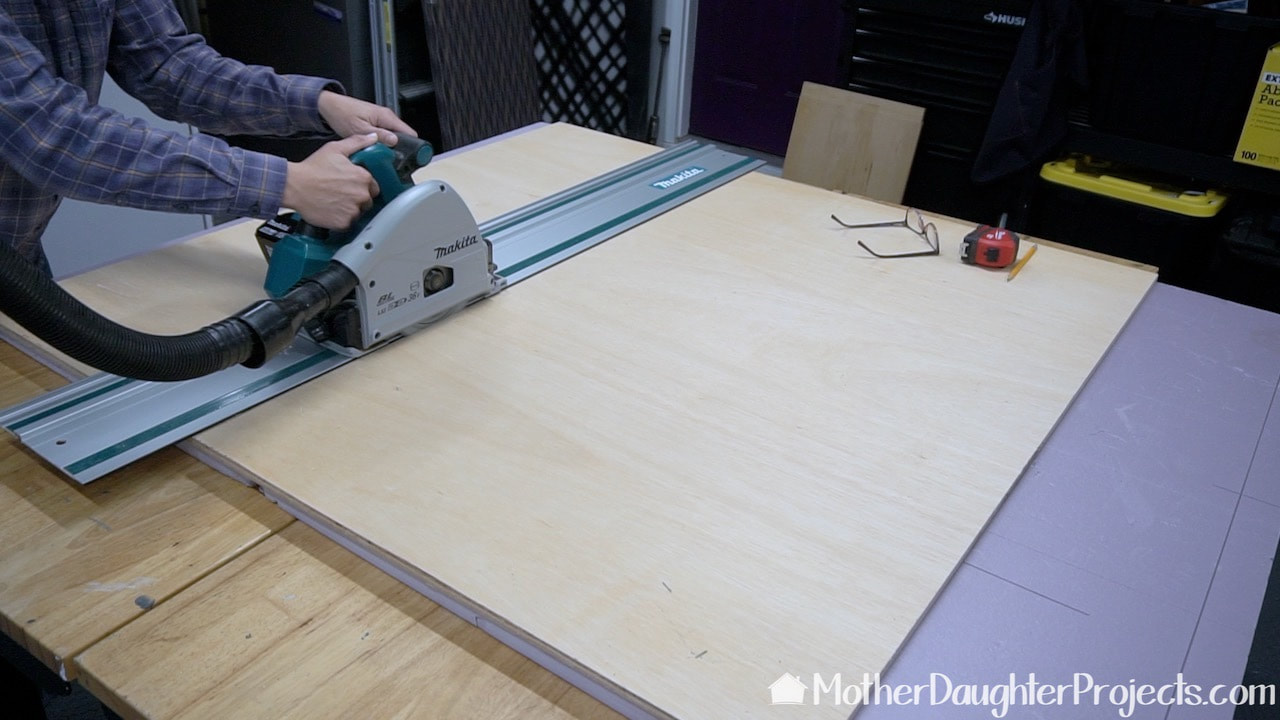
Before the MDP van, we would either have to have the plywood cut down in Home Depot to where it would fit in the car or bring the trailer. It's hard to believe, but we can fit a full sheet of plywood in the cargo space of the van. With the plywood home, we made all the cuts with our Makita track saw and track.
Here Steph is using a Ryobi jig saw to cut out the openings for the trash can and tissue box holder.
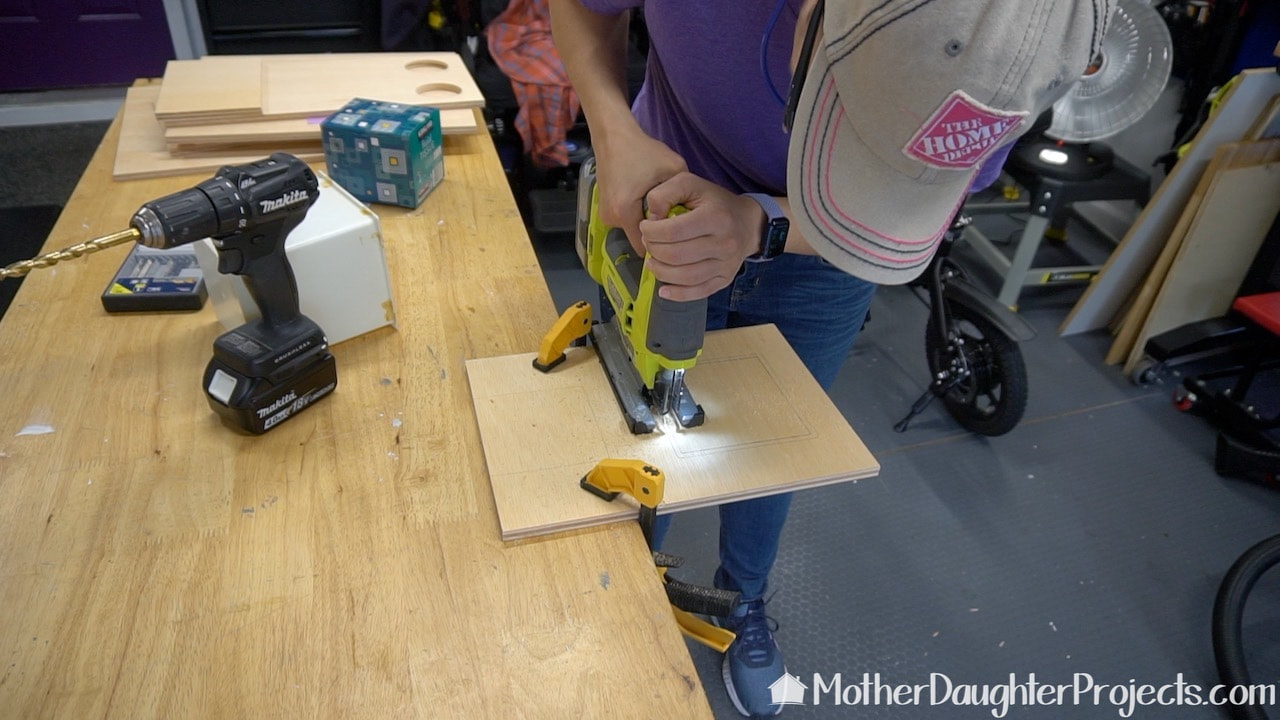
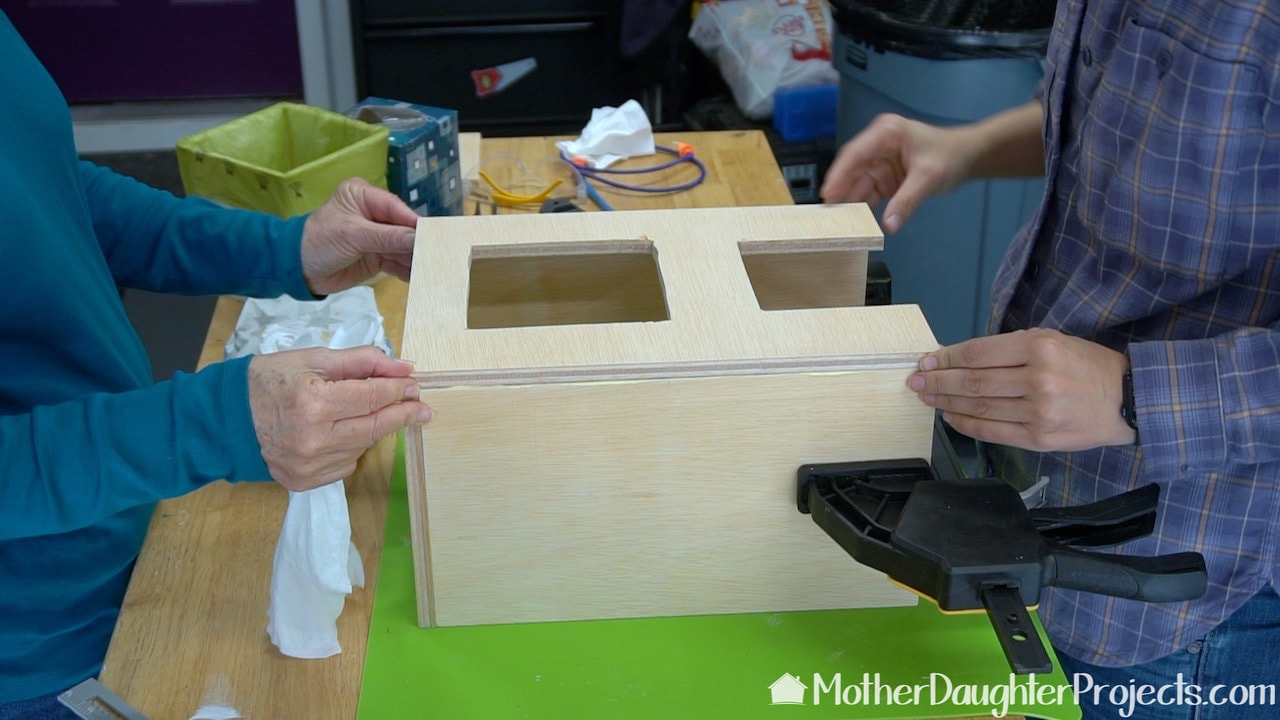
The console is designed to hold two cupholders, a trash can, and a box of tissues. Here Steph is using a Ryobi jig saw to cut out the openings for the trash can and tissue box holder.
Showing the L-track where the center auto console will be secured.
There is a small piece of L-track installed in the front of the van. We are going to use this to help secure the box from moving. Steph traced around the L-Track, transferred that shape to the plywood and cut it out with the jig saw.
Here is the Chrysler Pacifica van console ready to be assembled.
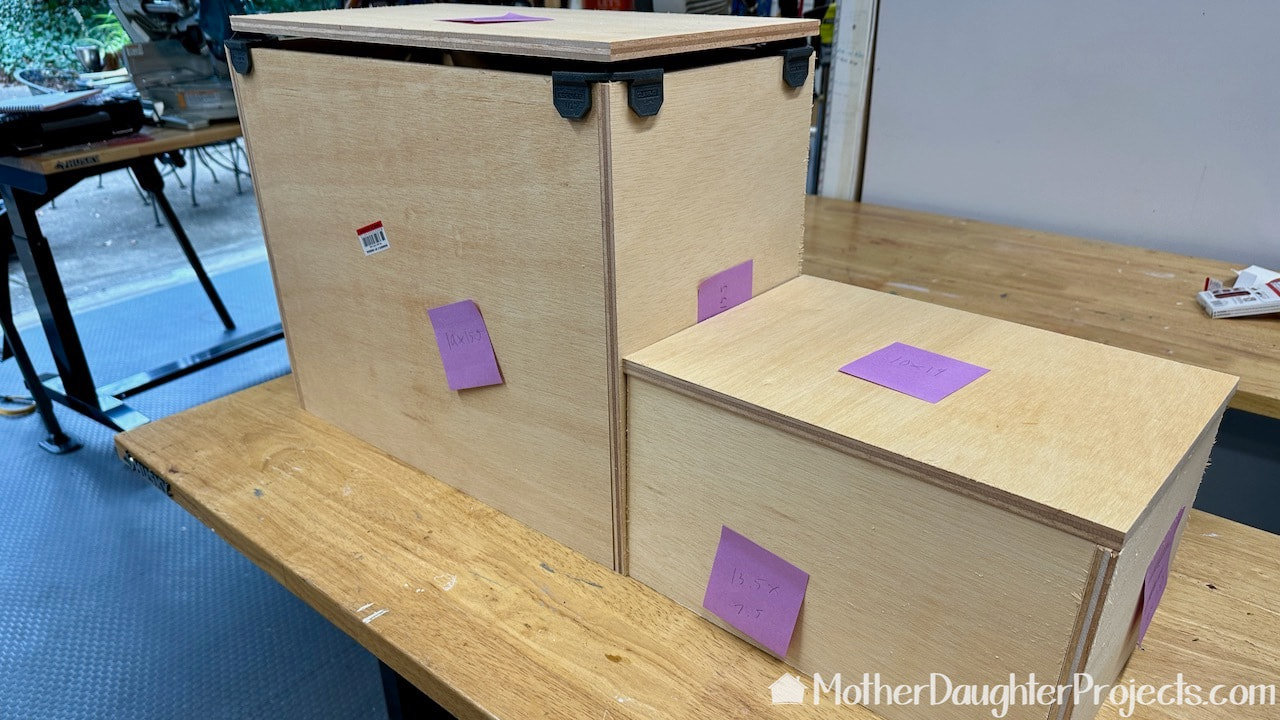
We dry fit all the components before adding the custom cutouts. Everything is good to go!
Measurements
Front
  • (2) 13.5in x 7.5in
  • 10in x 7.5in
  • 10in x 14in
Back
  • (2) 18in x 15.5in
  • (2) 10in x 15.5in
  • 10in x 19in 
The dry fit in the Chrysler Pacifica van works so it's time to assemble the custom center console.
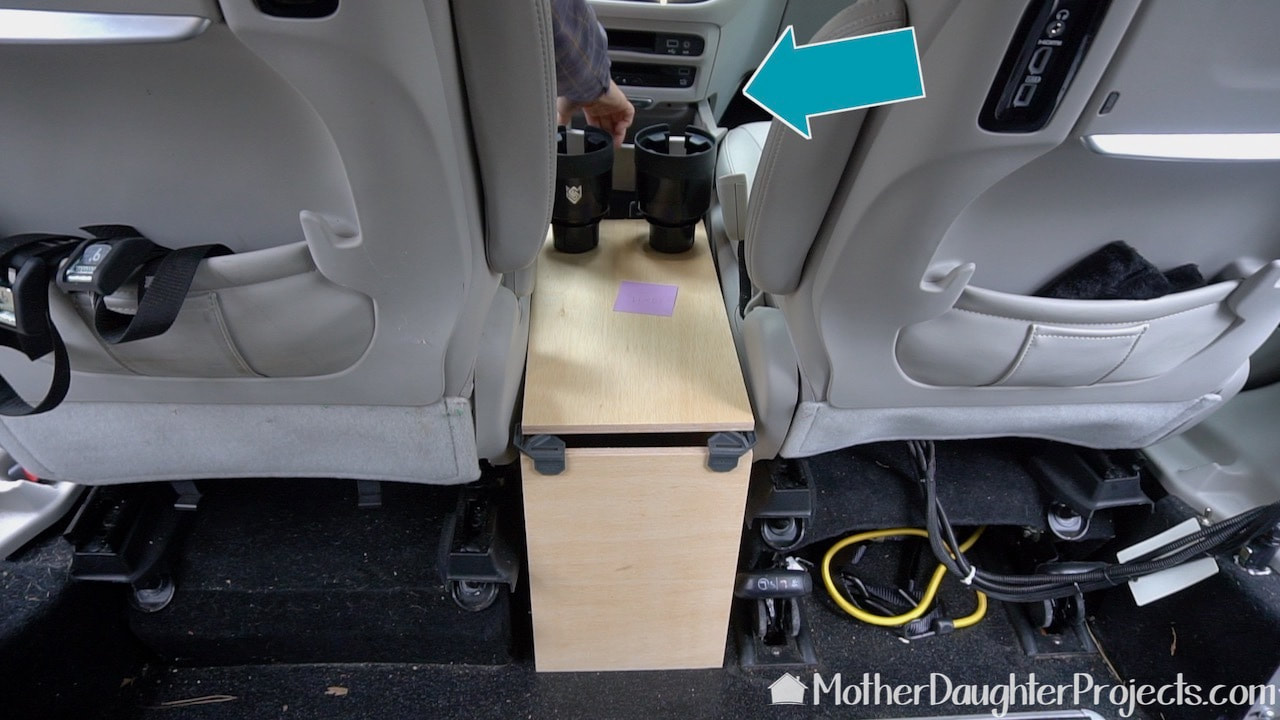
Before making all the custom cuts, we checked the fit of the console in the Chrysler Pacifica van. We also checked the fit of the cupholders.
We made the cupholder cutouts with a three inch Diablo hole saw.
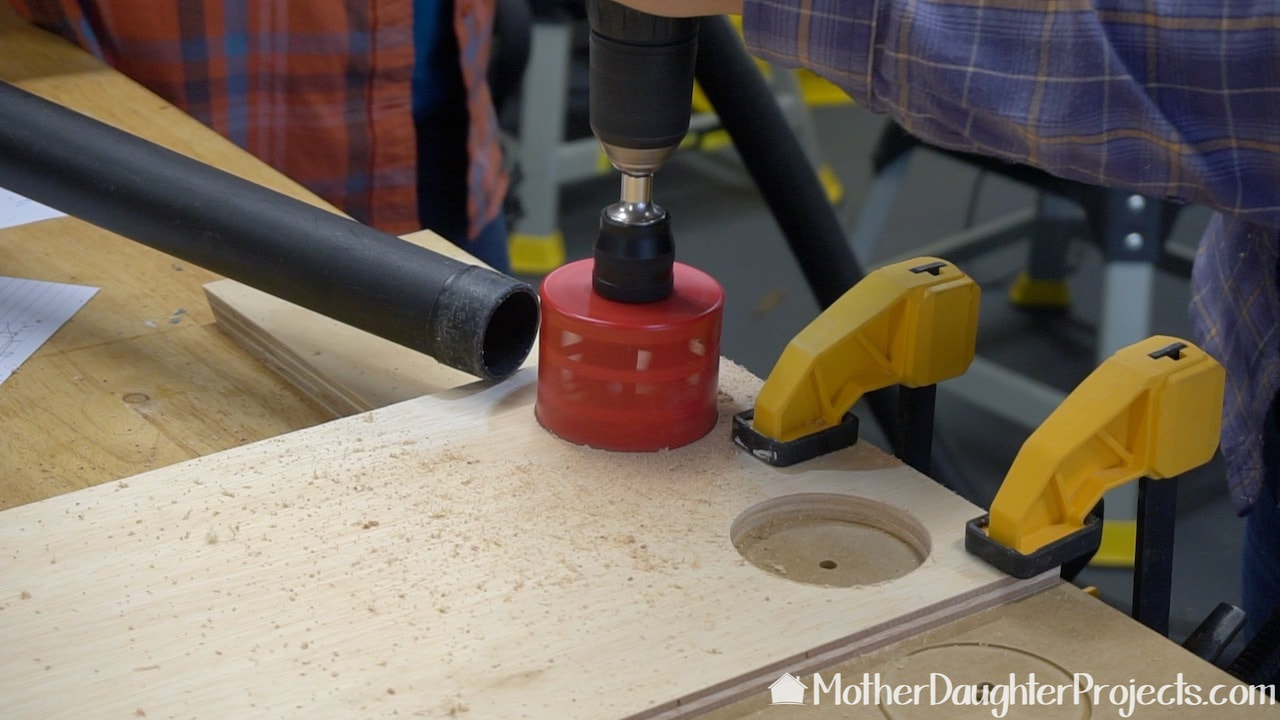
This 3-inch Diablo hole saw made it easy to create the holes for the cupholders. Be sure to see the end of the video to see why Diablo brand hole saws are Steph's favorite.
We assembed the DIY center console box for the Pacifica van with wood glue and brad nails.
Everything was assembled with wood glue and brad nails.
The DeWalt scroll saw was used to cut curves in the back panel piece. That Ryobi lights is helpful to see what you're cutting.
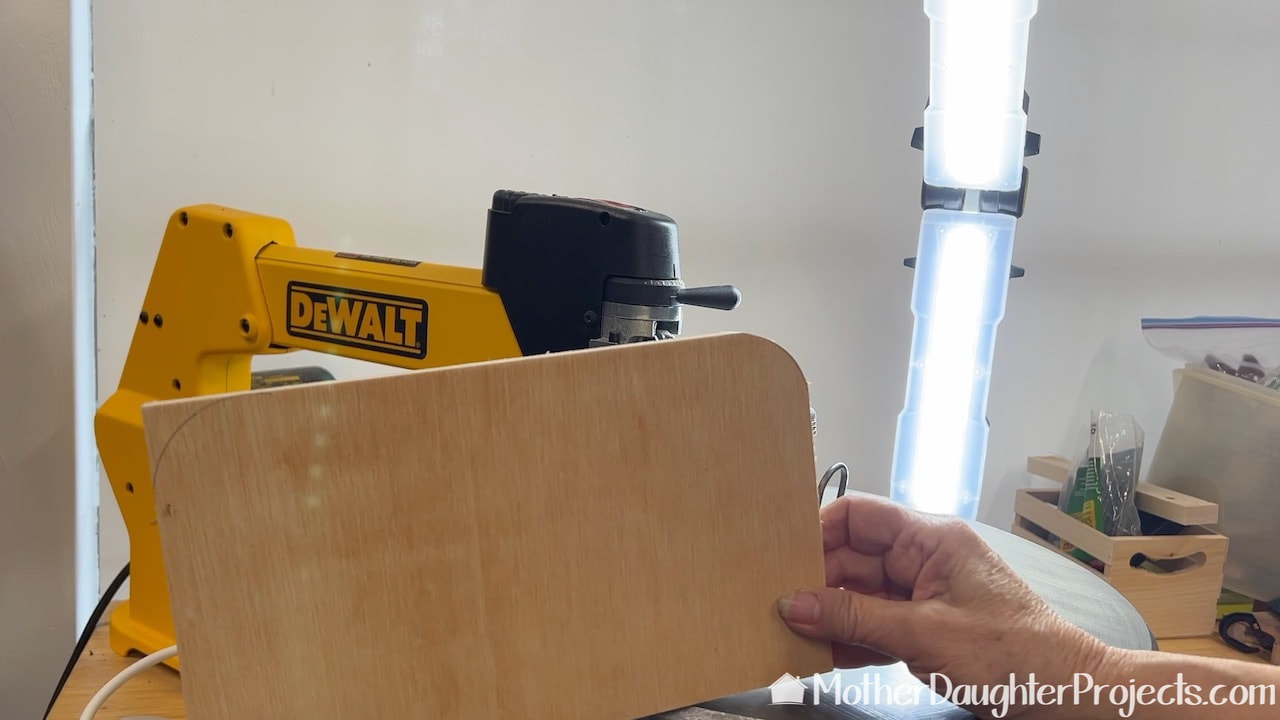
We added a panel at the back of the top to prevent things from sliding off the top of the box. For safety and aesthetics , we used the scroll saw to curve the corners.
We hinged the top of the box so we could use the interior of the box for storage.
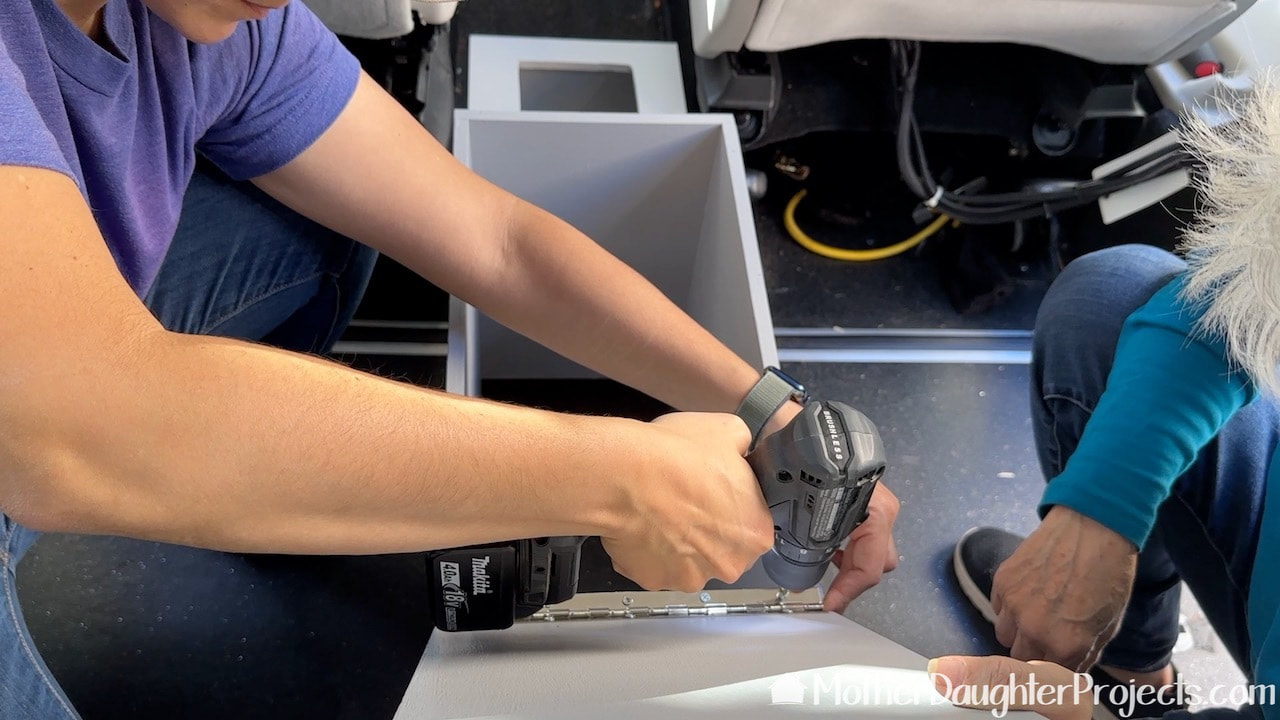
We made a last minute design change, when we realized there was enough space to lift the top of the box. We added a piano hinge. Now we have lots of hidden storage beneath the top.
Cut down a piano hinge that is too long with a DeWalt portable band saw.
The Home Depot did not have the hinge length we needed, but we easily cut down a 12 inch hinge with our DeWalt portable band saw.
To help keep the center console in place we added these self-adhesive Everbuilt bumpers to the bottom of the box.
Here's a look at the handmade Chrysler Pacifica van center console.
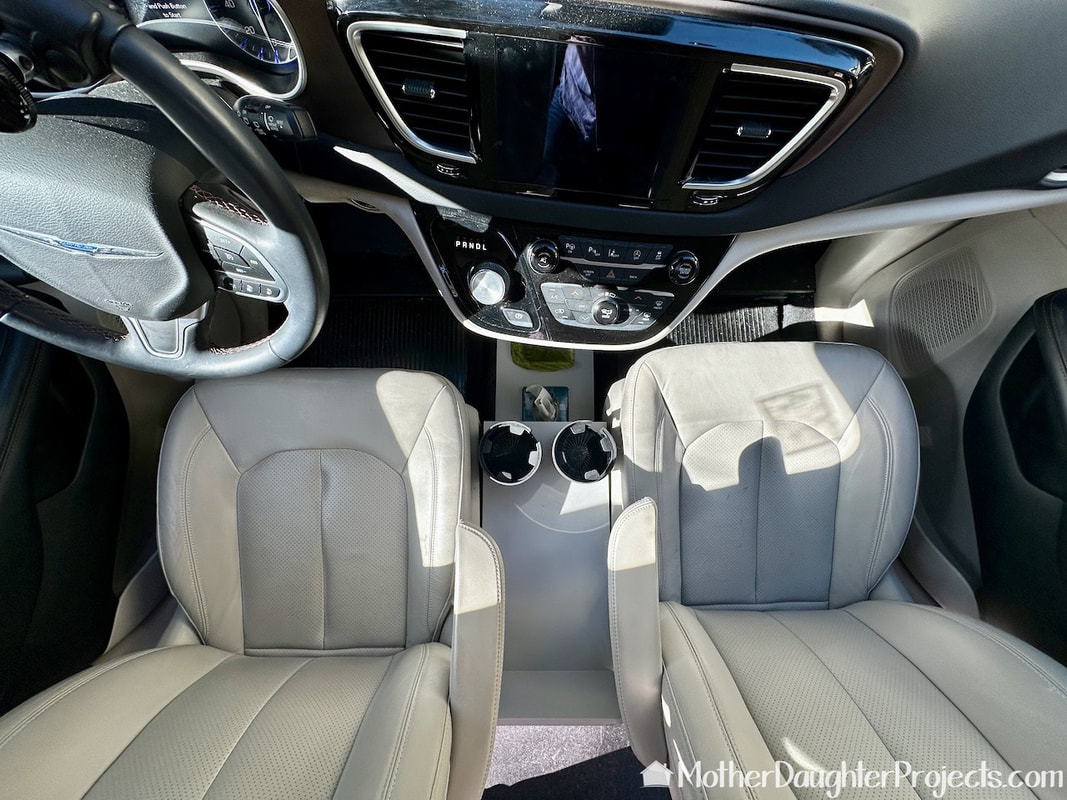
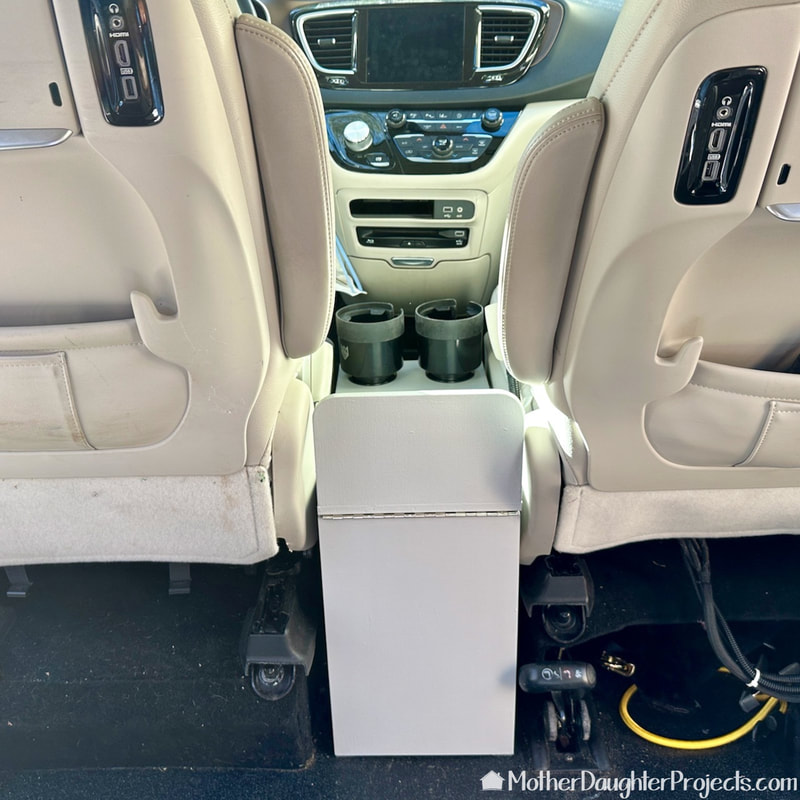
The finished console in place! It's perfection!
Here's the space before.
Here's the van console with much needed cupholders after.
This custom build has made so much of a difference in the functionality of this van. It works even better than I thought it would. We now have the essentials at our fingertips--trash disposal, tissues, beverages and a place for my purse plus a place to stash less frequently needed items. 

What would you customize to make your vehicle, or even your home more functional for how you use it?


Please note: This is not a sponsored post. 


FYI: We are not professionals, and we don't claim to be. This is what we found worked for our project. Yours may need a little different approach. Safety first!

FYI: Affiliate links are being used on this page. Purchasing via these links help support MDP

Related Projects

Picture
Car Bike Stand
Picture
Faux Live Edge
Picture
DIY Candle Stand
0 Comments


Leave a Reply.

    MotherDaughterProjects.com

    Mother Daughter Projects
    ​
    Steph & Vicki

    We're homeowners sharing our DIY adventures as we learn to maintain, improve, decorate, and ​use tech in our homes.
    Share your projects with us here:  
    ​#trylearnshare
    MotherDaughterProjects.com
Mother Daughter Projects, LLC ∙ est. 2015 ∙ Tallahassee, FL by Vicki & Steph ∙ Privacy Policy