|
text by Vicki Sign up here to join our weekly email newsletter!
Both Steph and I live in neighborhoods with lots of trees. While it's nice to have the cooling shade of trees, the leaves and pollen they produce necessitates constant roof cleaning in order to maintain the roof.
So, short of getting on the roof, what can be used to clear the gutters and roof? Read on as we share our experience with a gutter specific cleaning tool.
0 Comments
text by Vicki Sign up here to join our weekly email newsletter!
We've been users of the Wet & Forget family of products for many years now. They work, that's why we continue to use them.
Our first introduction to Wet & Forget was their outdoor product which we first tried at Steph's house many years ago. It has worked so well over the years that she's never had to have the outside of her house professionally cleaned. While working on this post, we marveled at how good the outside of her house looked six months after the latest application of Wet & Forget Outdoor cleaner! Now, we take you inside to share the results of using Wet and Forget Shower. text by Vicki Sign up here to join our weekly email newsletter! Here are 10 projects to get your screen porch ready for spring into summer. Let's get started!

text by Vicki Sign up here to join our weekly email newsletter!
We've had our Ranger model Solo Stove for about a year and a half. In that time, we've accumulated quite a few tools and supplies to use with it.
In lieu of buying a premade storage station, Steph came up with an idea for a storage unit that would hold the fire pit, as well as all the gear. Wall Control metal pegboard helps to optimizes the space for efficient organization of all the gear.
text by Vicki Sign up here to join our weekly email newsletter!
This is the last part of a four-part series on the retiling of the outdoor steps at Vicki's house. To recap, the steps are 12 years, but we discovered several tiles were loose which needed immediate attention for safety reasons. Ultimately, we found that all the tiles on the first step and most of the second were loose.
To fix them, we chiseled off the old mortar, cleaned the old tiles, cut new tiles, laid them on fresh mortar, and in this post, we do the final step: grout, sealing, and clean-up.
text by Vicki Sign up here to join our weekly email newsletter!
When we first discovered a few of the tiles on the front outdoor steps were loose, but only one was broken, we thought we'd only have to cut one new tile.
Because of this we did not want to invest in a wet saw that we would probably never use again. We set out to find an alternative way to cut tile.
text by Vicki Sign up here to join our weekly email newsletter!
In our last post, we shared an overview of the entire process of removing the old front door step tiles though the reinstallation of the tiles.
In this video, we take a closer look at how we removed all the mortar, cleaned up the tiles, and then reinstalled them. Products:
Tools:
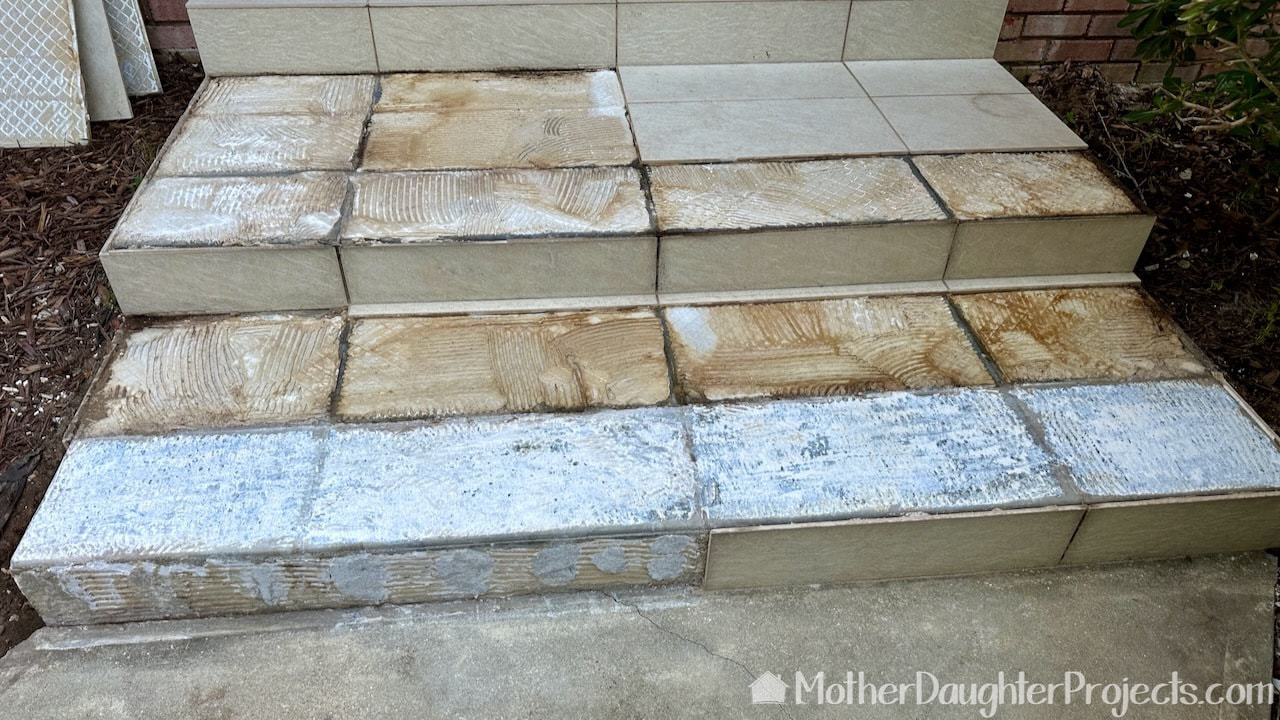
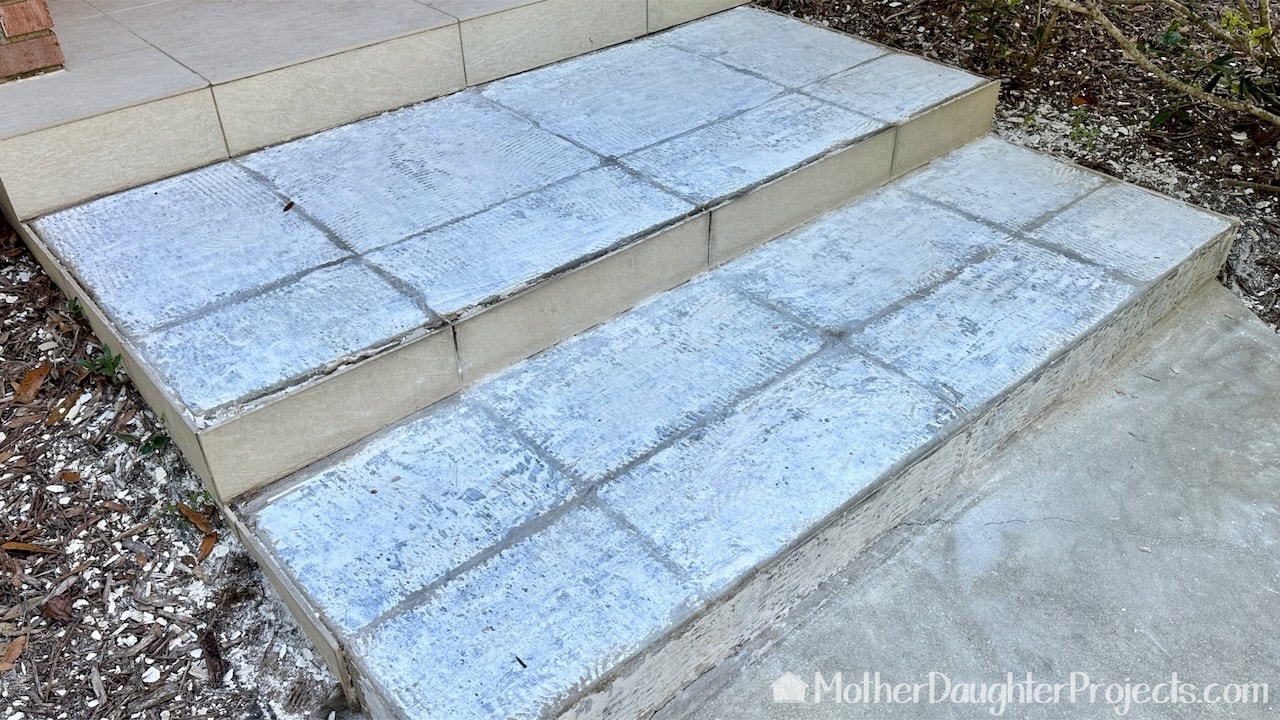
In all, we removed all the tiles on the first and second steps. We also removed the four vertical tiles on the first step. The verticals on the second step were holding tight so we did not remove those.
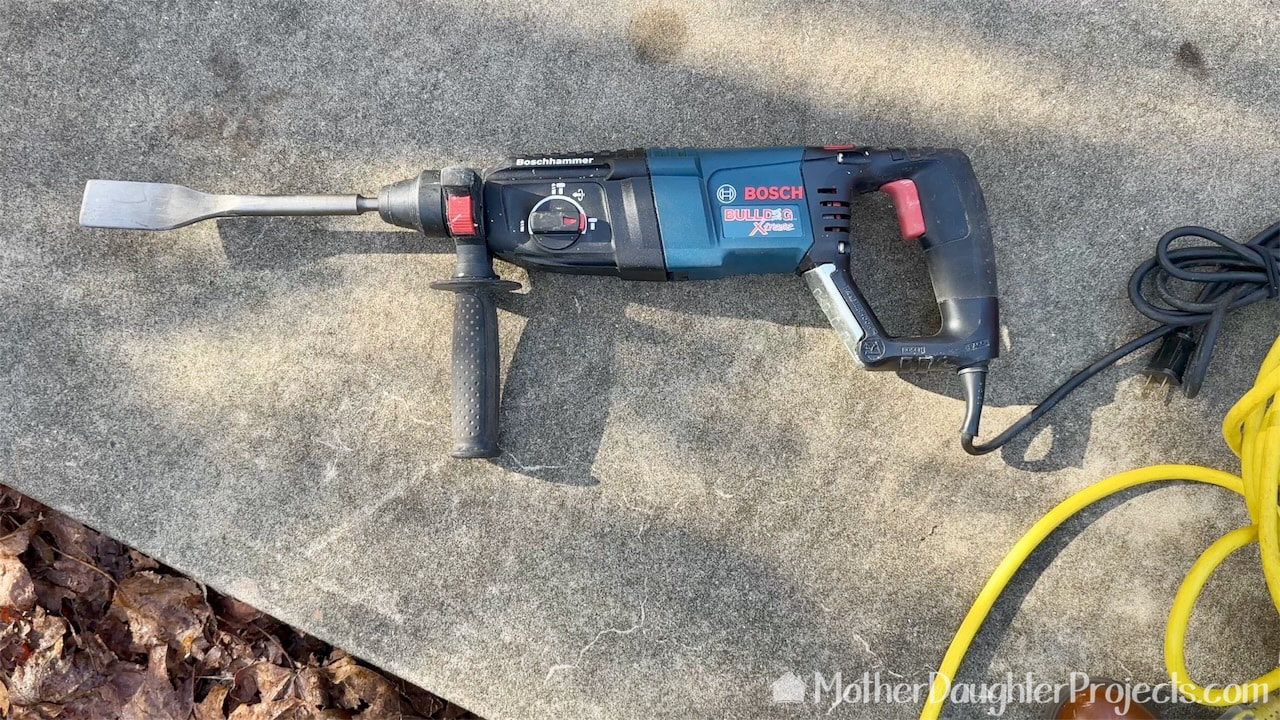
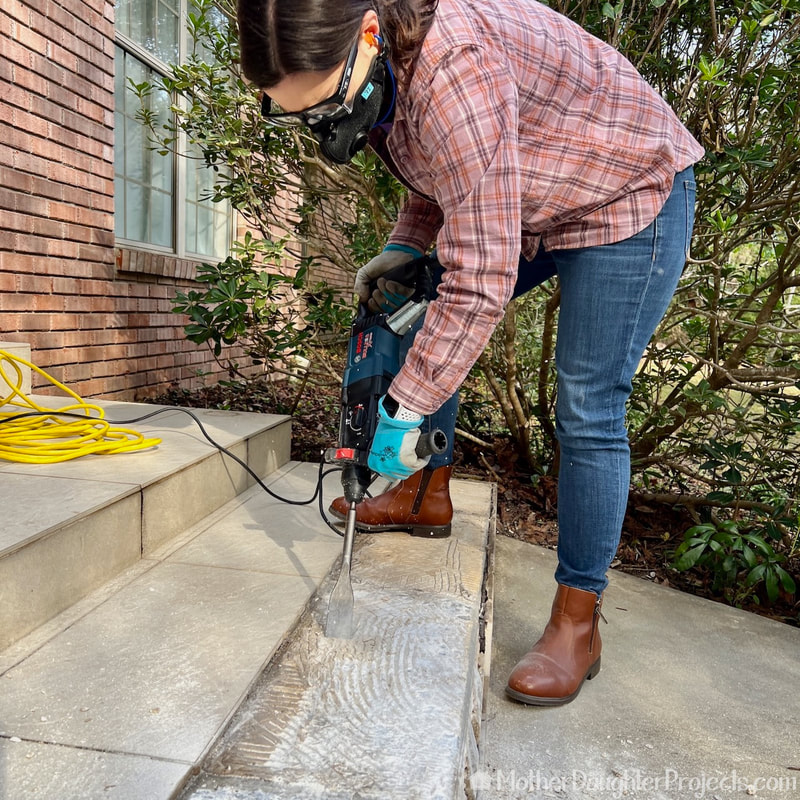
We are using a Bosch rotary hammer drill with a chisel blade to remove the mortar. We own this tool, but rentals may be available at your local tool rental store.
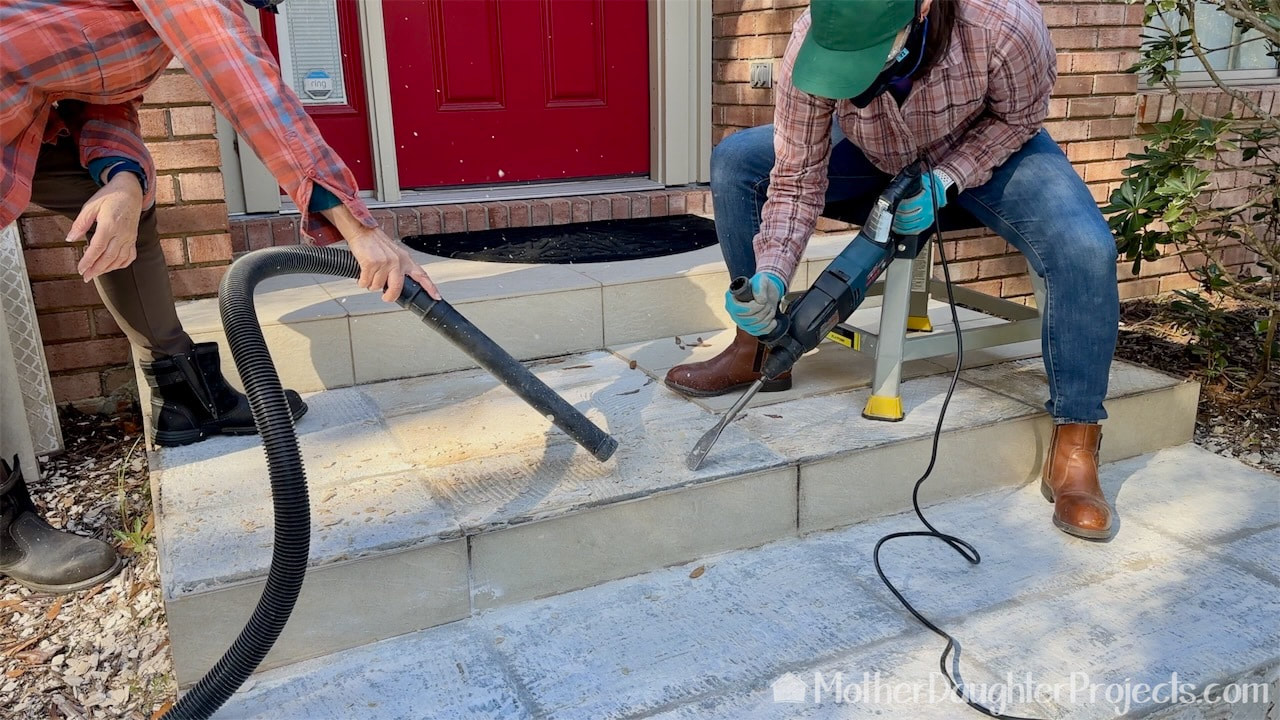
It took a bit of trial and error to come up with a comfortable way to use the tool. Steph actually used it upside down while sitting on a short stool. She took frequent breaks as it is a fatiguing tool to use. It's effective thought!
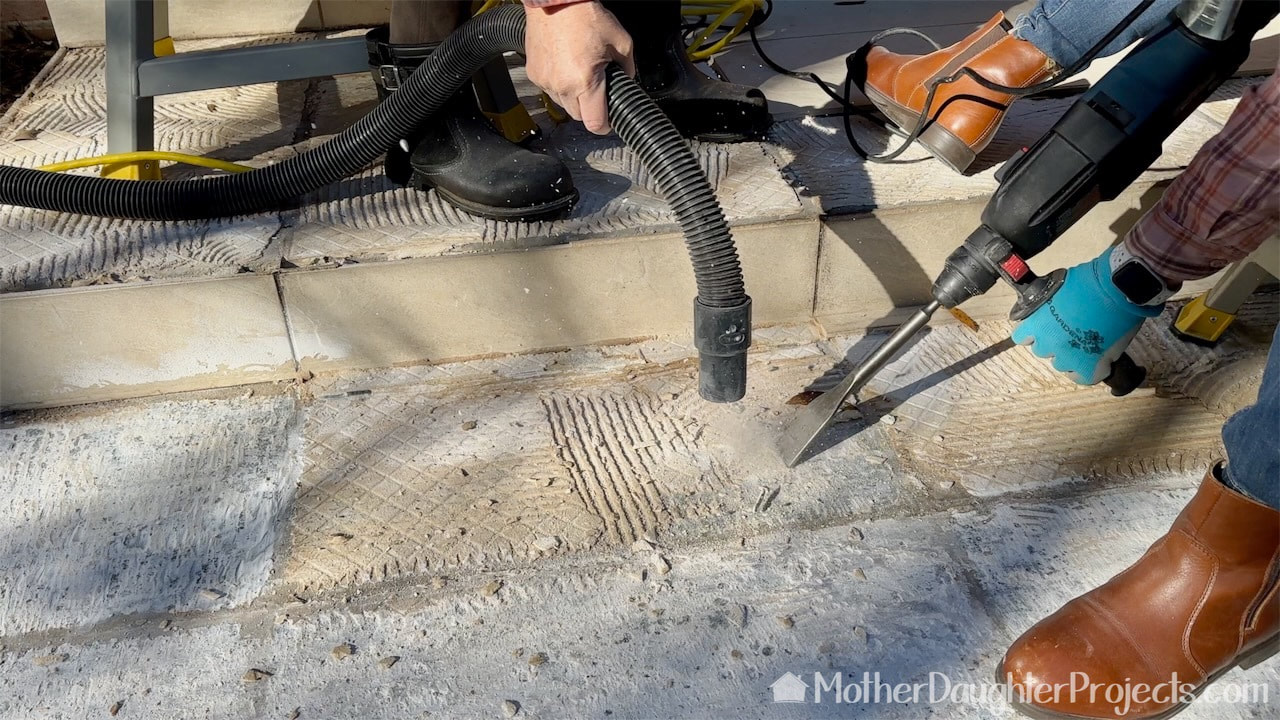
We certainly could not control all the flying debris, but we were able to capture much of the dust that the removal produced. We are both wearing protective gear while we work to protect eyes, ears, and lungs. We are wearing respiratory masks.
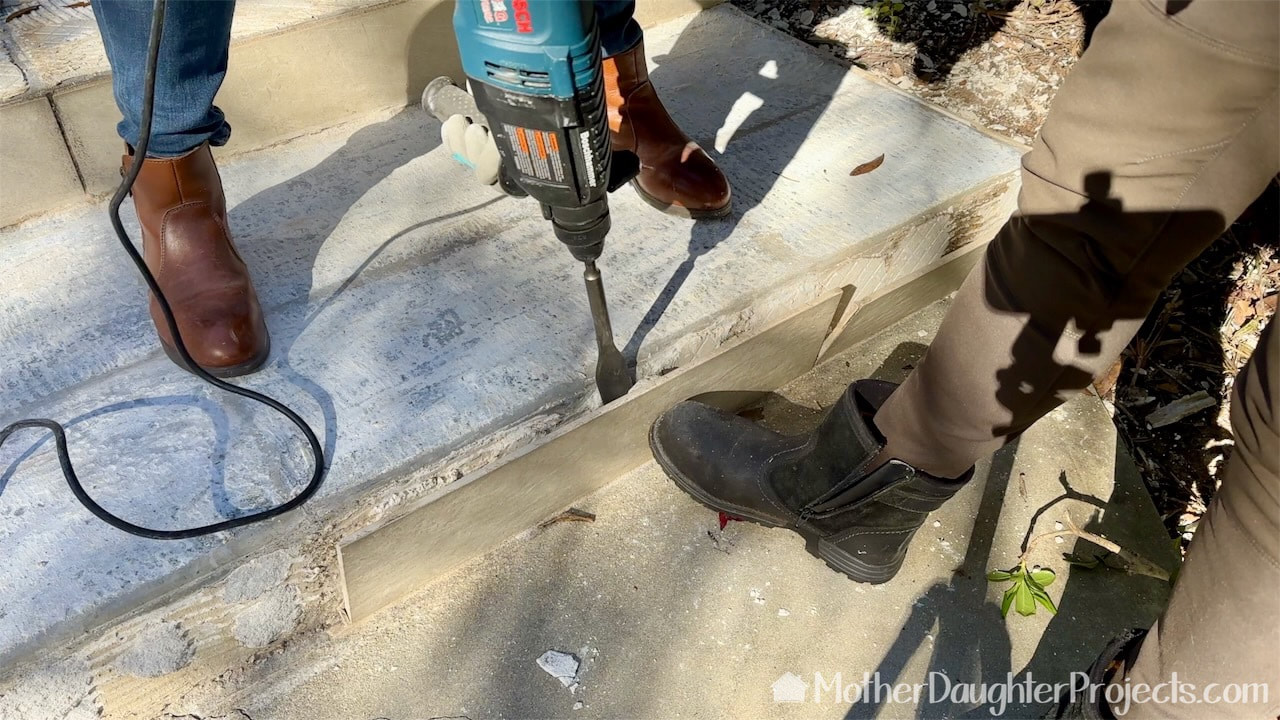
Any tiles that were actually stuck in place, we gently removed with the Bosch. We wanted to reuse as many tiles as possible.
Removing the old mortar is the hardest and most fatiguing part of this process. Pace yourself!
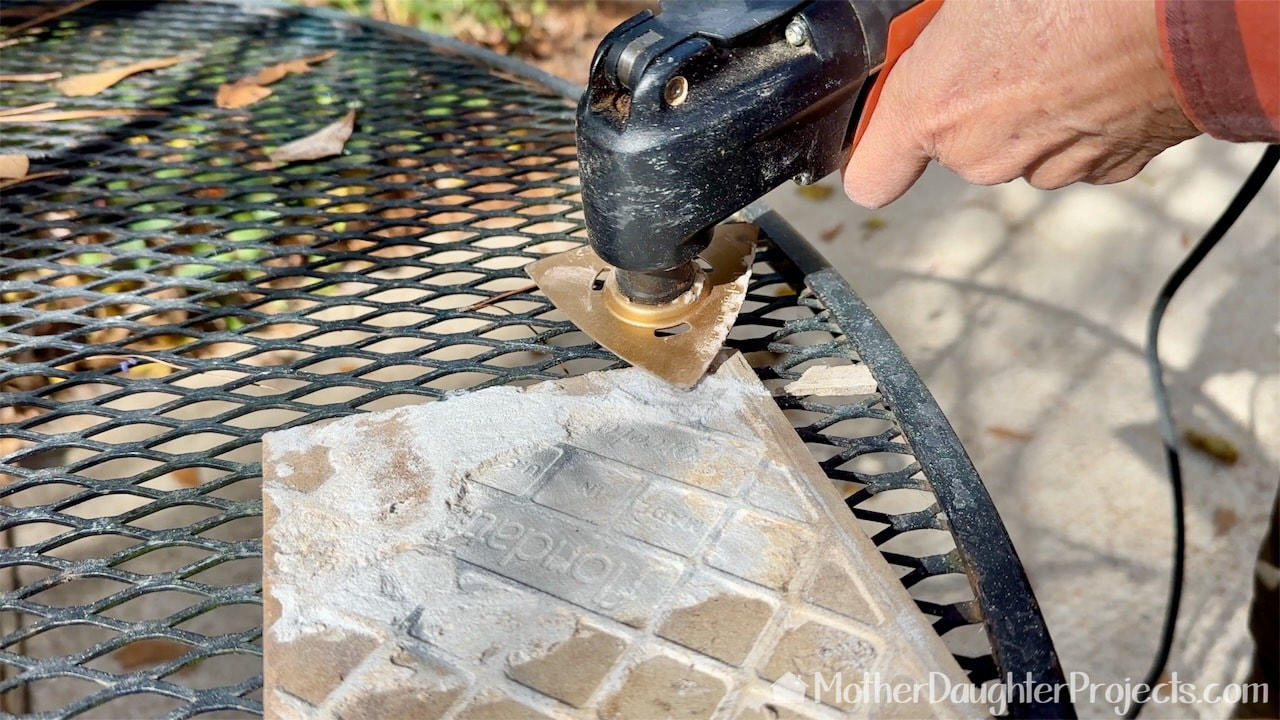
All of the mortar on the old tiles had to be removed so we could use them again. I used a variety of tools to clean this including a Fein multi-master with carbide rasp. It worked really well.
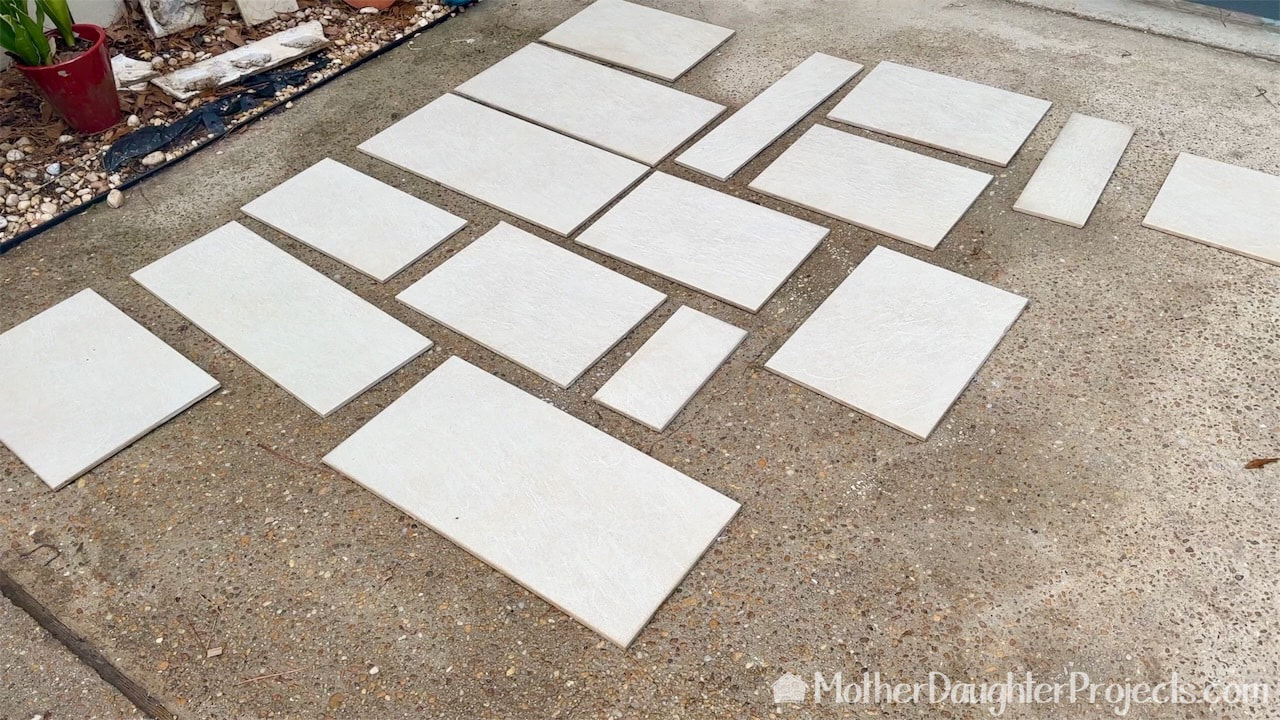
All of the original tiles and a few new ones we needed to cut, were laid out on the driveway to be cleaned. Use Mold Armor Rapid Clean remediation to clean the outdoor tiles of algae, mold, and dirt.
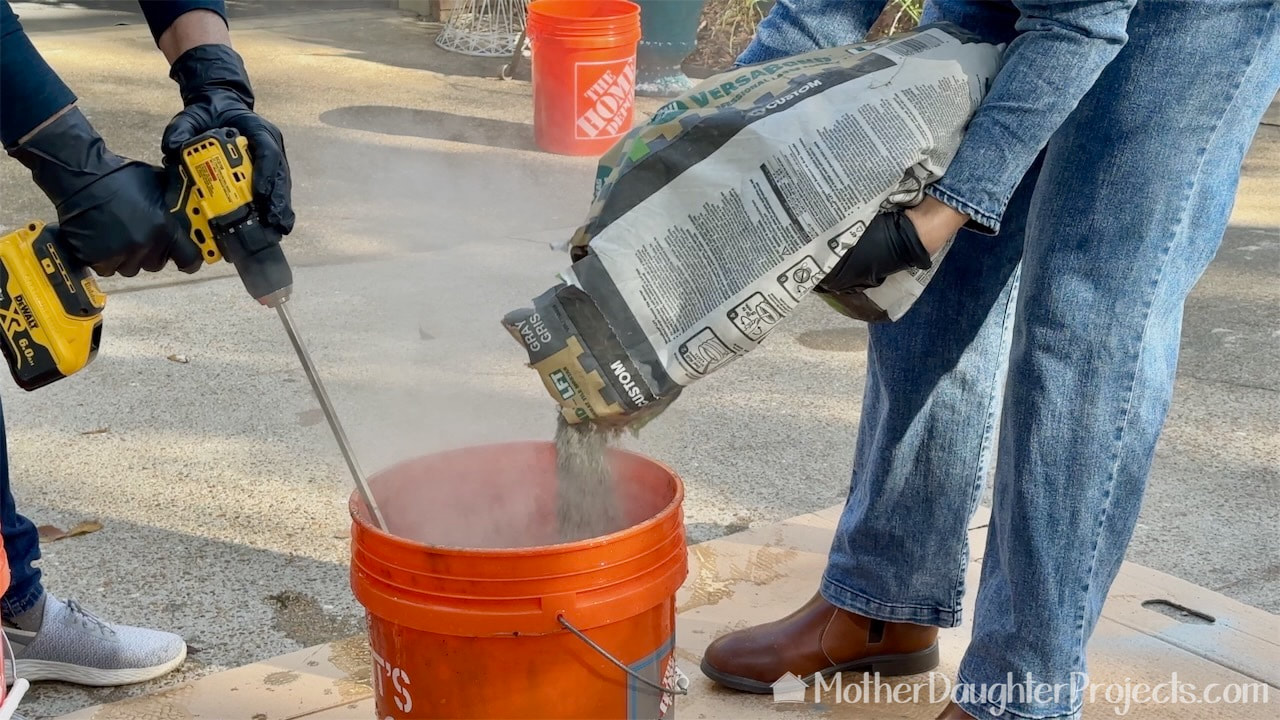
We mixed up the mortar following the instructions on the bag. We added way too much water initially so we had to add more powder. Start with a little water and slowly add to it to better control the consistency. The mixer attachment to the drill was extremely helpful. Again, use appropriate protect equipment so you're not breathing in the mortar dust.
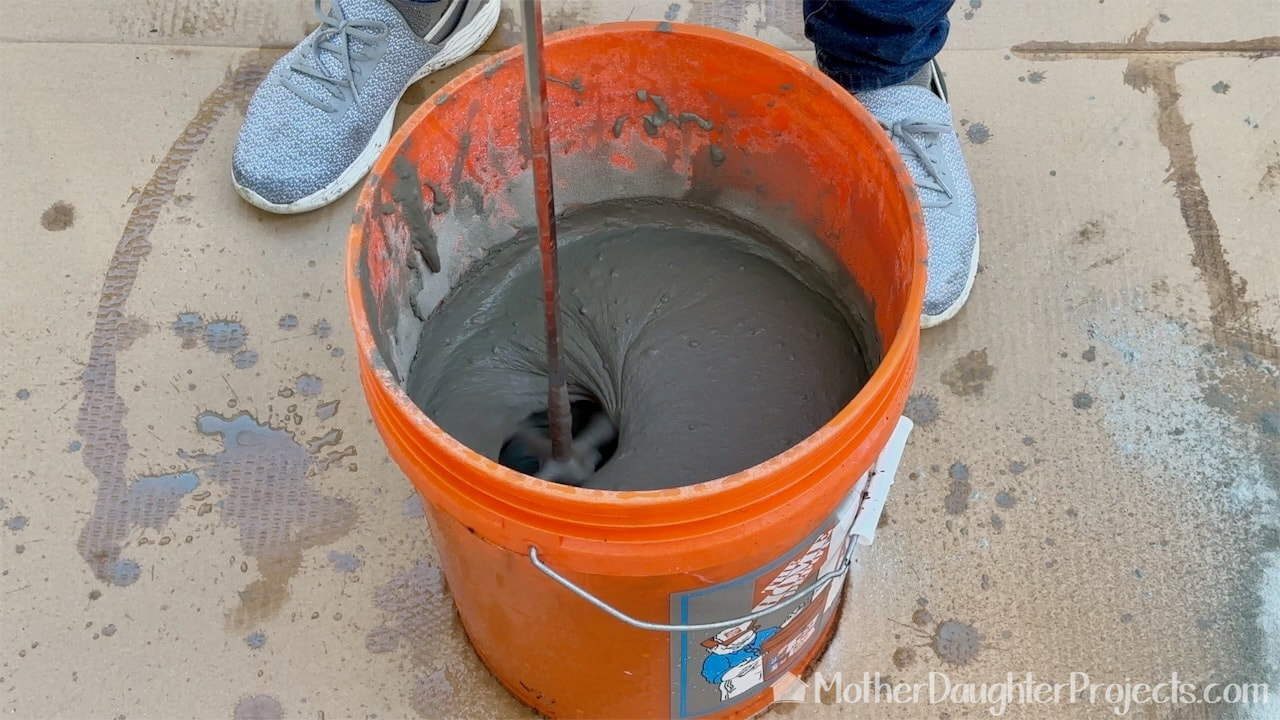
We mixed according to the instructions creating a nice smooth consistency.
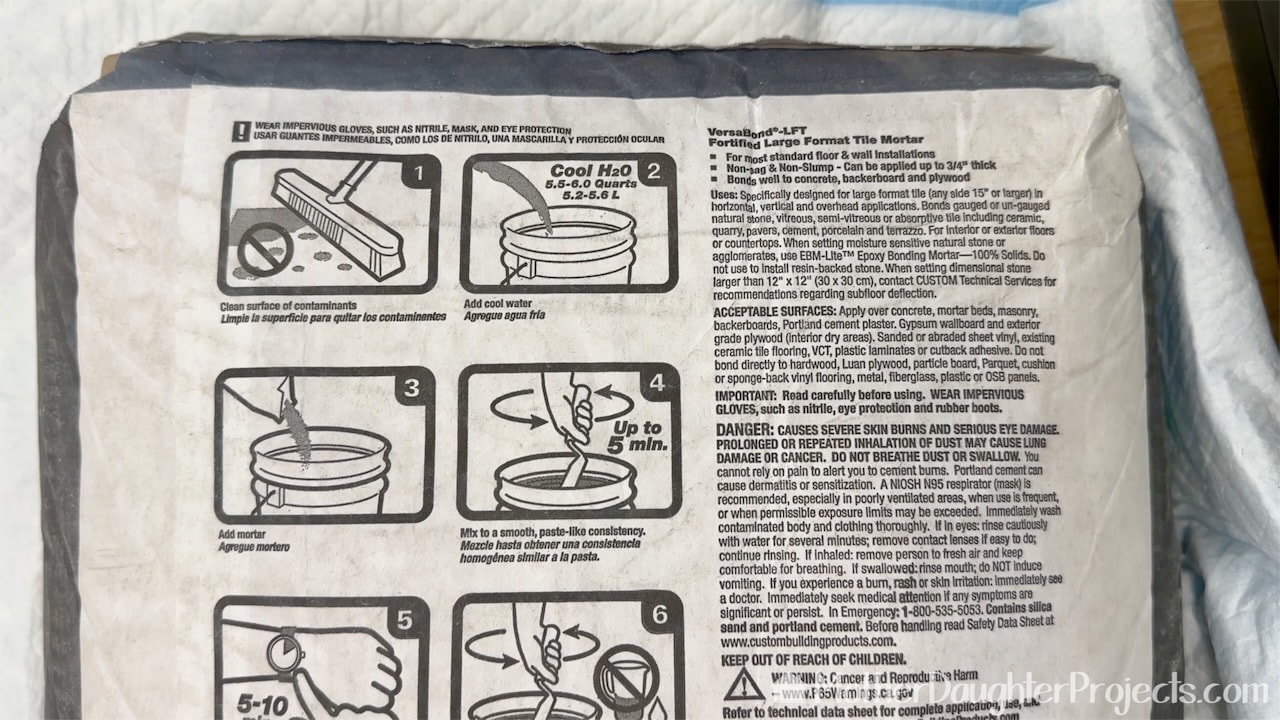
Hint: before opening the bag, take a picture of the instructions so you can easily refer to them.
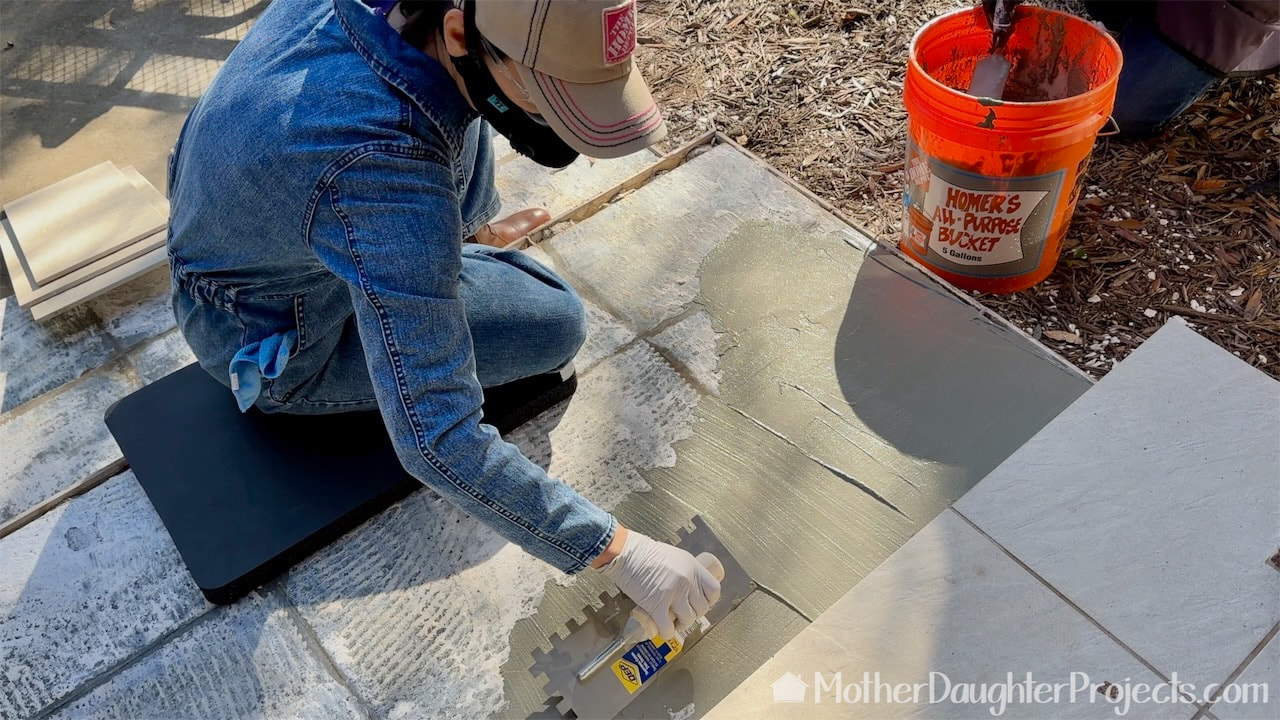
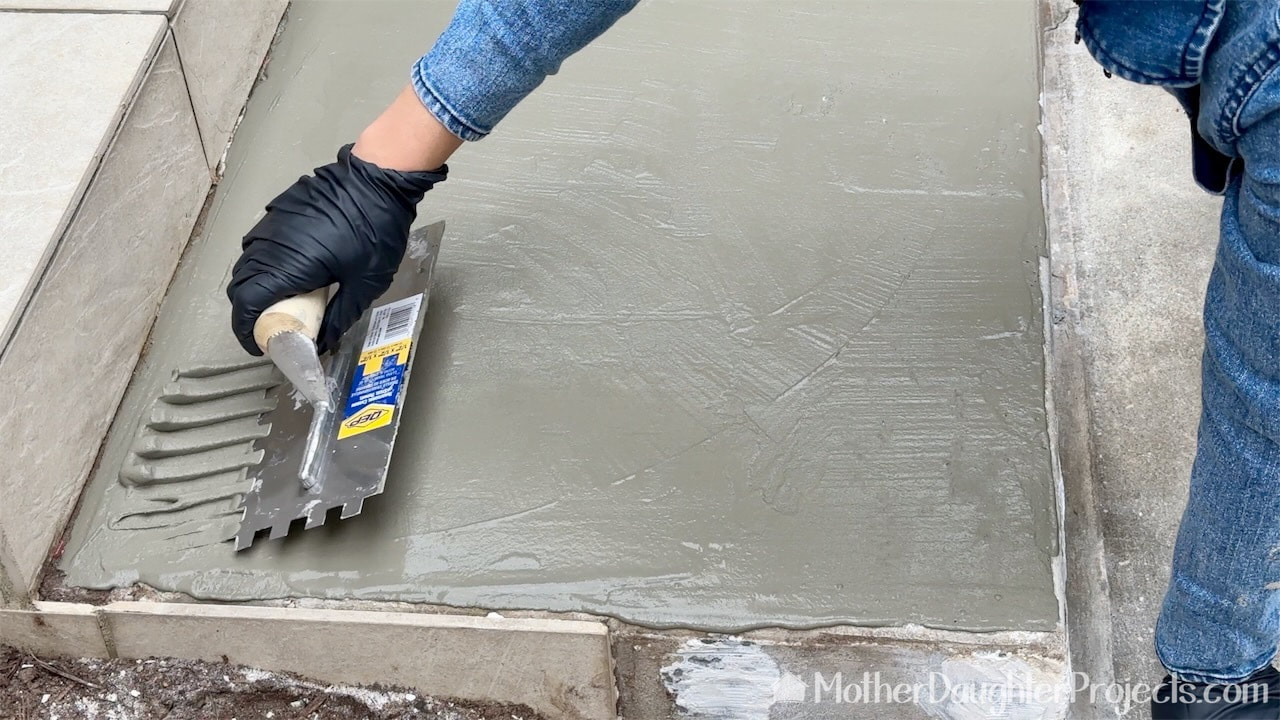
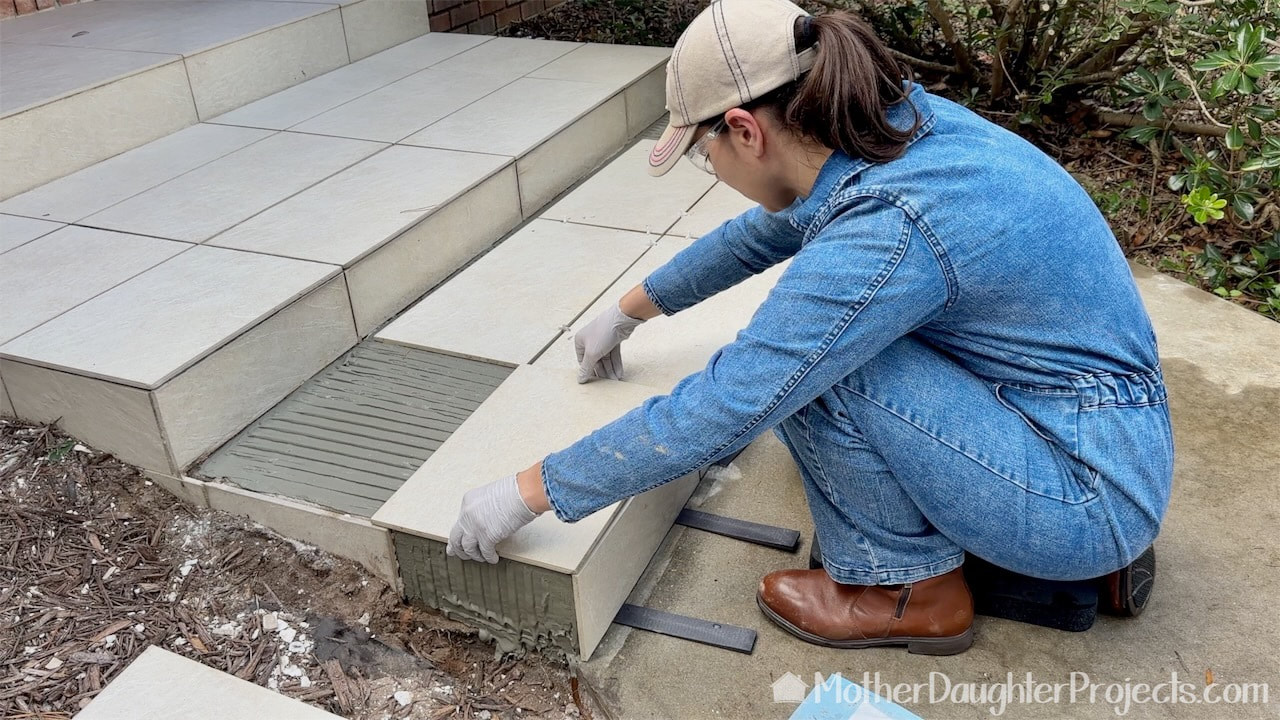
The mortar is spread in a skim coat with a notched trowel. This size was one suggested for the large tile we are installing.
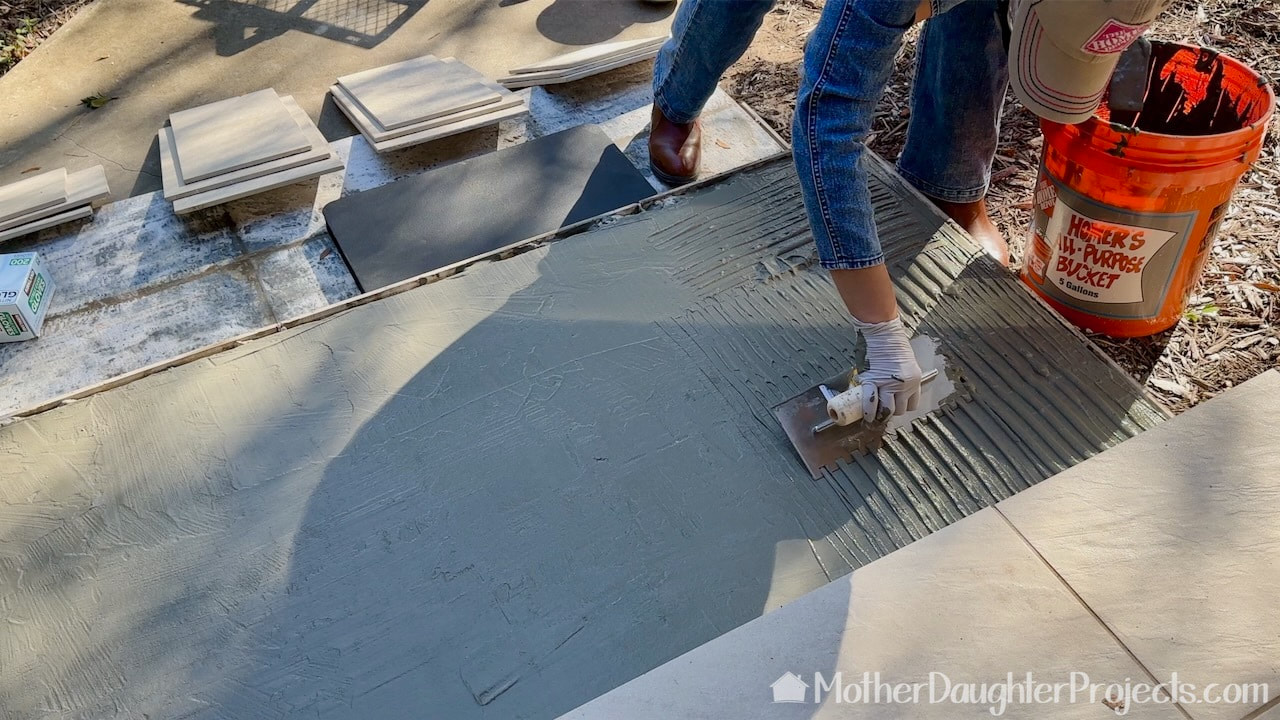
The mortar is then notched
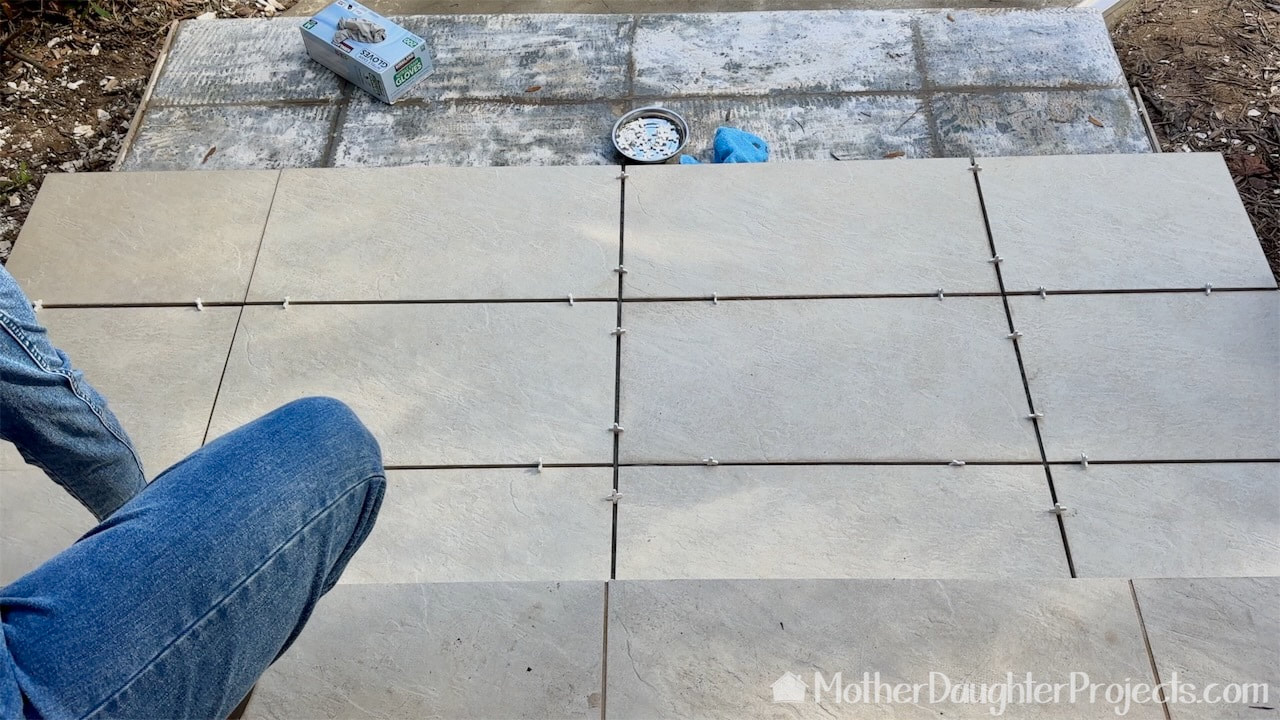
We set the tiles in place using plastic spacers.
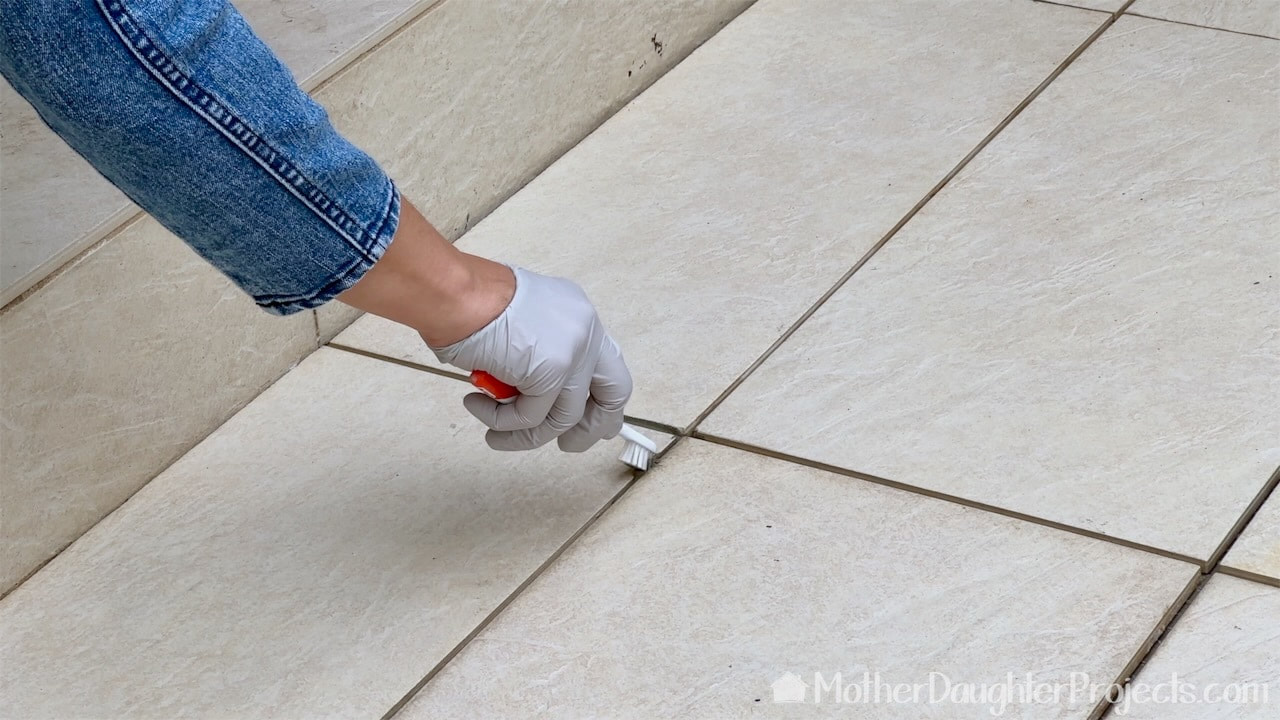
We used a toothbrush to help clean up between the tiles prior to adding the grout. We wiped the face of the tiles clean of mortar with a damp microfiber cloth.
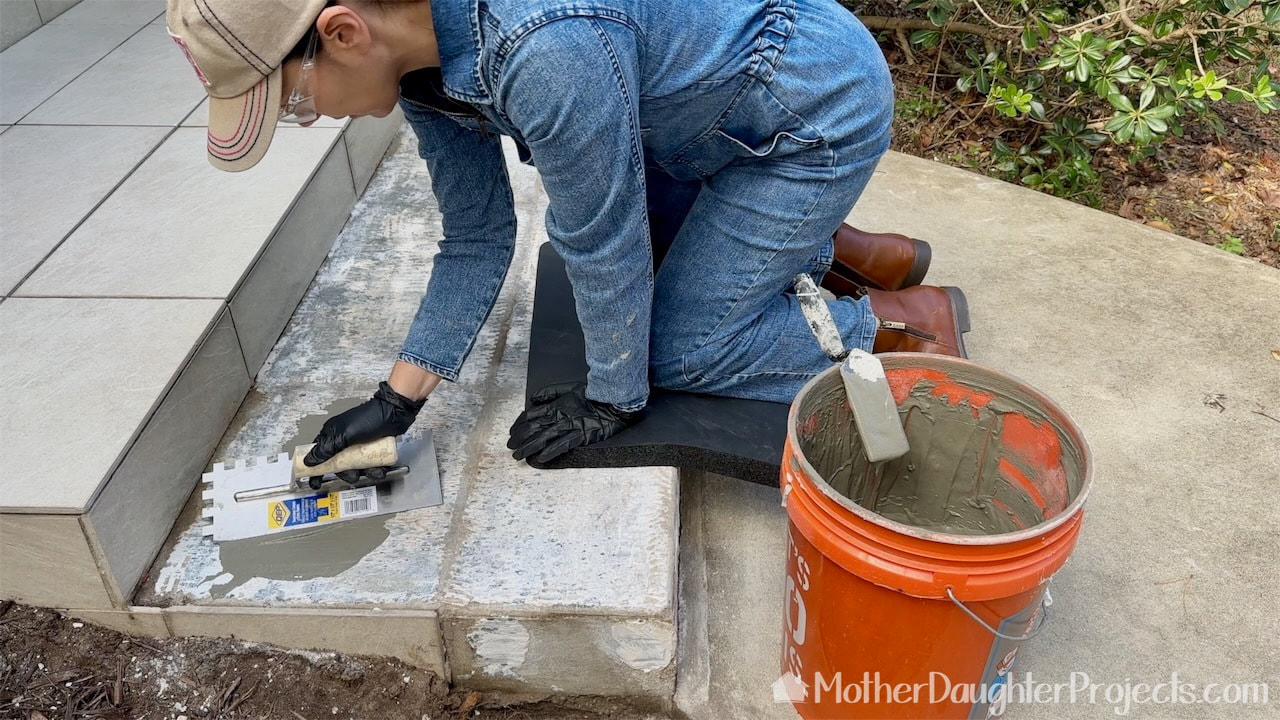
We repeated the entire process on the second step. A kneeling pad like this one from Husky helps to save your knees.
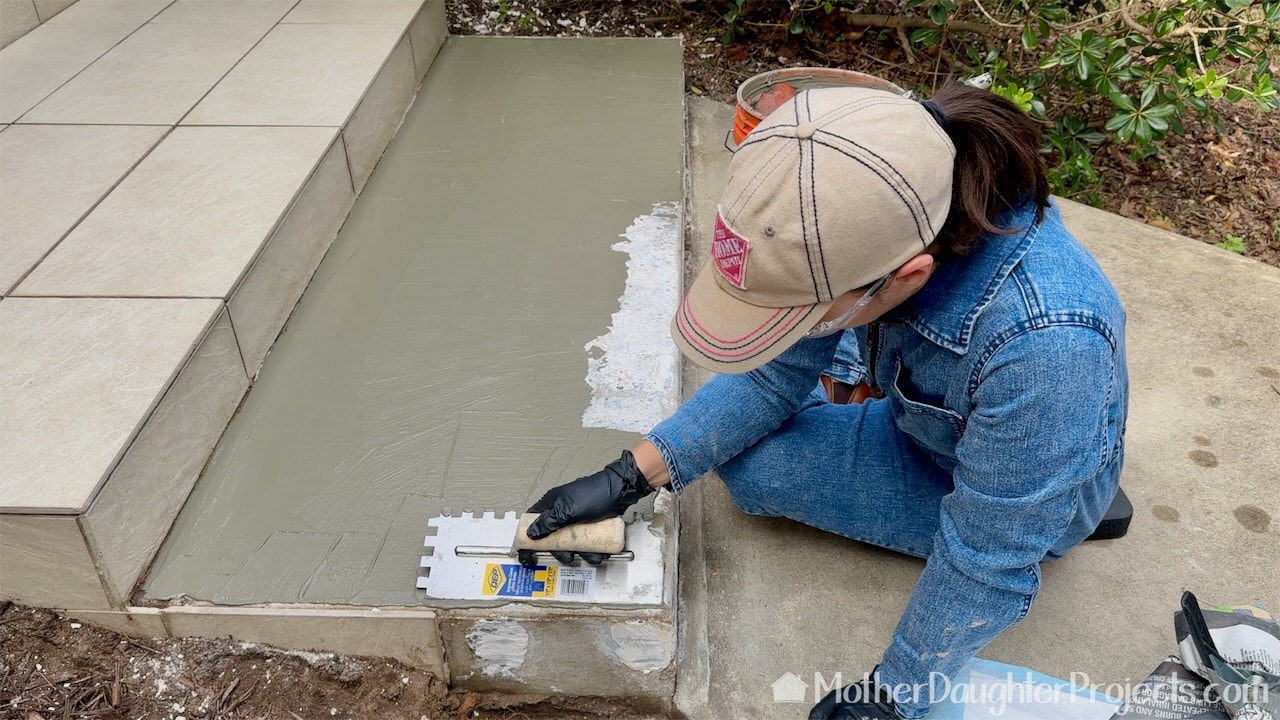
Finishing up the skim coat on the first step.
Trying to hold the trowel at a 45 degree angle for the notching. It was awkward but Steph got better at it as the project progressed.
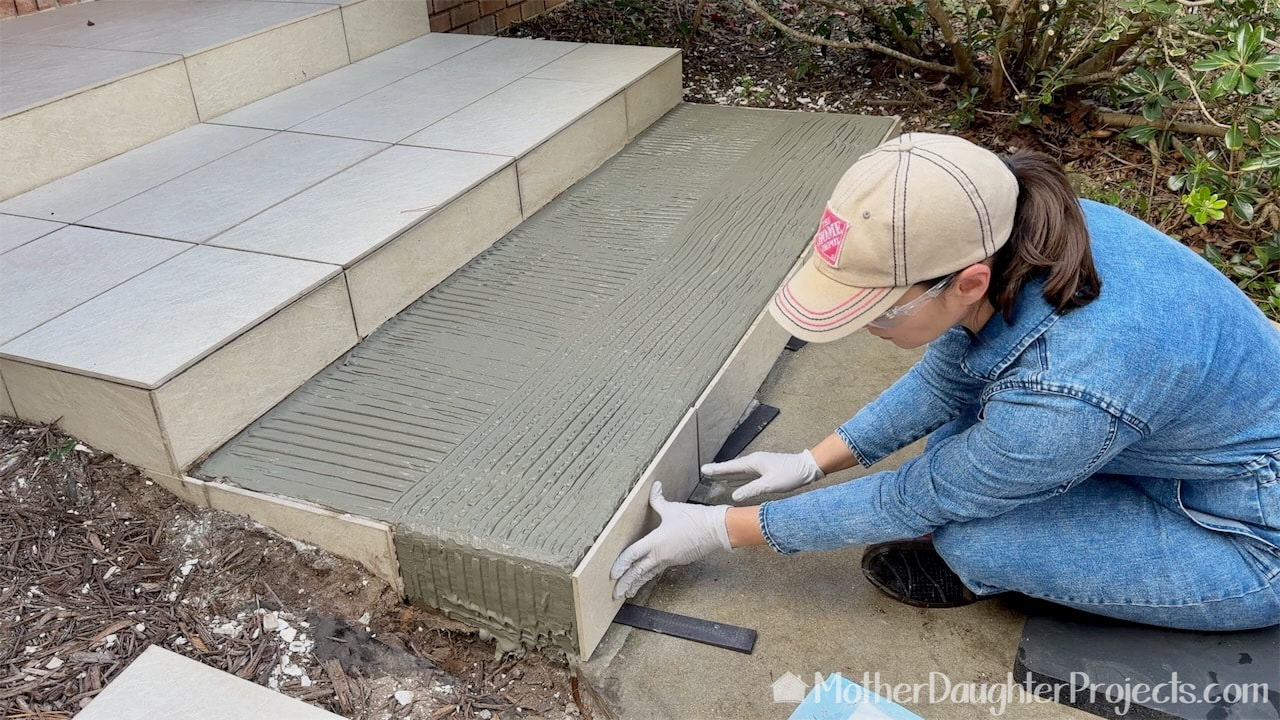
The vertical tiles were tricky to keep in place. We used plastic shims for spacing and heavy objects to keep the tiles against the concrete step.
Putting the tiles into place.

Checking to see if the tiles are level to each other.

All finished and ready to grout which we did 24 hours later.
Whew! The mortar removal and tile clean up were very labor intensive, but the actual tiling process was fairly quick and very satisfying to see it all come together.
Please note: This is not a sponsored post. We are not professionals, and we don't claim to be. This is what we found worked for our project. Yours may need a little different approach. Safety first! Affiliate links are being used on this page. Purchasing via these links help support MDP. Related Projects
text by Vicki Sign up here to join our weekly email newsletter!
Not going to lie, this project was hard!
What started with "oh, we can stick down three loose tiles" turned into a major undertaking. Once we started to survey the front steps and discovered it was way more than three tiles, we definitely were concerned we were undertaking something beyond our abilities. With a lot of help from an associate in the tile department of the Home Depot who gave us spot-on advice, and with his encouragement, we set out to undertake our very first tiling project... Here's how it went!
text by Vicki Sign up here to join our weekly email newsletter!
In this video, we are going to show you how we utilized some parts from previous projects, wood from the scrap pile and a few purchased materials to create a mobile storage unit.
Steph has a growing collection of outdoor gear for hiking, camping, and kayaking. She had been using a variety of totes and an old plastic shelving unit to store these things in the garage. This old stuff was not working so she designed a unit that would hold all her stuff and would be movable.
text by Steph Sign up here to join our weekly email newsletter!
We made a sort of impulse purchase at The Home Depot of a Artika pendant light. I've been wanting to remove a ceiling fan/light from a space that doesn't really need a fan but it does need a light and this fixture looked like it would be great for the space.
We've actually installed quite a few Artika lighting fixtures. The instructions are clear and straight-forward making them relatively easy to install. text by Steph Sign up here to join our weekly email newsletter! Over the past three years, I have had many issues with the IKEA smart blind. And a month ago, it finally just stopped working. In the video above, I talk about what happened and where I am today.
Below I share some issues I had I had with the smart blind. I found through internet research, ways to fix them.
text by Vicki Sign up here to join our weekly email newsletter!
Steph didn't love the traditional ceiling fan at her house and was ready for a change.
We and by we, I mean Steph, has installed a number of enclosed blade ceiling fans with integrated LED lighting. It's a fan but there are no large blades extending from the fixuture. We really like the streamline look. Steph had been looking for a replacement ceiling fan and when she saw this Artika brand one on the Costco website, she ordered it. We've installed a lot of Artika lighting and really like the modern, bright look of their fixtures. Take a look at how we installed this Artika Edwin LED Ceiling Fan Chandelier!
text by Vicki Sign up here to join our weekly email newsletter!
We were send this circle jig by the woodworking store Woodcraft. We were excited to give it a try because we have never had a great way to make a perfect circle.
We also had the perfect project in mind that needed multiple circles. We did need a few extra items to go with the jig, but once we got that we were ready to go!
text by Vicki Sign up here to join our weekly email newsletter!
Anyone with long hair can attest to the ongoing struggle to maintain a clog-free sink drain.
With her long hair, Steph is always on the lookout for the device that will keep the drain clear. In this video, she tests out two possible contenders. Take a look to see how each fared!
text by Vicki Sign up here to join our weekly email newsletter!
There is an ongoing debate about having a TV in a bedroom. Steph just recently decided she DID want one in her room 'cause who doesn't want to watch a movie all cozy in a nice warm bed?
Although she wanted one in the room she didn't want to "see" it all the time. She came up with a clever wall-hung unit that hides the TV when not in use. text by Vicki Sign up here to join our weekly email newsletter! Steph bought into the Home Reserve sofa system to give her two greyhounds and humans room to spread out.
She did a one year video update video seven months ago where she shared that the couch has held up really well and the upholstery washed up without any noticeable change. The couch still looks brand new even after a year of use by the dogs. She did identify two issues with the couch but didn't contact the company about them. It wasn't that big of a deal to her. Well, fast forward to about a month ago where 'out of the blue' she heard from Home Reserve. They had seen her update video and wanted to send her a new arm piece with updated hardware that would solve the squeak problem she had with the original. They also sent a very unexpected and extremely thoughtful gift which you can see at the end of the video.
text by Vicki Sign up here to join our weekly email newsletter!
This project just went on and on!
I set out to do one thing after the threat of the hurricane had passed: return the outdoor furniture to the patio. But I ended up with a whole bunch of cleaning, repairing, replacing, and painting projects BEFORE ever moving the furniture back! Here's what I ended up doing...
text by Vicki Sign up here to join our weekly email newsletter!
This fall, I've been doing a lot of projects on the concrete patio in my back yard. The makeover was sparked from the removal of all loose articles when there was the threat of a hurricane last August.
Before I put everything back, I realized the concrete was dirty so I decided to clean it, which led to painting it as the concrete was in poor condition, which also led me to realized the wood expansion joints were in bad shape. One end of which had entirely disappeared! So, we ordered a new vinyl expansion joint product and set out one morning to quickly take out the old ones and replace with the new vinyl. BUT....It was not quick....
text by Vicki Sign up here to join our weekly email newsletter!
The back patio at my house (Vicki) has been undergoing a refresh. Part of the refresh was moving the hardshell kayak which left the perfect place for a deck box.
The reason for the box was to store the kayak wheels and paddle. The squirrels have been nibbling on the paddle so we wanted to put it out of their reach. Plus, who doesn't need more storage for outside stuff or other stuff that needs a home?!
text by Vicki Sign up here to join our weekly email newsletter!
If you have a dog and it doesn't have free access to the outside, you find yourself making numerous trips during the day to open the door to let it out.
When Steph had one dog, it wasn't that big a deal, but when Tosh arrived it became a bigger deal. That's when she got a magnetic screen door to put over the sliding glass door opening so she could leave the porch door open so the dogs could come and go as they pleased. This worked really well until a big wind blew up unexpectedly and damaged the open porch door. Steph needed a way to provide access to the outside without continuing to add stress to the porch door and that's when she realized we should insert a screen door into the existing porch door. It certainly was one of those "duh" moments! Here's how we did it.
text by Vicki Sign up here to join our weekly email newsletter!
Most everything we use in the garage is built for long use, but there are things that are "one and done!" Those are our consumables.
In this post we share 12 consumables we use most often and are sure to always have on hand in the workshop.
text by Vicki Sign up here to join our weekly email newsletter!
It's been a while since we've changed out faucets and in that time, changes to sink stoppers have occurred!
Most likely, you have the standard sink stopper mechanism. You reach round the back of the faucet to pull up the rod that opens and closes the actual sink stopper. On this faucet install, we were introduced to new and improved sink stopper technology! Well, time will tell whether this is improved technology!
text by Vicki Sign up here to join our weekly email newsletter!
Steph is becoming quite the expert when it comes to installing faucets! She says it's quite straight forward with the only real problem is trying to get comfortable in a very tight working space.
Come along as she shares how she installed a new faucet in the guest bath makeover at my house.
text by Vicki Sign up here to join our weekly email newsletter!
As you can tell from the "before" picture, this little half bath was in need of a refresh!
Take a look at the budget makeover of this guest bath or maybe if you're fancy, you call it a powder room!
text by Vicki Sign up here to join our weekly email newsletter!
Once we learned how easy it is to fake a live edge, we were hooked. We've been looking for another project where we could use the technique and found one in this half bath makeover.
We will be adding three "live" edge shelves to this bathroom. Here's how we did it. |

Mother Daughter Projects
|